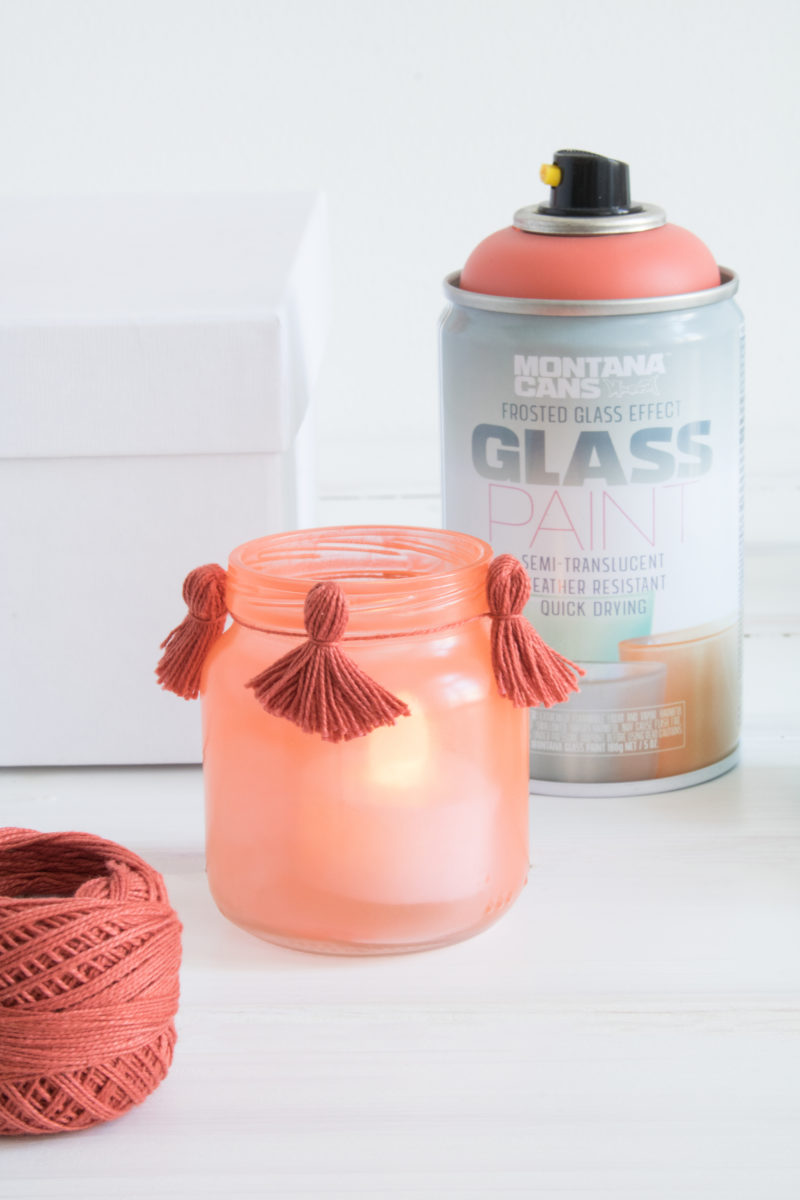
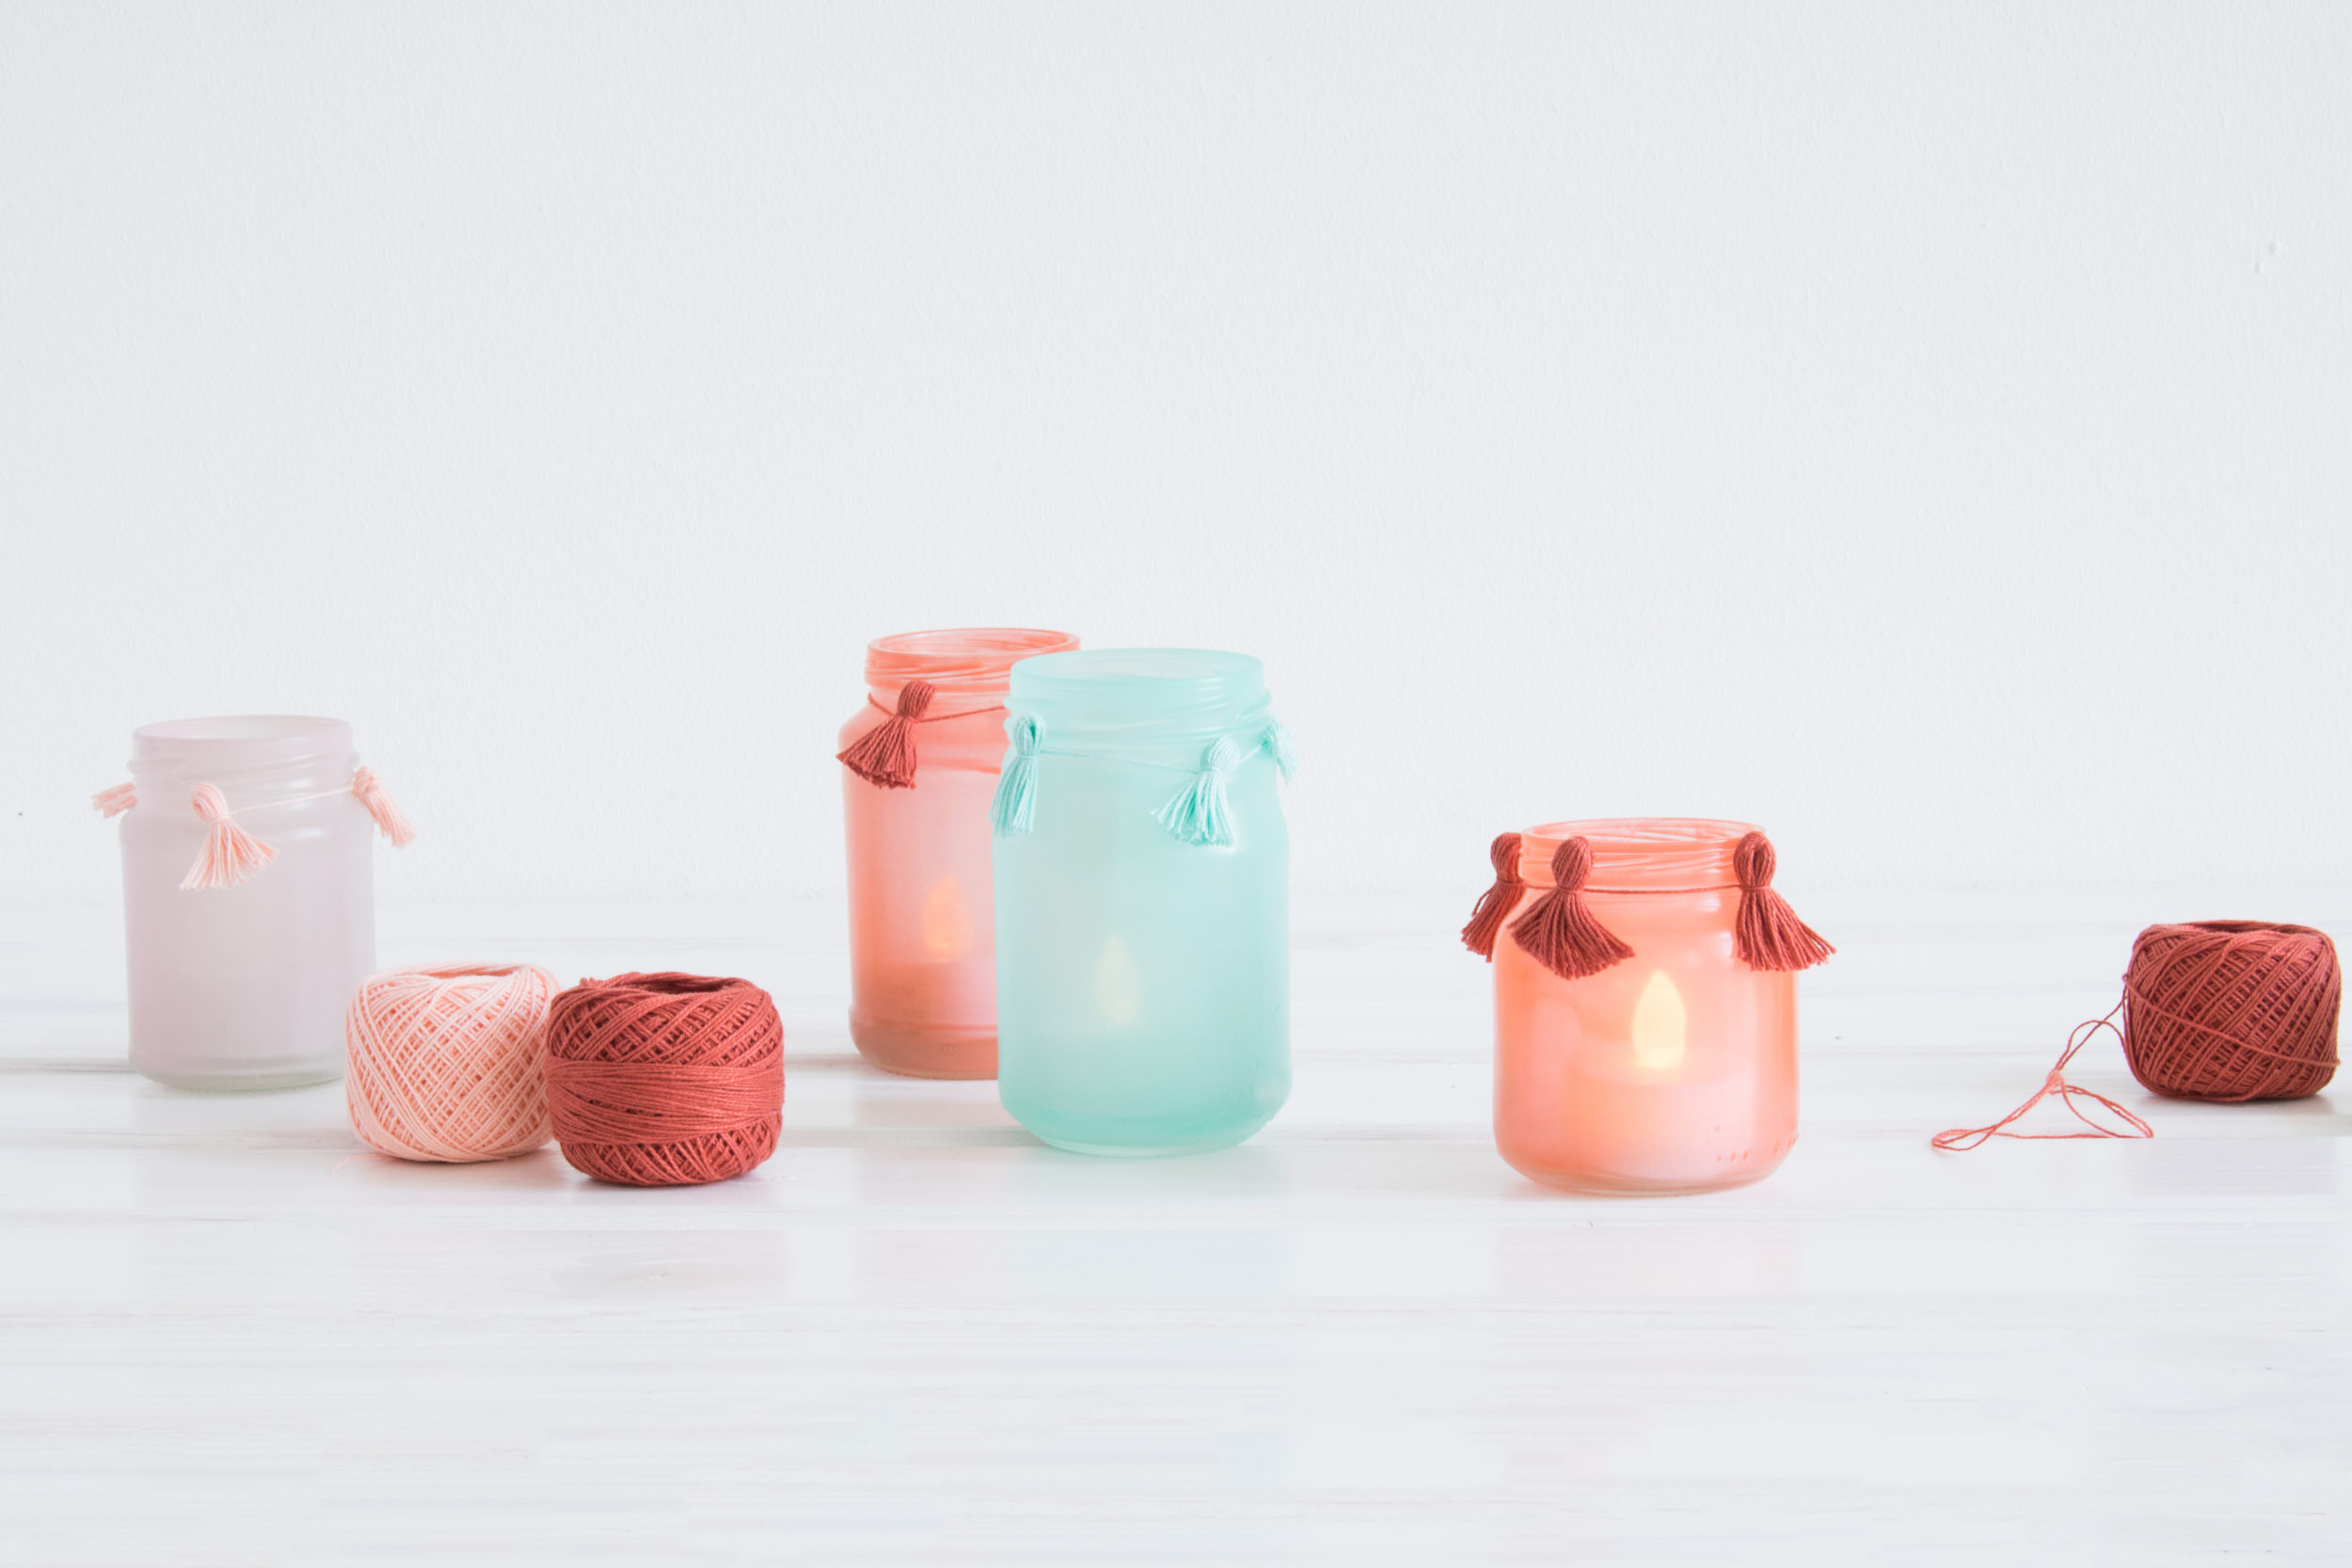
DIY ambience for indoor or out
With these humble little candles, you can create so much ambiance. Now with the new Montana GLASS Paint 250ml, you can even change the color of the light they emit. With nine colors at the ready, we knew exactly what we were going to do. We gathered some empty, clean glass jars. Put on our DIY thinking caps and then checked the cupboards for tealights. A little while later we had beautifully colored GLASS Paint tealights and here is how we did it.
Materials Used
- Empty glass jars (purchased or recycled)
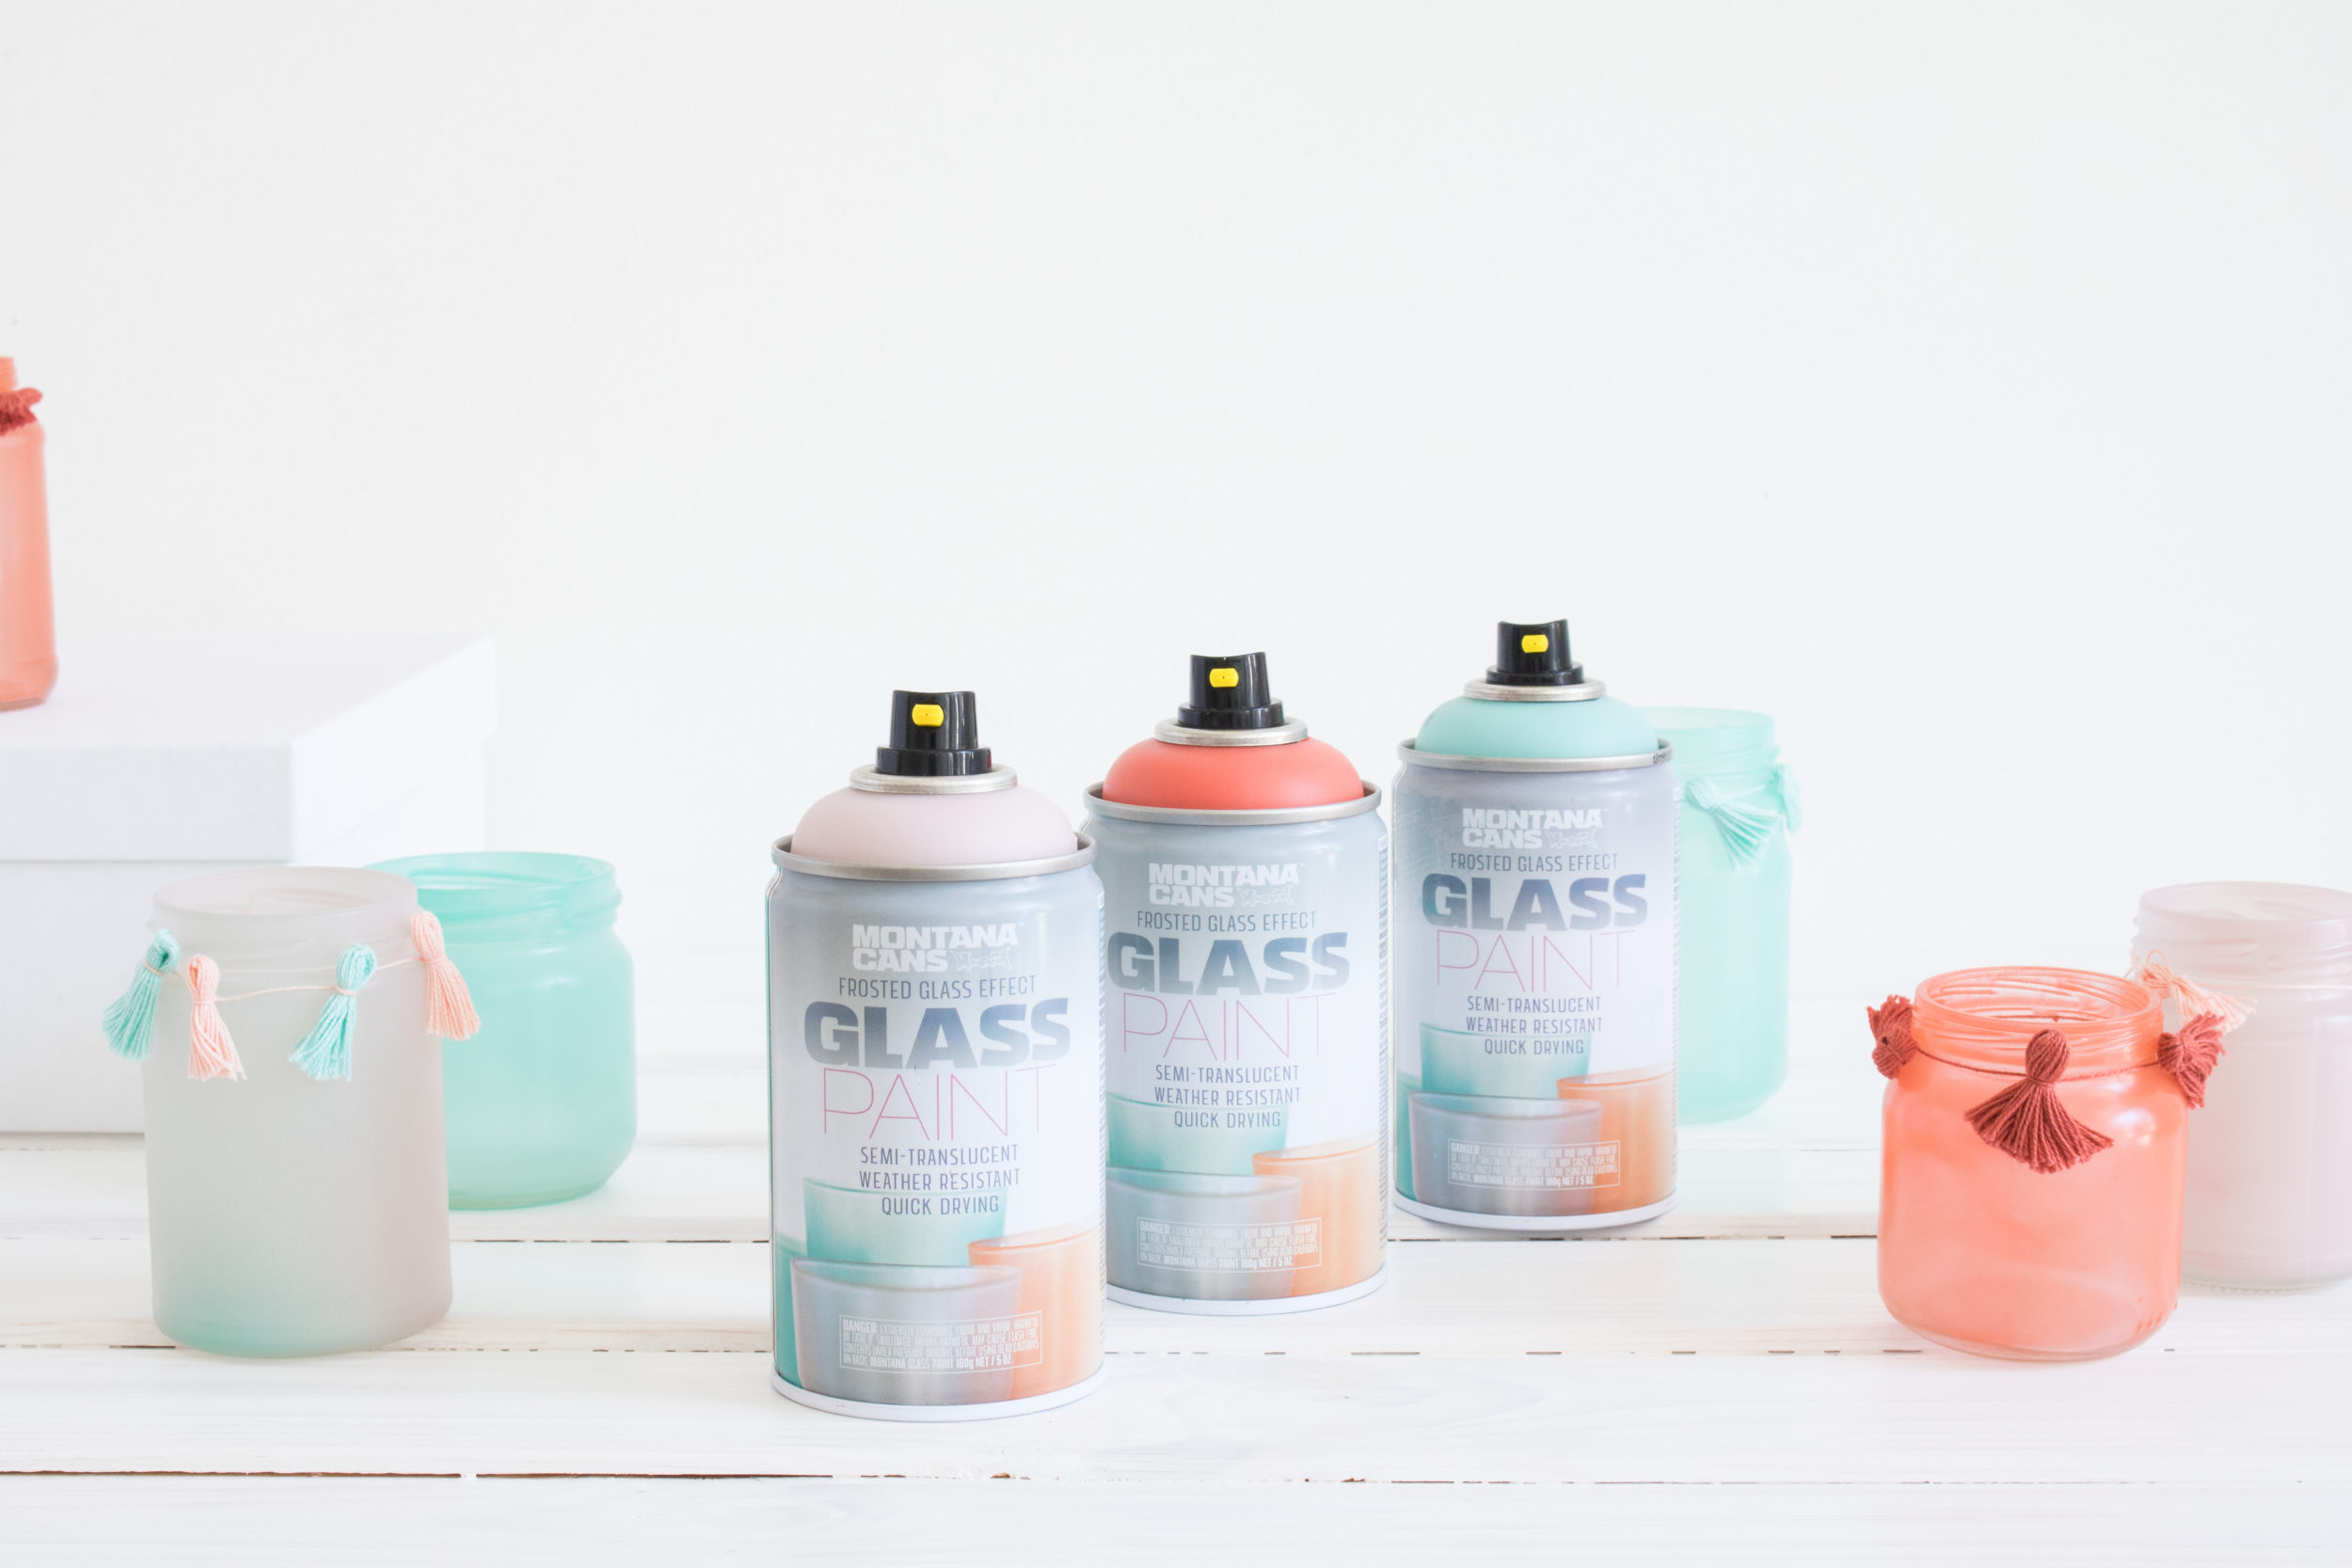
- Montana GLASS Paint in colors Teal, Coral and Rosé
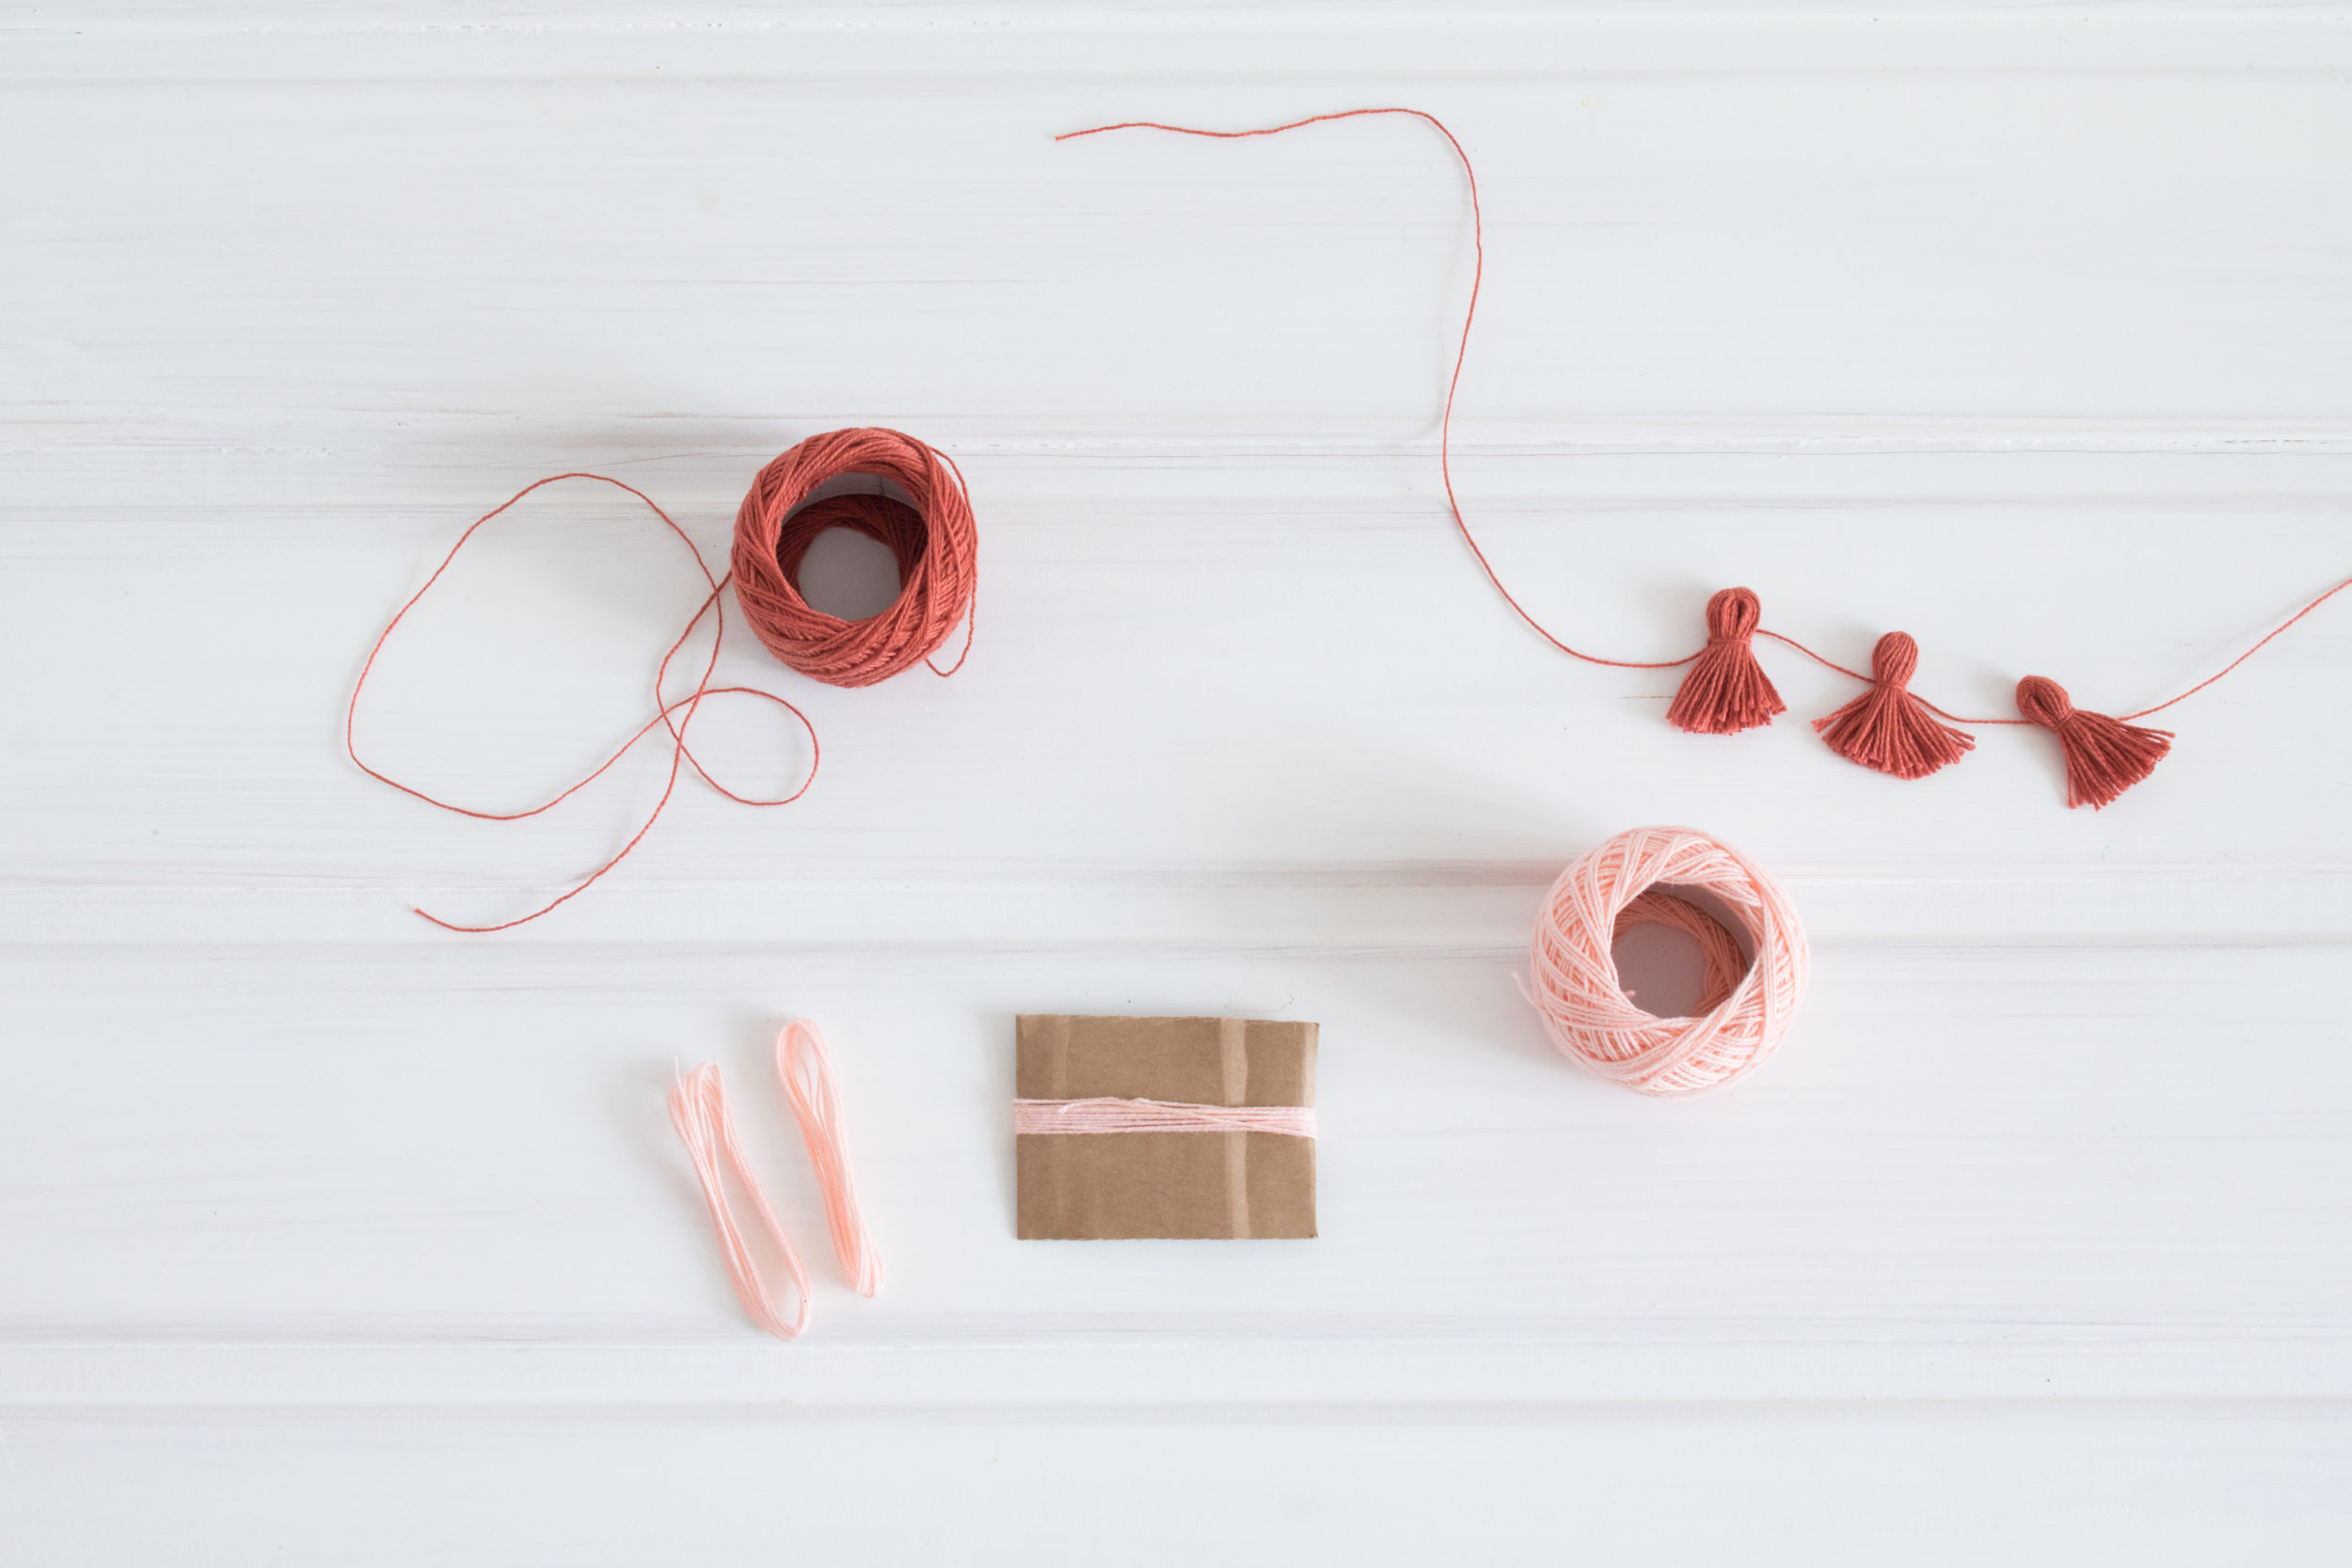
- Colored thread to match chosen GLASS paint colors
- Scissors
- Gloves
- Mask
- Drop sheet
How it was done
Our tealight adventure started with the glass jars. There isn’t too much effort needed for this, just collect, empty and clean the jars you think would be good vessels to hold candles. It doesn’t hurt if they look cool too.

Make sure the jars are clean, free of dust and oils. Grab a tea towel and give them a wipe off before you start spraying. Then prepare your spraying area with a drop sheet, or piece of cardboard to spray on which will catch any overspray while spraying.
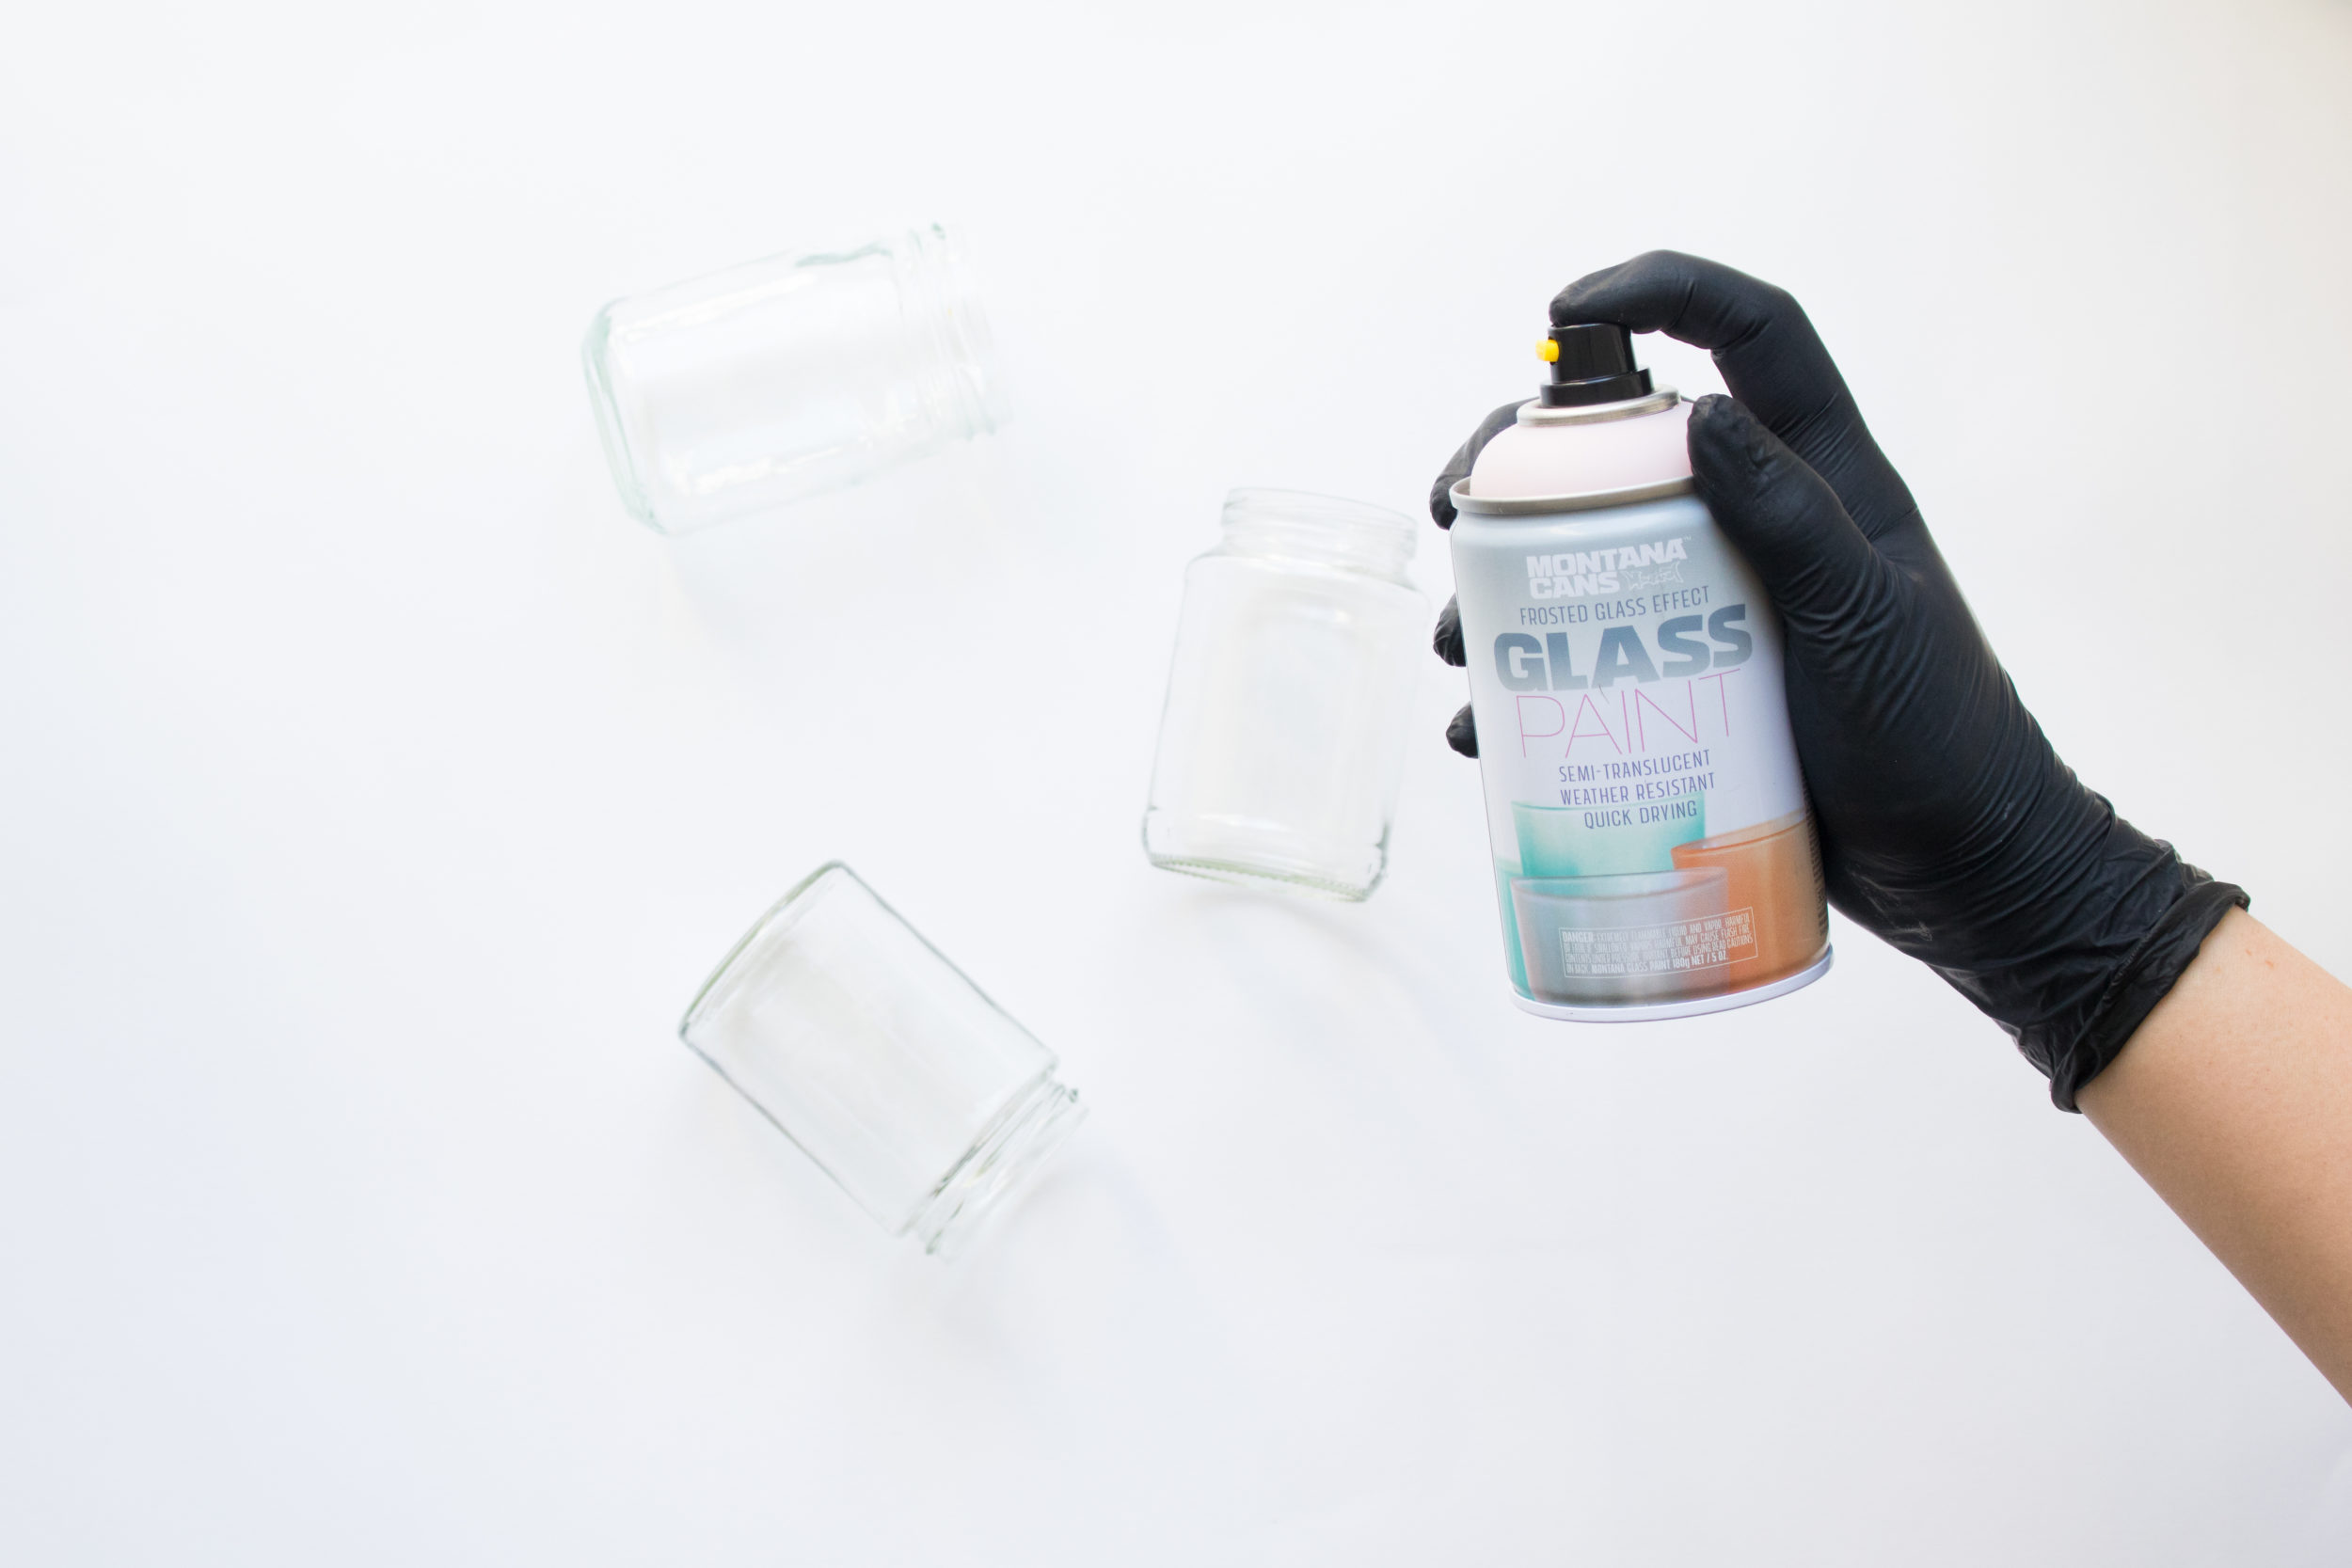

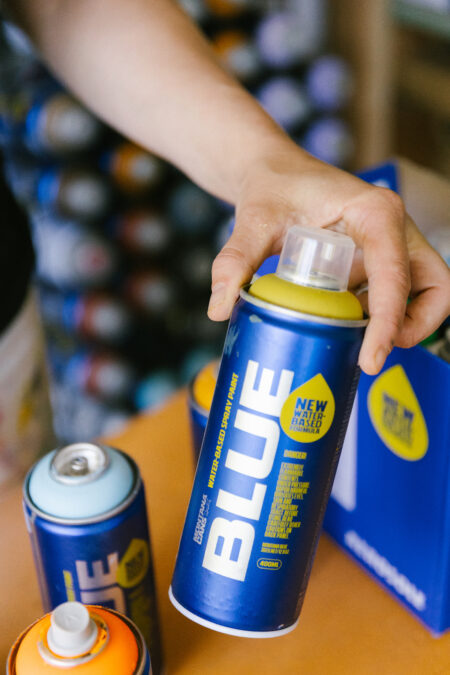
Shake your cans vigorously for 2-3 minutes ensuring that the mixing balls can be heard moving freely. Put your mask and your gloves on and you are ready to go. Depending on how intense you want the color, you can apply one or more layers.

Holding the can back about 15cm – 20cm from the jars, apply in thin light coats. The lighter you apply, the more light will stream through the glass.

The Glass Paint Tealights are an intermediate level project if you want to do it properly. Not because it’s hard, but you have to have patience in waiting for coats to dry and you have to try a little pulling apart if you want to paint some parts separately.
It offers a great finish doing it that way, but it isn’t a deal breaker if you decide just to mask areas off instead and leave it all together. Don’t skimp on sanding between coats either as it gives tooth for the gorgeous new colors you’ll apply.
Good Luck and Happy Crafting!