Wood and color complement each other
A lot of homes have benches of some sort. Some classic sitting benches, kitchen benches, and entryway benches which can often be the first thing that greets you. You can even use them as coffee tables, although that doesn’t mean their owners particularly need to drink coffee. Benches and in this case entryway benches can become a focal point in any room they are in. People sit on them, put their drinks on them, leave the remote on them, food, reading material, gadgets, plants, notes, bills, and when nobody is looking, sometimes their feet.
Dressings are often not very helpful on an entryway bench. You would regularly slide off each time you want to sit on it, the cat would keep trying to pull it off, and what about those dirty footmarks that aren’t supposed to be there as well? We have just the solution for your wooden bench that just so happens to minimize the hassles while maximizing the coolness in your home. And best of all it gave us a chance to try out the new Montana MARBLE color, Pastel Green. Sound inviting? Then read on to get inspired for your very own Marble Entryway Bench.
Materials used
- Wooden Bench
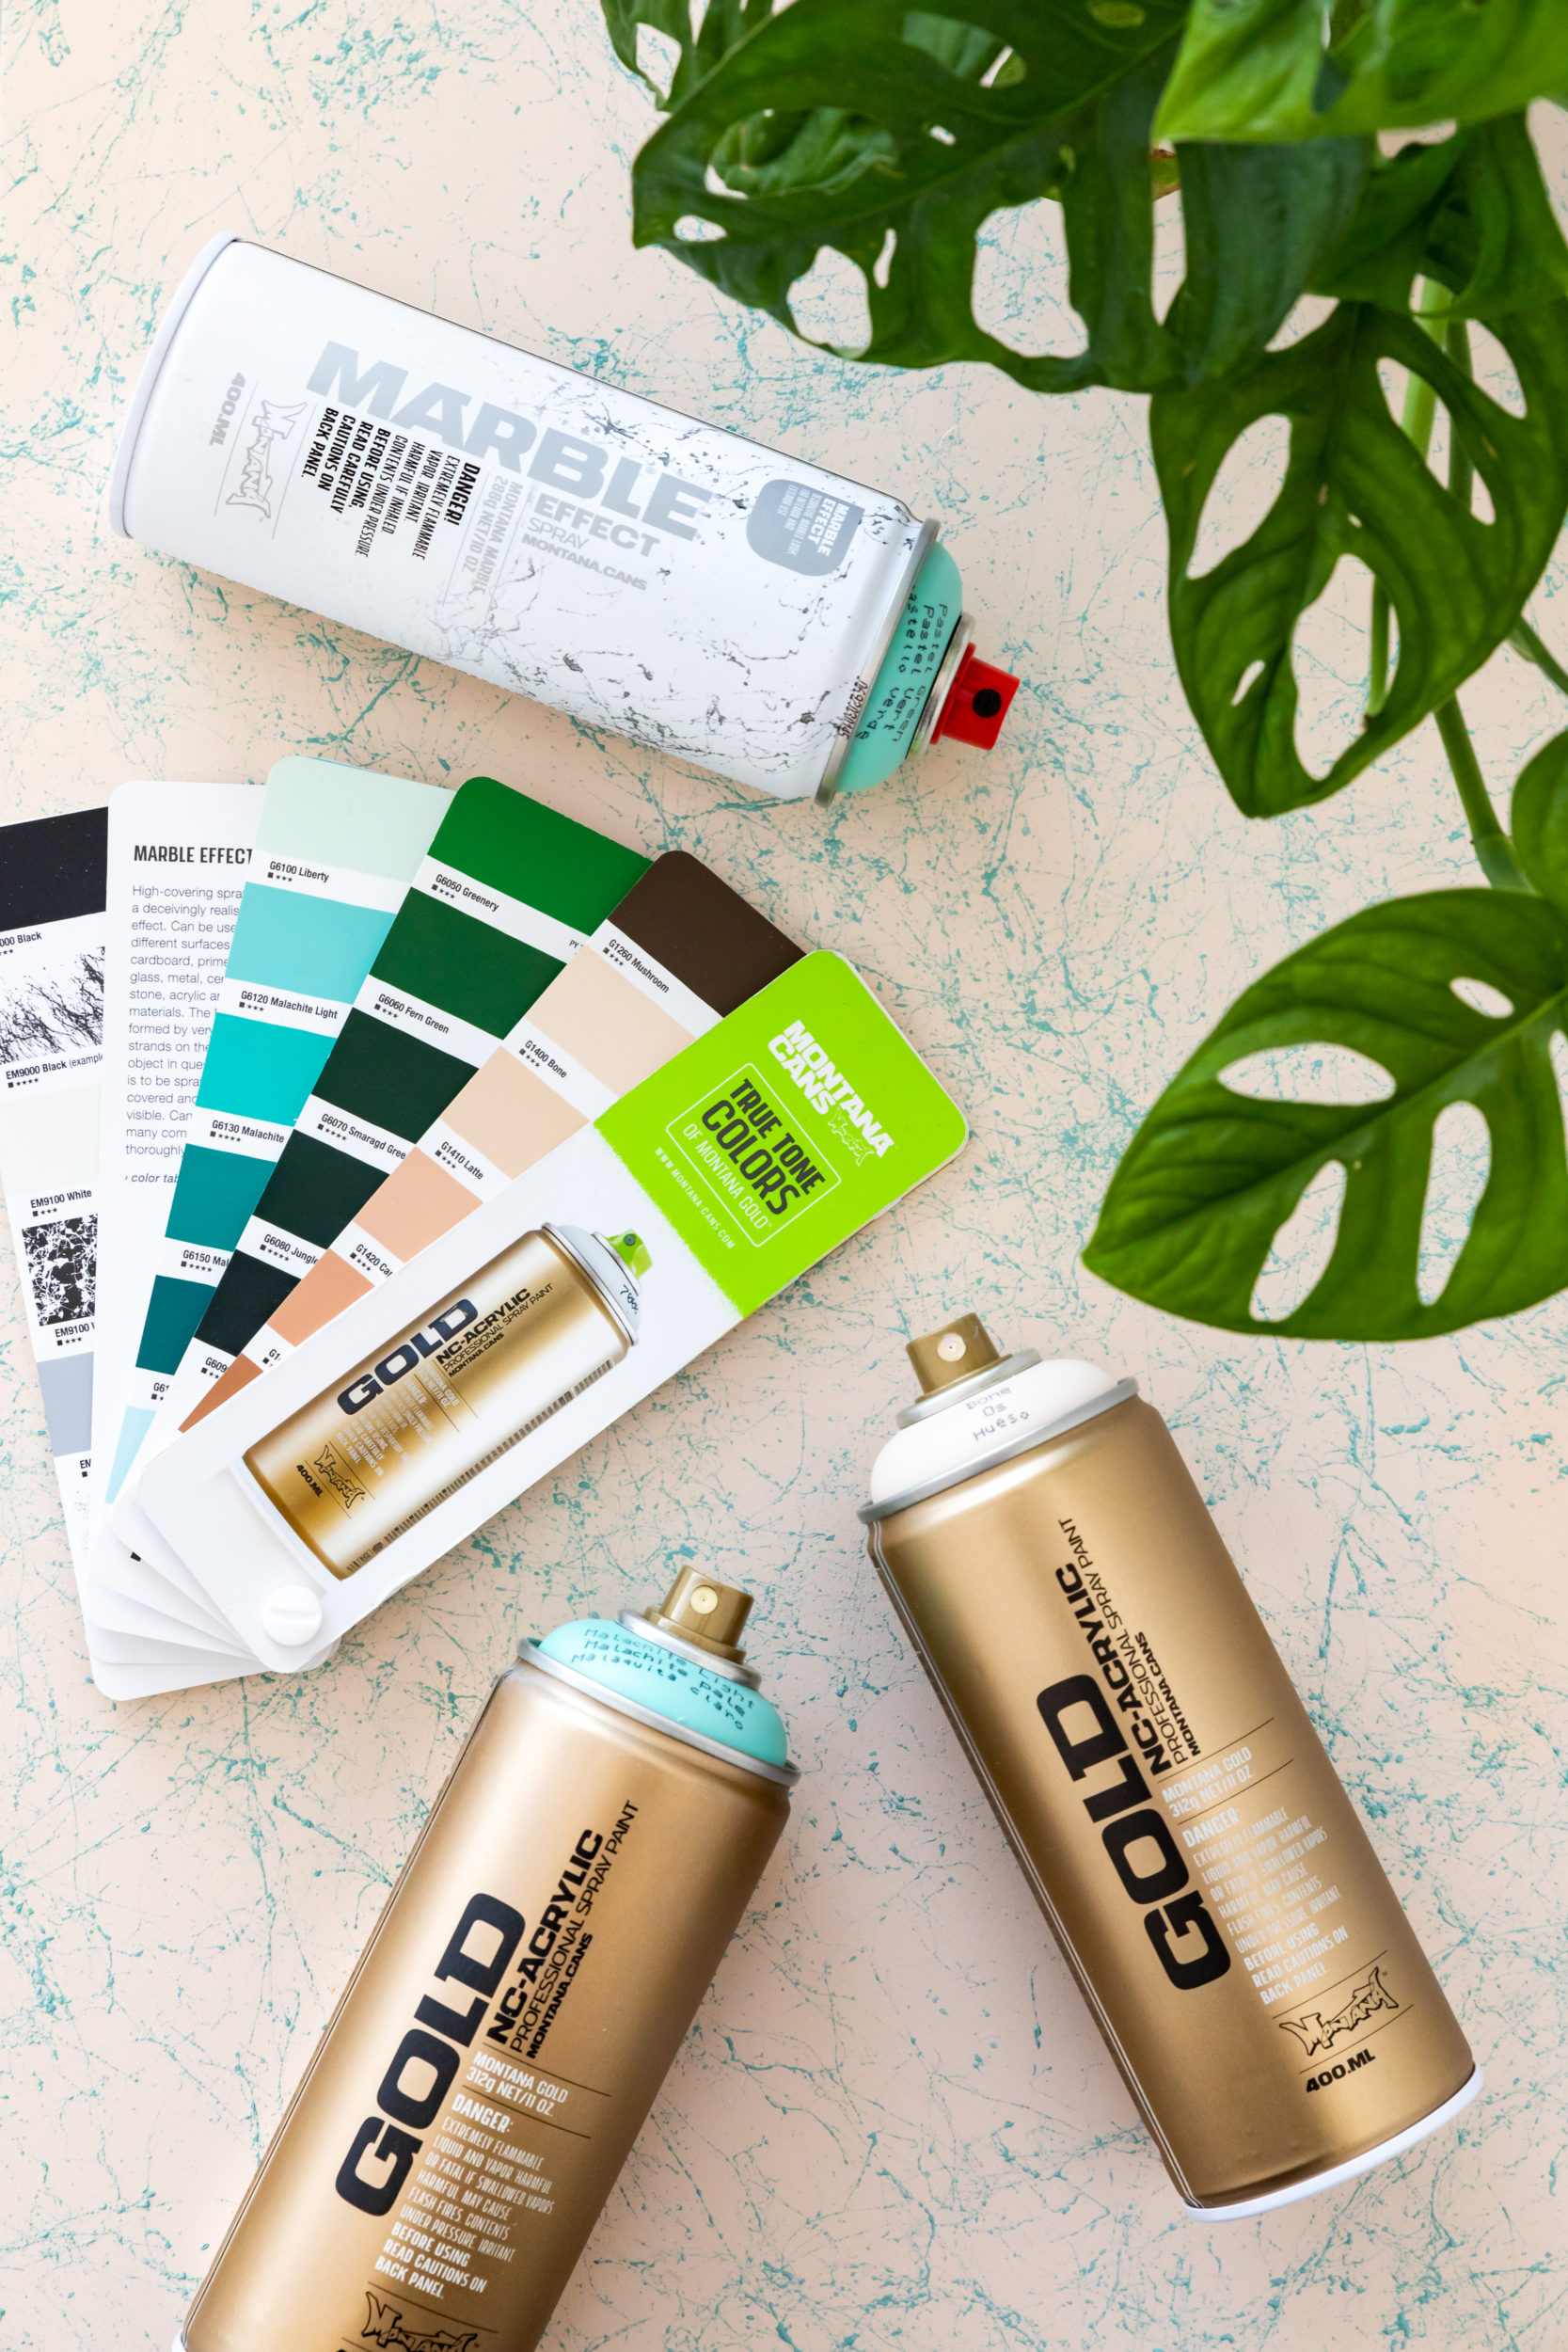
- Montana MARBLE Effect Green
- Montana Universal Primer
- Montana GOLD Line Colors Malachite Light and Bone (or colors of your choice)
- Montana VARNISH 400ml Semi-Gloss (or finish of your choice)
- Masking tape
- Sanding paper
- Covering material
- Gloves
- Mask
- Drop Sheet
How it was done
The focus of this project was to give our somewhat tired wooden entryway bench, a new lease on life. Our bench happens to be a very simple, sleek, and timeless design. This made it easy for us to imagine the work that we were going to do on it. If you don’t already have an entryway bench or coffee table but want one for this project, remember to visit your local second-hand store, yard sale, or check out the next local hard rubbish day before you go out and buy a brand new one.
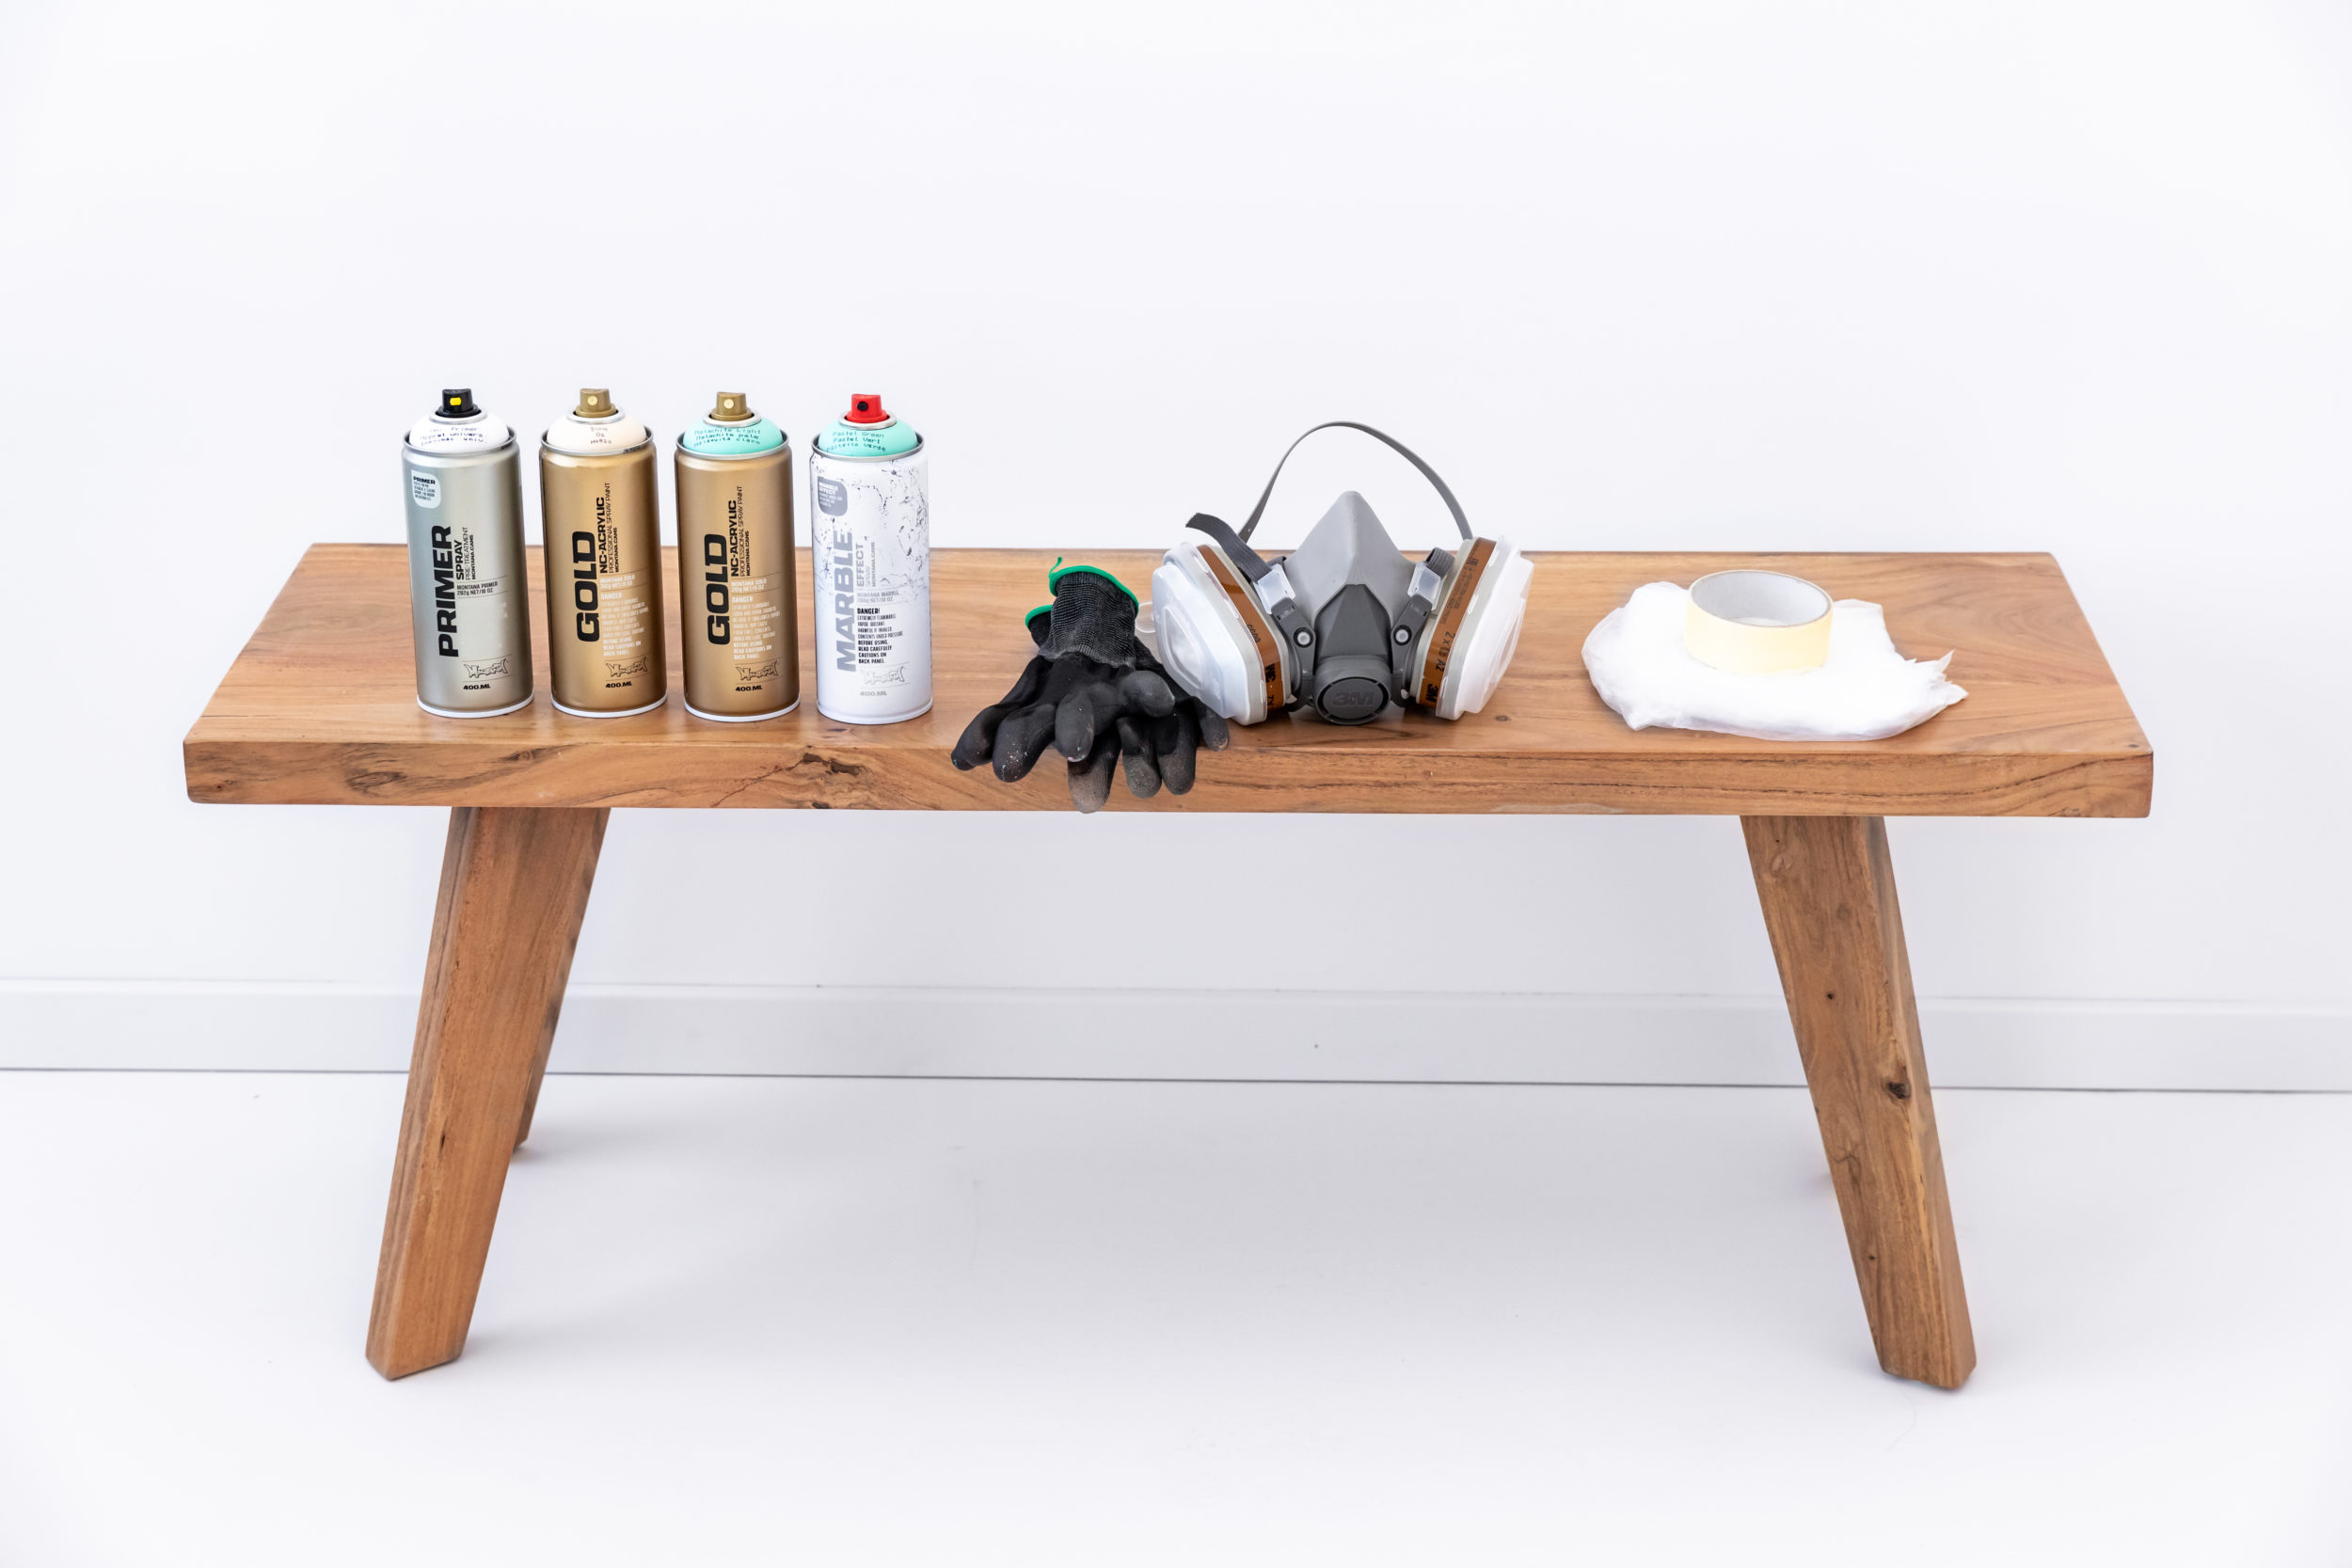
As with every project, make sure your wooden surfaces are clean, dry, dust, and oil-free. The shape of our bench made it easy to decide that we were going to focus on its top and a small portion of the legs to highlight the beautiful wood in between. Your bench or coffee table may invite you to focus on other parts of it. As long as the surfaces you are painting, have been sanded and cleaned before adding color.
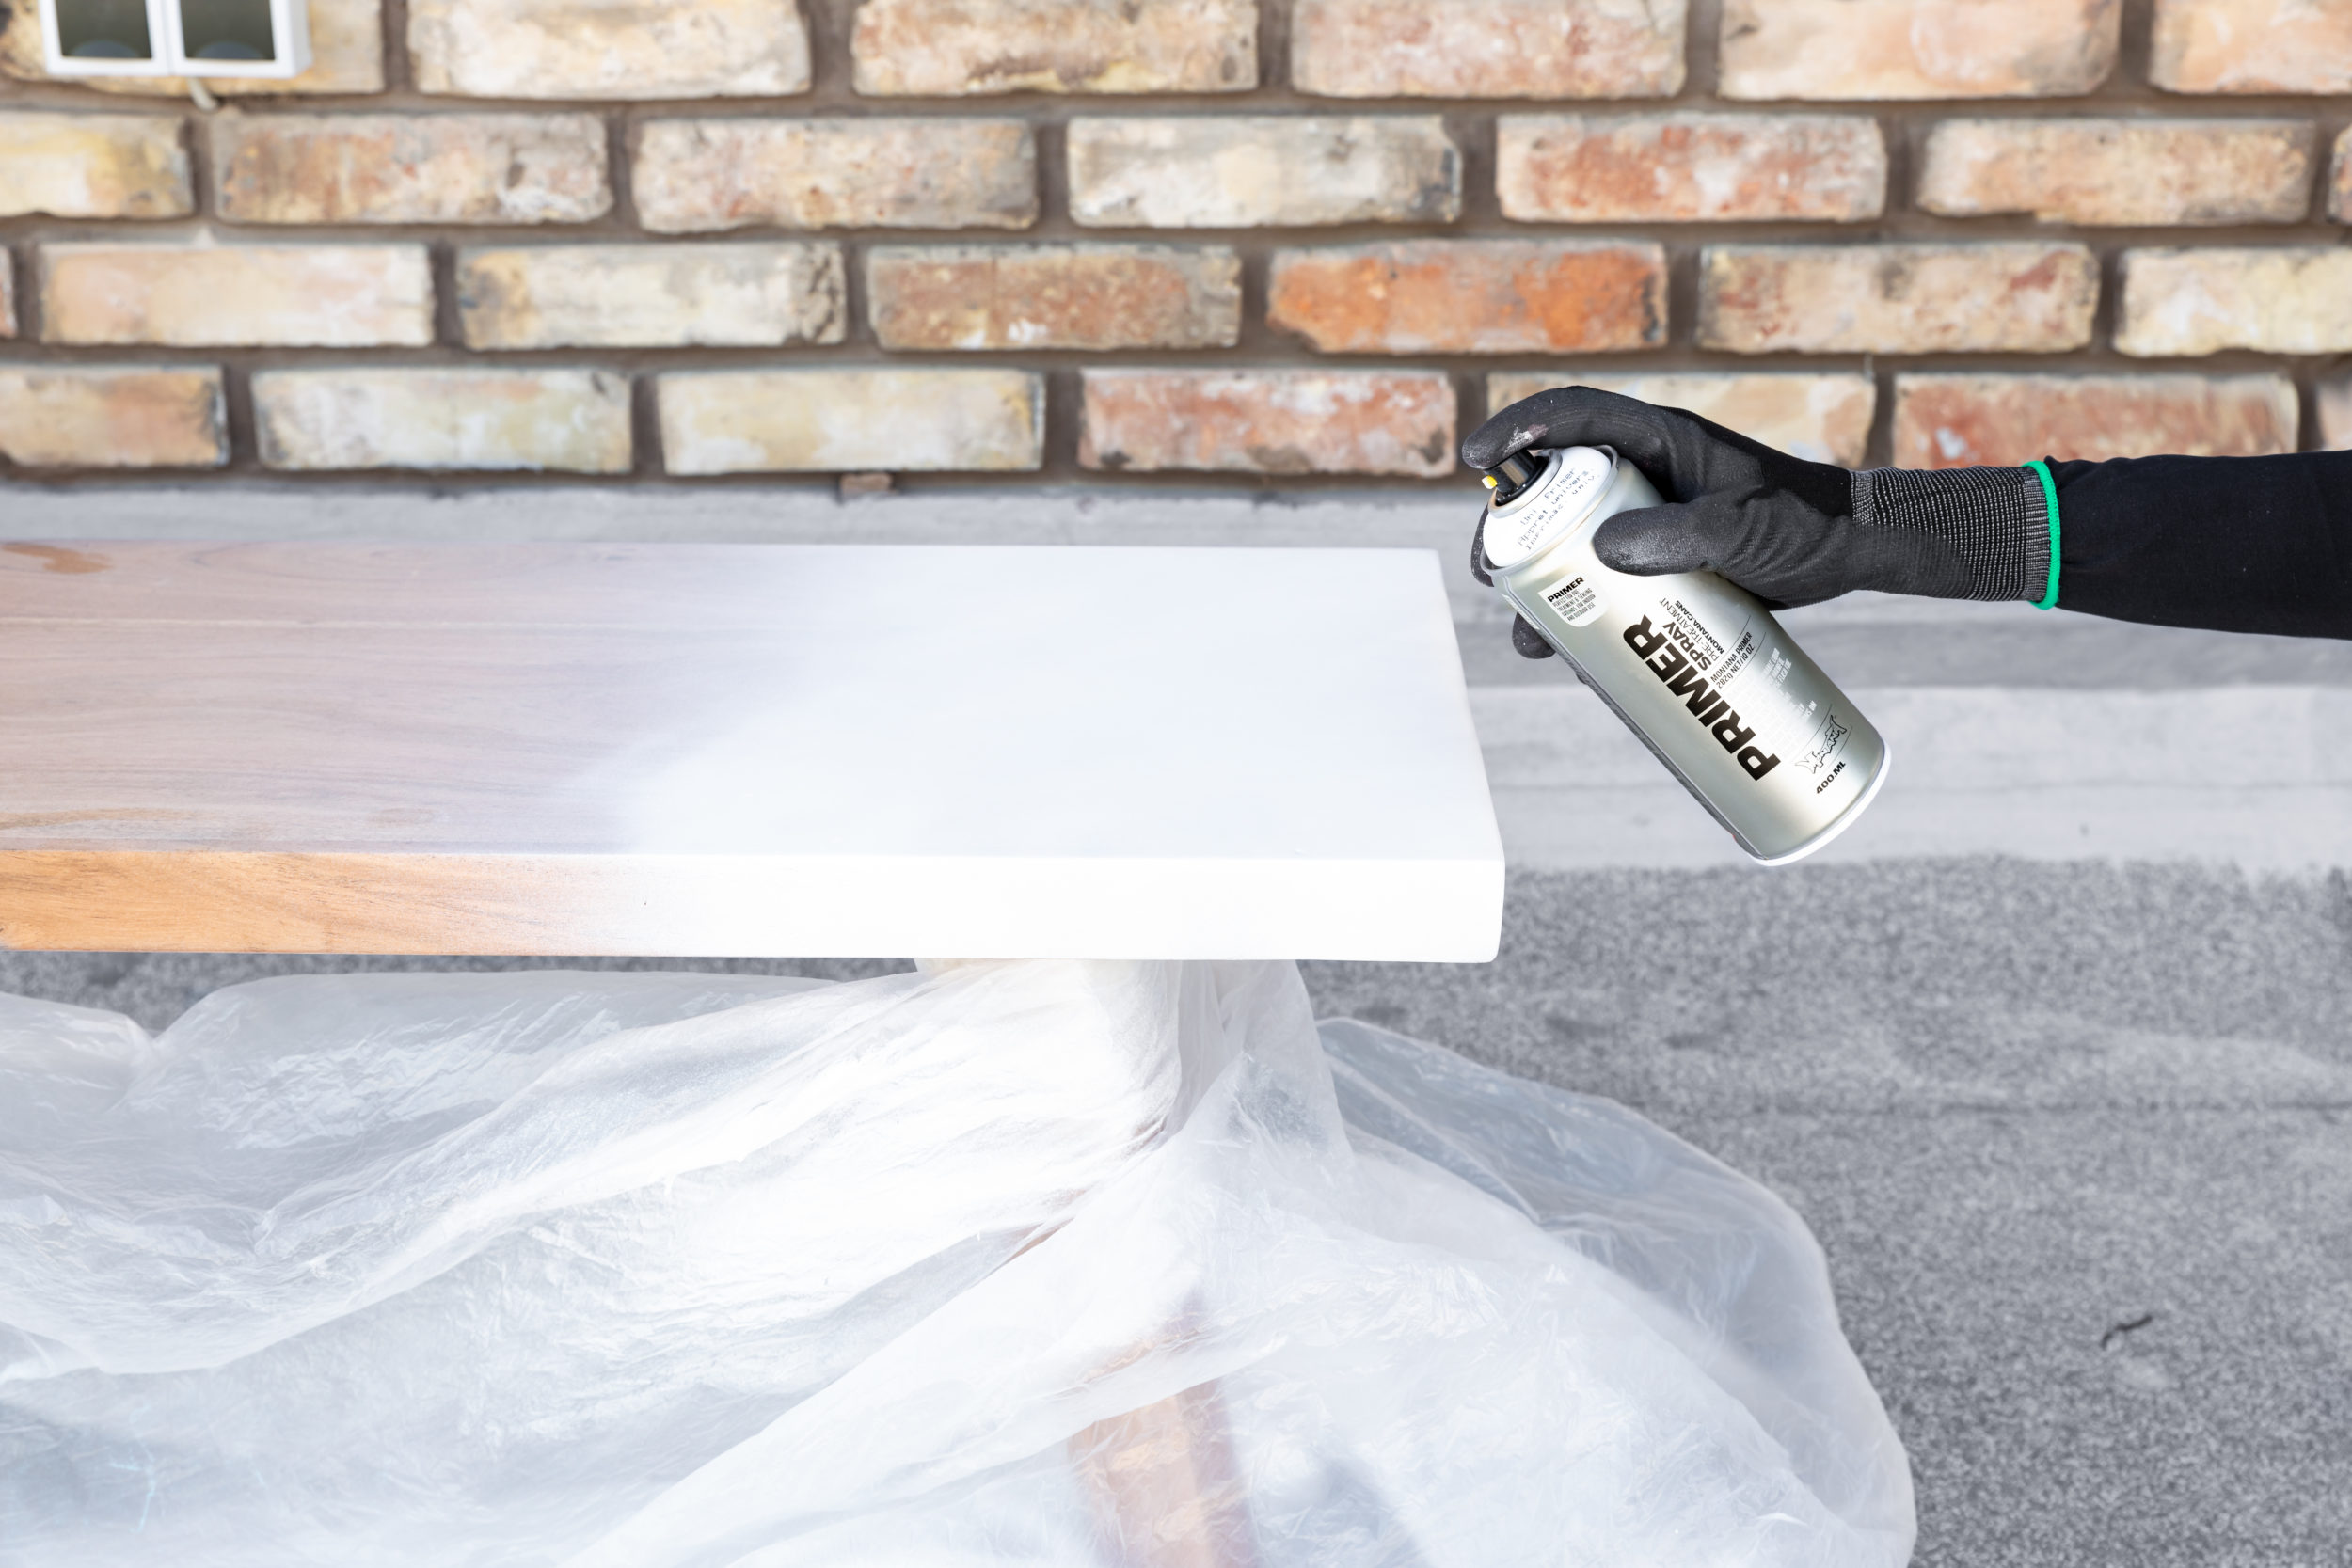
The benchtop was the largest surface we were working on which is why we started there. By painting it first, we would easily be able to cover the legs with masking tape and spray unhindered. Starting with the Montana Universal PRIMER, we applied 2 even coats to the top which sealed and prepared it for the flawless application of the Montana GOLD color, Bone. The following day we applied the Bone in two even coats. The first appeared to have covered sufficiently already, but we figured a second coat can’t hurt. Again the bench was left overnight to dry and completely cure. This brought us to the moment we had been waiting for, getting a chance to play with the new Montana MARBLE 400ml color, Pastel Green.
Marble Entryway Bench
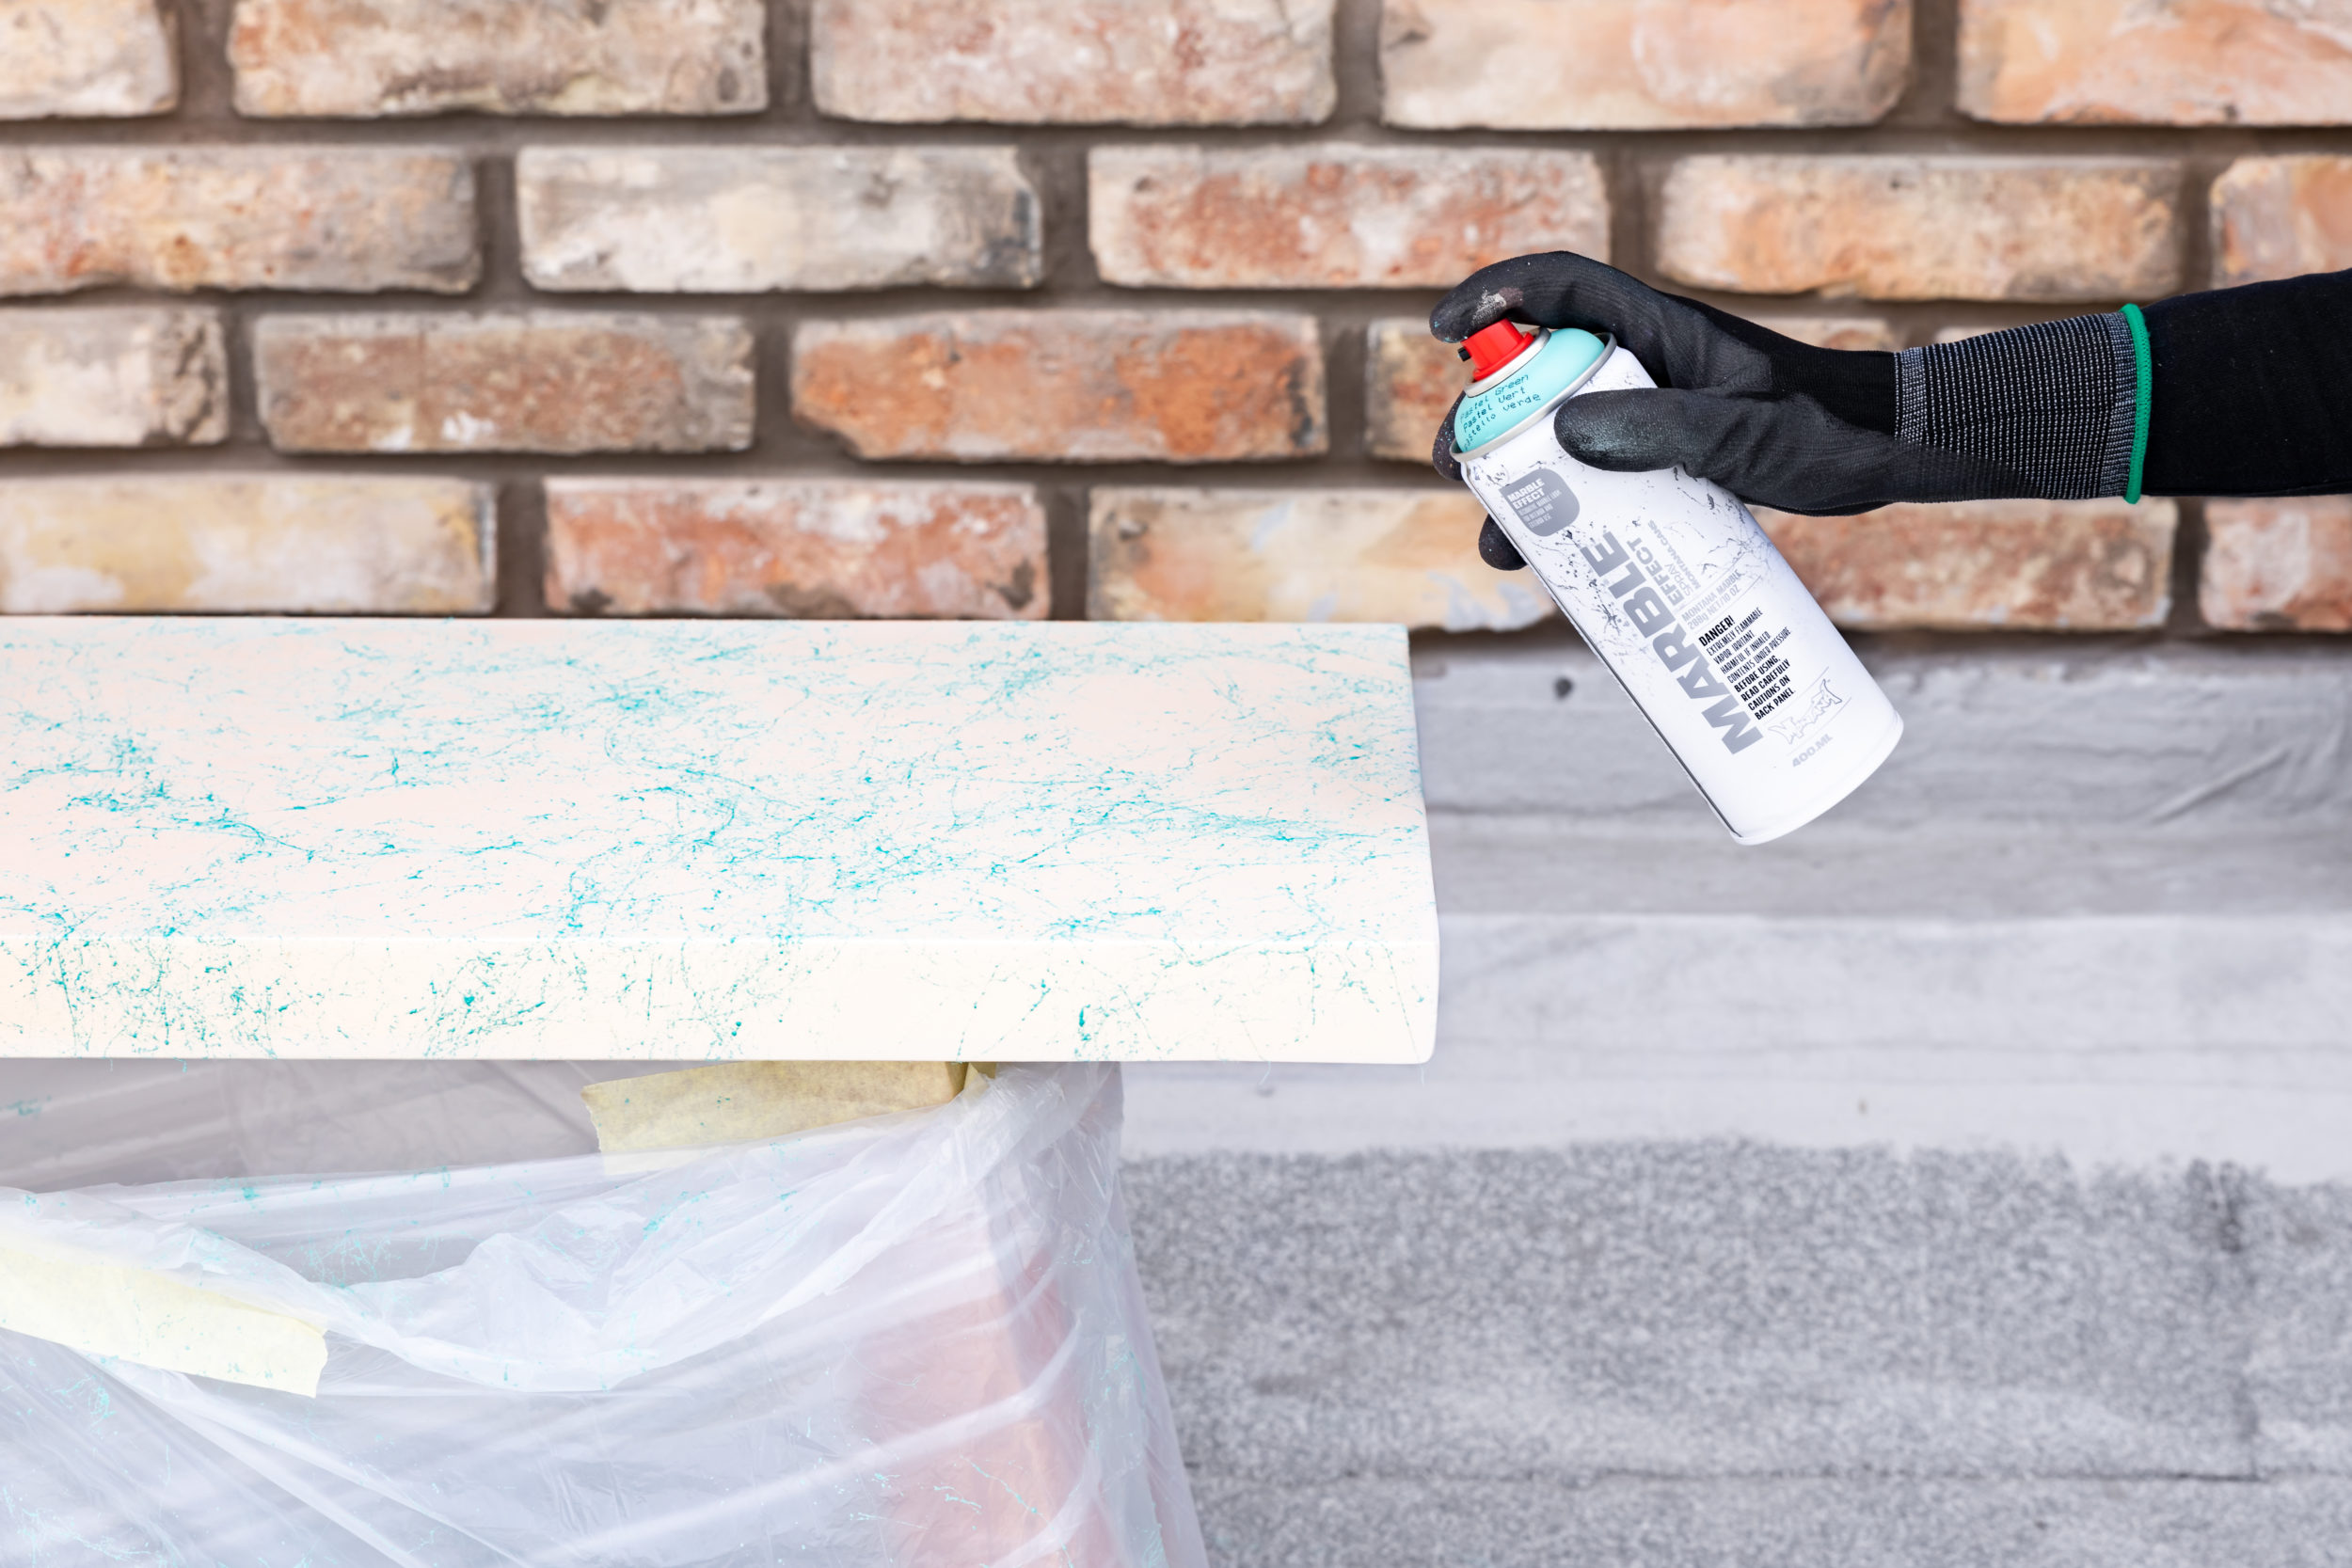
We wanted an organic marble effect. So we applied the paint slightly from above the top of the bench. The higher above the object you apply it, the more time the little strands of paint have to separate in the air and landing on the surface as if it was real marble. Apply as desired with as much or as little texture as you want. Again we left the bench to dry overnight before we put on the final touch in the form of the Montana VARNISH 400ml in the Semi-Gloss finish.
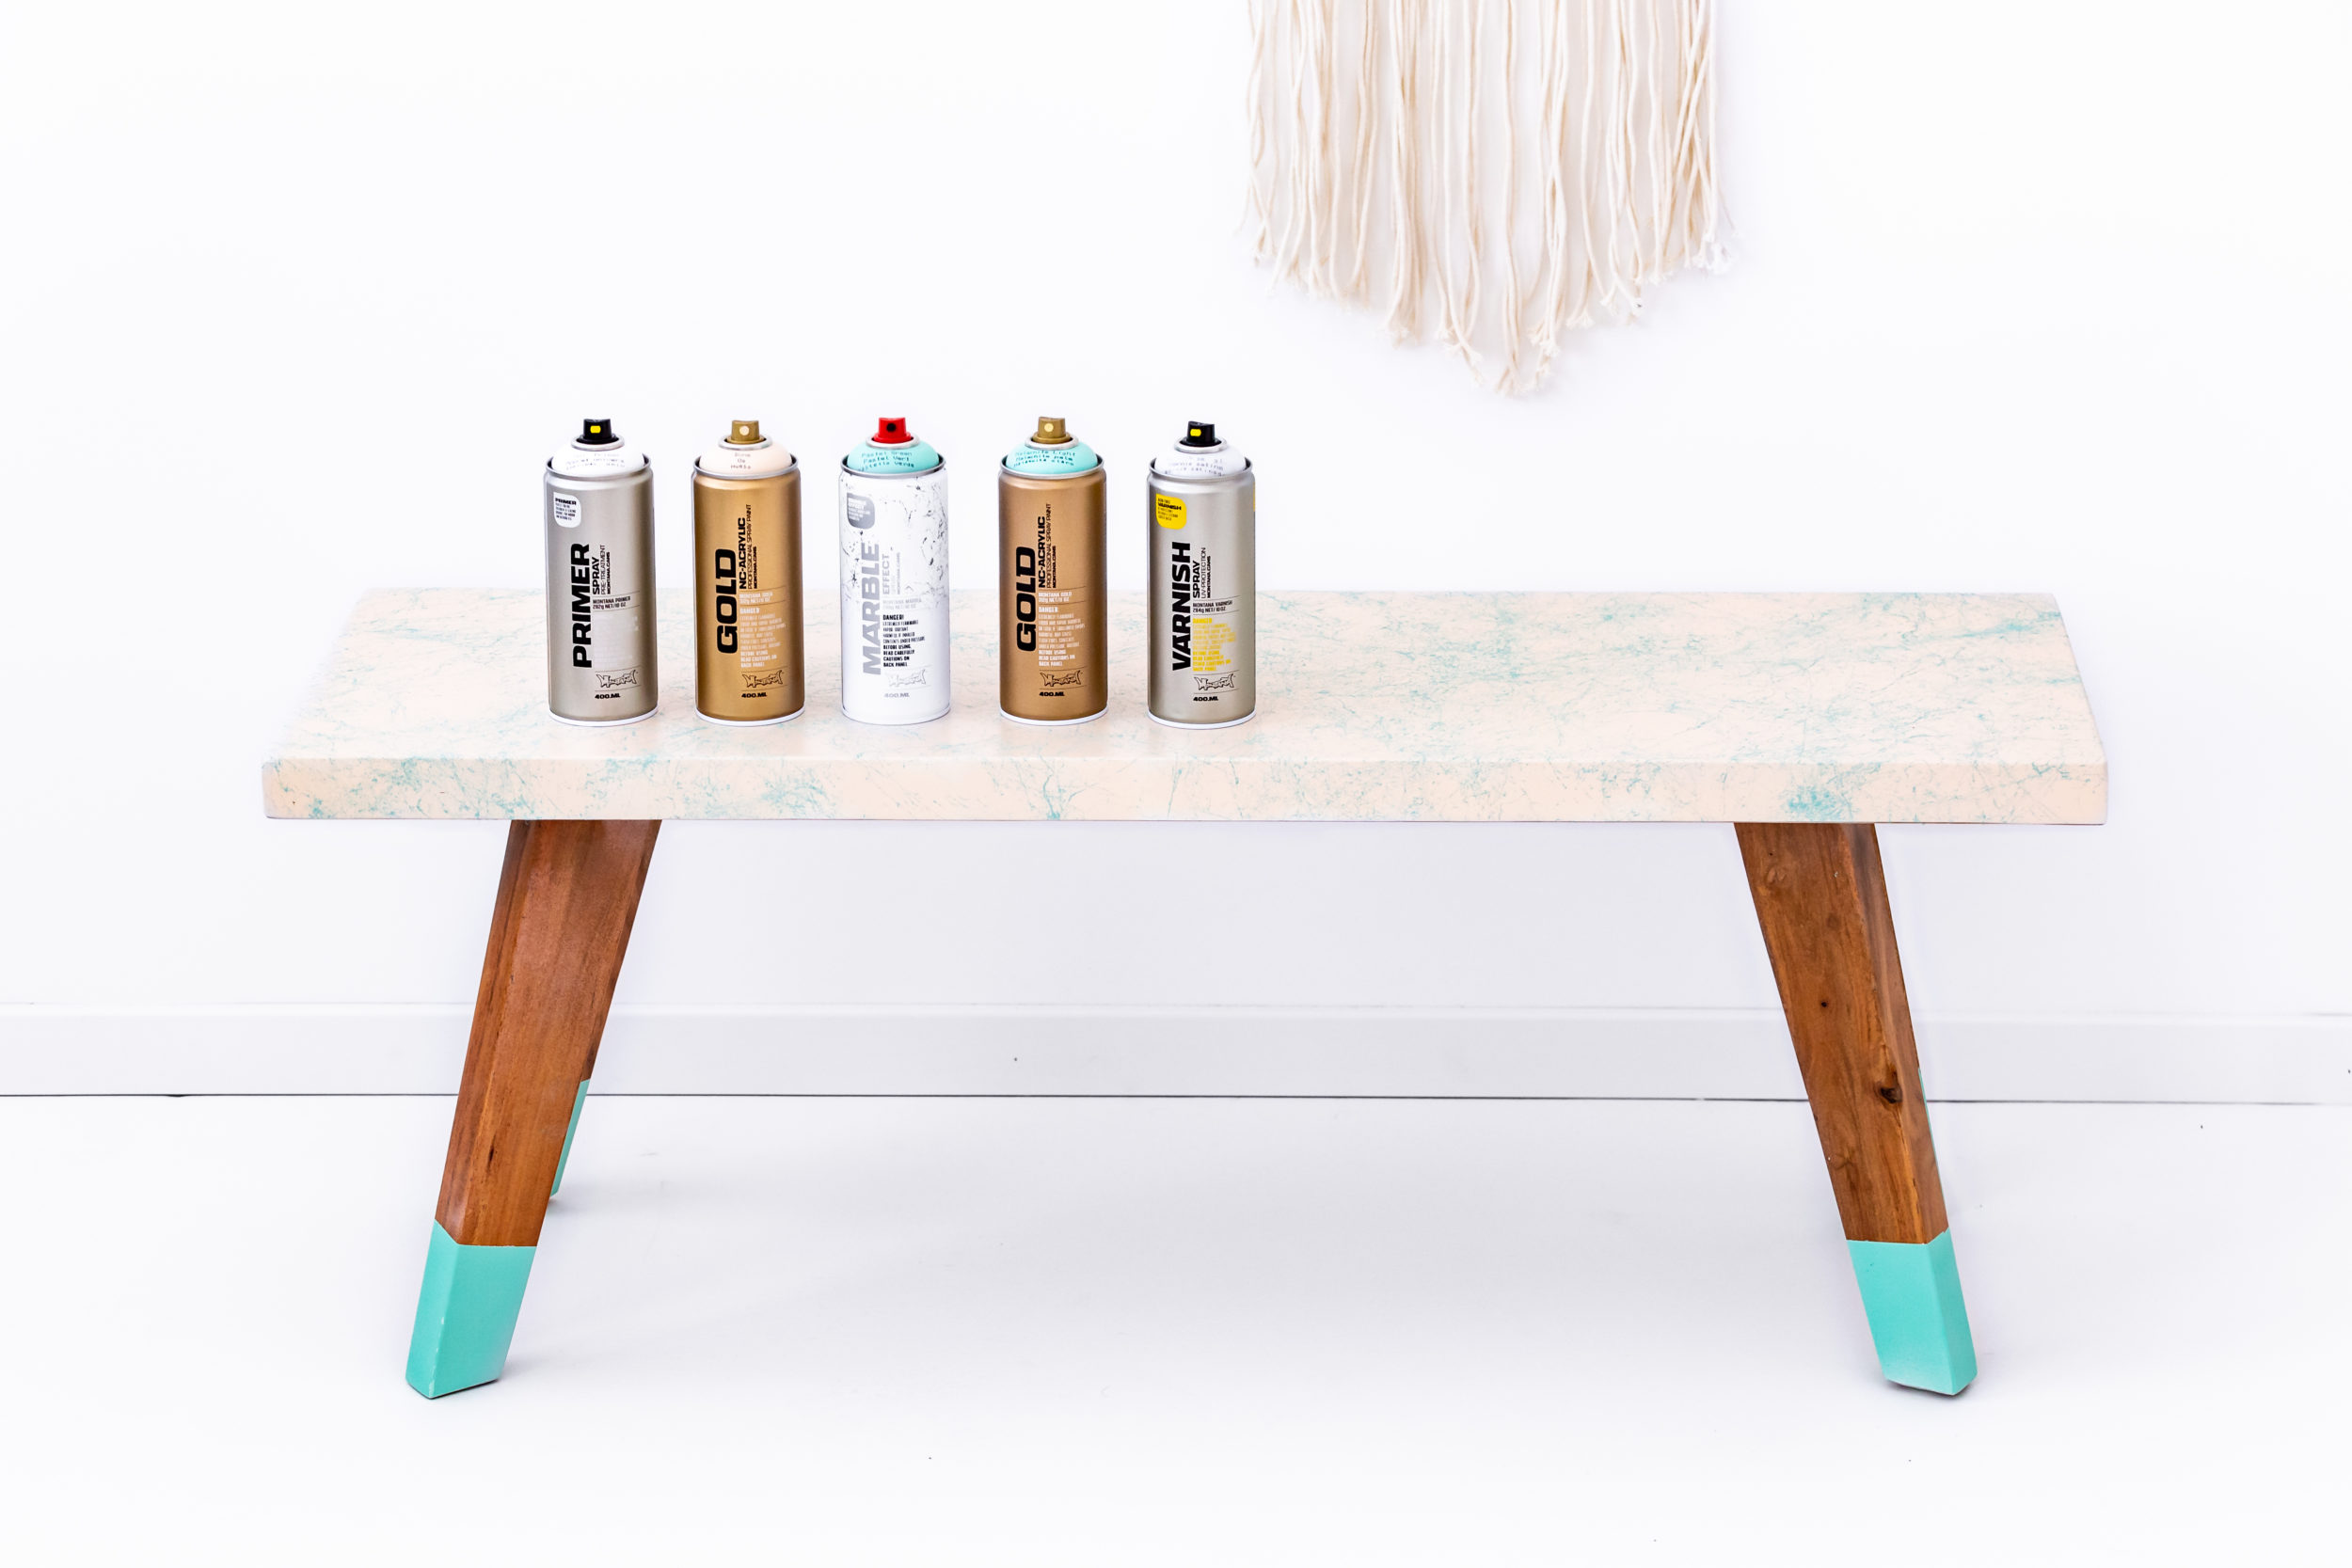
Apart from adding a little shine to the benches surface, if gave is some more protection against scratches and dents, as well as making the surface even more durable and easy to clean. Oh, and it looked good too. Having the Pastel Green MARBLE 400ml over the Montana GOLD color Bone was a great color combination. You may choose to do it differently remembering there are many colors to choose from in the Montana MARBLE and GOLD ranges. Just remember once your gloves and mask are on to shake each can very well for 2-3 minutes before use, and to remove the little black safety ring from under the nozzle.
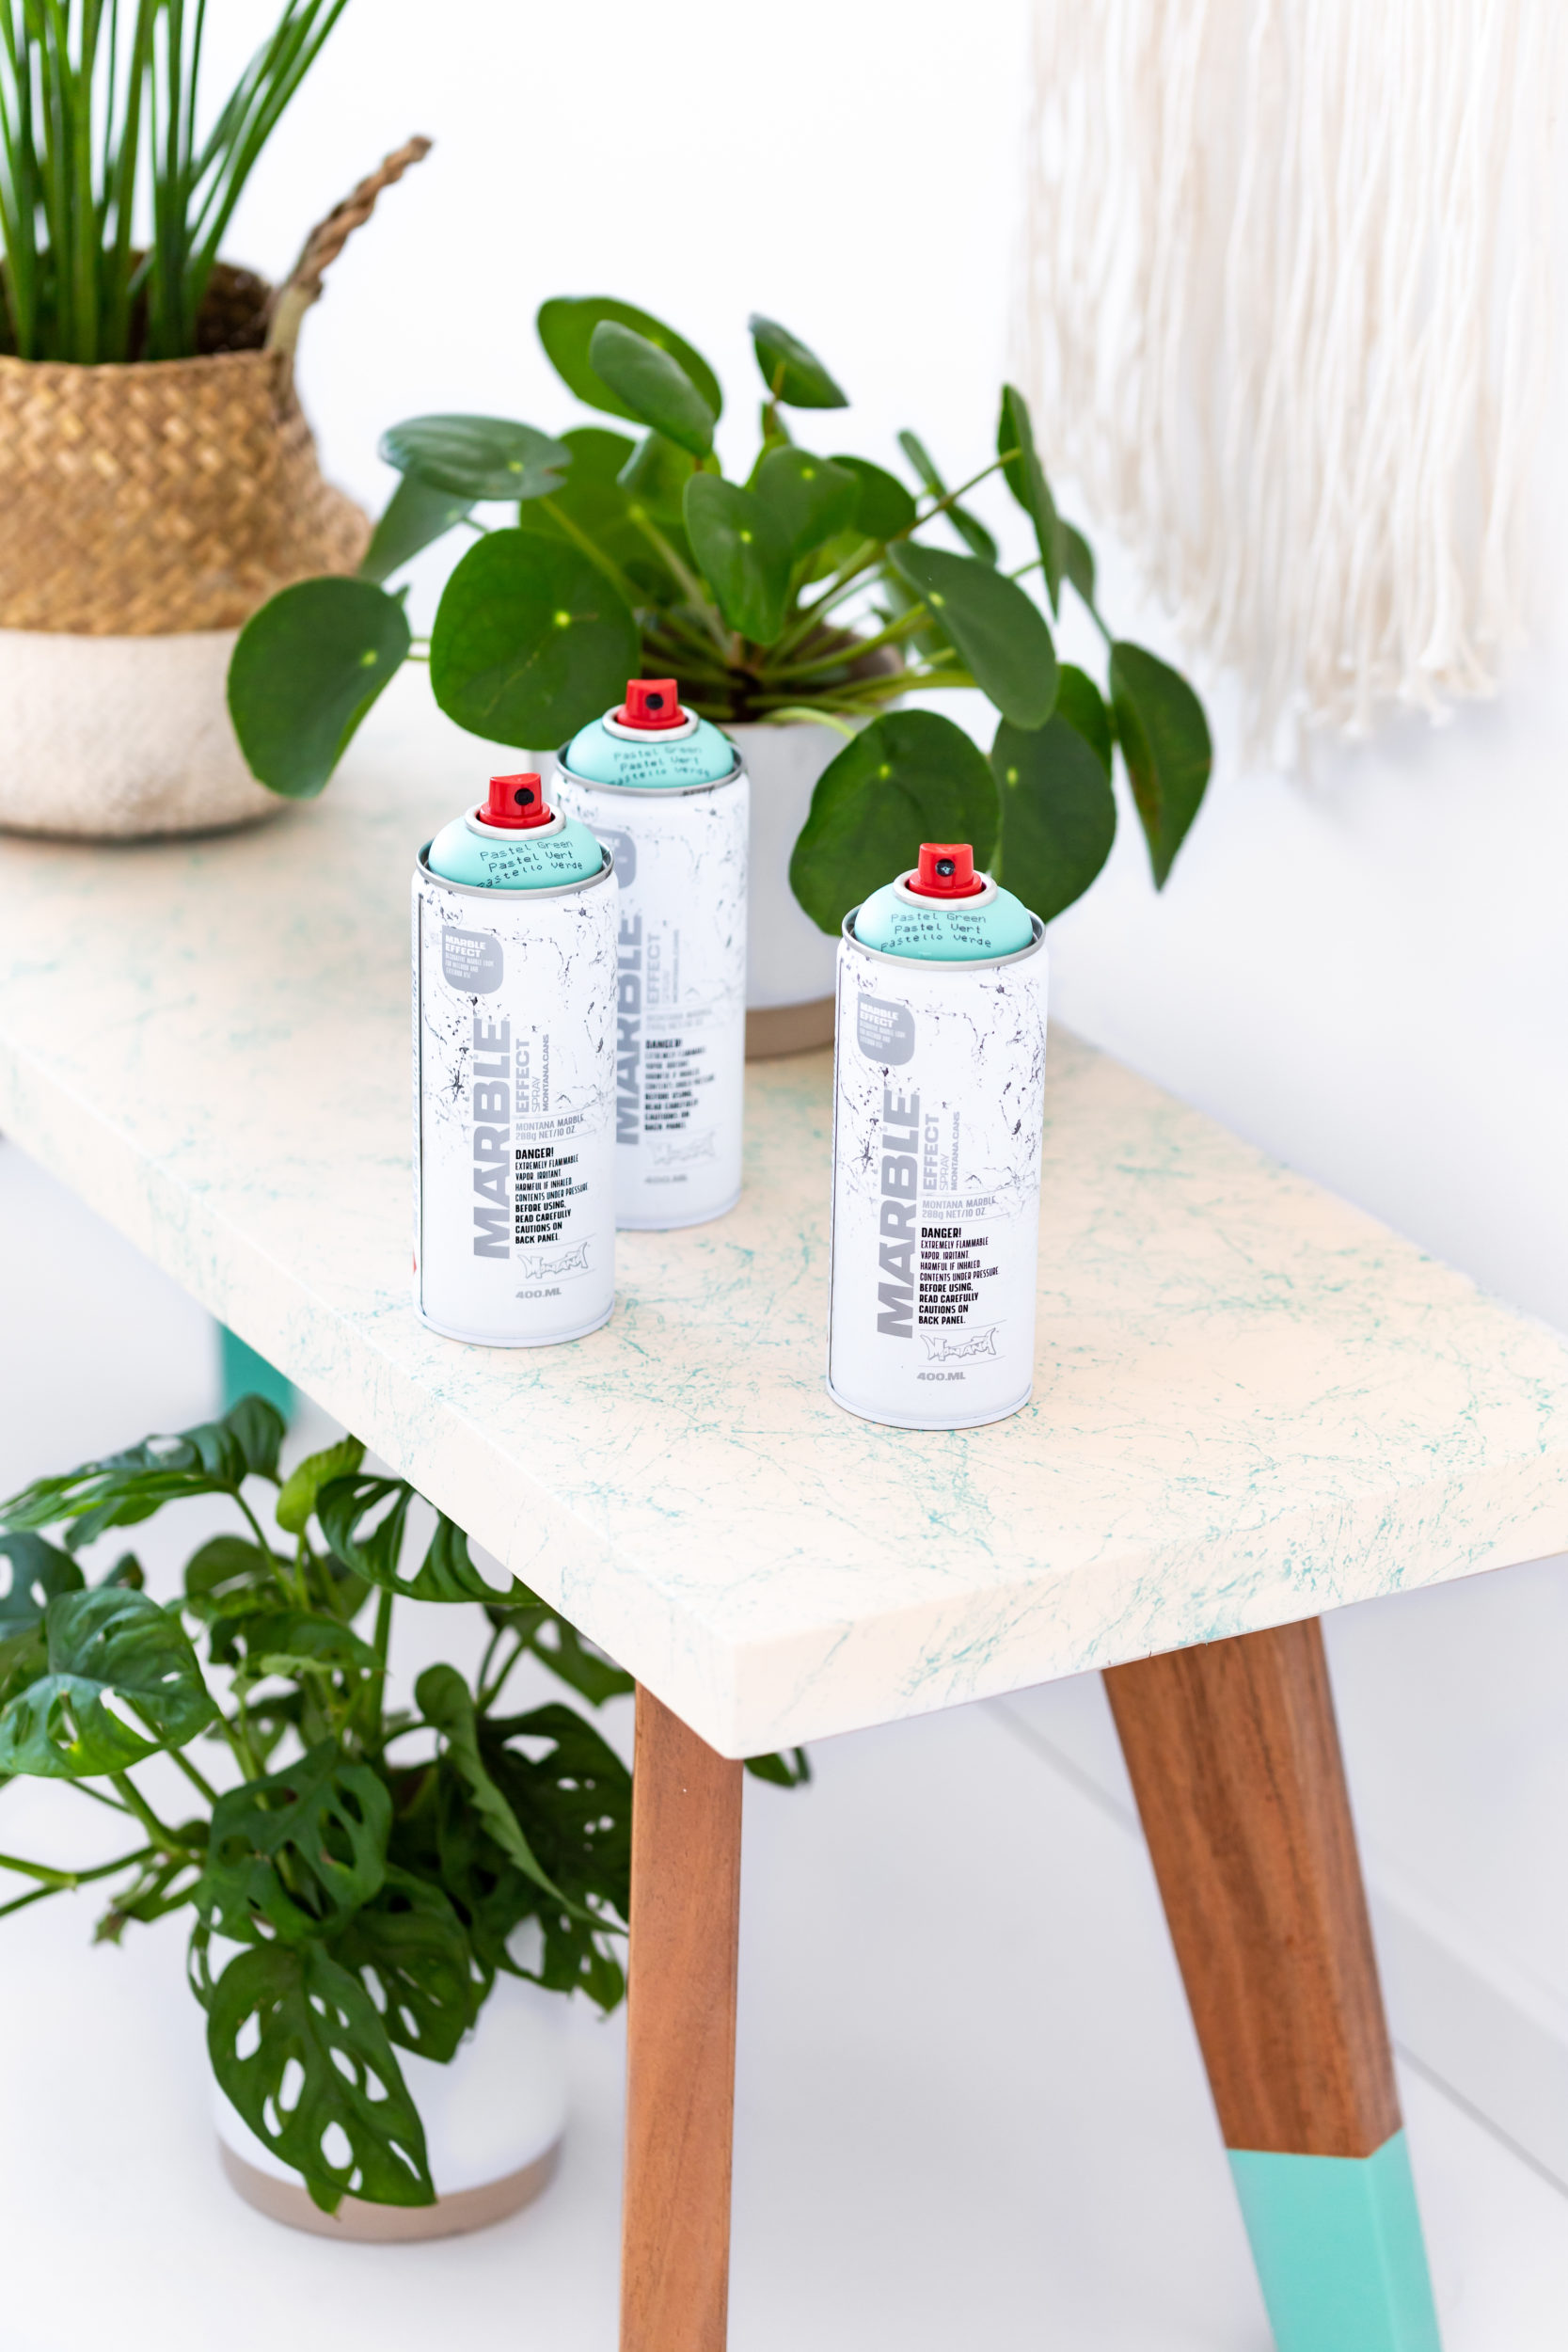
The final step was the benches legs. Because the solid timber of our marble entryway bench was so nice, we wanted to highlight this against some color. And to tie in the use of the new MARBLE 400ml Pastel Green color, we chose to use the Montana GOLD color, Malachite Light which was slightly bolder than the Pastel Green. With most of the legs being completely masked with masking tape, we left equal distance below it on each leg to spray.

First, we applied the Montana Universal PRIMER 400ml to the pre-sanded legs, and then once dry we added two coats of Malachite Light. Ideally, overnight drying time is left between the application of each color. However is you wanted to save time, you could work on the painting the legs in between applying coats of color to the benchtop. You just need to make sure the parts of the bench you don’t want to paint are well covered, and that the coats you had applied previously are dry enough to that your covering material doesn’t stick to the paint while you are working on the other parts.
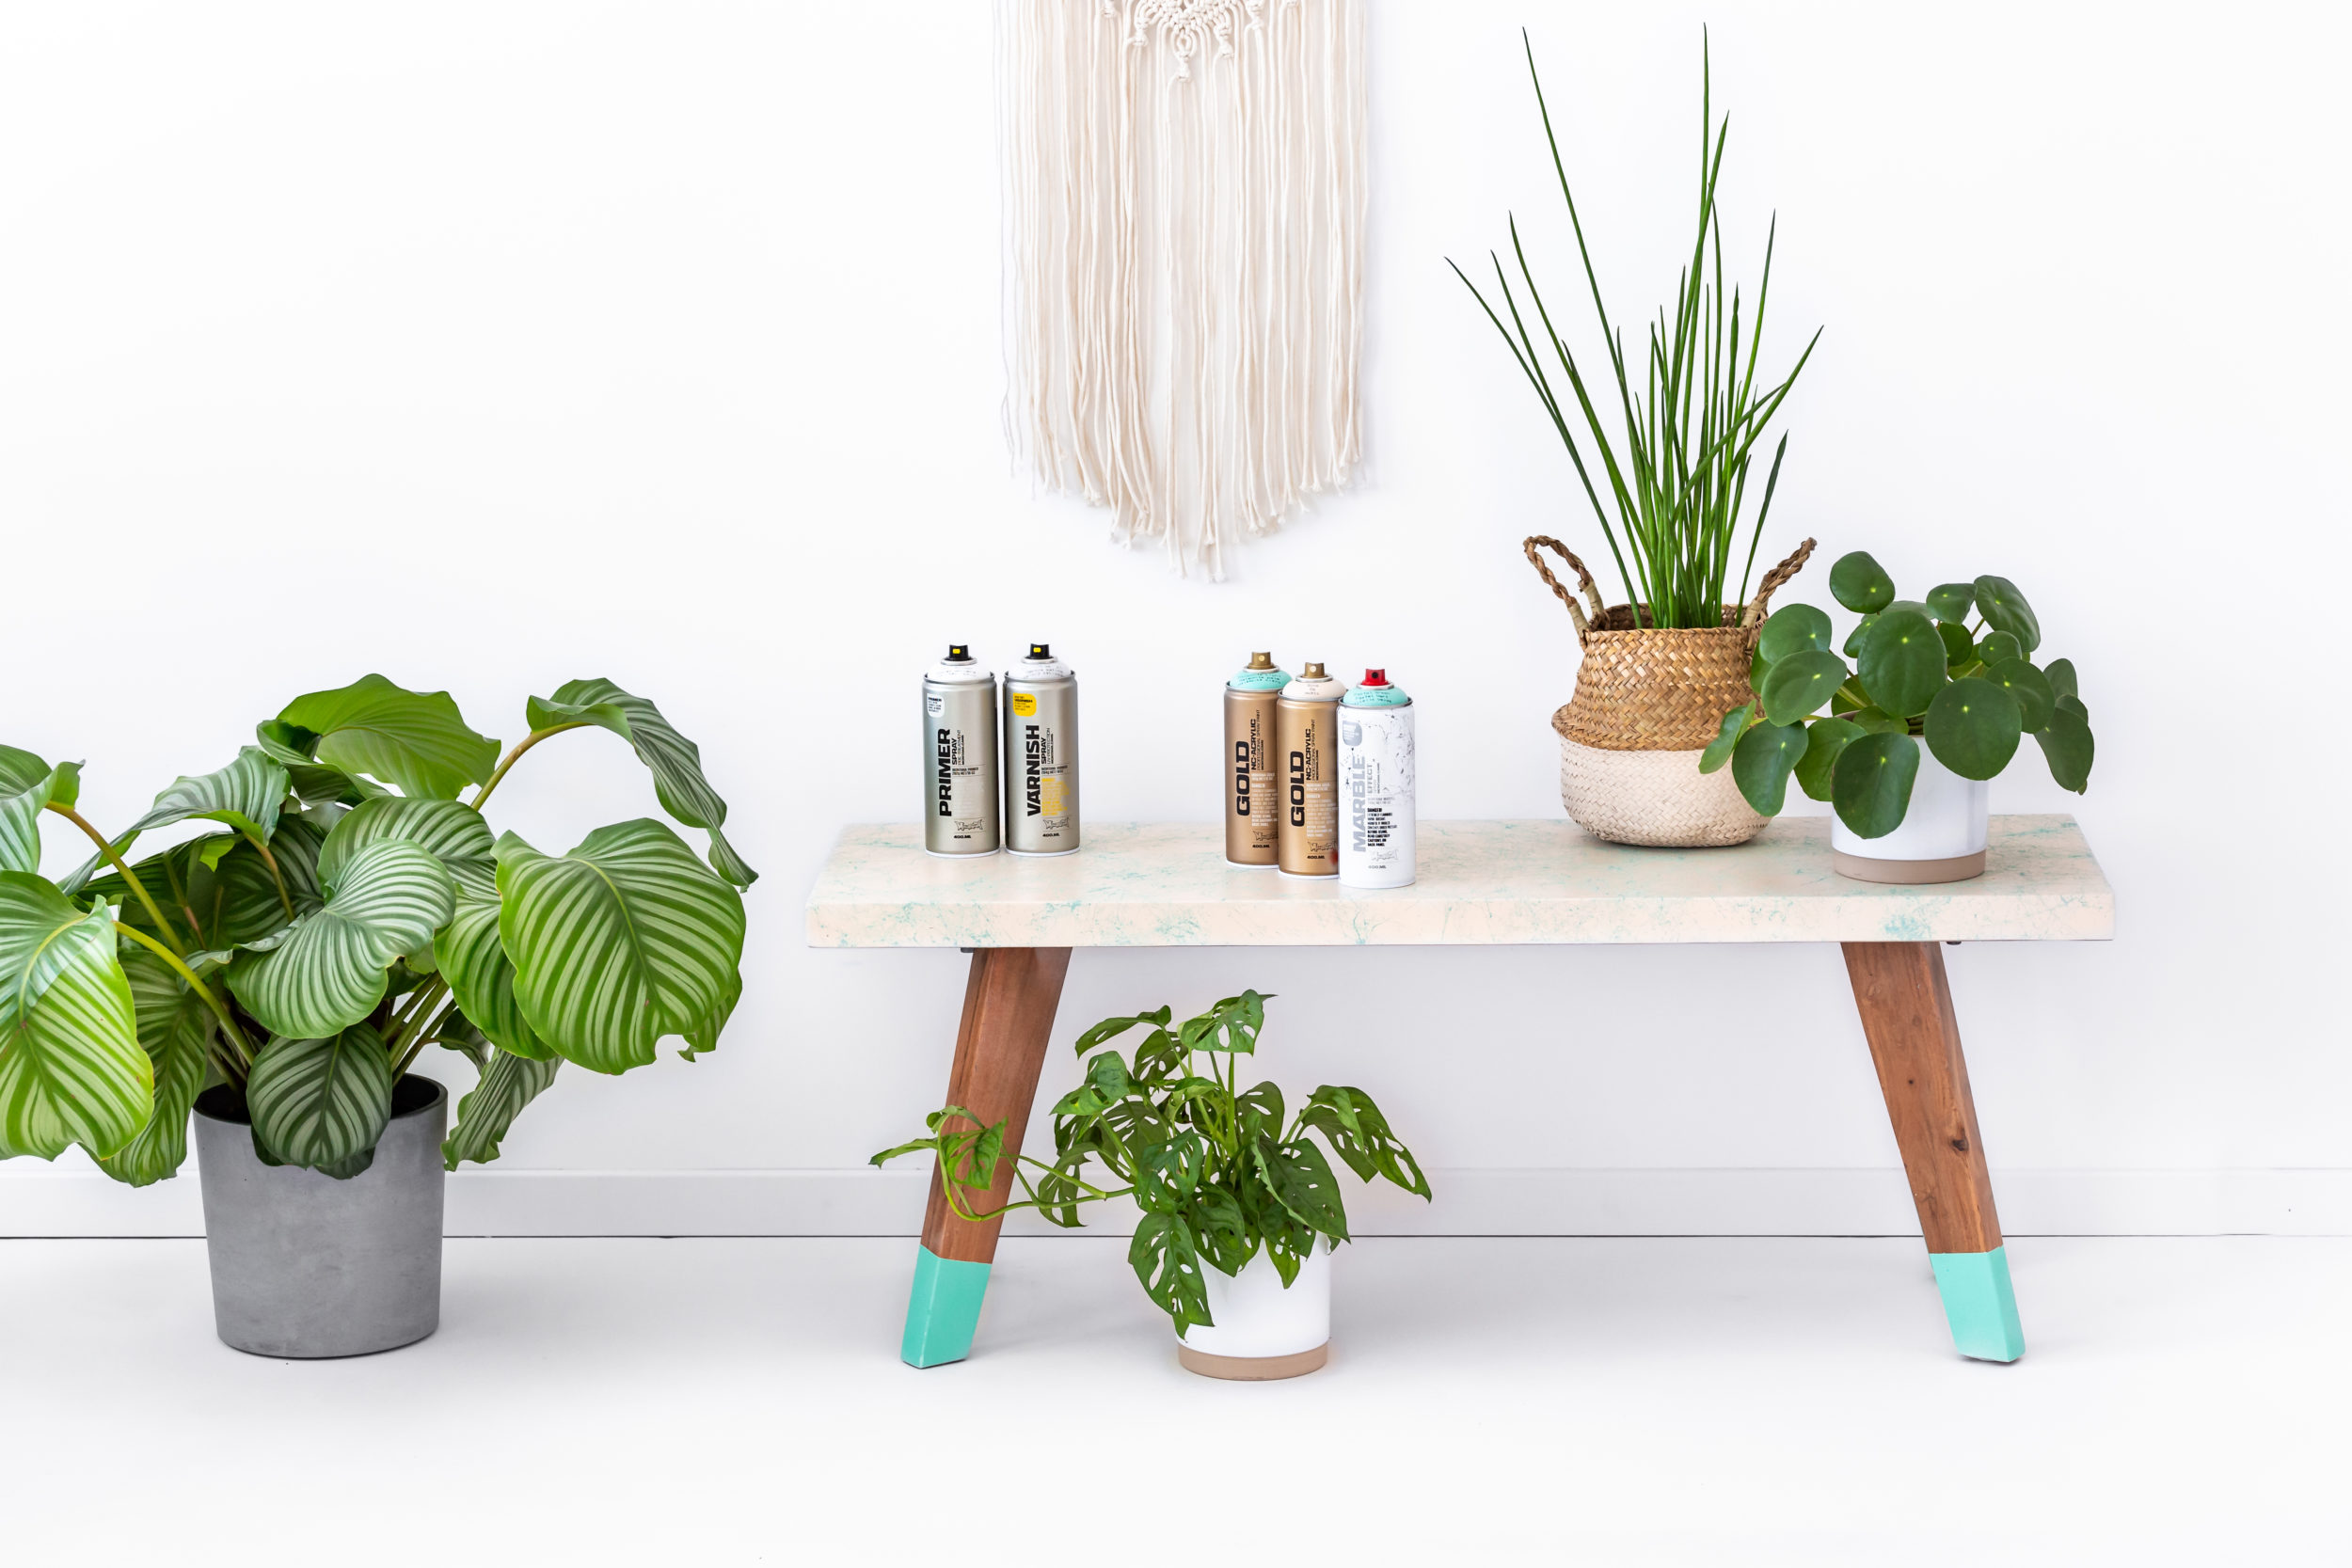
This project is easy to medium level and can be done by anybody. The important point to remember is to prepare well and not to get impatient between coats. The longer everything has to dry or even cure, the better your result will be. And if you choose to go down the path of applying VARNISH on some or all of your table to finish it off, make sure you have left all coats of color to dry for 24 or more hours before applying it.
Now you can sit back, feet up on your fabulous new-look marble entryway bench or coffee table, coffee in one hand and remote control in the other. Thinking that rewarding thought as you look at your bench and think, “I did that”. Good luck and Happy Crafting!


