

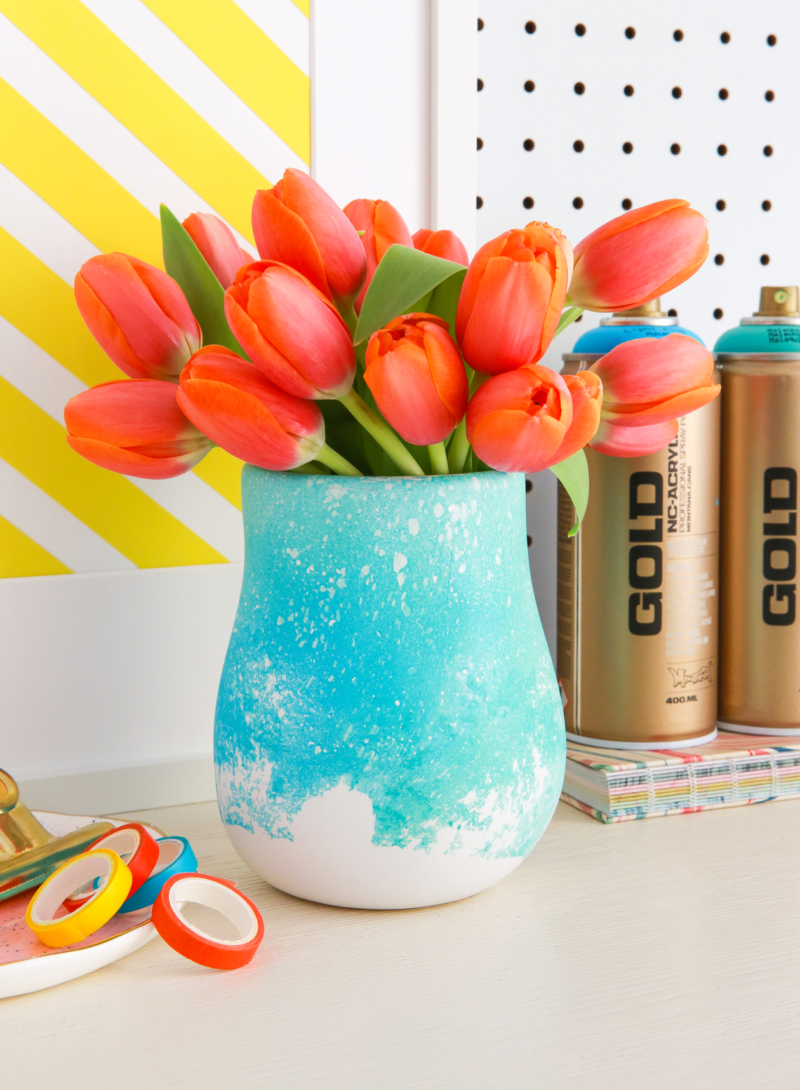
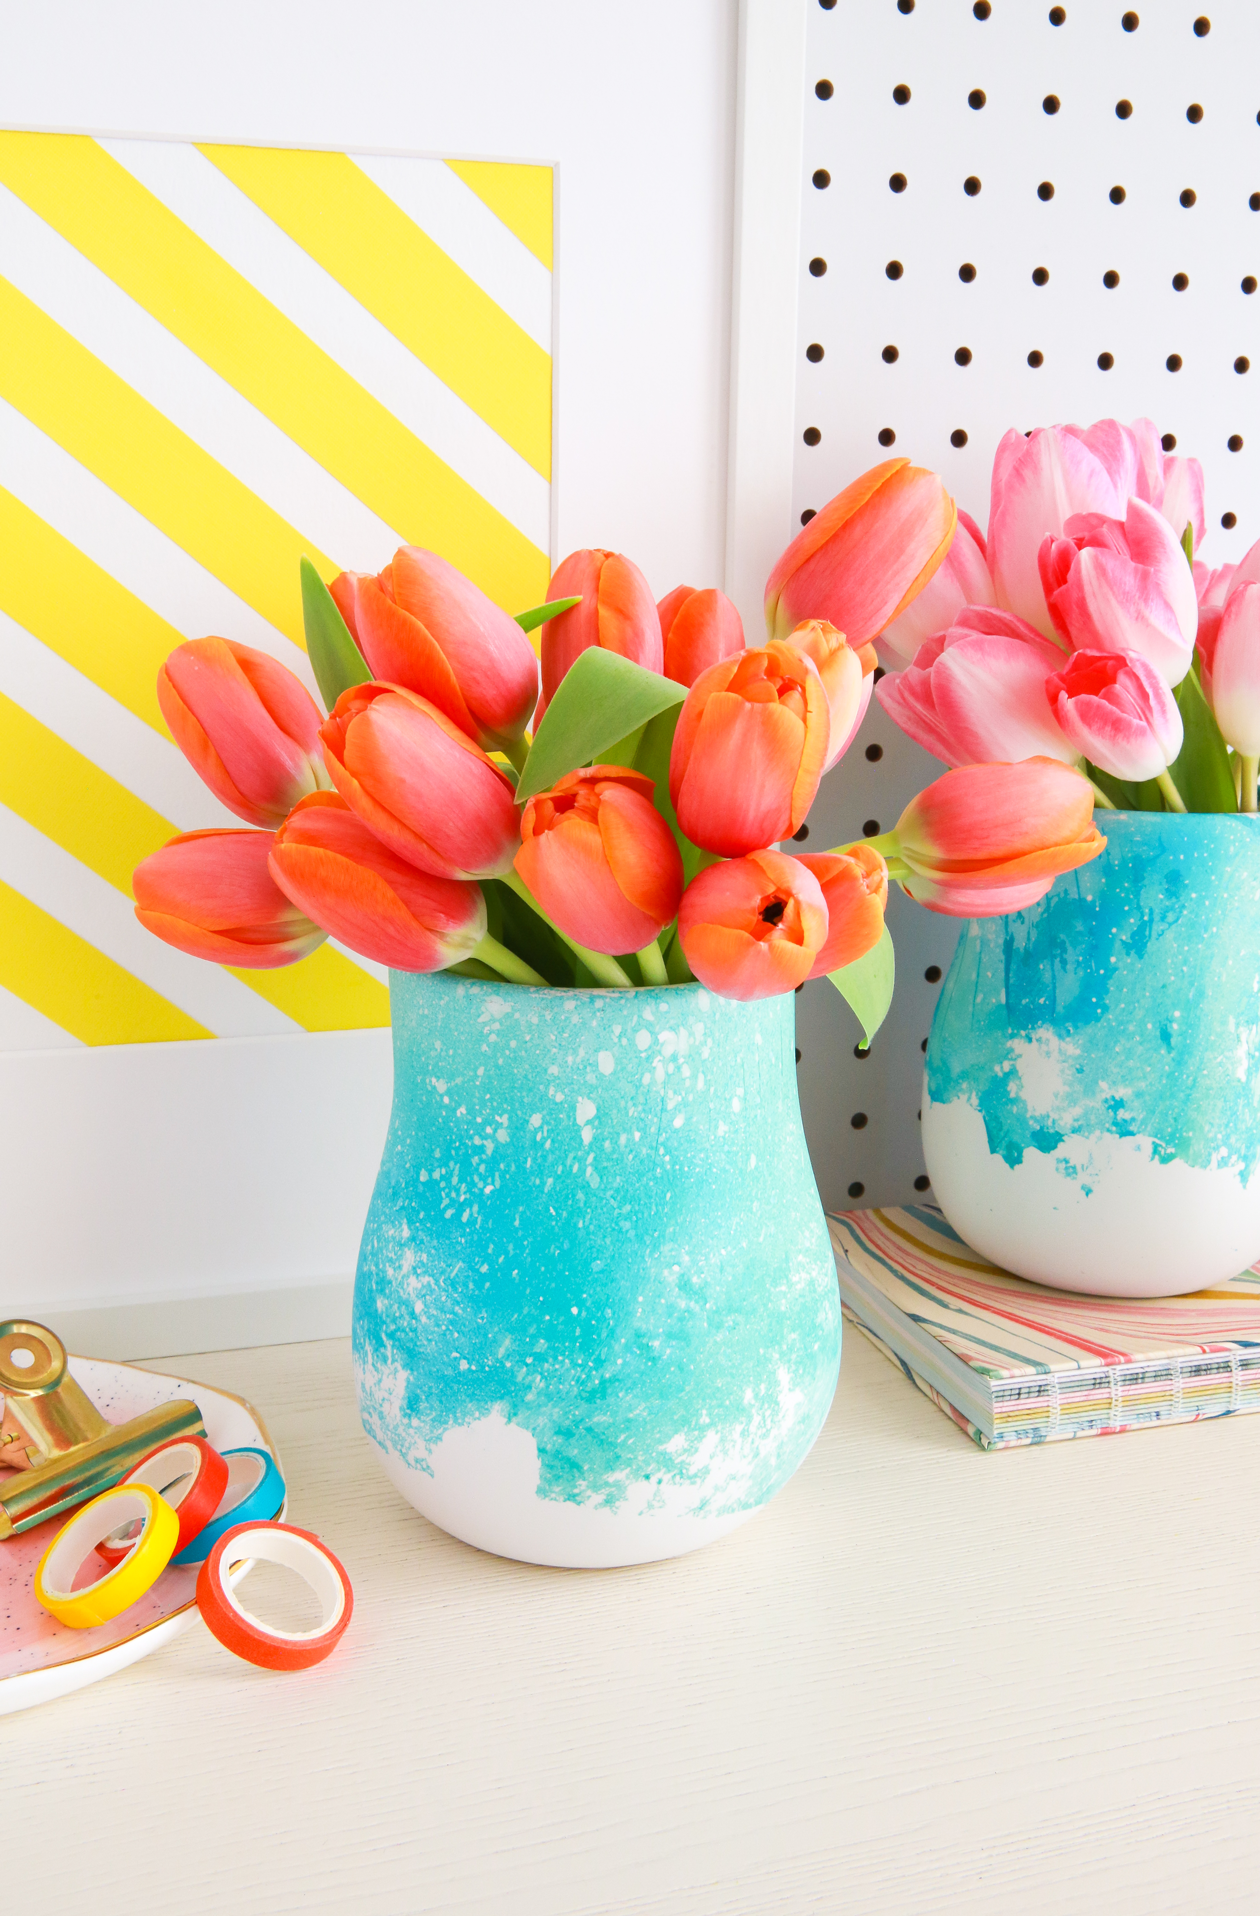
Organic effects with nothing more than color
“Everyone is an artist”. There is nothing more disheartening than hearing that if you don’t relate to it but still love being creative. If this is the case, maybe a technique like marbling is just the right way to discover the artist within you. With little more than some Montana GOLD spray color, a bucket of water, and natural vases, you can make artwork that everyone will appreciate. But most of all, even yourself! It’s easy, fast and all you need to do is read on to make it happen.
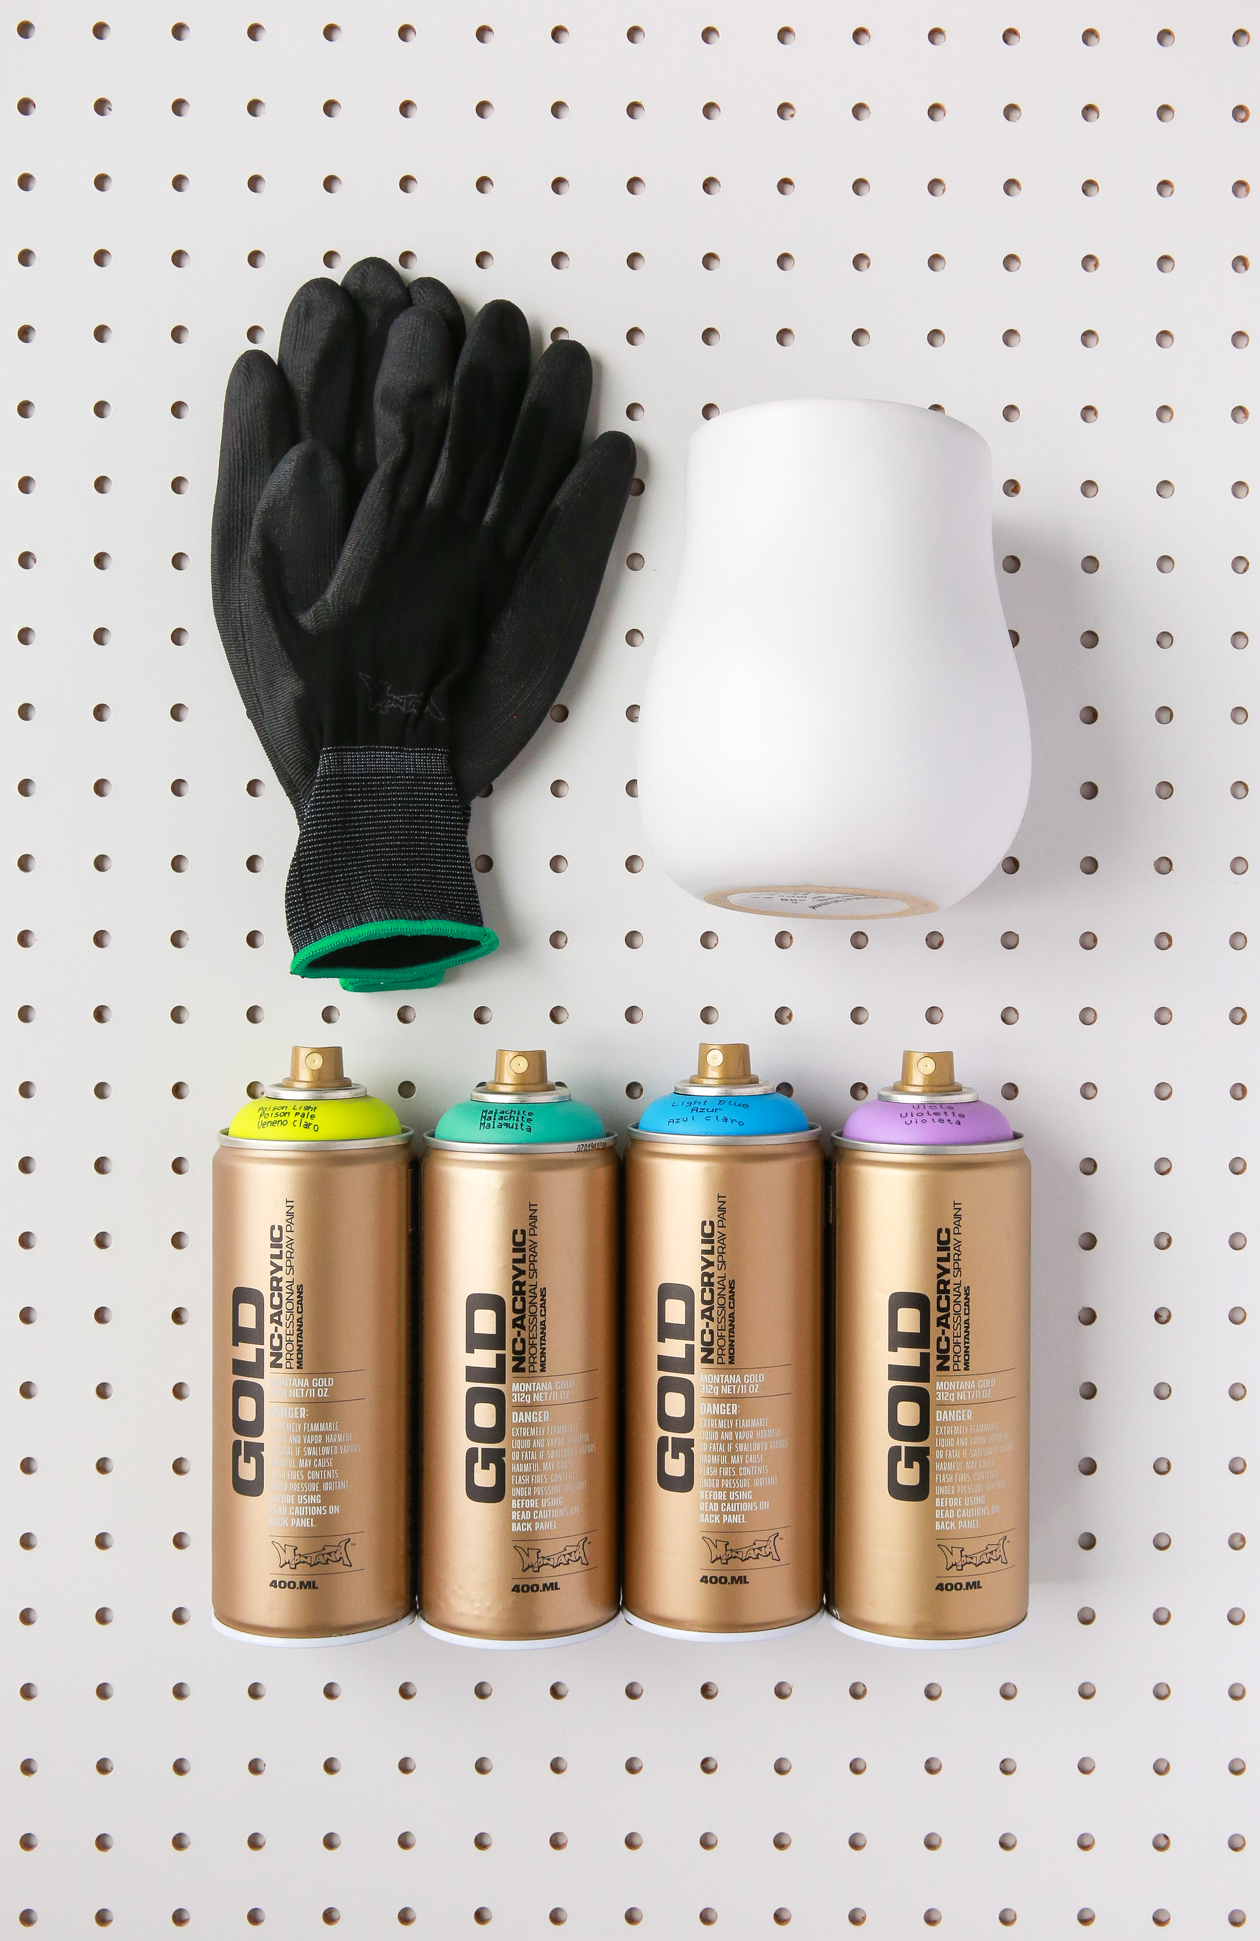
Materials used
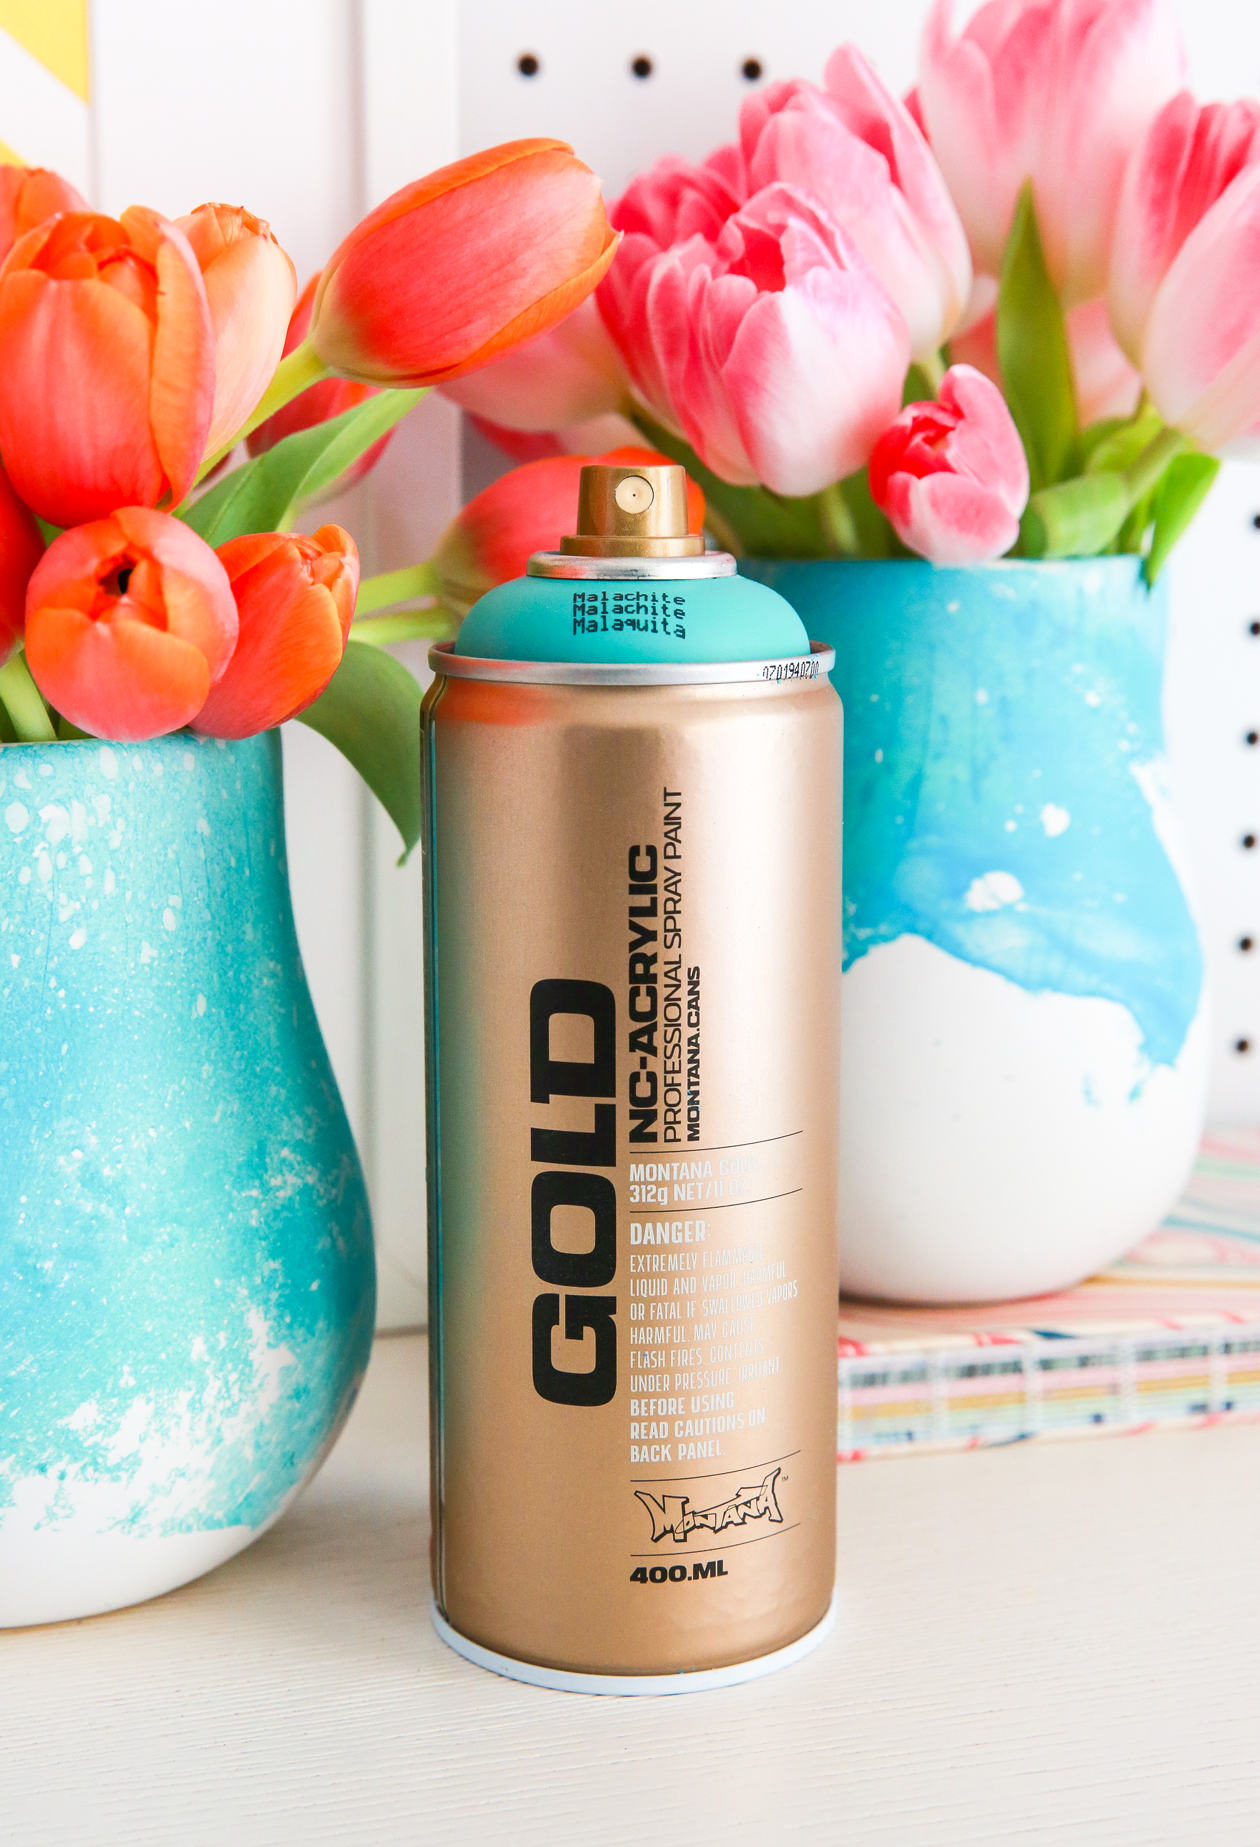
- Montana GOLD colors of your choice (we used Poison Light, Malachite, Light Blue, and Viola)
- Vase or plant potter with natural (not glossy) surface
- Bucket of water
- Gloves
- Mask
- Drop sheets or protective material
- Montana VARNISH of your choice (optional)
- How we did it
Any vase, plant potter, or terracotta object you have in your home is a potential candidate for this project. And if there isn’t anything at home, a trip to the local hardware store, homewares, or decor shop will have you ready to start in no time. The ideal color base for the object is white, in a matt finish. However, don’t be afraid to experiment with different colors and finishes.
Ensuring your vases, pots, or objects of any natural orientation are clean, dry, and free of dust and oils, the next step is to prepare all your cans for use. Remove the nozzles and turn your cans upside-down, allowing the black safety ring to fall out.

While in the upside-down position, tap each can in the palm of your hand till you hear the mixing balls move around. Then shake the can well for 2-3 minutes so the mixing ball moves freely, re-applying the nozzle when you are ready to spray. Test spray the can away from any other surfaces to ensure the cap is on correctly and the can is working perfectly.

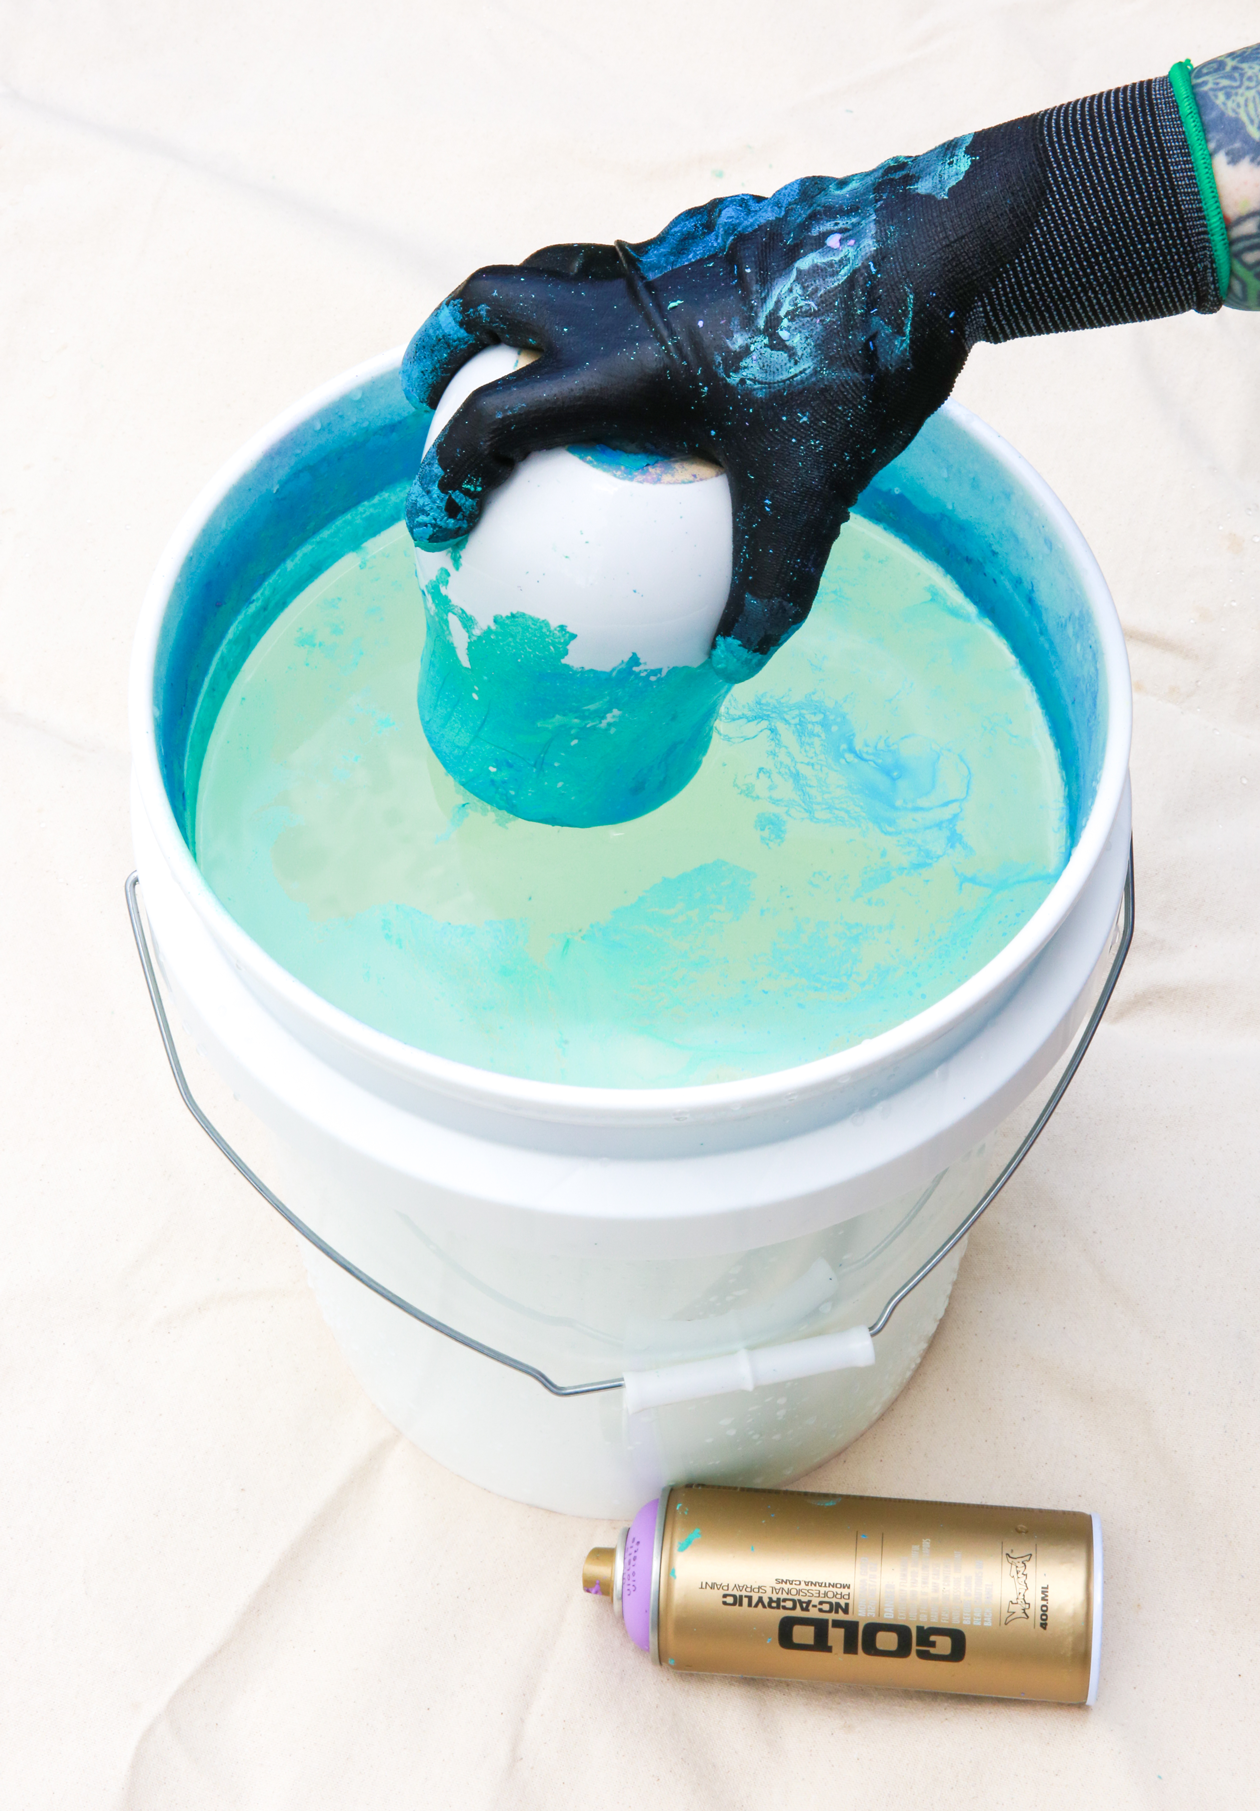
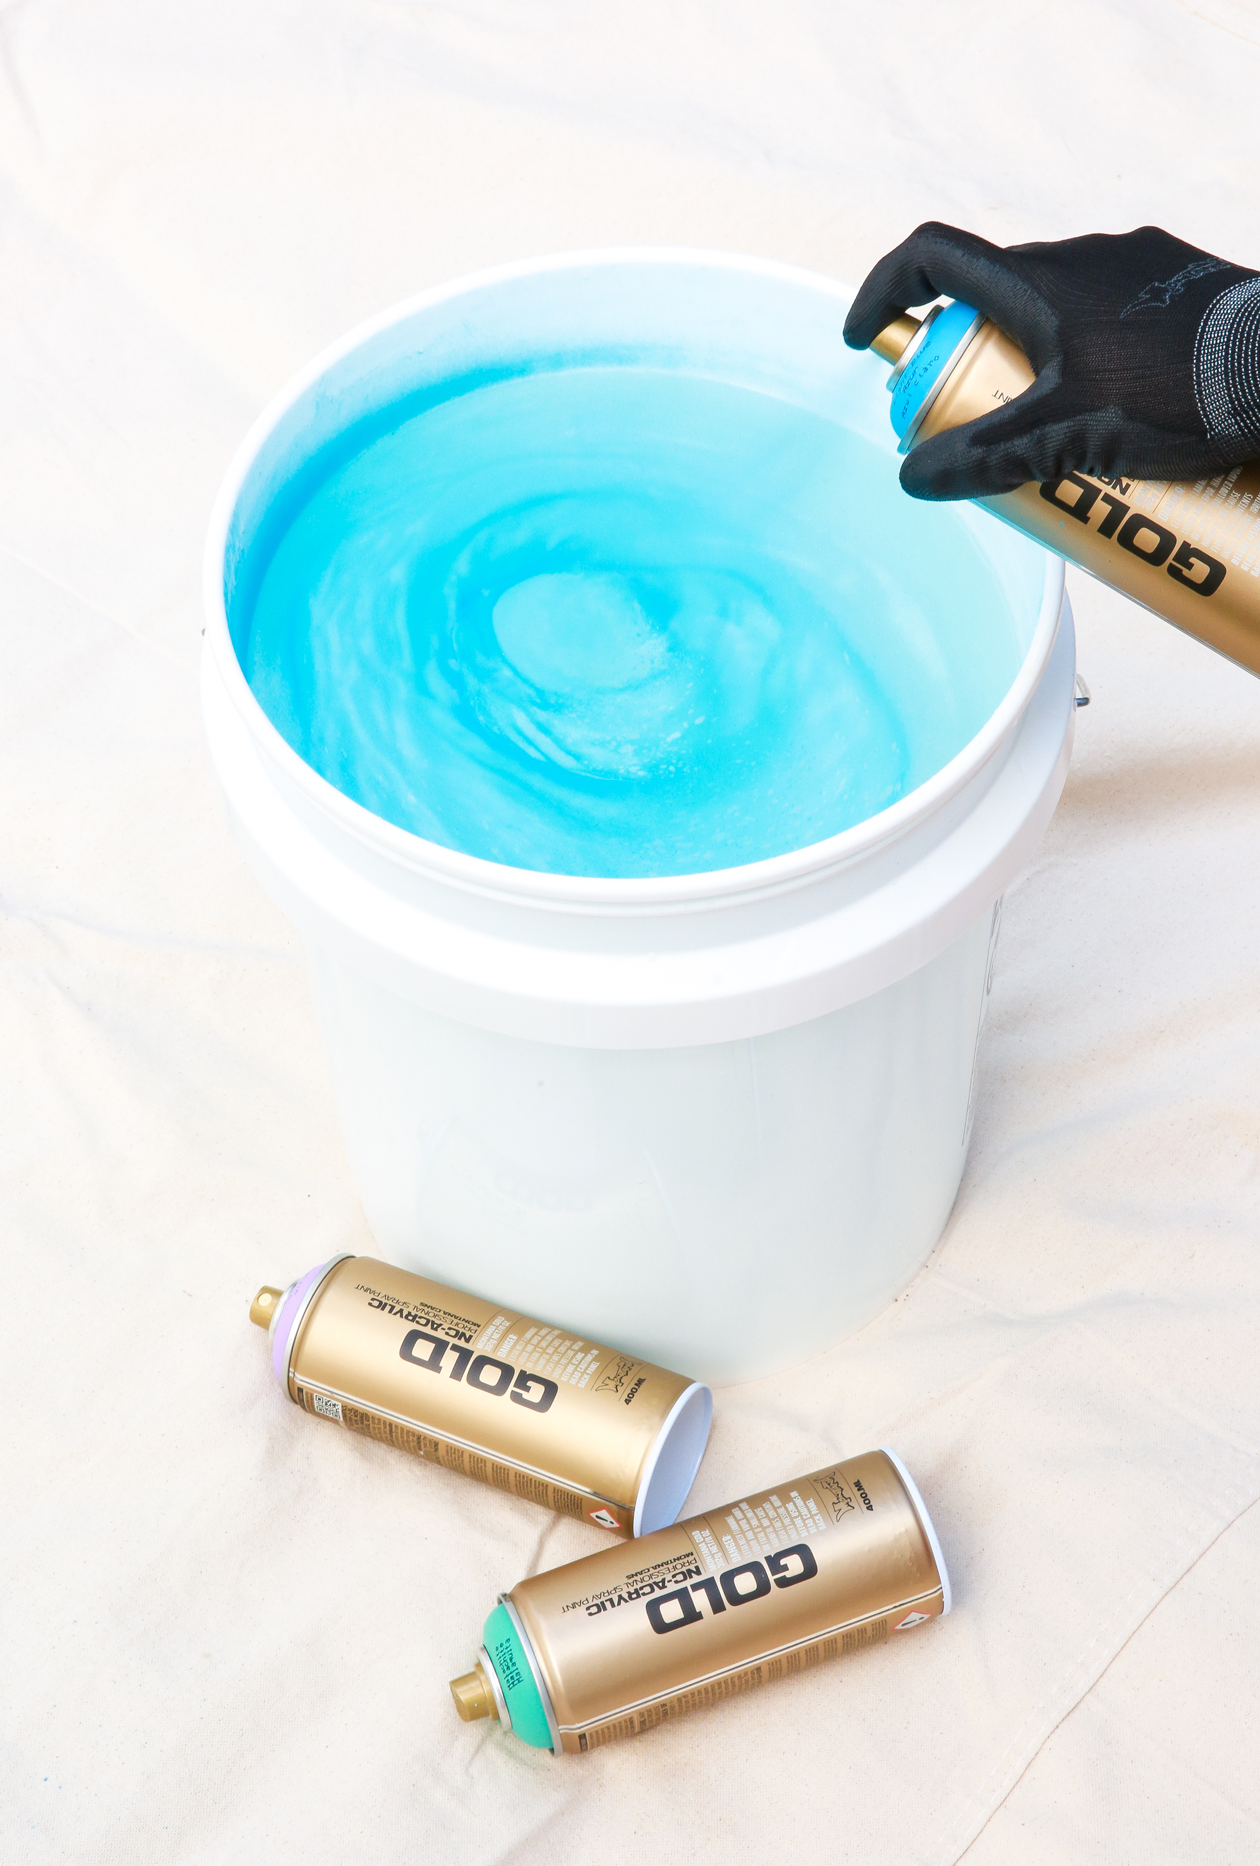
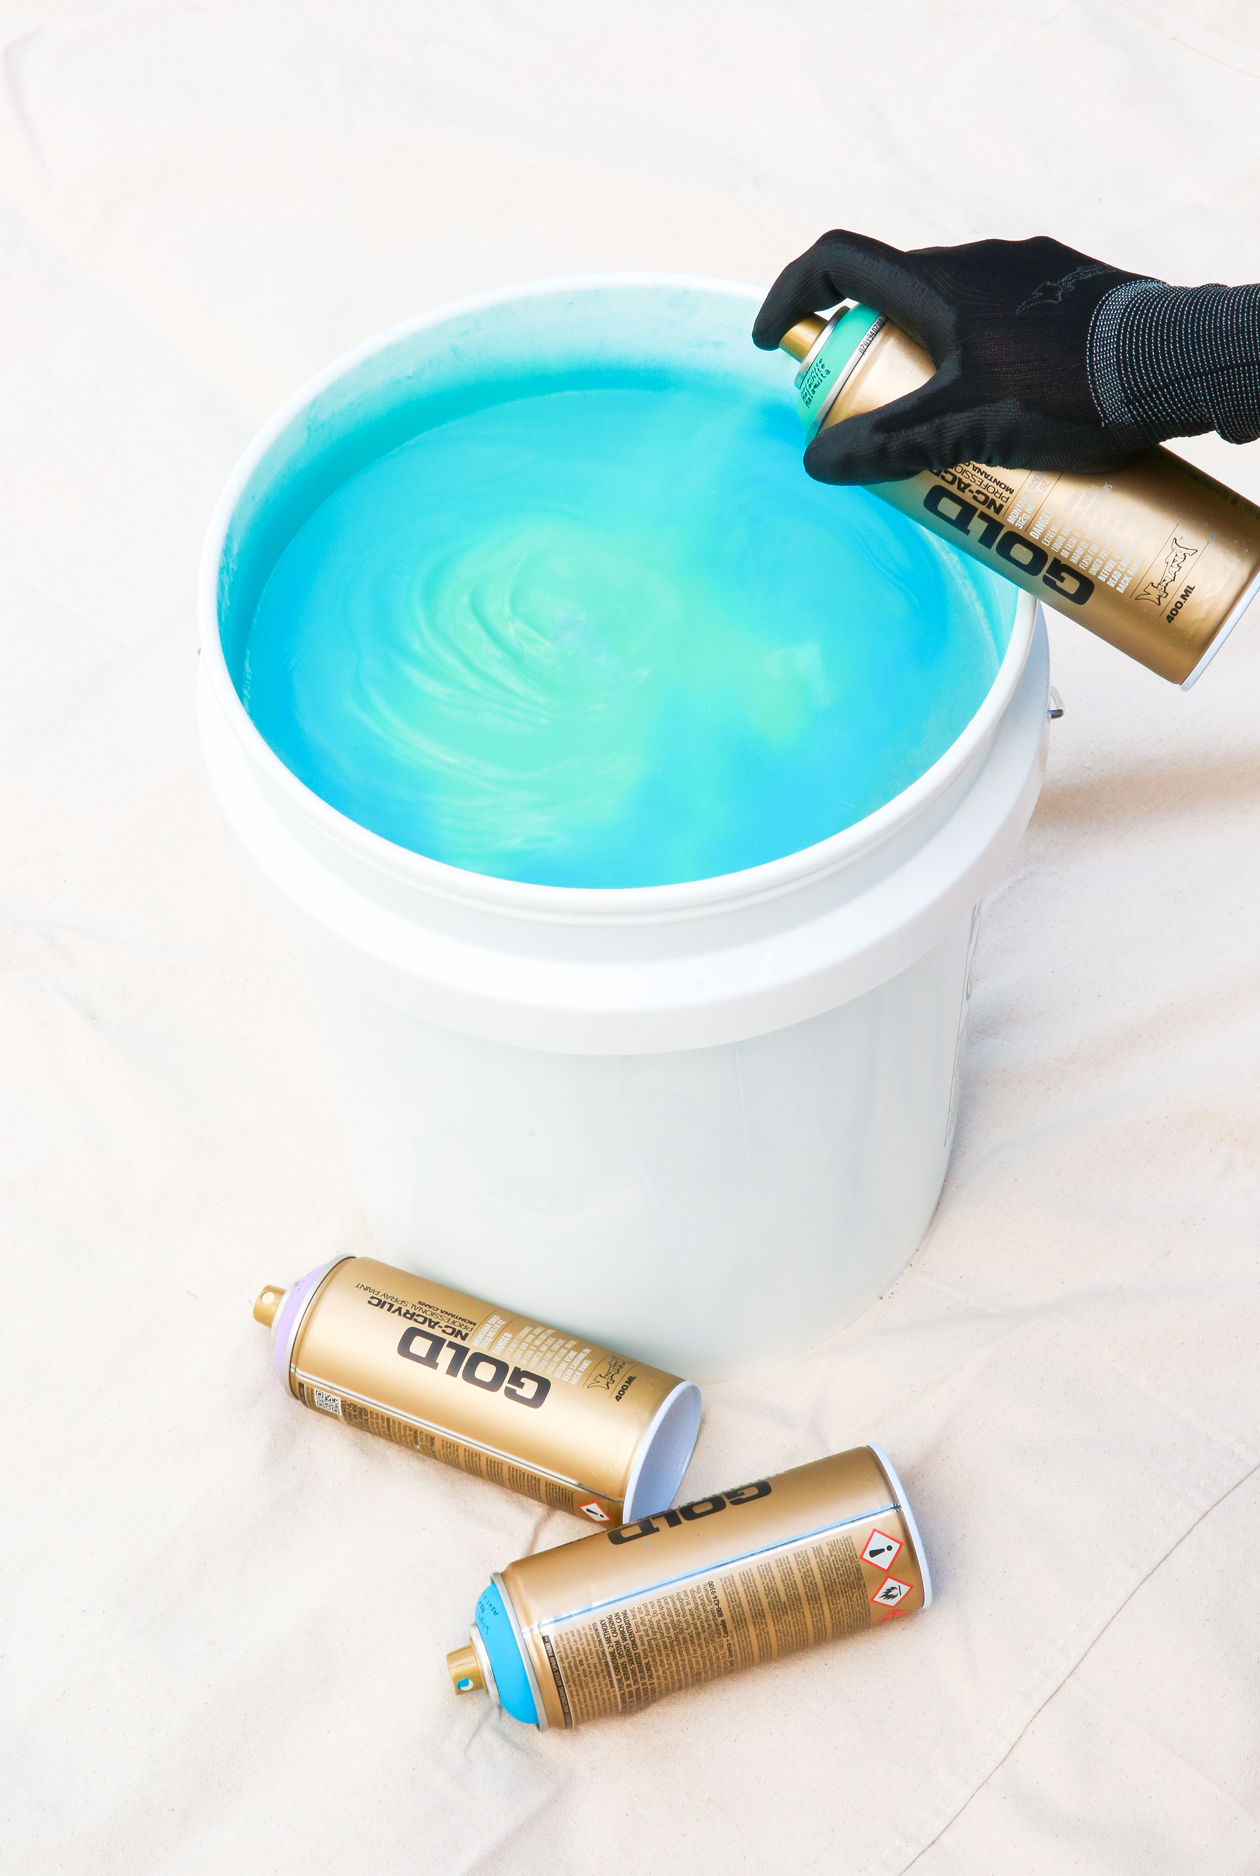
In your bucket of water which is on your protected spray area, spray one, two, or any number of the Montana GOLD colors you have chosen onto the top of the water. You will see the color float on the water’s surface. We chose one color at a time for a “less is more” look. However, If you choose to use multiple colors, the effect will vary. Dip your object slowly into the water which allows the color to adhere to your object as it submerges.
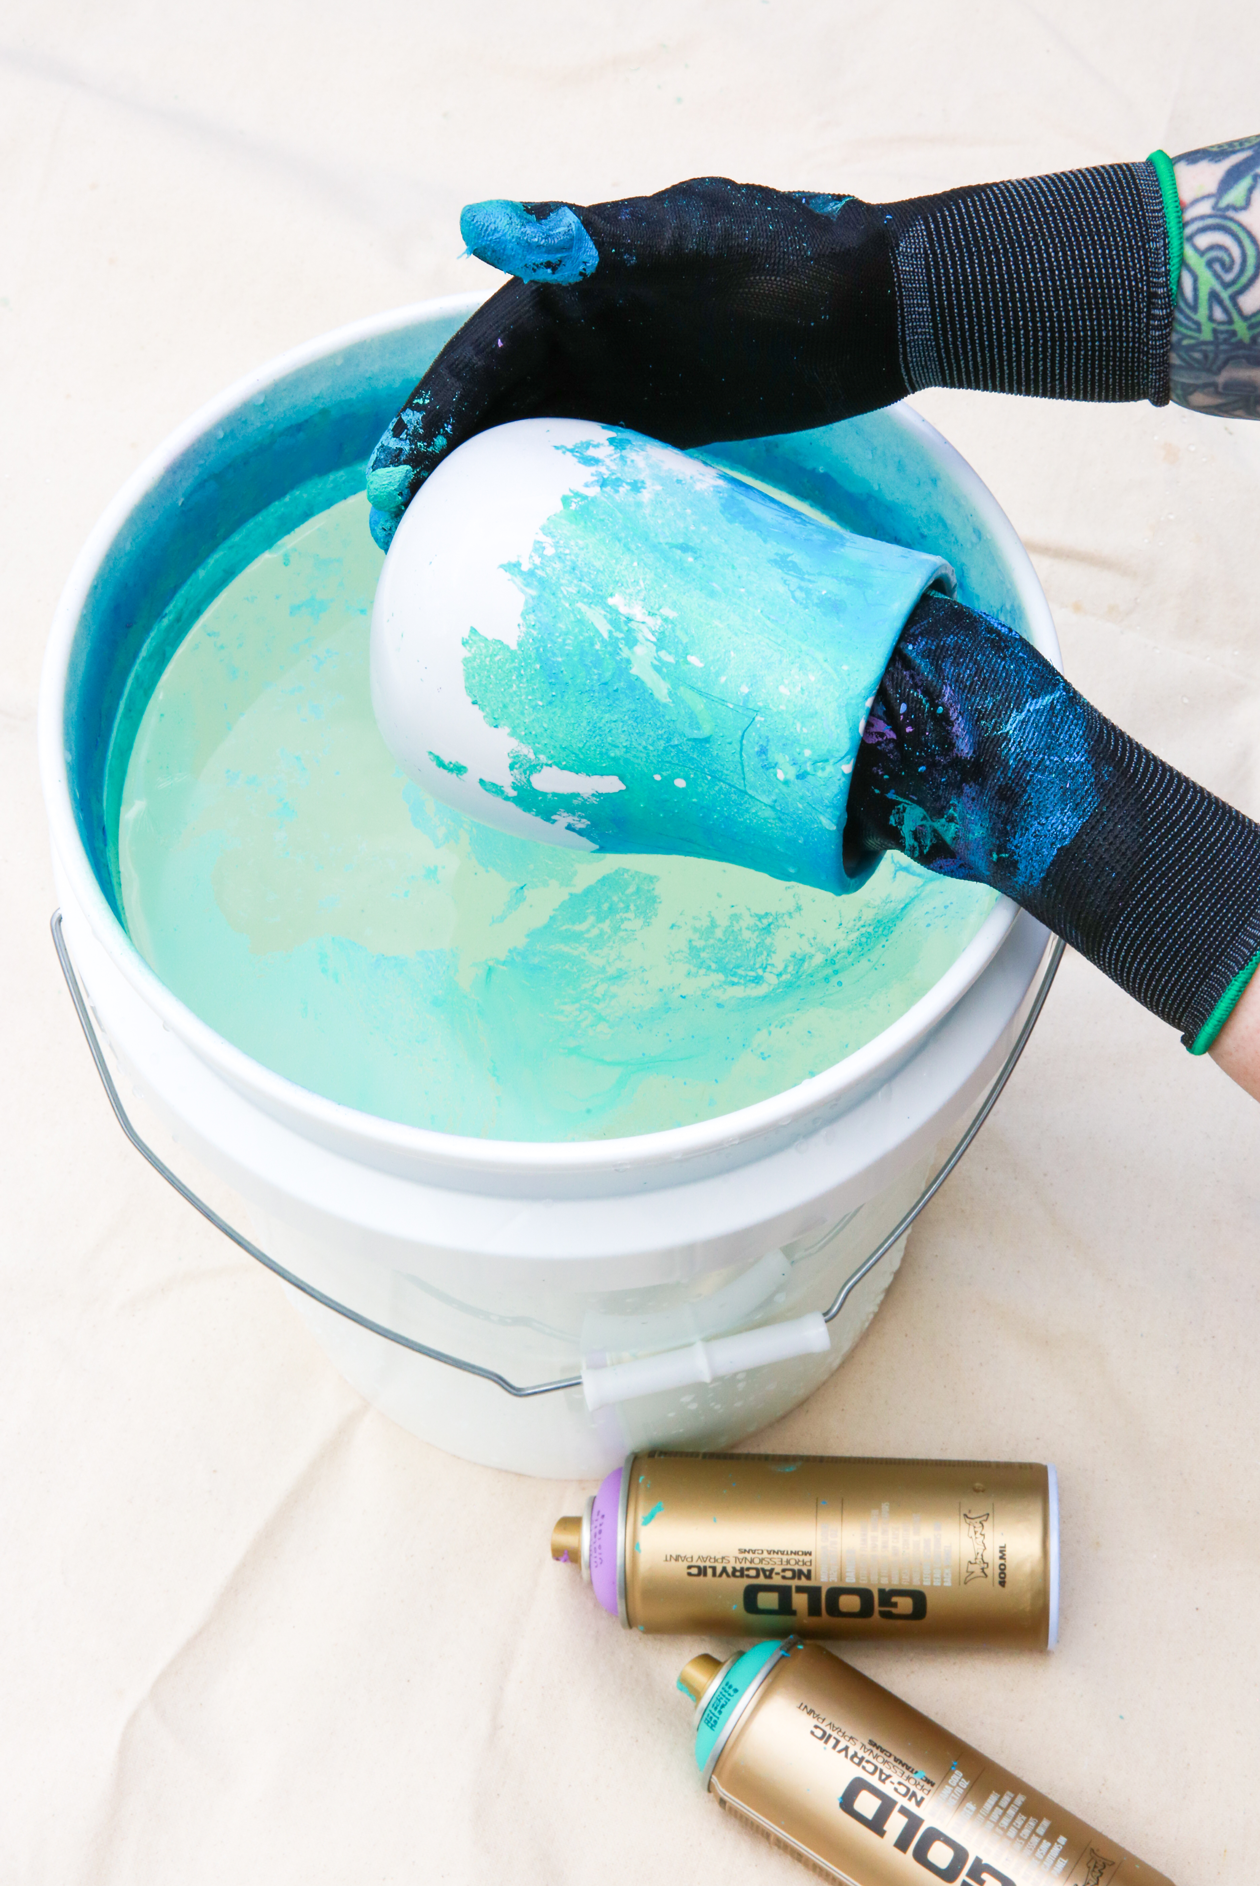
As you remove the object, twist or move it slightly to add the effect of movement to the color adhering to the object. Place in a clean area to dry. The hard work is already done. Once completely dry, you could choose to apply some Montana VARNISH in the finish of your choice on the outsides of your objects to enhance and protect them.
Or just leave them natural if you prefer. With a scrap cloth or paper, place on the top of the water to absorb any remaining paint. Do not pour the remaining water into the drain or waterways and allow the remaining water to evaporate.

It doesn’t get much easier than this! This project can be done by any skill level and having fun while doing it is guaranteed. Working time is literally minutes once you have sourced and cleaned the vases or objects you want to use. And when somebody asks, “Wow, where did you get those cool vases?” You can stand up tall and say, “I made them”.
Well done and Happy Crafting!


