A new look for metal shelves
It isn’t always possible, or necessary, to buy expensive shelving for simple storage problems. Just as it isn’t always simple to find storage shelves that look good and do the job well. Although available in just about any hardware store, the classic DIY metal shelves may do a great job when it comes to storing your books and belongings, but often their the way they look is not exactly what you want inside your home. In this project, we fix two problems at once using Montana RUST Effect and our favorite Montana GOLD colors for the RUST Effect and Color Shelving. Sound tempting? Read on.
Materials used
- Metal shelving
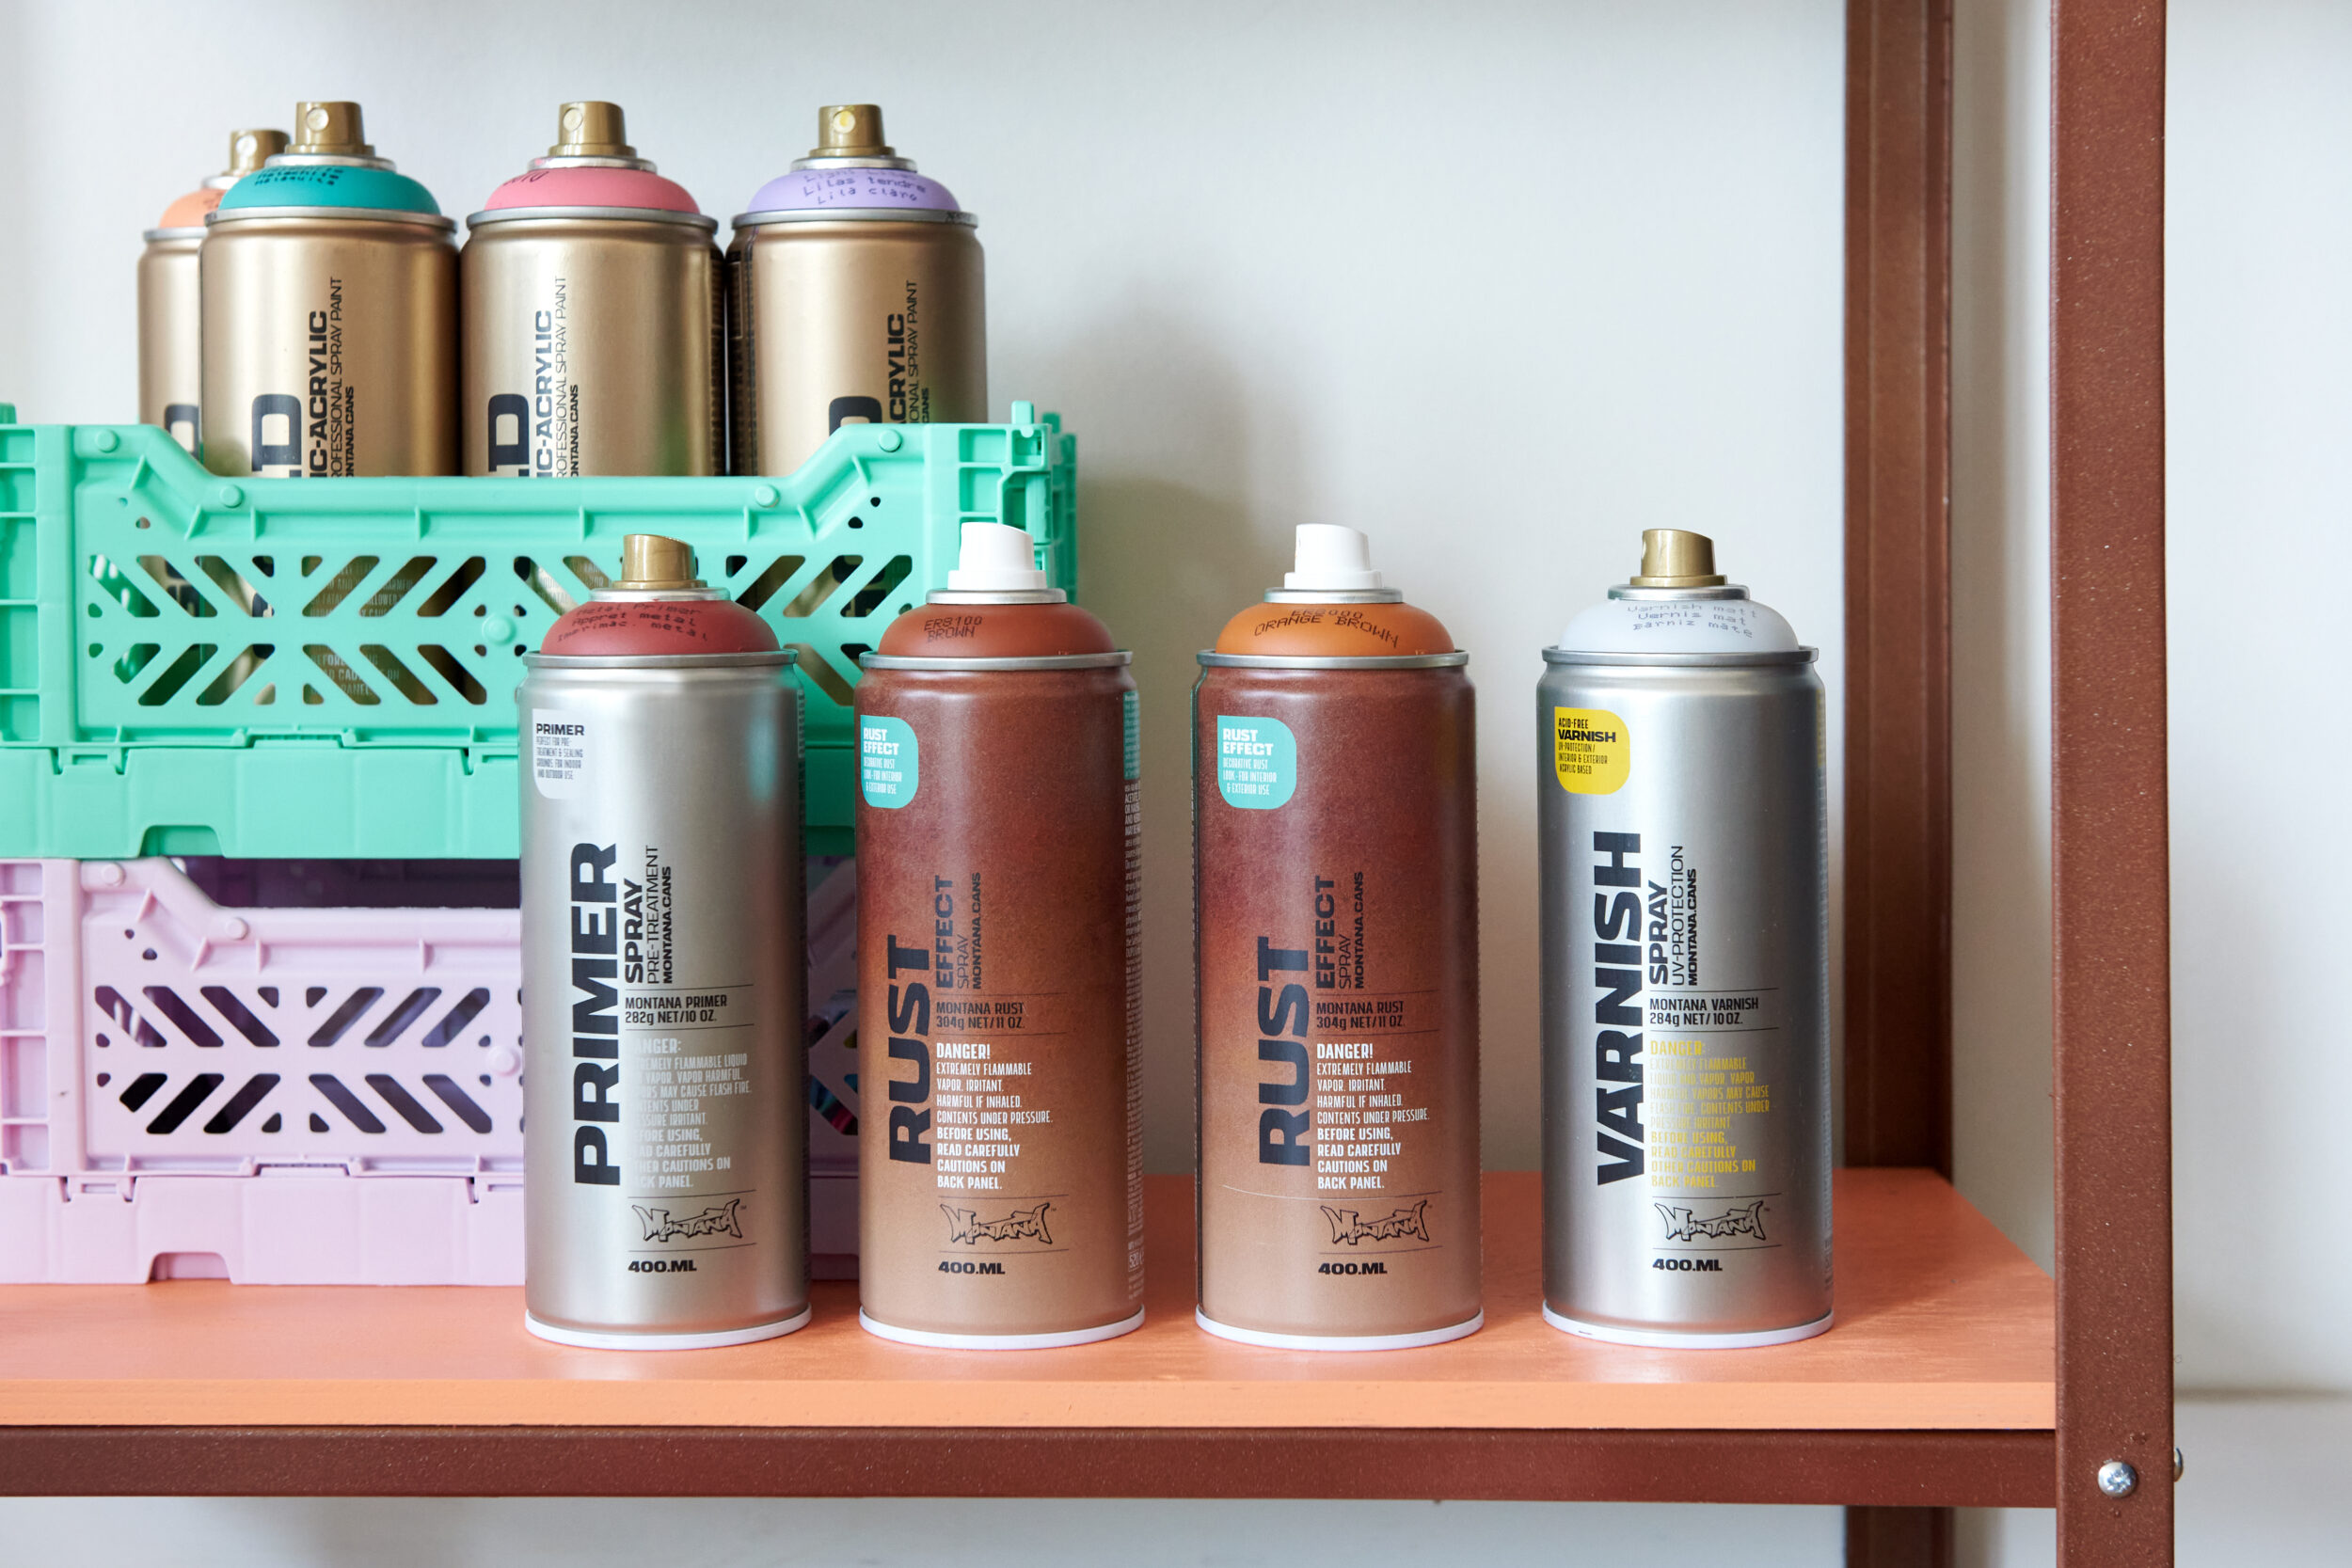
- Montana RUST Effect Spray in Brown and Brown Orange
- Montana PRIMER Metal and Universal
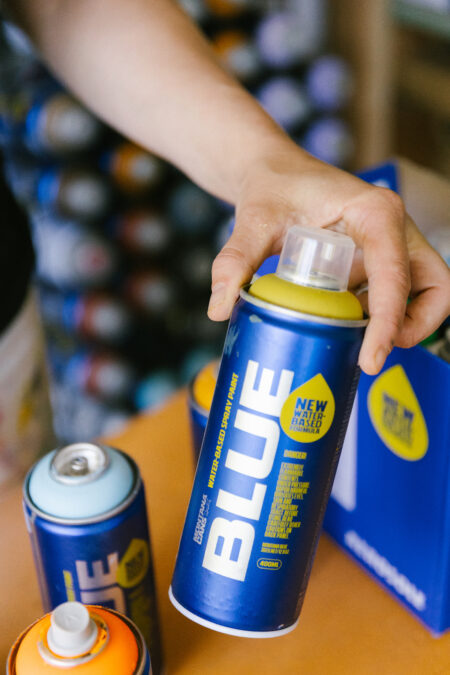
- Montana GOLD colors of your choice
- Montana VARNISH Spray
- Wooden shelf inserts (optional)
- Fine sandpaper
- Gloves
- Mask
- Drop Sheet
HOW IT WAS DONE
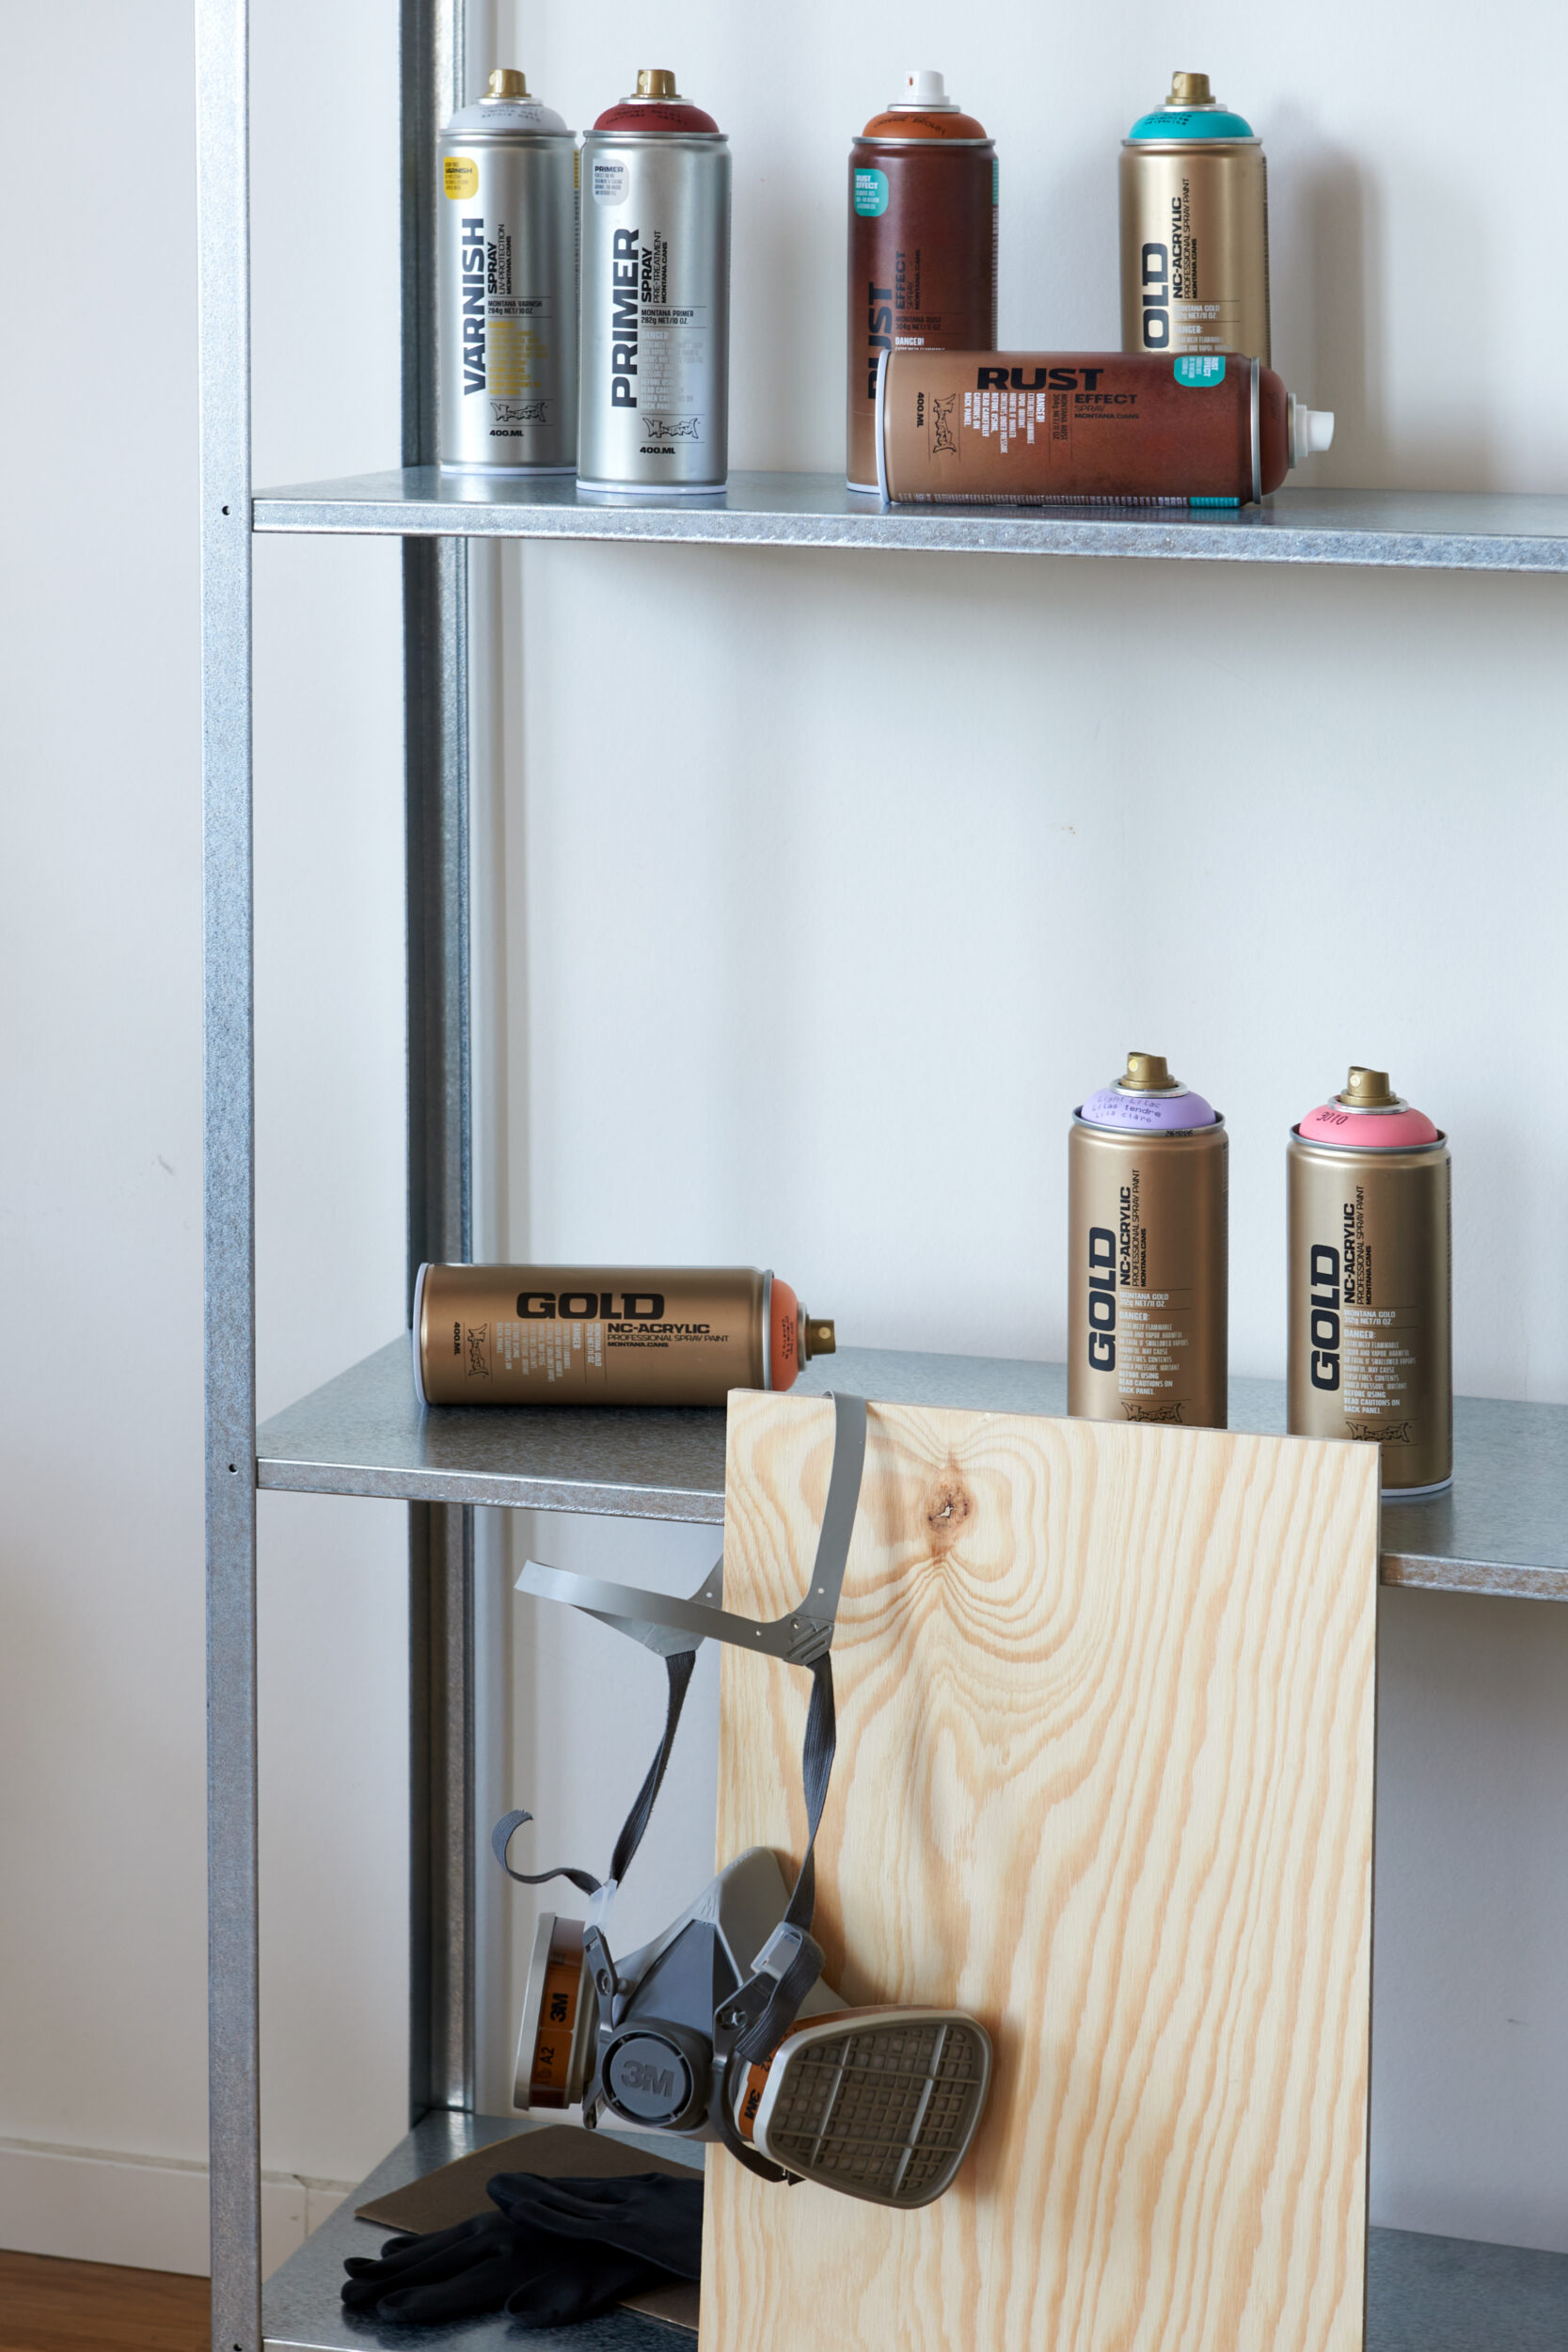
Our shelves came from the local big-box hardware store that had a few variations of shelving available. Some came with wooden inserts which we liked, others were completely metal. Should yours be metal only but you like the idea of wooden shelf inserts, ask their wood department if you can also purchase some cut-to-size pieces of plywood to fit onto your shelves.
The first step to vitalizing our very standard metal shelving, was to sandpaper the surface of every piece of shelving lightly while it was still in pieces. This created light abrasion for our paint to stick to. The same goes for the wood inserts if they apply to you. You don’t need to do a great amount of work here, just ensure that your sandpaper is fine and that all your pieces are clean, dry, and dust-free before painting.
Reverting back to our regular practice of shaking our cans vigorously for 2-3 minutes and removing the black safety ring from the nozzle where applicable, we then started by priming all the metal pieces, which were either laid down on our drop sheet, or propped up in our protected painting space. Using the Montana PRIMER Metal, we applied thin, even coats to each piece. While this was drying, we took our wooden shelf inserts (if applicable to you), and also coated them in thin even coats. But this we did with the Montana PRIMER Universal. We suggest priming both sides of the wood to avoid it warping.
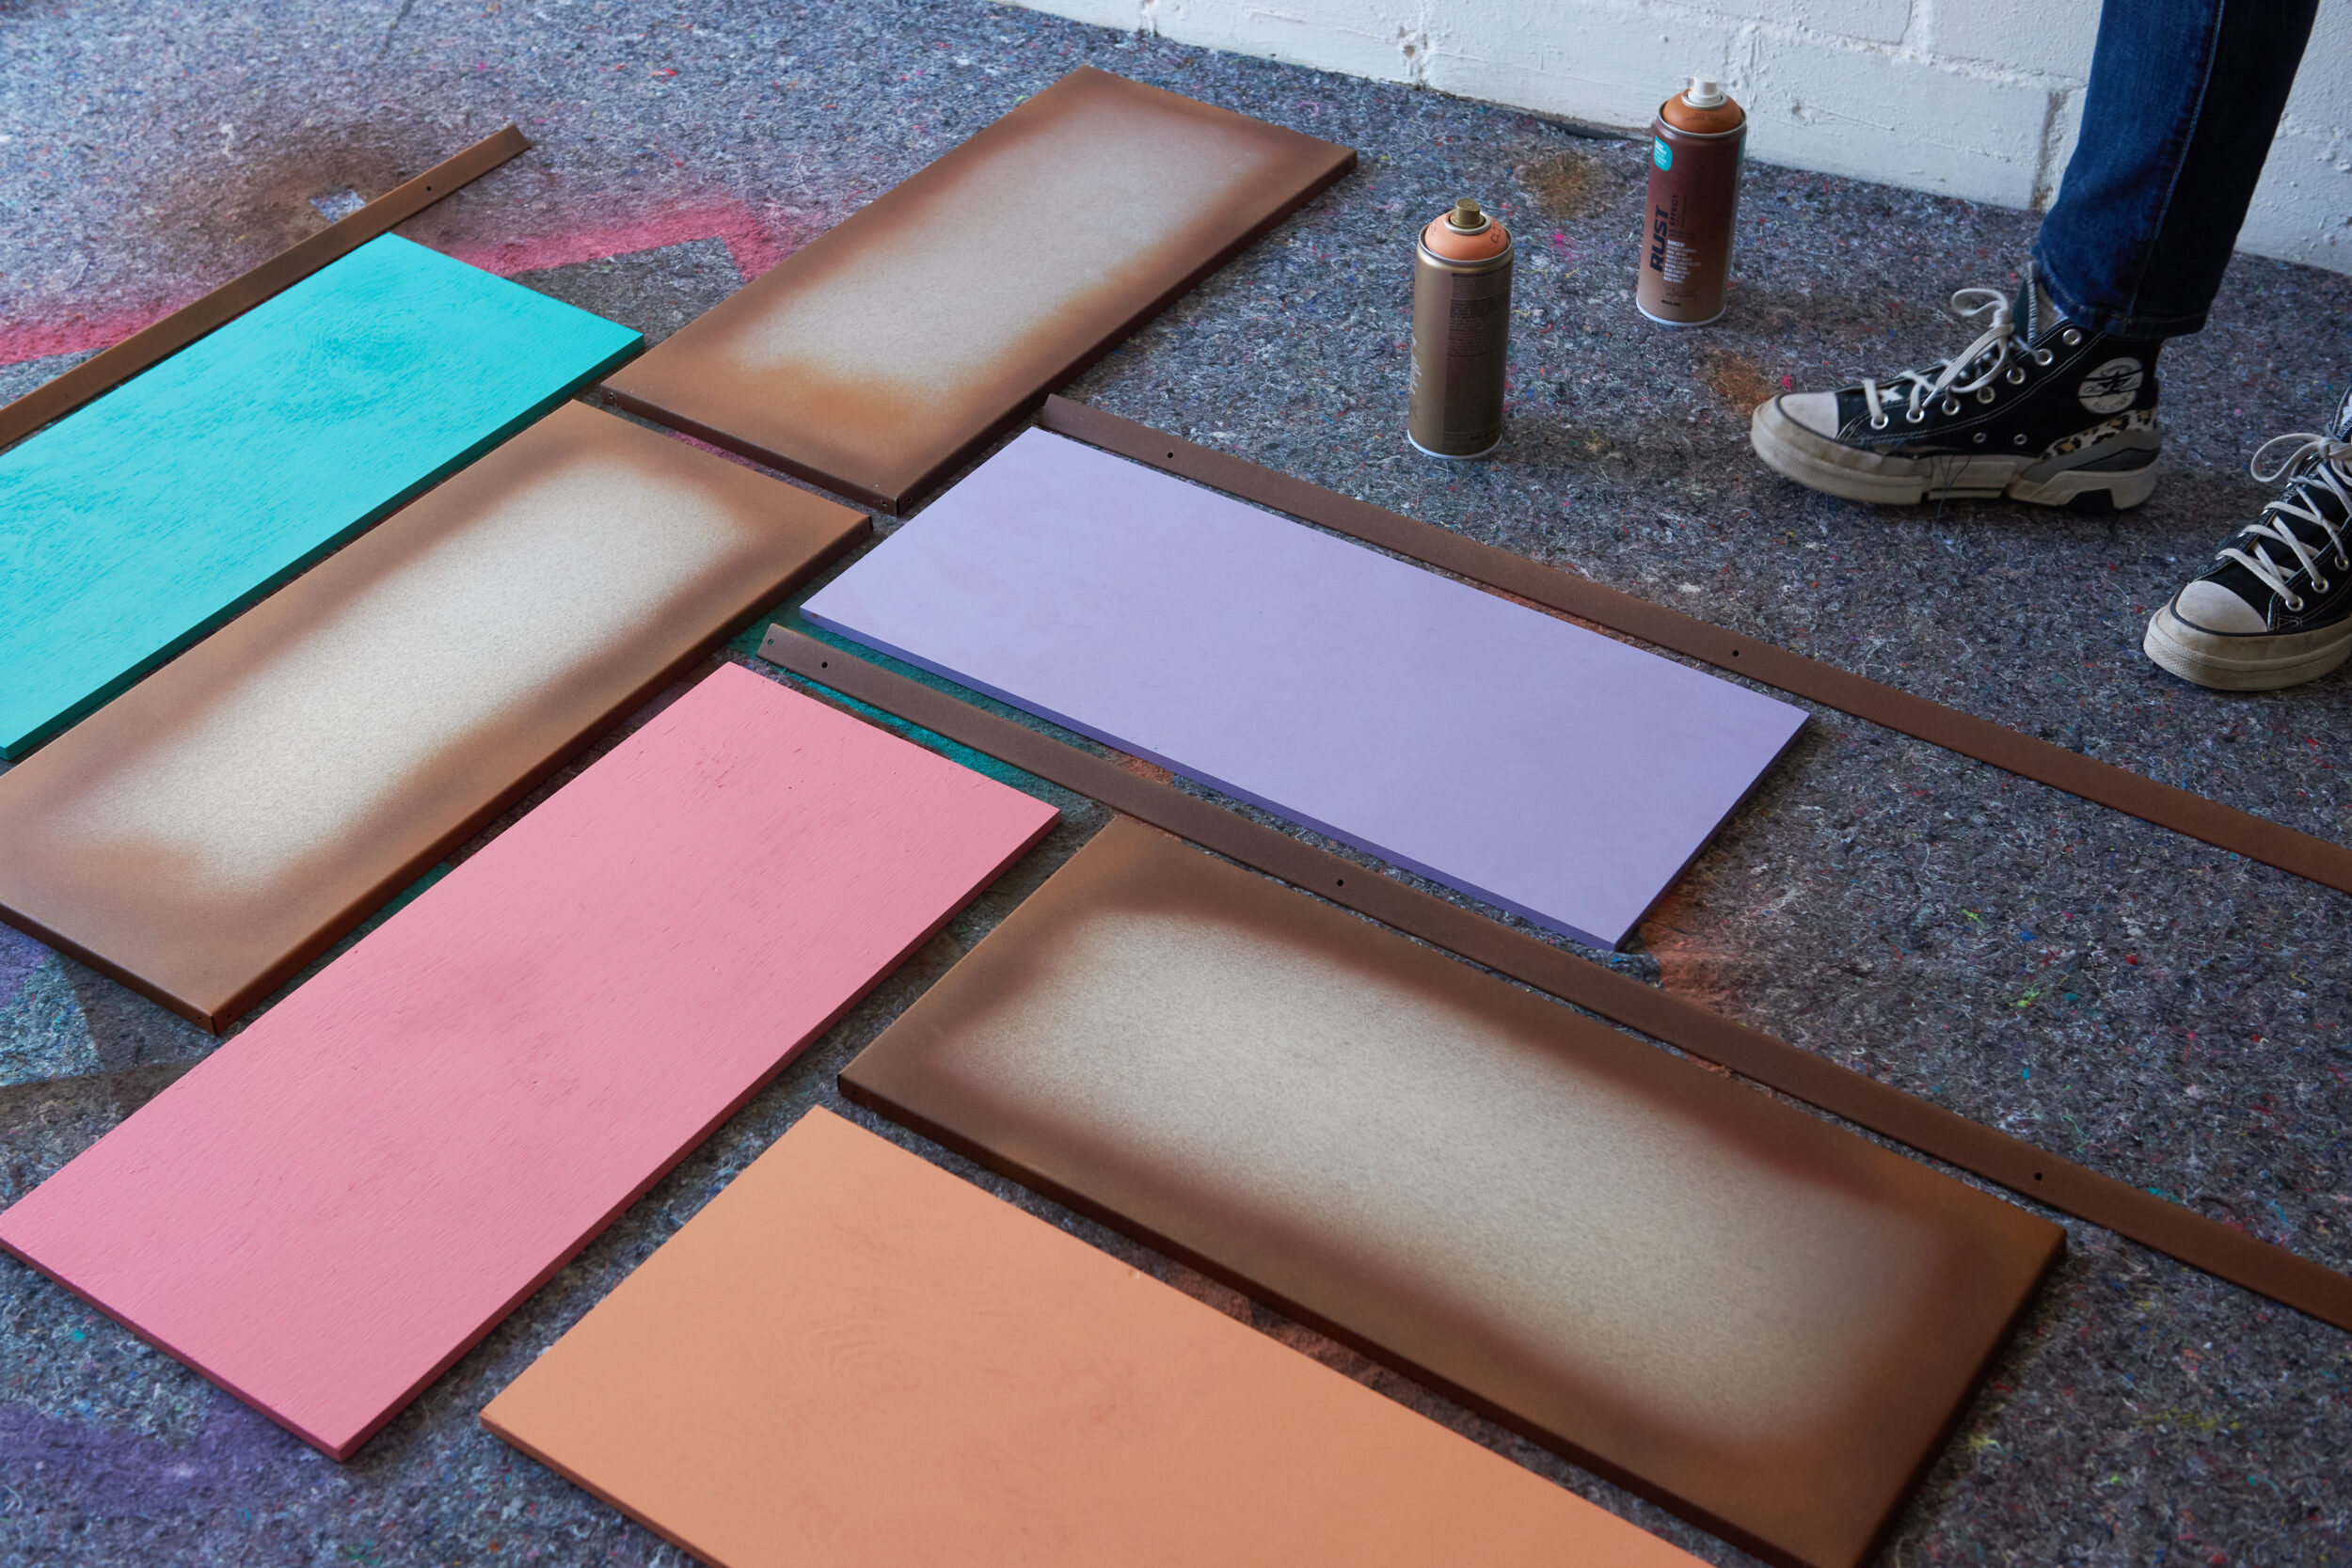
Once all our primed metal parts were dry, the next step was to give them a touch of rust effect. Starting with our Montana RUST Effect Spray in the color Brown, we coated all our pieces as desired. This became the basis of the rust effect. If your shelving has no wooden inserts, place the flat metal shelving pieces aside.
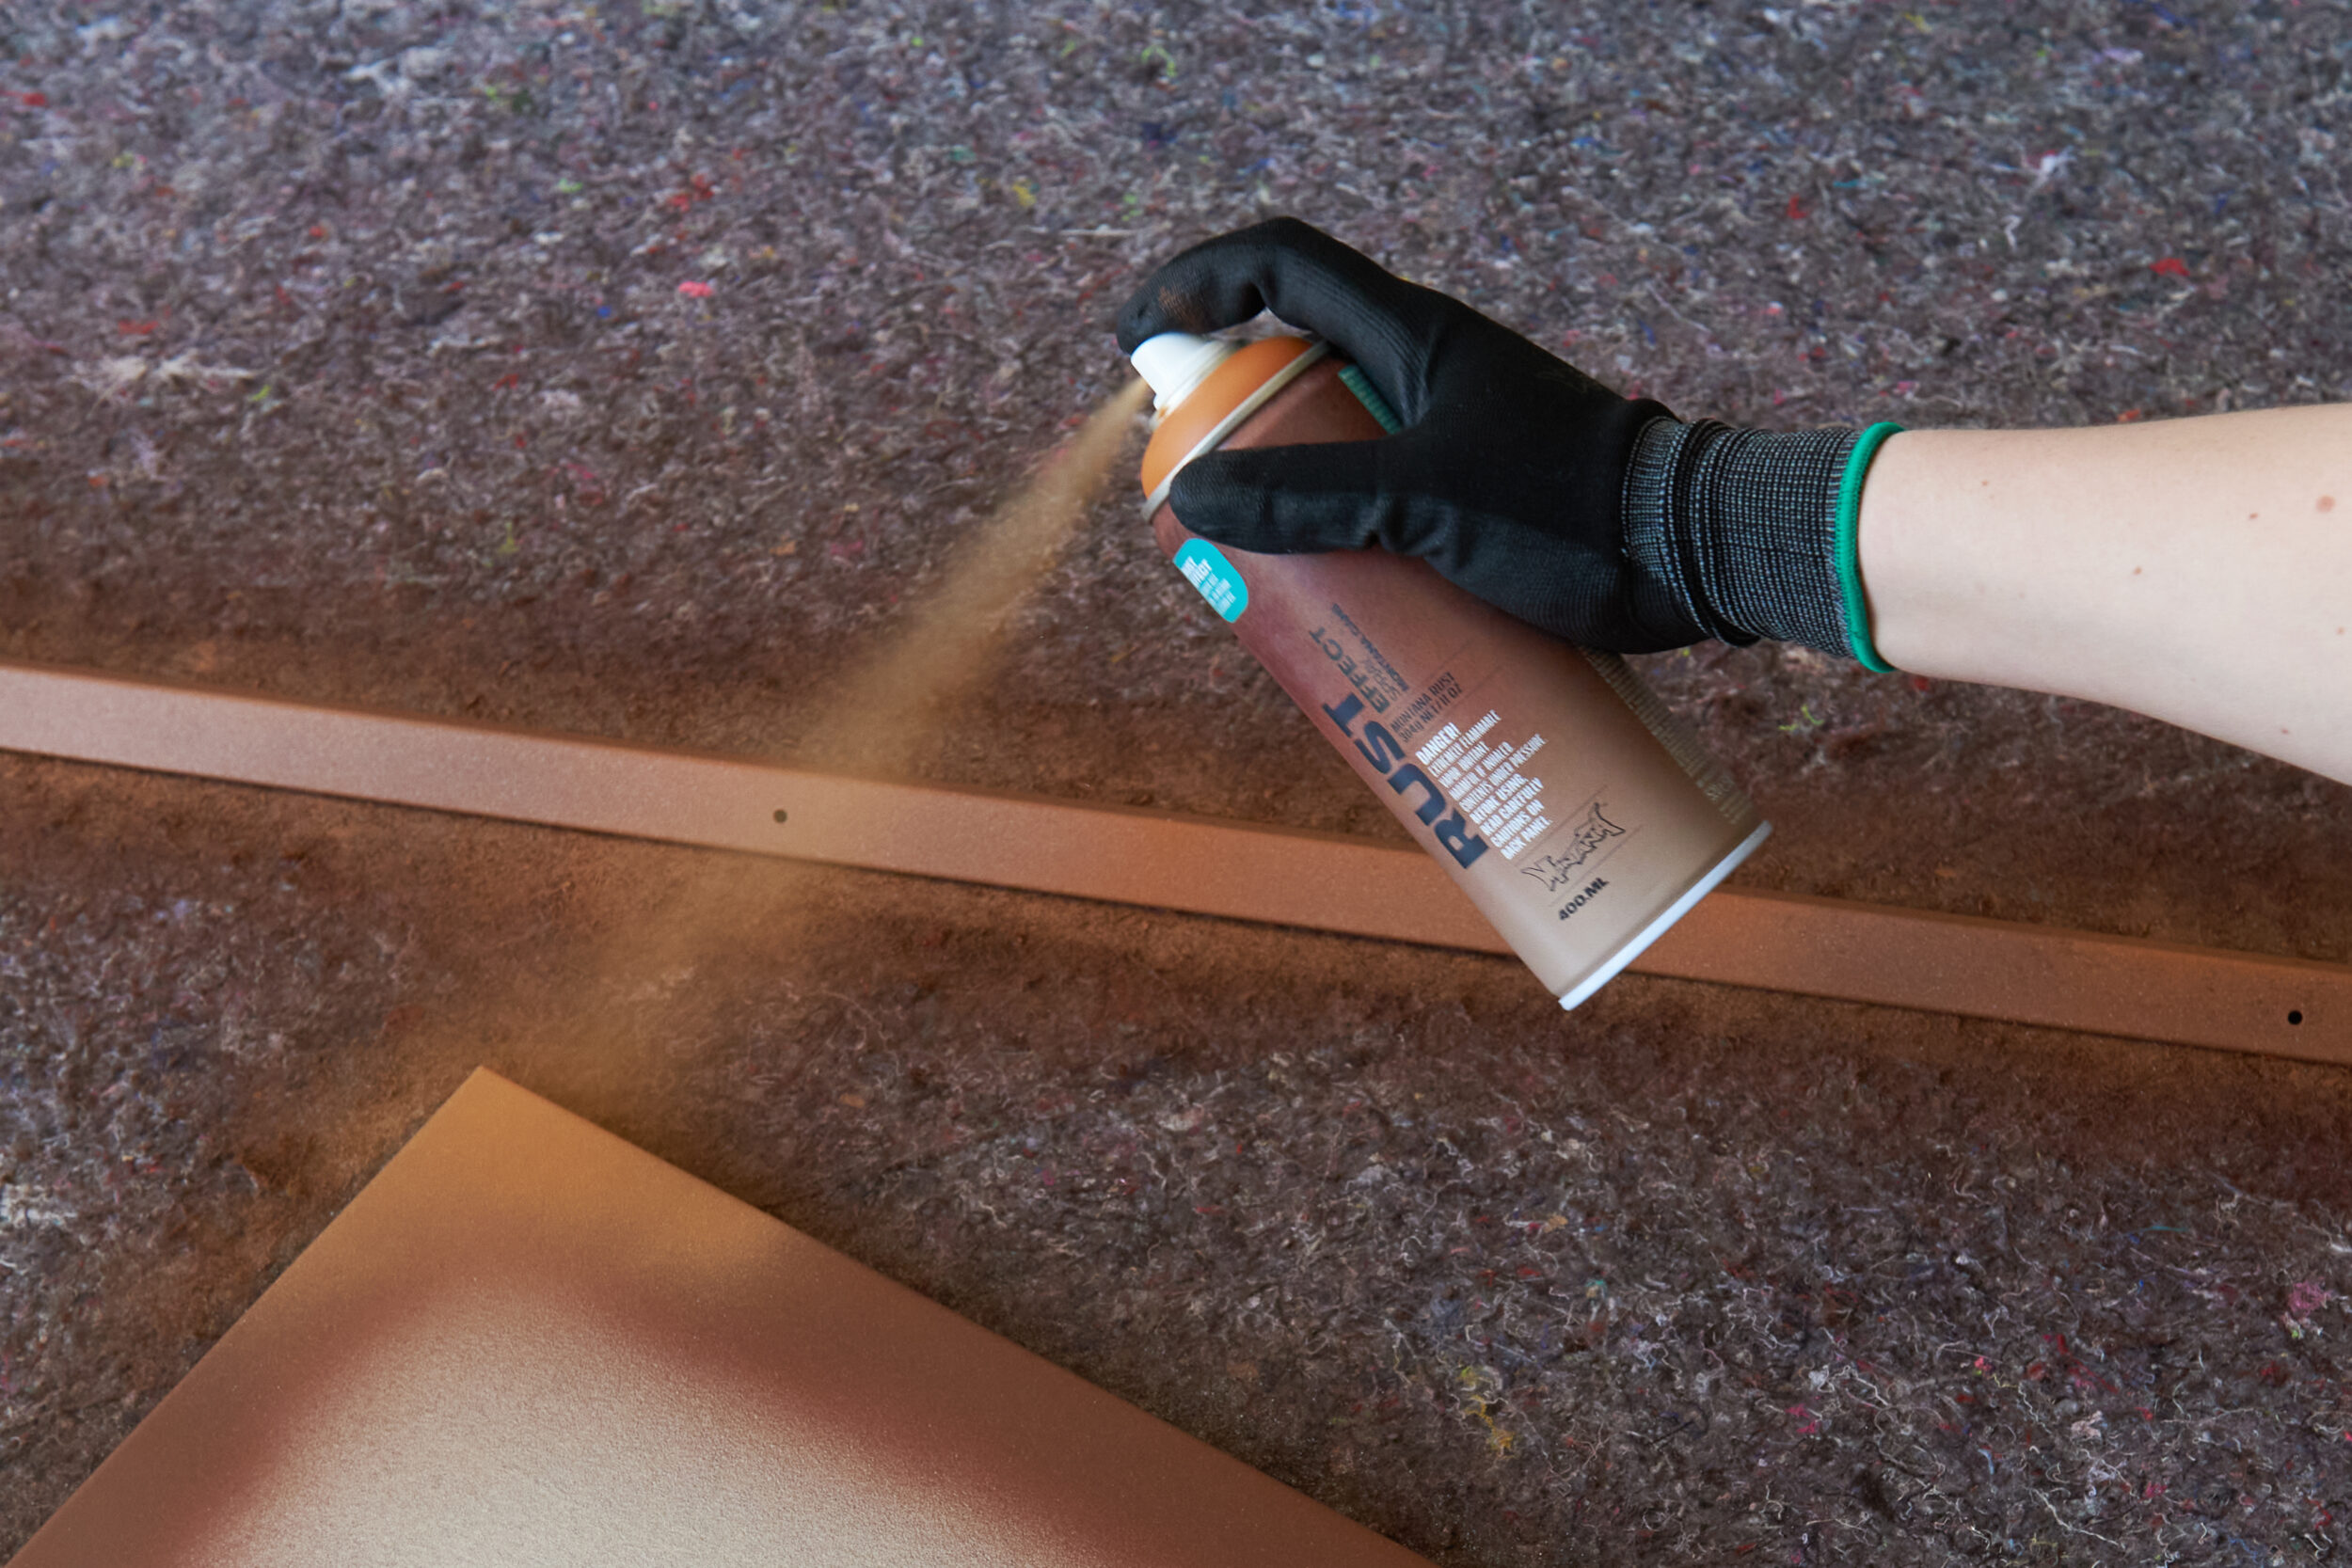
We will color them later. If you do have wooden shelf inserts, you can apply RUST Effect paint only to the sides of the metal shelves as the inner parts will be covered by the wood inserts. Once all these metal parts were dry, we grabbed our Montana RUST Effect spray in Brown Orange which is lighter, and added some highlighting touches. This made the effect look more organic and natural, as if our shelves had aged and weathered naturally outside in the elements.
The final touch was to add the color. Using our favorite Montana GOLD colors, we took our first pre-primed wooden shelf insert and applied one color. Spraying in slow sweeping motions from side to side, we ensured that our coats went on evenly. You can recoat once dry if you desire. We chose to change color for each shelf, however, you could use one throughout if you prefer. If your shelves are all metal, the same technique applies. Apply one color to each pre-primed shelf insert, and work in sweeping motions from side to side. A small tip; why not try the Montana Flat Jet Cap medium on your Montana GOLD cans when painting the flat surfaces. It gives a great finish making it easy to avoid drips and inconsistencies.


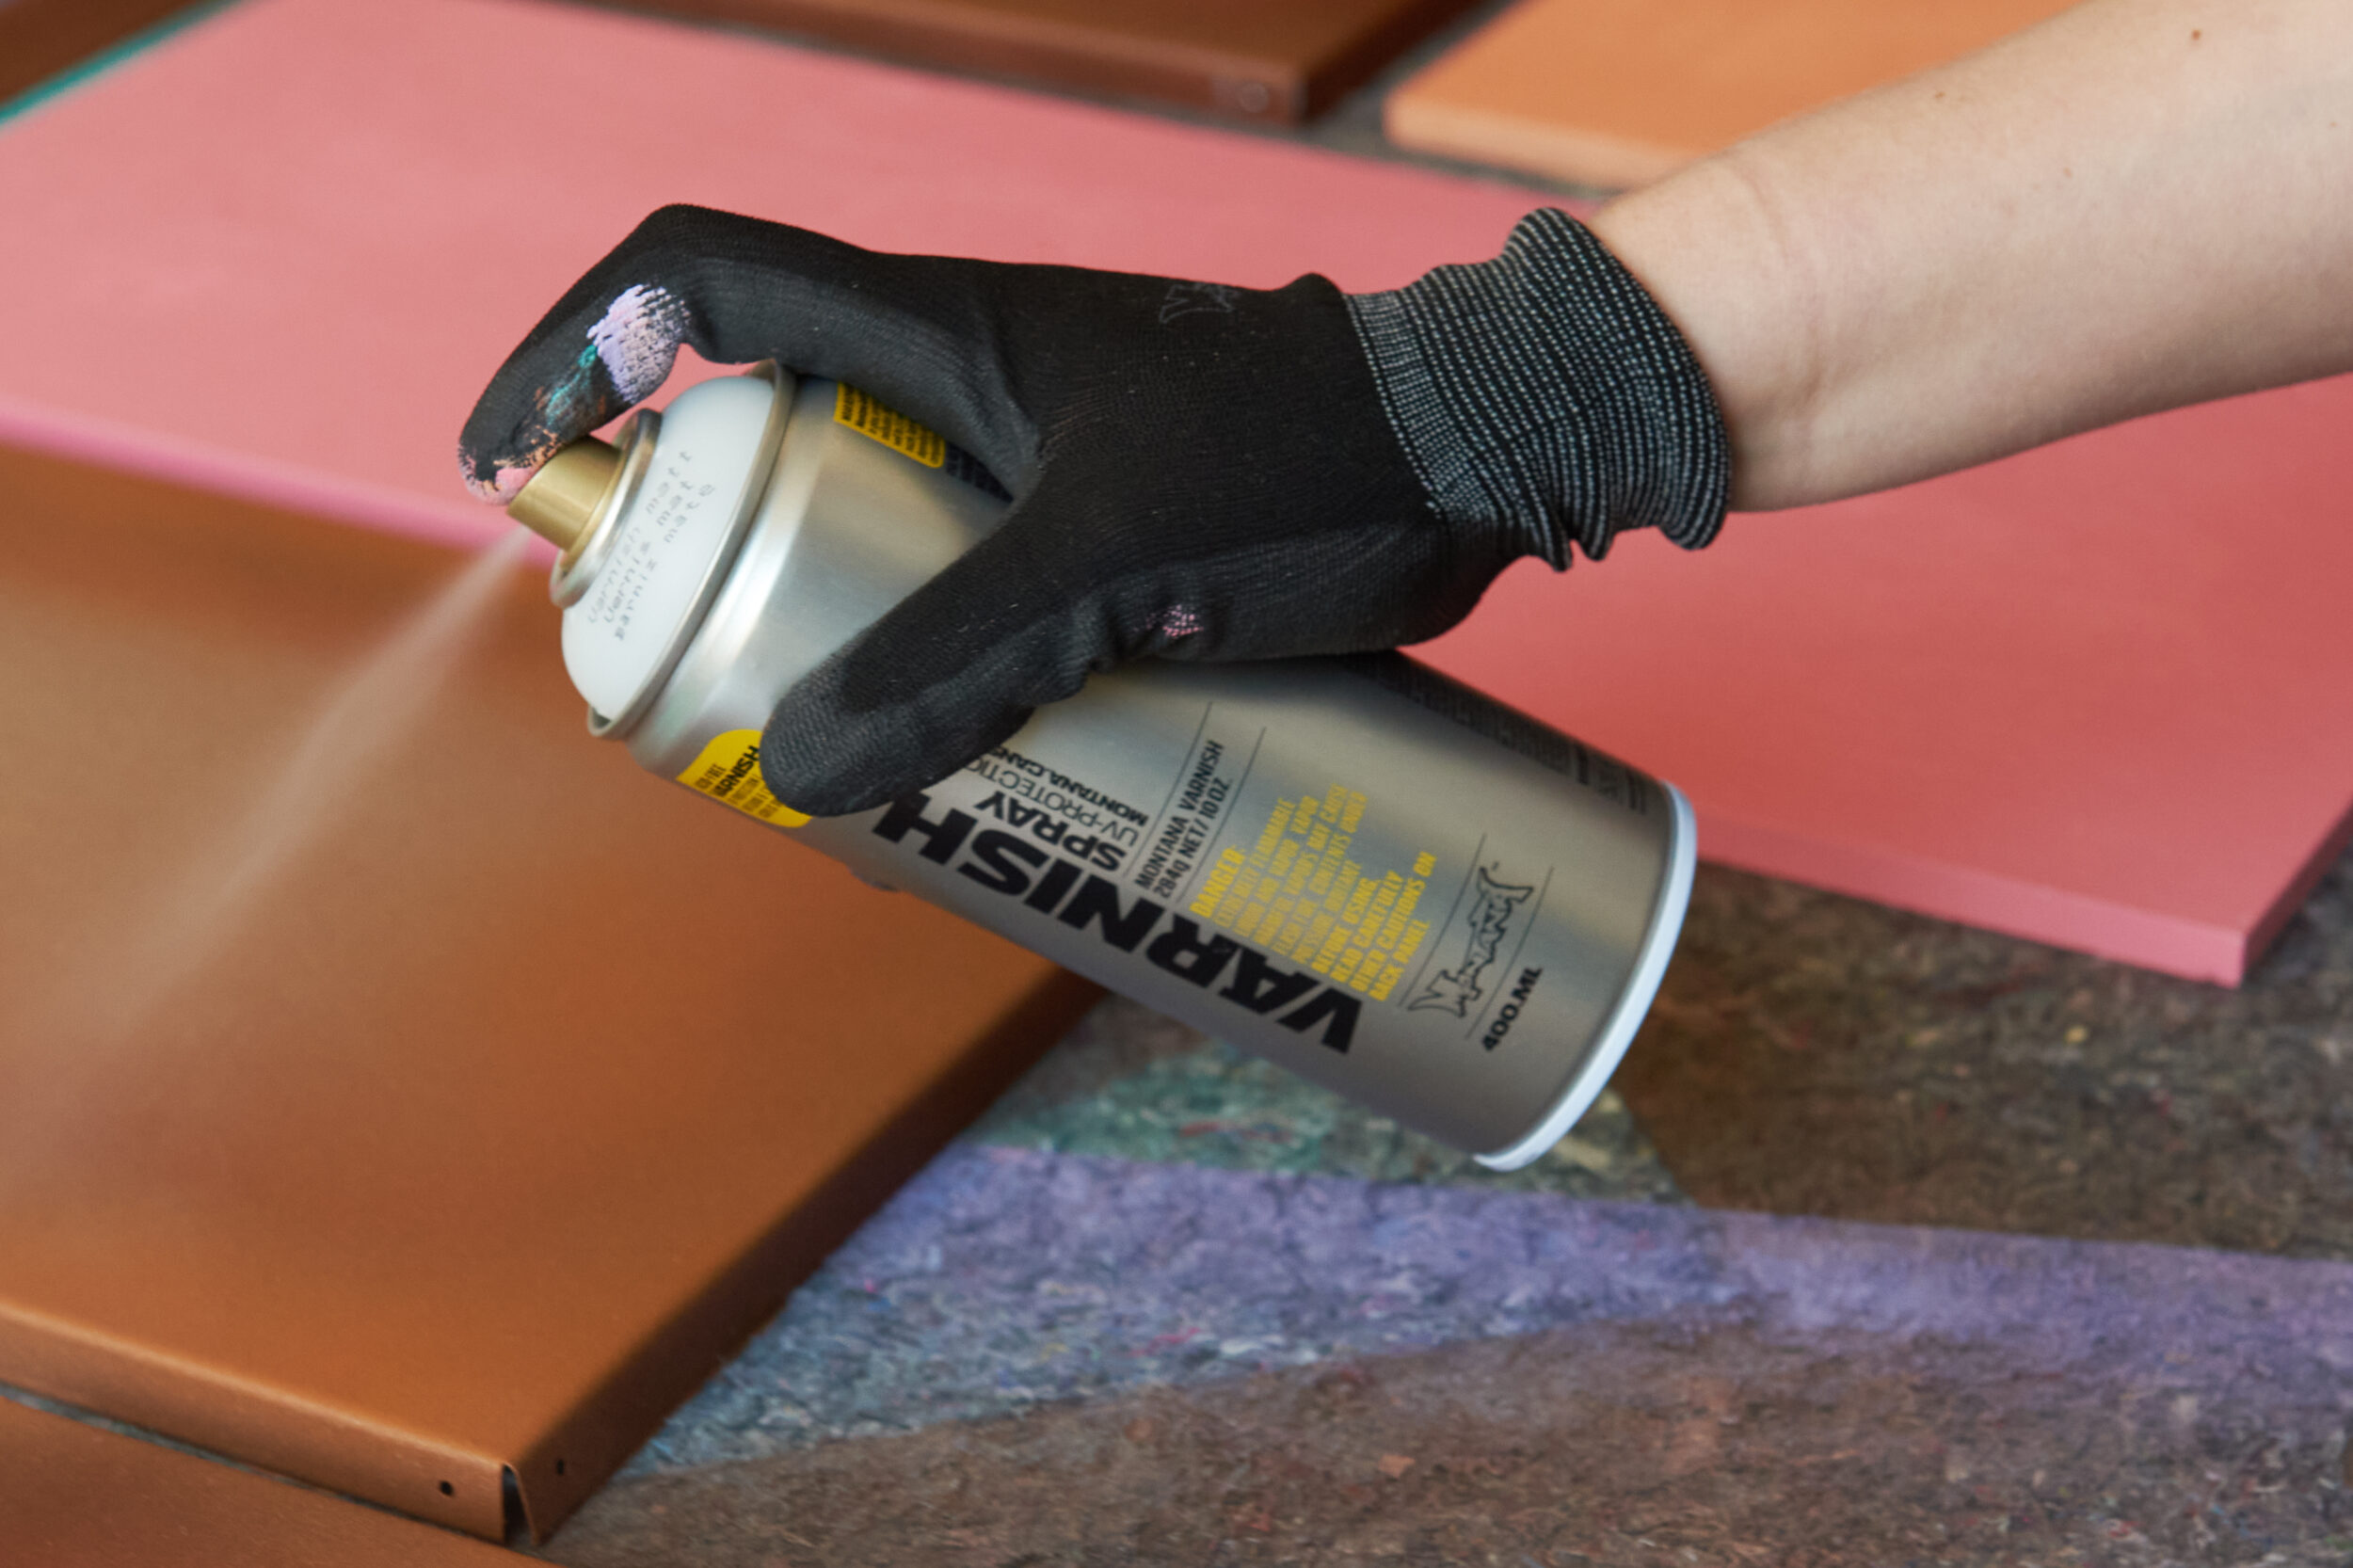
All the hard work was now done! Or at least most of it. We left all our pieces to dry for 24 hours or more. Even though everything already looked great, before we put it all back together there was only one last step we wanted to take. Turning to our trusty Montana VARNISH in the finish of your choice (we chose GLOSS), we applied thin even coats to all pieces (metal and wood) as desired. This was the icing on the cake that not only gave our shelves a look in one singular finish, but also protected our shelves from scratches, chipping, UV exposure, and general wear and tear. Again, we left it all to dry overnight before putting the shelves together.
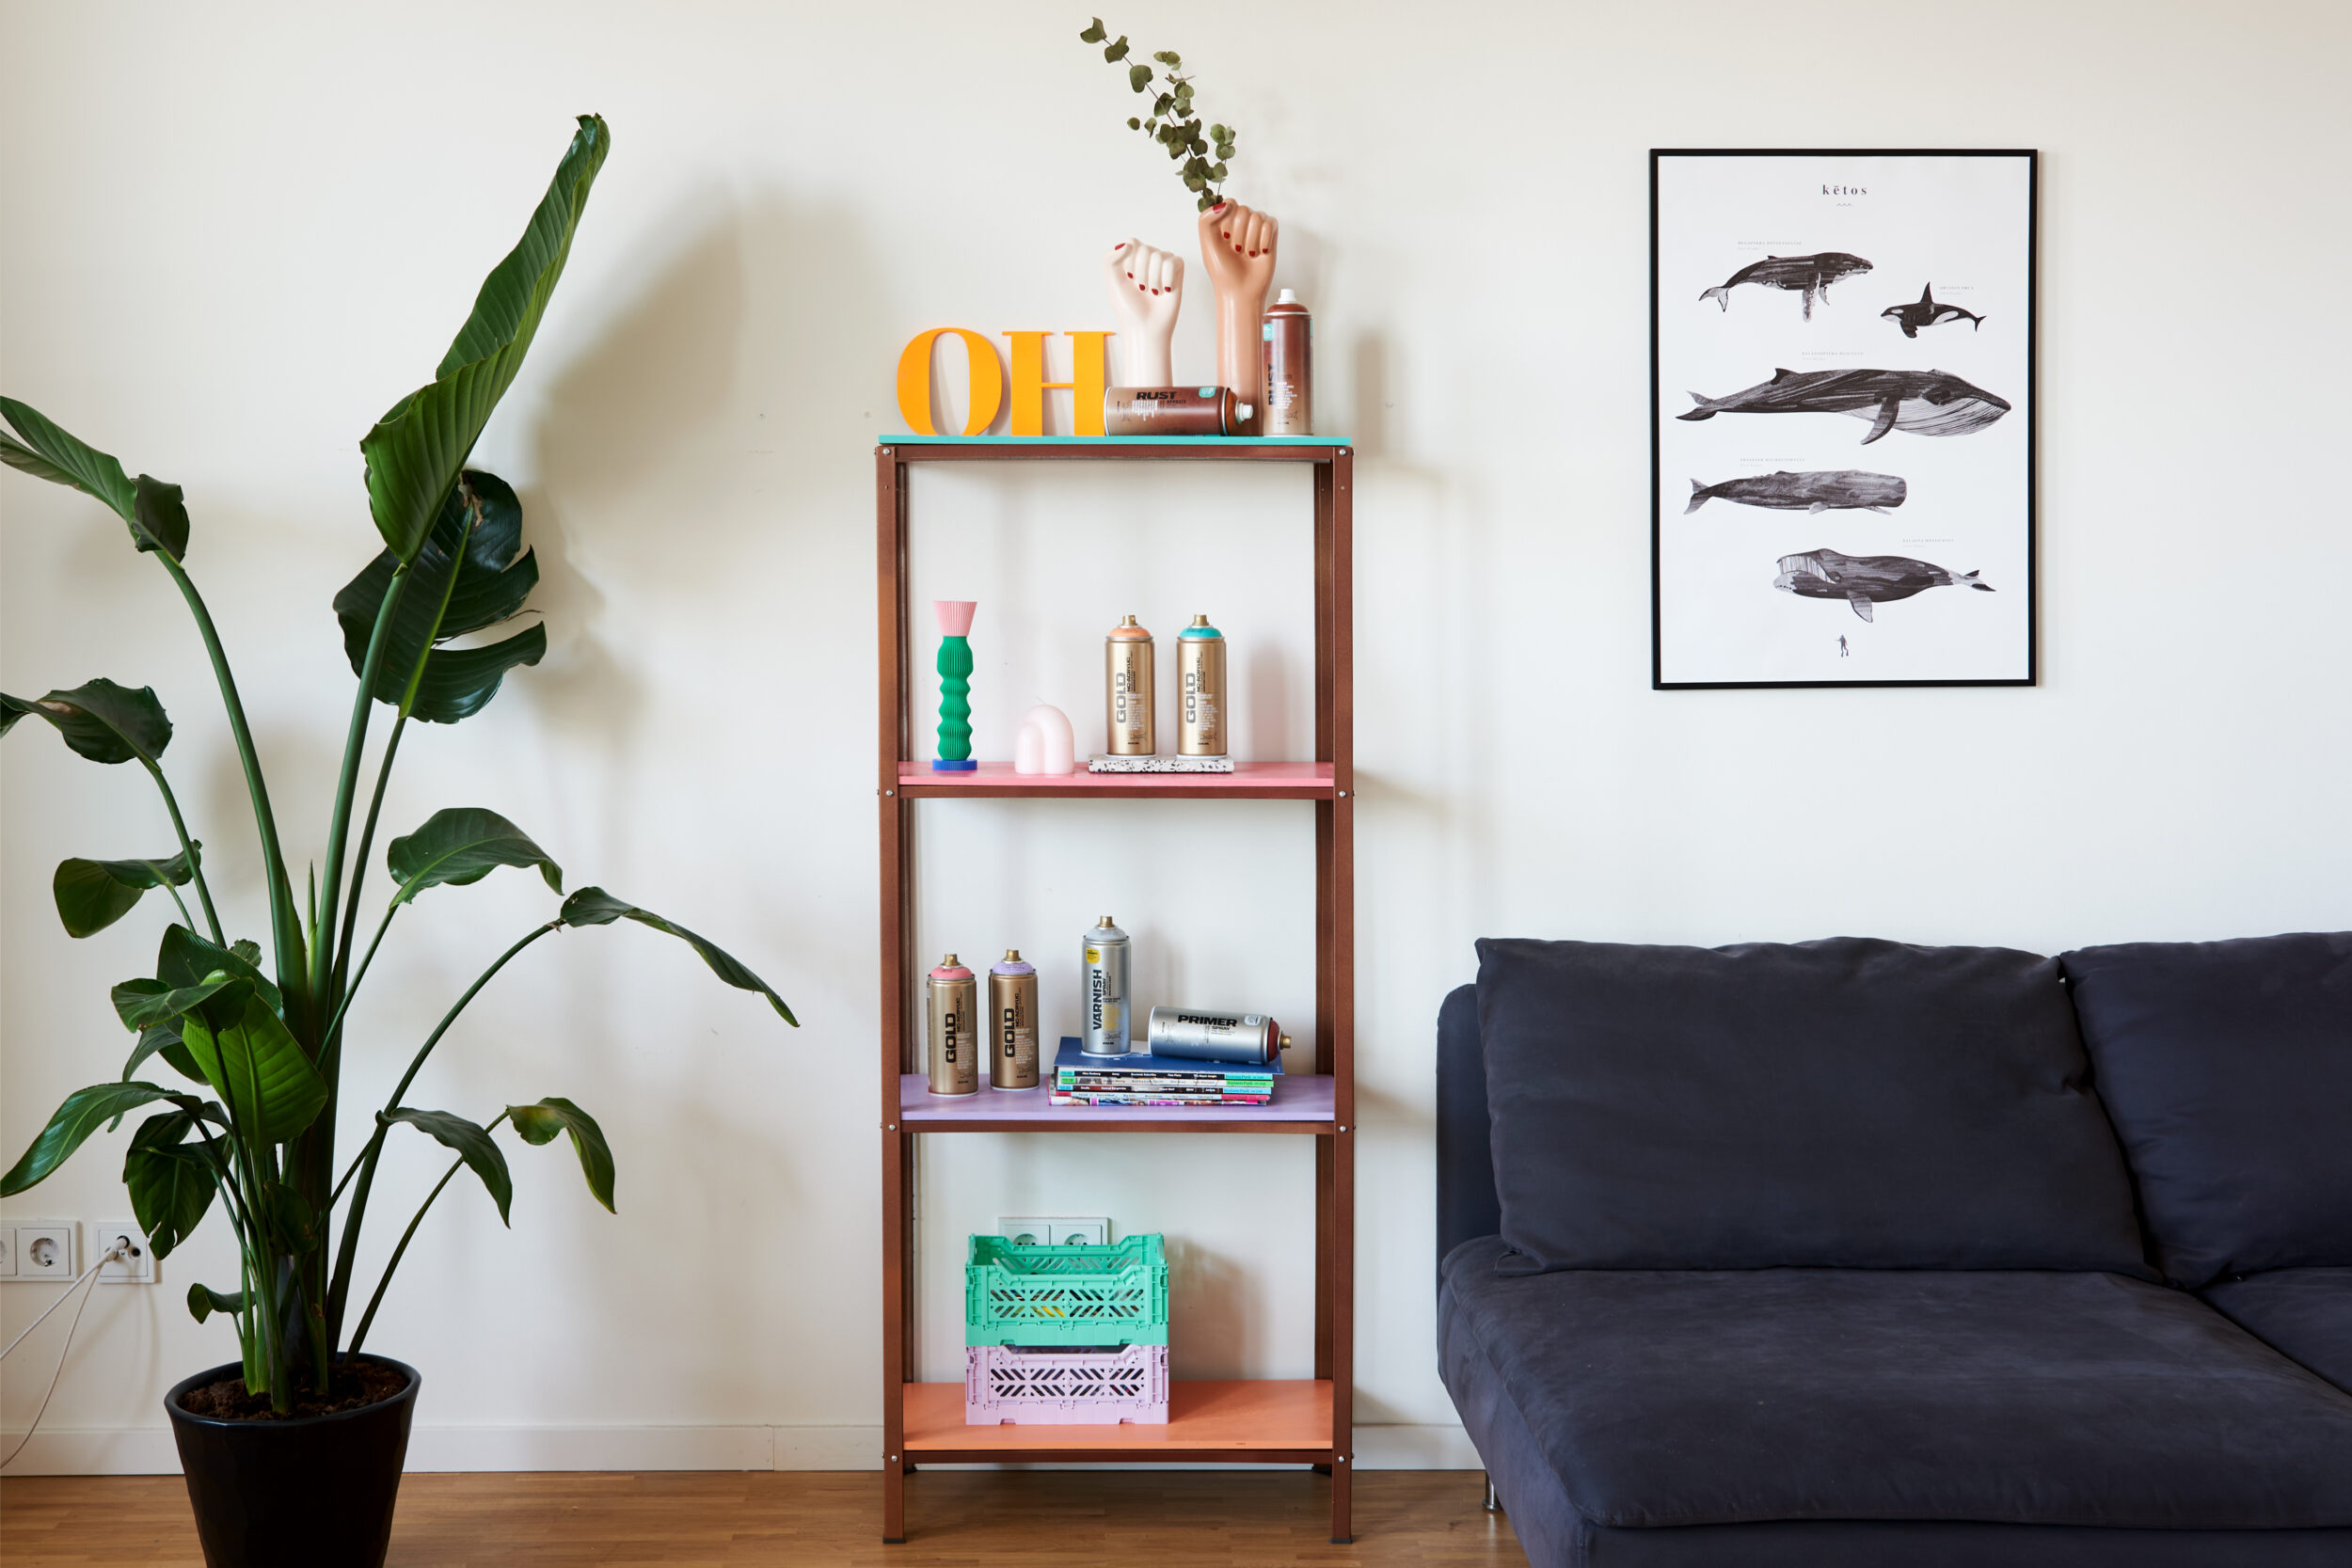
Although there are only 1-2 hours of actual work, the whole project would need to be planned over at least 3-4 separate sessions. One for sanding and priming (allow to dry), one for applying the color (allow to dry), one for applying the Varnish (allow to dry), and the final to put it all together again. Able to be done by all skill levels, you are bound to have fun with this project whether you’re a beginner or a pro. Now to figure out what to put in our cool new Rust Effect and color shelving? Well done and Happy Crafting!