


Keeping it simple, making it minimalistic
It is easy to be your own worst enemy when it comes to getting ideas about new DIY projects. Sometimes we miss the great little projects that are right there in front of us as we are trying too hard to come up with a glorious DIY mega project. Well, not this time. This time thanks to Fashion and Interior blogger Karoline Herr, we are going to keep it simple for any skill level and make it colorful with “Painted Pastel Flowers”.
Materials used
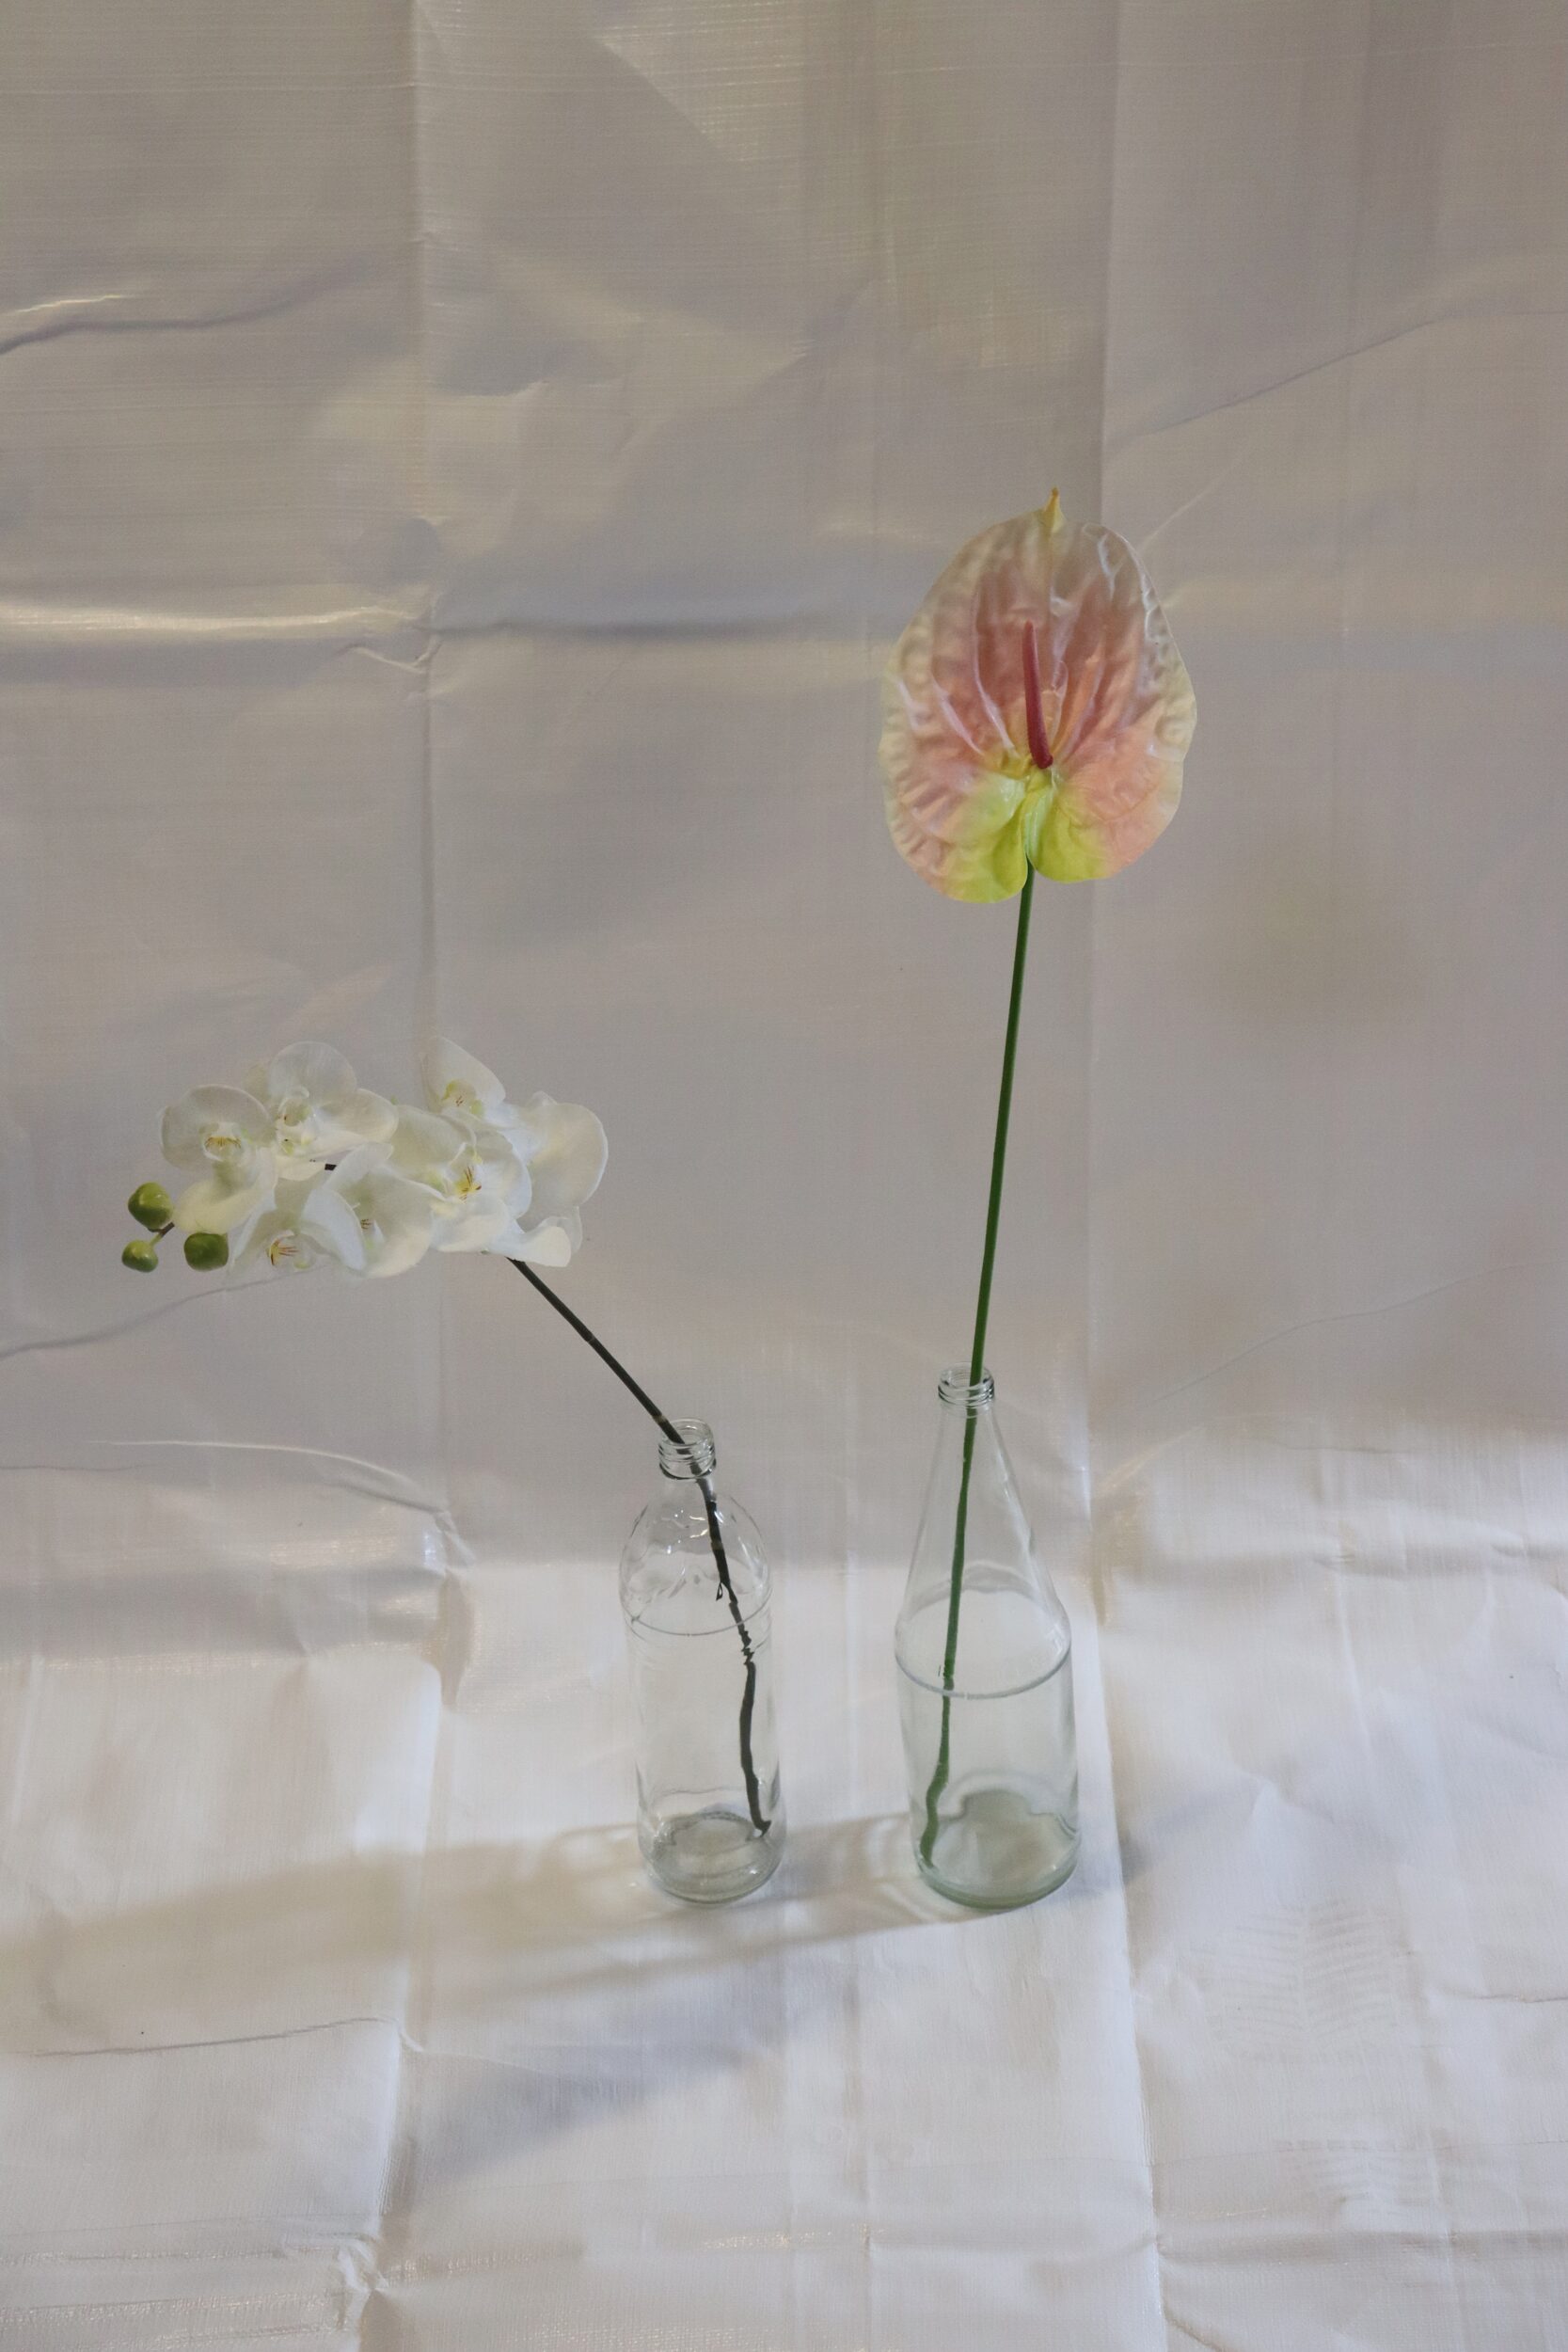
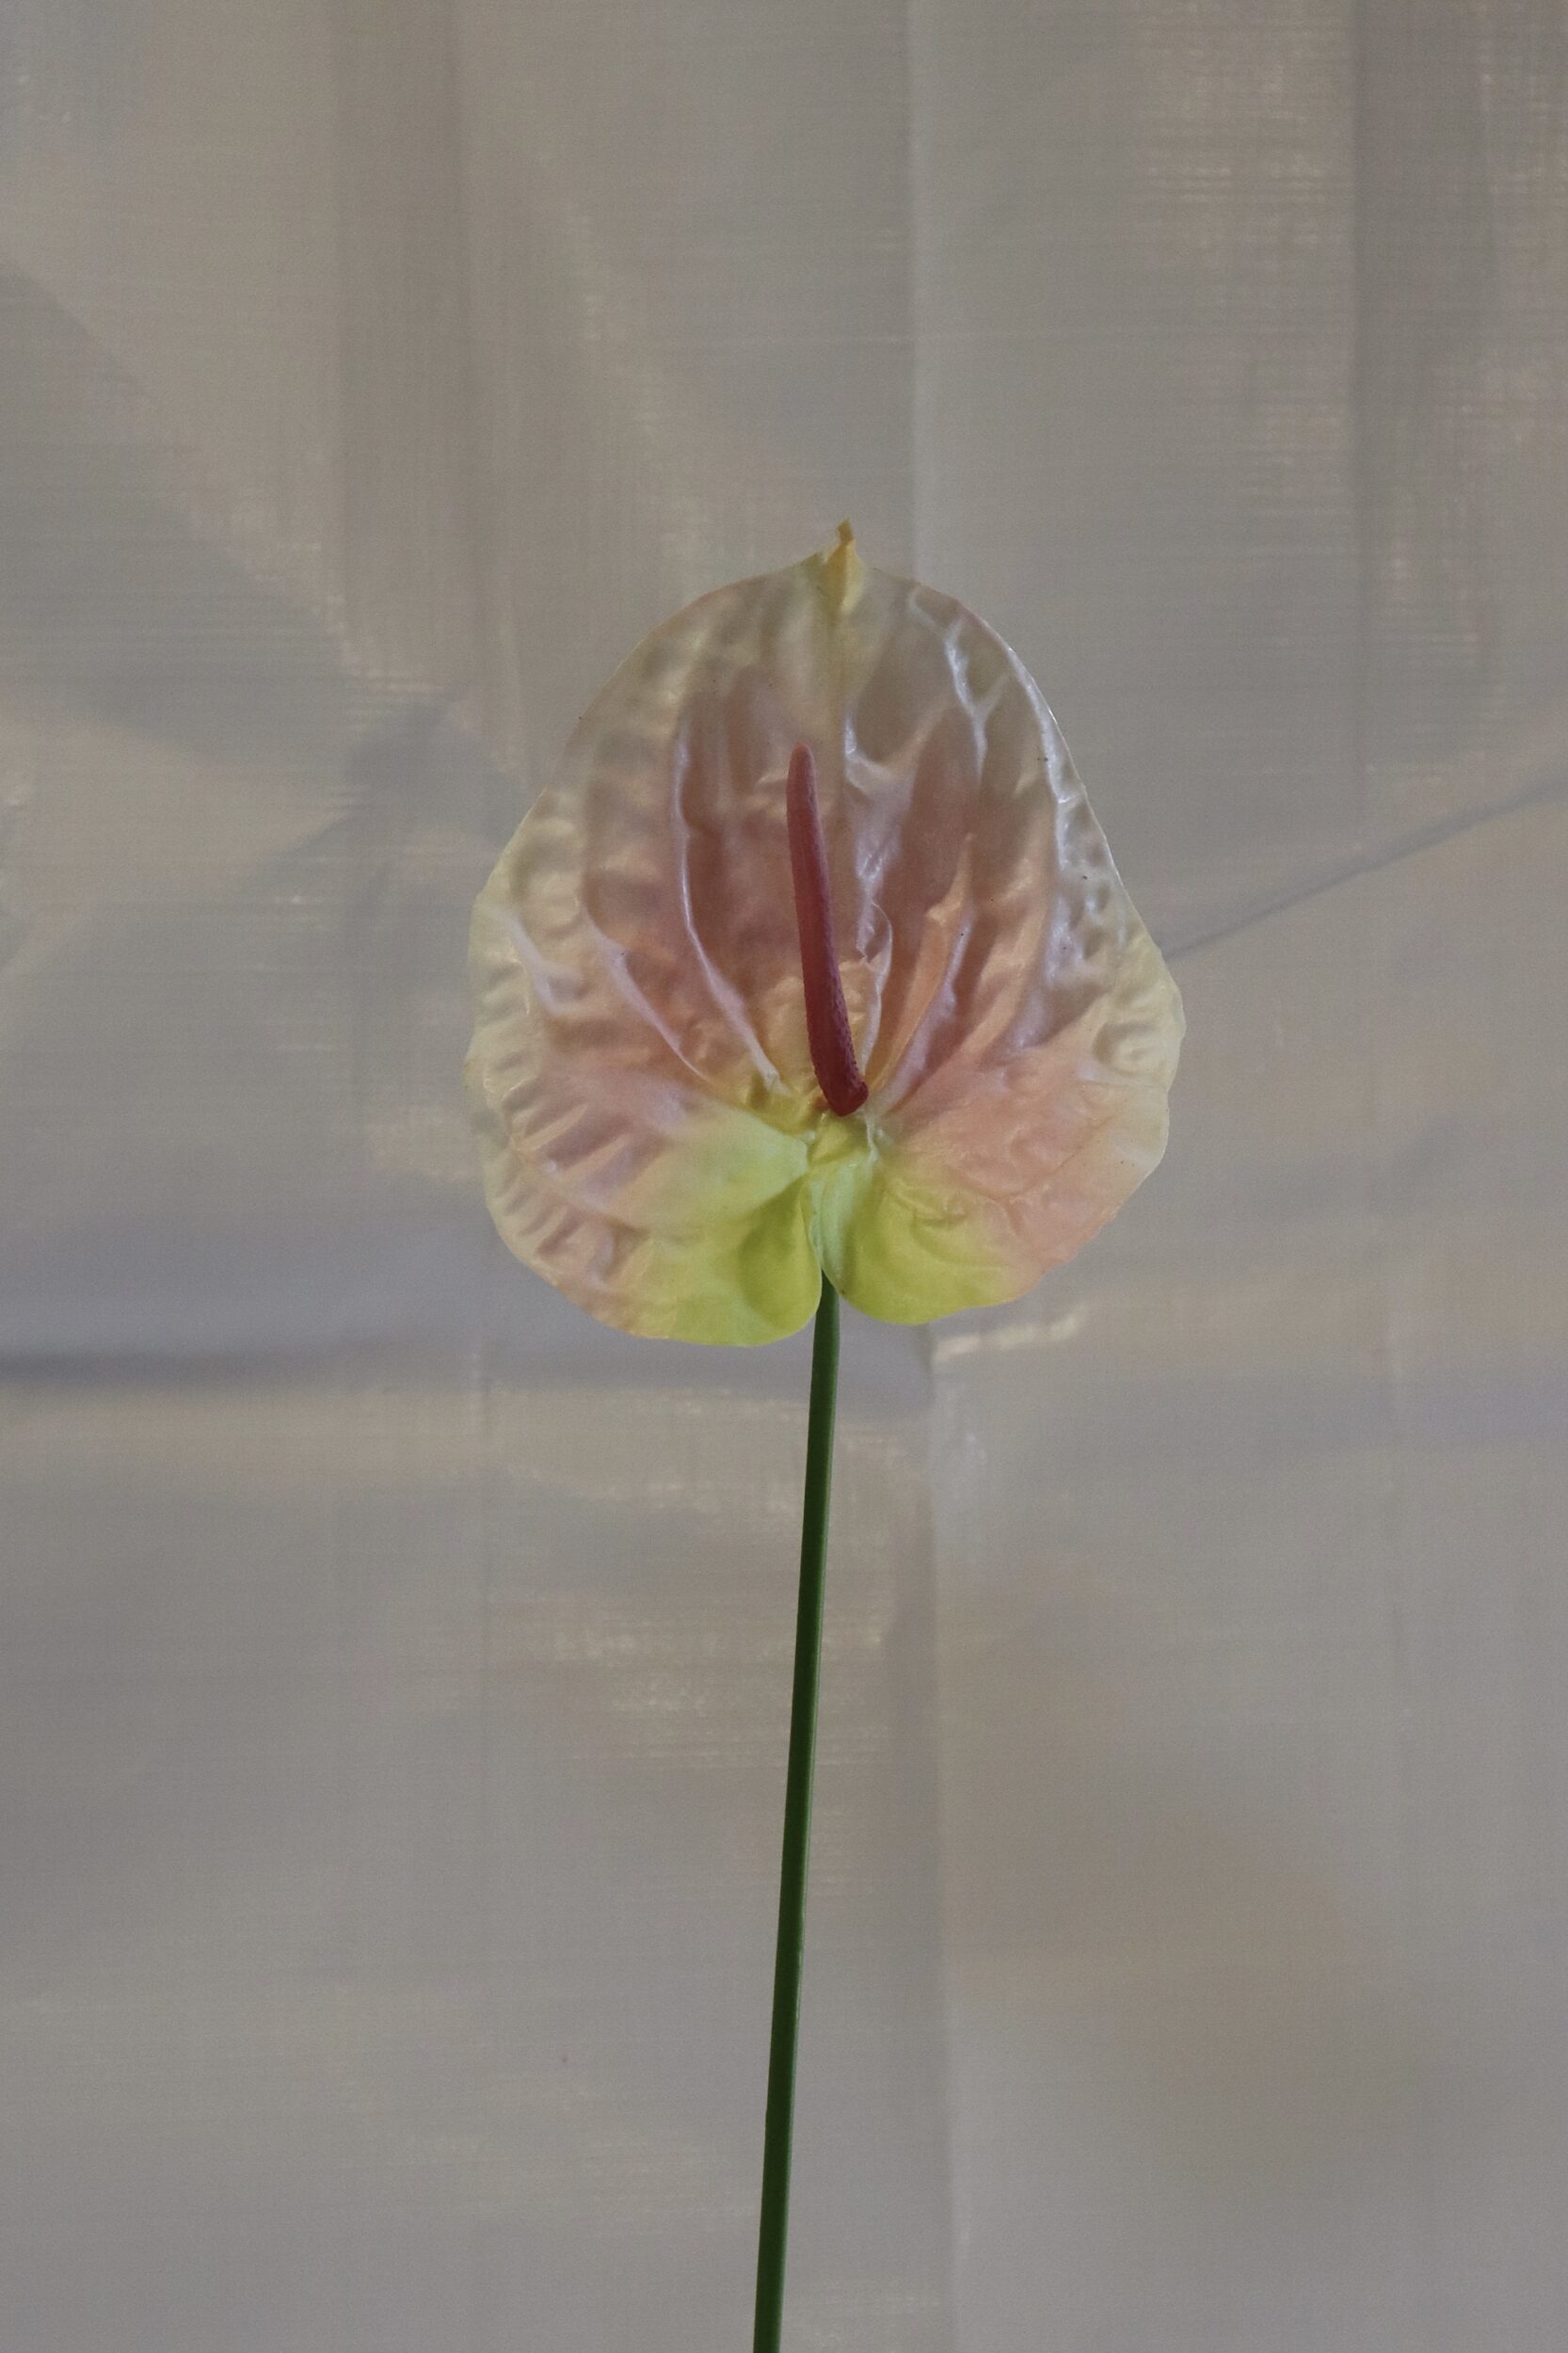
- Plastic flowers (of your choice)
- Montana Plastic PRIMER
- Montana GOLD pastel colors of your choice
- Montana VARNISH in the finish of your choice
- Masking tape
- Gloves
- Mask
- Drop Sheet
There really isn’t that much to it. Or at least nothing difficult. Once you have found your plastic flowers, you just need to make sure they are cleaned free of dust, oils, and dry. You may have luck finding them in a yard sale or at a second-hand shop, but there are always many options available at hardware stores, deco stores, and homewares outlets.

In your pre-pared painting space, lay the flowers out with space between them all and give them a good coat of Montana Plastic PRIMER. Most likely by the time they all have had one coat, the first ones will be dry enough to turn over and paint the reverse sides so they are completely primed.
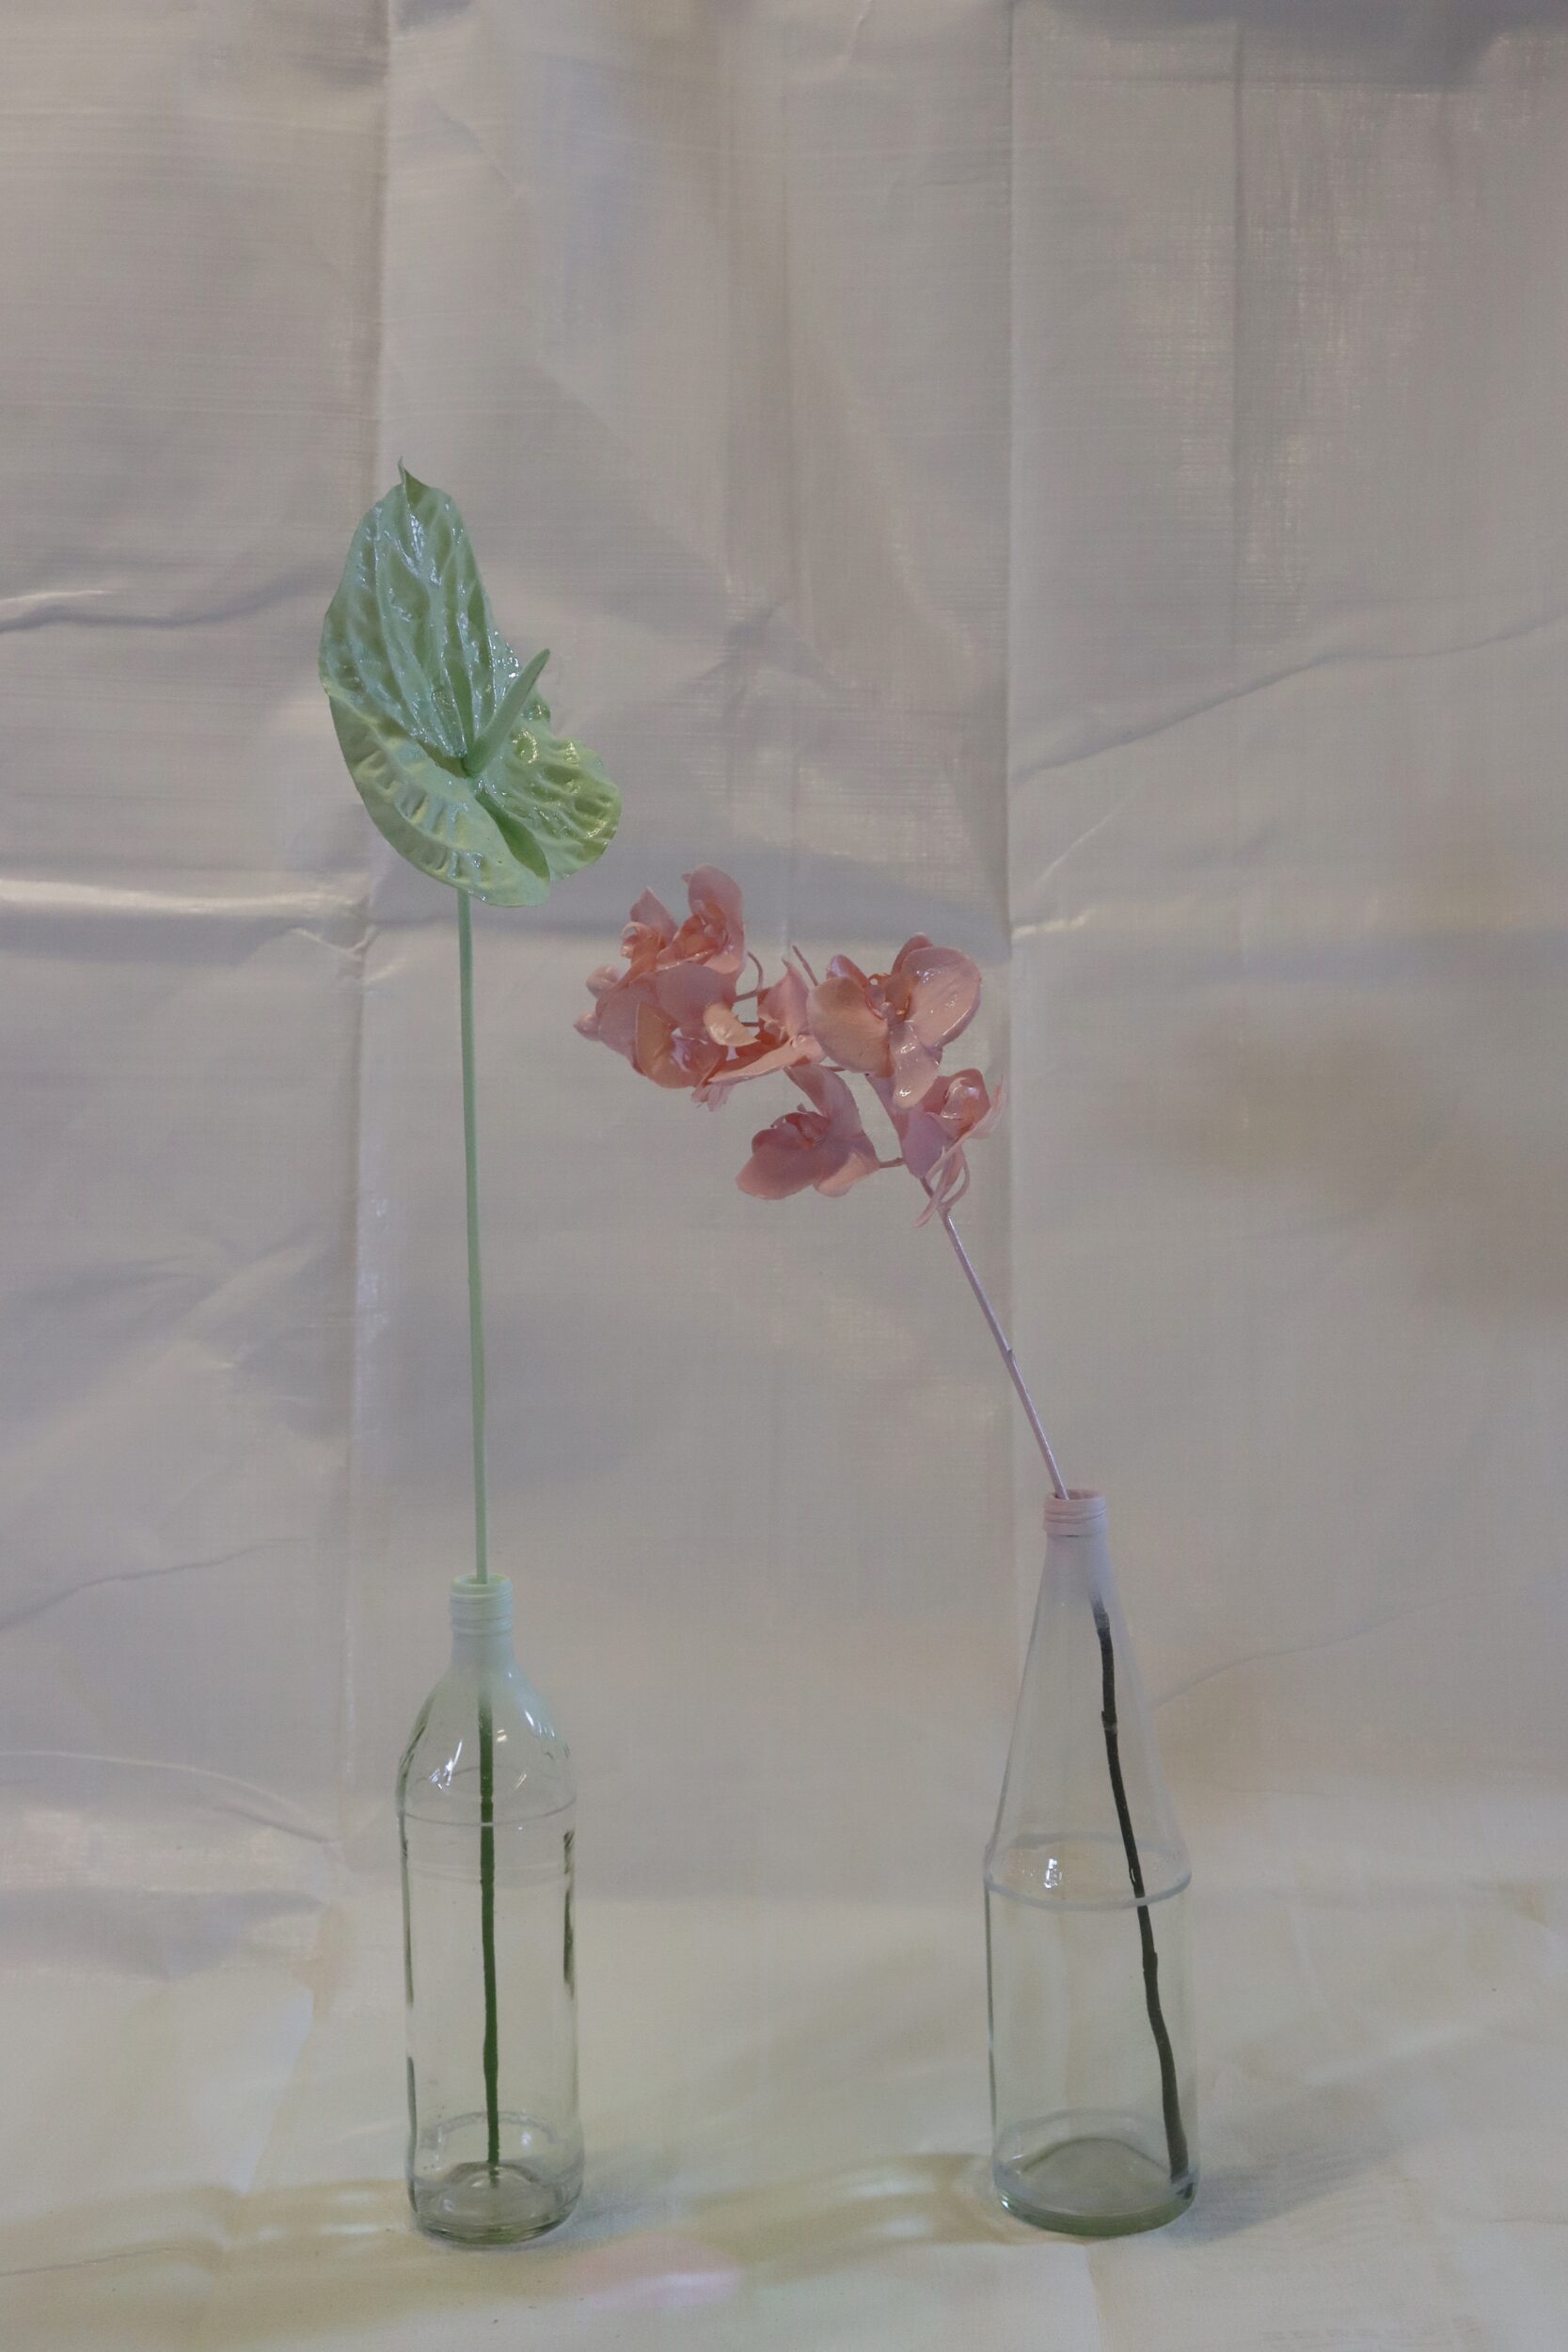
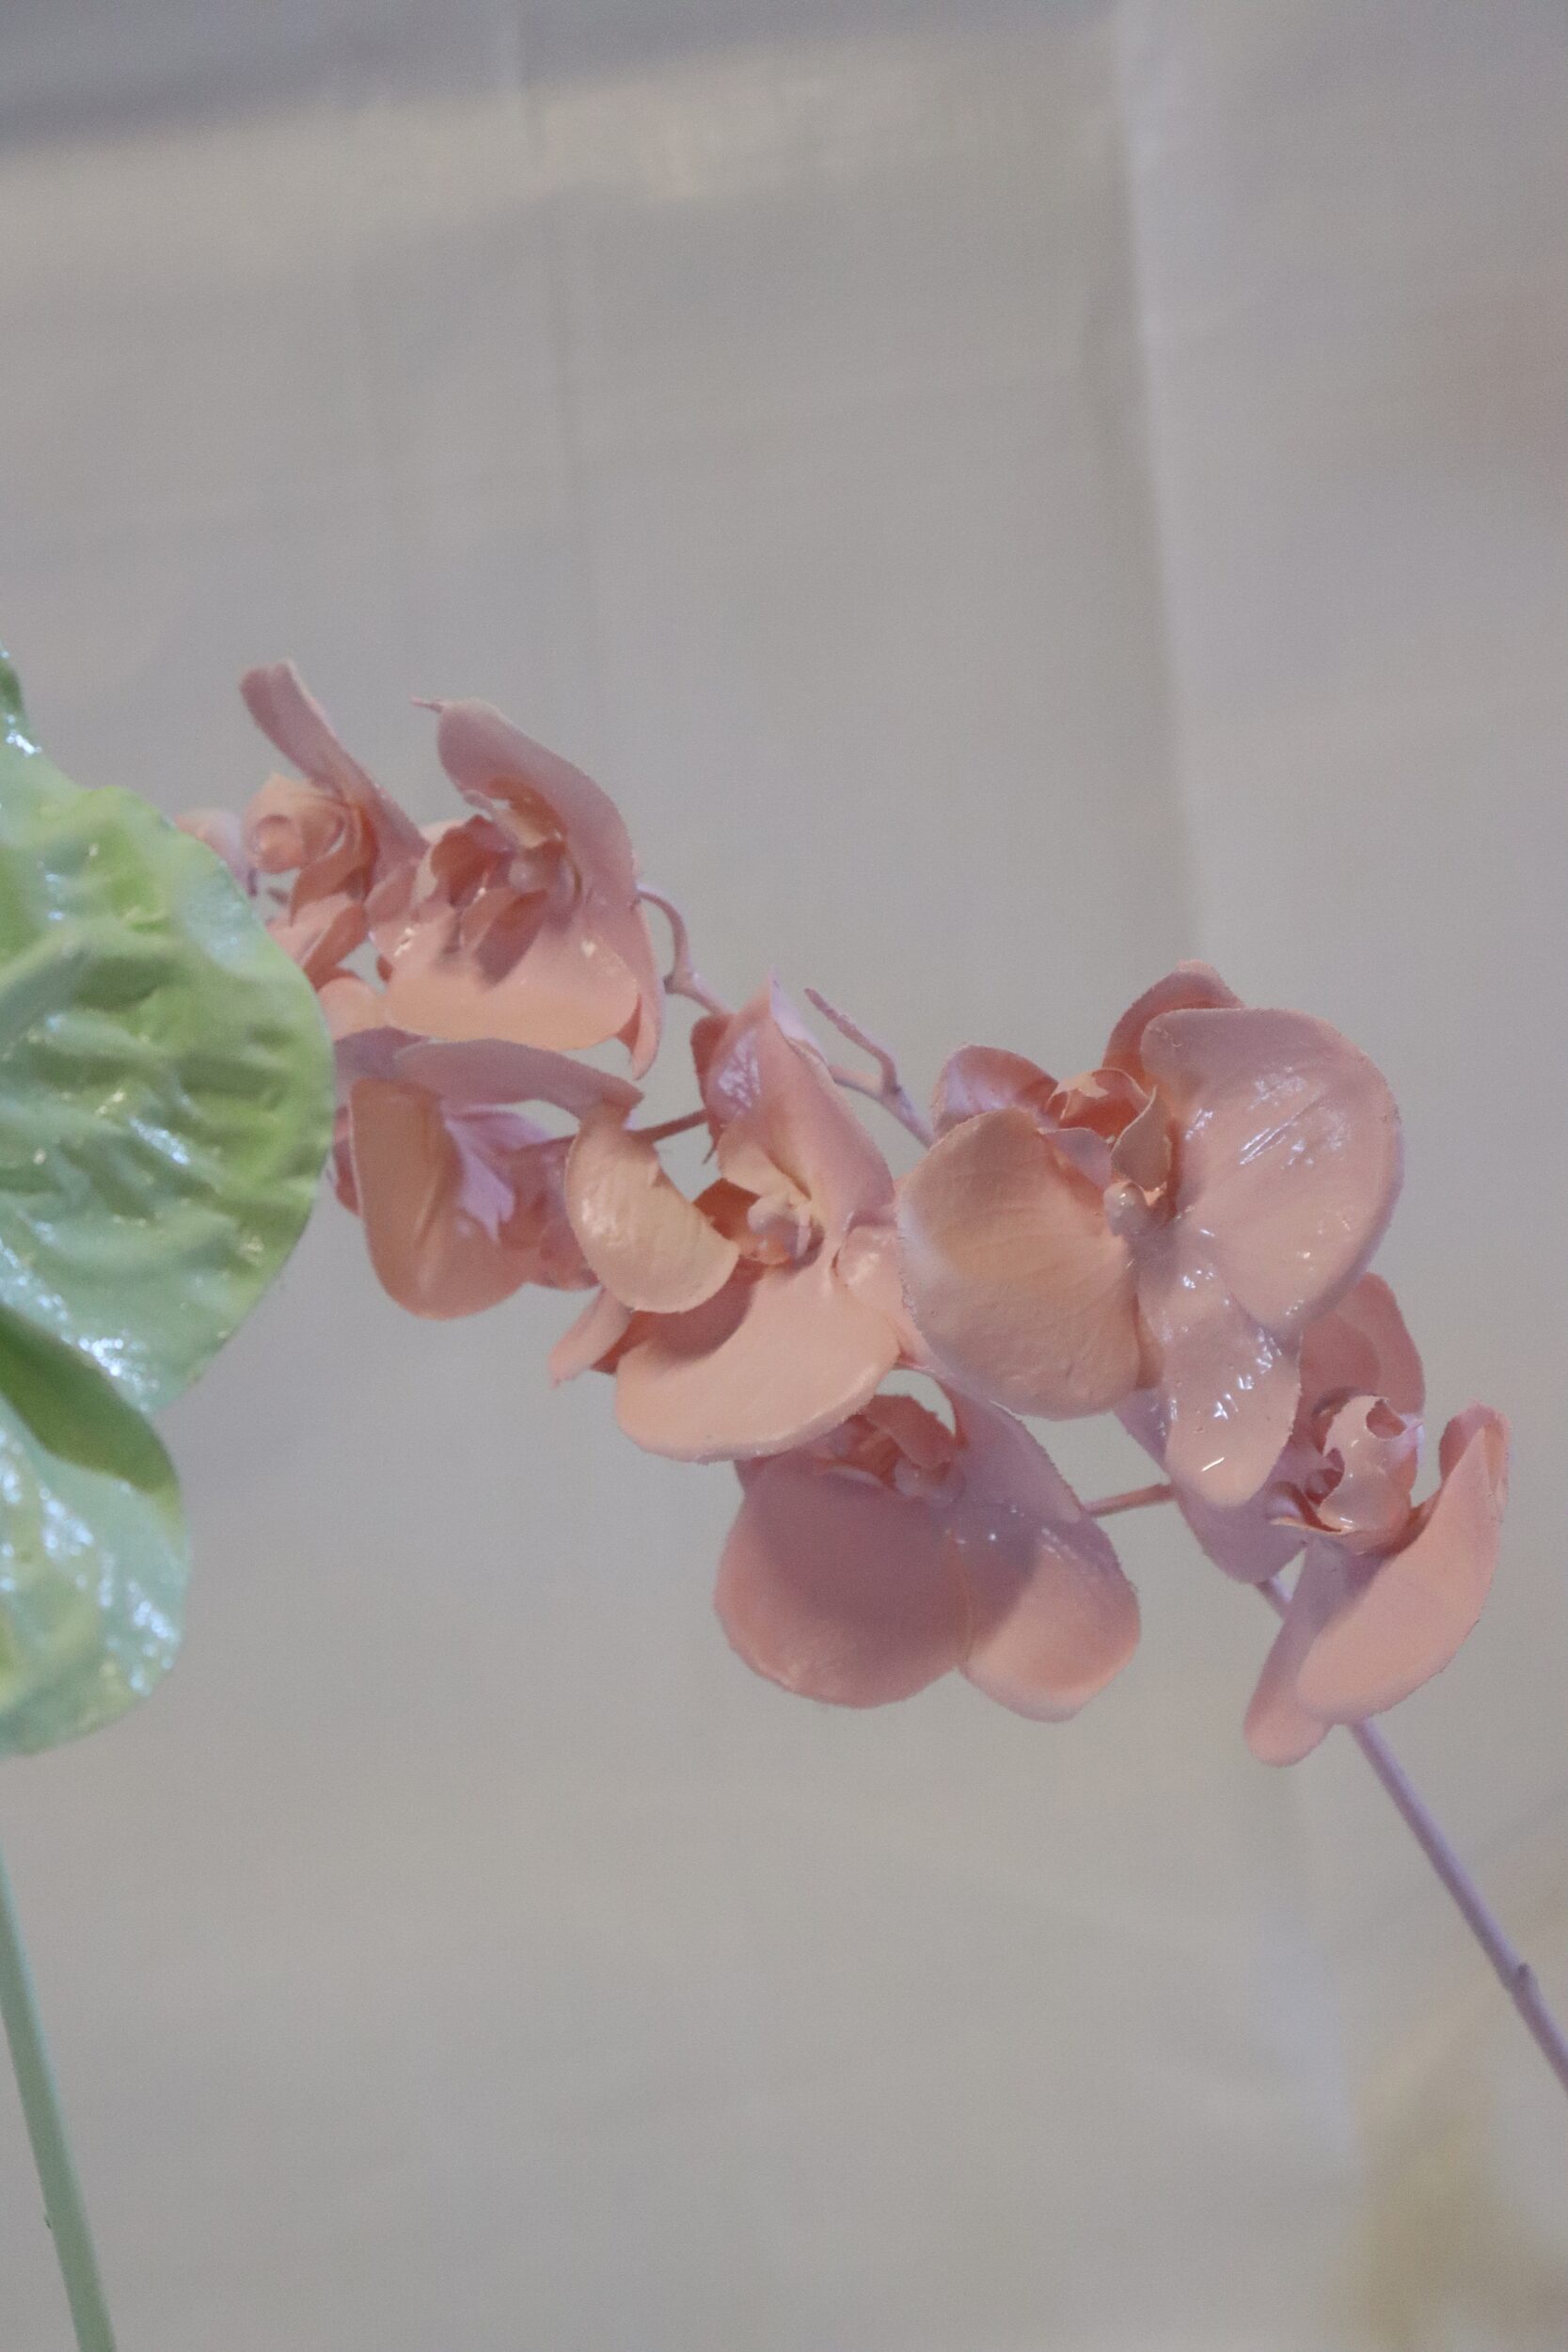
Once dry, repeat this procedure but rather using the PRIMER, take your chosen Montana GOLD can pastel color, and coat each flower as desired. Again, once dry flip them over and coat the opposite side. One coat will most likely be enough, but repeat this process if you desire.
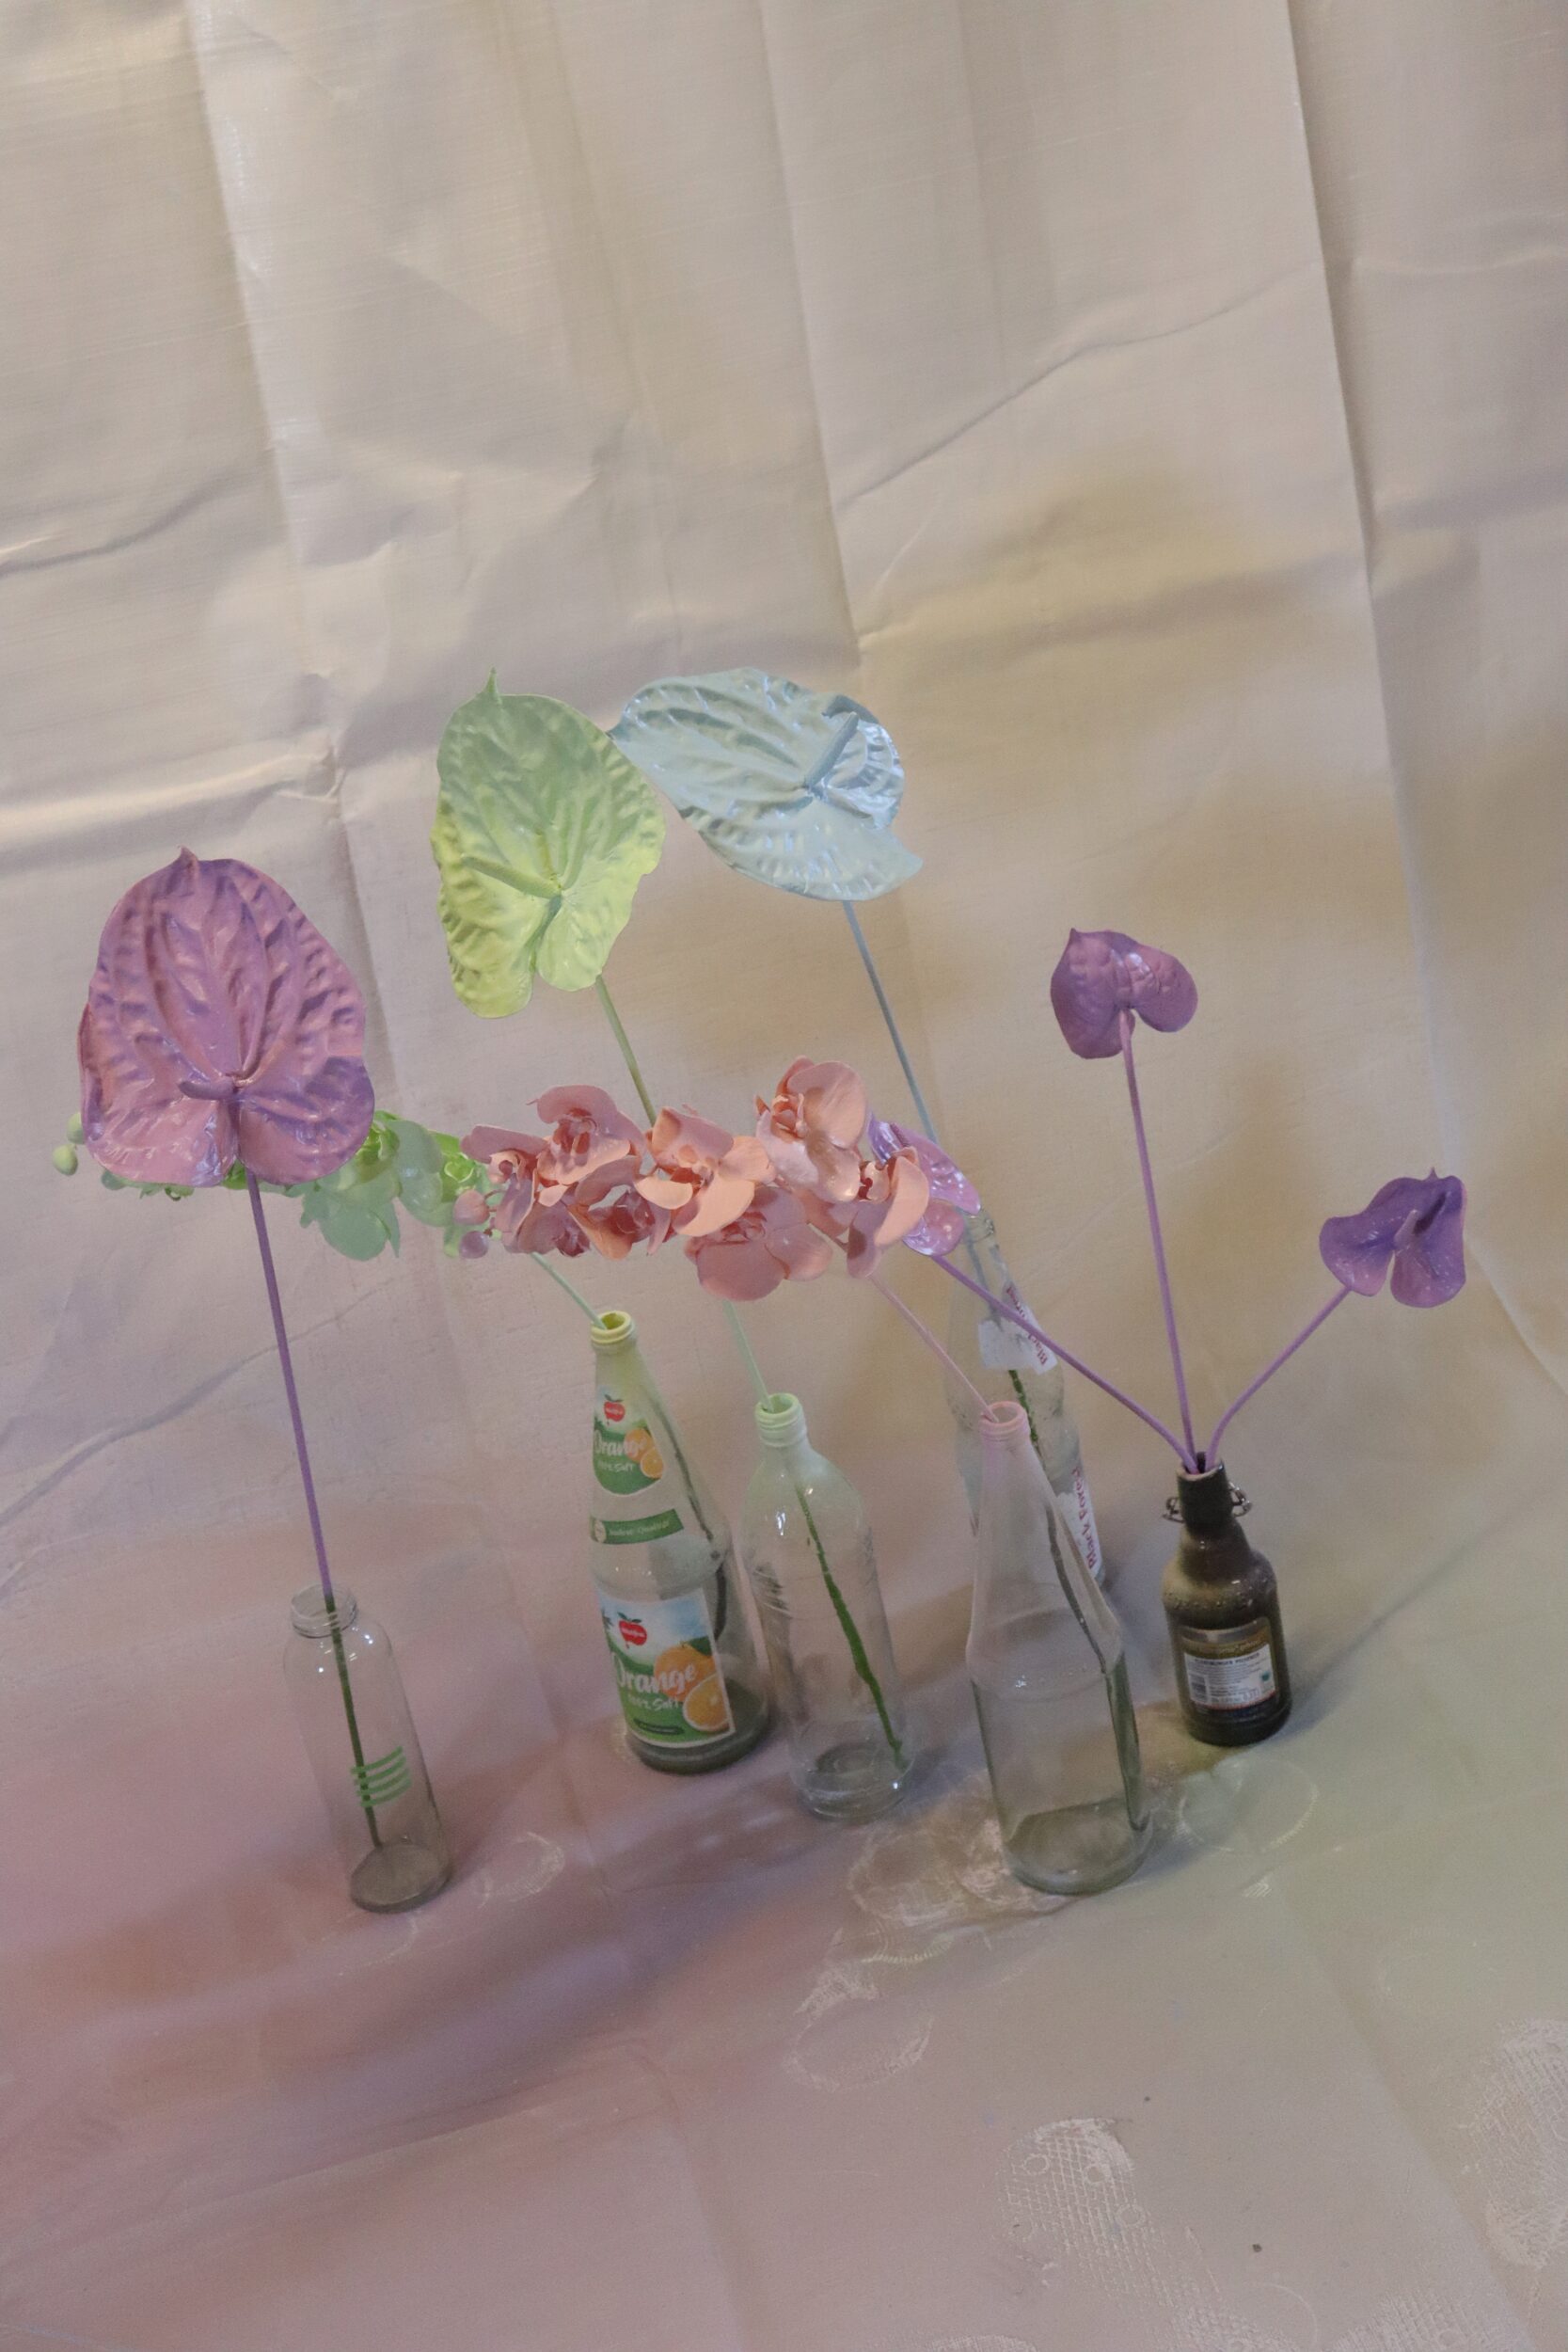
For the finishing touch, leave your painted flowers to dry overnight and then repeat the process, but this time with the Montana VARNISH in the finish of your choice. We chose Gloss to make our flowers shine. There is also Matte and Semi-Gloss to choose from.
And always remember to shake your cans well for 2-3 minutes before using on your painted pastel flowrs.
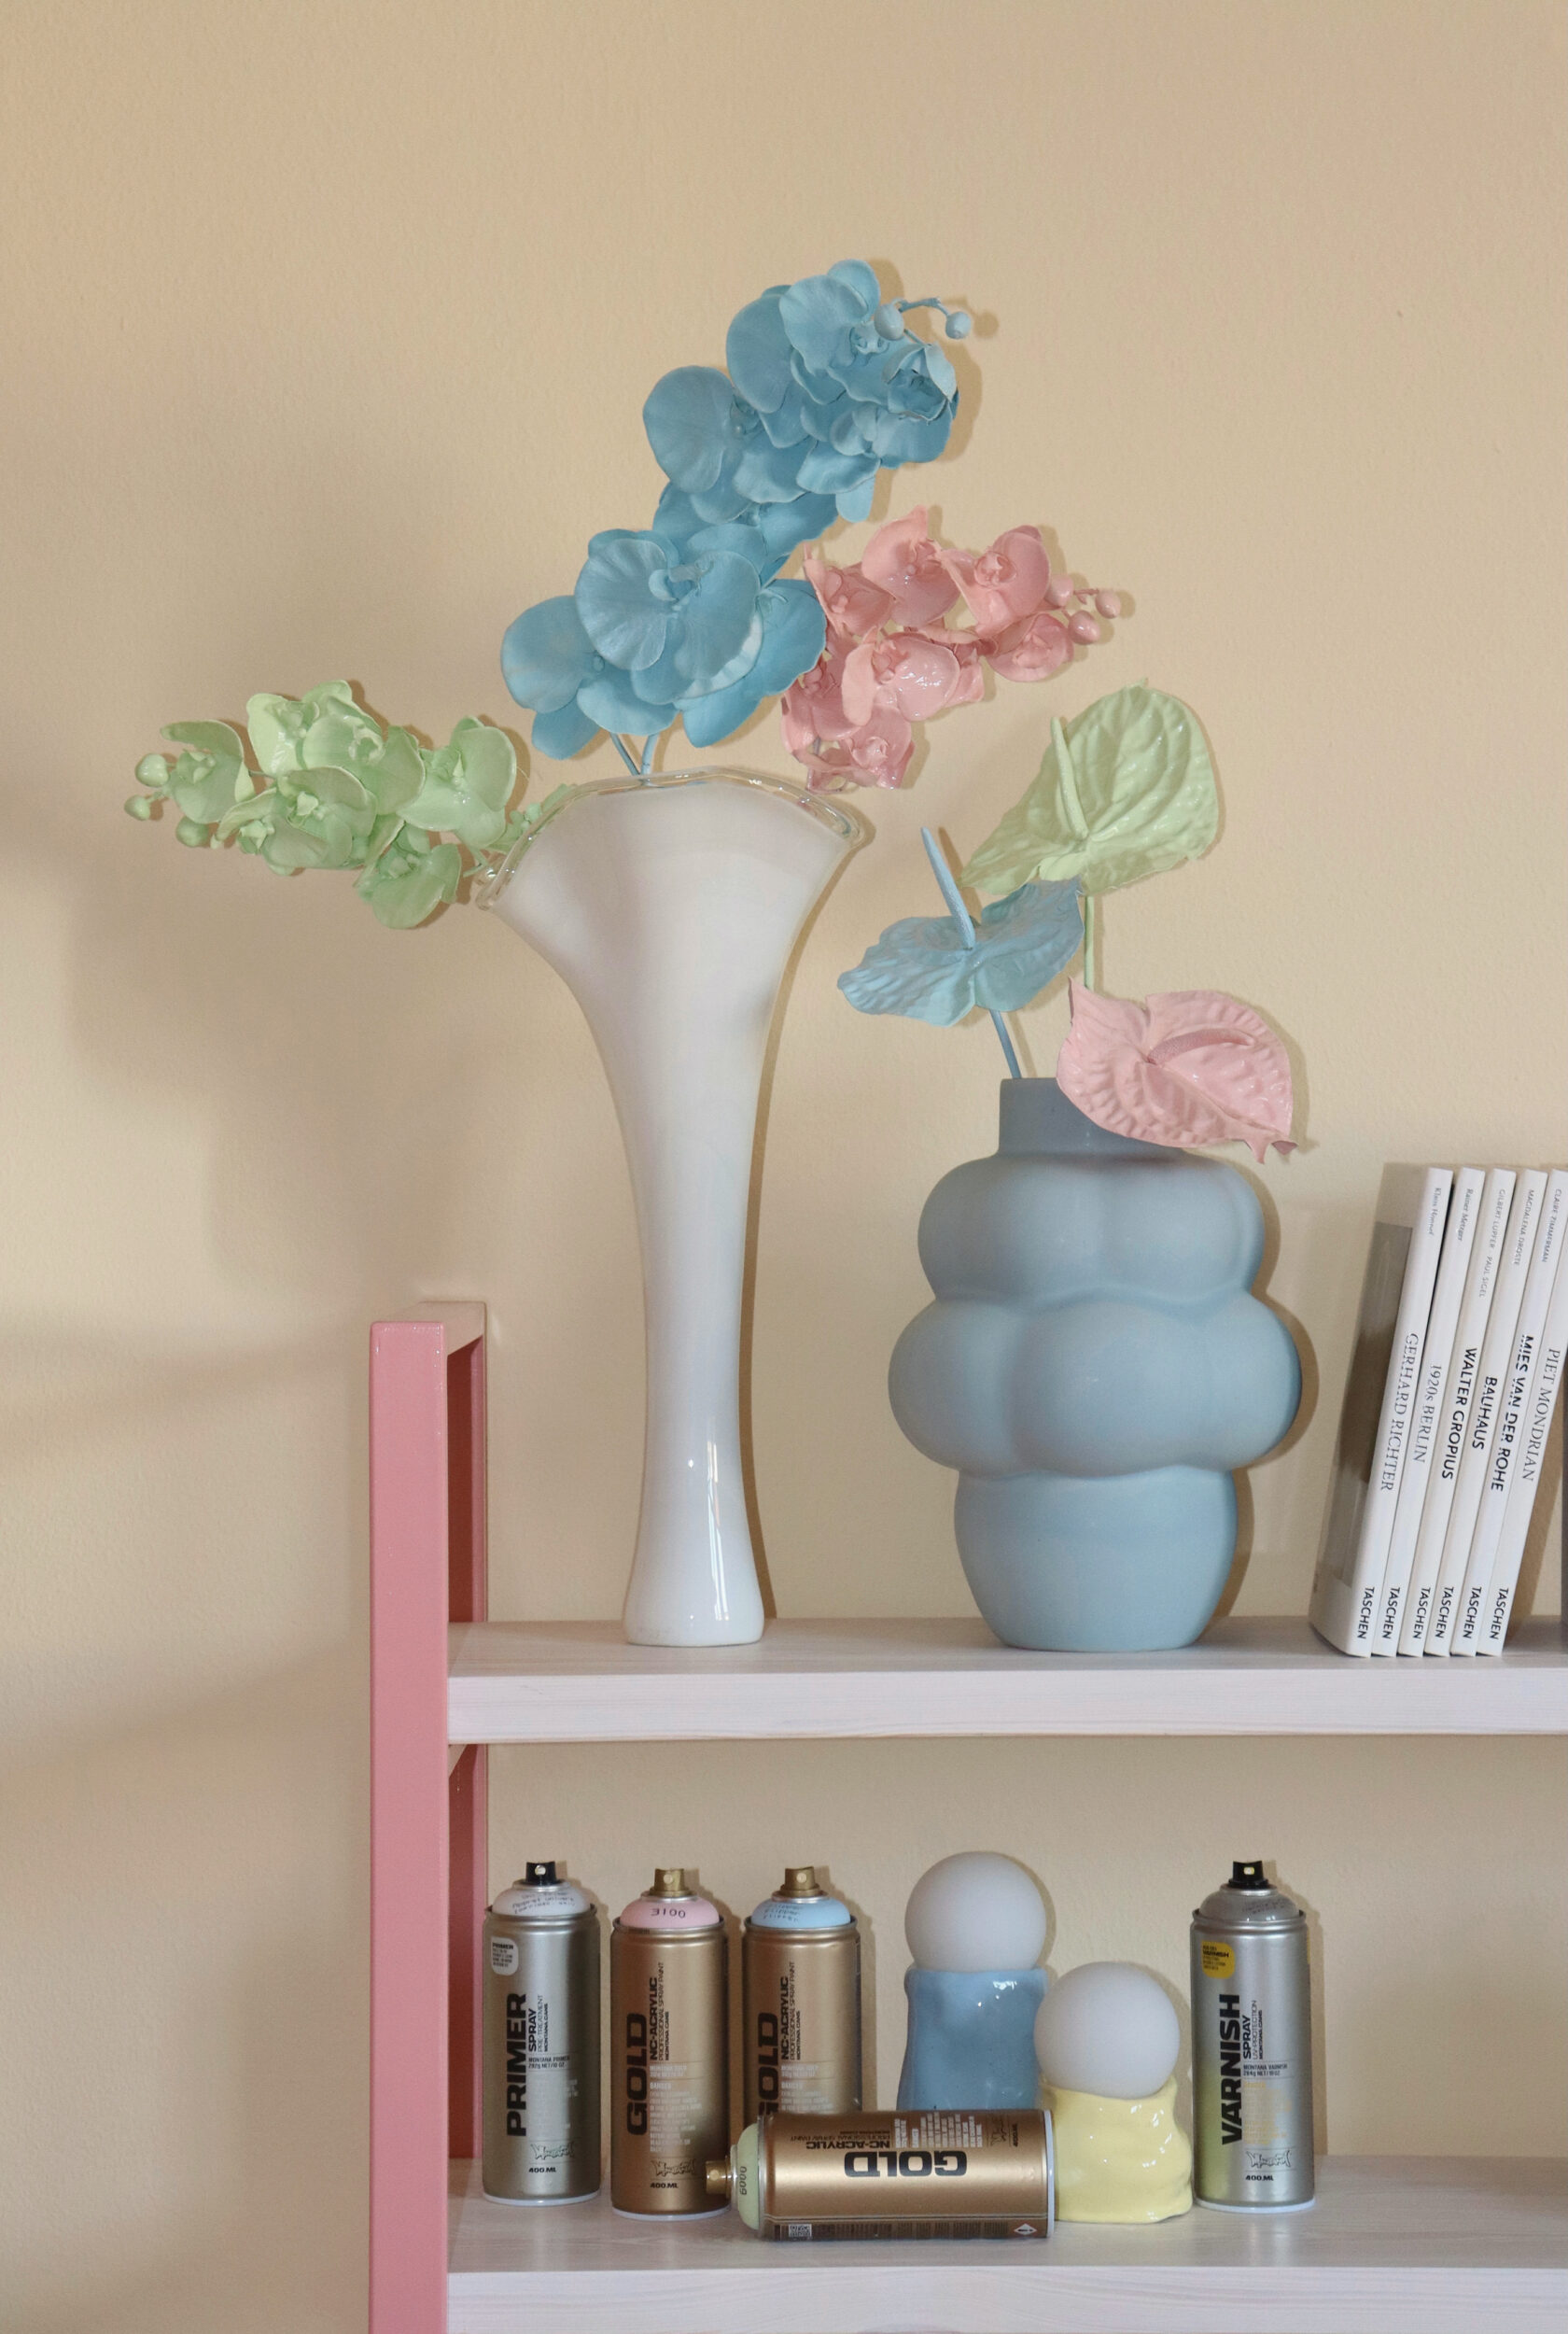
And it is really, that simple! Find yourself a nice vase to display them in the perfect place to show them off. And don’t forget NOT to water your painted pastel flowers. Well done and happy Crafting.


