Putting a new face on the festive season
It’s nearly the festive season again. Time to dust off the decor box and give your space some Christmas spirit. It is also a great excuse to get creative without always needing to buy something new. Here is your chance to up-cycle your existing decor, personalise some new decor and get your “DIY on” with some color and glitter. Want get inspired? Read on.
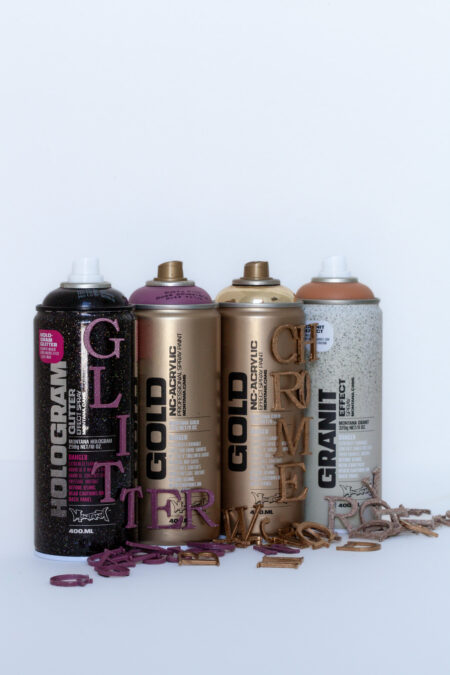
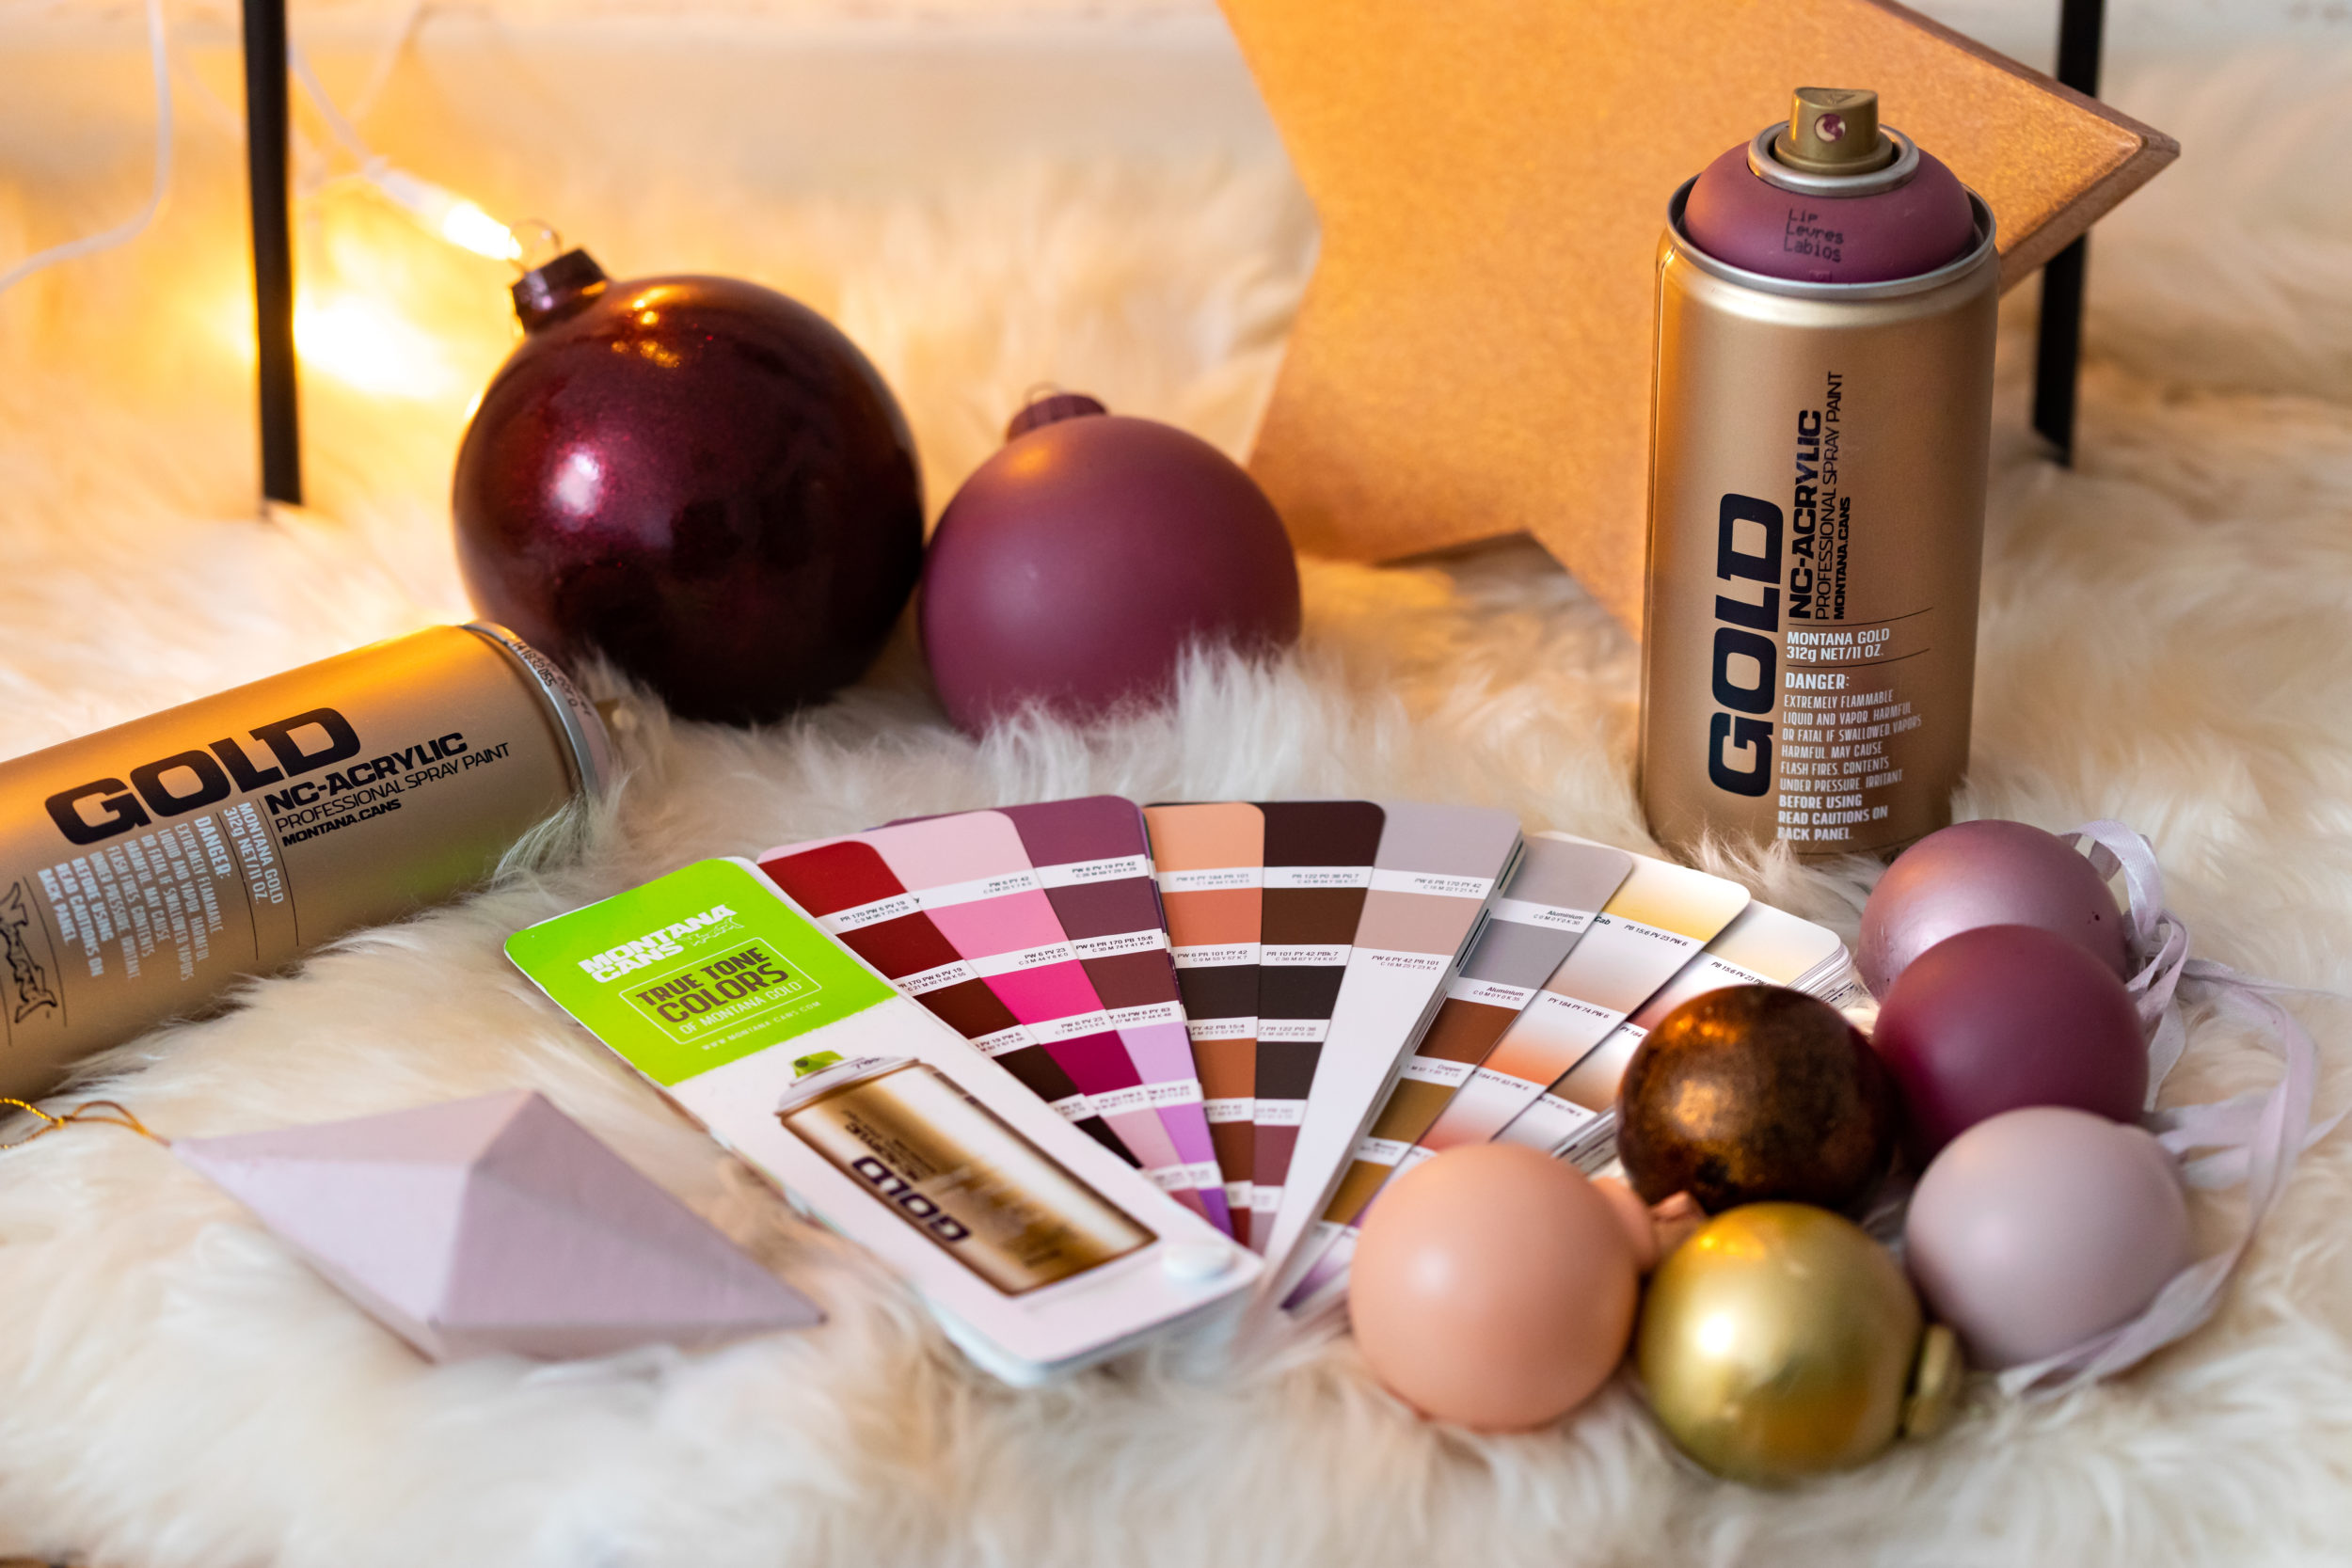
Materials used
- Montana GOLD Line in Paris, Powder Pink, Salmon, Lip, Flesh and Shock Black
- Montana METALLIC Effect in Rose and Aztec Gold
- Montana Glitter in X-mas Red and Dusty Gold
- Montana Universal Primer
- Christmas Decor of various types
- Mask
- Gloves
- Drop sheet
- Metallic display rack (other options possible)
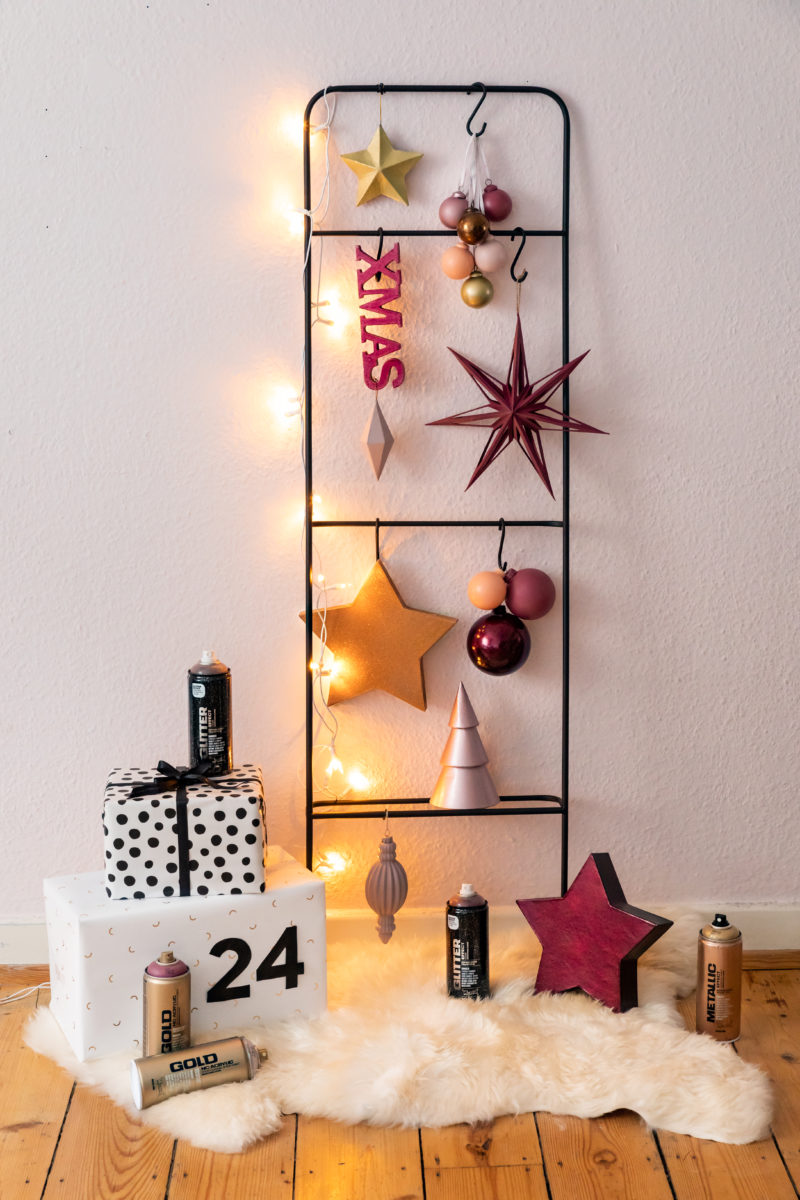
How it was done
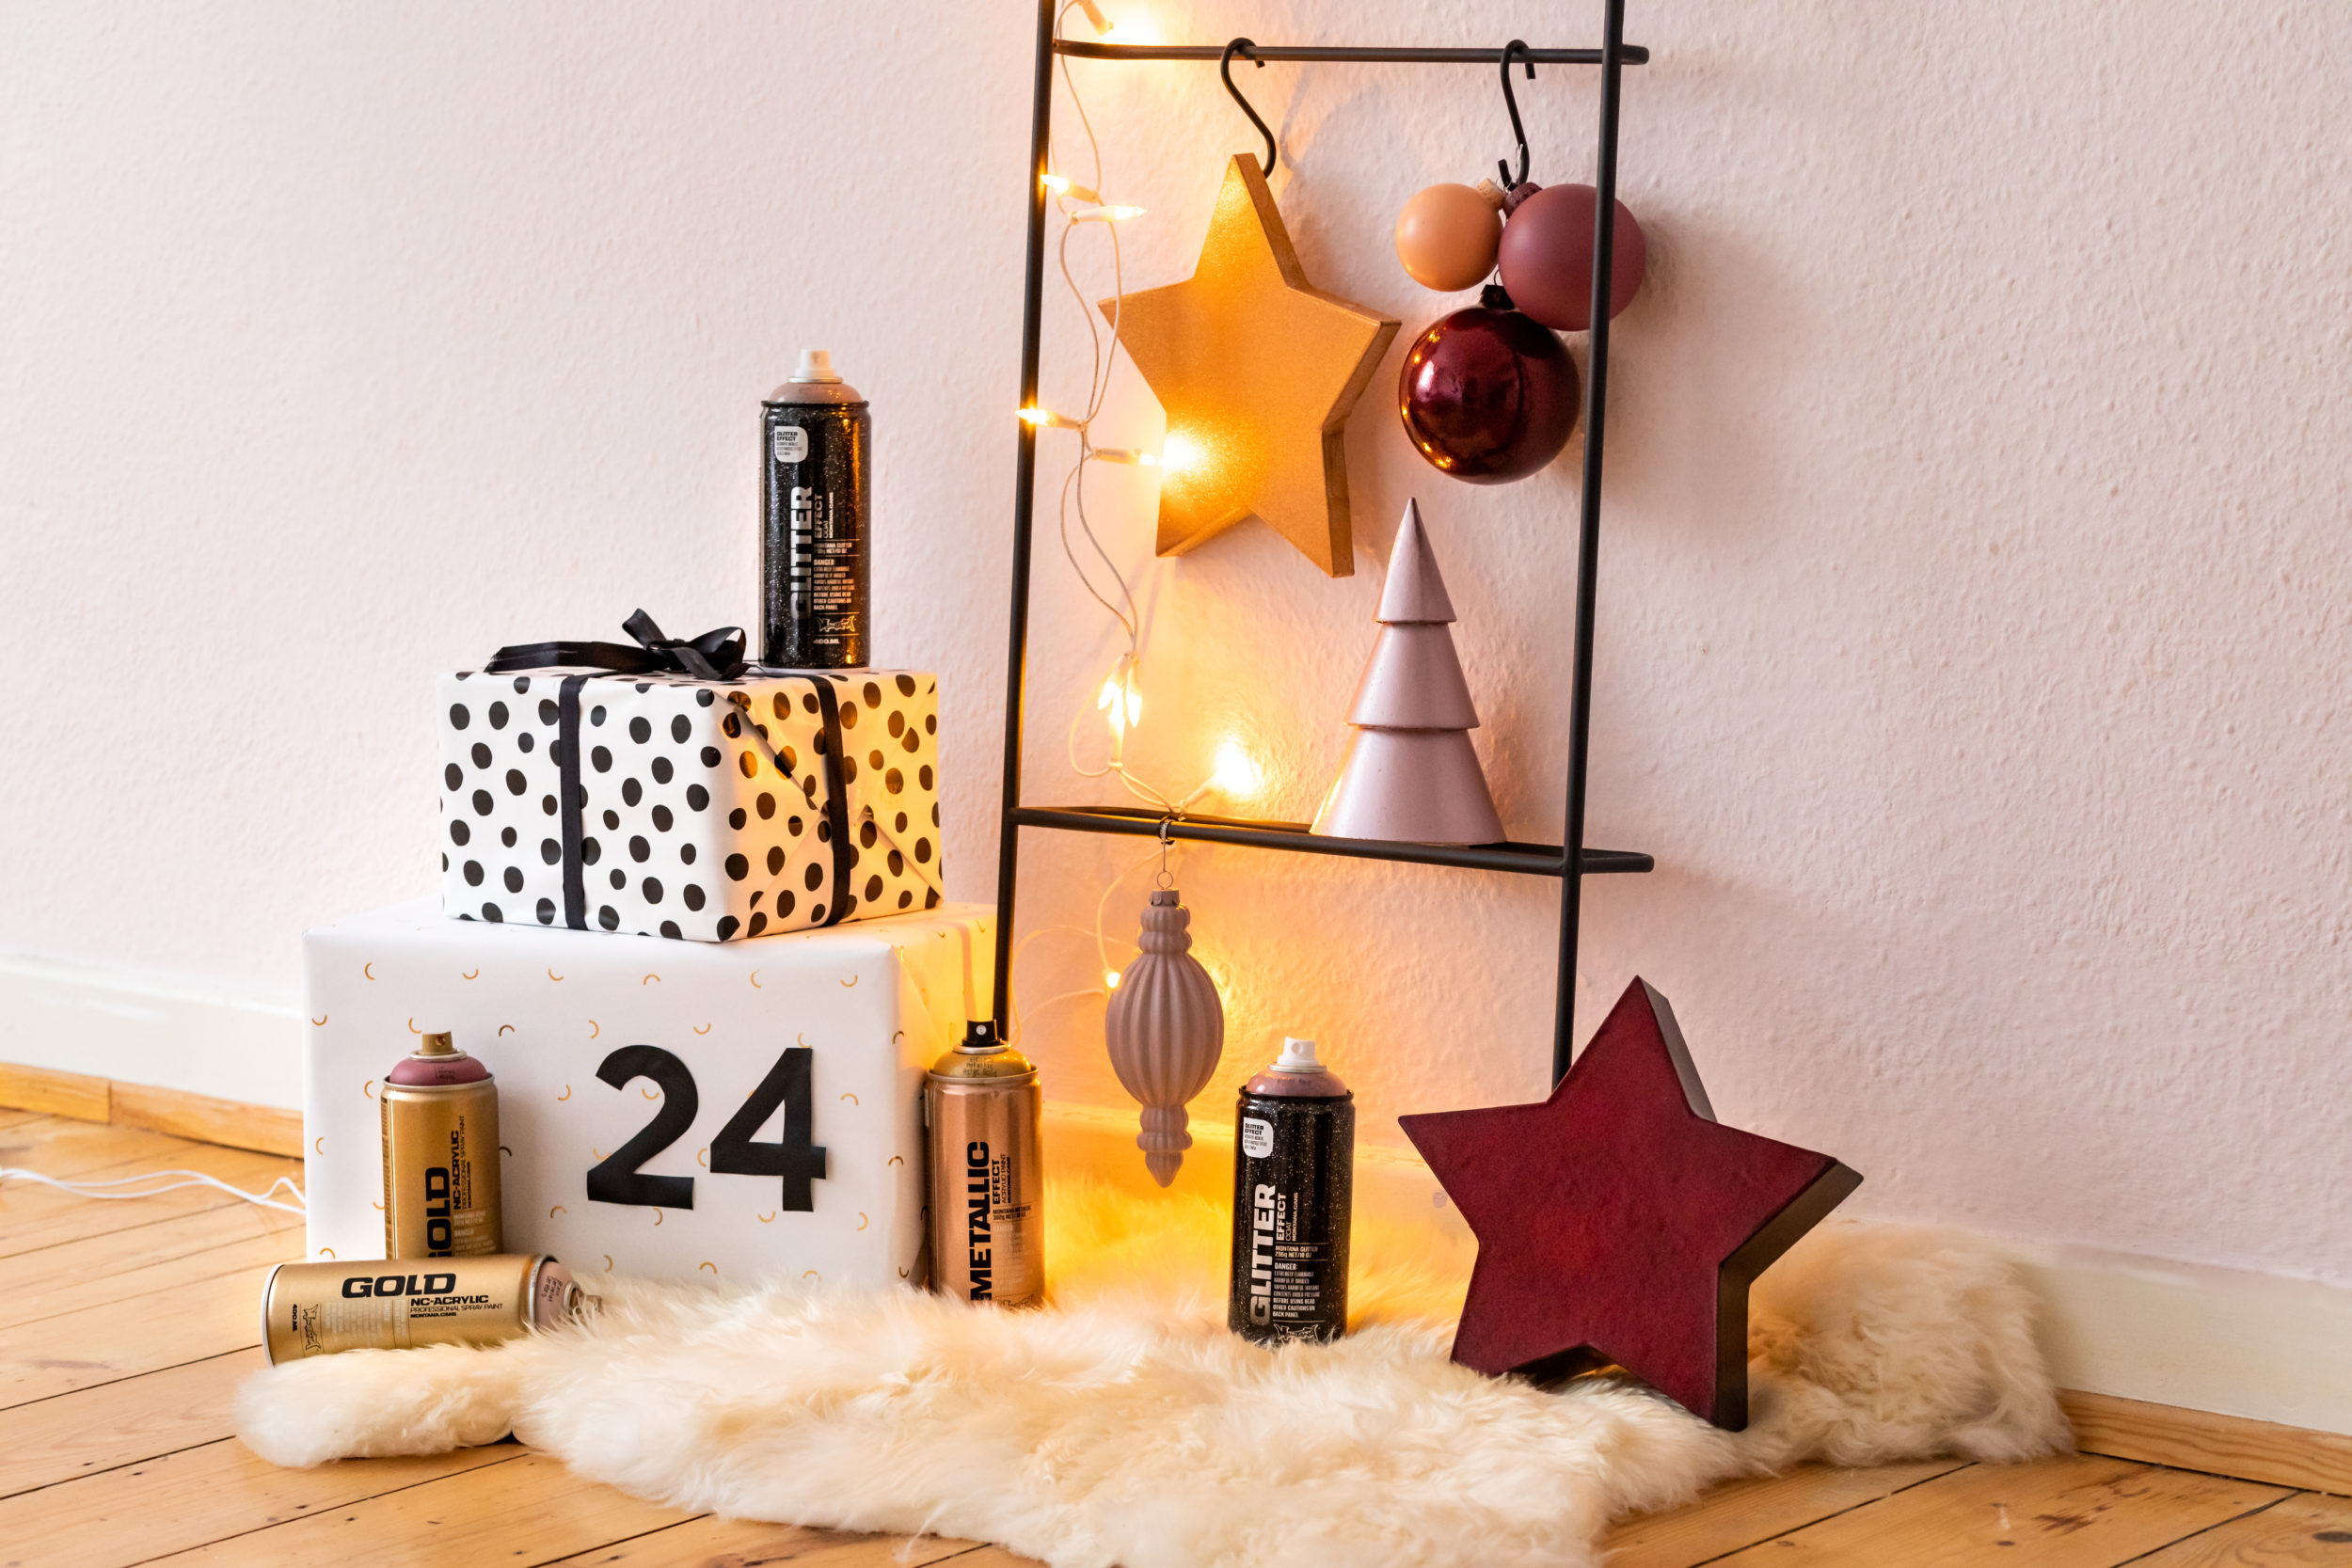
Our idea stemmed from a metallic display hanger that we found in a local decor store. It looked just perfect! You may have luck and find one in a hardware or homewares store, but if you can’t find anything or don’t have any alternatives, don’t worry! Even re-inventing the decor and hanging or displaying it by itself looks great.

As with all your creative projects, make sure everything is clean, dust free and dry before you start. Once you’ve done this, prepare your painting space with the drop sheet so that you don’t get dust on your freshly painted ornaments. Start with any of the objects that have pre-coated surfaces that need covering or have no coat at all and you want to seal them. In our case it was the wood objects. Grab your Montana Universal Primer can and shake well for 2-3 minutes.
Turn the can upside down and take the nozzle off. The little black plastic safety ring should fall out meaning you can replace the nozzle back on the can. Repeat this process with all of you cans when you start use them. Place the wooden items on the drop sheet and apply evenly. Maintaining about 20cm from your objects, sweep from left to right as you go. As you are wearing gloves, you may also choose to hold objects while painting instead. Then let them dry thoroughly.


On some of the items we are going to paint with the stylish new Montana Glitter 400ml colors, X-Mas Red (of course) and Dusty Pink. All the items you want to give a Glitter touch, paint them black first with your Montana GOLD Shock Black can, just as you did with the primer. This is all the preparation work done. Easy..
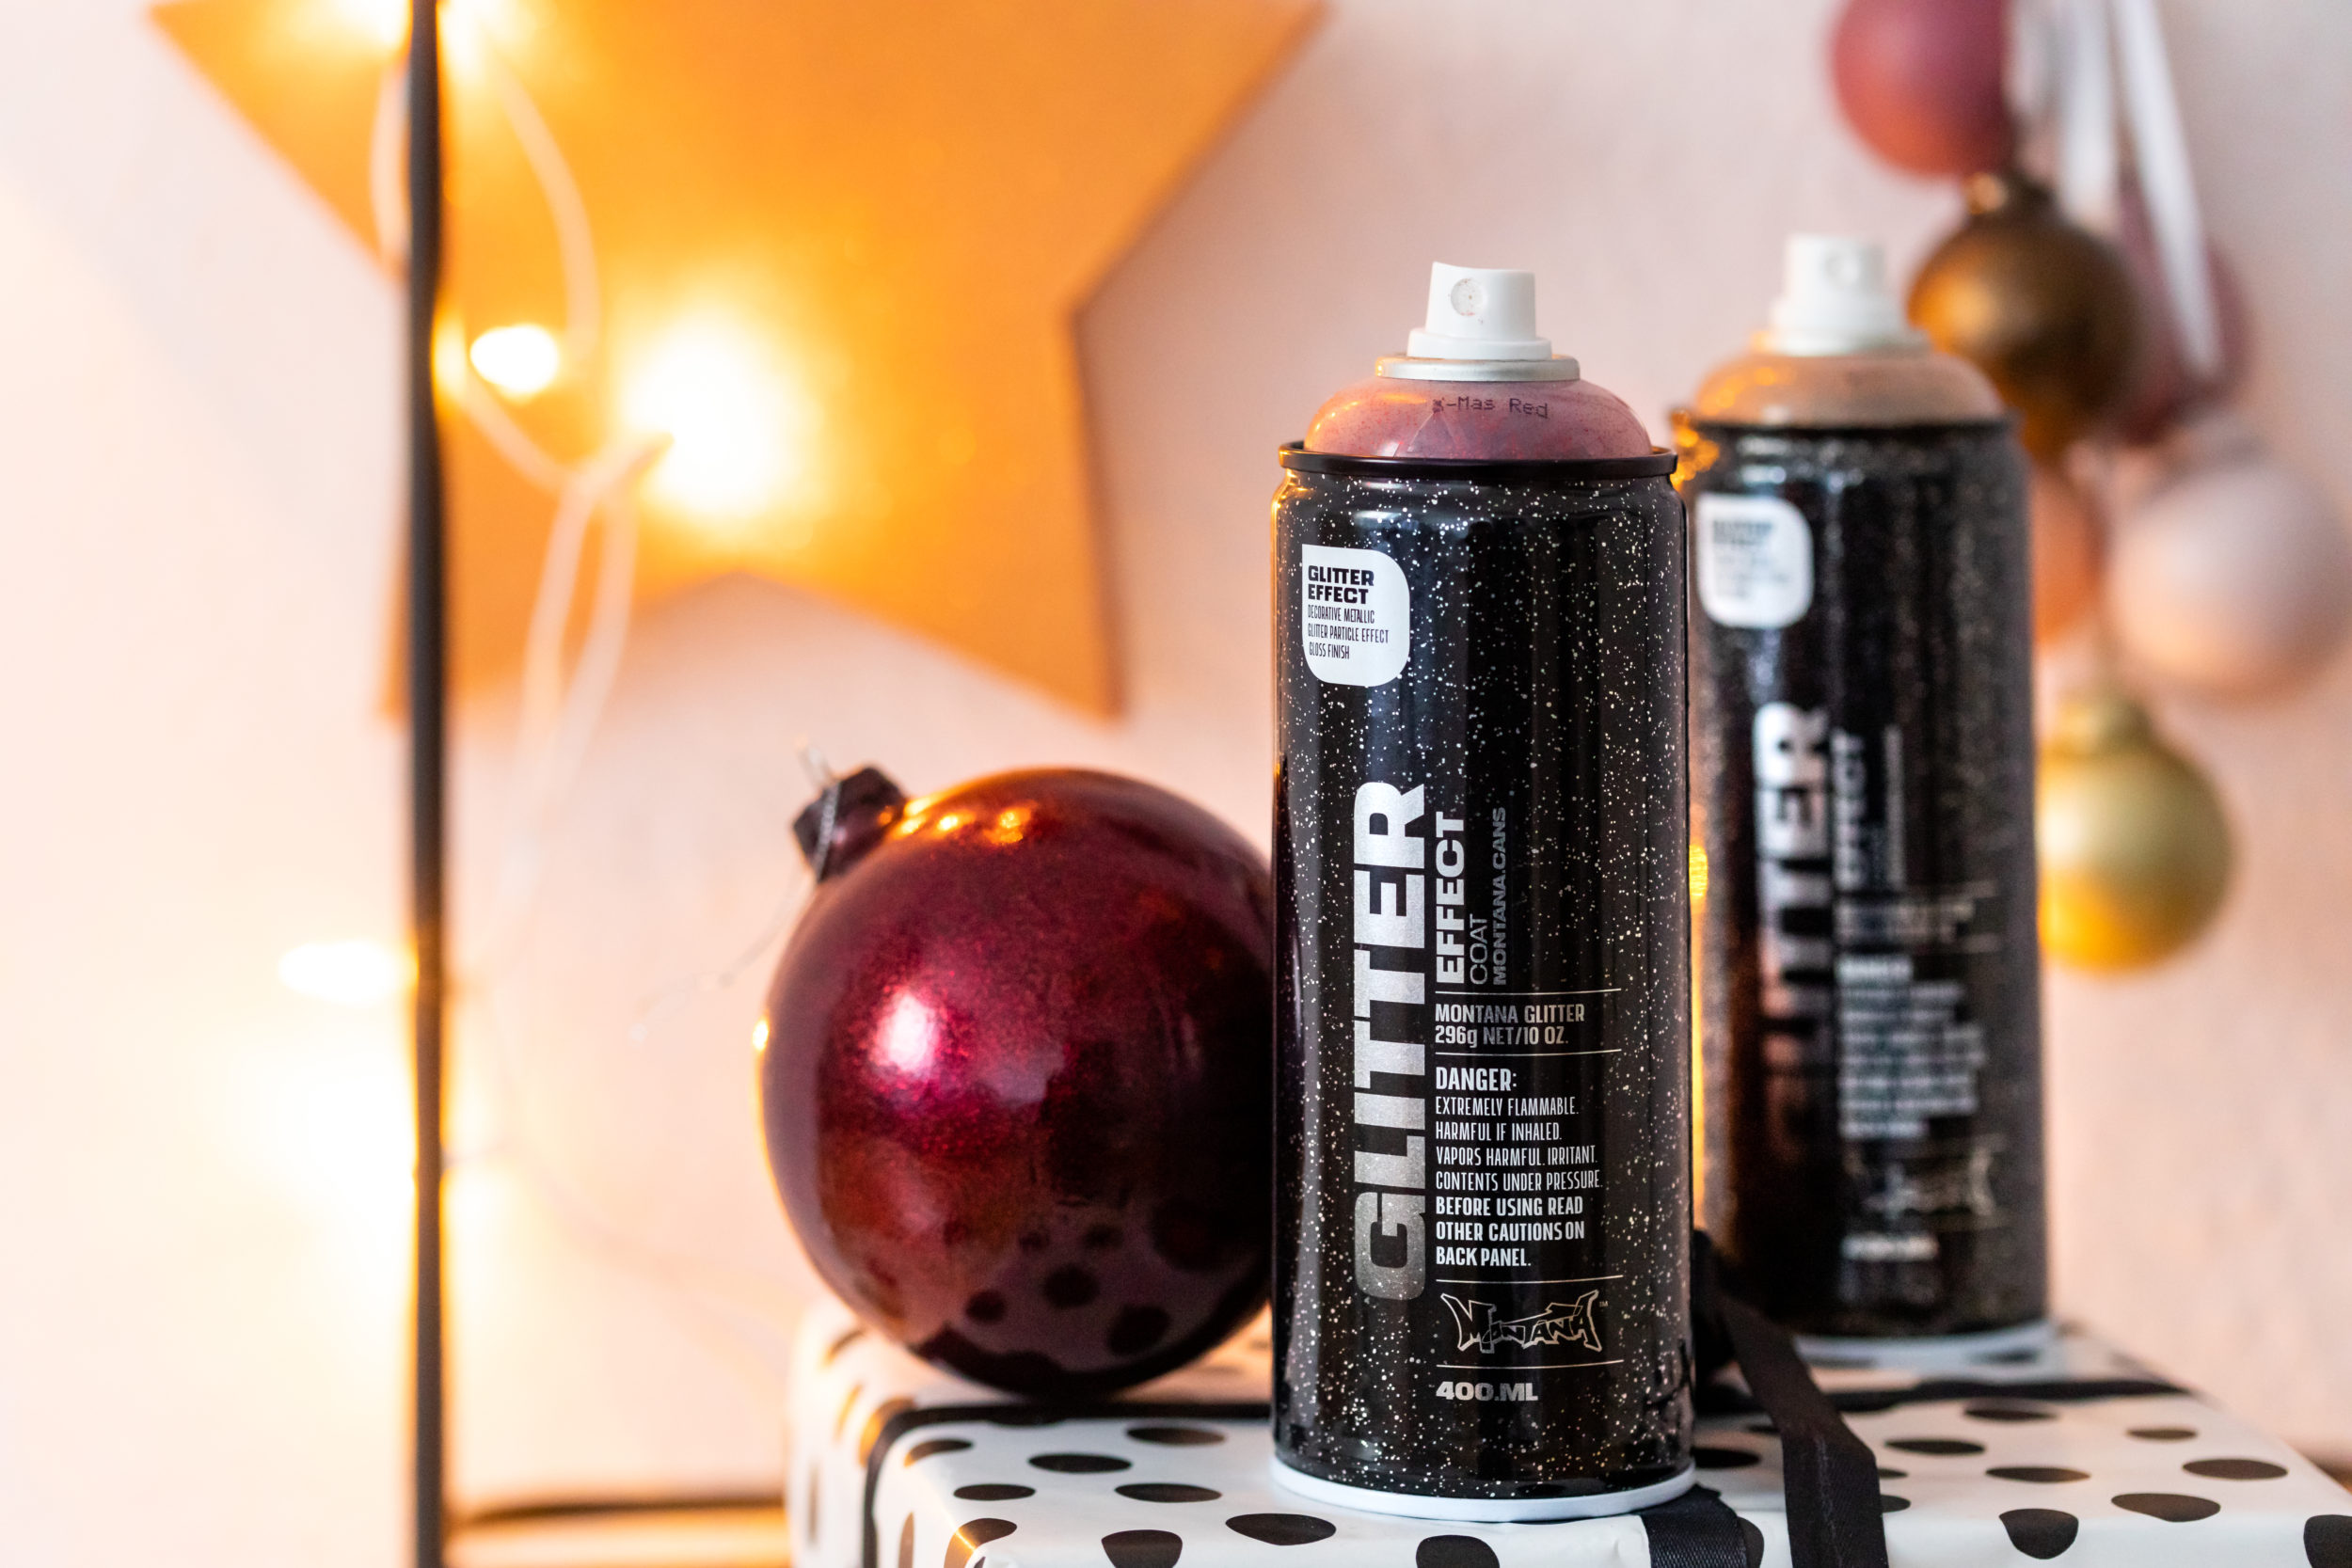
Everything is now dry and begging to get a new facelift. Start with all your pre-primed black ornaments. Grab your Glitter Effect cans, shake as above and slowly apply thin layers from 20-25cm away. It’s important to not apply it too close, as you’ll get drips. And even more important is to shake well again before every session. Even if you’ve just paused 5 minutes to answer the phone. This will ensure the heavy pigments are perfectly mixed and will apply evenly. Most likely you’ll already be impressed at the results by now. But if you feel you want to, apply a thin second coat at least 5-10 minutes later. These little beauties are done!

The final aspect is adding color to your remaining objects. Remember we have Metallic Effect colors and normal pigmented colors. Take some time to consider which items you want to give a Metallic look and which just need a new color to pep them up. Then shake, shake, shake and then choose the ornament you want start with. Have your objects 20-25cm away and apply thin even coats.
If you want to re-coat anything, again give it at least 10 minutes or more so you don’t accidentally leave finger marks on wet paint. The more items you have, the more you can experiment with which paint type (Glitter/Metallic/color) you think looks best on which surface.
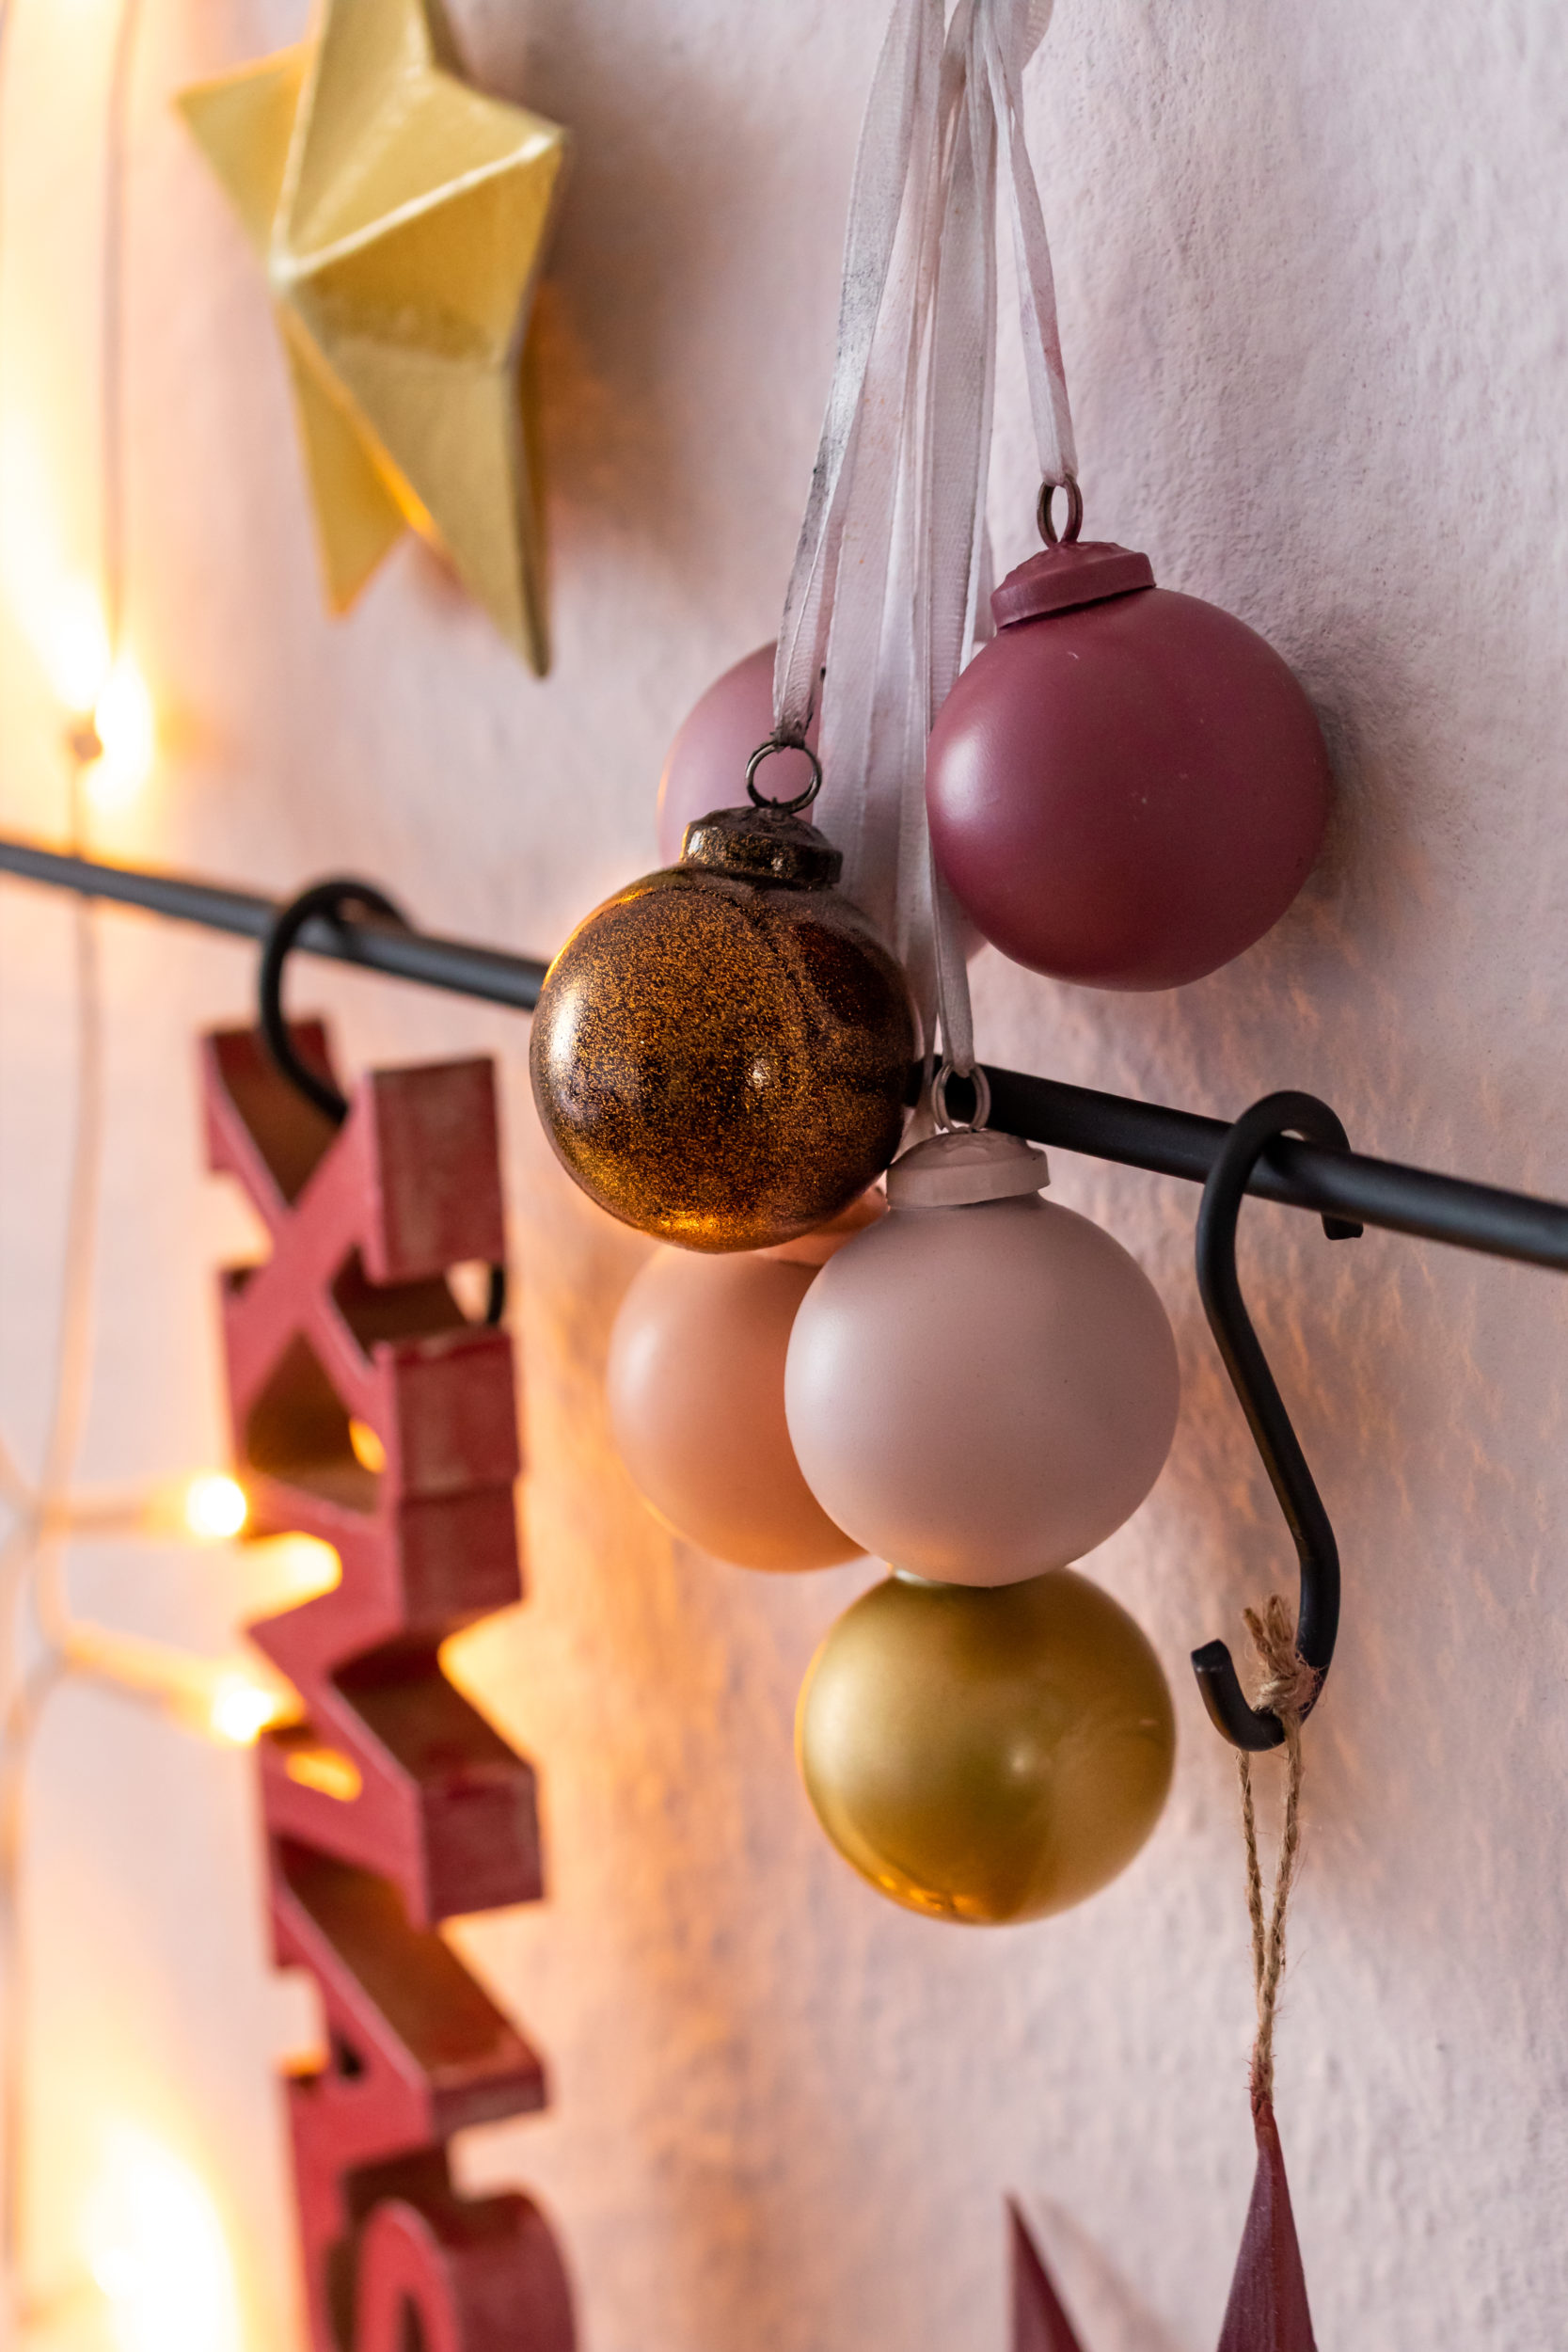
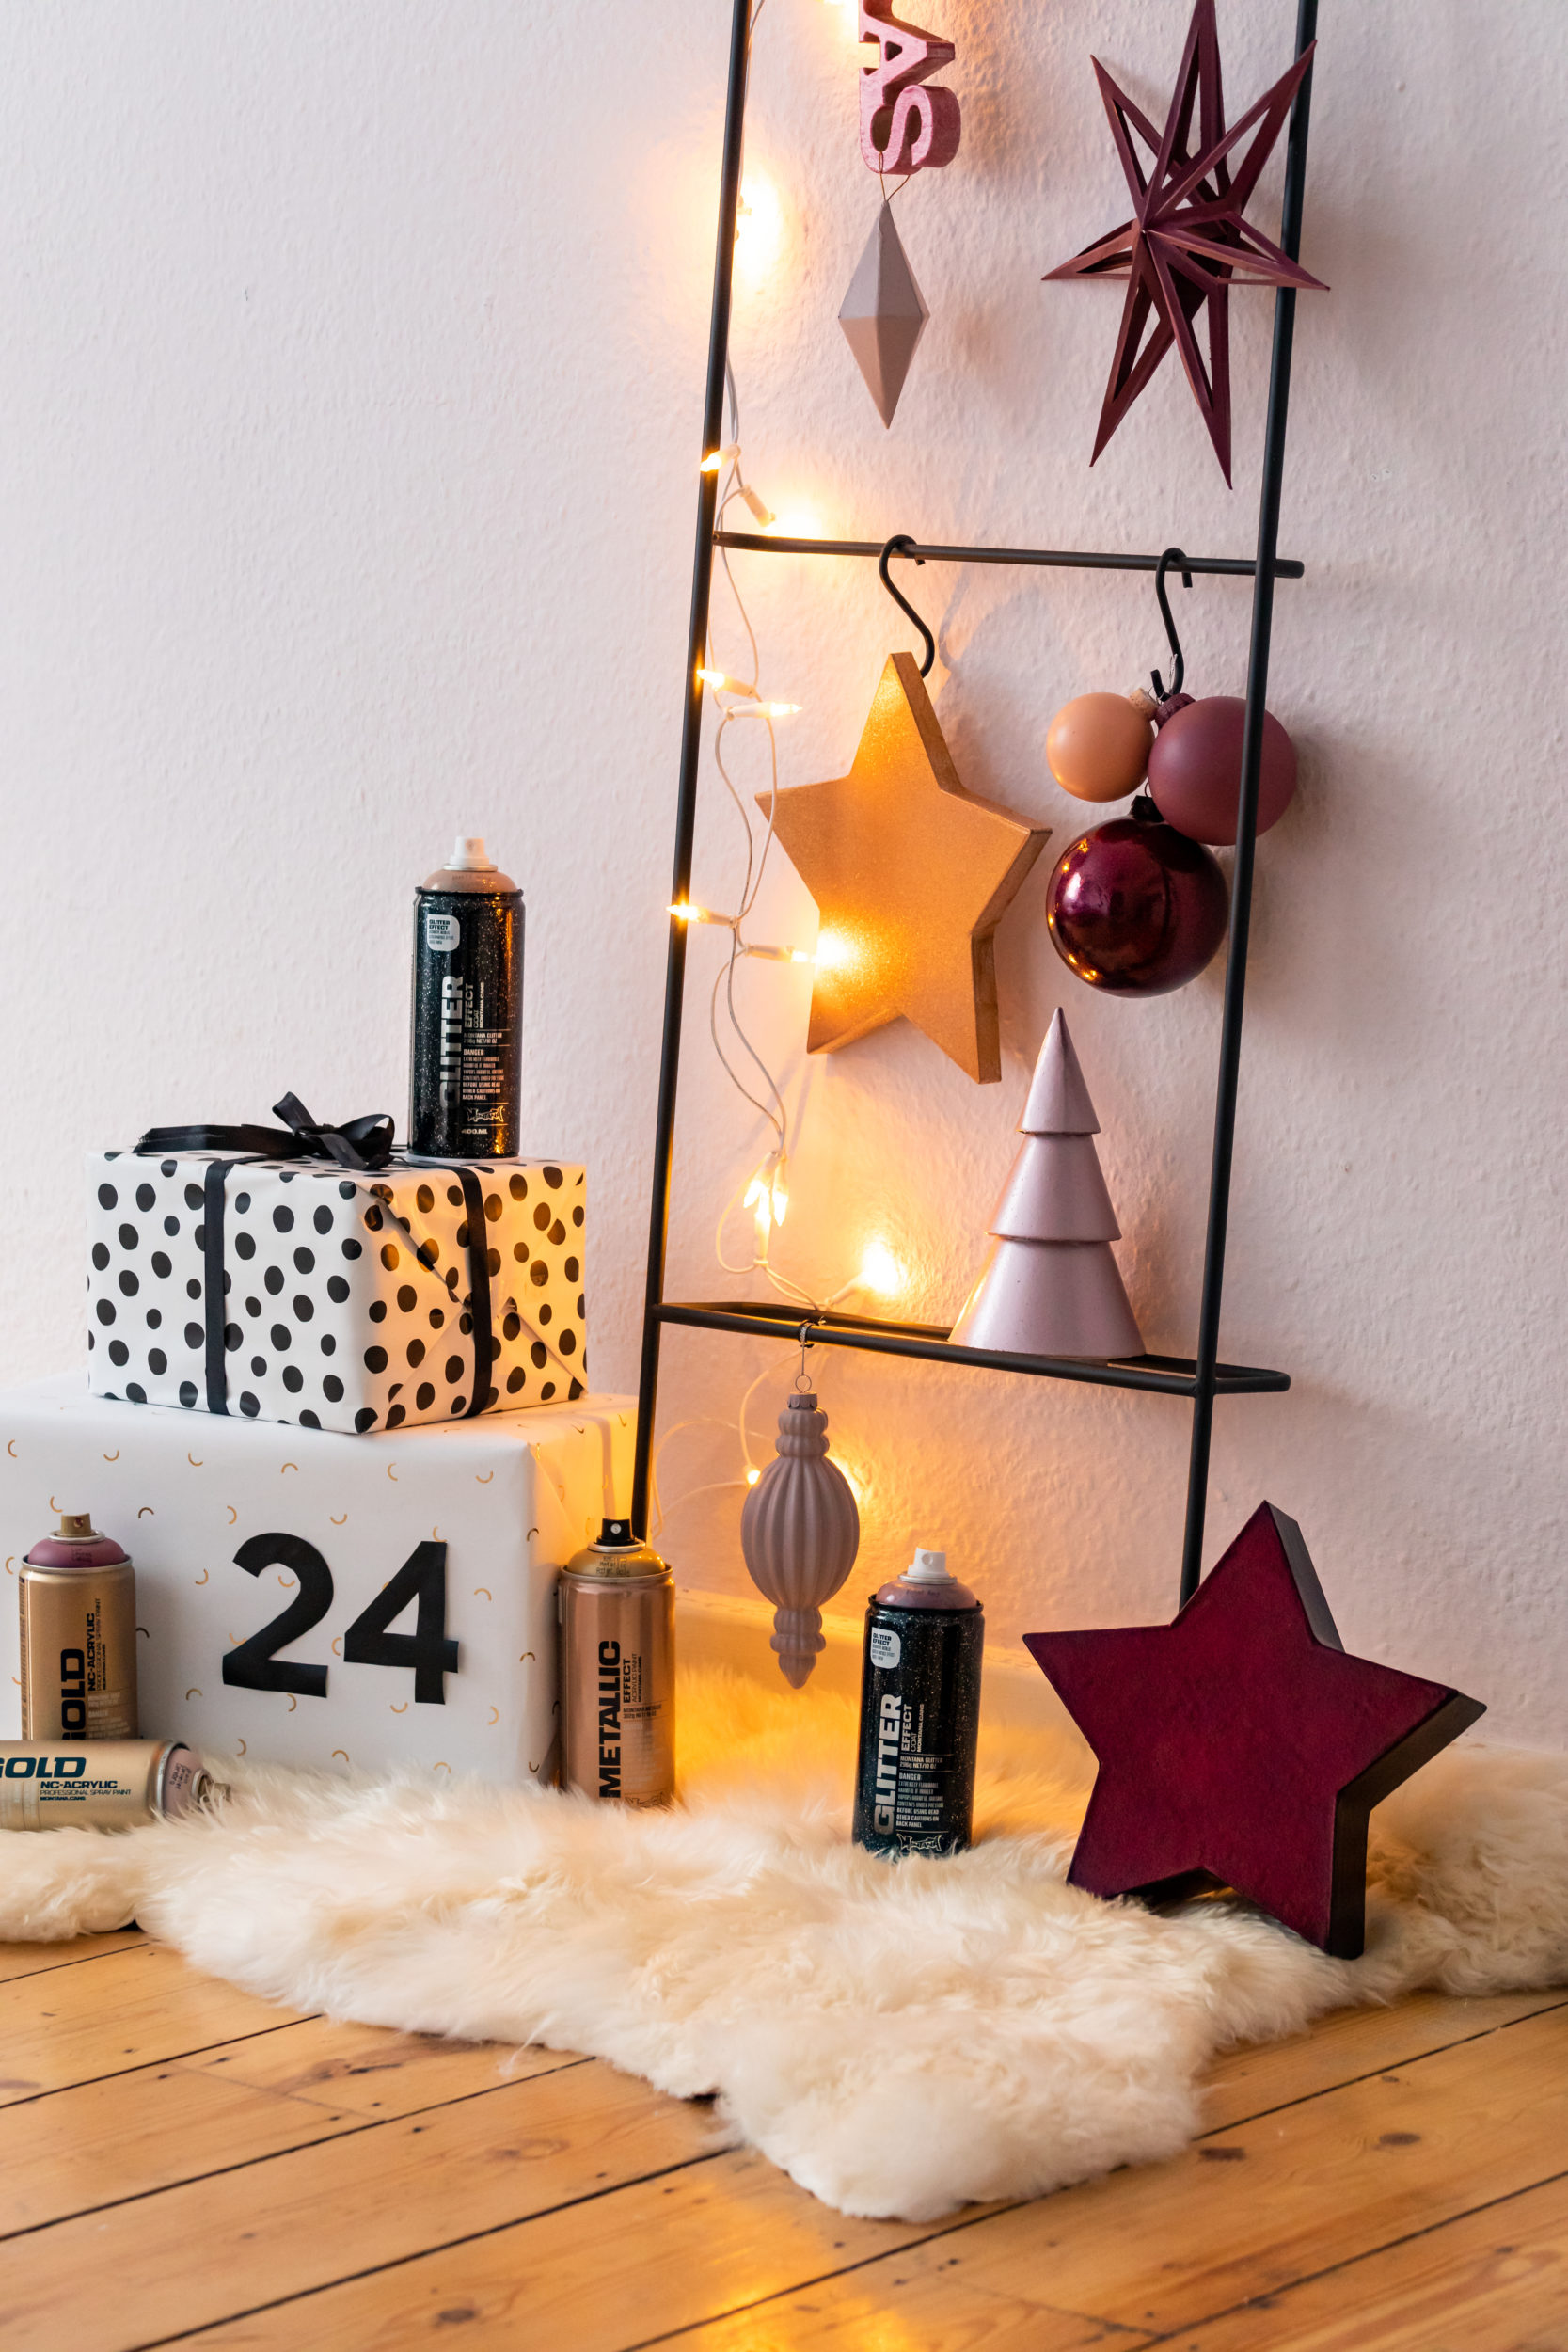
After leaving these all to dry 24 hours or more, you are ready to put them into service. For us, the steel hanging rack came with hooks we could attach the objects onto it with. So it is easy if you have the same system. If you have found an alternative hanger, hanging hooks are available at hardware stores and homewares stores (like Ikea). But other materials like string, cord, thread or even nice steel cable could be an aesthetic option.
The Red Glitter Christmas is a very easy project for all skill levels. The only considerations are finding your hanger, or thinking up an alternative. Oh.. and making that all challenging decision, “do I just use existing decor I have, or do I buy some new things as well”? Luckily for you there is no wrong answer. As Christmas is approaching, there are plenty of unpainted objects in stores of various materials for you to choose from. This Christmas, when you look around your home, don’t forget to tell yourself, “well done”. Merry Red Glitter Christmas and Happy Crafting!