

Making the Halloween table chic
For kids, halloween is a great chance to dress up, celebrate gore, enjoy the night and of course to “Trick or treat”. But what about us adults? There is no reason why we can’t celebrate this holiday and have some friveless fun at the same time. And it isn’t hard to turn your classic pumpkin decor into chic table dressing for a Halloween themed dinner party. In no time you can pretty up the table, just before you go inside and pretty up yourself. Here’s how.
Materials used
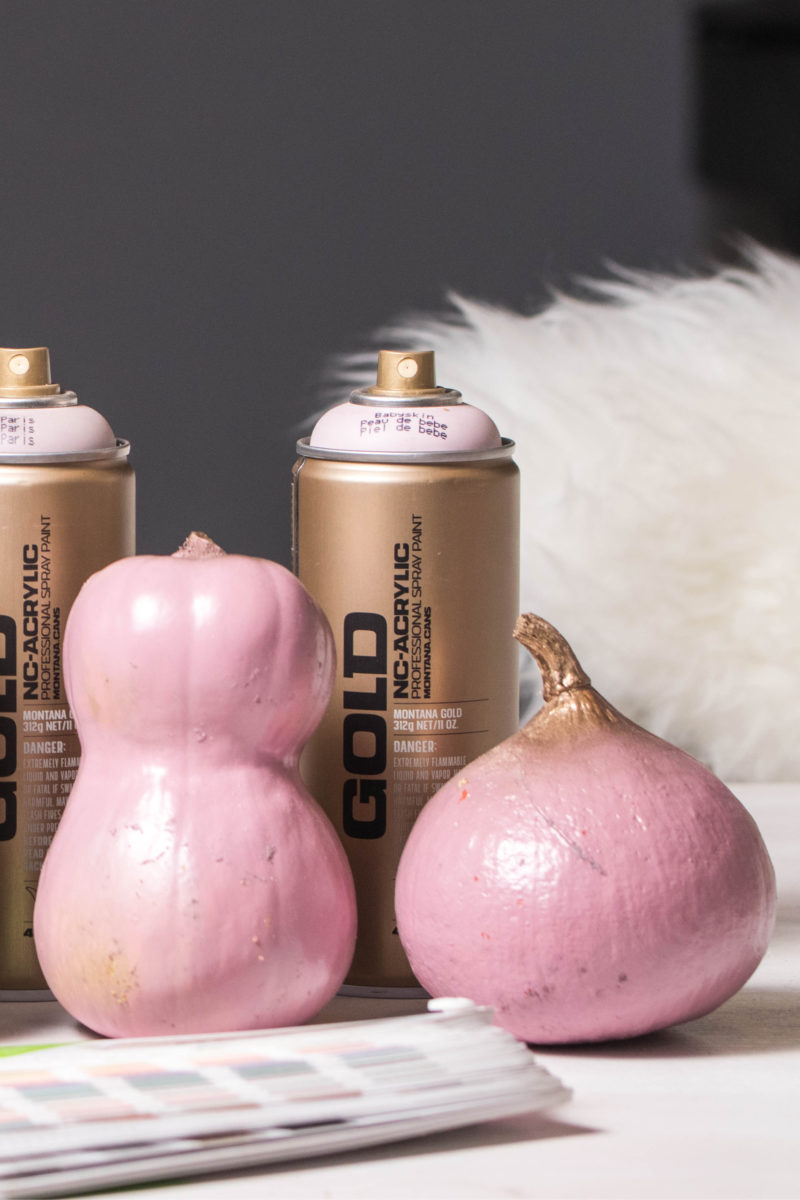
- The Montana GOLD 400ml Spray colors; G8175 Paris, G8180 Brain, G8190 Flesh, G4000 Baby Skin and G4010 Mortadella
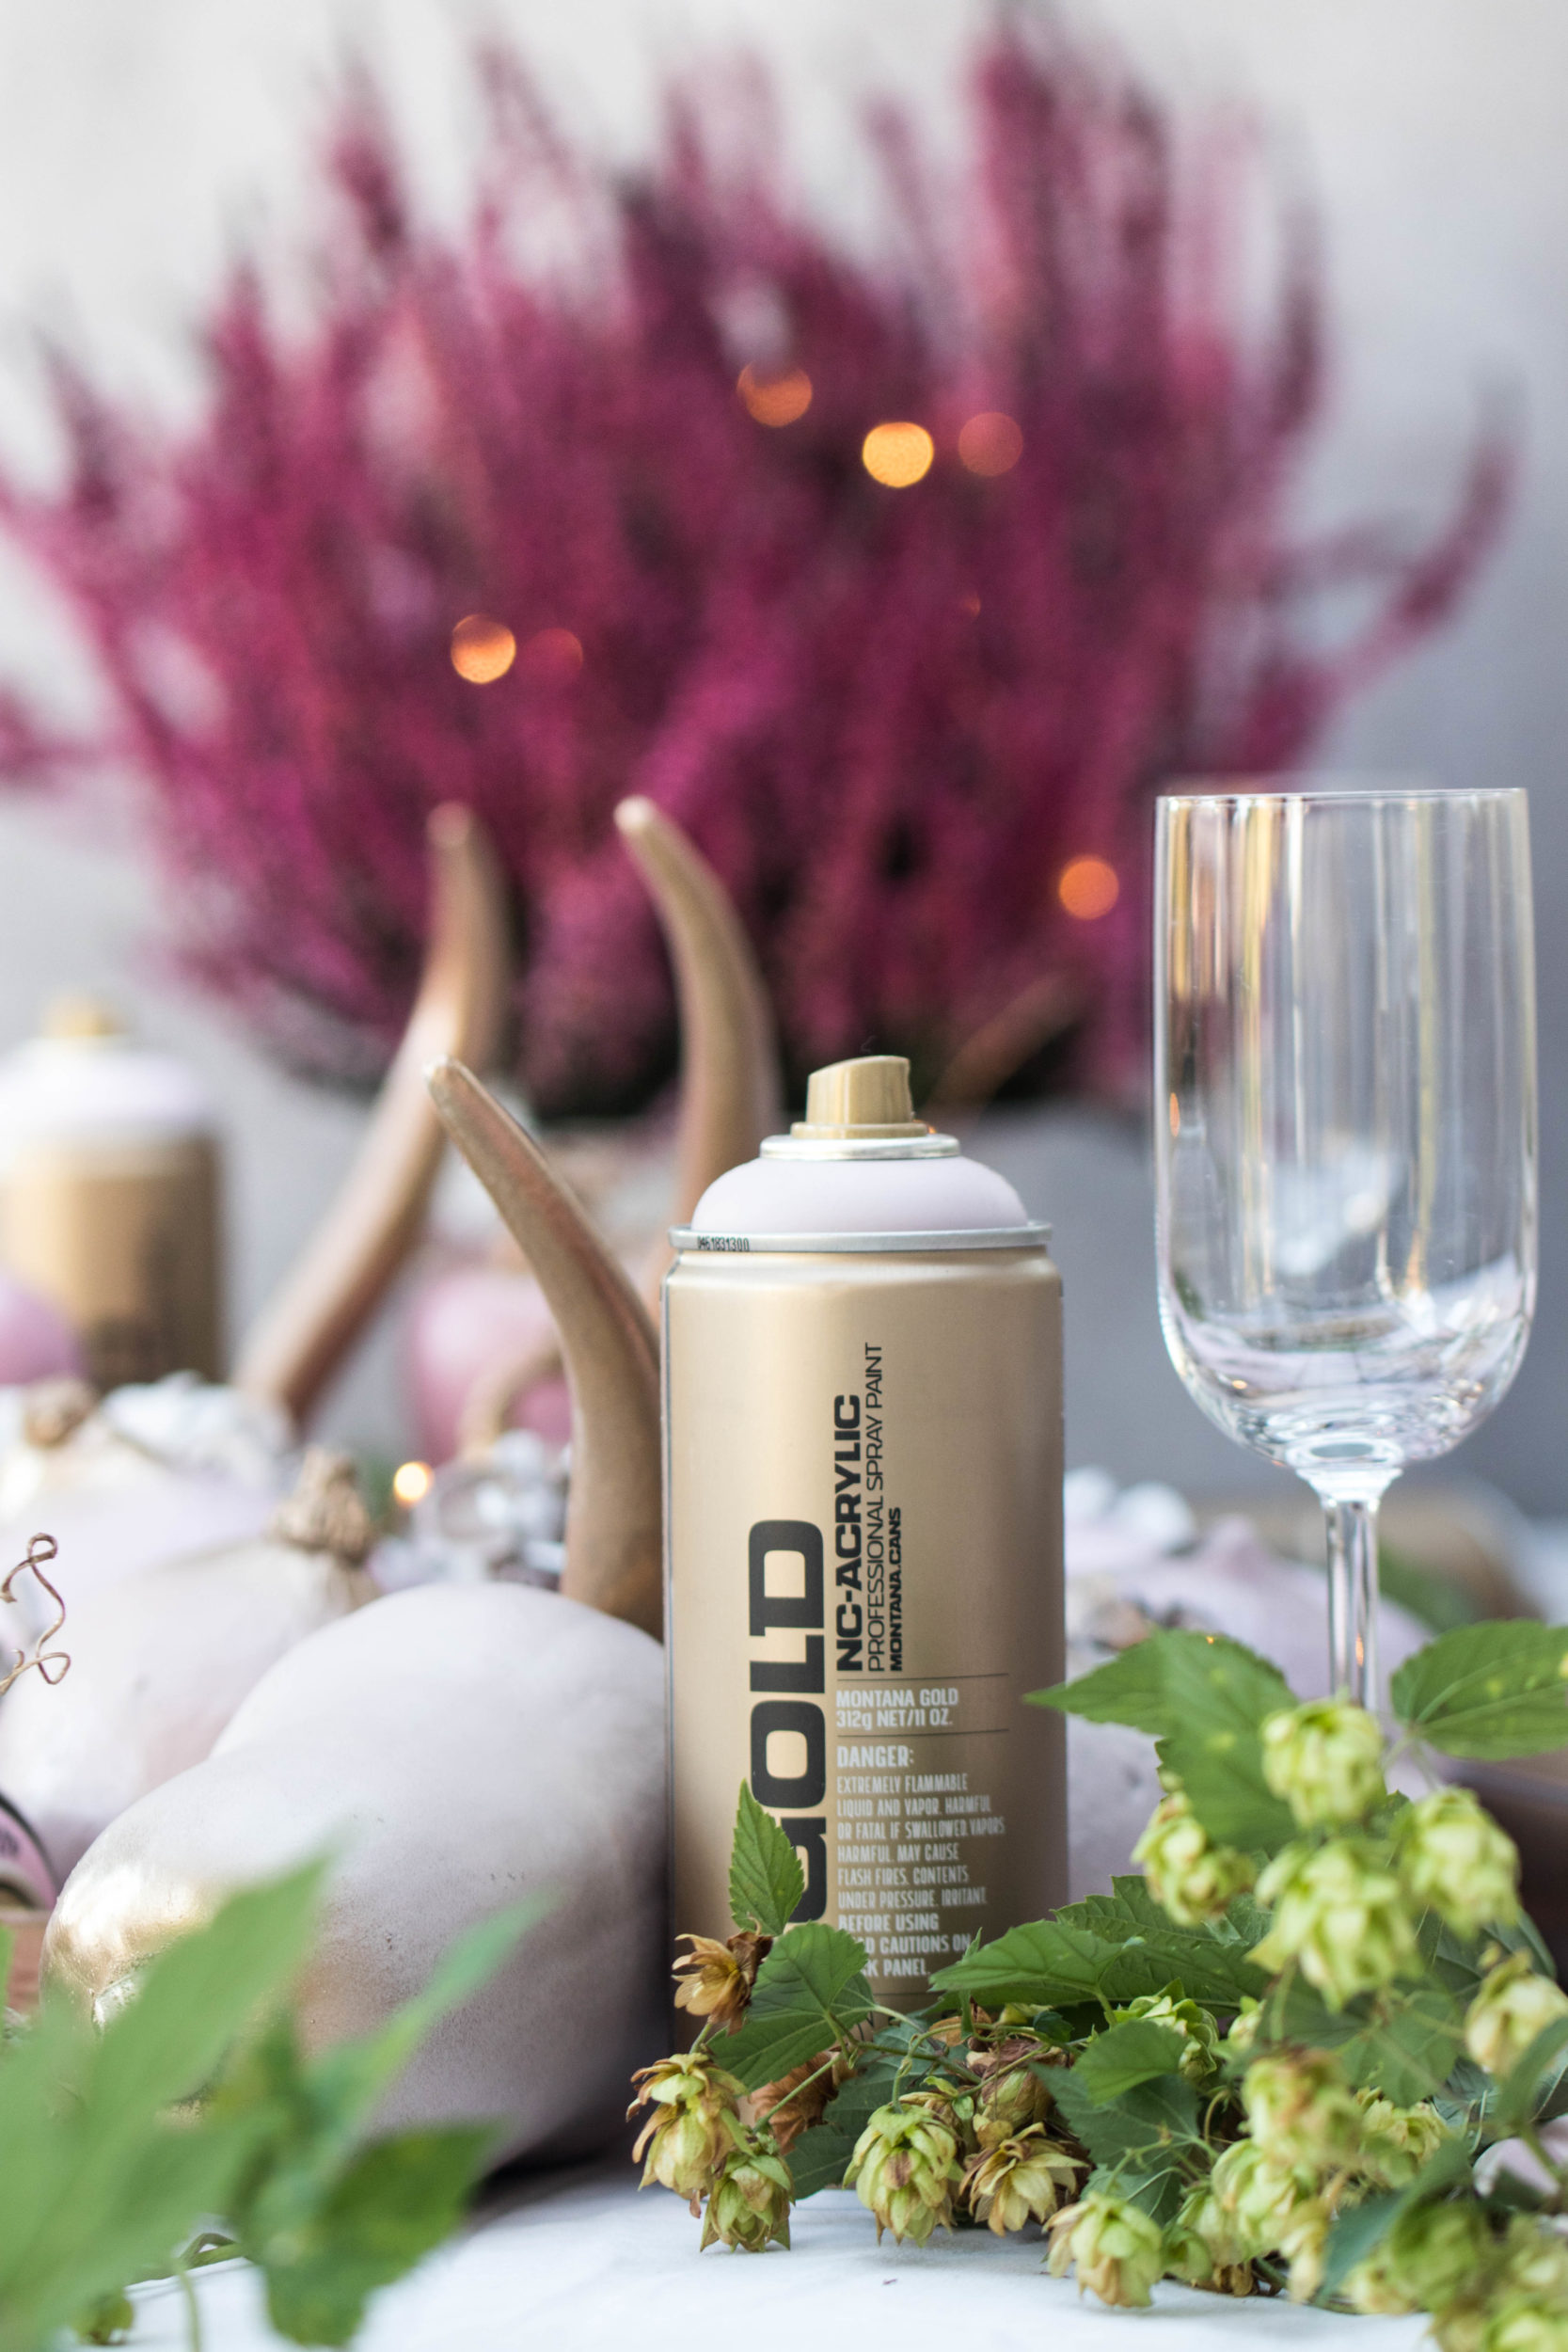
- Montana GOLD Chrome Effect M3000 Goldchrome or Montana Metallic EMC1050 Gold
- A drill (cordless preferable)
- A drop sheet (plastic or cloth)
- Gloves to paint with (optional but recommended)
How it was done
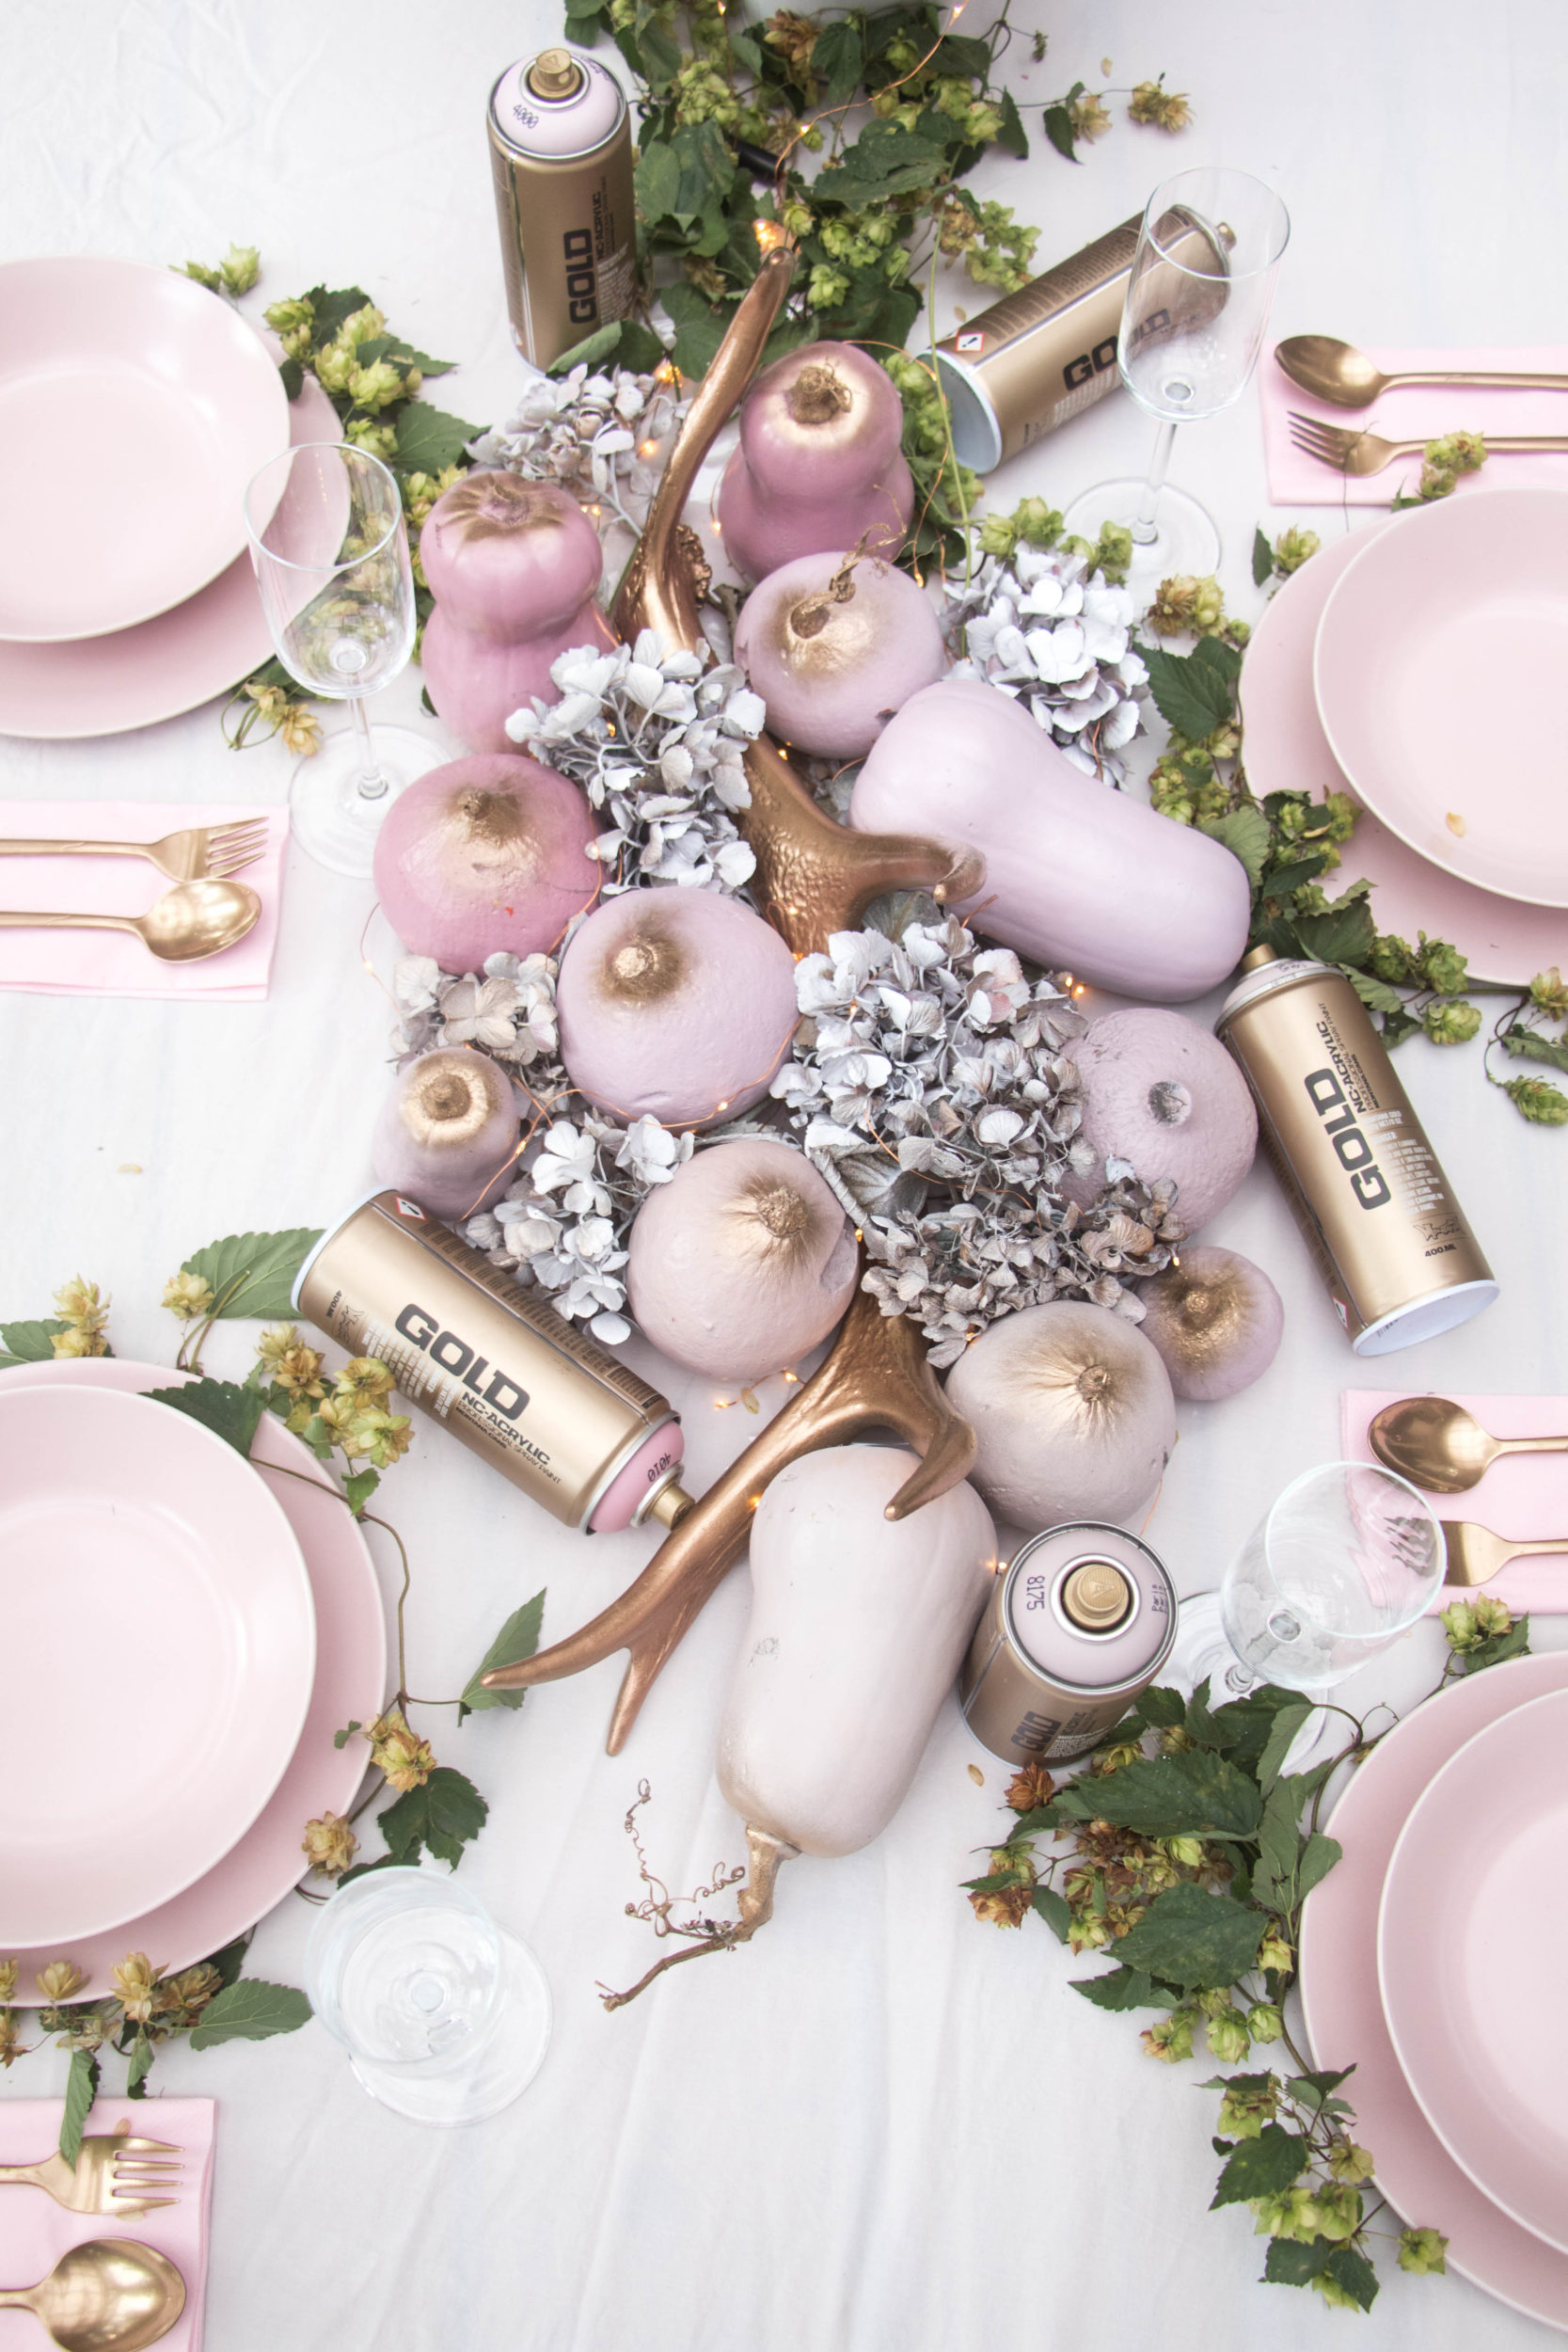
The first thing that comes to mind when we think of halloween, is pumpkins. And the first thing that comes to mind when we think of chic, is ombre color fades. So we decided to put the two together for some new halloween table decor. To start things off, we went to the local green grocer and chose some mainly small, but very cute looking butternut pumpkins. And as a feature candle decor, we chose a nice big fat one. We are not eating them so any sort will do. If your lucky enough to have them in your garden, then pick what you like.
We then chose a series of Montana GOLD can colors in a fading gradient of one color theme. We wanted a skin/pink-ish look, so we chose the colors G8175 Paris, G8180 Brain, G8190 Flesh, G4000 Baby Skin and G4010 Mortadella. But you could choose any color as a starting point and choose colors in that gradient that tickle your fancy.
After having shaken our cans thoroughly for 2-3 minutes, we turned them upside down and took off the nozzle. Once the black safety ring fell out we replaced the nozzle on the can. Ready! Once the drop sheet was laid down, we placed our pumpkins on them with enough space between each one so we could paint them all seperately with which ever color we chose. One by one, we sprayed each pumpkin with one of our colors. Depending on how many pumpkins you have, you can choose how many times you use each color. As long as you try to use them all. Once they were dry, we held the pumpkin in our hand and turned it upside down, only spraying the tops of them slightly with the Goldchrome. We used Montana GOLD Chrome Effect M3000 Goldchrome as we wanted it to be shiny looking. If you wanted to handle the pumpkin without getting pigment on your hands, you could use the Montana Metallic color EMC1050 Gold which is handable once dry, but a little less shiny.

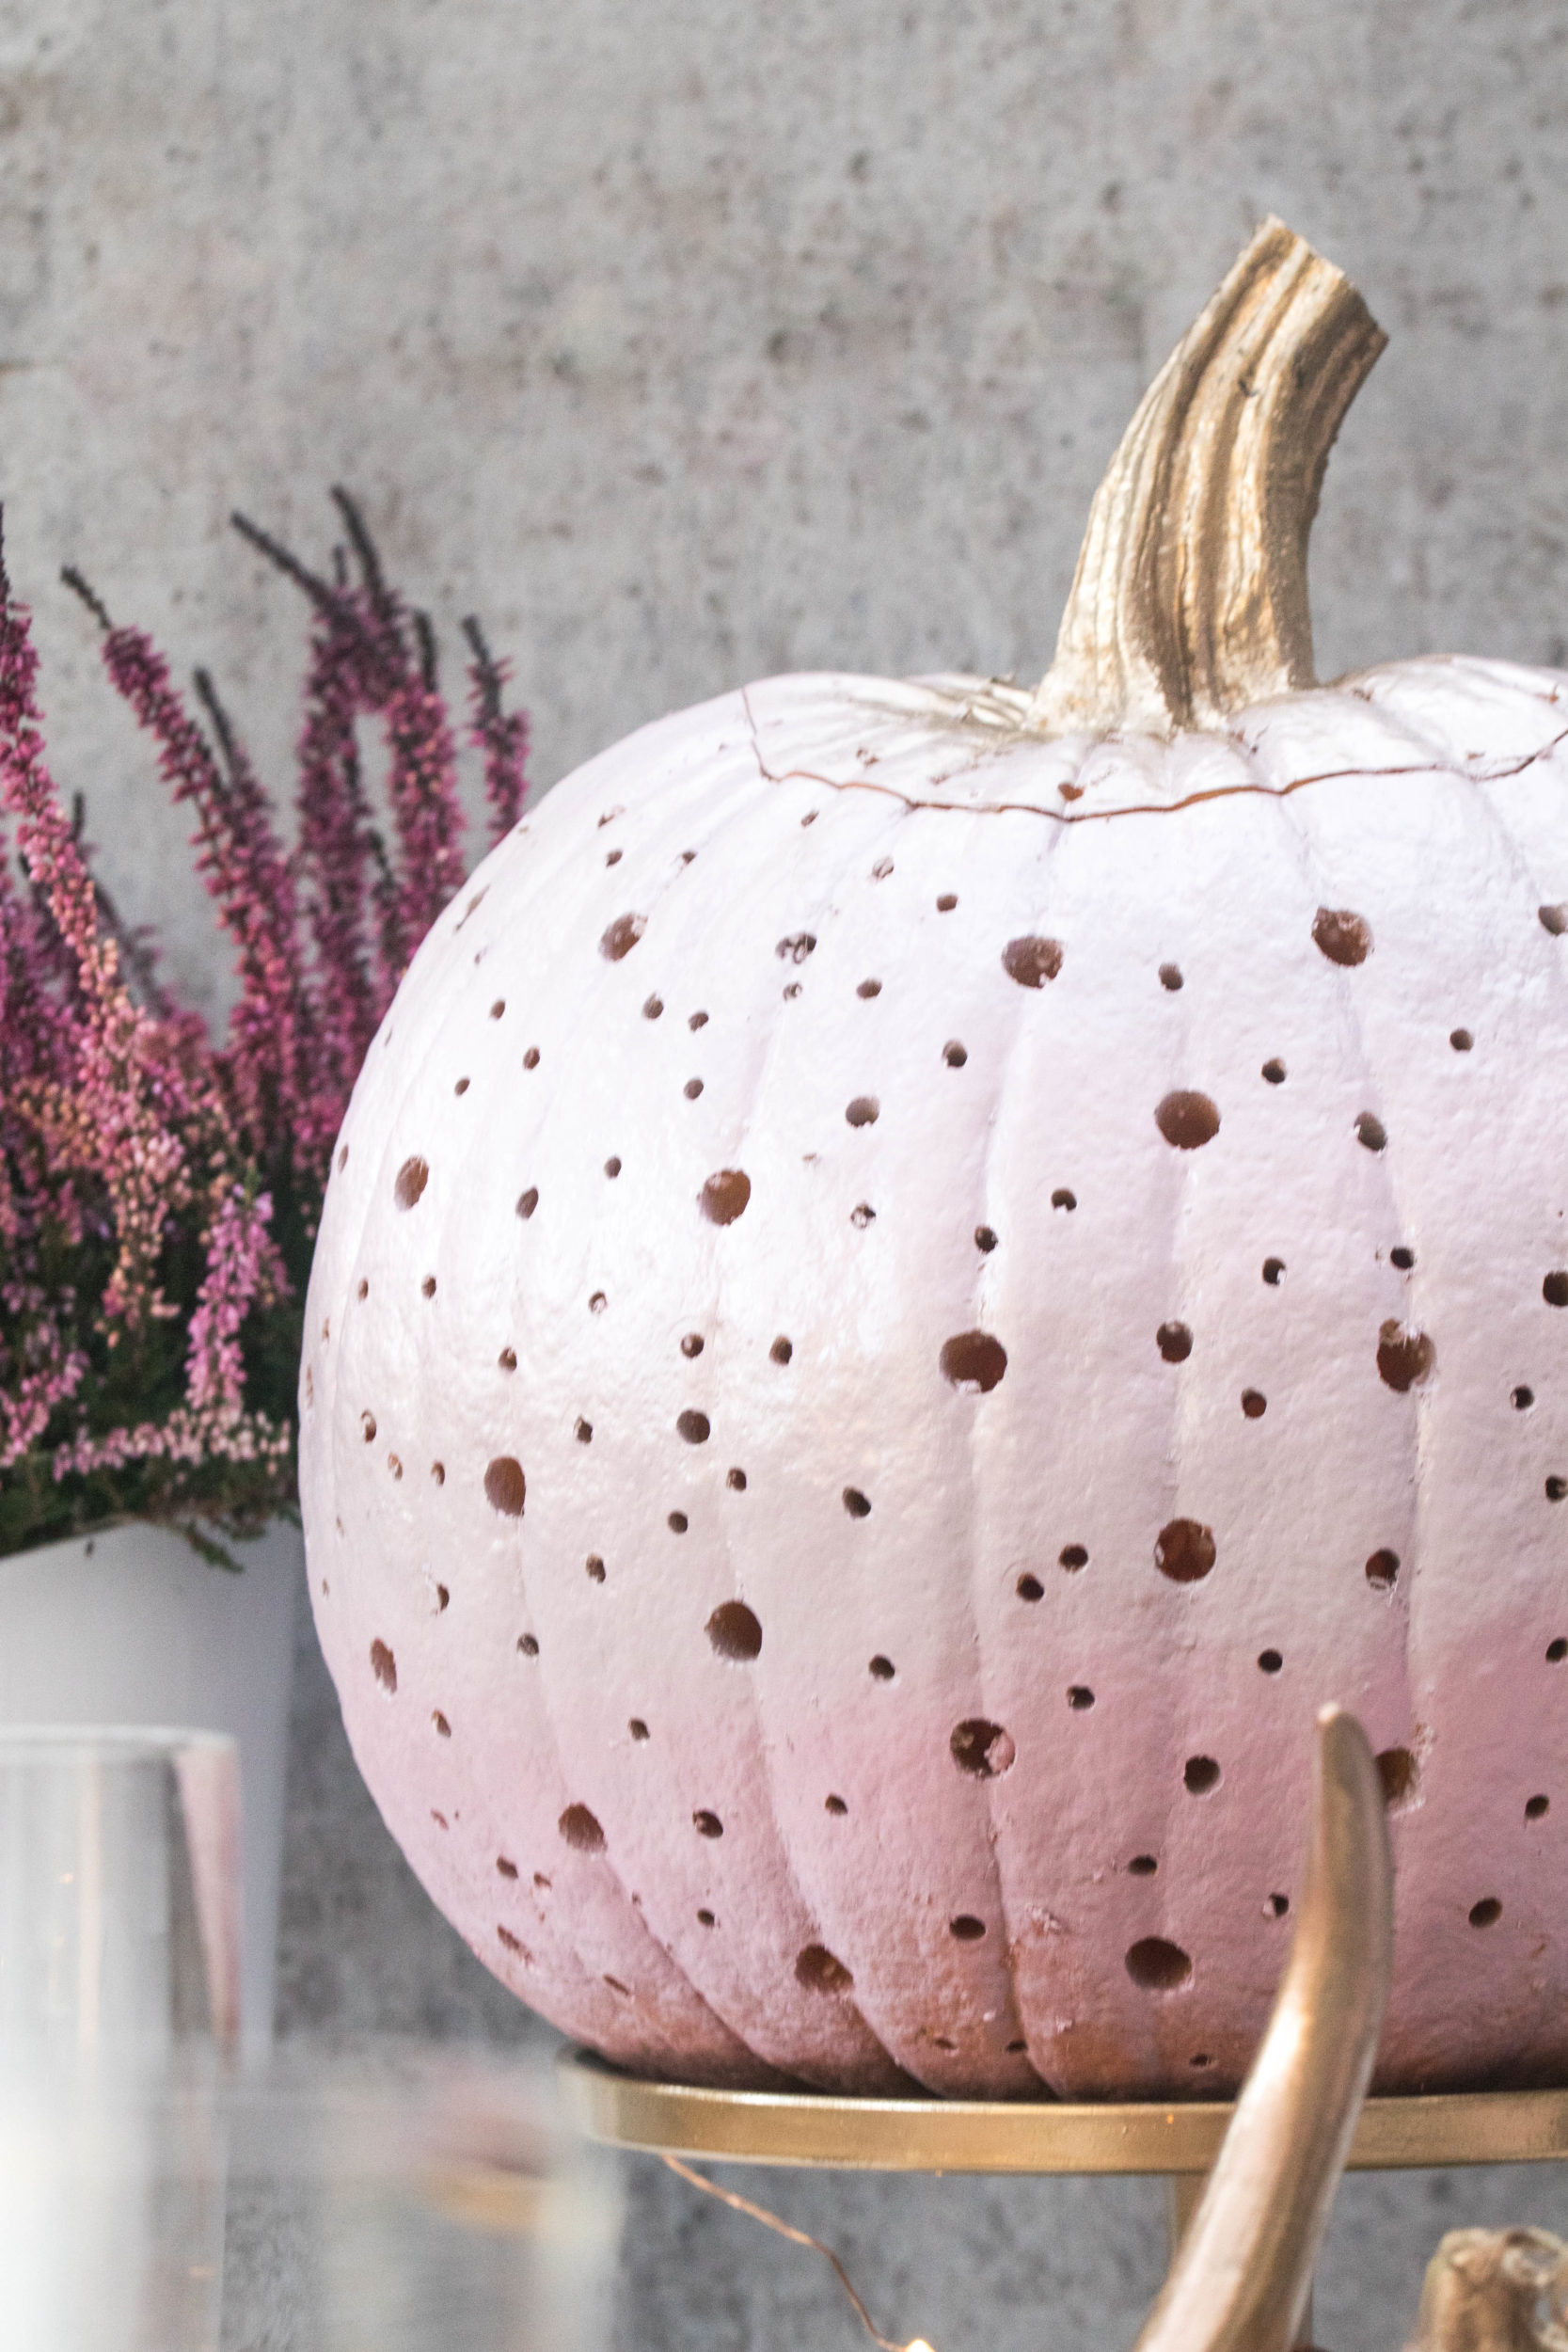
The final step dealing with the big guy! Before we repeated the painting process, we first cut the top off the large pumpkin and carved out the innards with a firm spoon. This pumpkin will be the candle feature so you need to remove enough to enable a candle to sit in it. Then we used a cordless drill to drill varied sized holes in the pumpkin. This was not only to project beautiful light, but also to allow smoke and heat to escape from the pumpkin when the candle was in it and the lid was put back on. After the painting, we had a stunning ombre decor set of easy, cheap pumpkins. Luckily we had just the right colored dining setting to make this halloween a chic one.
This project is relatively easy. It can be undertaken by any skill level except for the cutting and emptying of the pumpkin. This may need a little strength? There is probably about 15 minutes of prep and actual work time to paint the pumpkins and 10-20 minutes to cut, carve and drill the big pumpkin. With such a glamorous result, it is all worth the effort. Happy Crafting!


