Protects and decorates your table, all at once
Everyone hates that first coffee stain on a beautiful new table. Or, looking at the table you don’t like the look of but can’t afford to change. Well those days are over, like a series of Sex In The City. With oven dry clay MARBLE EFFECT drink coasters, we can kill two birds with one stone. Function and aesthetics.
Why didn’t I think of that you are asking? Probably as you never saw your own coasters when you went shopping before. Go to your studio or crafting stash and gather the following supplies so we can get started.
Materials Used
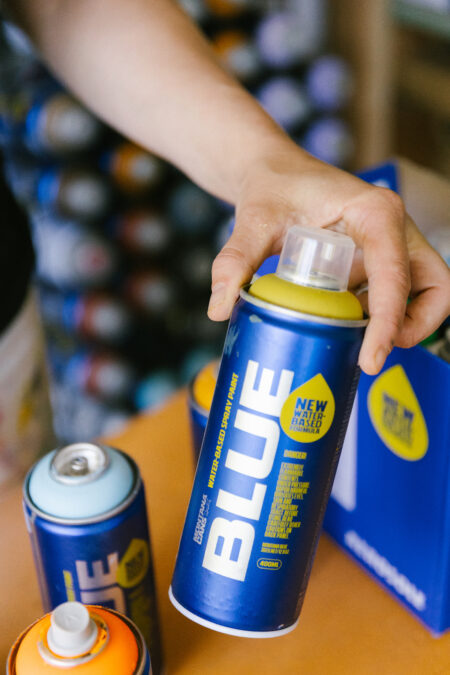
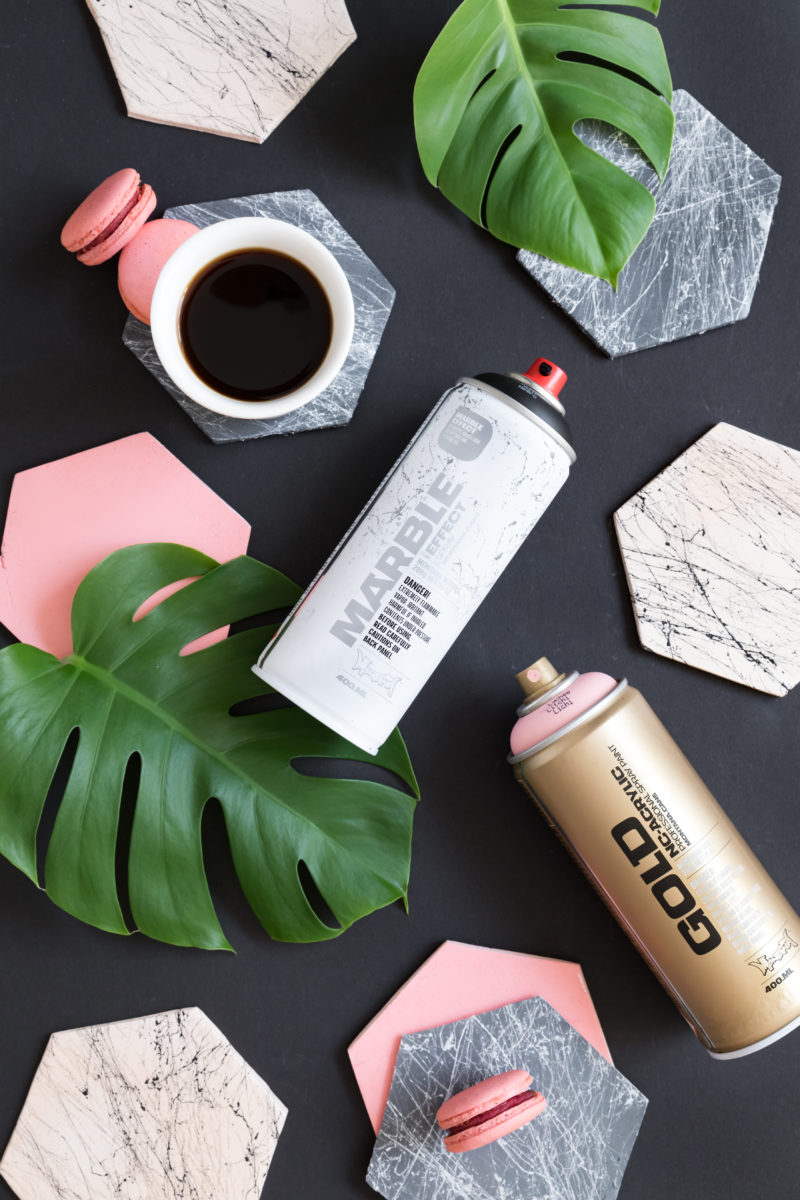
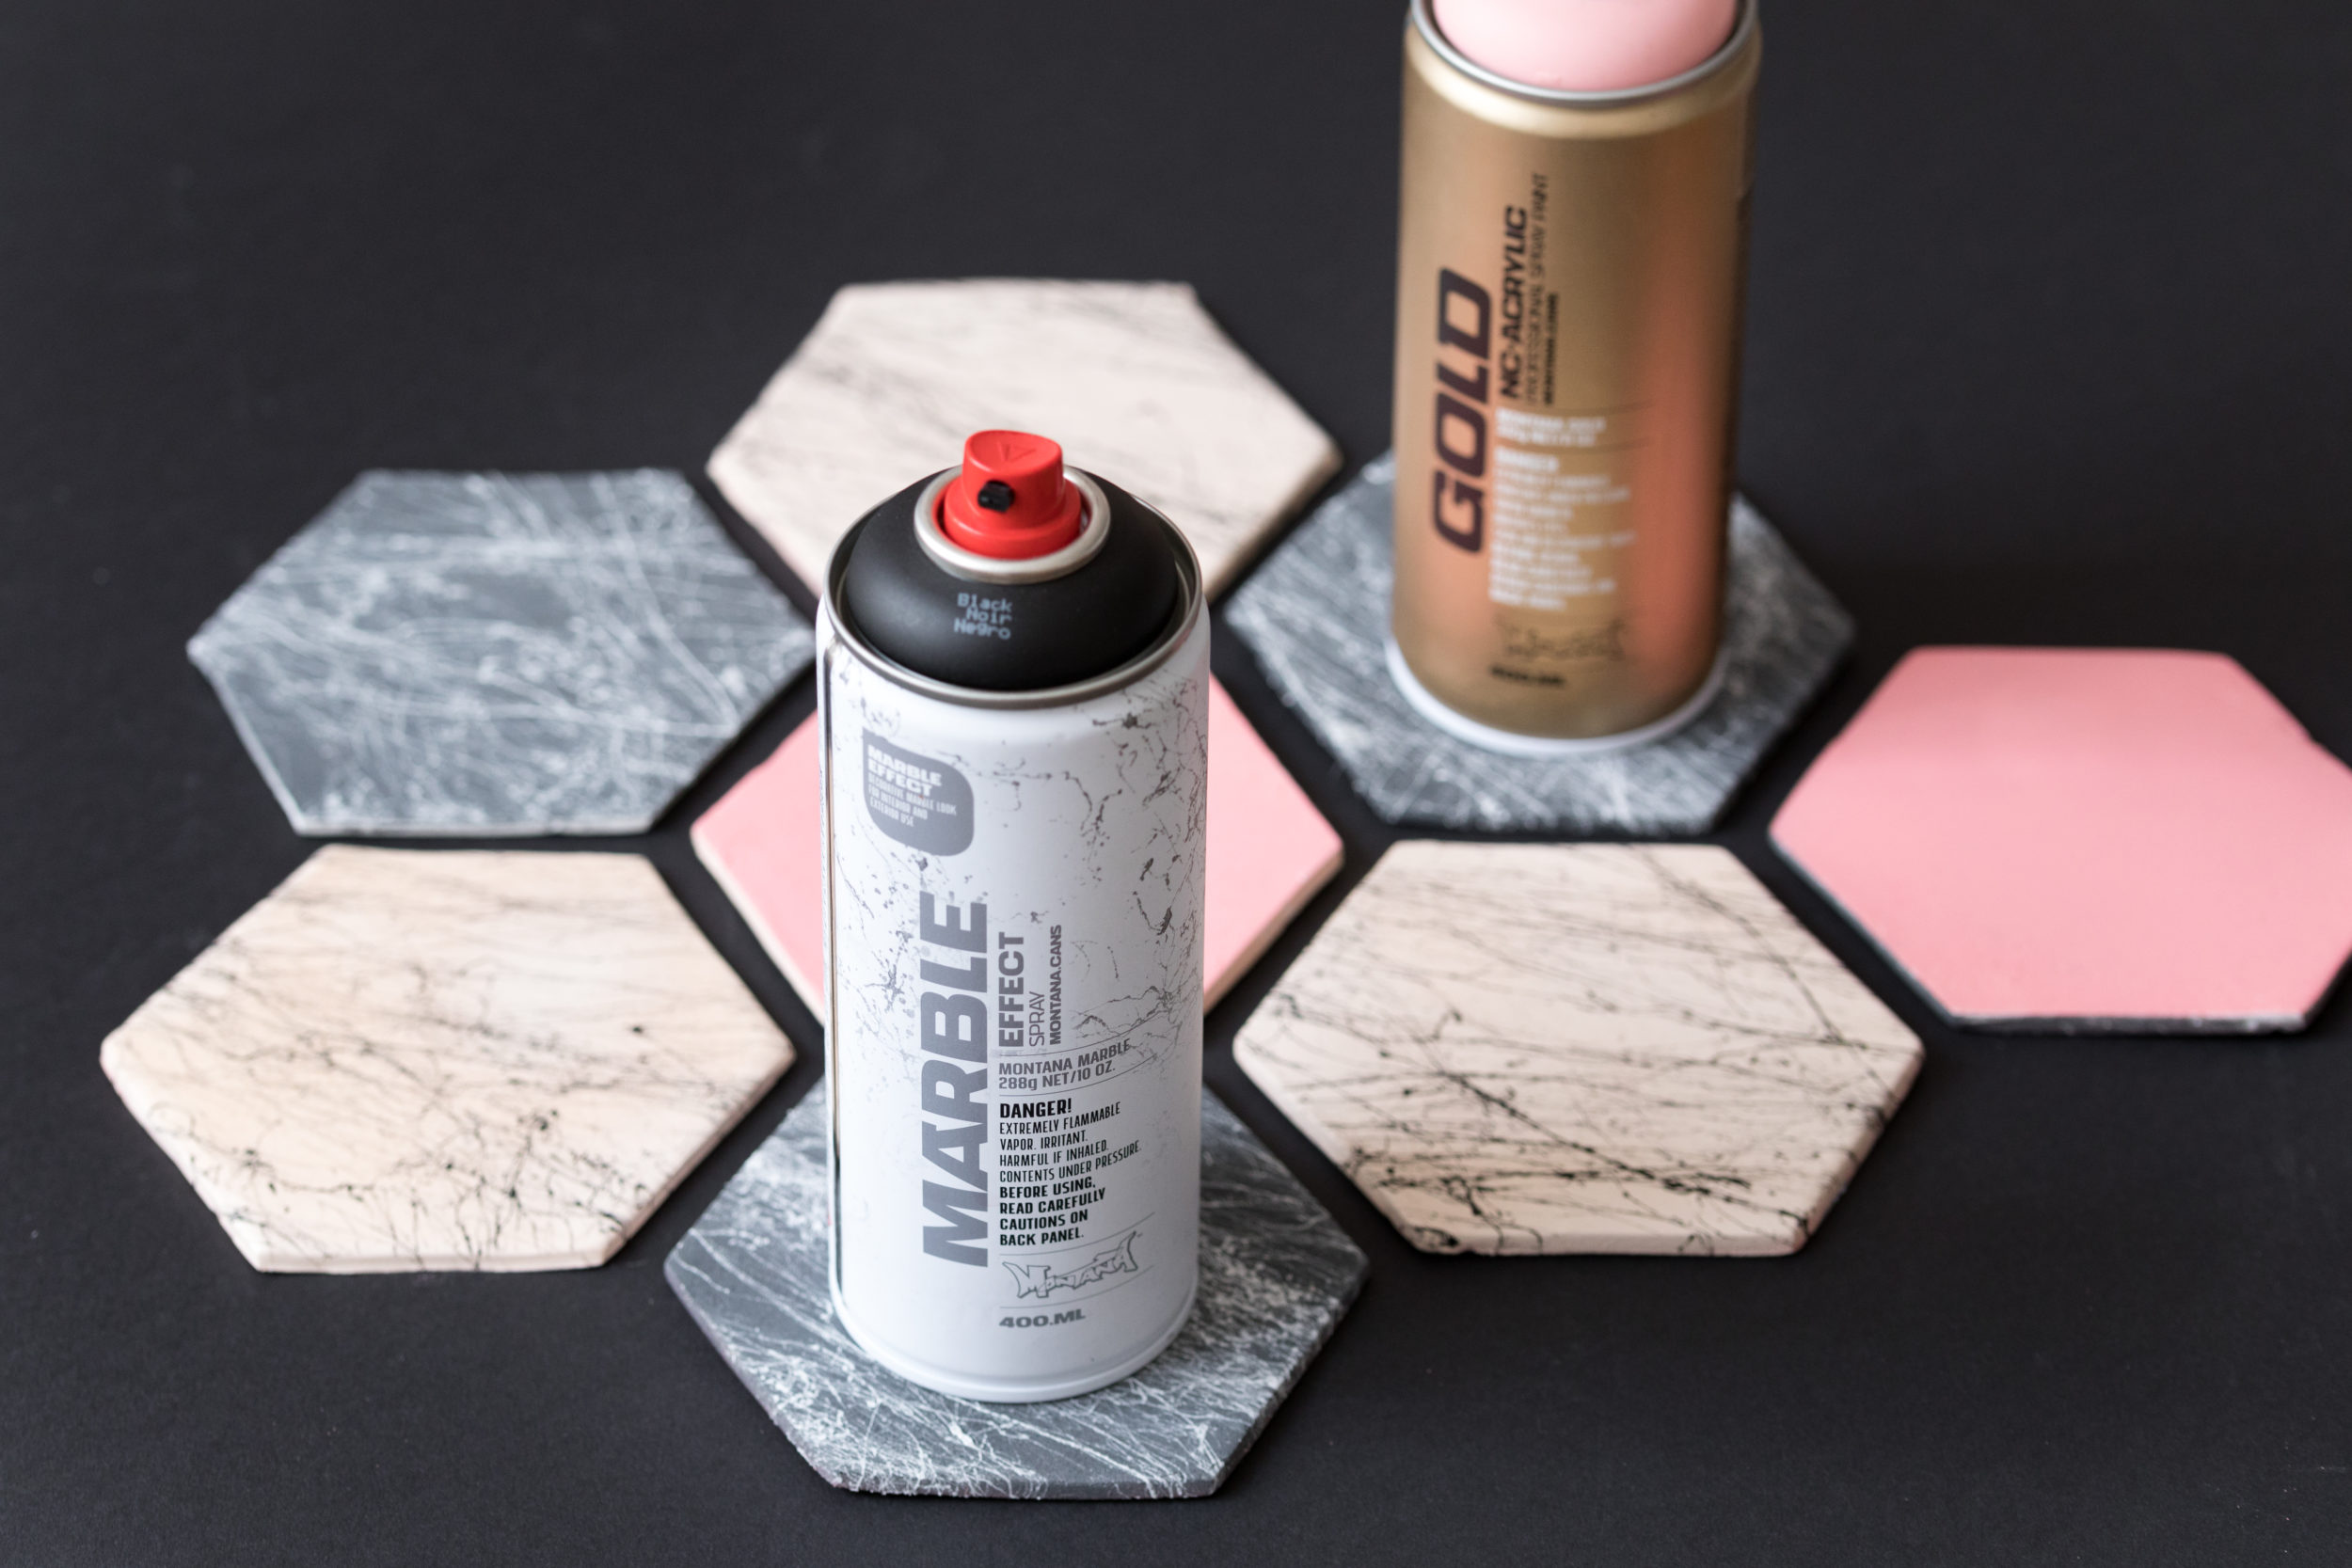
- Montana MARBLE EFFECT Spray colors in White and Black
- Three fabulous Montana GOLD colors of your choice (We chose Shrimp Pastel, Gravel and Bone)
- Montana VARNISH Spray in your preferred finish (we chose Semi Gloss)
- Air-dry Clay (80gm per coaster)
- Rolling Pin
- Stencil made of card in your preferred shape
- A sharp knife
- Baking Paper
- Baking tray and oven
- Fine Sand Paper
- Plastic drop sheet or old newspaper to protect surrounding surfaces from over spray
- Gloves
- We recommend a mask
How it was done
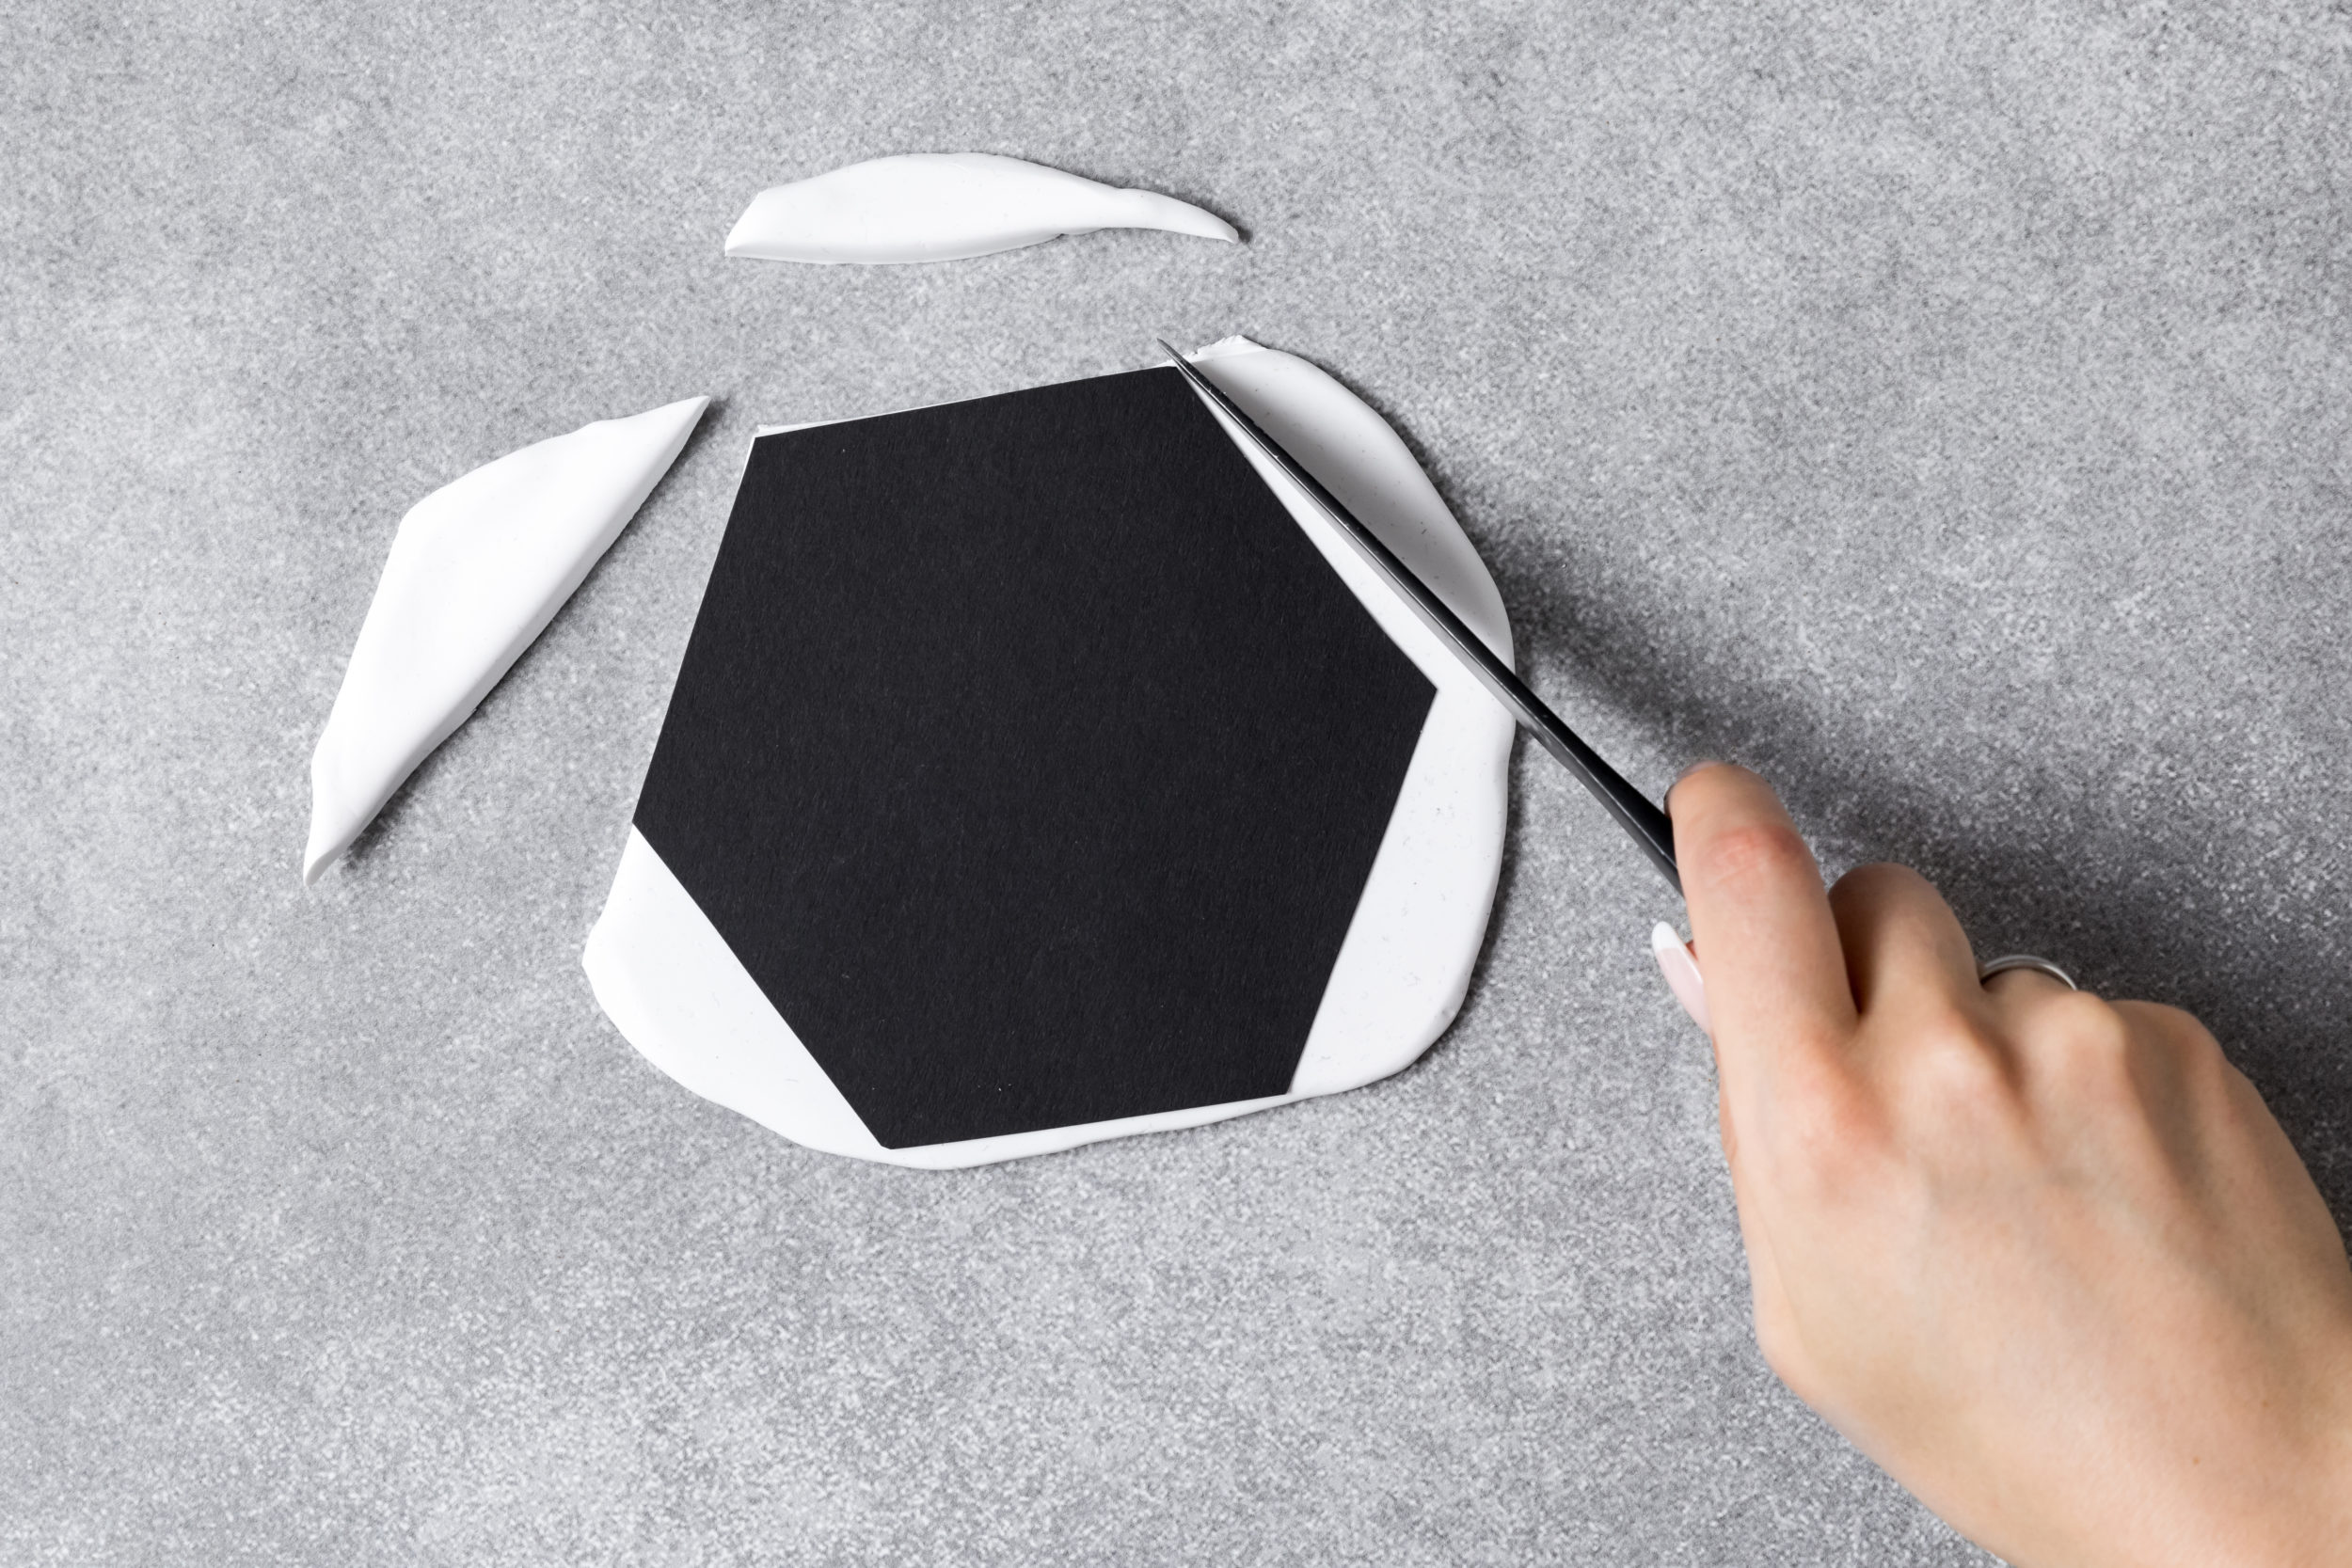
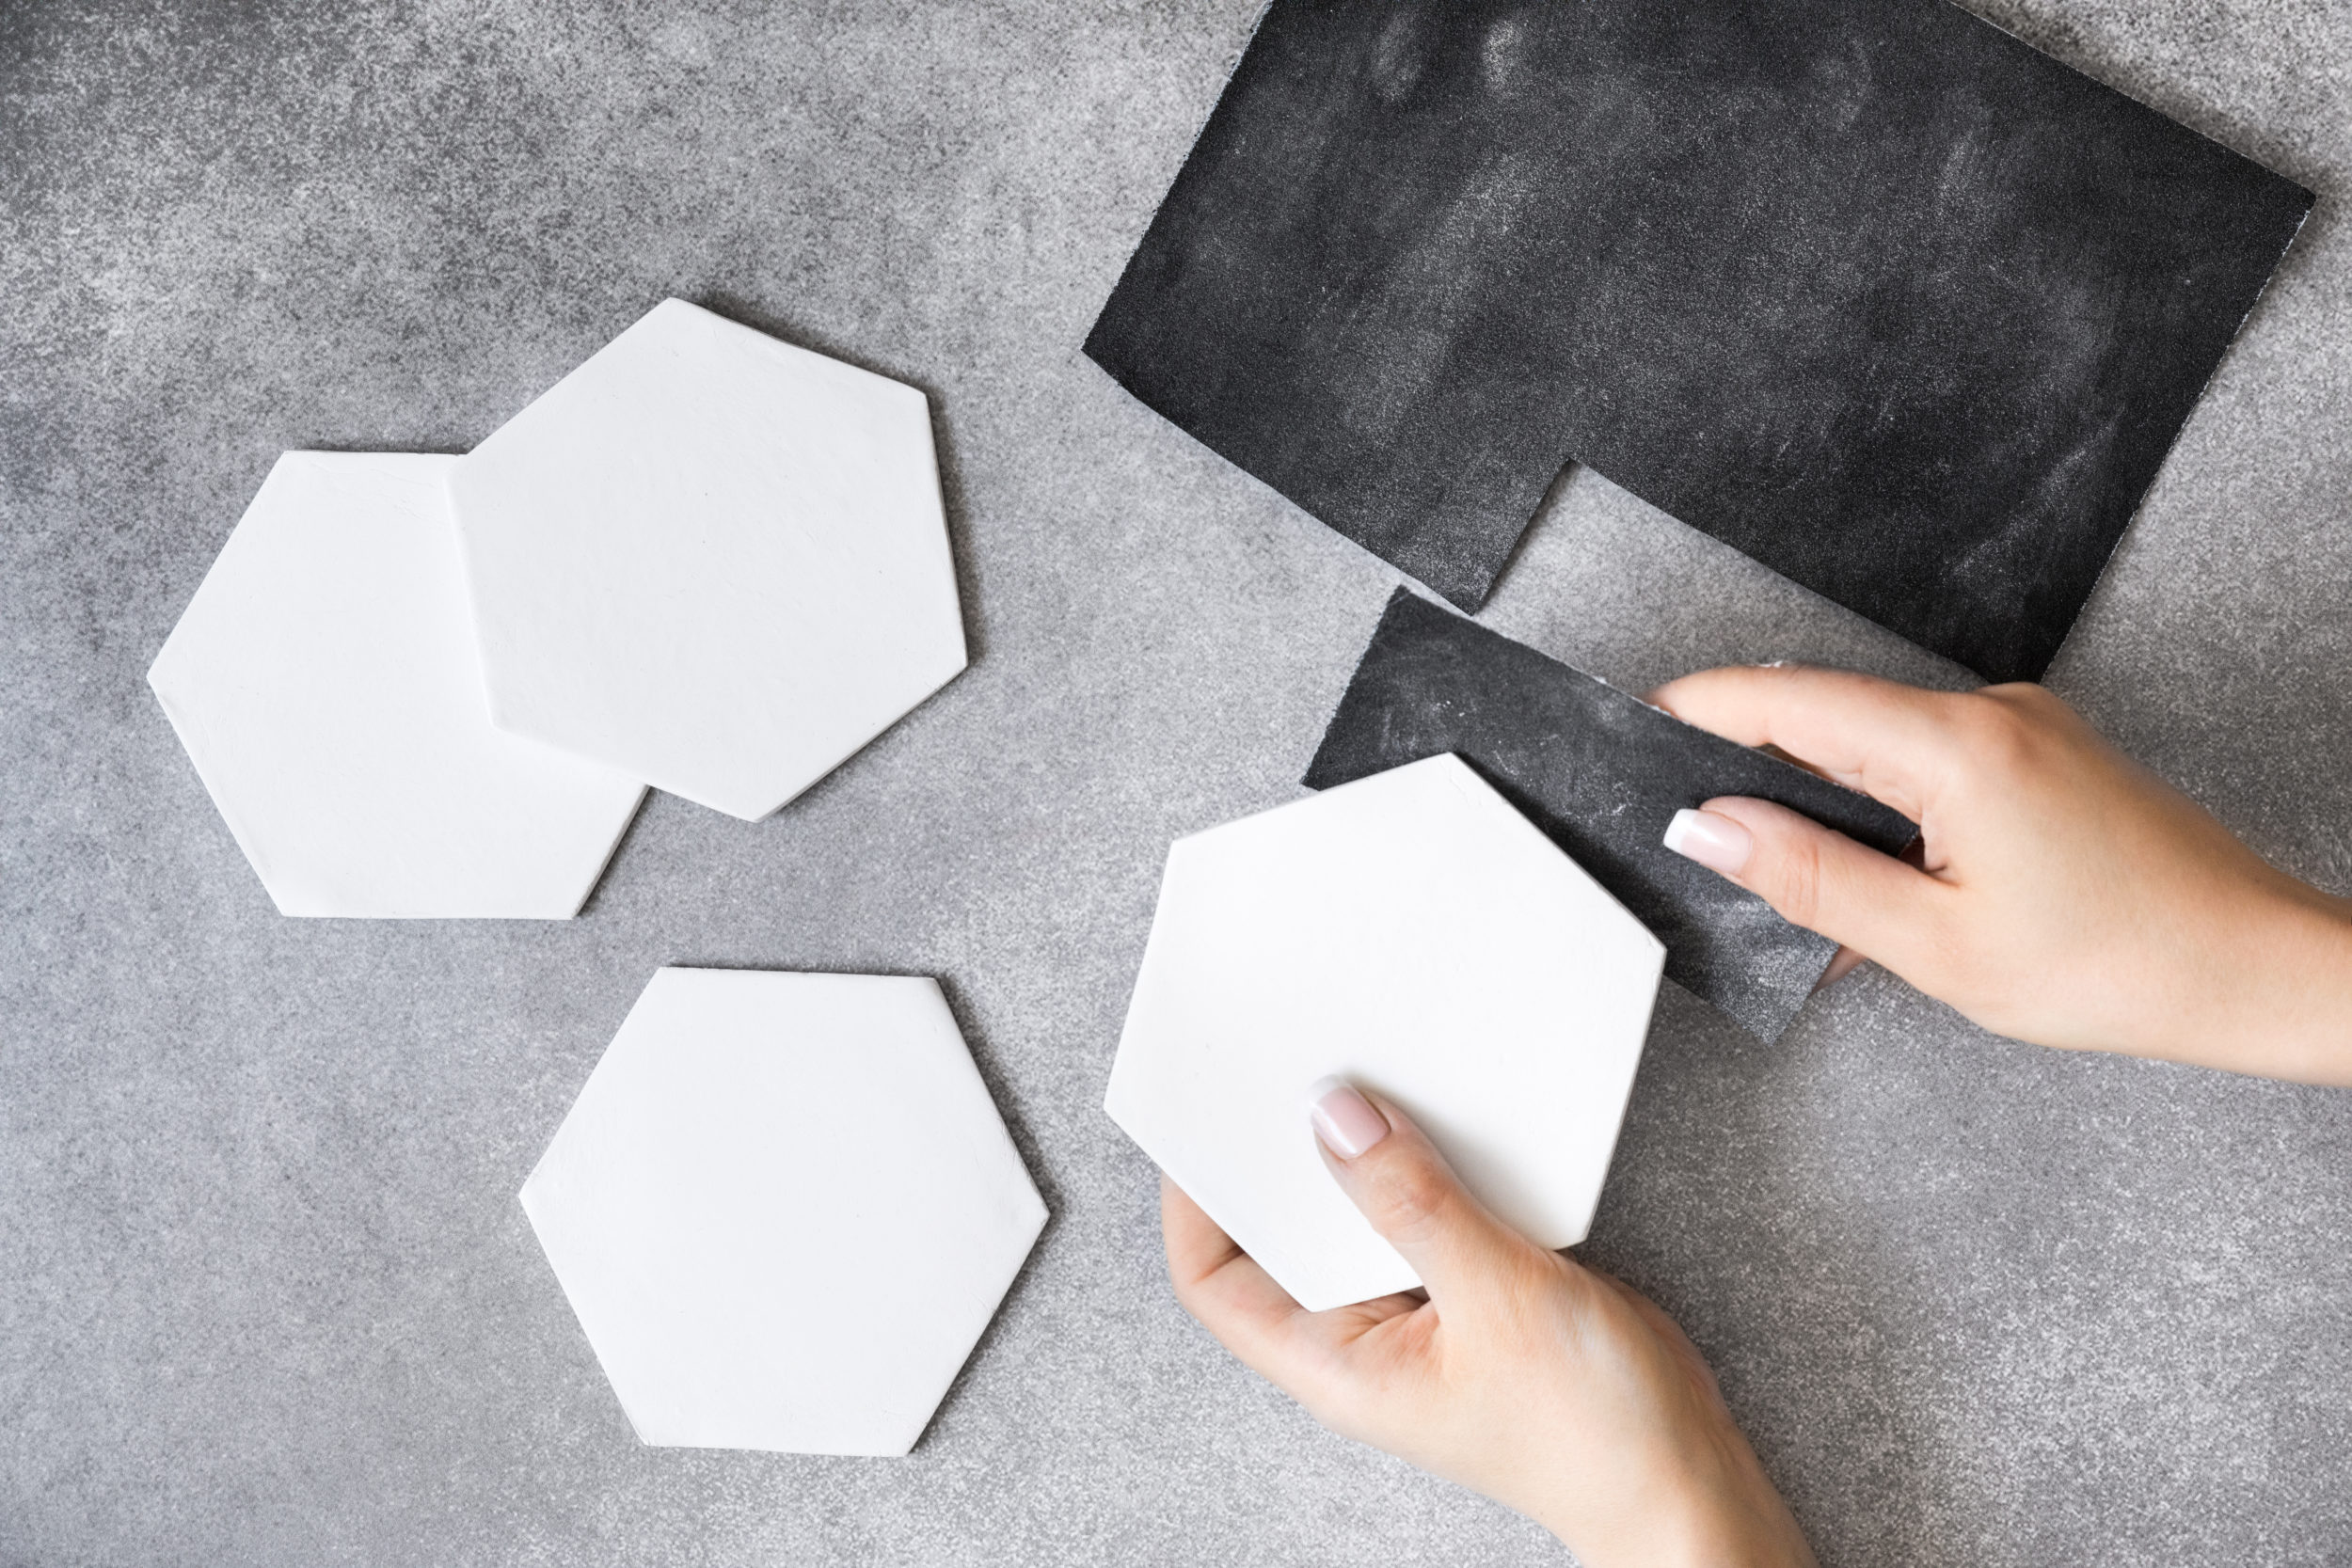
With clean and dry hands, find a clean, dry, smooth working surface. Using approximately 80 grams of oven dry clay per coaster, manipulate the clay till it is soft and malleable. With your rolling pin, roll the clay out to your preferred thickness in the shape similar to your coaster stencil. We created a hexagon stencil cut out of cardboard. Place the stencil on your rolled clay and cut away the edges with your knife. Roll the off cuts into a ball so you can use it again before your clay dries out. You have just created the base of your coasters.

Carefully place your cut coasters on the baking paper in your baking tray and insert into your oven that was pre-heated to 110 °C. Bake for 30 minutes and then remove the hardened coasters from the oven. Allow for complete cooling and drying 3 days. If required, sand your edges and imperfections out with your fine sand paper into the surface you want. That’s the hard part done. Now for the splash of color.
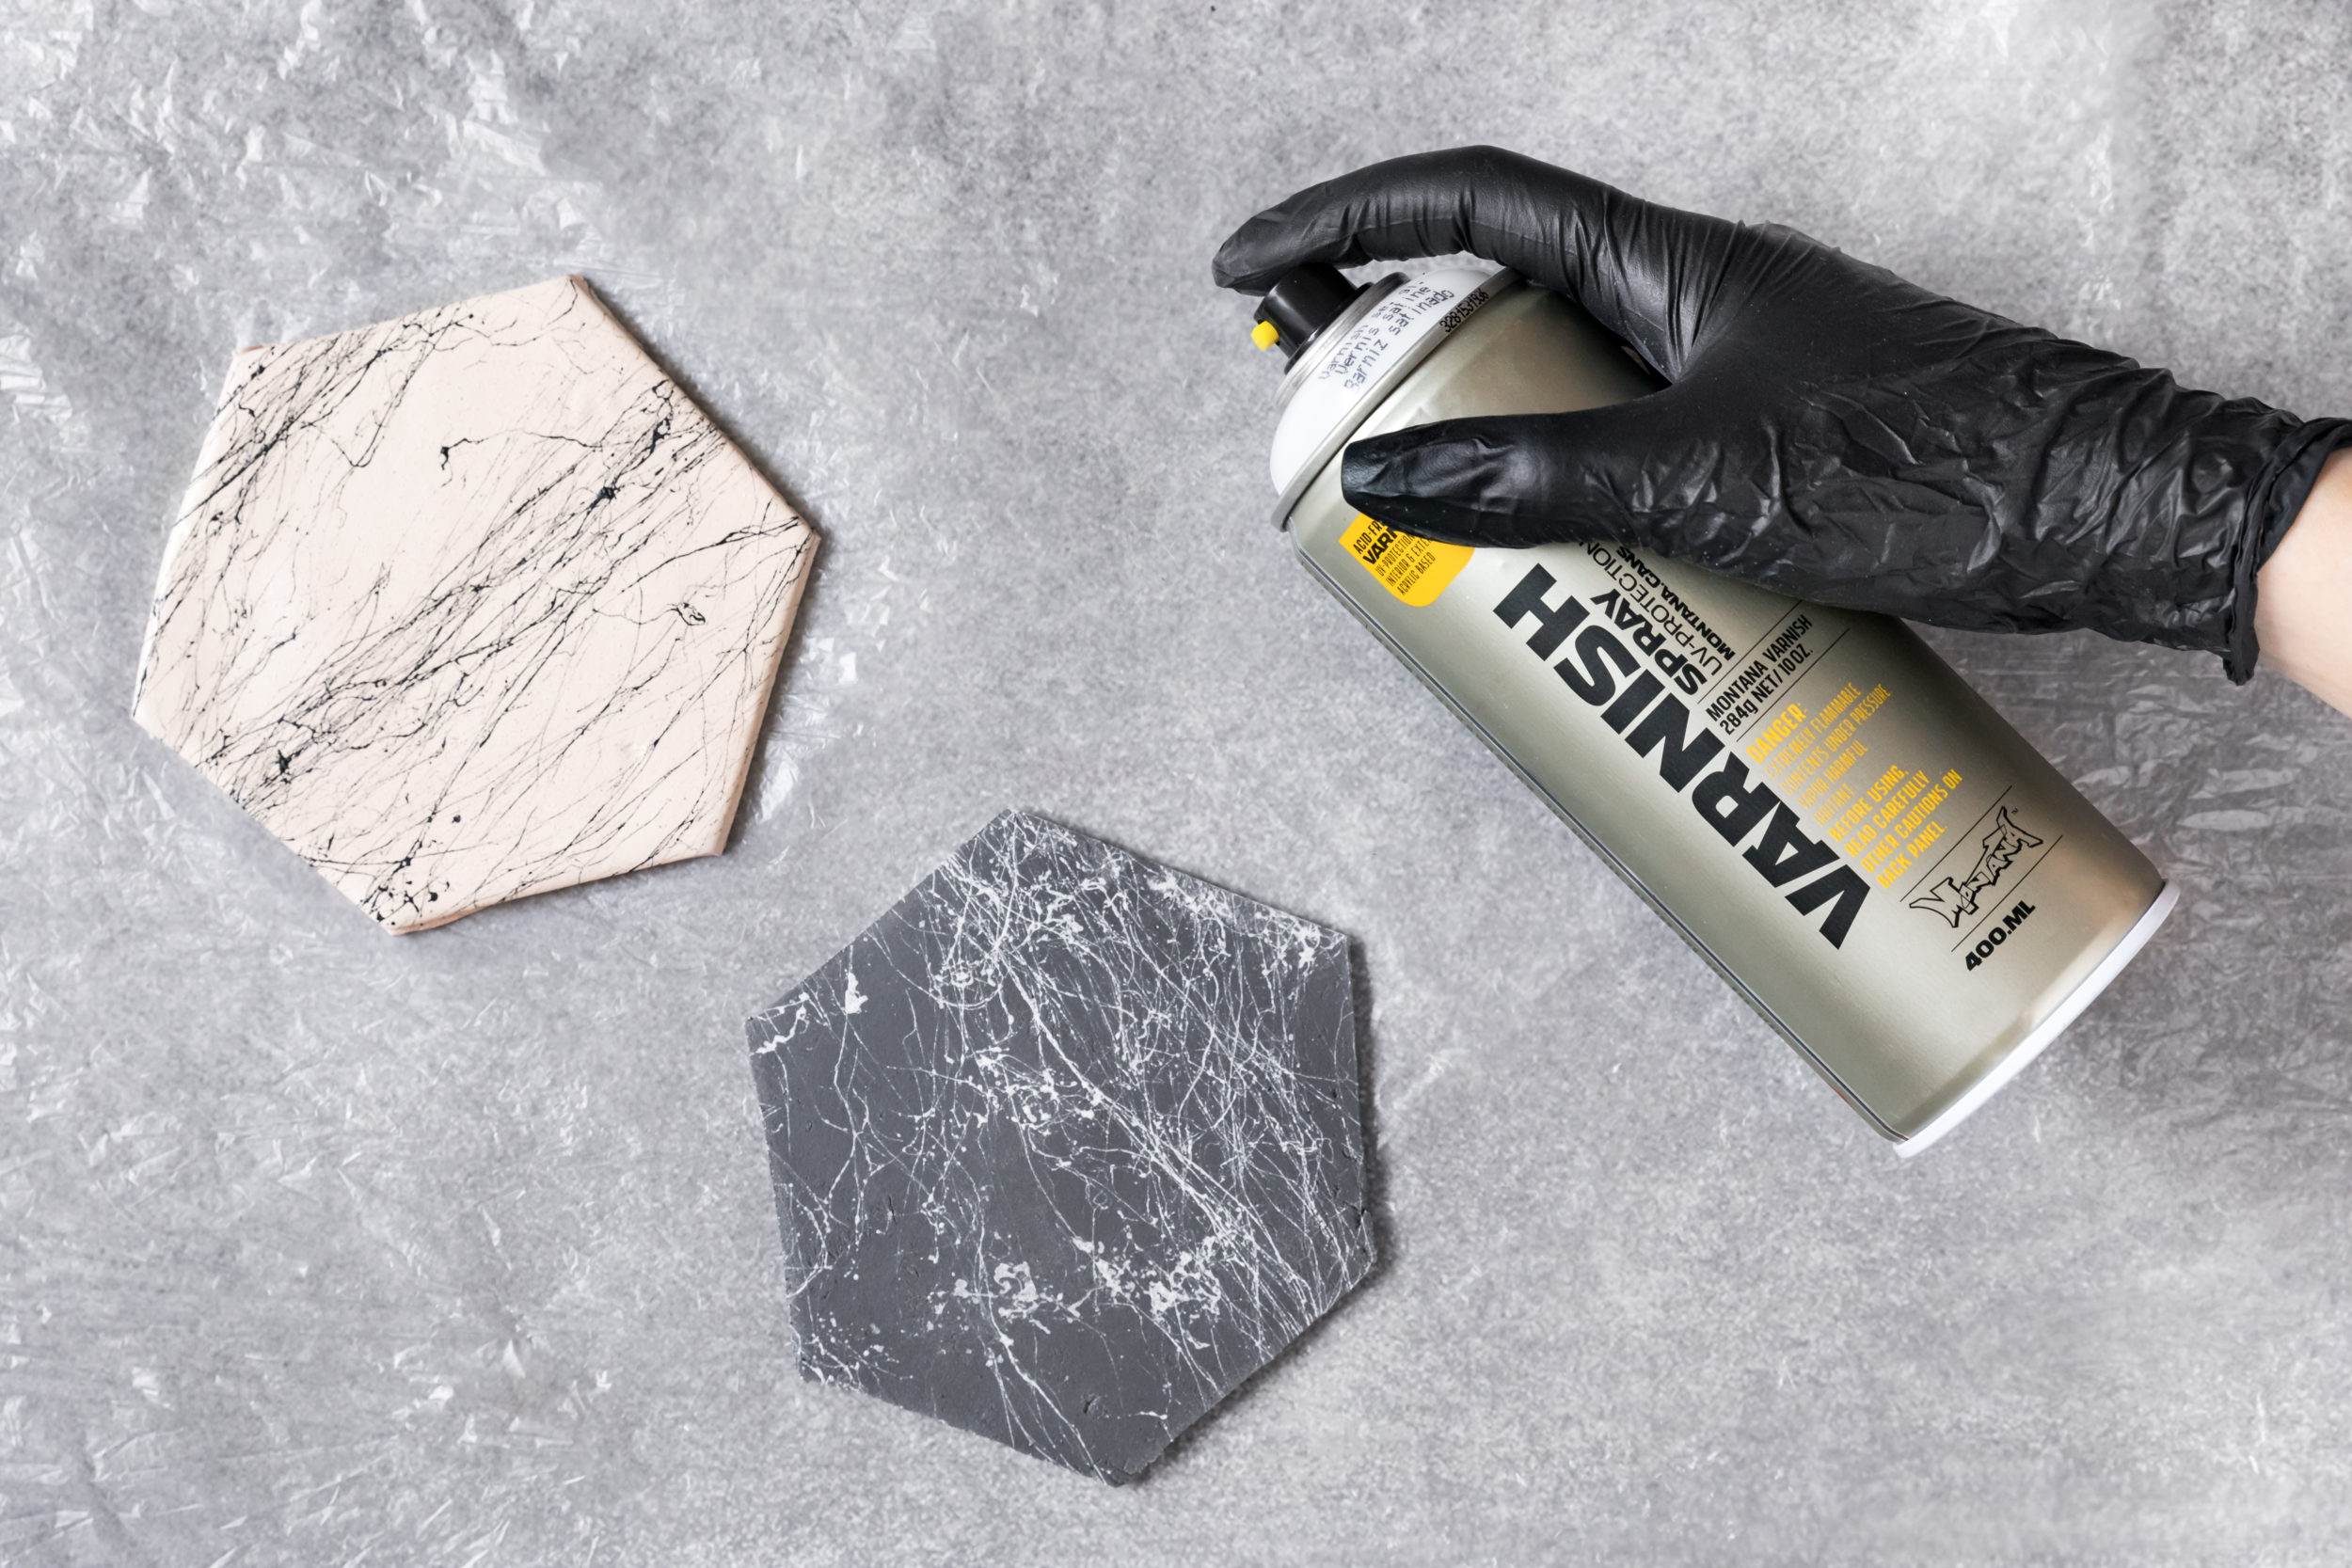
Clean your coasters free of dust and put them on your plastic drop sheet, some old newspaper or even old towel. After putting on your gloves and mask, shake all your cans for 2-3 minutes before use, remembering to remove the safety ring before triggering. If you don’t have a mask, we recommend at least spraying outdoors in a well ventilated area. Take your chosen Montana GOLD colors and spray the base of your coasters.
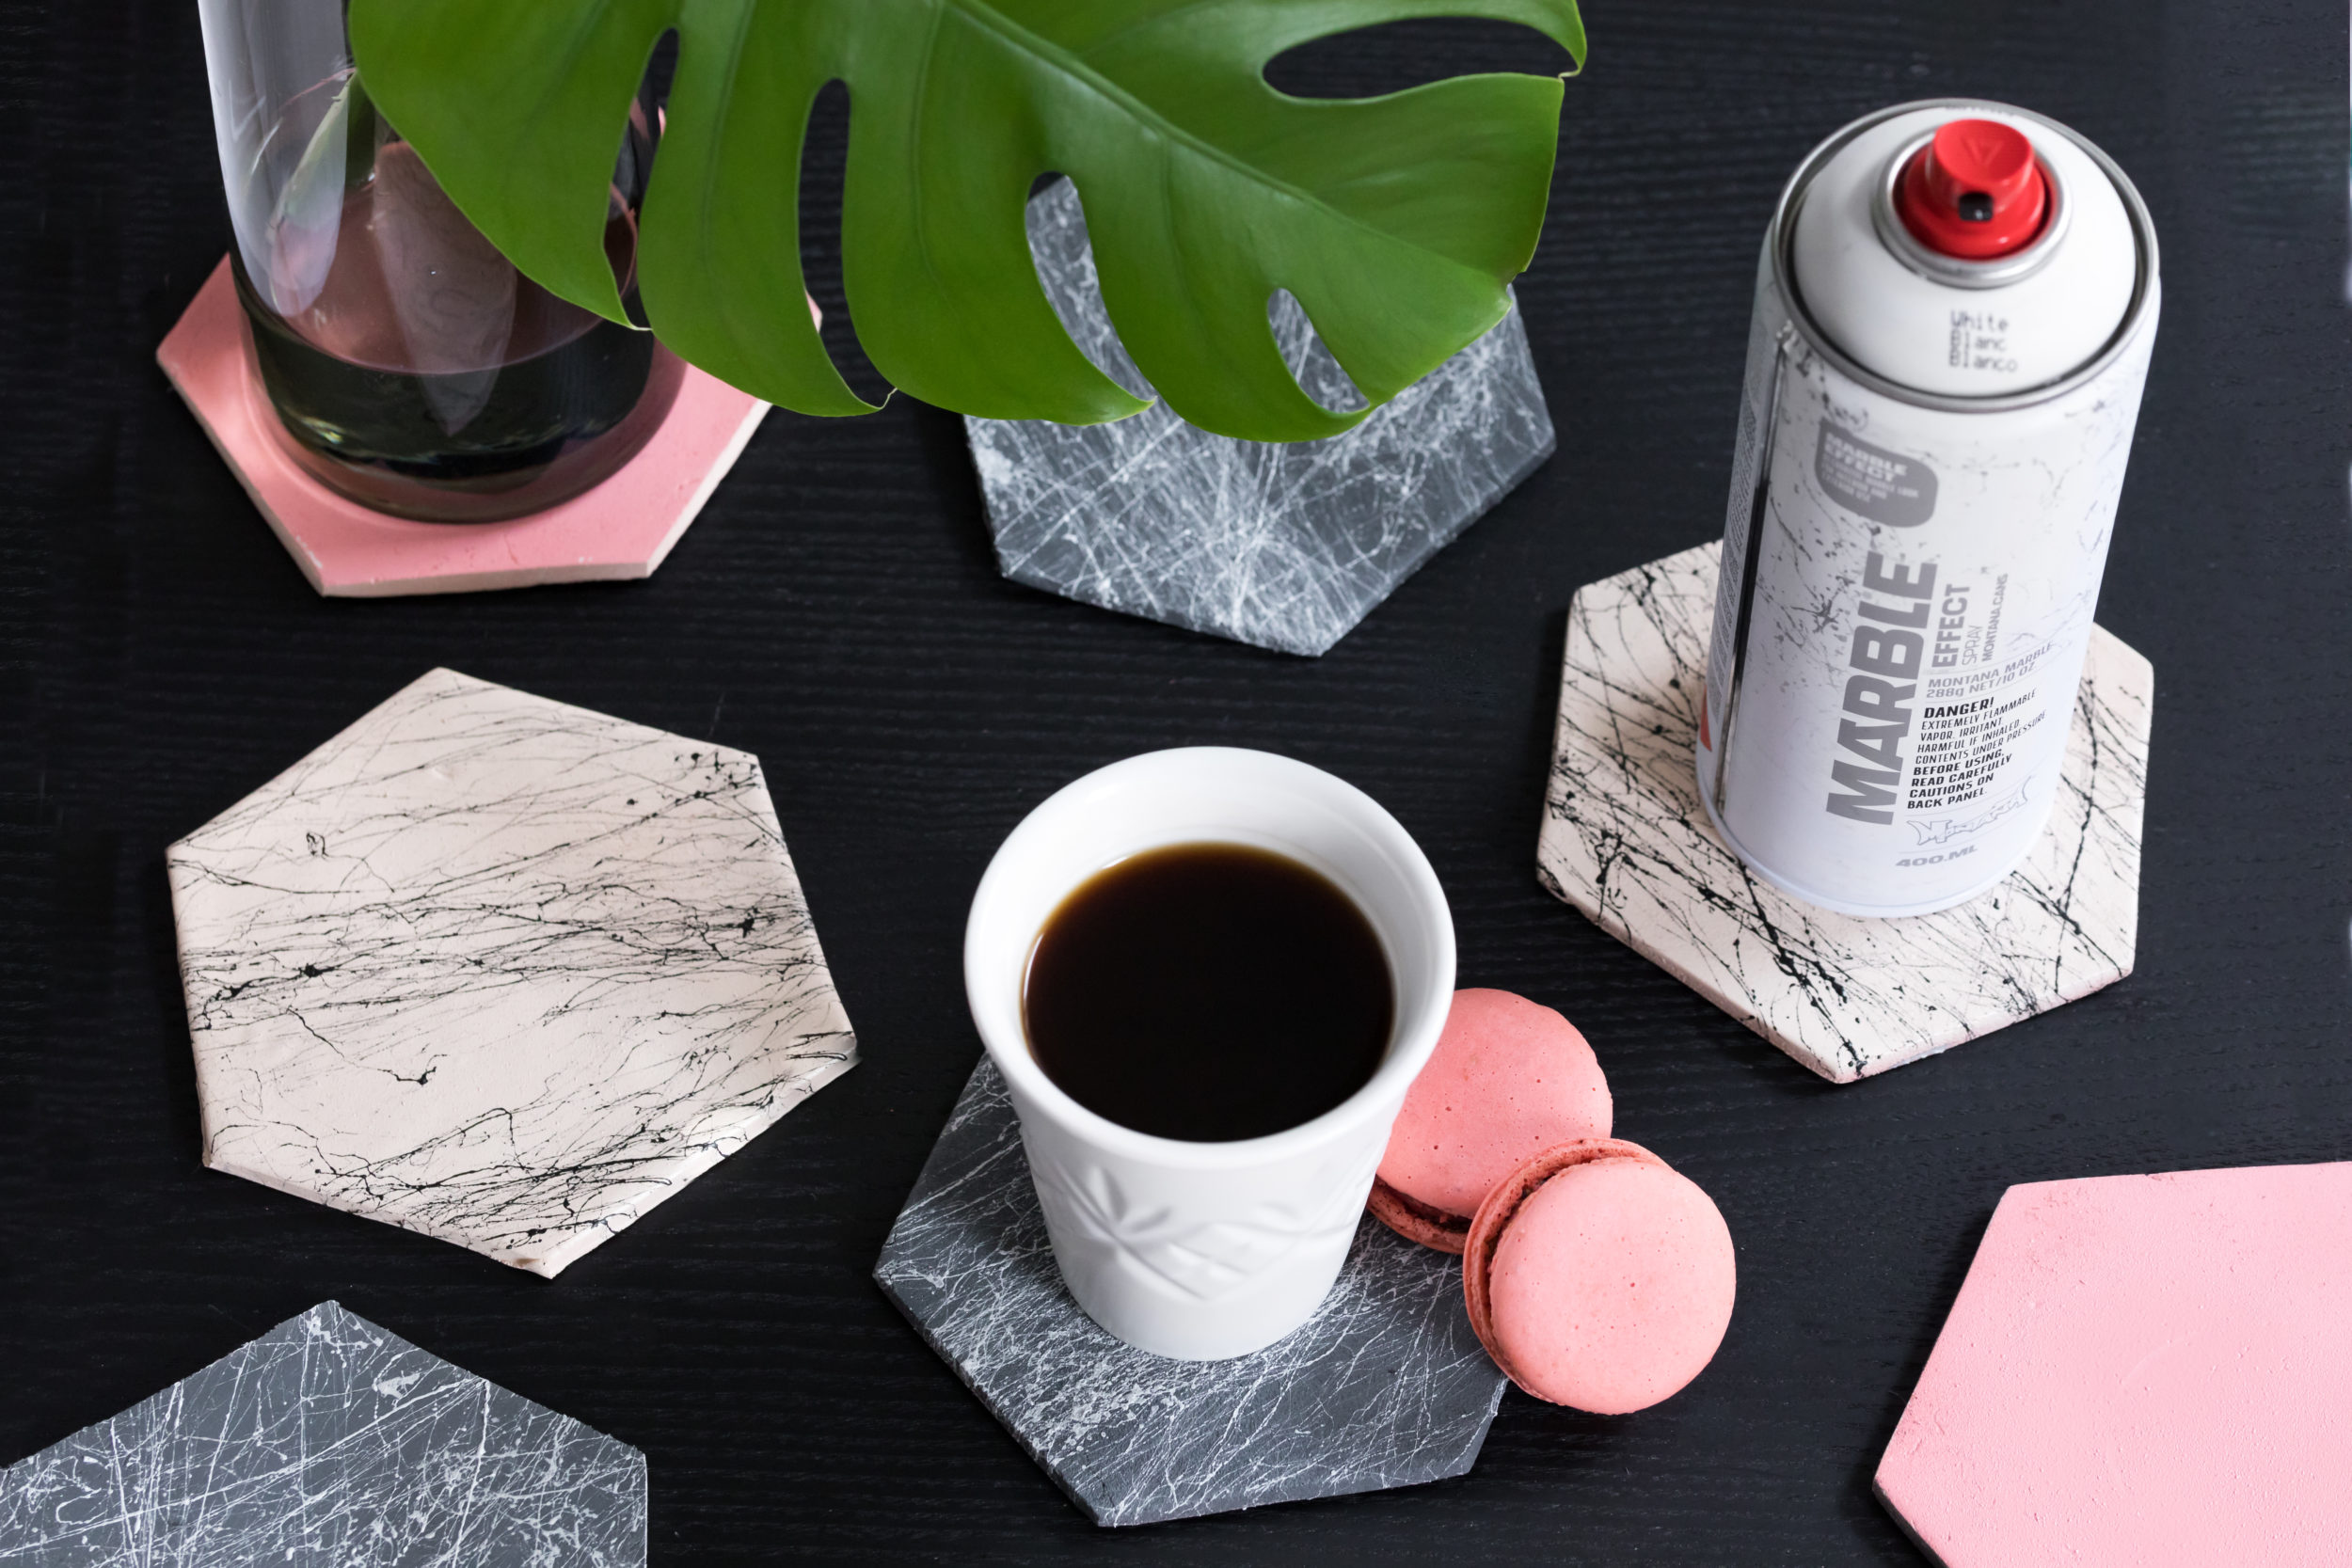
Allow them to dry, turn them over and apply thin even coats to the upper sides. Remember not to forget the edges too! Once dry, re-shake your MARBLE EFFECT cans and apply the color of choice to the Montana GOLD base color of choice. We applied contrasting colors combinations. E.G. black MARBLE EFFECT spray to light base color, White MARBLE EFFECT spray to dark base colors. Why, because we thought it looked cool! Now you’re nearly done. All you need to do is let this dry completely and apply a Montana VARNISH spray of your choice to seal the coasters so they too don’t get damaged from spilt drinks or food. We chose Semi Gloss so that glasses or cups could not adhere to our coasters. The words that probably come to mind now are, “WOW! Did I do that?”
This project is for intermediate abilities. You will need an oven so remember to work where there is one if you don’t have one yourself. If you take your time, anyone can do it. There is about 2 hours of actual work, however due to drying times you will need to do it over a 3-5 day period. Maybe try and plan it around a weekend so you can let the coasters dry out and get back to the fun when the kids are back at school or when you need something creative to come home to after work. Happy Crafting!