The glittery end is just the beginning
The wrapping paper has well and truly been put away and the cleaning up is finally done. With Christmas behind you and the leftovers eaten, the perfect time to end the year and prepare for a New Years’ eve party has come. And we know just how to pep up your table decor with a classy hint of glitter for your table. So put the champagne in the fridge to chill and read on to create your very own New Years Eve Glitter Table.
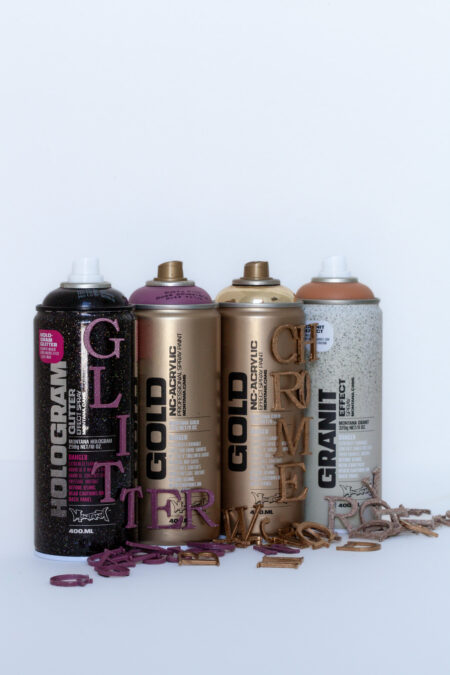
Materials Used
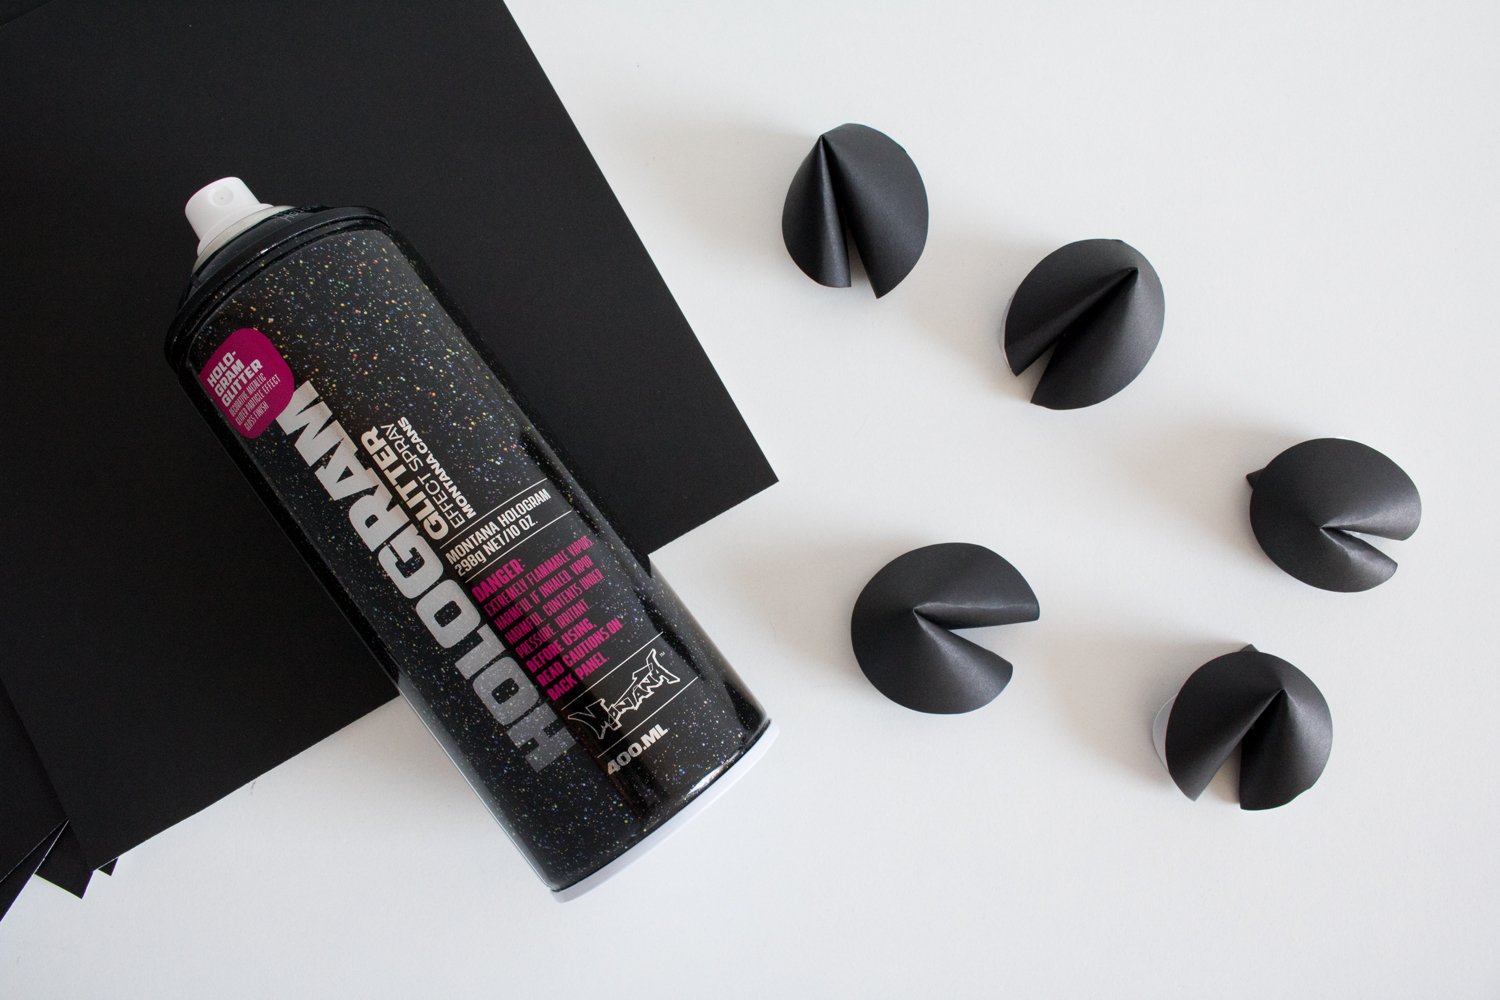
- Montana Hologram GLITTER Effect
- Montana GLITTER Effect
- Montana GOLD color Shock Black
- Montana ACRYLIC markers FINE in Gold and Bronze
- Scissors
- Black cardboard
- Black ceramic cups or mugs without handles
- Ruler
- Glue or sticky tape
- Gloves
- Mask
- Drop Sheet
How it was done
Dark decor never goes out of fashion. When we had the opportunity to work with the Montana GLITTER and HOLOGRAM Effect cans which work best on dark surfaces, we decided to stick with black. Our first stop on the materials list was to source black sturdy cardboard. This was easy and we found the ideal cardboard that we could use for both table place holders and holographic fortune-cookie shaped decor. With this box ticked, we put the card aside while we looked for small mugs or cup shaped vessels, that we could use as tea light holders. We were lucky to find little ceramic cups in black without handles that almost looked like Japanese teacups.
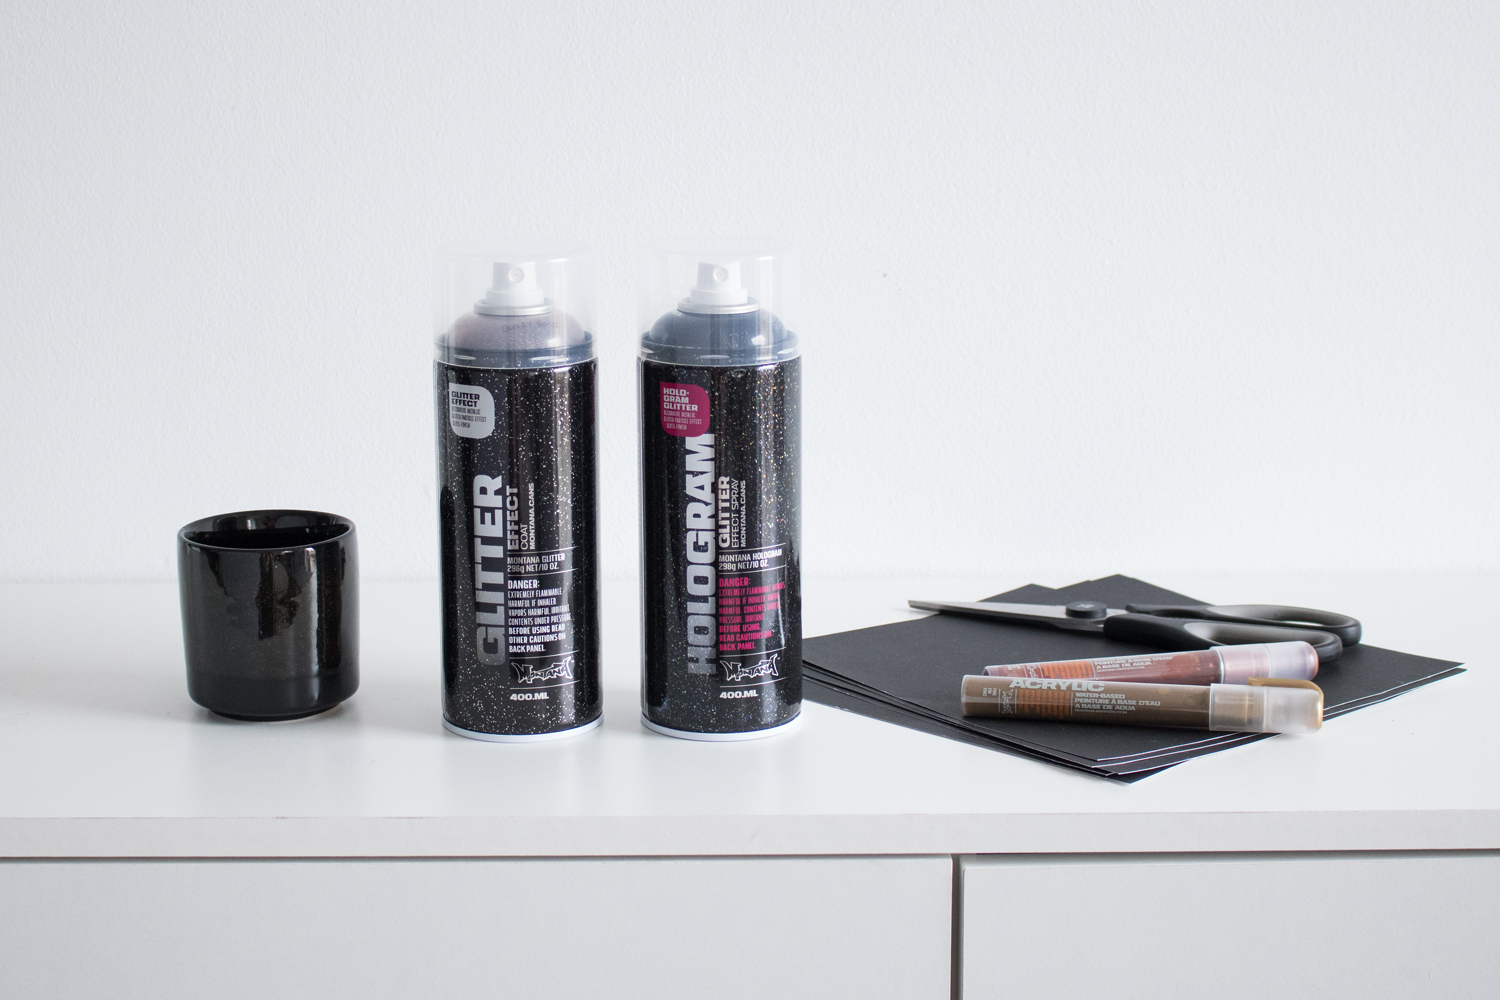
If you don’t have the luck we did, consider using other colored vessels that you can spray black with Montana GOLD in the color Shock black. Or you may even be able to find some old cups or mugs that you can upcycle and pre-prime black.
[su_icon_text color=”#41444e” icon=”icon: clock-o” icon_color=”#000000″ icon_size=”34″]Working time: depending on quantity of objects 10 to 20 minutes / drying time in between: about 30 minutes in total [/su_icon_text]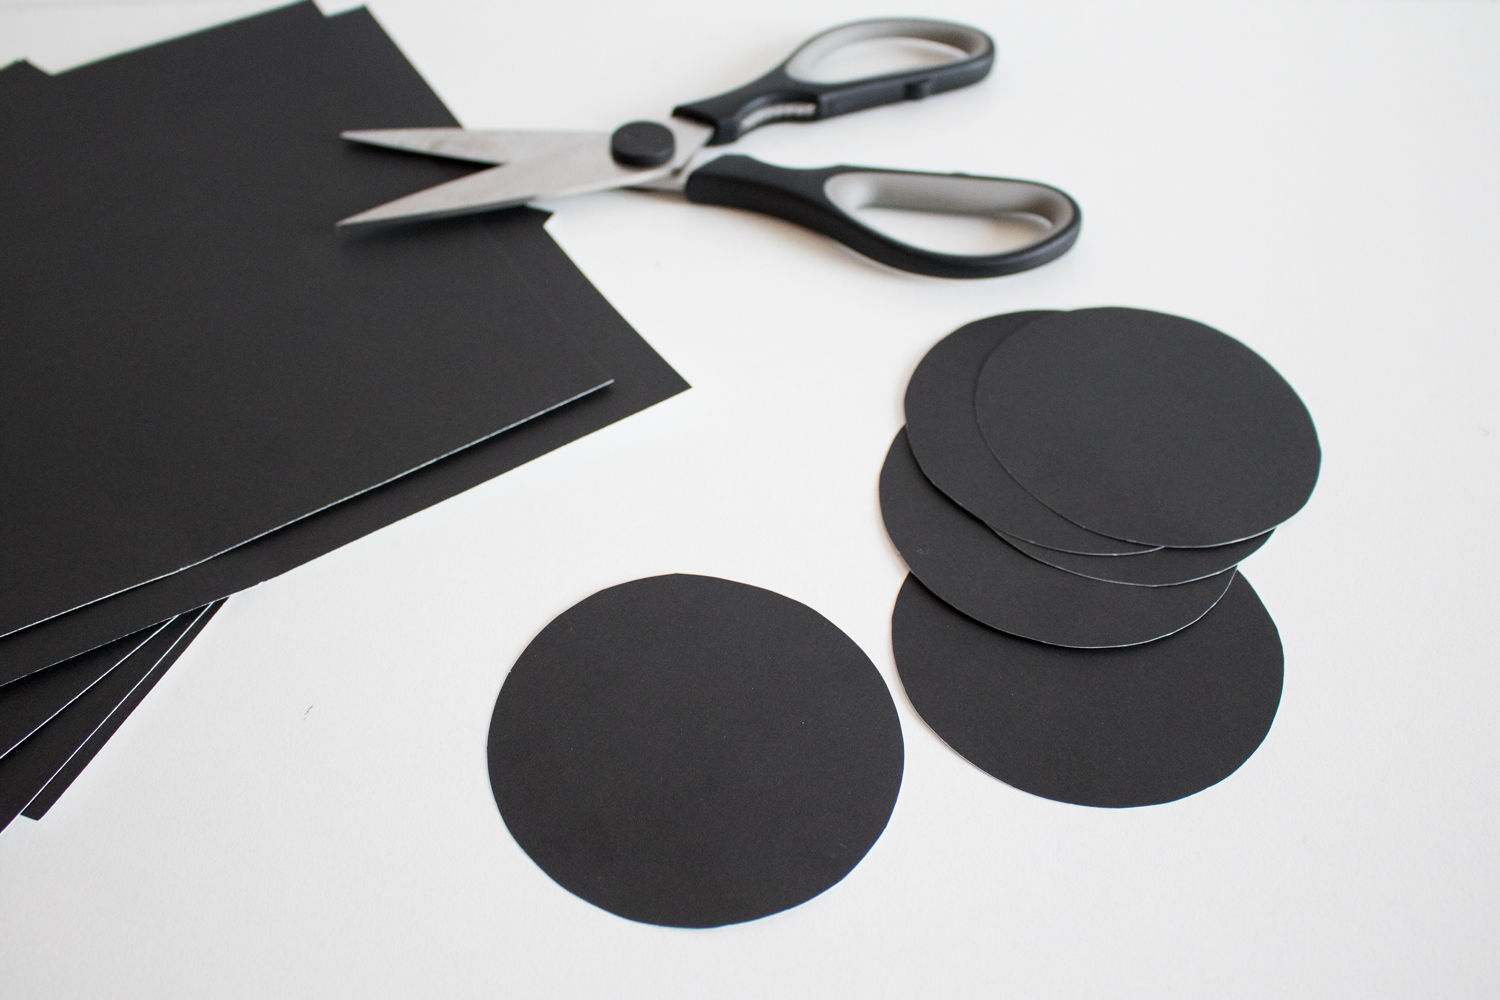

With the materials found and the cups cleaned and dried, we decided to start with shaping our cardboard so that we could do all the spraying at once. Table placers were an easy logical choice. We divided some of our pieces of cardboard into neat rectangles that could be folded in half so they could stand up by themselves on the table. Measure-cut-fold, job completed with ease. The fortune cookie shapes required a bit more brainpower but nothing too strenuous.
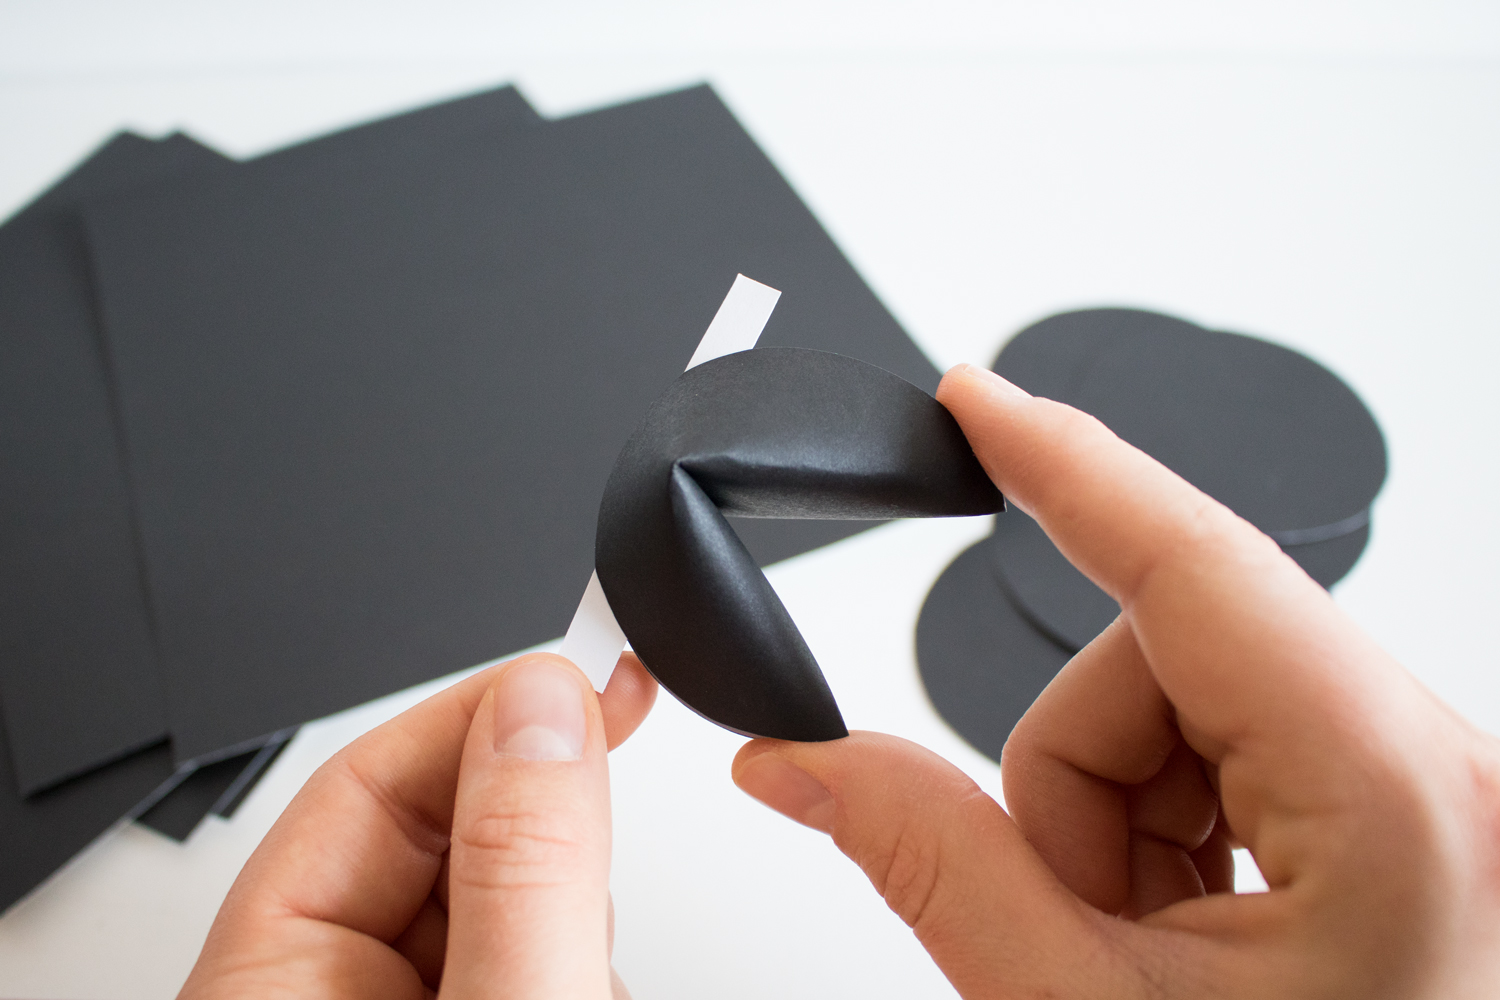
Find a circular item like a lid or a plate and simply trace a circle in the size of your desire on the card. Cut this circle out and then make one straight cut from the outside cutting inward till you stop in the middle. Fold one piece of the card under the other and you’ll notice a cone shape starting to form. When you have the cone to the size you want either glue or sticky tape the inside so that you can’t see it and so the cone is fastened tightly. If you used glue, let this dry. At the point where you cut and fed one part of your card under the other, knick the card inward and crease from the inside. You now have your fortune cookie shape and are ready to paint.
[su_icon_text color=”#41444e” icon=”icon: shopping-cart” icon_color=”#000000″ icon_size=”34″]To find an online shop or reseller or in your area feel free to visit the MontanaCans Storefinder [/su_icon_text]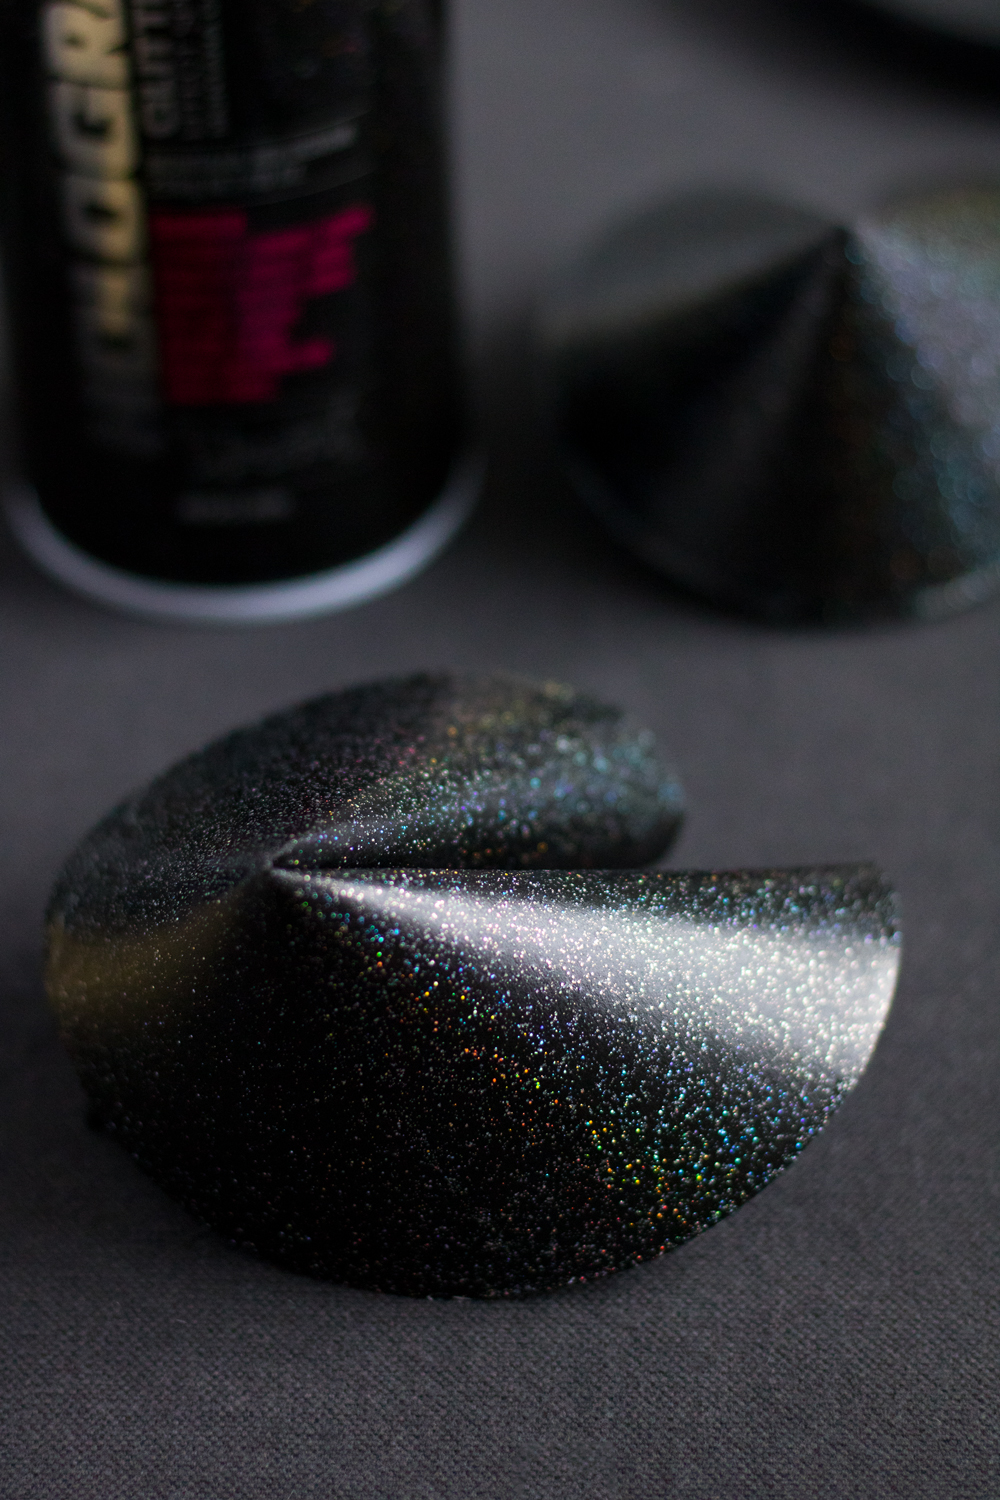
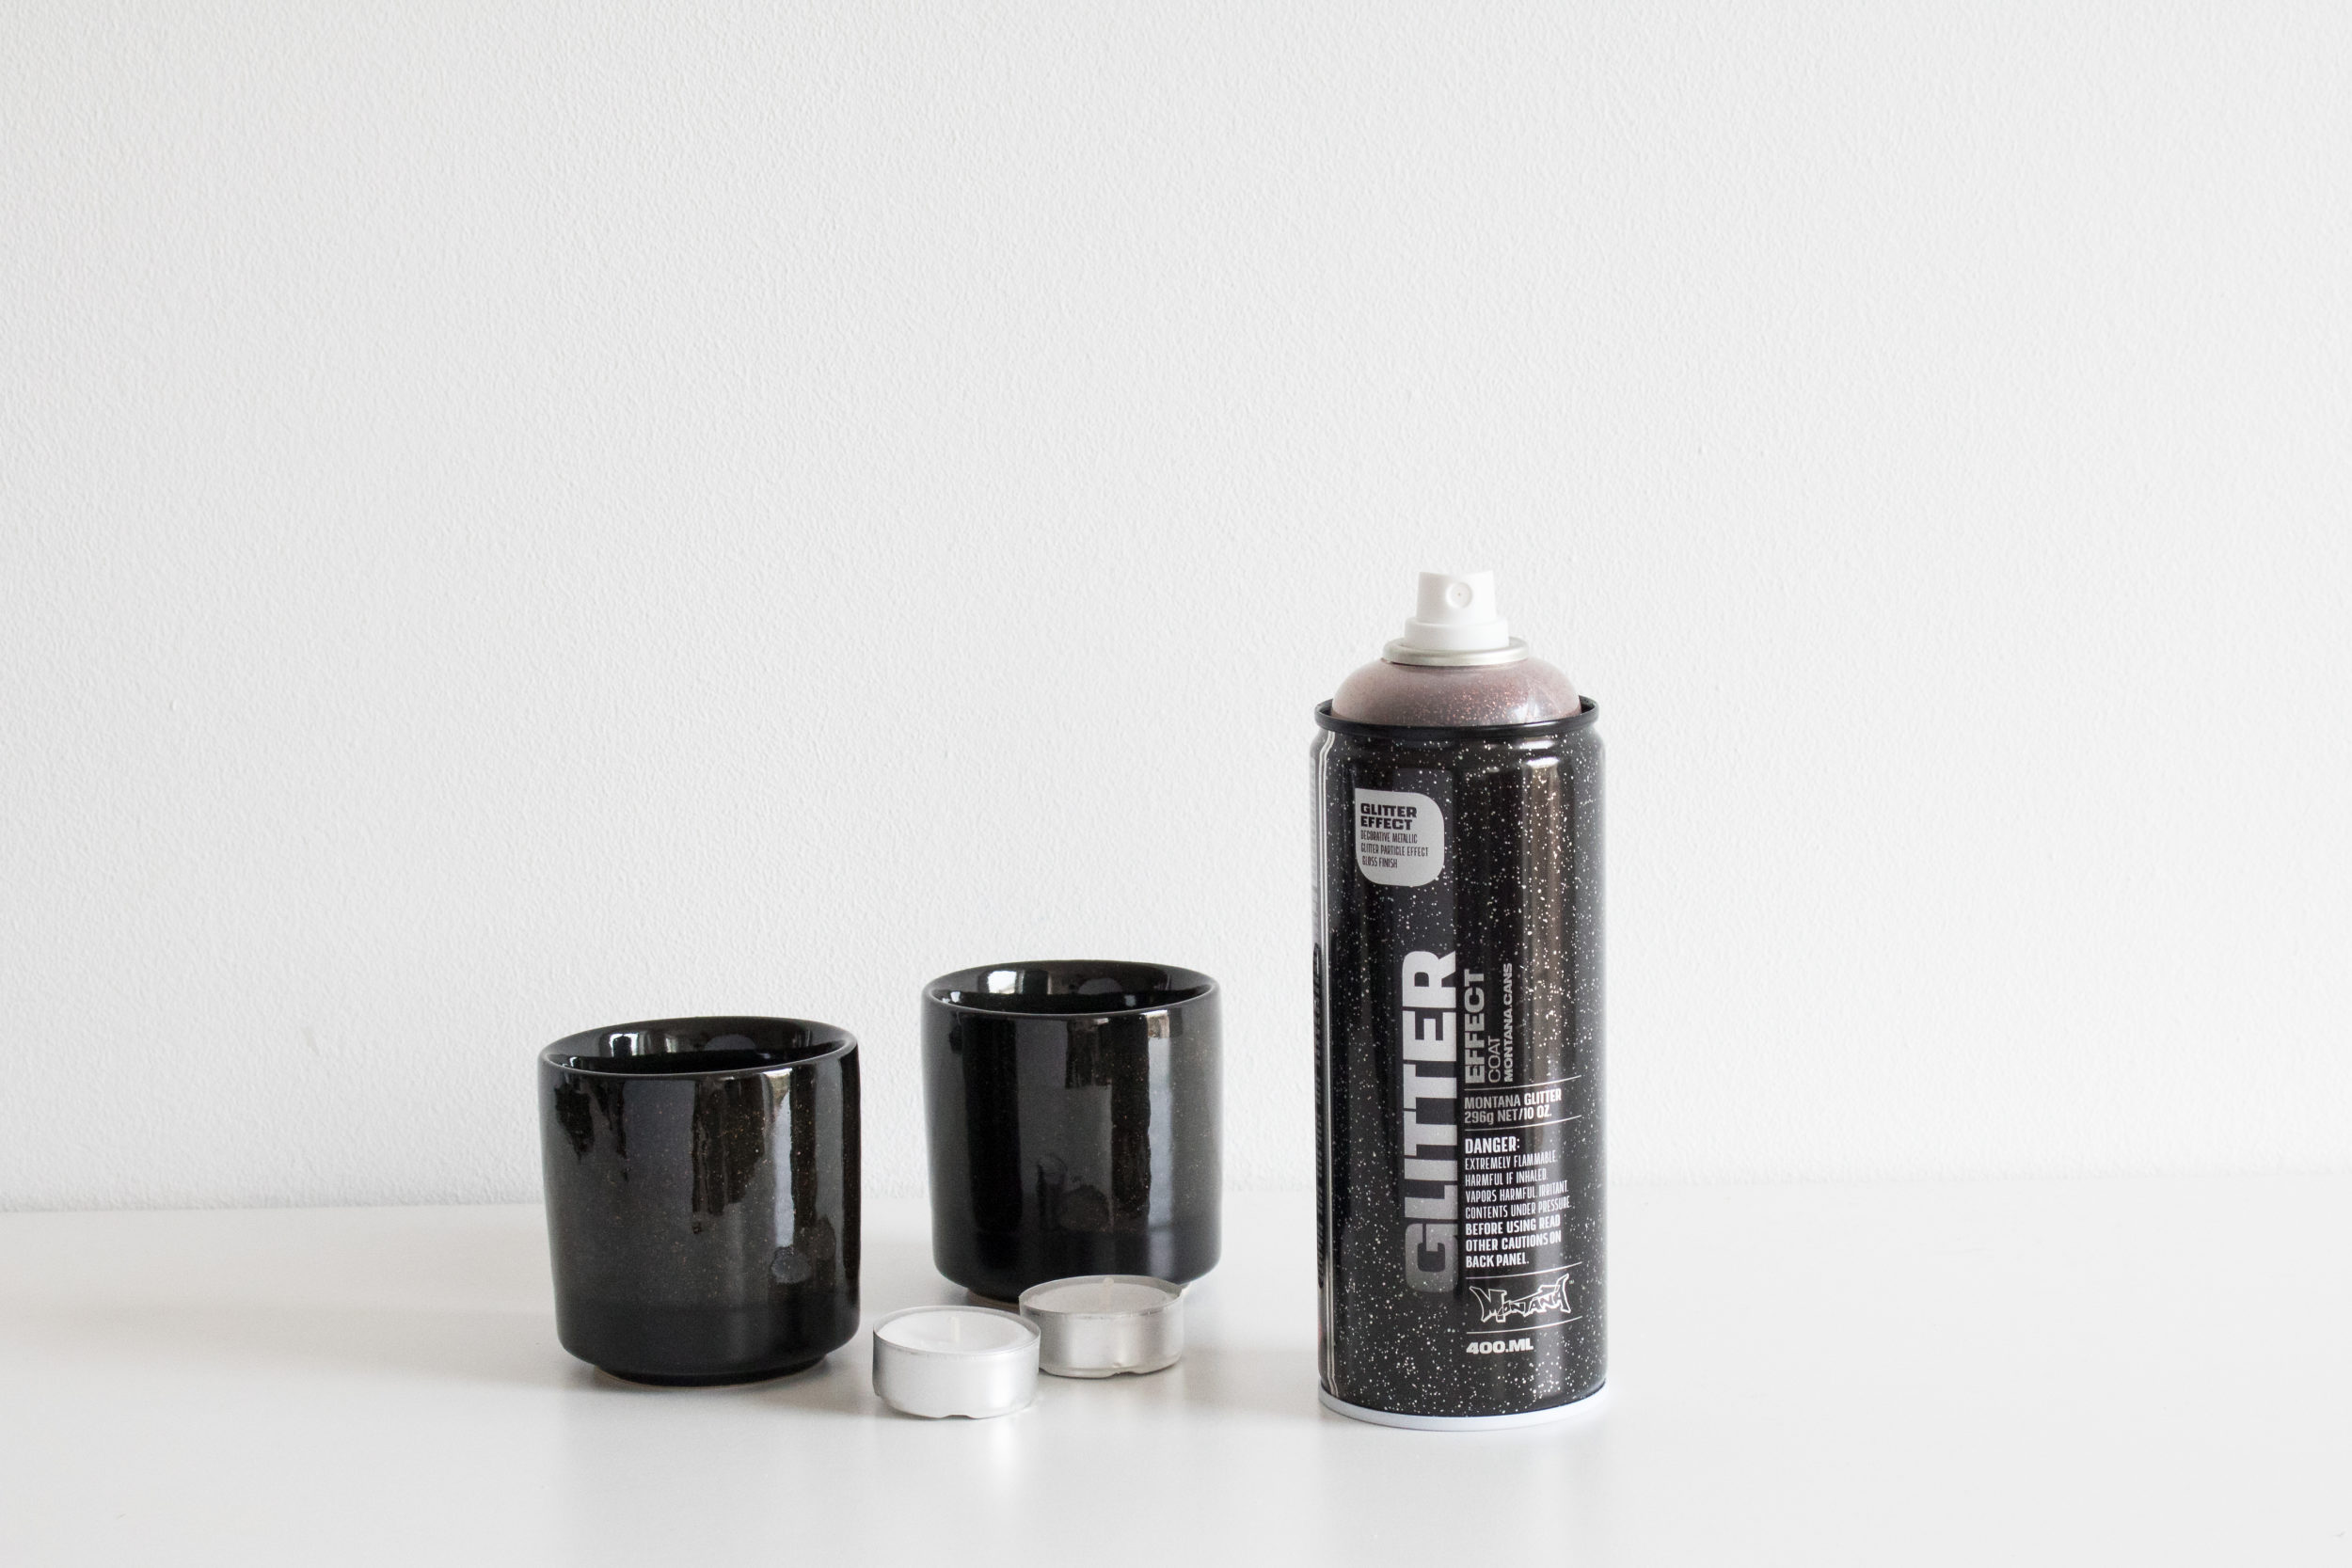
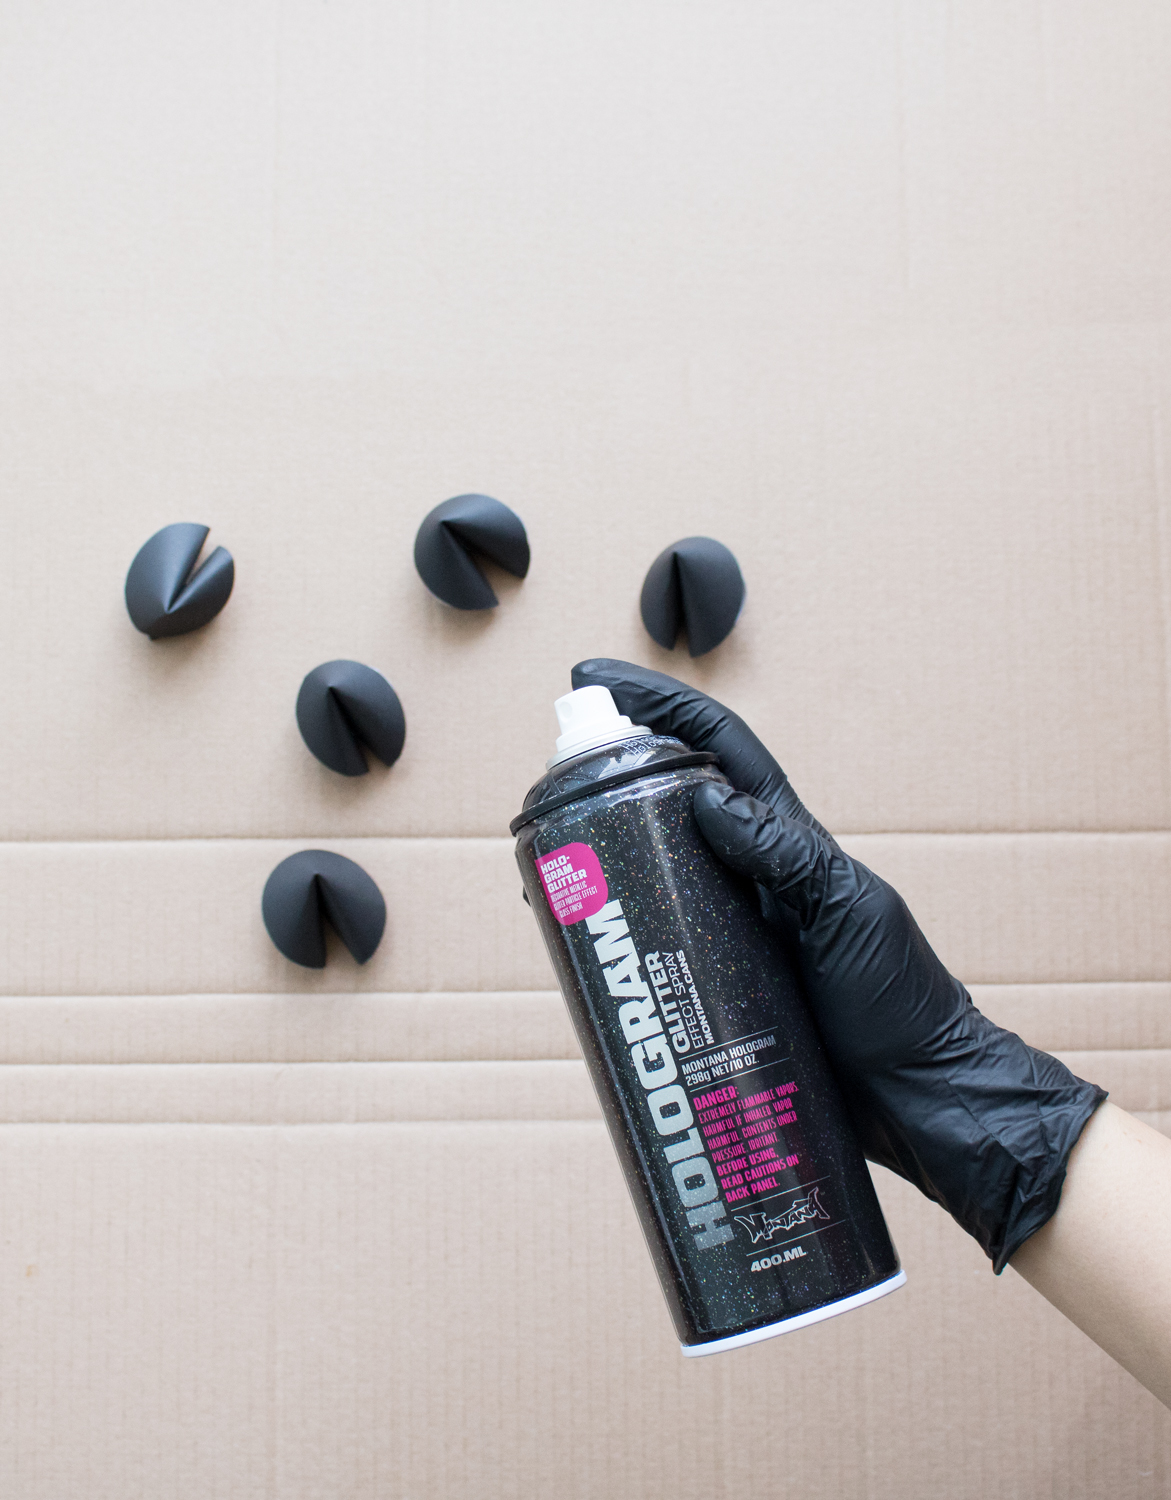
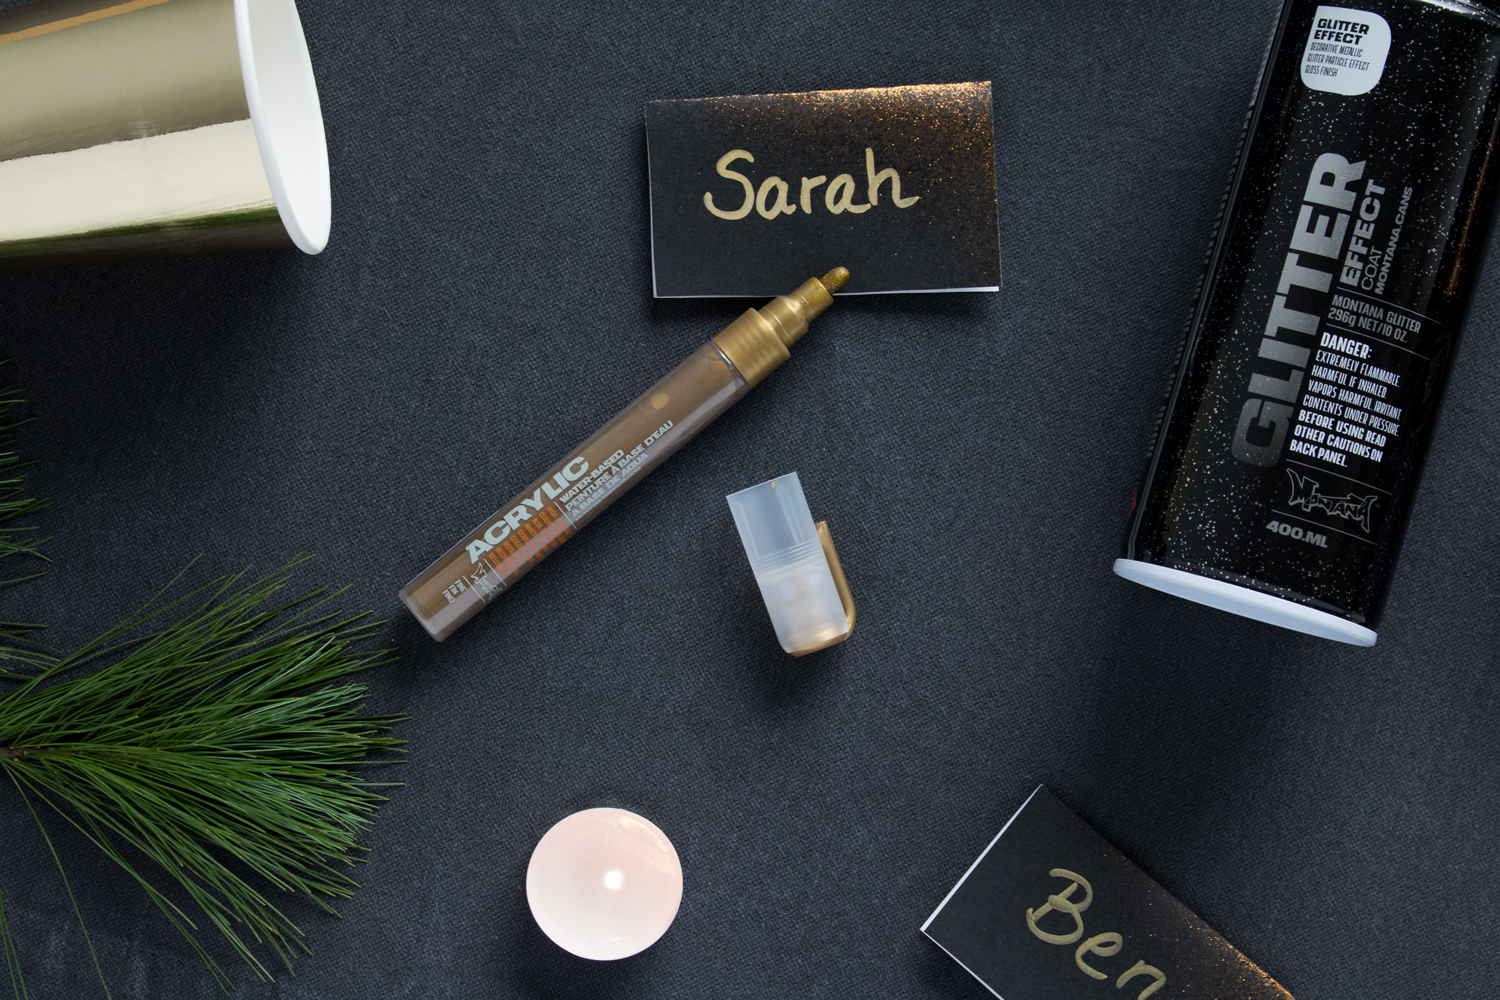
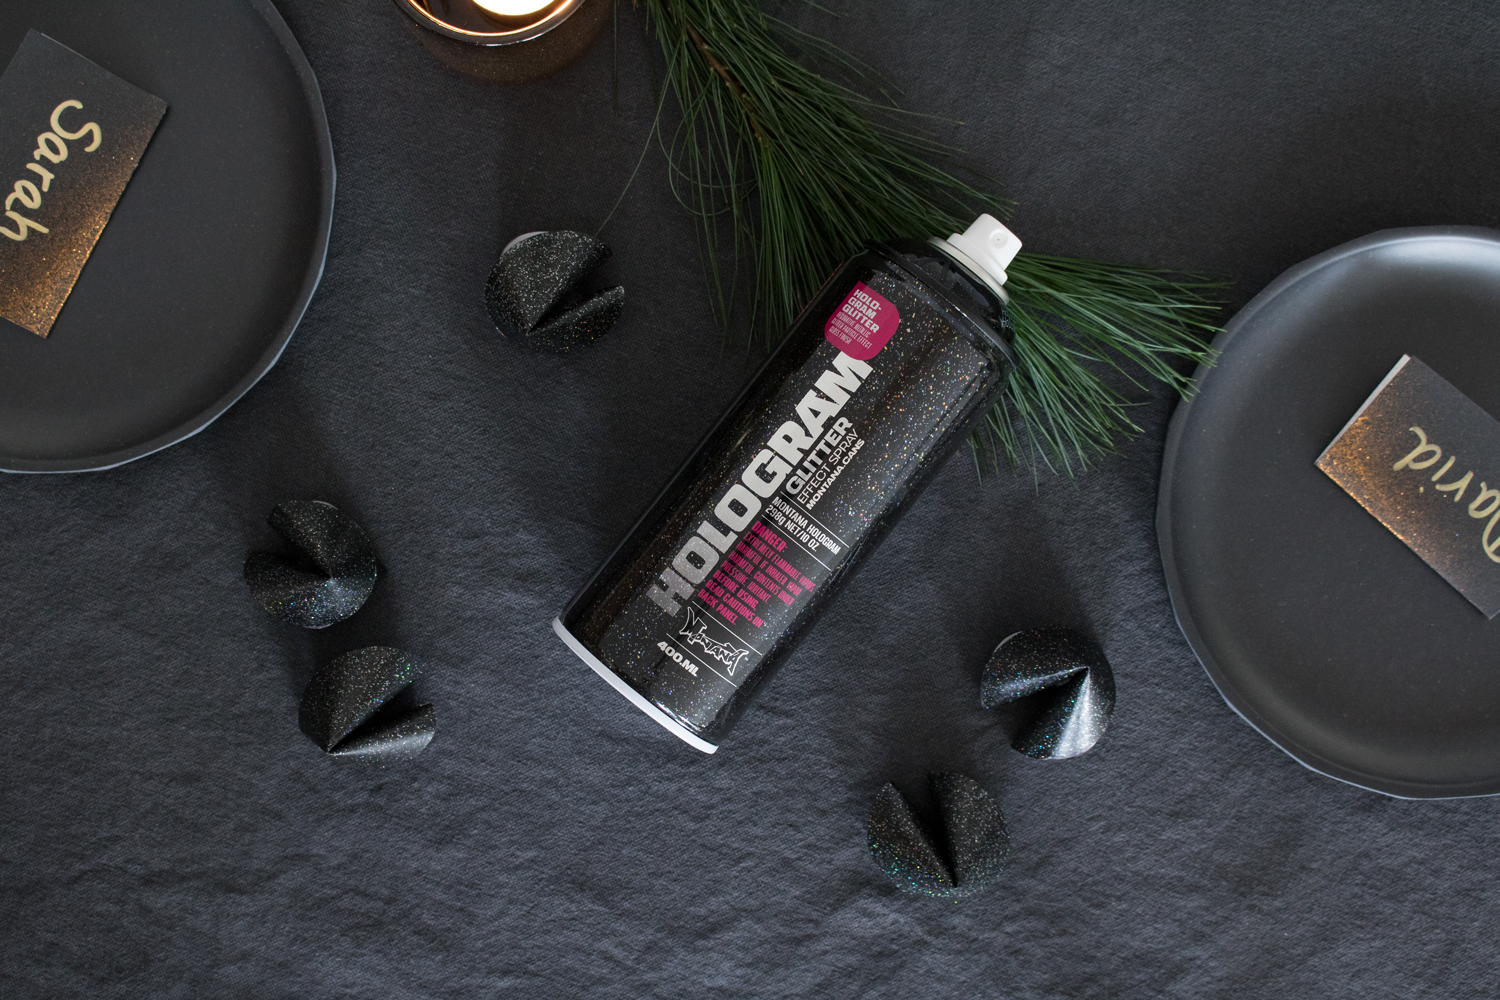
Remembering our spray painting rituals, once the drop sheet(s) have been laid, the mask is on and so are the gloves, we then need to shake our cans for 2-3 minutes so we can hear the mixing balls moving freely. Don’t worry, you don’t have to take the safety ring out from under the nozzle, these cans come with a lid meaning you can trigger the cans once the lid is removed. If you happened to use any other colored cardboard or cups, now is the time to spray them black first with Montana GOLD in the color Shock Black. Once thats dry you’re ready for glitter goodness. We laid our place cards, the fortune decor and the cups on our drop sheet. Using the colors of your choice, apply GLITTER Effect for the cards and HOLOGRAM Effect for the fortune cookie decor. Apply lightly in a thin even coat to all or part of our objects. Crucially important to remember is that glitter paint particles are heavy. Always remember to re-shake any GLITTER Effect sprays between use. Even if pausing only for a short moment. This will ensure the paint is always mixed properly and no pigments have a chance to settle at the bottom of the can.

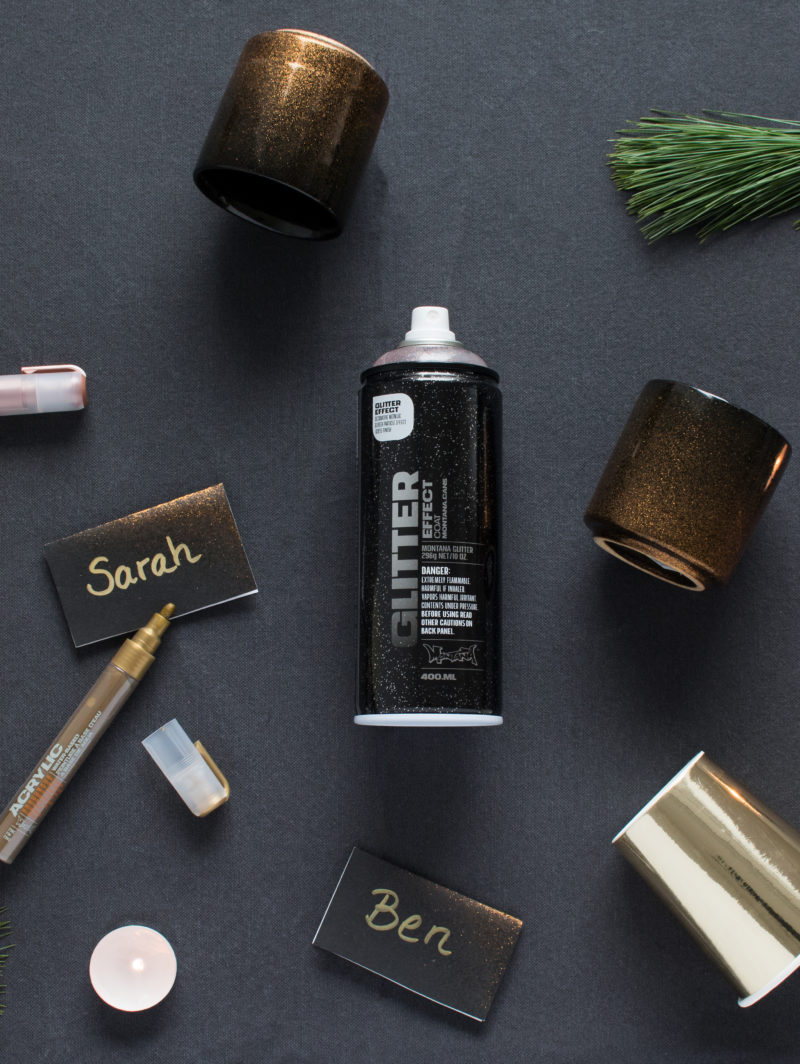
After all the items dried overnight, we revisited our place holders with our shaken Montana ACRYLIC Markers and wrote the names of our guests on the card. Having only applied GLITTER Effect to some of the cards surface made for a really cool effect. If you wanted to add an extra touch of shine, when everything is dry you could also reach for the Montana VARNISH Spray in Gloss and give it a coat of gloss finish. You’ll be more impressed than you think. Once the New Years eve table is set and the tea lights are lit in their new glittery vessels, it’s time to take the champagne out of the fridge and get ready to celebrate.

This project is easy for all ability levels. The actual working time is about 15 minutes per object type with the most labor-intensive part being the creation of the fortune cookie-shaped decor.
The rest is just waiting for things to dry. You’ll have great pleasure in answering when you’re asked, “where did you get the fabulous table decor”? Happy New Years Eve Glitter Table and happy crafting.