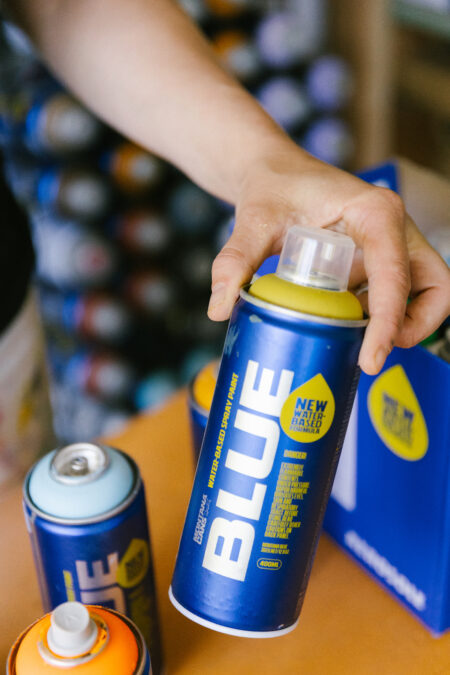
Creating ambiance with transparent paint
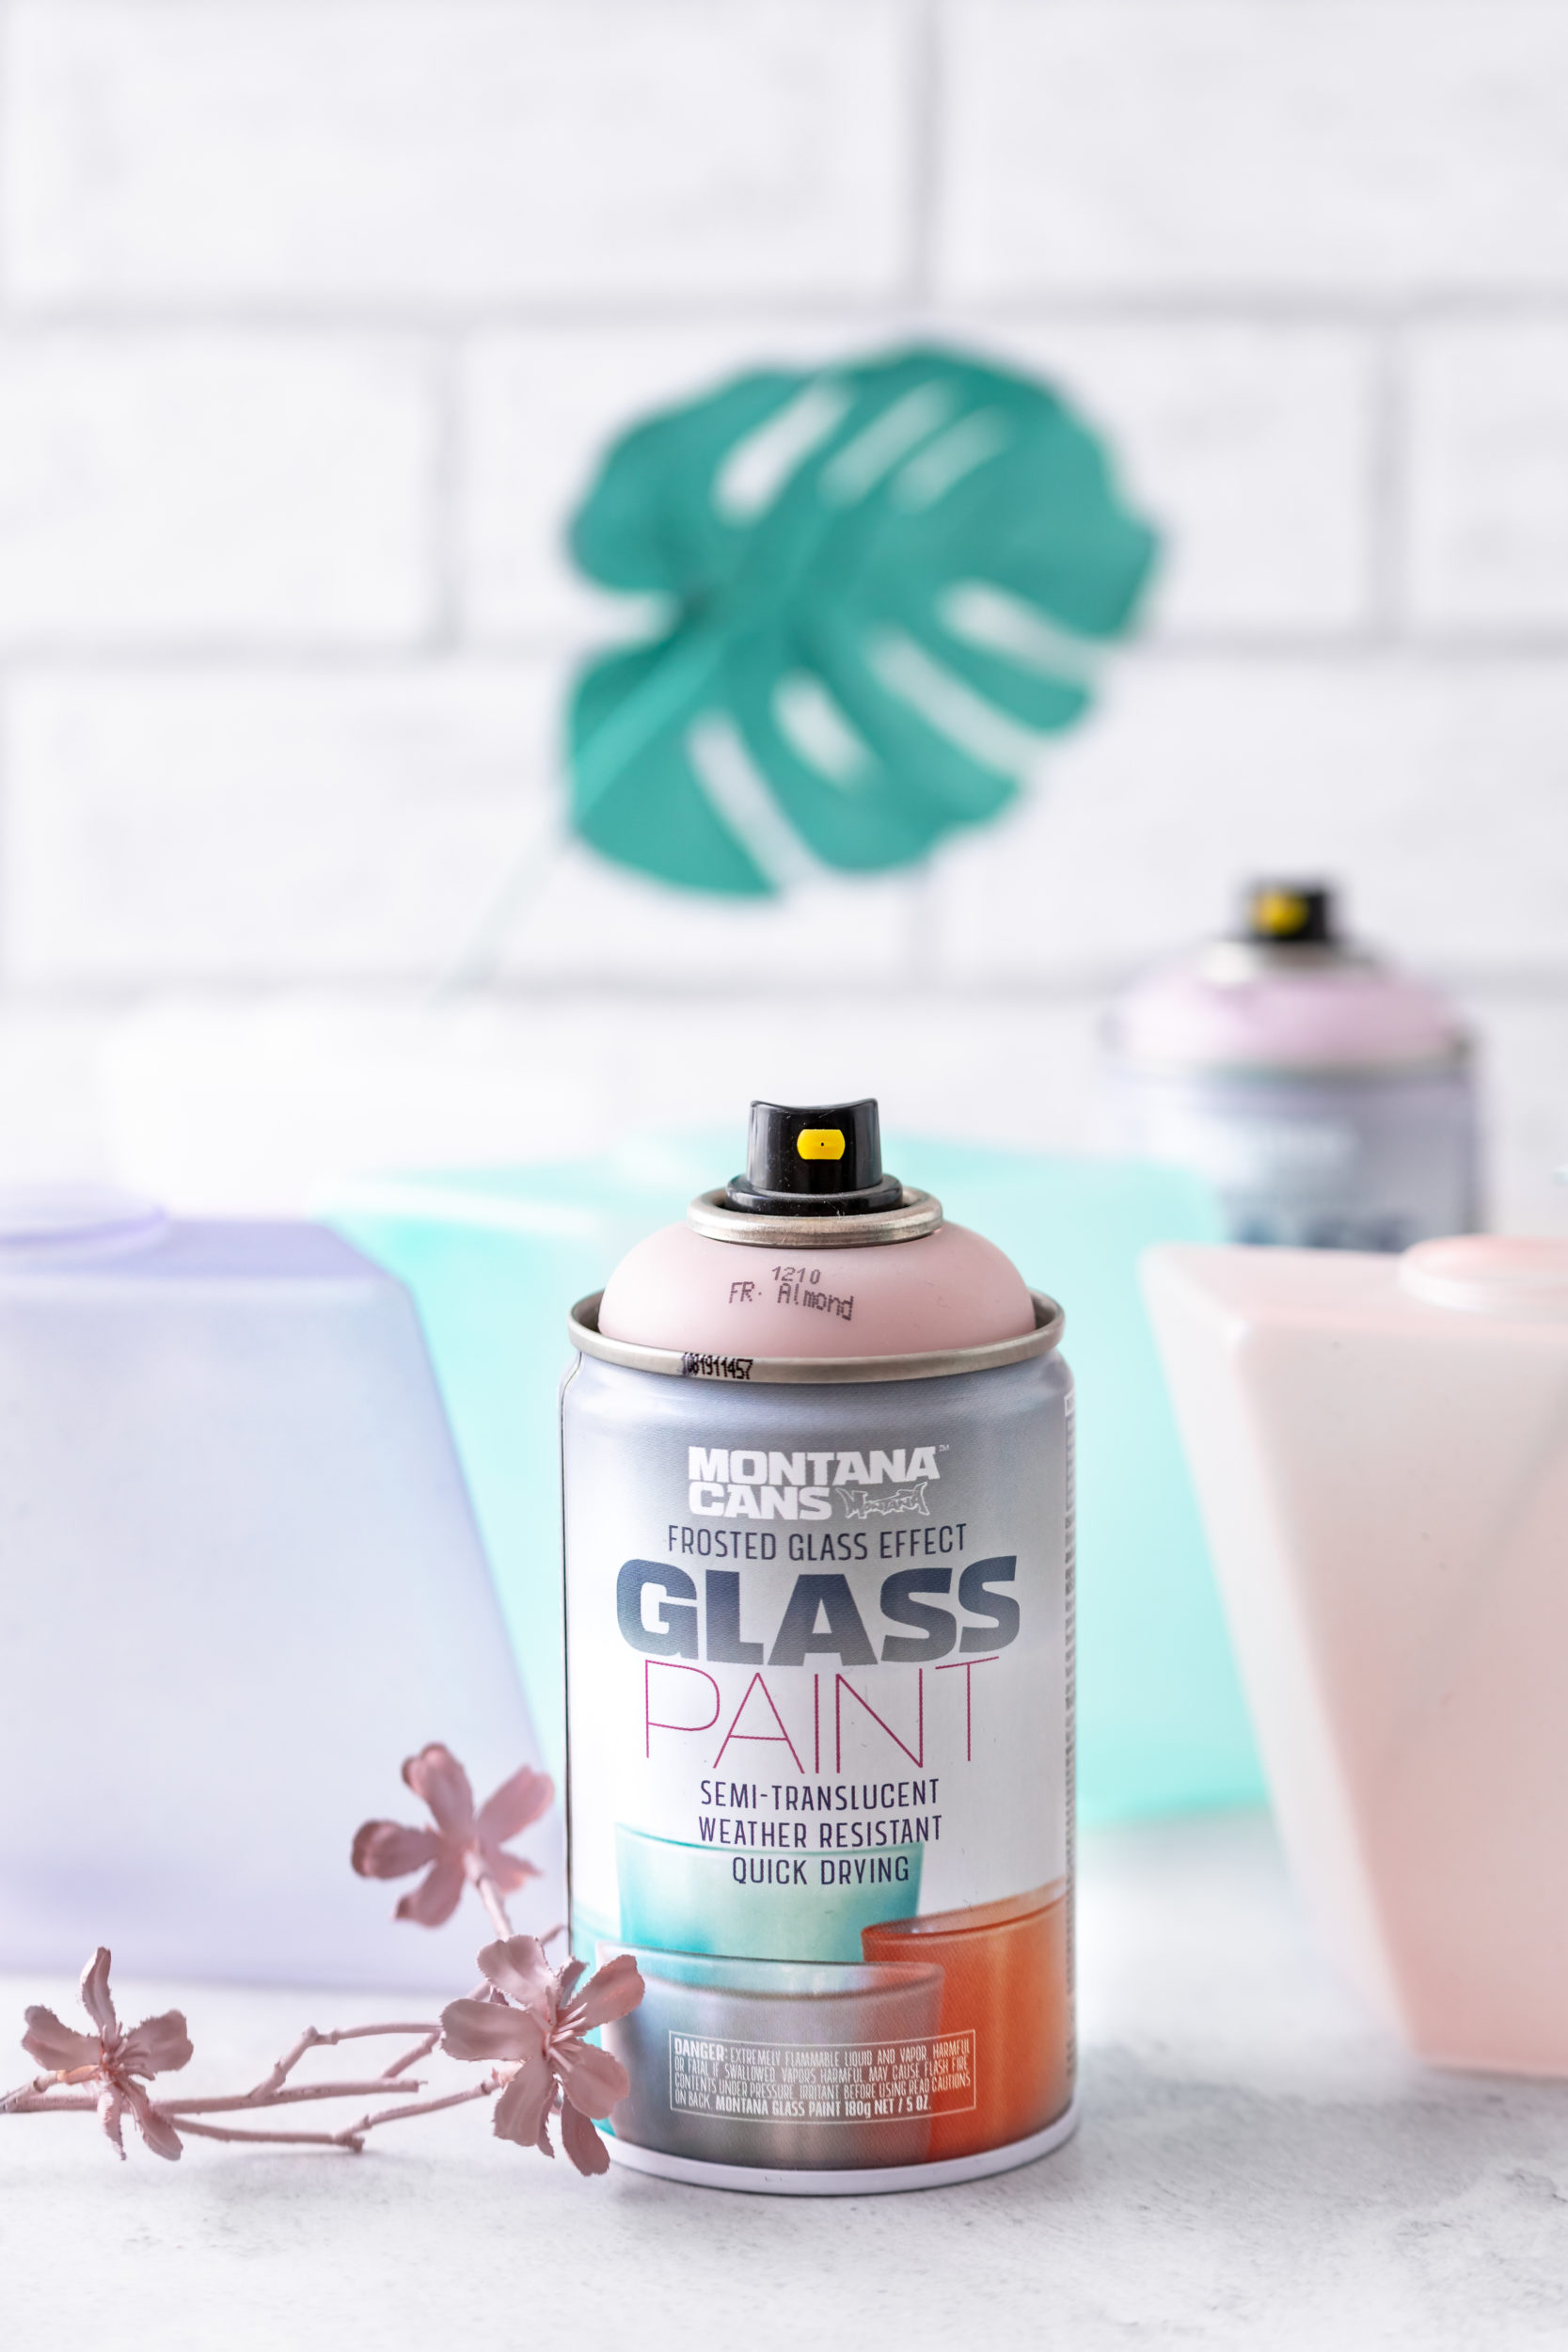
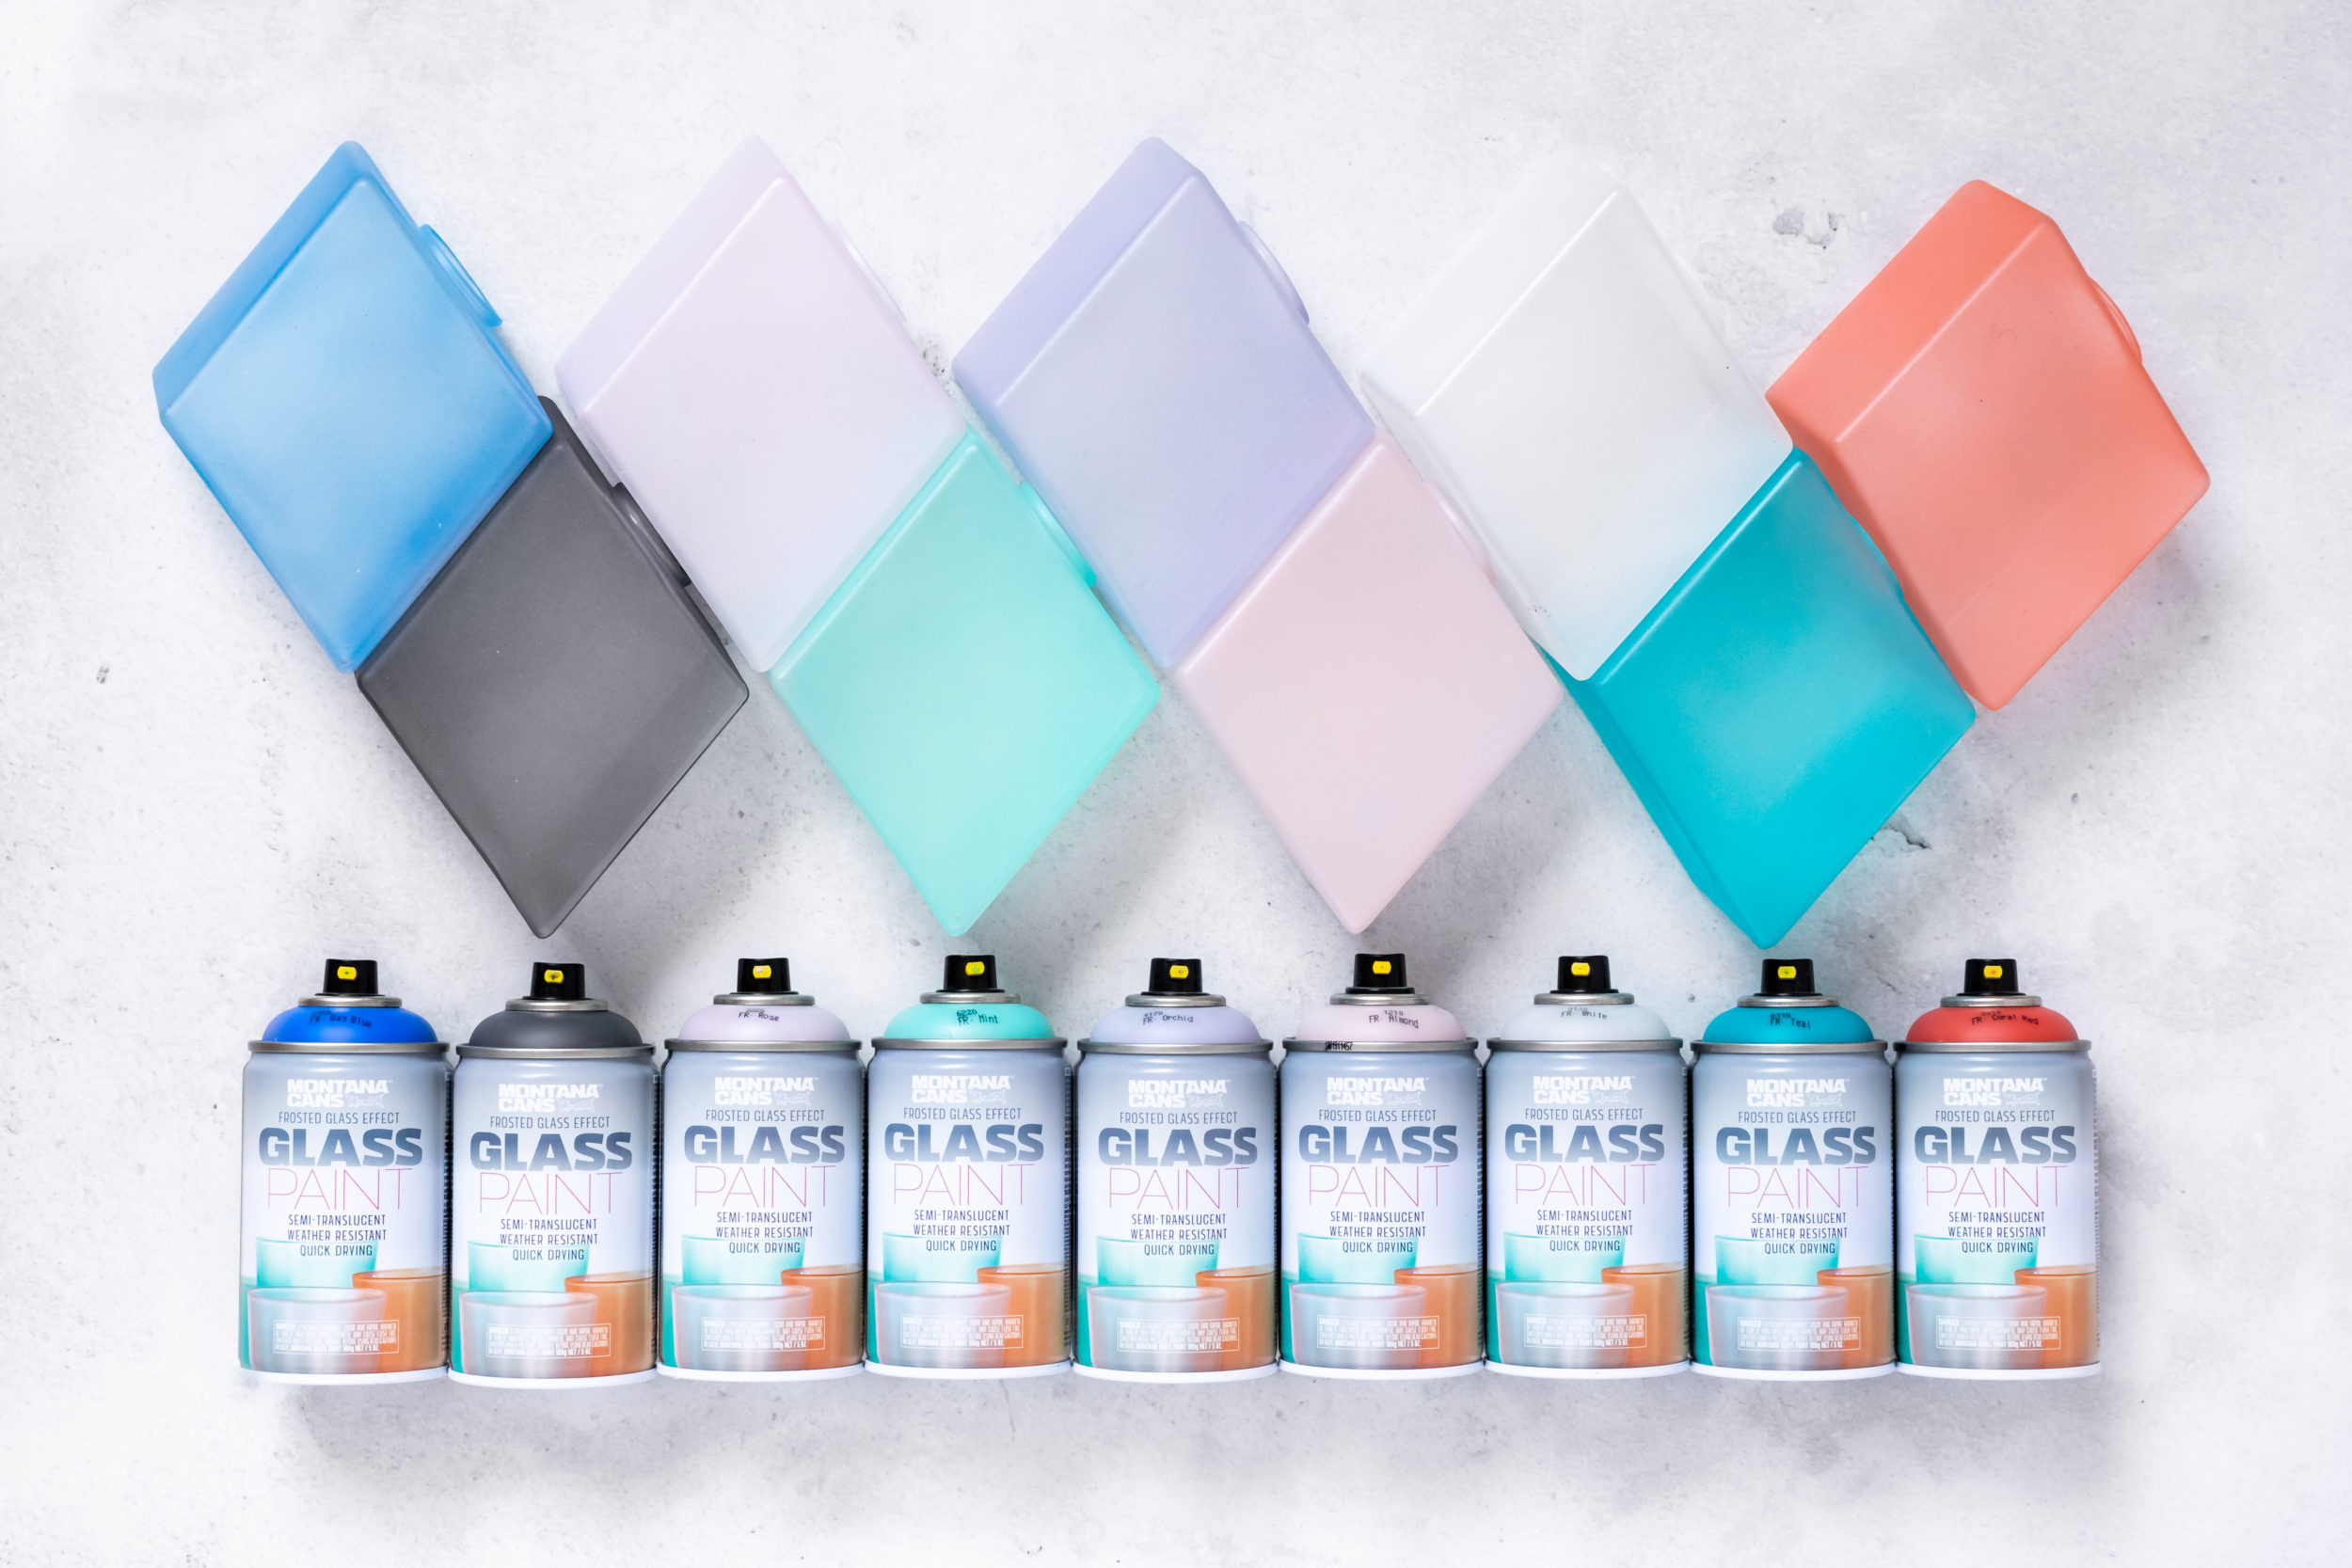
Let’s face it, we often get dazzled by luscious, opaque color. And why not, it is beautiful. But every now and then, something else catches our eye. With the release of the new Montana GLASS PAINT 250ml, that something else at the moment is transparent color. We got a great idea! And with summer coming on strong, this idea doesn’t need water. Read on and get inspired for the GLASS PAINT Containers.
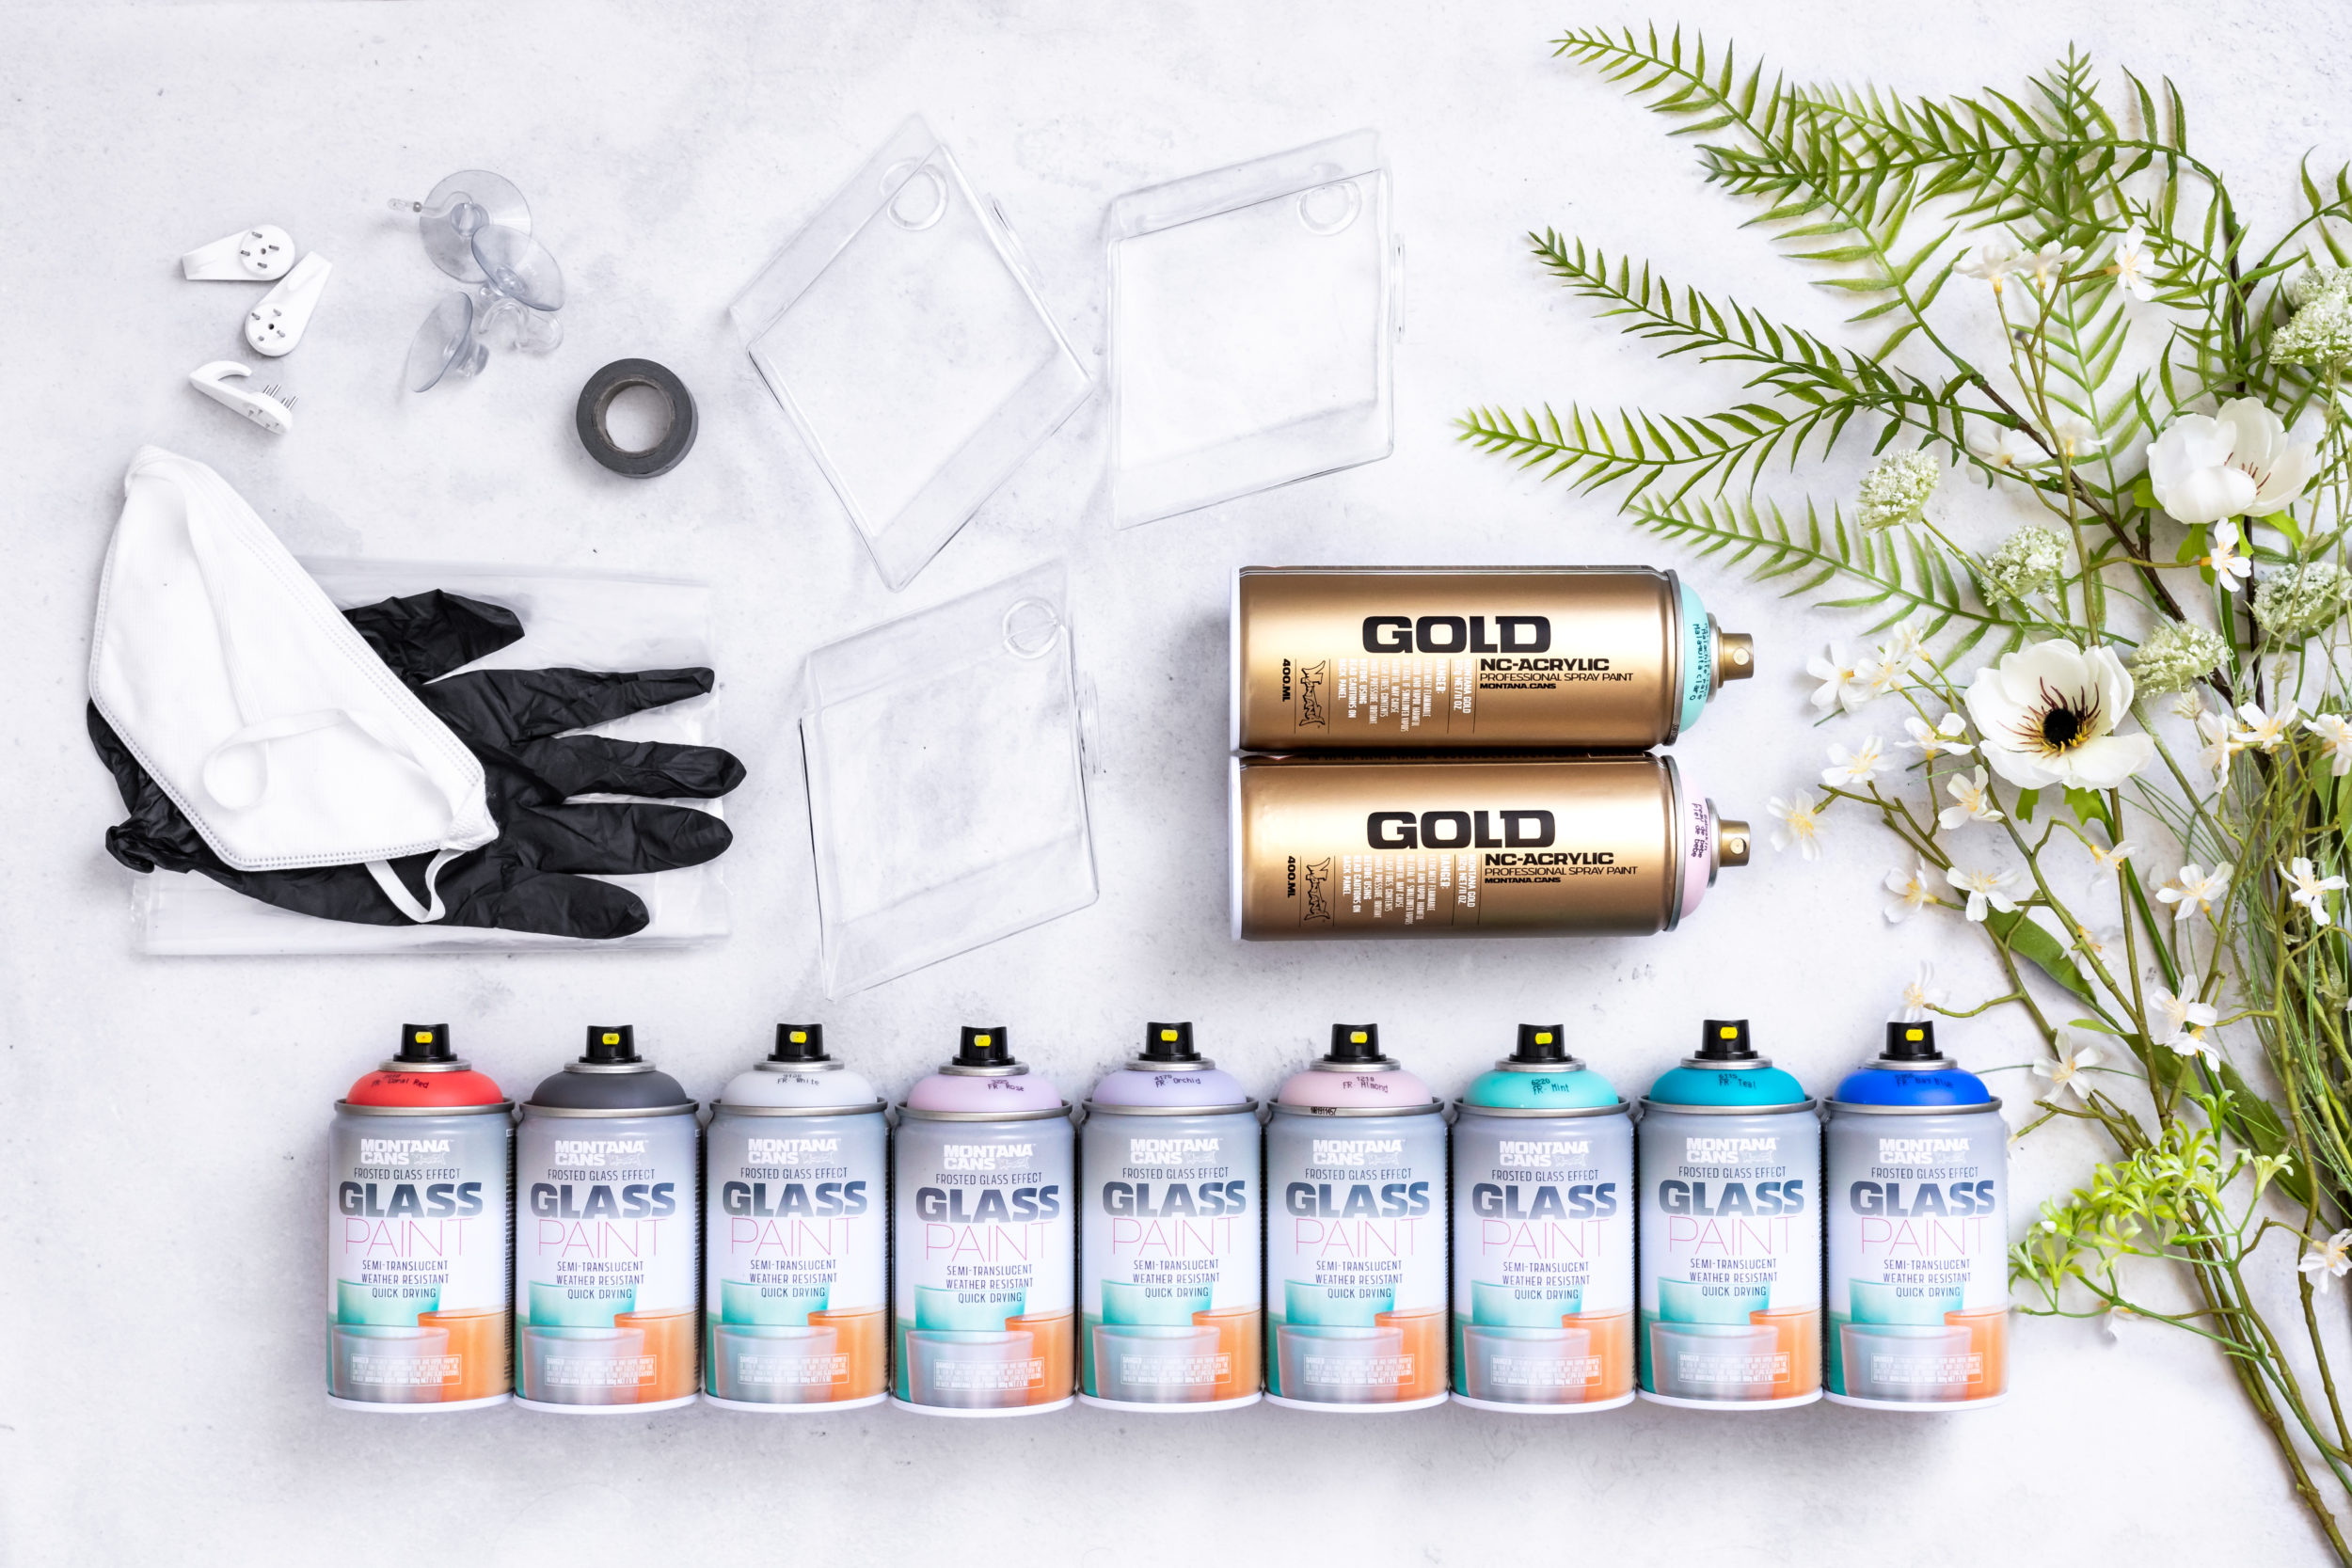
Materials Used
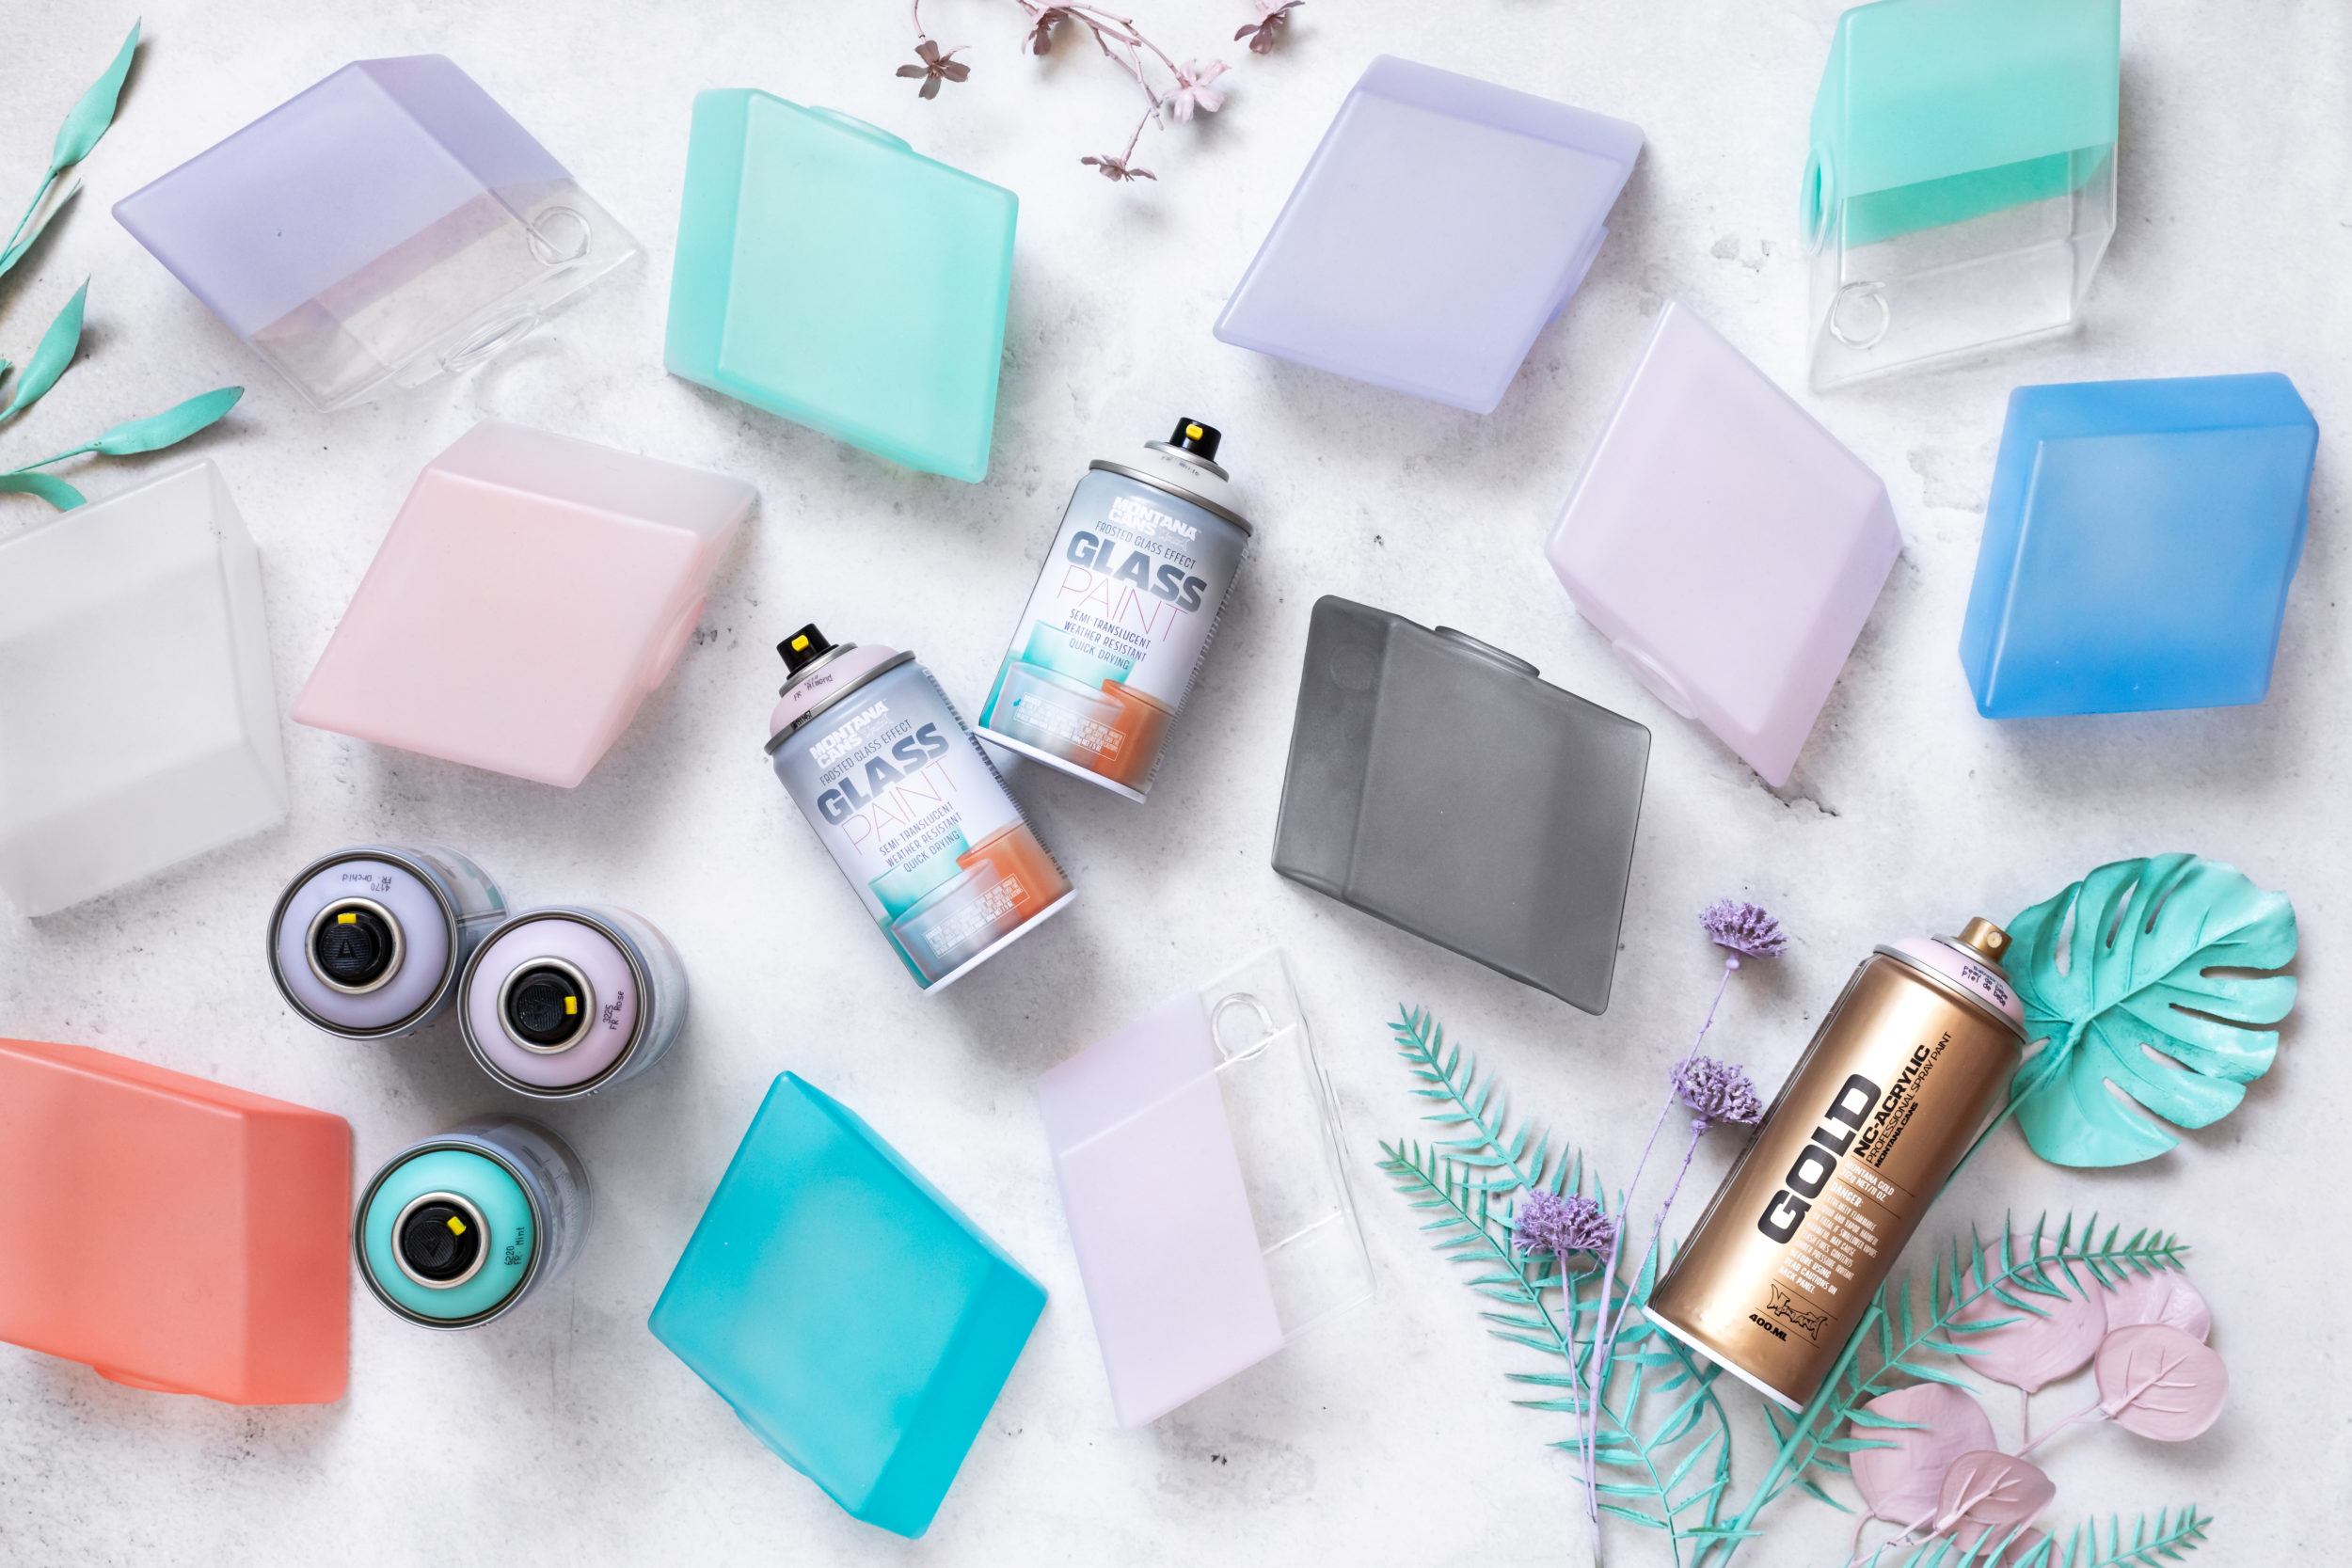
- Montana GLASS PAINT colors of your choice
- Glass vases – purchased or recycled
- Montana GOLD colors, we used Malachite Light and Baby Skin
- Montana VARNISH in Finish of choice
- Plant matter, twigs, leaves of your choice
- Masking tape
- Gloves
- Mask
- Drop sheet
How it was done
The drying follage outside in the garden was actually an afterthought in this project. But it was a beautiful after thought. Our first inspiration was the new Montana GLASS PAINT, which just screamed “USE ME!!”.
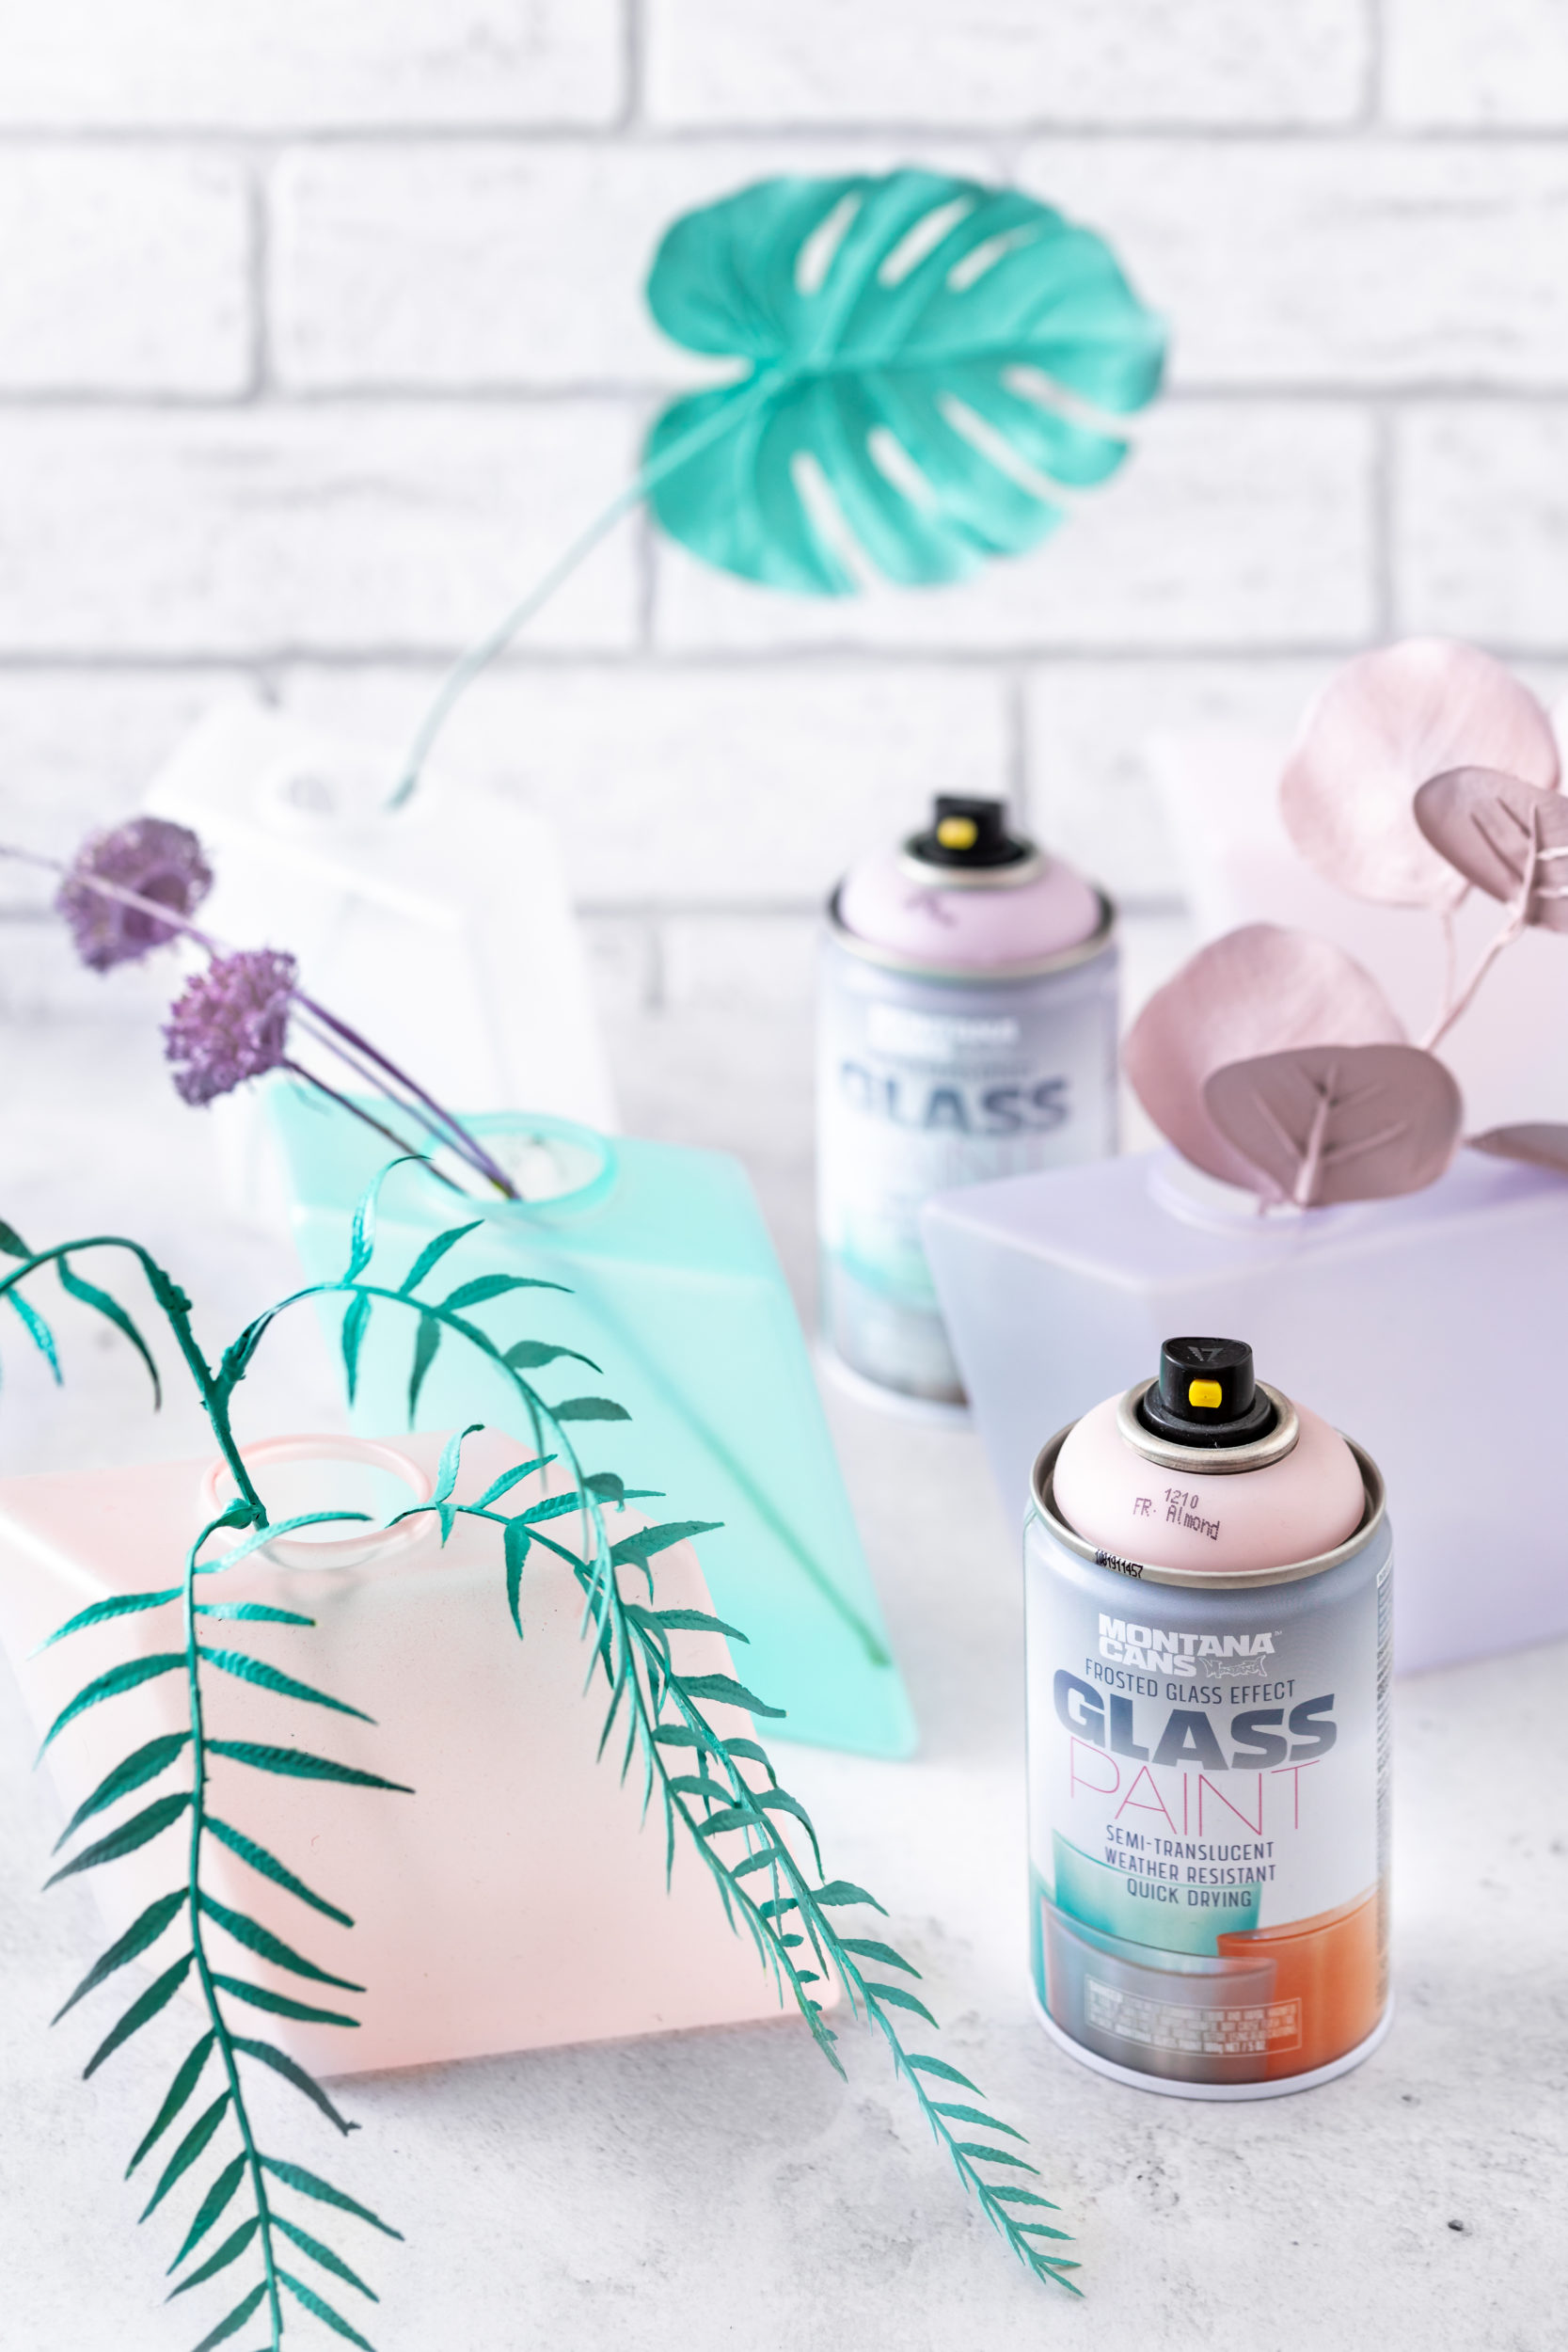
We found some leaves and twigs that would fit perfectly into the glass containers (or vases) that we bought from our local homewares store. You could recycle existing containers or vases, but for the sake of our idea, it helps if they are the same repetitive shape. We made sure they were clean and dry, so no dust or oils were on the glass.
[su_icon_text color=”#41444e” icon=”icon: clock-o” icon_color=”#000000″ icon_size=”34″]Working time: depending on quantity 45 to 60 minutes / drying time in between: about 30 minutes in total. [/su_icon_text]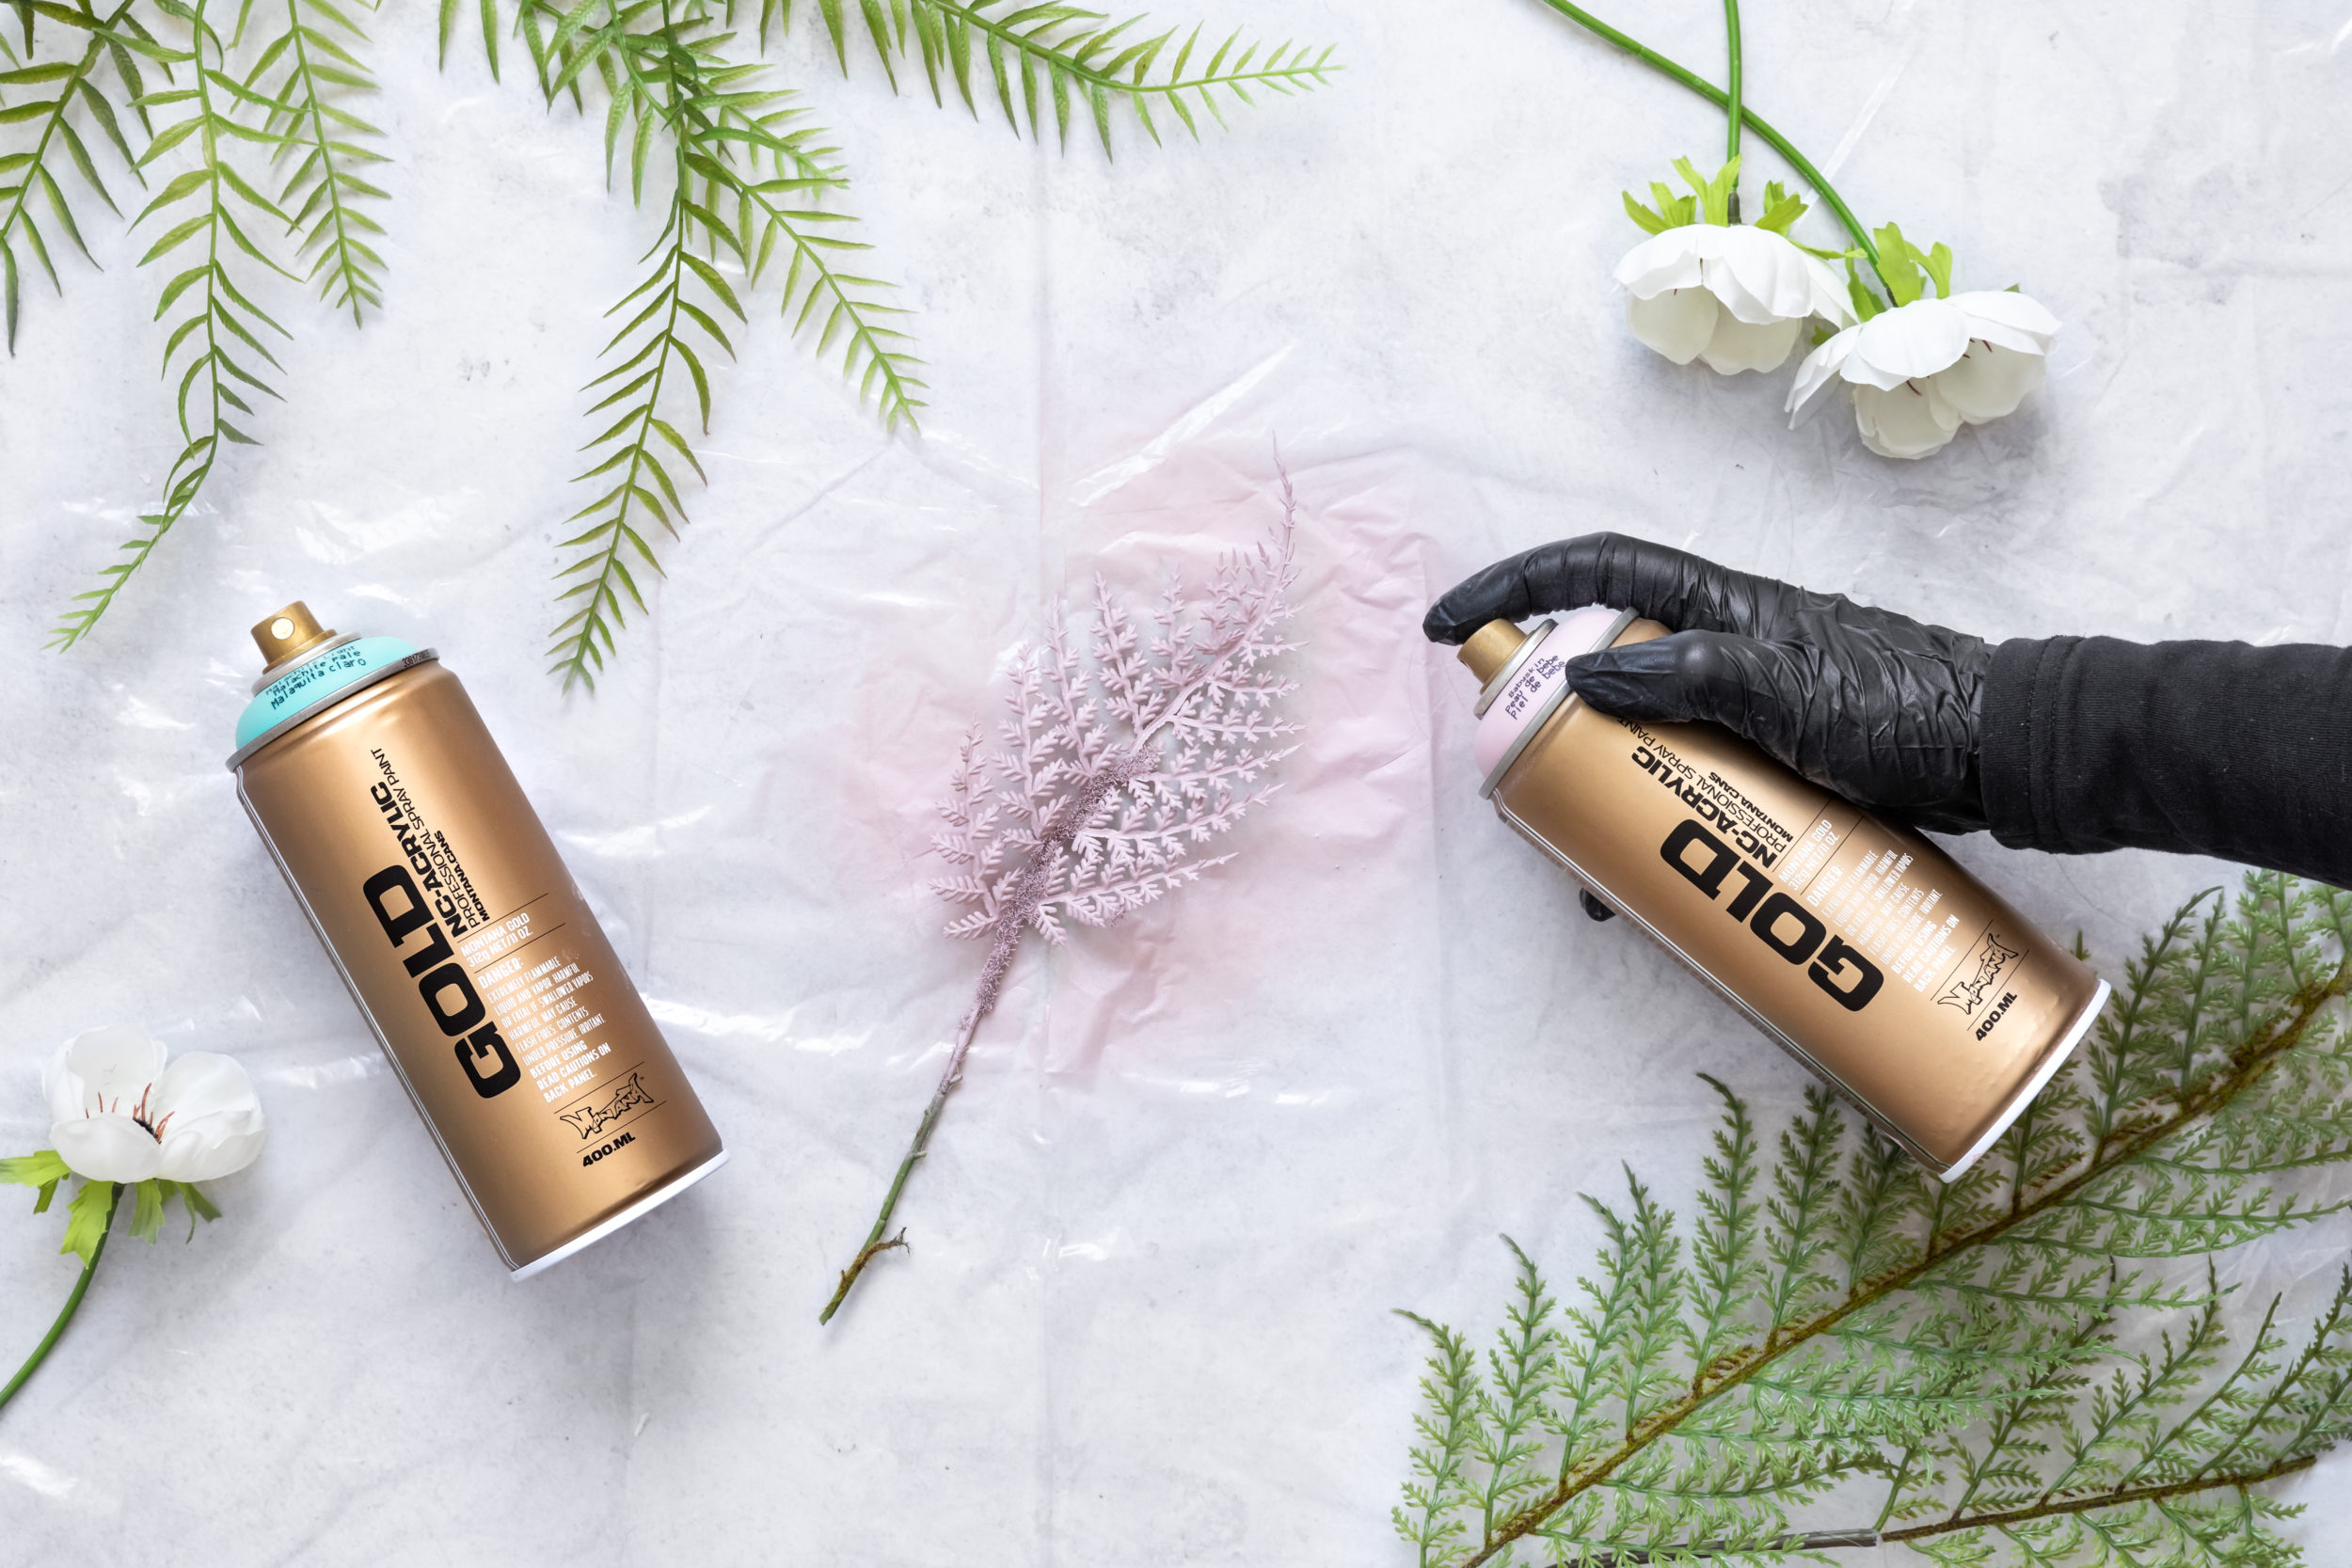
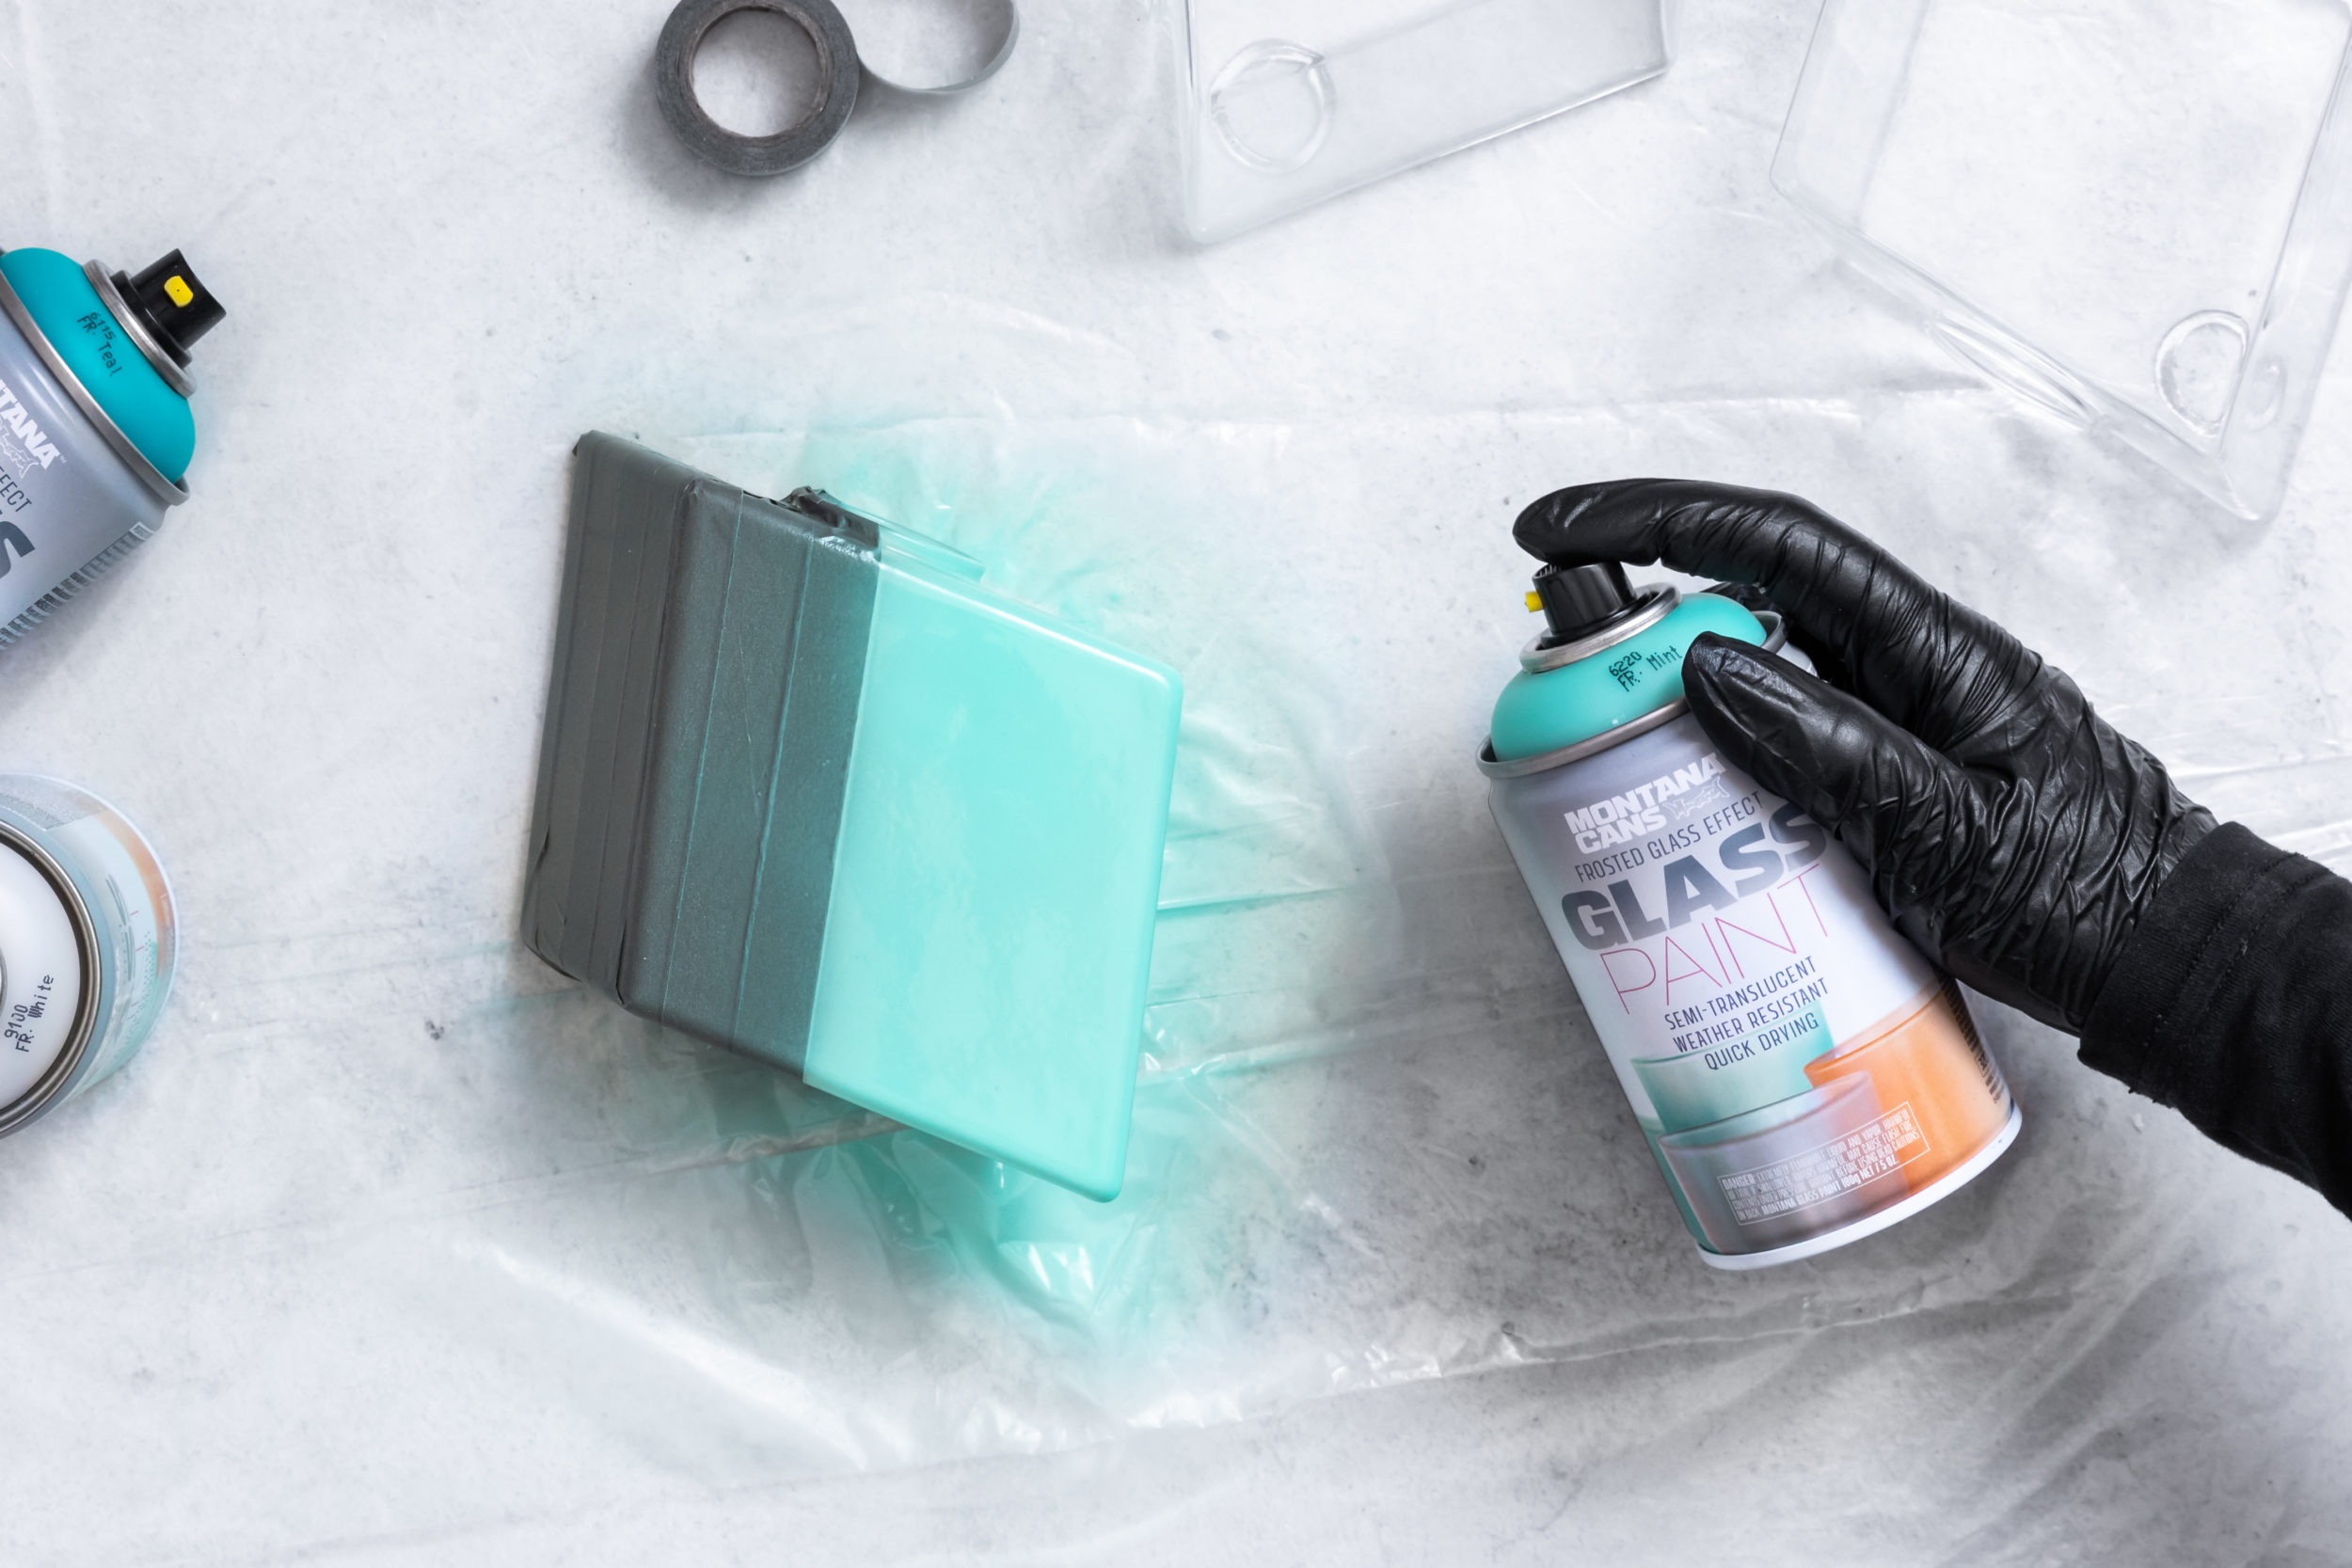
On some of the glass containers we chose to mask off areas with our painters tape. When you remove the tape after spraying, you are left with the original clean glass. We thought this could look cool in conjunction with the painted surfaces, and it did.
Of course we had laid down our drop sheet in our painting area and also shaken our cans for 2-3 minutes. The mixing balls moved freely and our gloves and masks were already on. At about 15cm from the glass, we sprayed sweeping passes of the GLASS PAINT.
Consider that the more you put on, the more opaque they become. If you want a more transparent look, apply less coats. Mixing our colors on the different vases, our project was coming to life.
We left the glass containers to dry over night but removed the painters tape before the paint was completely dry. It was almost time to call it a day but before we did, we grabbed our pre-shaken Montana GOLD colors and sprayed each of our pieces of follage, one color. When dry, they would be featured in the vases. No water required and color all year round. Yay!
[su_icon_text color=”#41444e” icon=”icon: shopping-cart” icon_color=”#000000″ icon_size=”34″]To find an online shop or reseller or in your area feel free to visit the MontanaCans Storefinder. [/su_icon_text]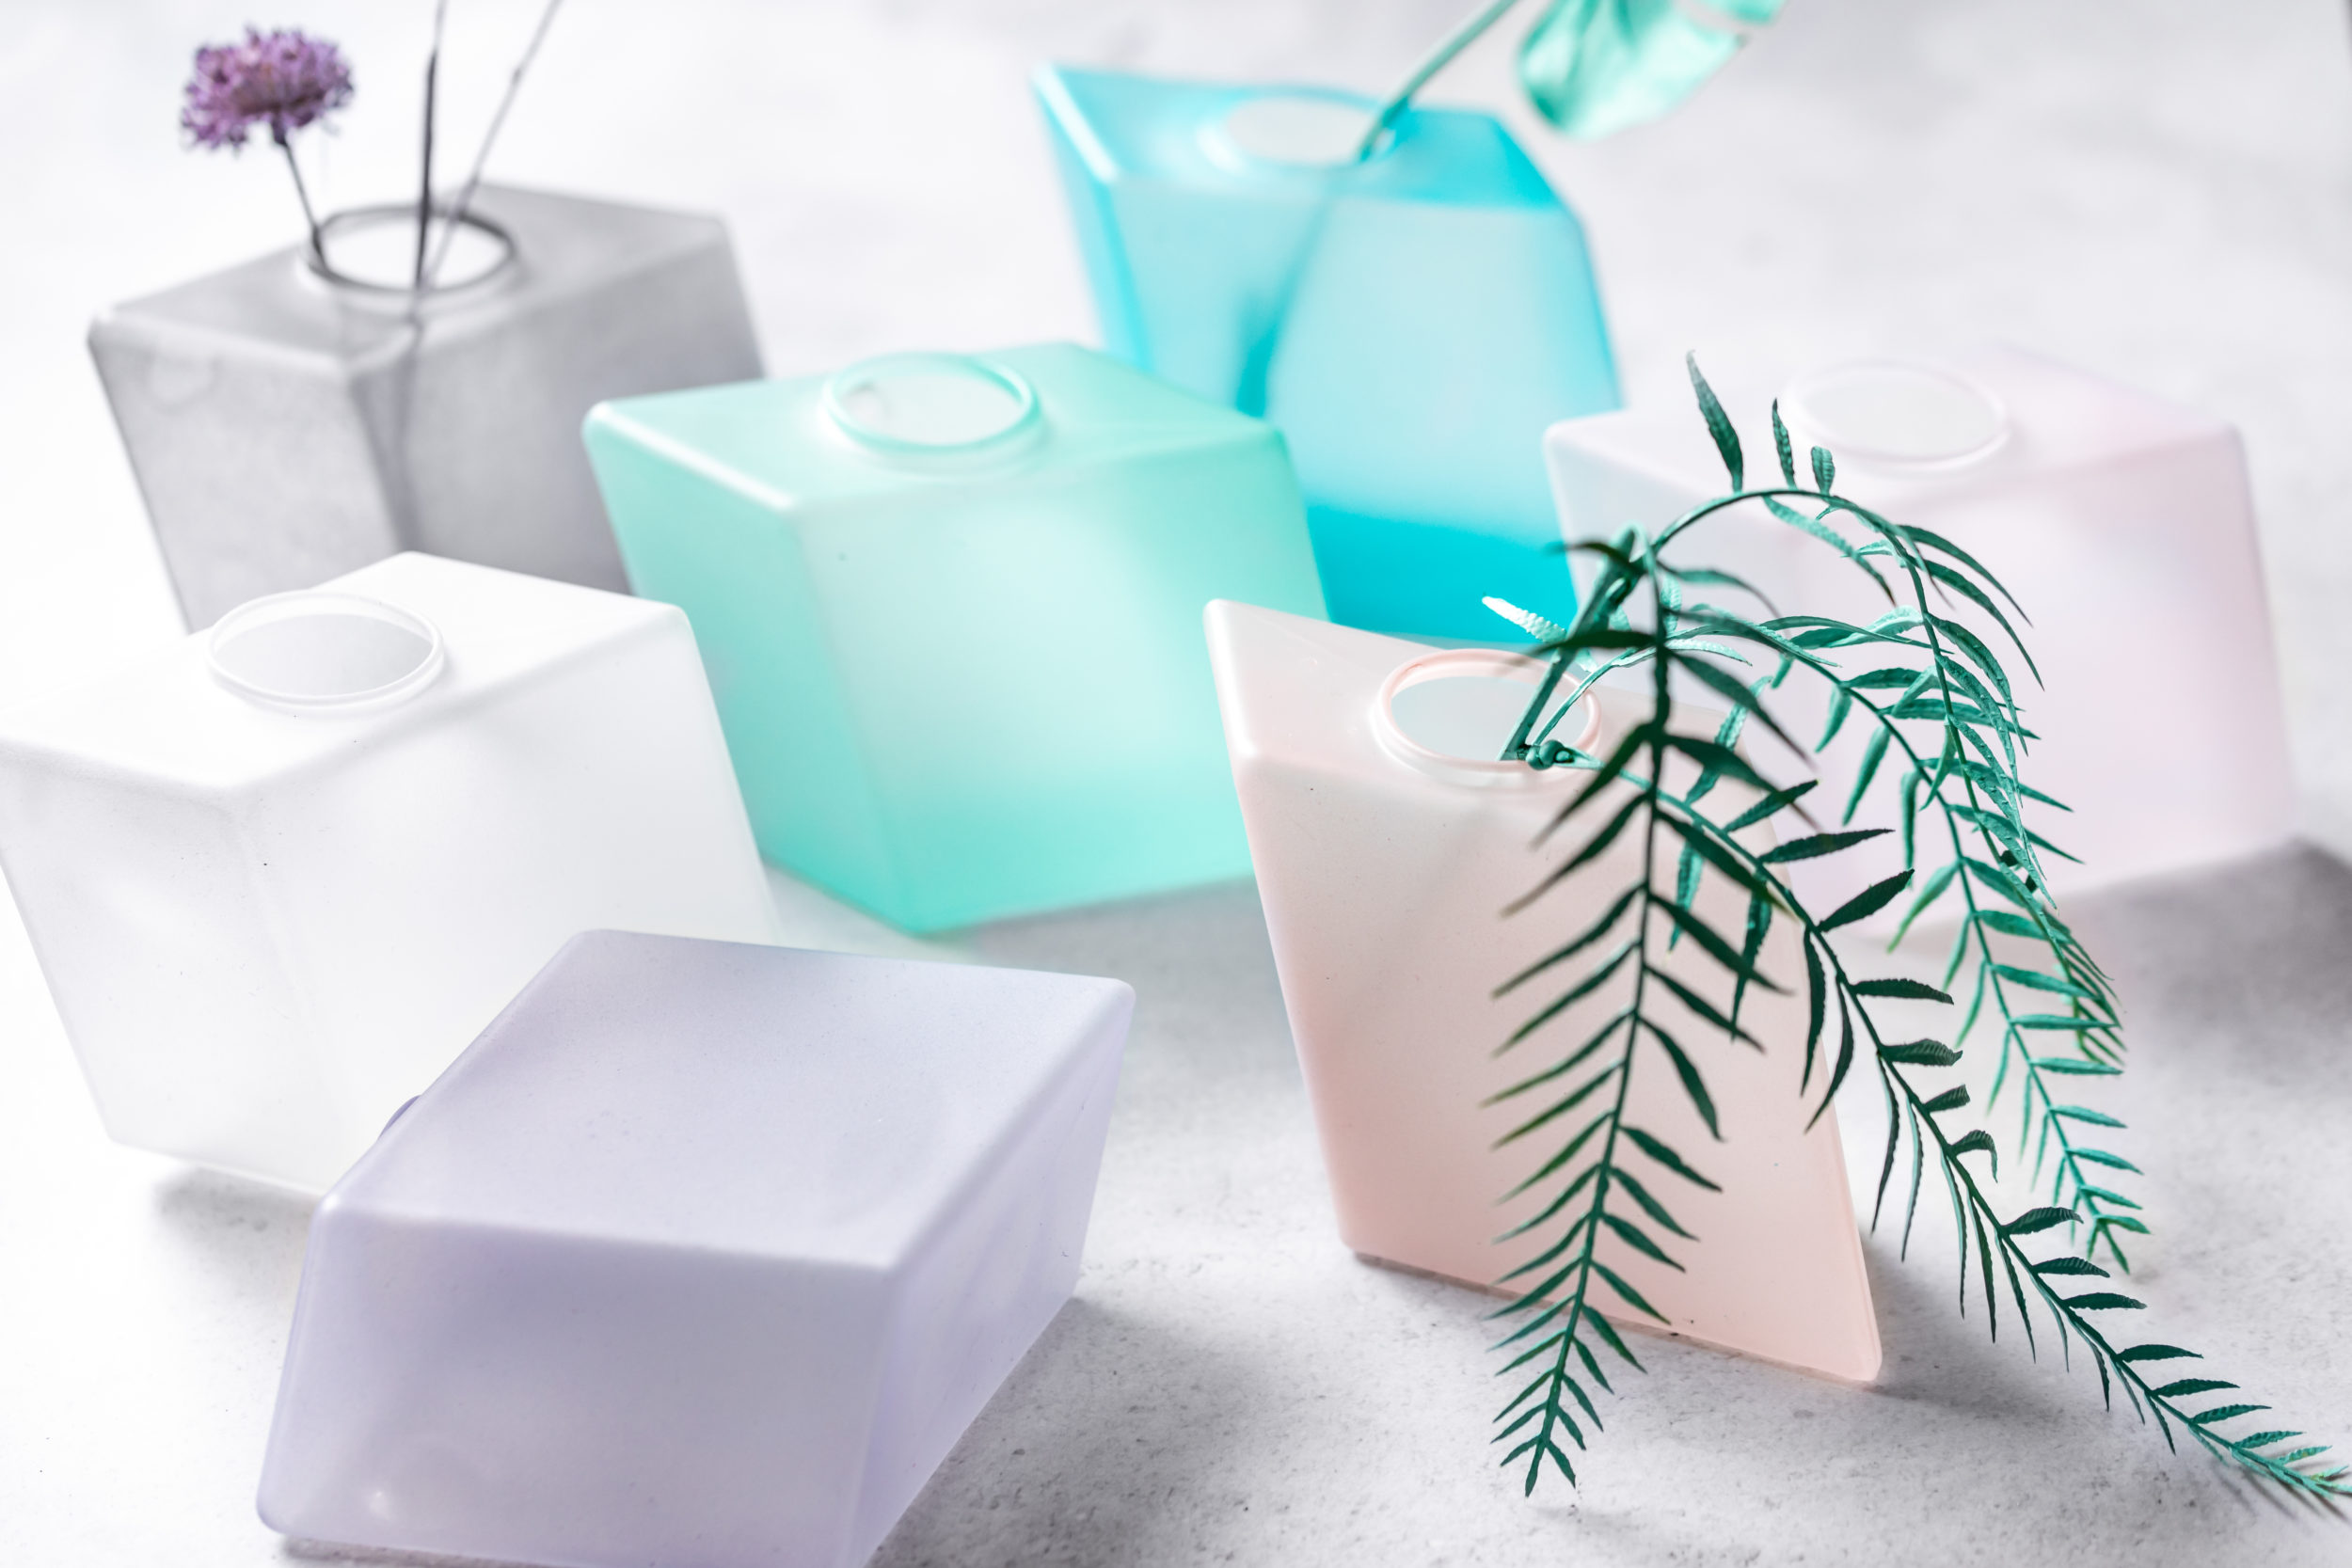
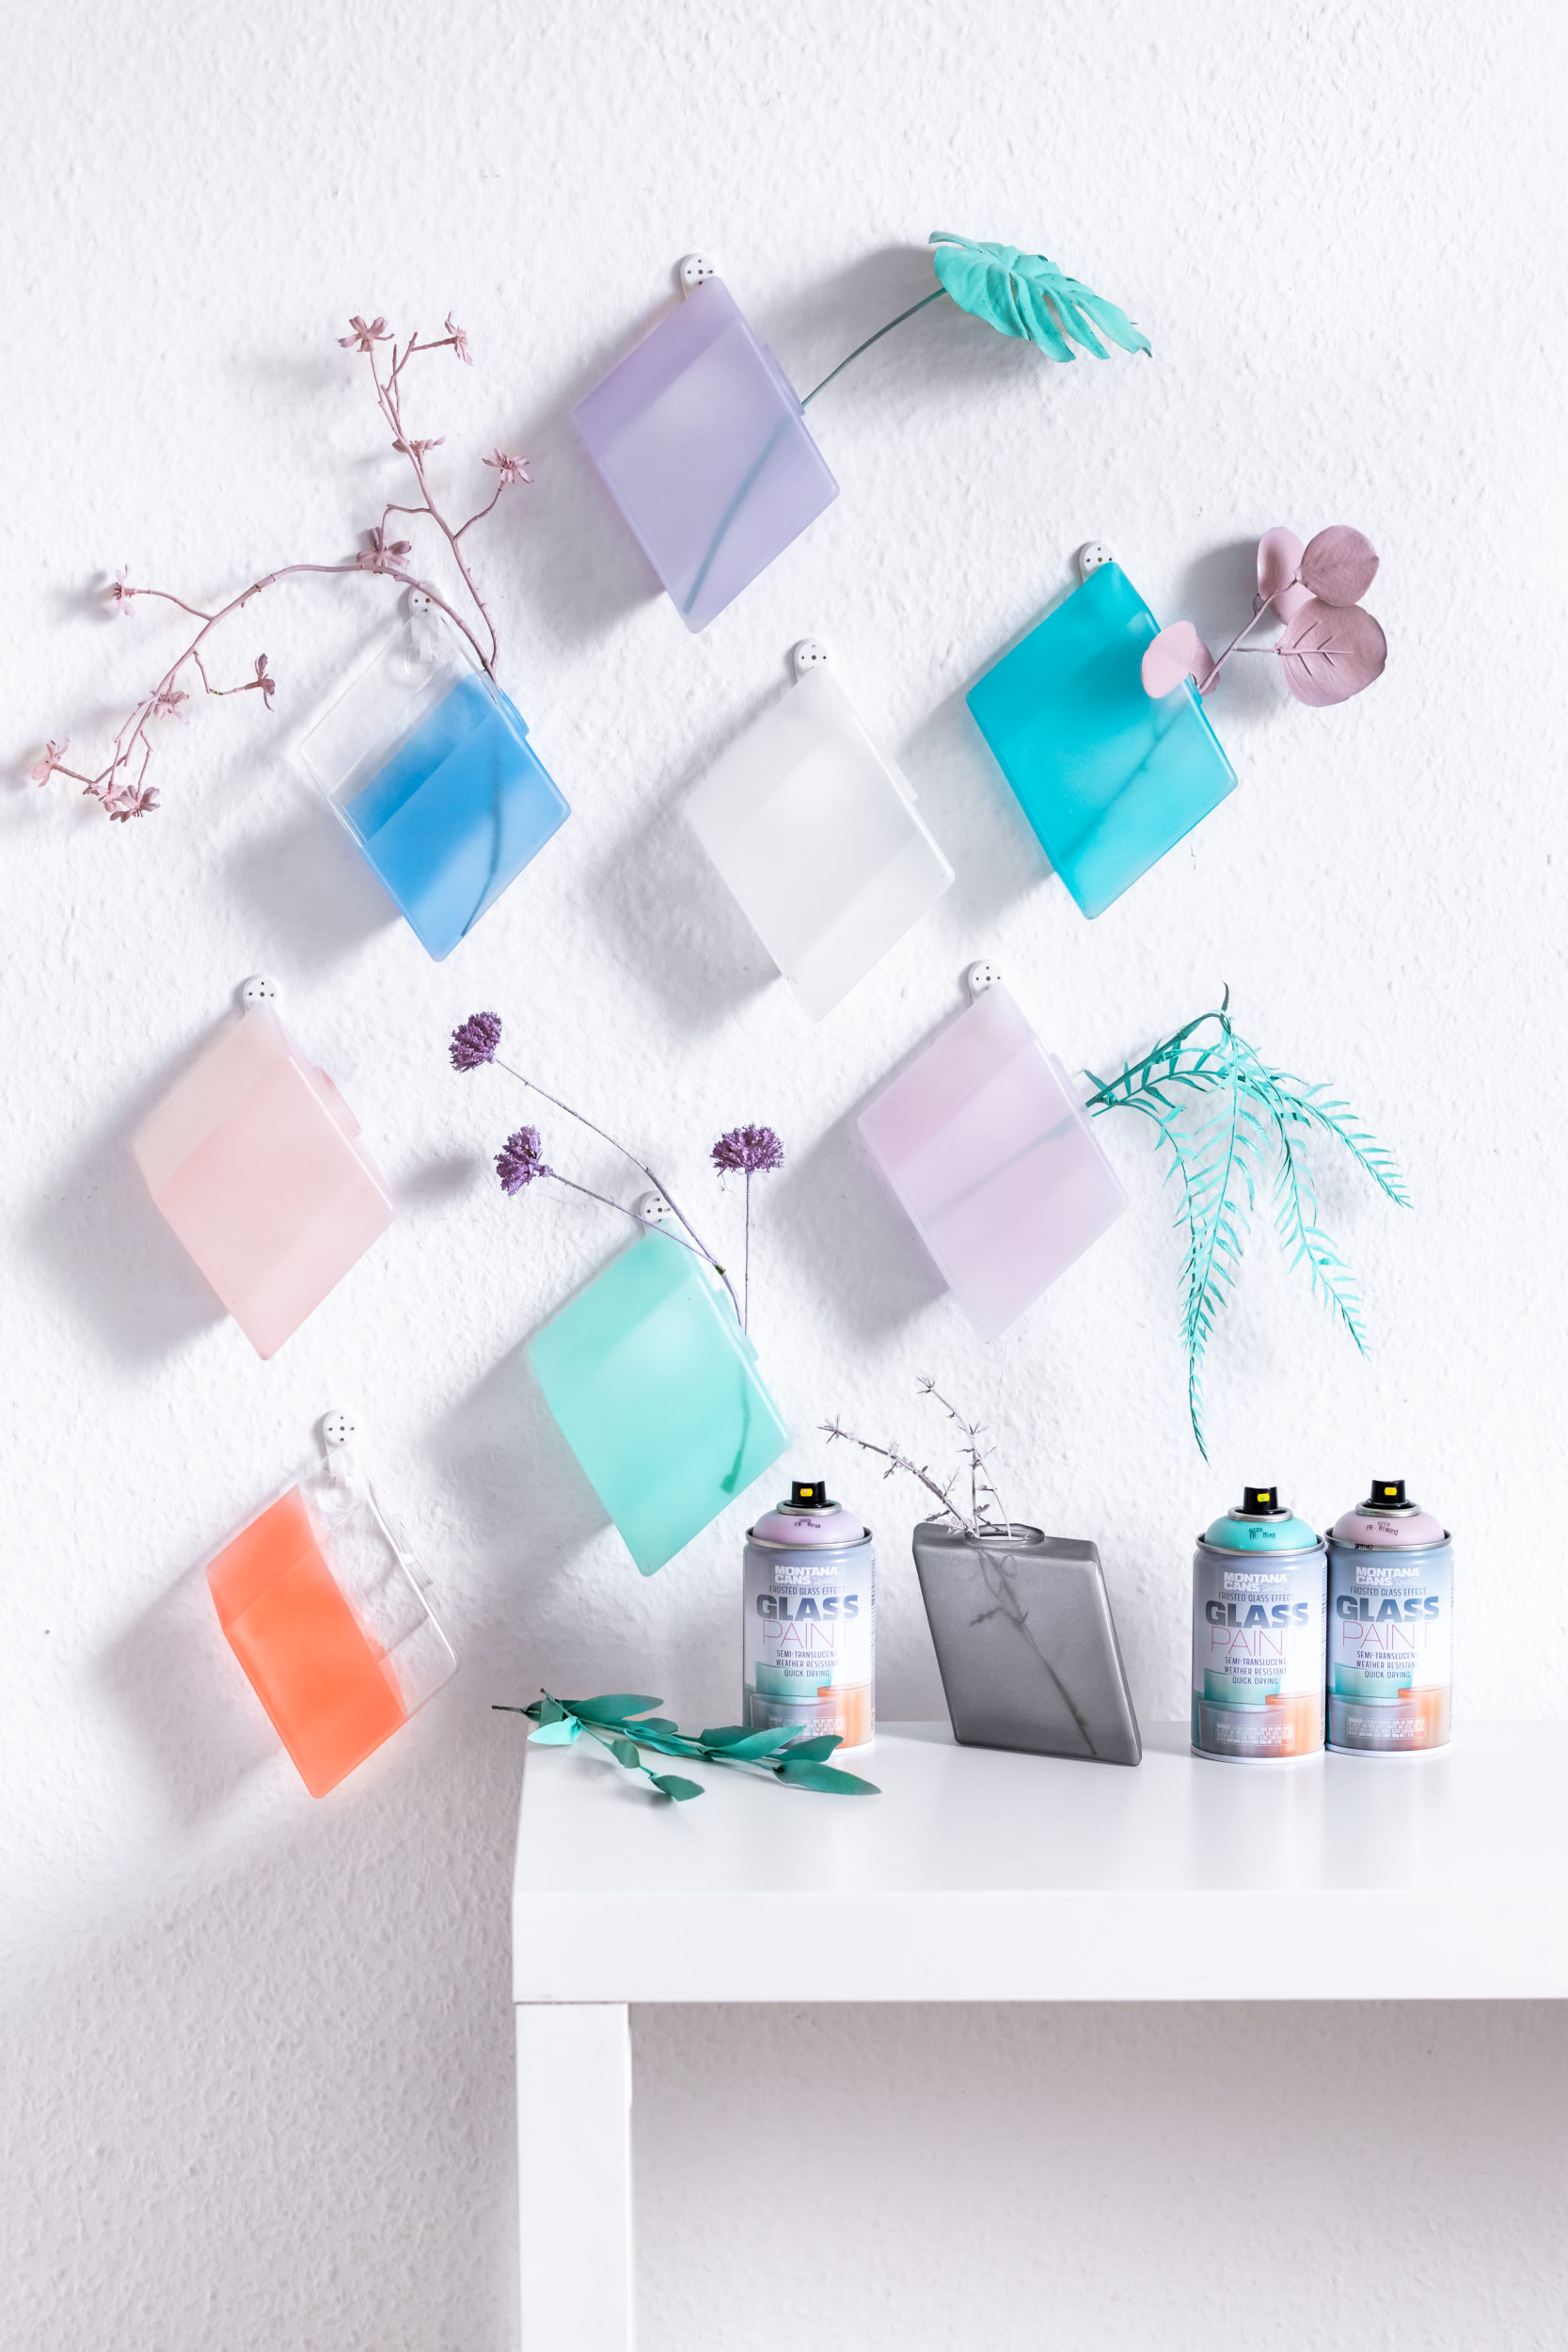
That evening we had one small hurdle to resolve, which was easy with a quick trip to the hardware store. Luckily our containers were straight and rectangular. This meant with simple wall hooks and suction caps, we could hang them however we wanted. With no water in the containers, they were light. Depending on the shape your containers are, consider this aspect before you start. Or maybe just display them ontop of a flat surface like a table or cabinet.
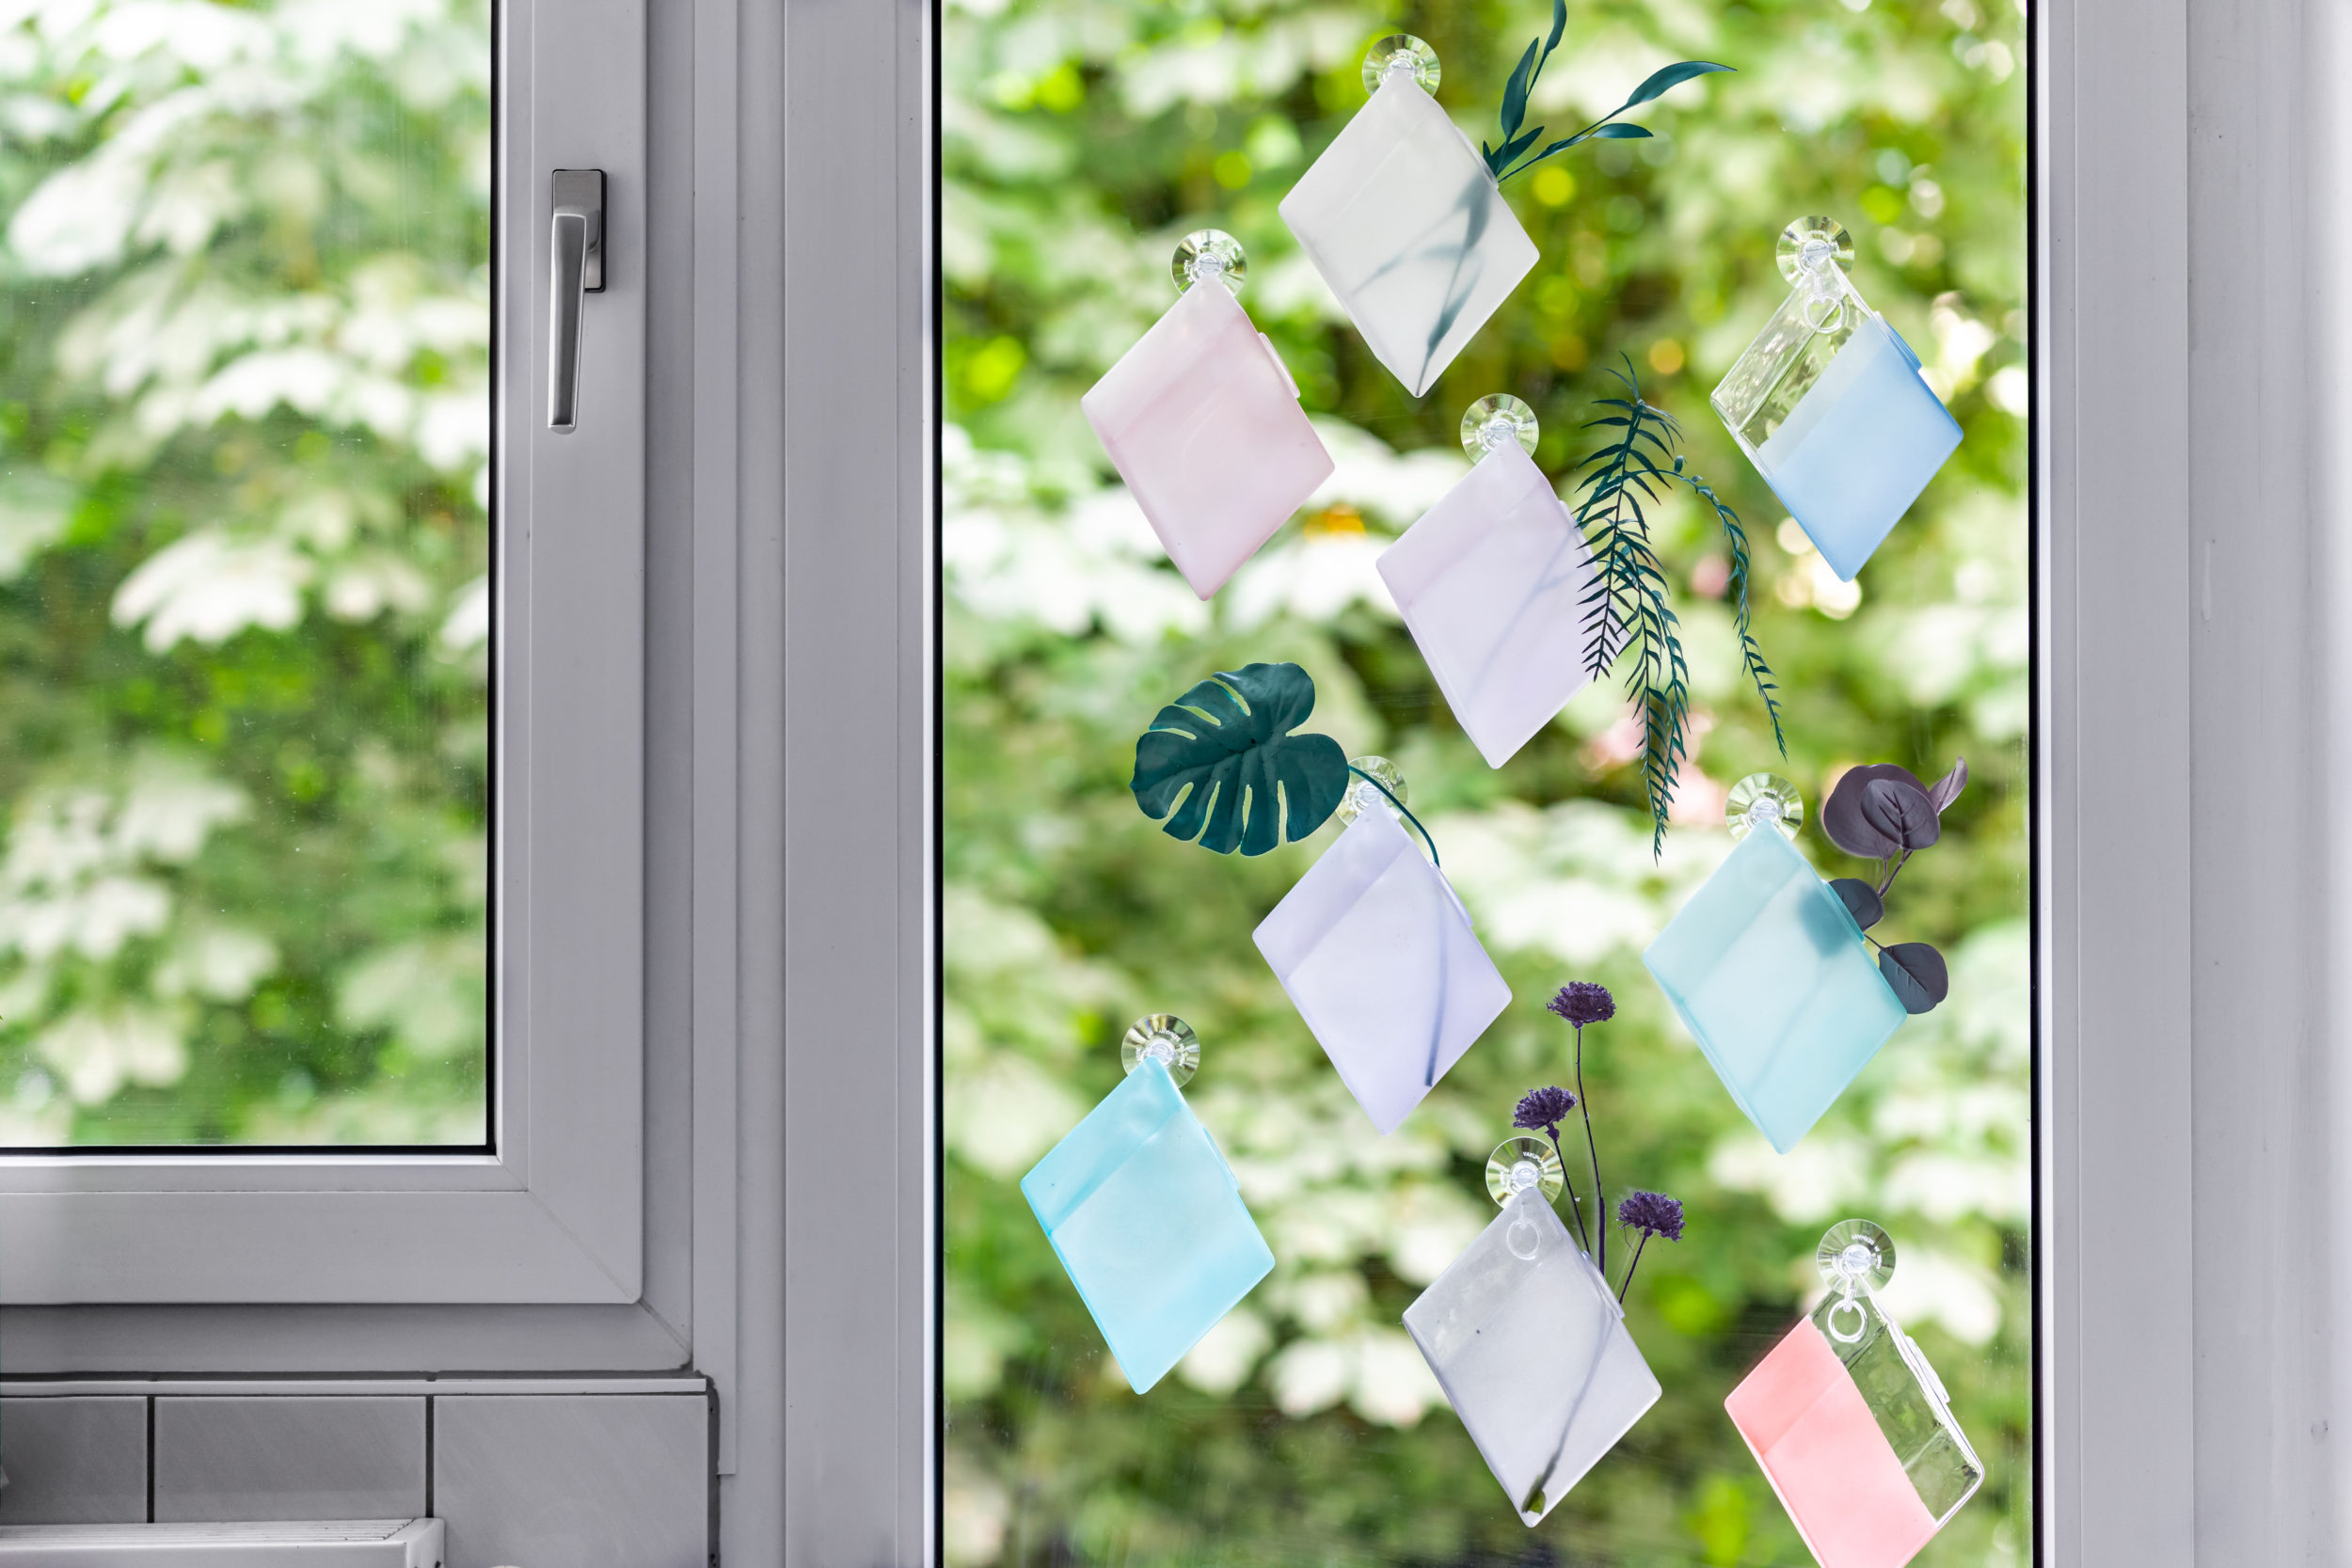
That evening, we also found just the right wall in the house to hang them on. Depending on the follage you find, you could change the color schemes as often as you want. Or reinvent your containers with new twigs and leaves that reflect the change of seasons.
This is an intermediate level project, depending on how much effort you put into finding plant matter and what shape your glass containers are. You will need about 45 to 60 minutes of working time depending on how many containers and how much follage you need to paint. If you want to make your glass containers even more durable, you could also consider coating them with Montana VARNISH Spray after 24 hours.

This could also mean you can adjust the finish of your containers to Semi Gloss or Gloss. Either way, they will look fab. Specially if you have a wall where the sun travels over it during the day, creating amazing wondering colors along your wall.
[su_icon_text color=”#41444e” icon_color=”#000000″ icon_size=”34″]If you want to get featured with your own spray paint DIY tag us in the results via @allspraypainted or #allspraypainted [/su_icon_text]Good Luck and Happy Crafting!