Adding precious opaque to an Easter favorite
It doesn’t get more Easter than some decorated colorful eggs. Or does it? This Easter we wanted to add another aspect to the mix. Not only did we want to use color, but we also wanted to play with light. The perfect excuse to use some of the awesome new Montana GLASS Paint and introduce some glass bowls into the classic Easter equation. Intrigued? Read on to learn more about our Monochrome Easter Bowls tutorial.
BEFORE
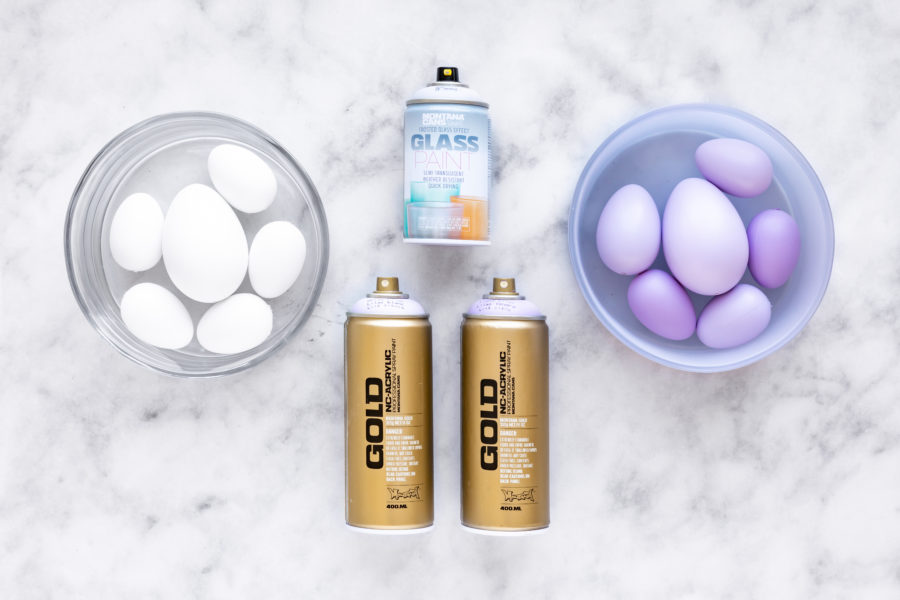
We started by gathering all the necessities including the standard gloves, mask and drop sheet. Of course for this project, we needed plastic eggs, wooden skewers to hold them while they got painted and some clear glass bowl-like containers that would function as our see-through baskets.
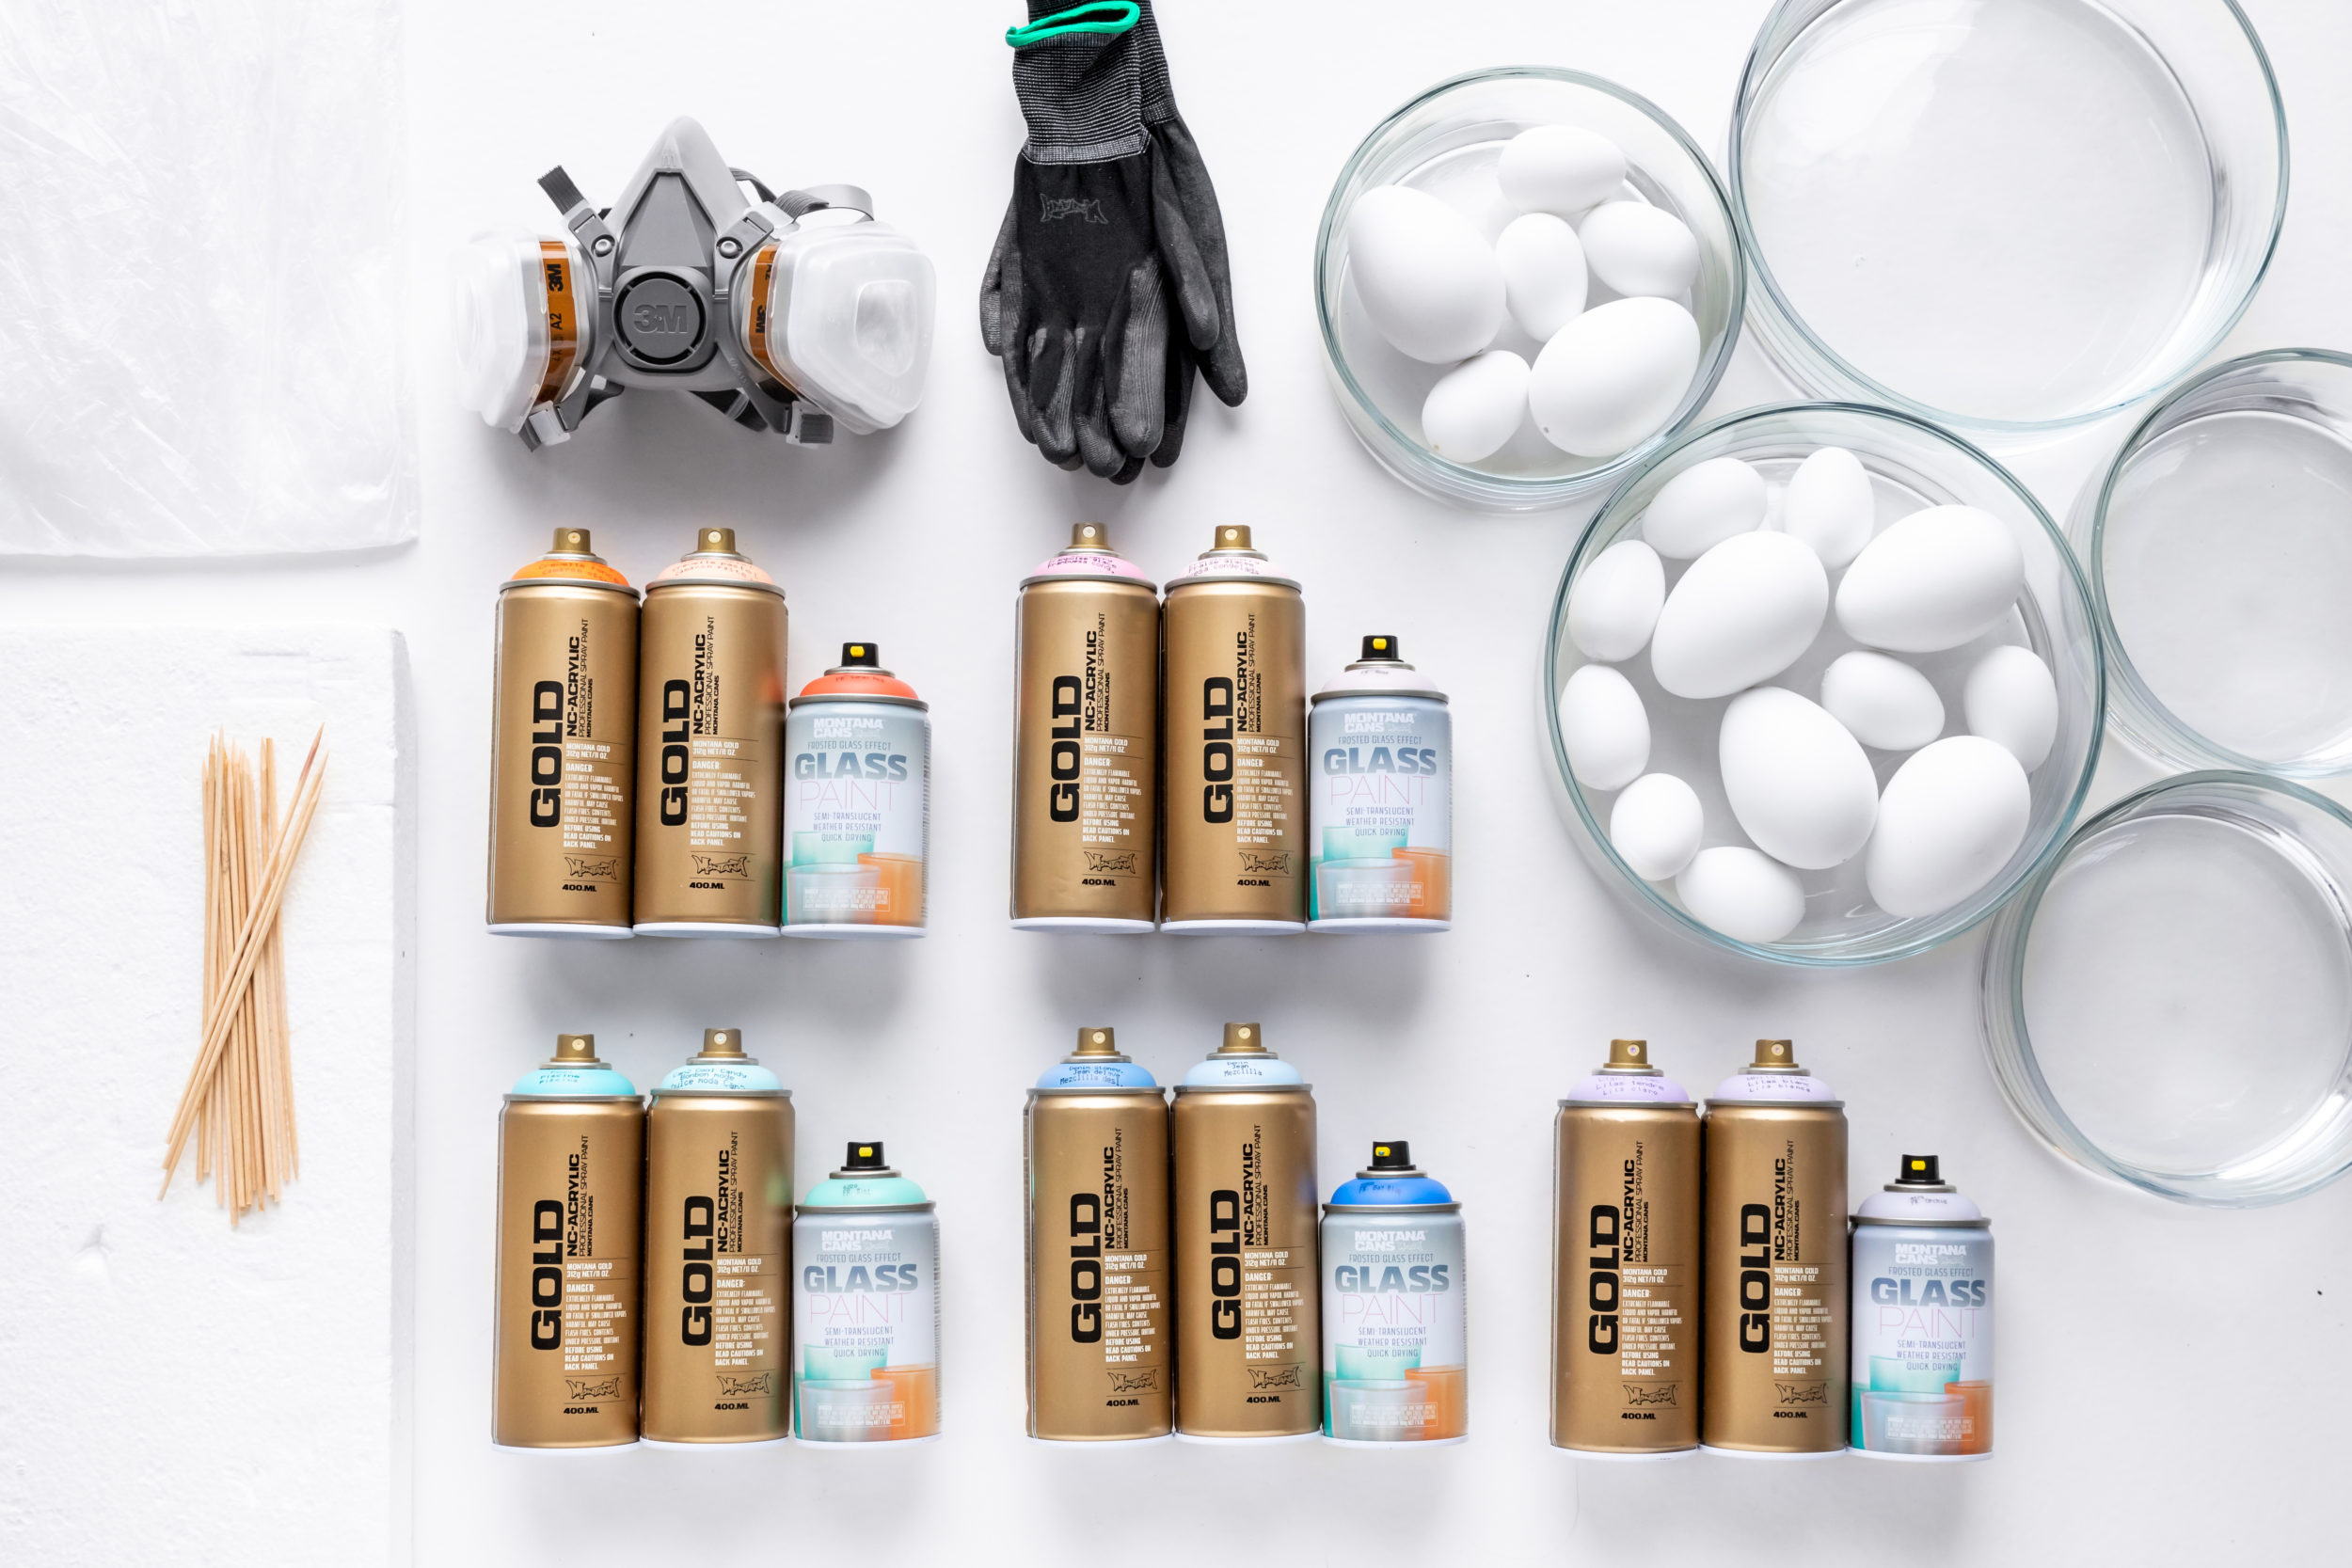
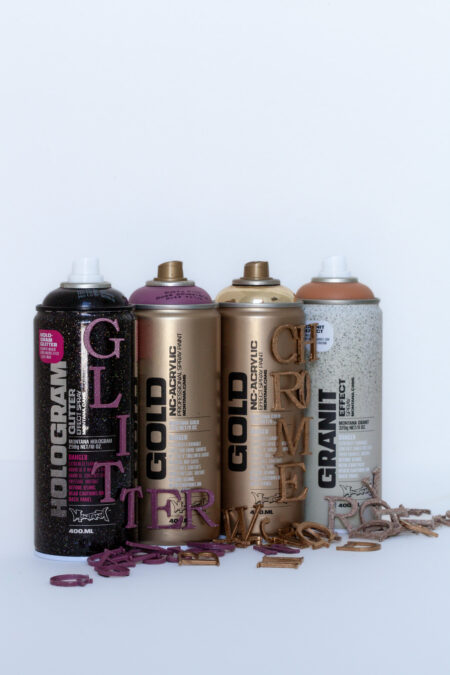
We had angular bowls as opposed to rounded ones. The color aspect of this project consists of Montana GOLD cans in the colors of your choice. We used colors like Shrimp Dark and Shrimp Pastel, White Lilac and Light Lilac, Denim and Denim Stonewashed to name a few. Basically solid colors with a pastel variation in tone as these just happened to compliment the Montana GLASS Paint colors of which we used 5 colors.
After following the familiar process of shaking cans really well, we were off and running. The skewers were easy to put into the plastic eggs. A ‘why didn’t I think of that’ moment as we sprayed around each egg with ease and then stuck the skewers in another piece of foam allowing them to dry all over. Alternating between colors we made our eggs in variations of 2 to 4 per color.
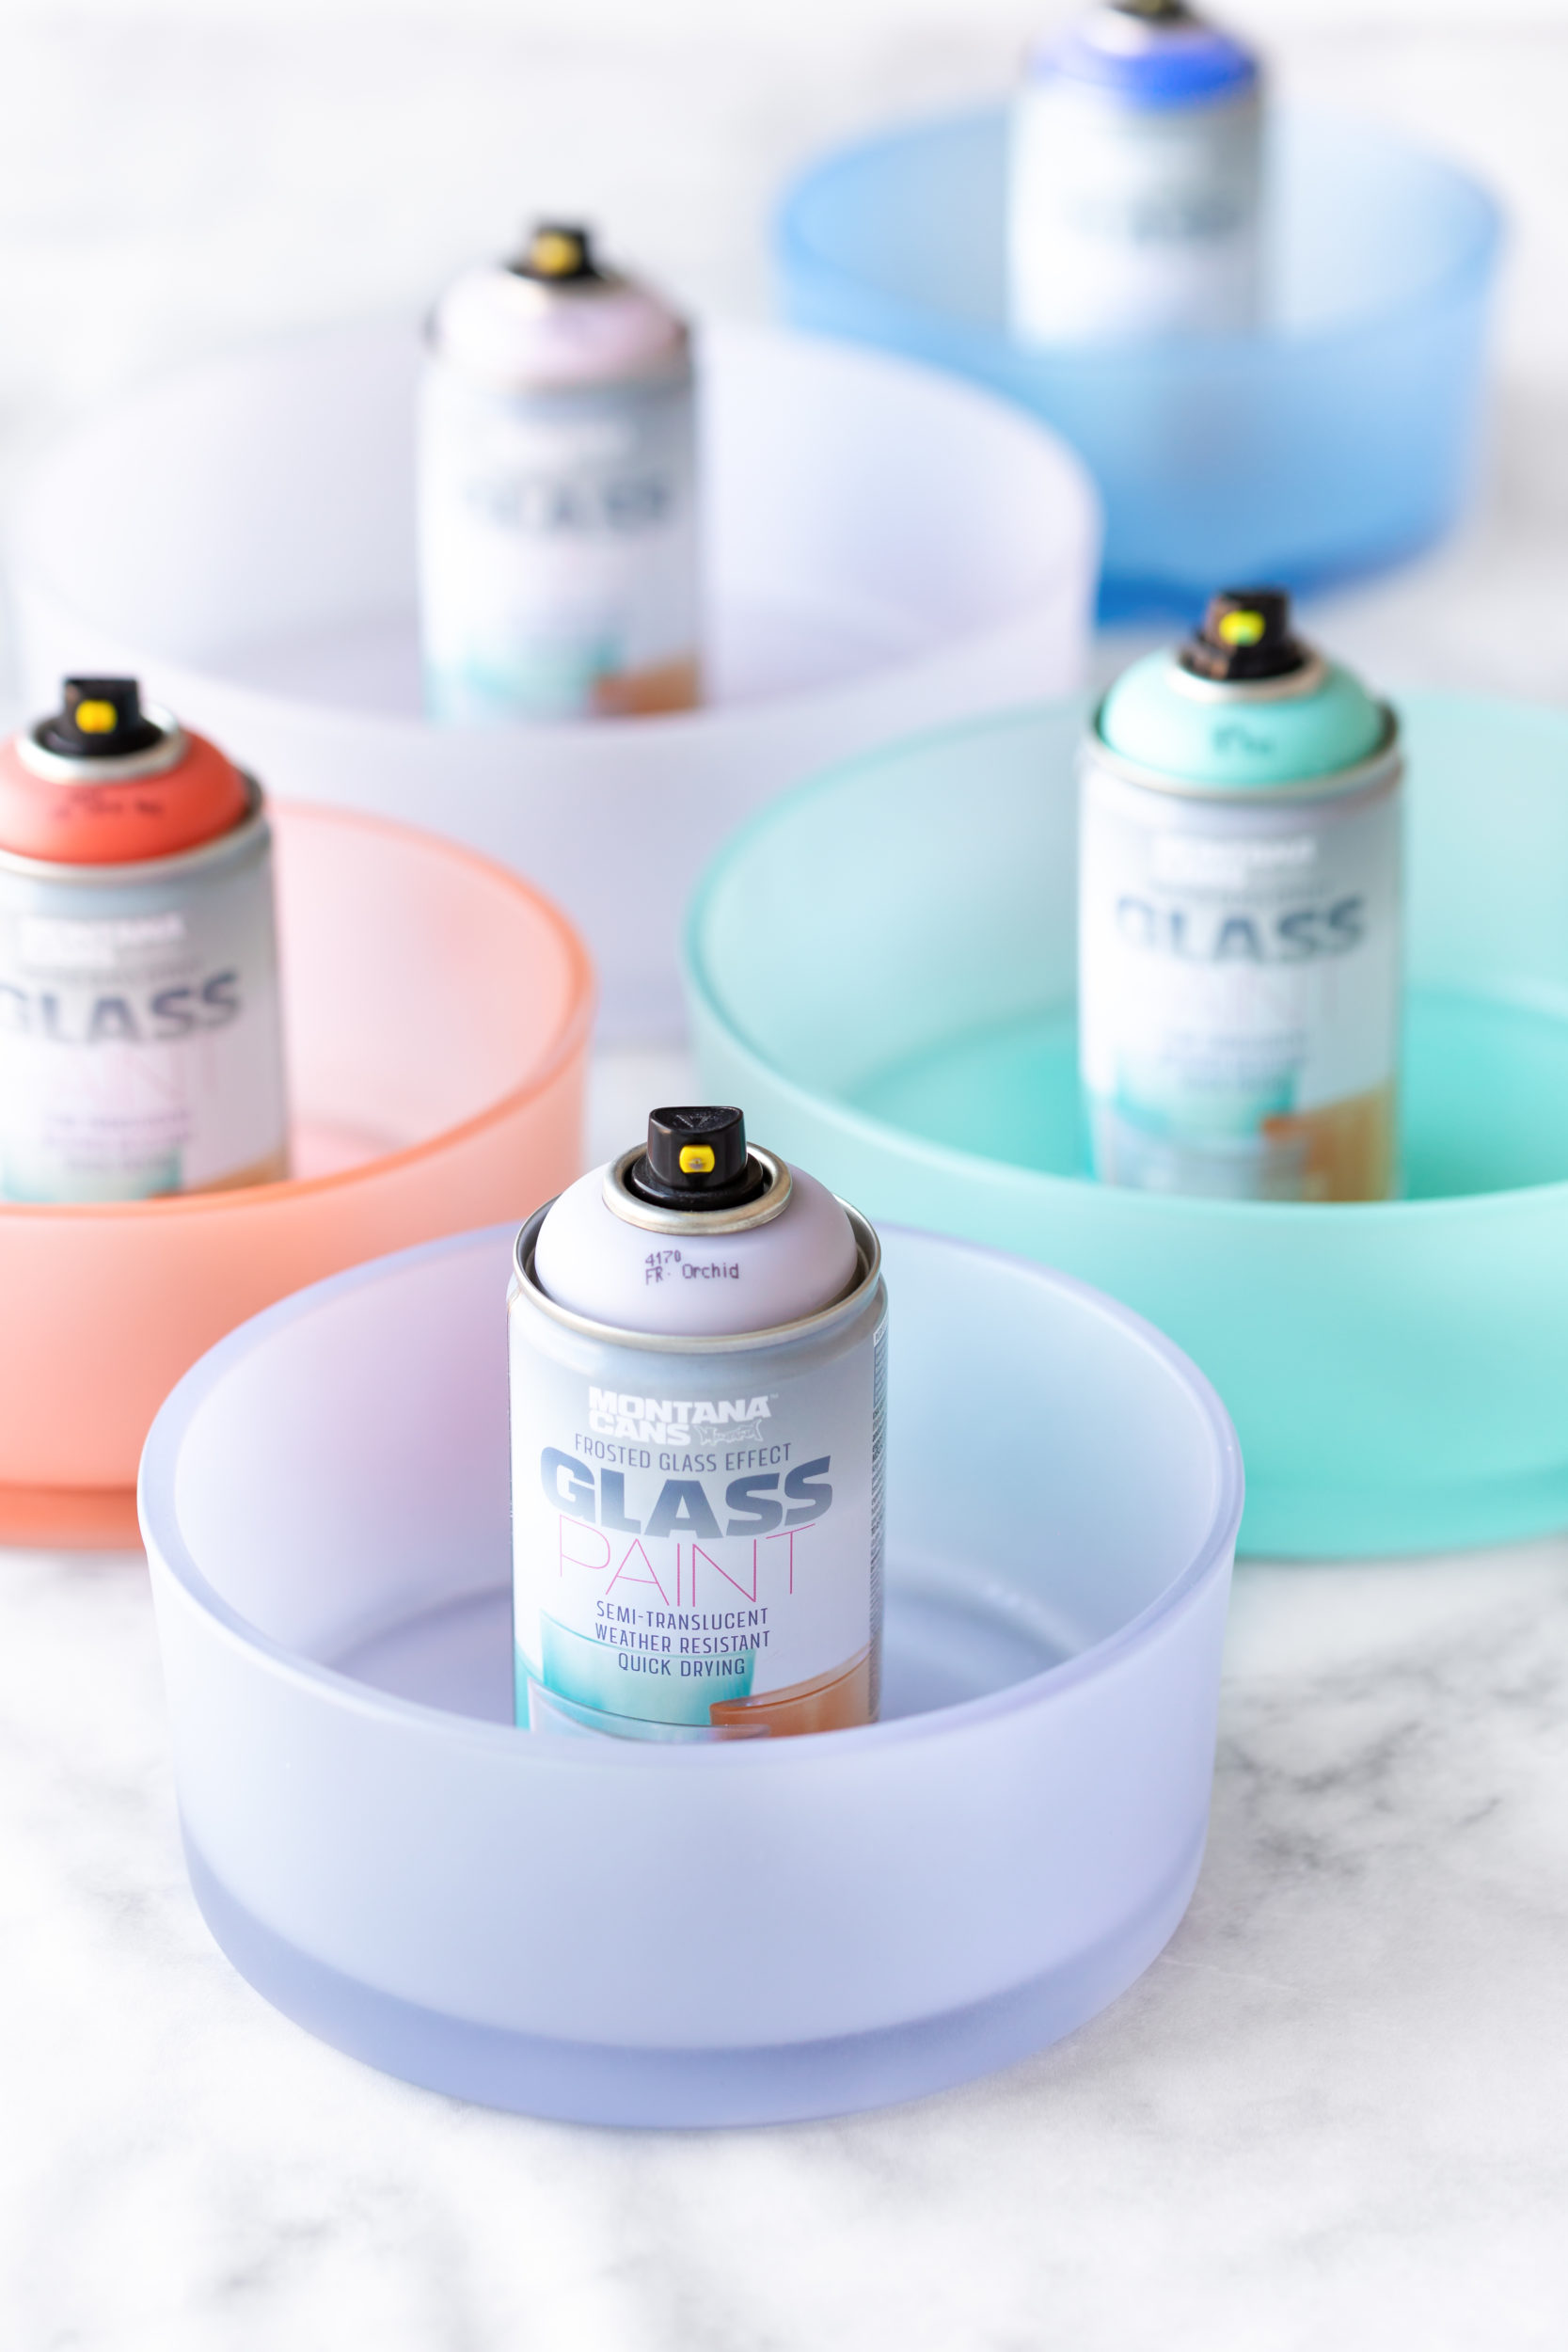
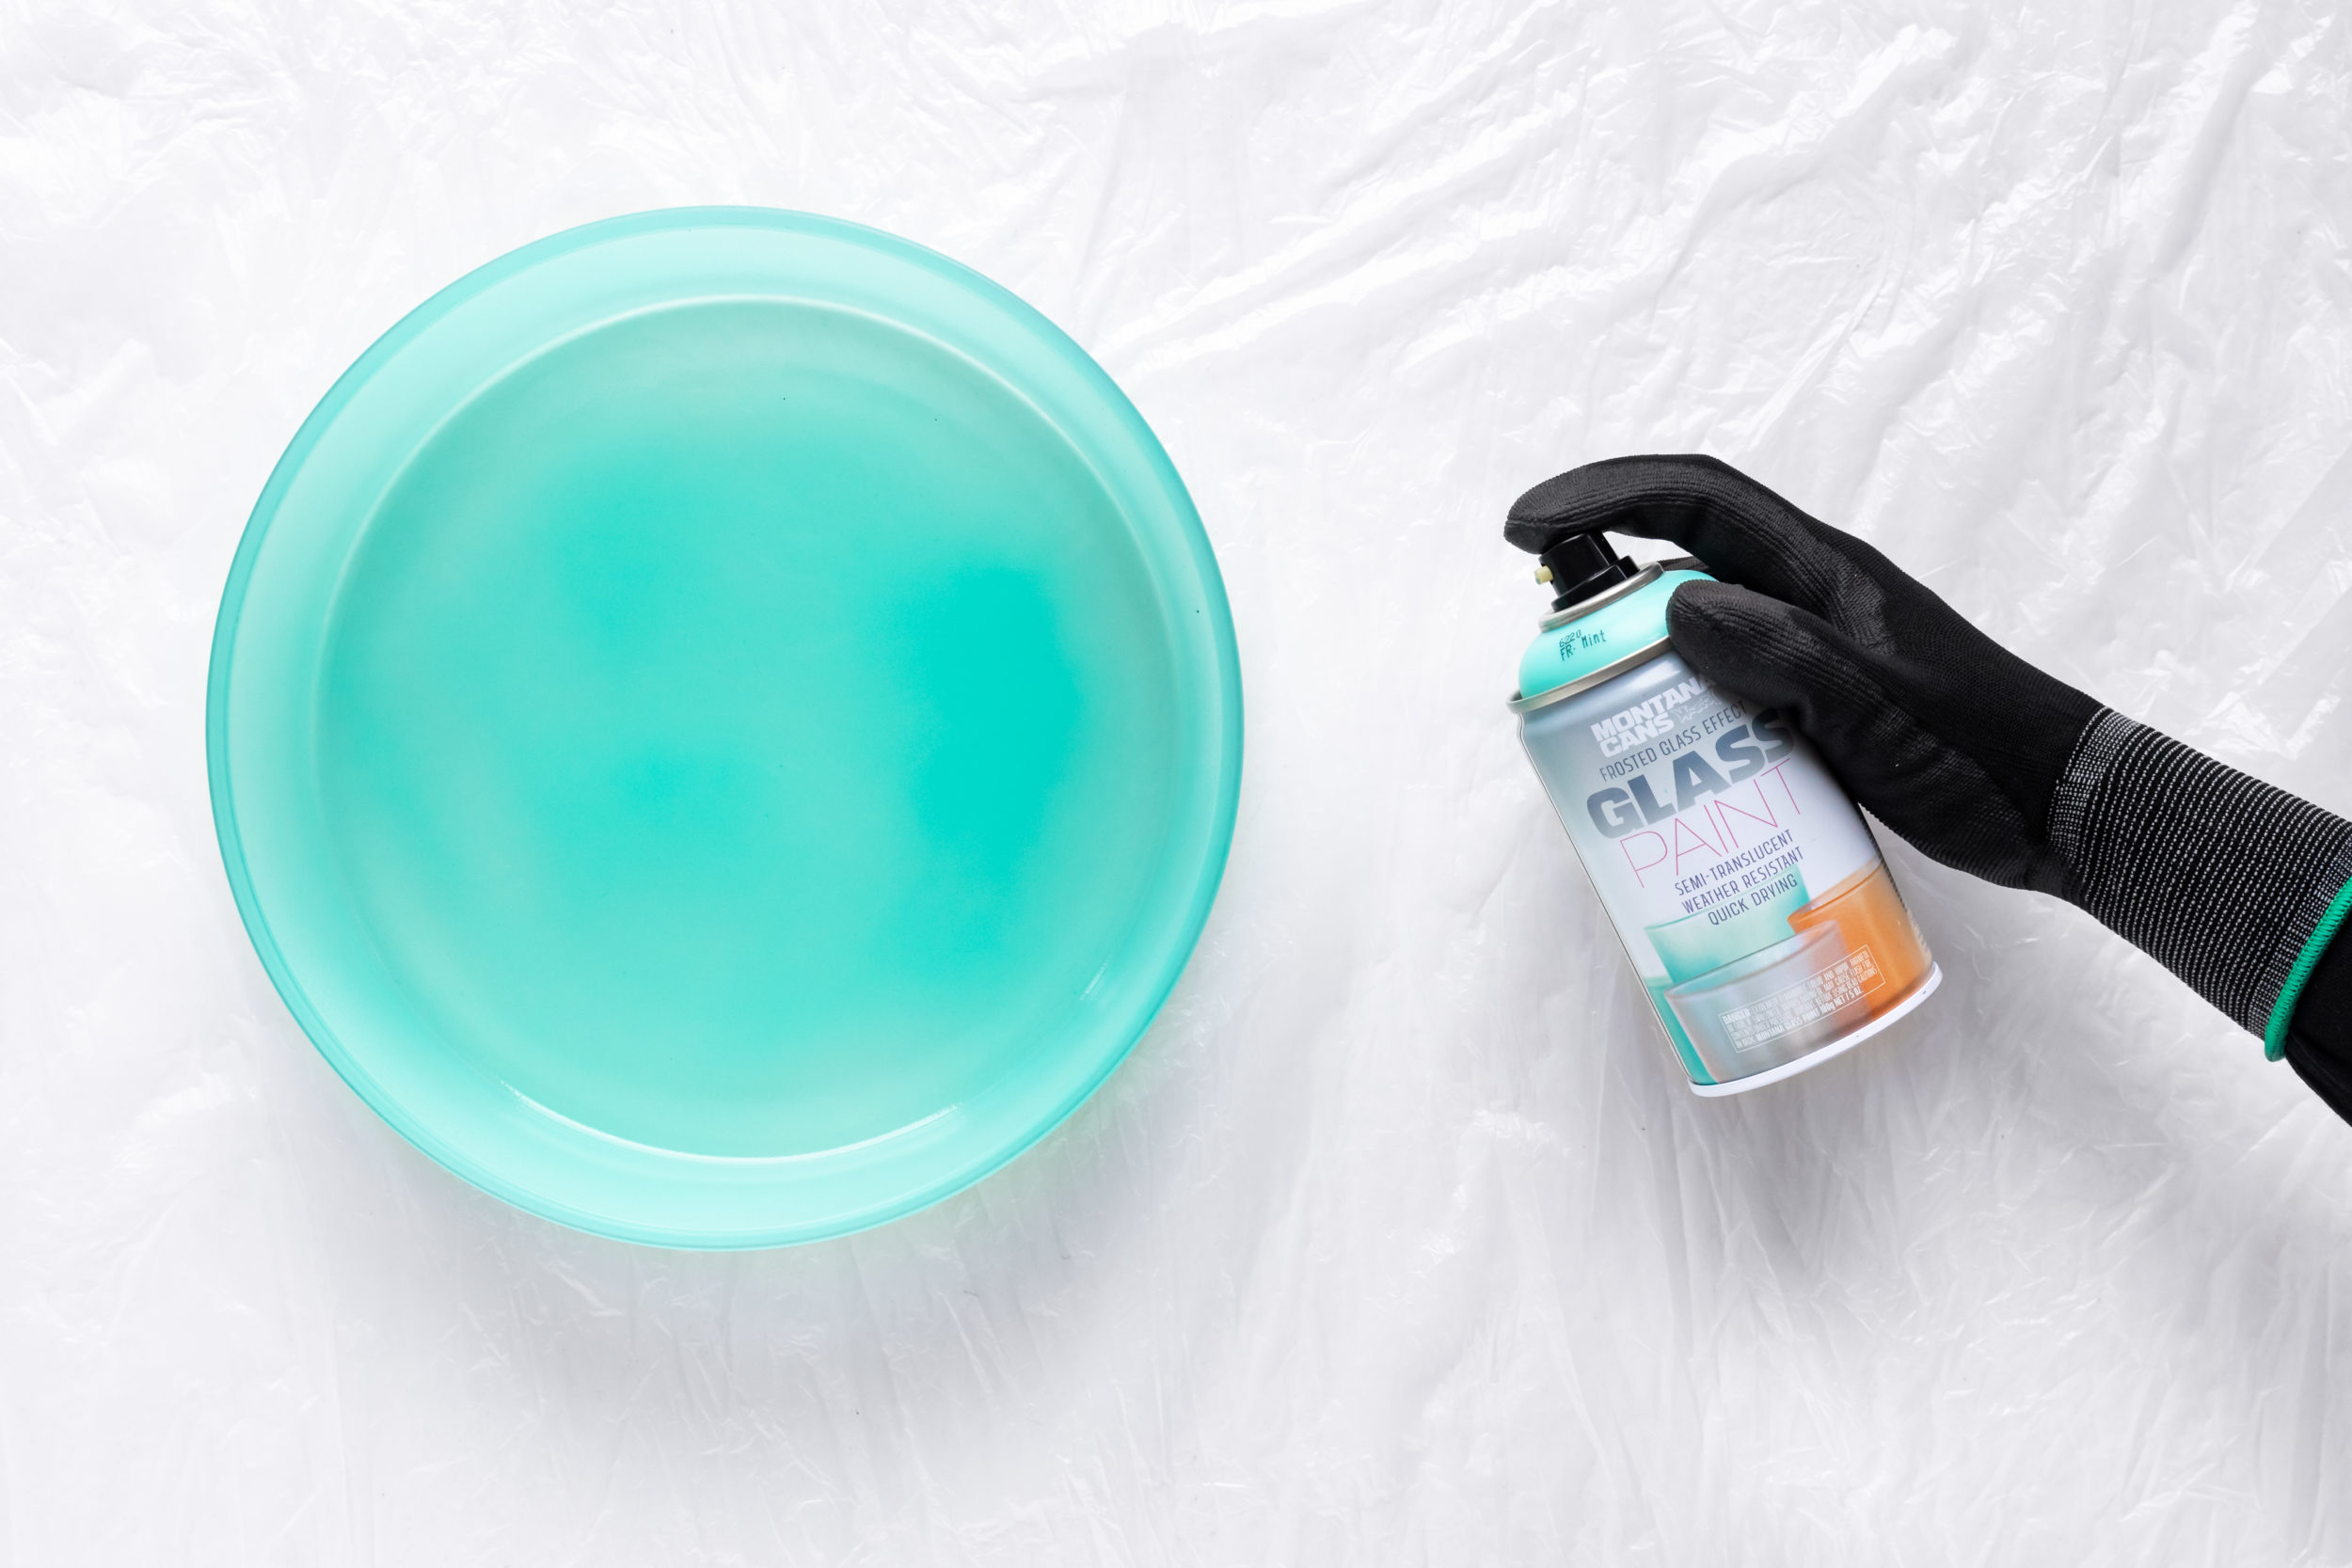
With this step done, the final stage was coloring our glass. With clean and dry glass bowls at the ready, we lightly sprayed each bowl inside and out at a distance of 20cm to 30cm. The secret is not too thick so light can travel through. With one coat they were perfect.
[su_icon_text color=”#41444e” icon=”icon: shopping-cart” icon_color=”#000000″ icon_size=”34″]To find an online shop or reseller or in your area feel free to visit the MontanaCans Storefinder[/su_icon_text]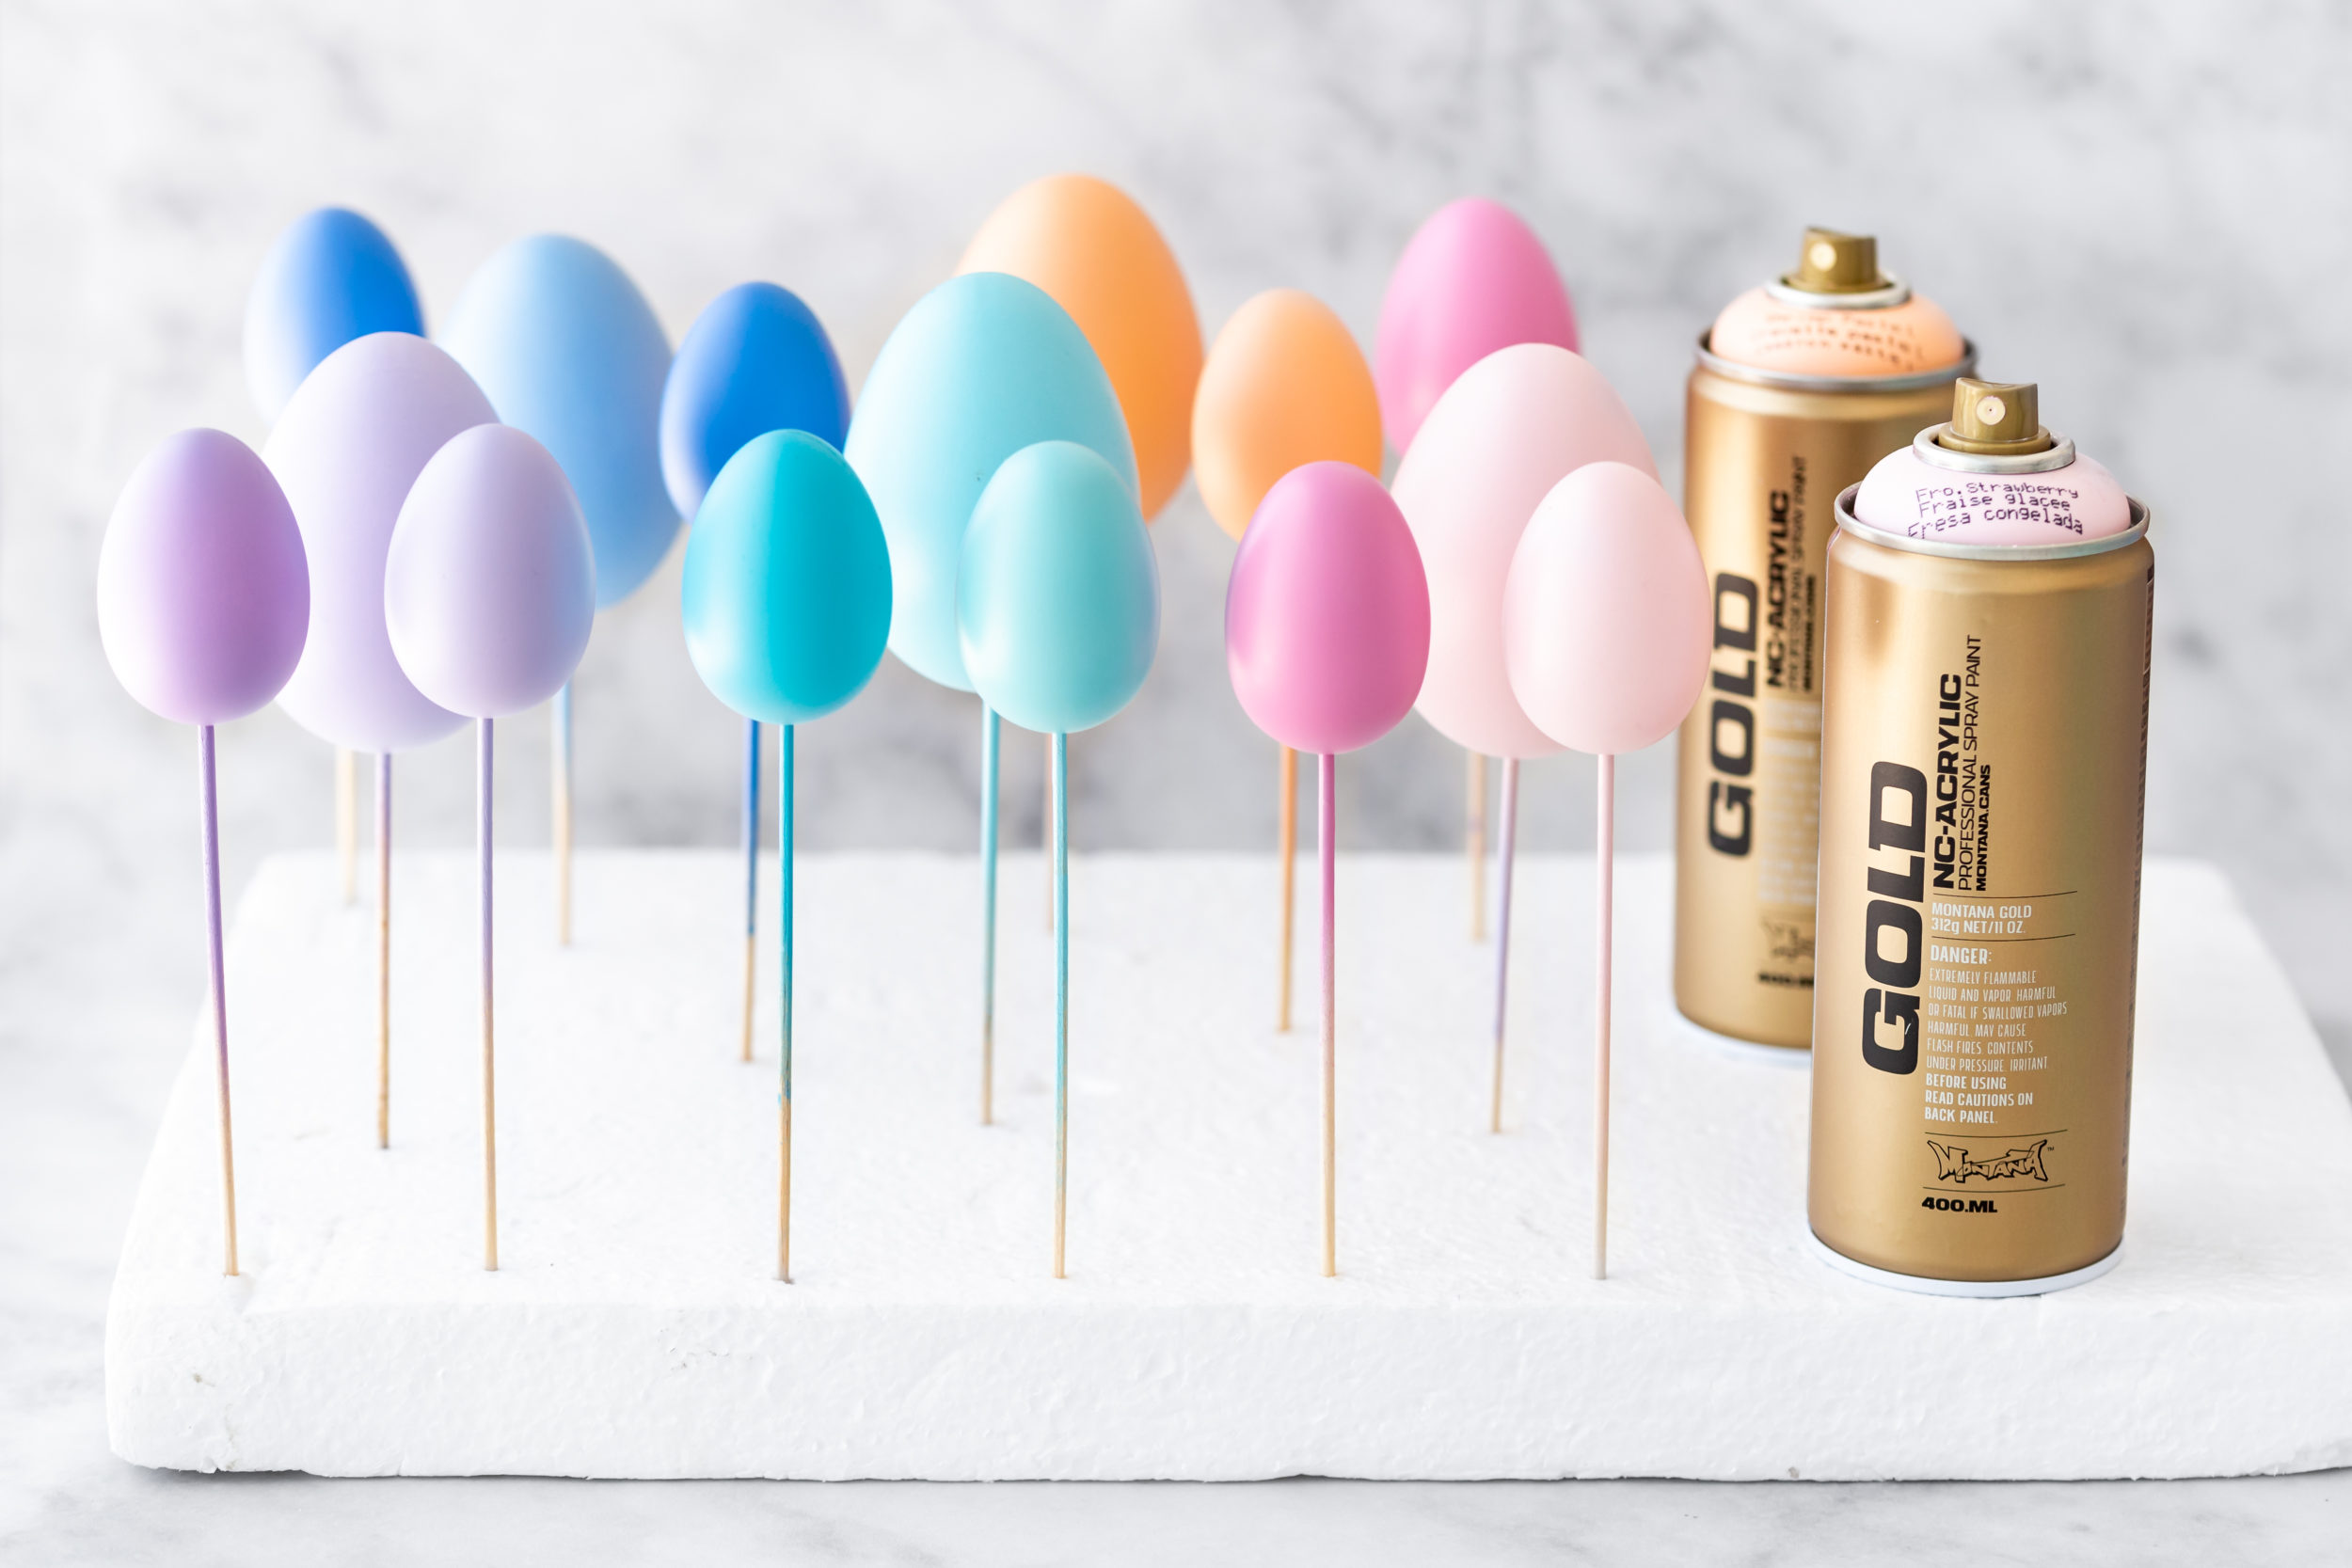
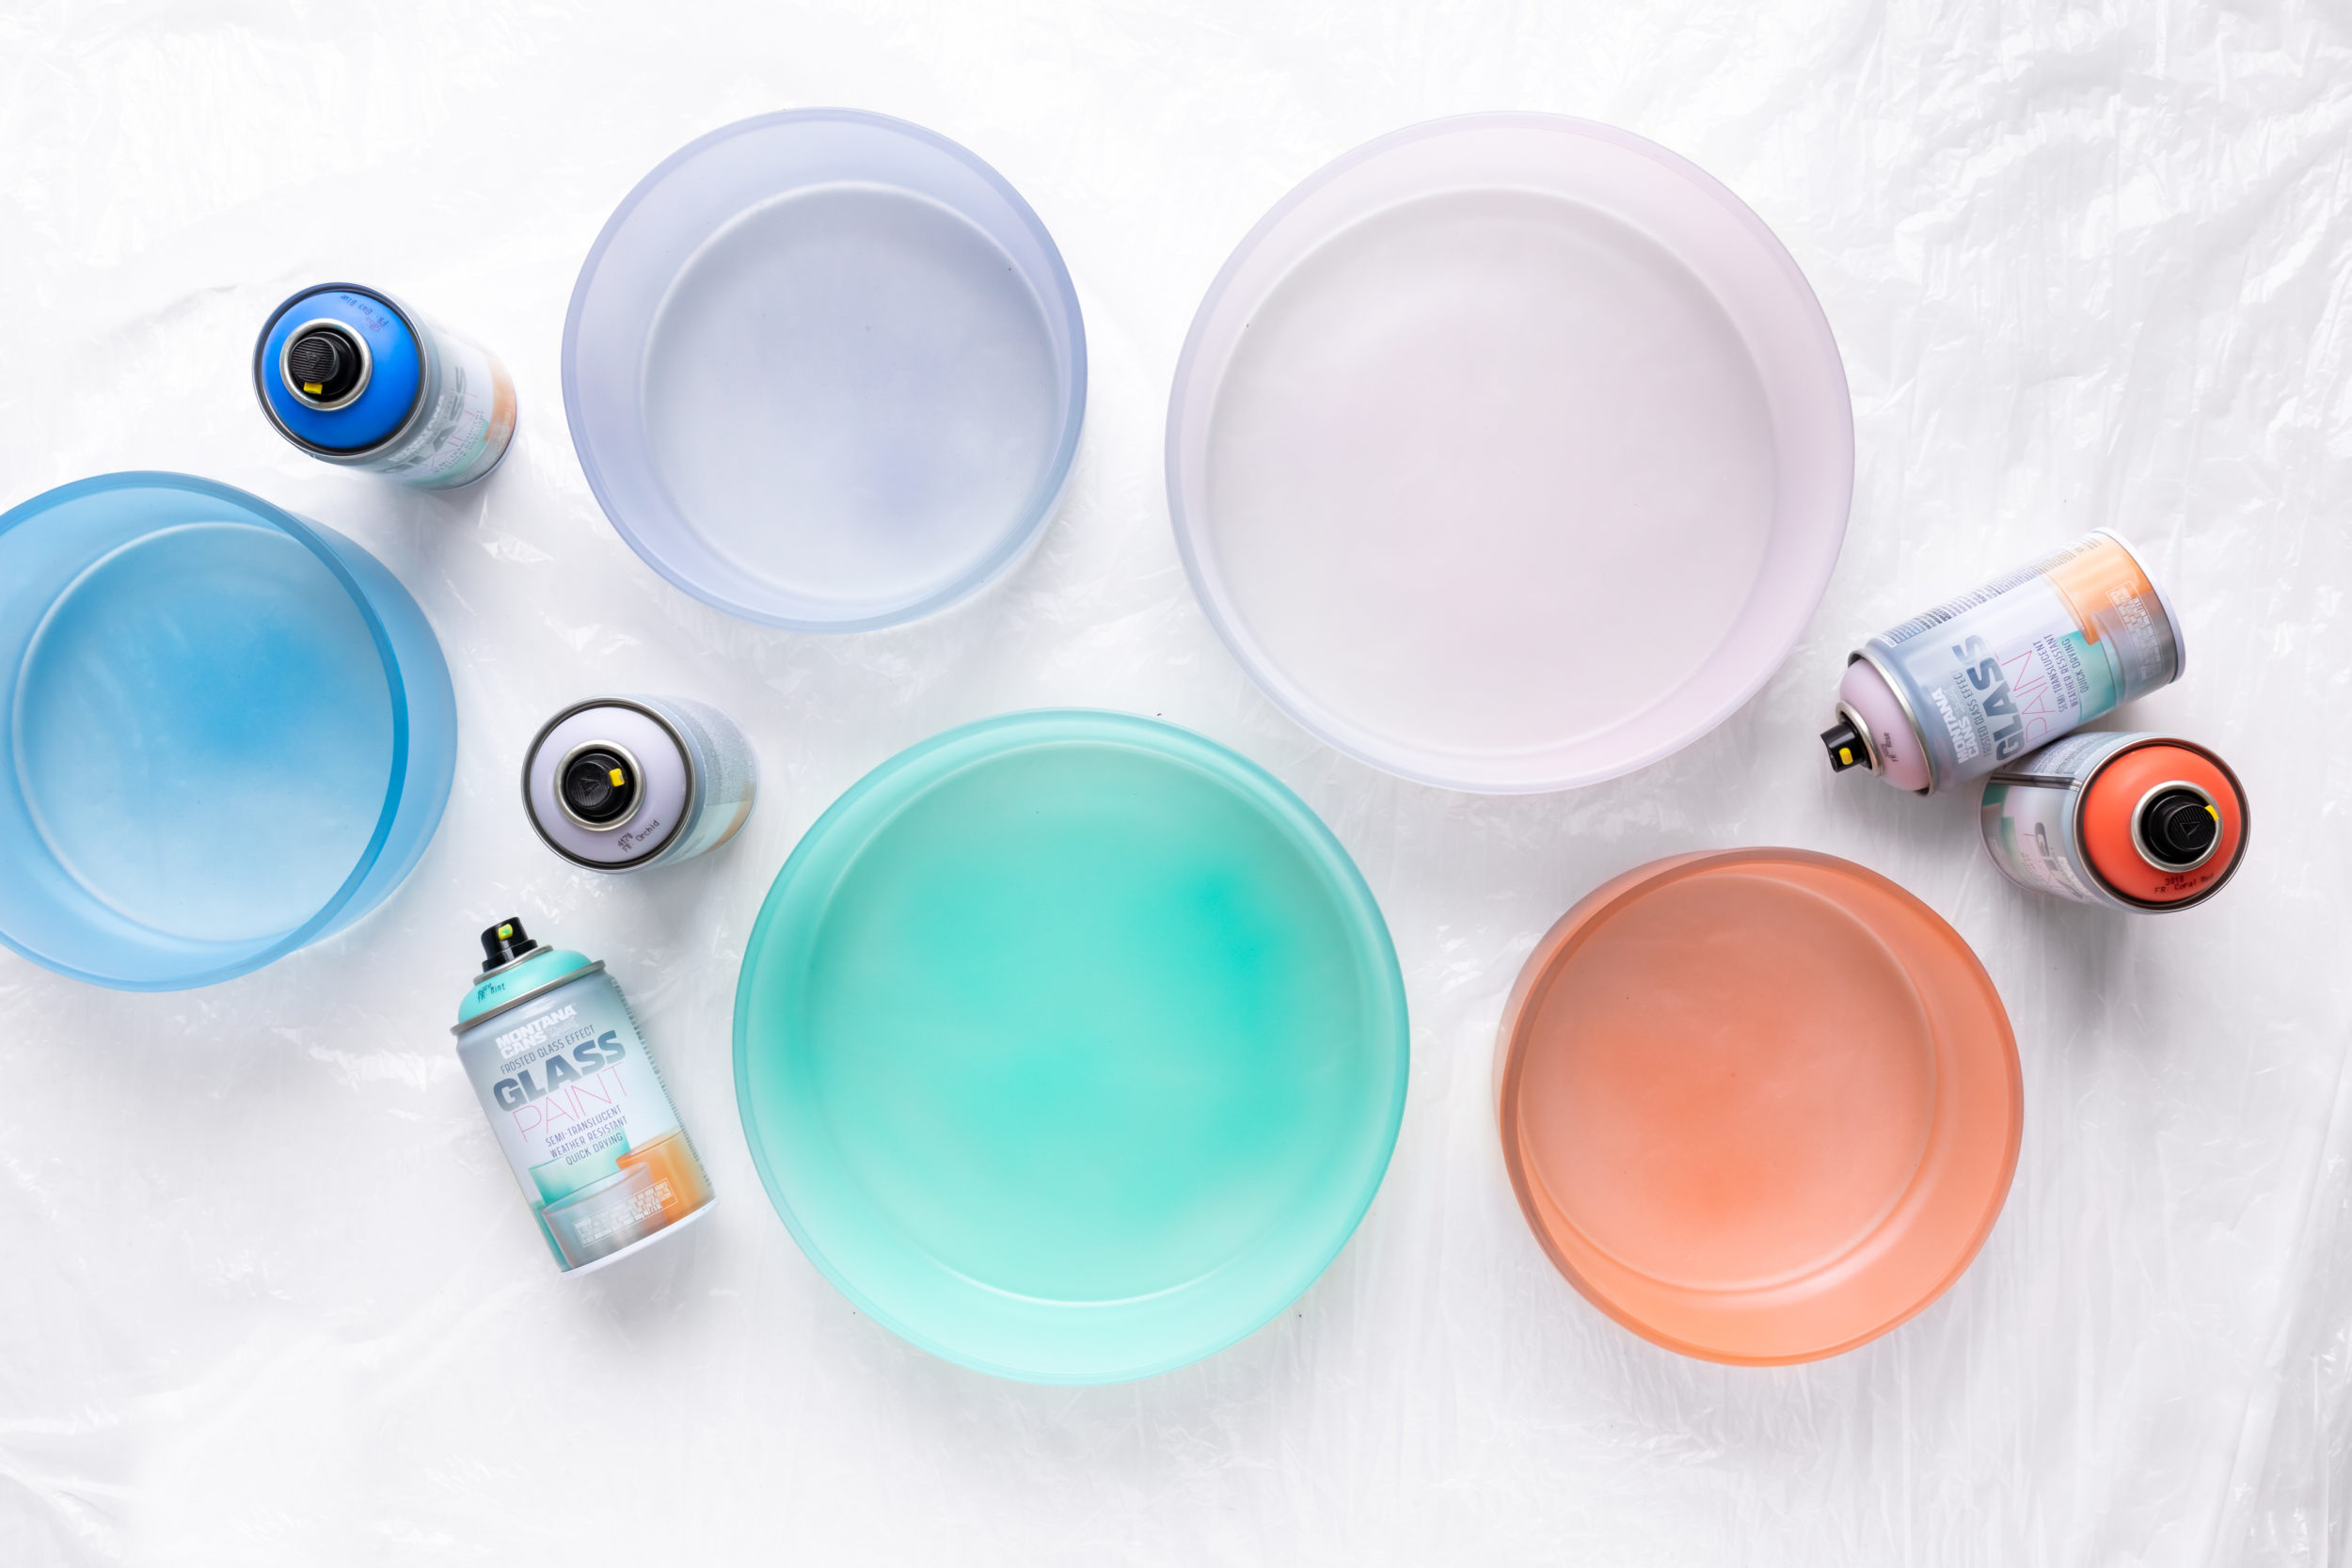
Subject to the glass you used, apply a second coat if you desire. Job done and what a stunning one at that! We let everything dry overnight before we handled it further.
AFTER
WOW! The bowls dried to an amazing transparent matte finish. As we’d hoped, they let light through and this meant our eggs looked stunning when they lay inside.

The eggs removed easily from the skewers and it was just a matter of placing them in their designated bowls. Amongst all our other egg decorating variations from the past, this one was a welcomed change to mix things up and tie them all together. Or stand alone as a beautiful new Easter home decoration.
We added a feather here and there to put a little icing on the cake so to say. Should you have any other little finishing touch, try them out and see if you can create your own personal aesthetic.
[su_icon_text color=”#41444e” icon_color=”#000000″ icon_size=”34″]If you want to get featured with your own spray paint DIY tag us in the results via @allspraypainted or #allspraypainted[/su_icon_text]
The Monochrome Easter Bowls project was really easy to do for all abilities. The actual working time is about 15- 30 minutes depending on the amount of eggs and bowls you have. We left ours to dry overnight which ensured nothing stuck together even though we thought it was completely dry.

Possibly not necessary if you’re in a warm or dry climate, but a good habit to get into anyway as often the curing process takes 24 hours regardless of the temperature. But thats all just details. The important part is you did it and it was fun. Nice work and Happy Crafting!