

Turning existing furniture into treasures
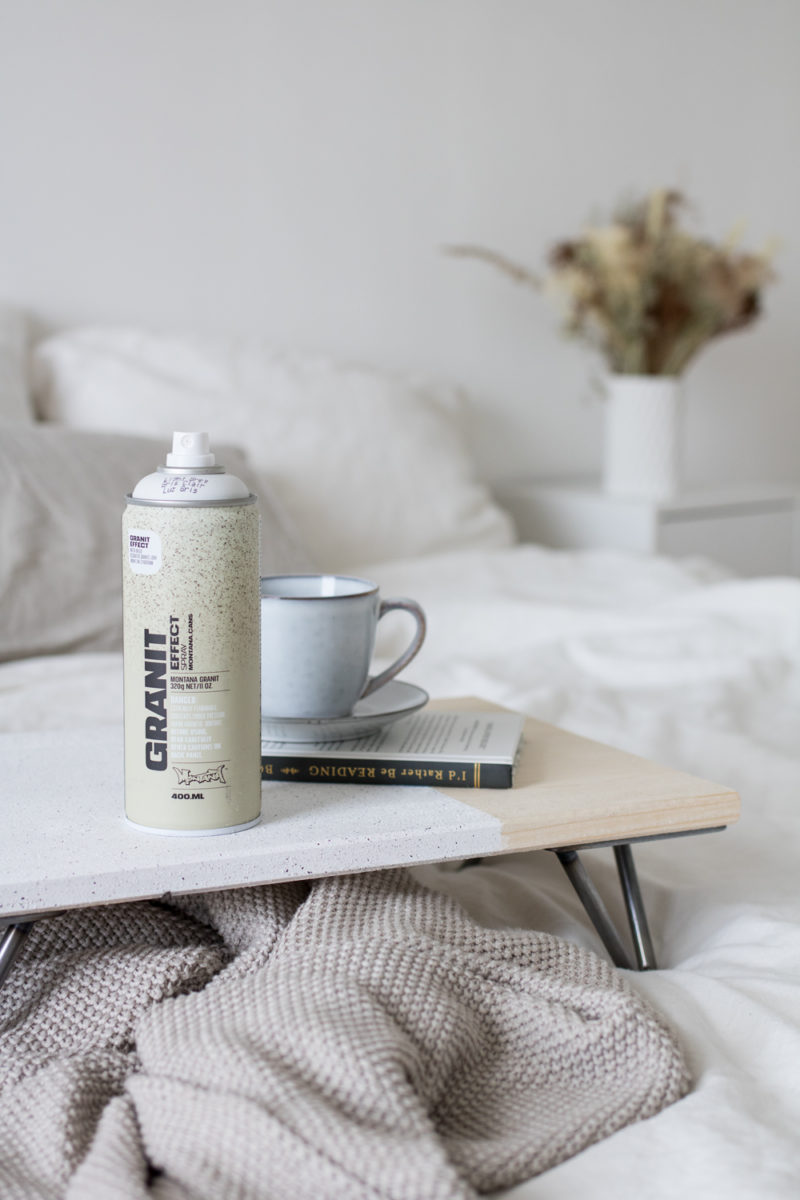
It’s Sunday morning, you’re under the warm covers of your bed and outside it is grey and raining. The perfect scenario for a cup of something hot and tasty and a new read to turn the morning into the afternoon. In a moment like this, your mobile bed tray with the boring wooden top makes for a perfect new DIY project. Any other pieces of furniture in your home that are starting to become hard on the eye are also perfect candidates for our GRANIT Bed Tray Makeover.
BEFORE
It’s now afternoon, the book you were reading is finished, as is your cup. The sun is now shining and that seed of creativity you had earlier can now be transformed into a project. In our case, the catalyst for the project is a bed tray. It is small, has few simple parts and with little effort, we will achieve a big result. However, should you want to extend this to other pieces of furniture in your home, we invite you to give it a go.

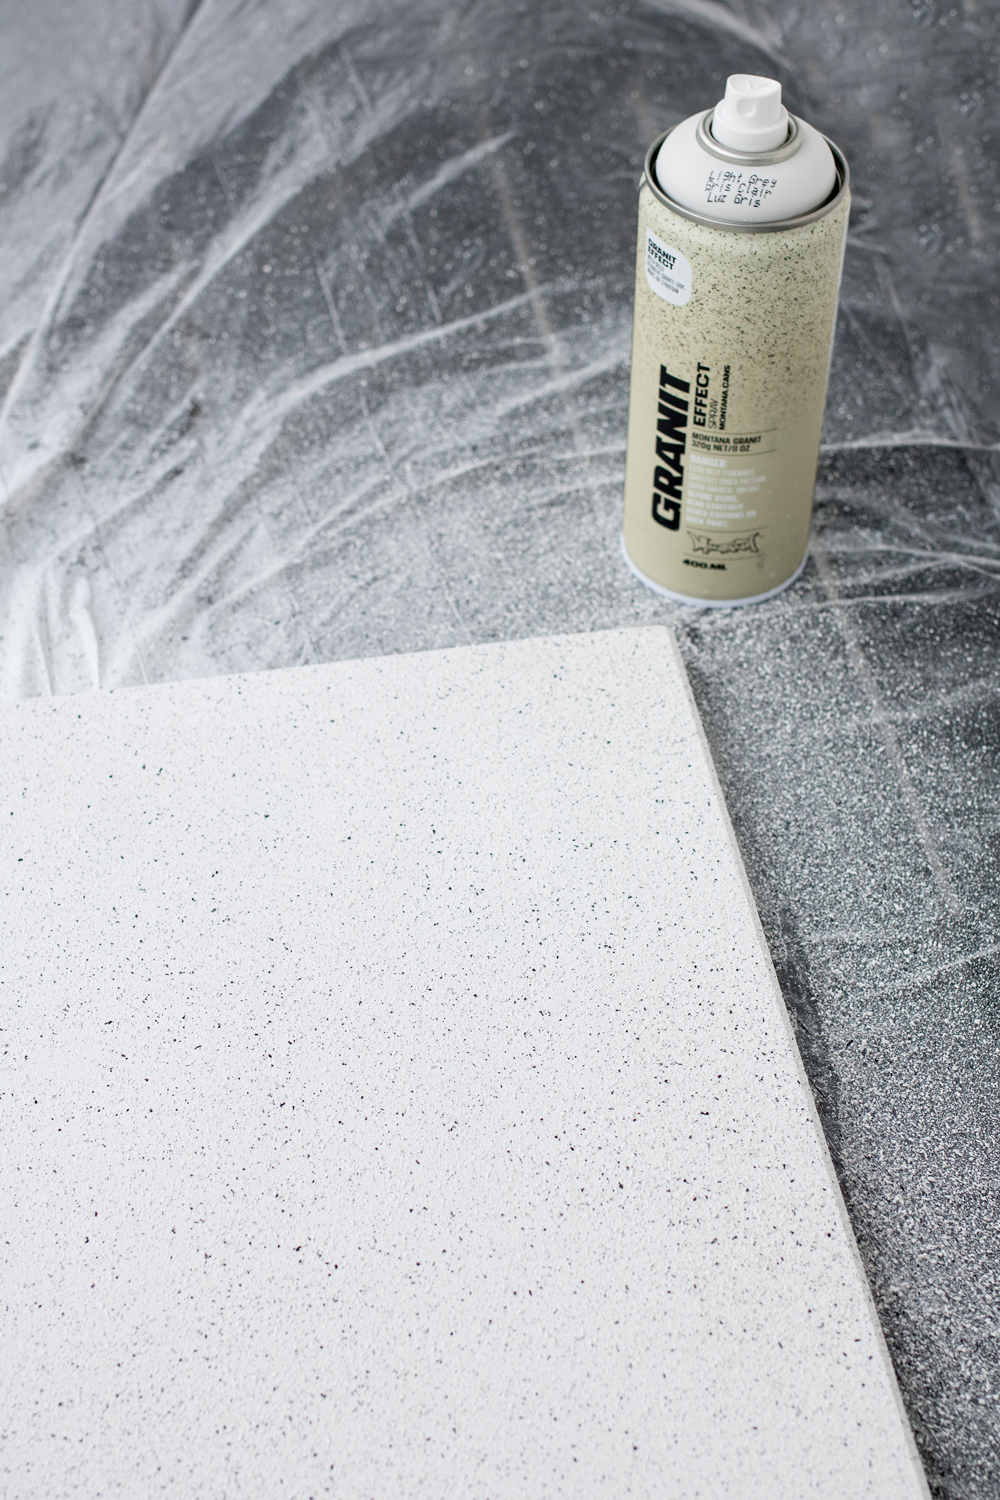
We started by detaching the legs of our bed tray, leaving us with a naked piece of wood. Ours was already clean and smooth. But should yours need a bit of TLC, simply sand it down so it is smooth and make sure it’s free of dust. Grab your can of Universal PRIMER and GRANIT Effect Spray (color of your choice) and give them a good 2-3 minute shake. If you are up-cycling a tray that has had oil-based products on it, be sure to sand off and remove this from the surface so that the Montana ACRYLIC based products can adhere to the wood.

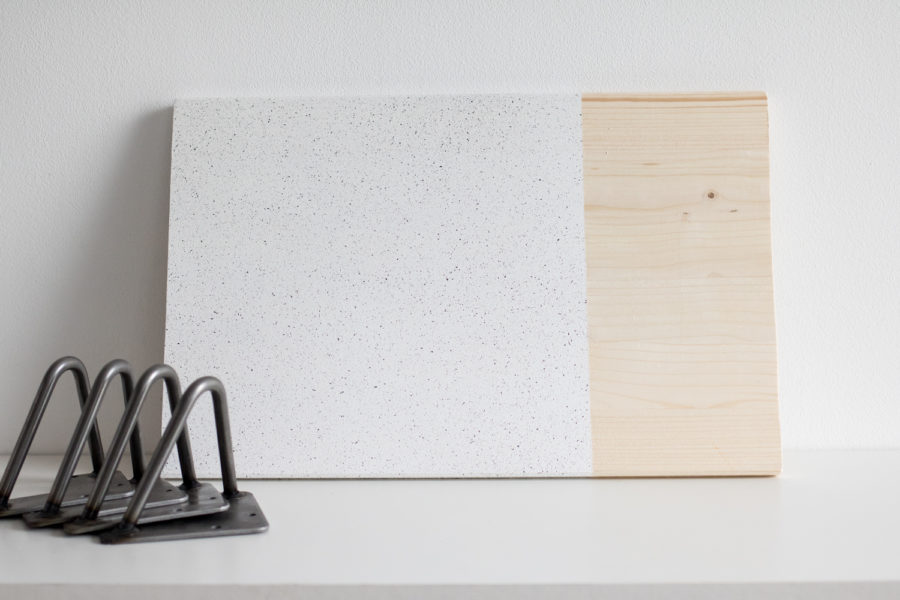
We chose to mask off an area of our tray top with masking tape so some raw wood would feature next to the GRANIT once the tape was removed. You could experiment with shapes and forms you mask off however a full GRANIT Spray job may be more to your liking.
First, the Universal PRIMER was applied to the raw wood and let dry completely. This sealed the wood from seepage and created an optimum surface for our next coats.
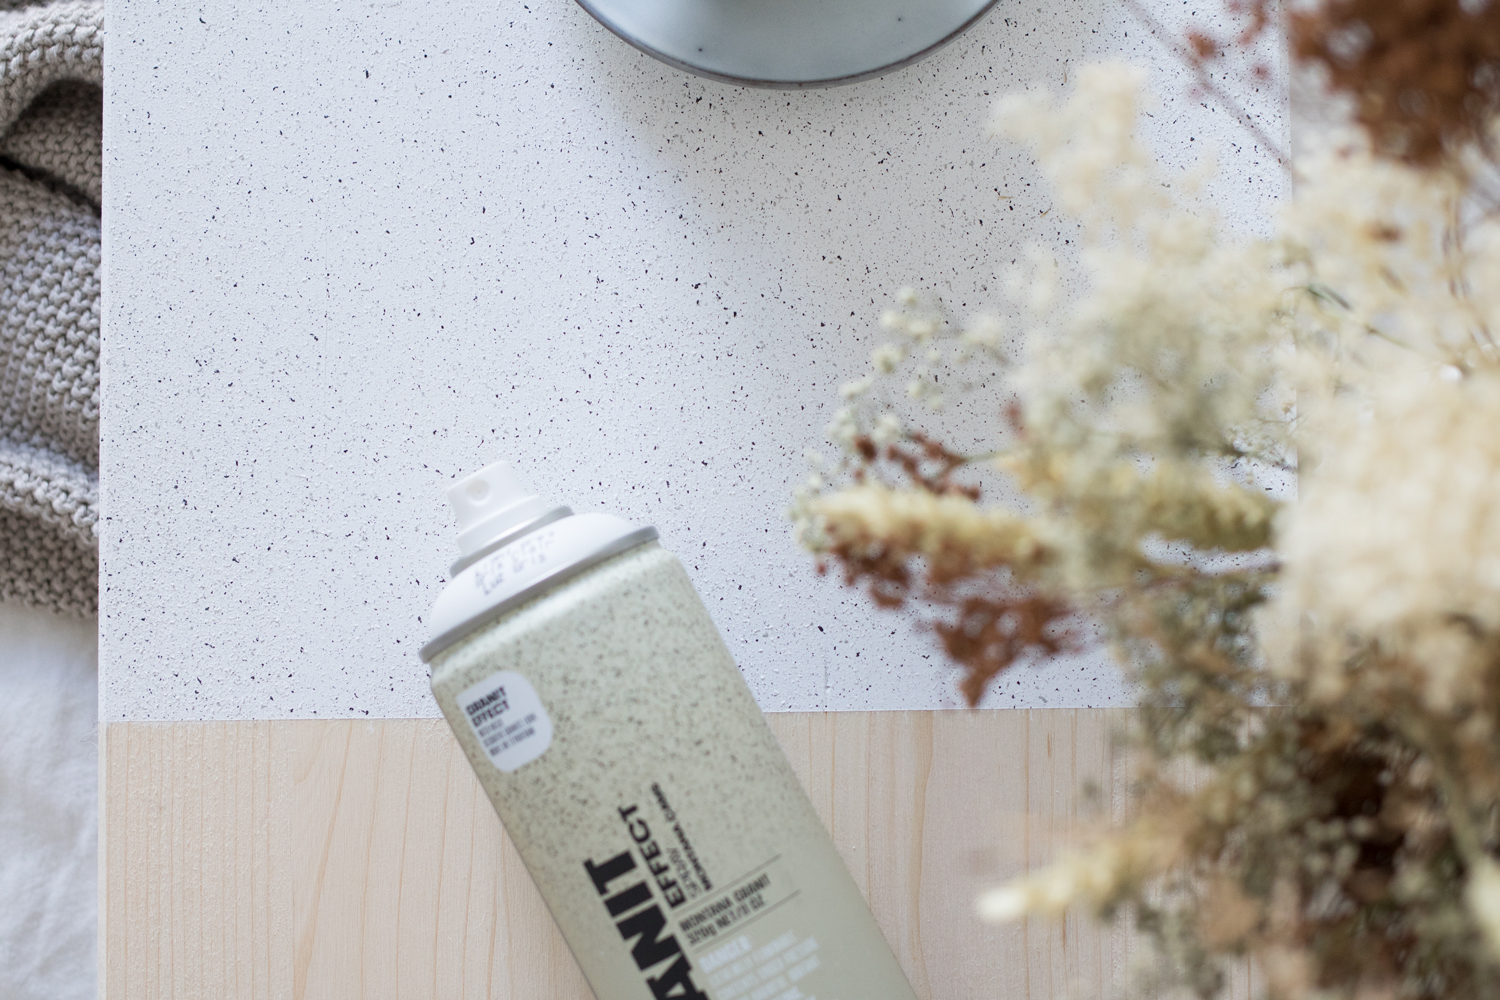
Then the GRANIT Effect Spray was applied. Thin, even coats from about 20-30 cm away from the wood. We were happy with one coat but you could apply more as desired. It’s that easy and your more or less done!
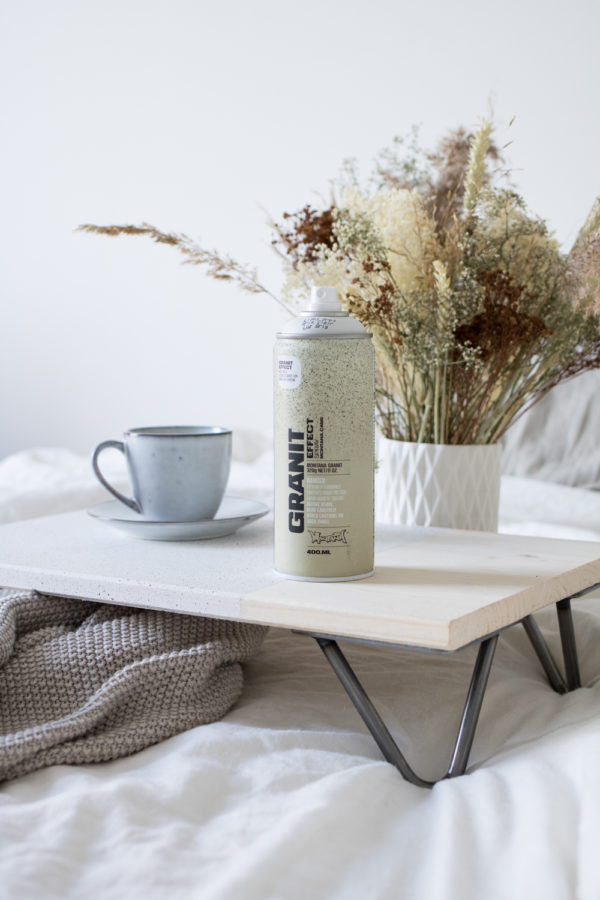
AFTER
We left the tray top dry overnight. The GRANIT had ample time to cure and it felt sturdy. Should you want to, you could also apply some Montana VARNISH Spray in Gloss, Semi-Gloss or Matt to add even more durability to the tray’s surface. It could also allow you to give the tray top the finish you wanted if that was other than the natural GRANIT finish straight from the can.
If you are happy with the GRANIT Spray finish as it is, we recommend peeling the masking tape off about 5-10 minutes after your last coat. This will help keep the tight line clean between your raw wood and the GRANIT coats. If you apply a VARNISH, remove the tape 5-10 minutes after applying it. Same as above, it keeps the lines clean and your surfaces protected up until the last minute. Once everything is completely dry, re-attach the legs and admire what you have done.


This is a great project for any skill level. Depending on the size of your tray and if the wood is ready or not, in total there is no more than 15-20 minutes of actual work. As suggested, don’t be afraid to expand your horizons and look at other pieces of furniture with the confidence and satisfaction you just earned from this project.
And if you already know you can do it, maybe consider having a few items running at once so you can use the downtime while the PRIMER or GRANIT Spray is drying to prepare and coat your other chosen pieces of furniture. Good luck and Happy Crafting!


