

Even more marble possibilities
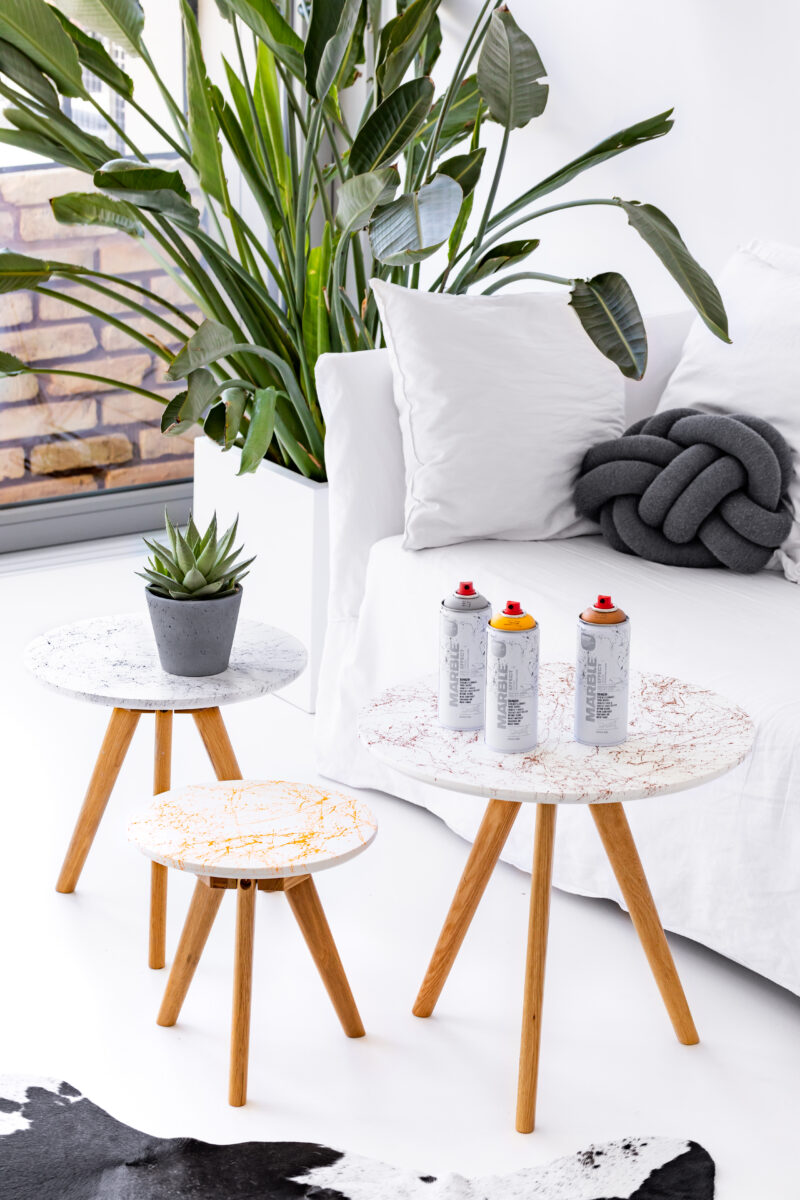
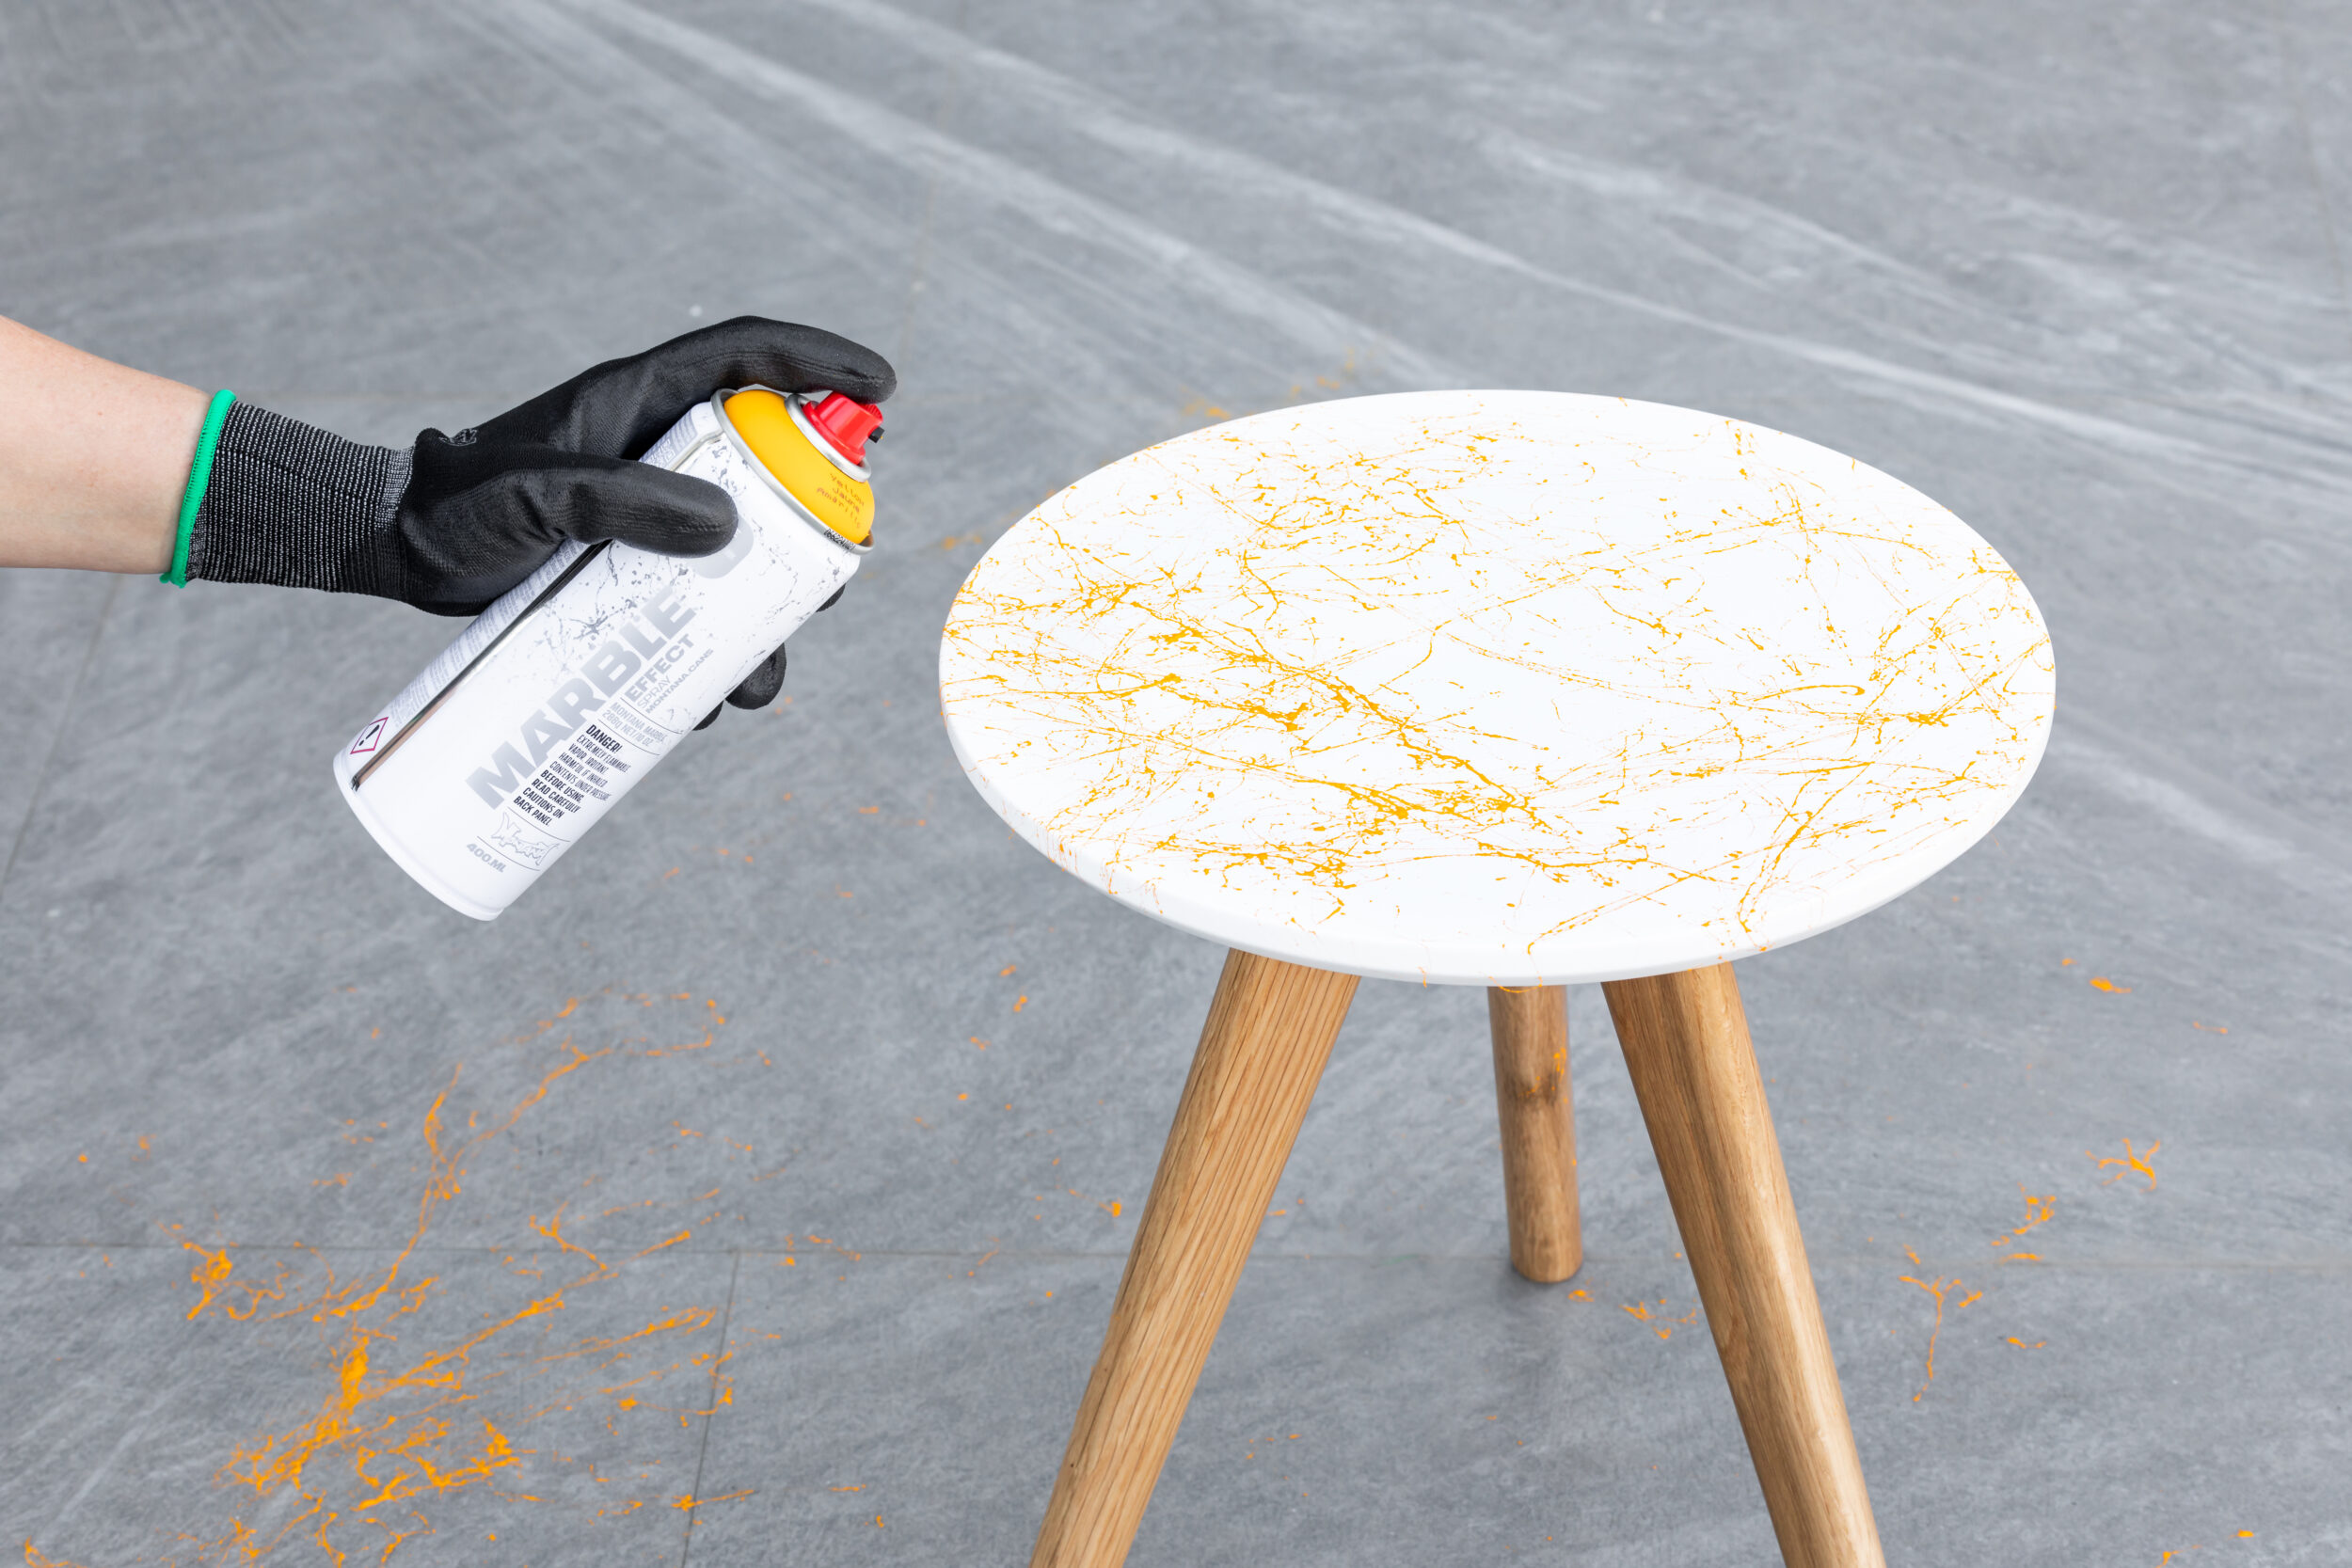
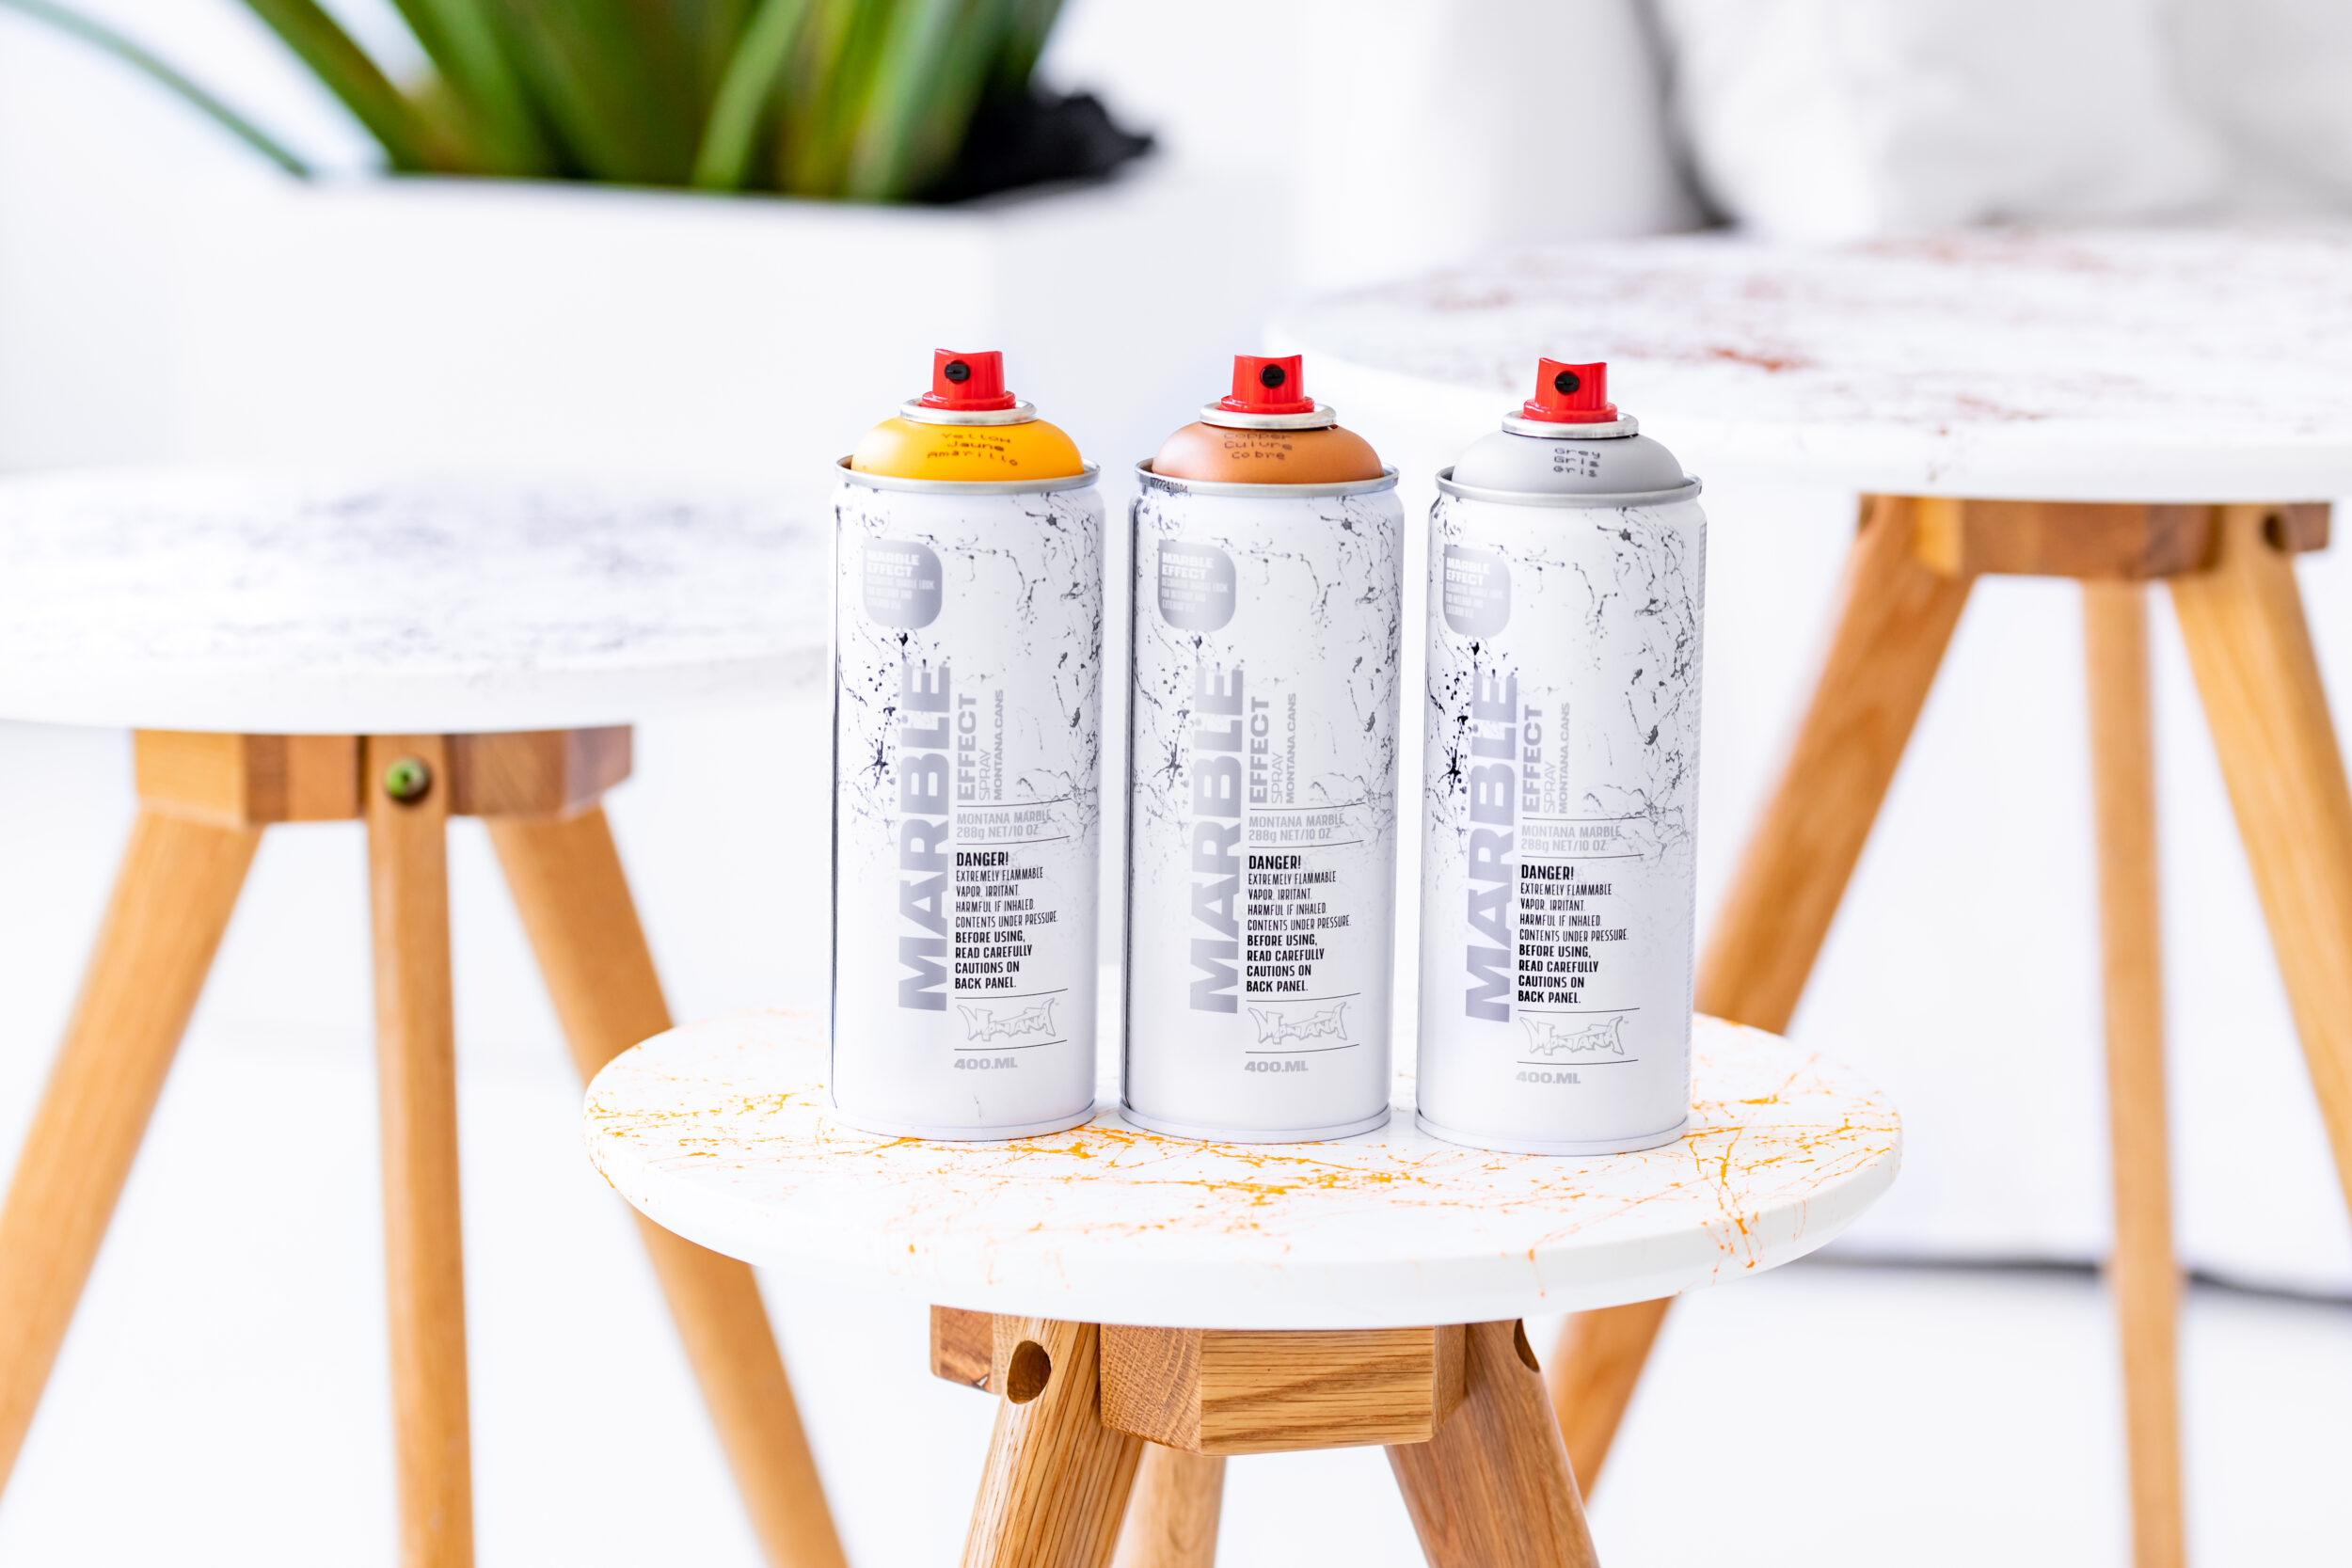
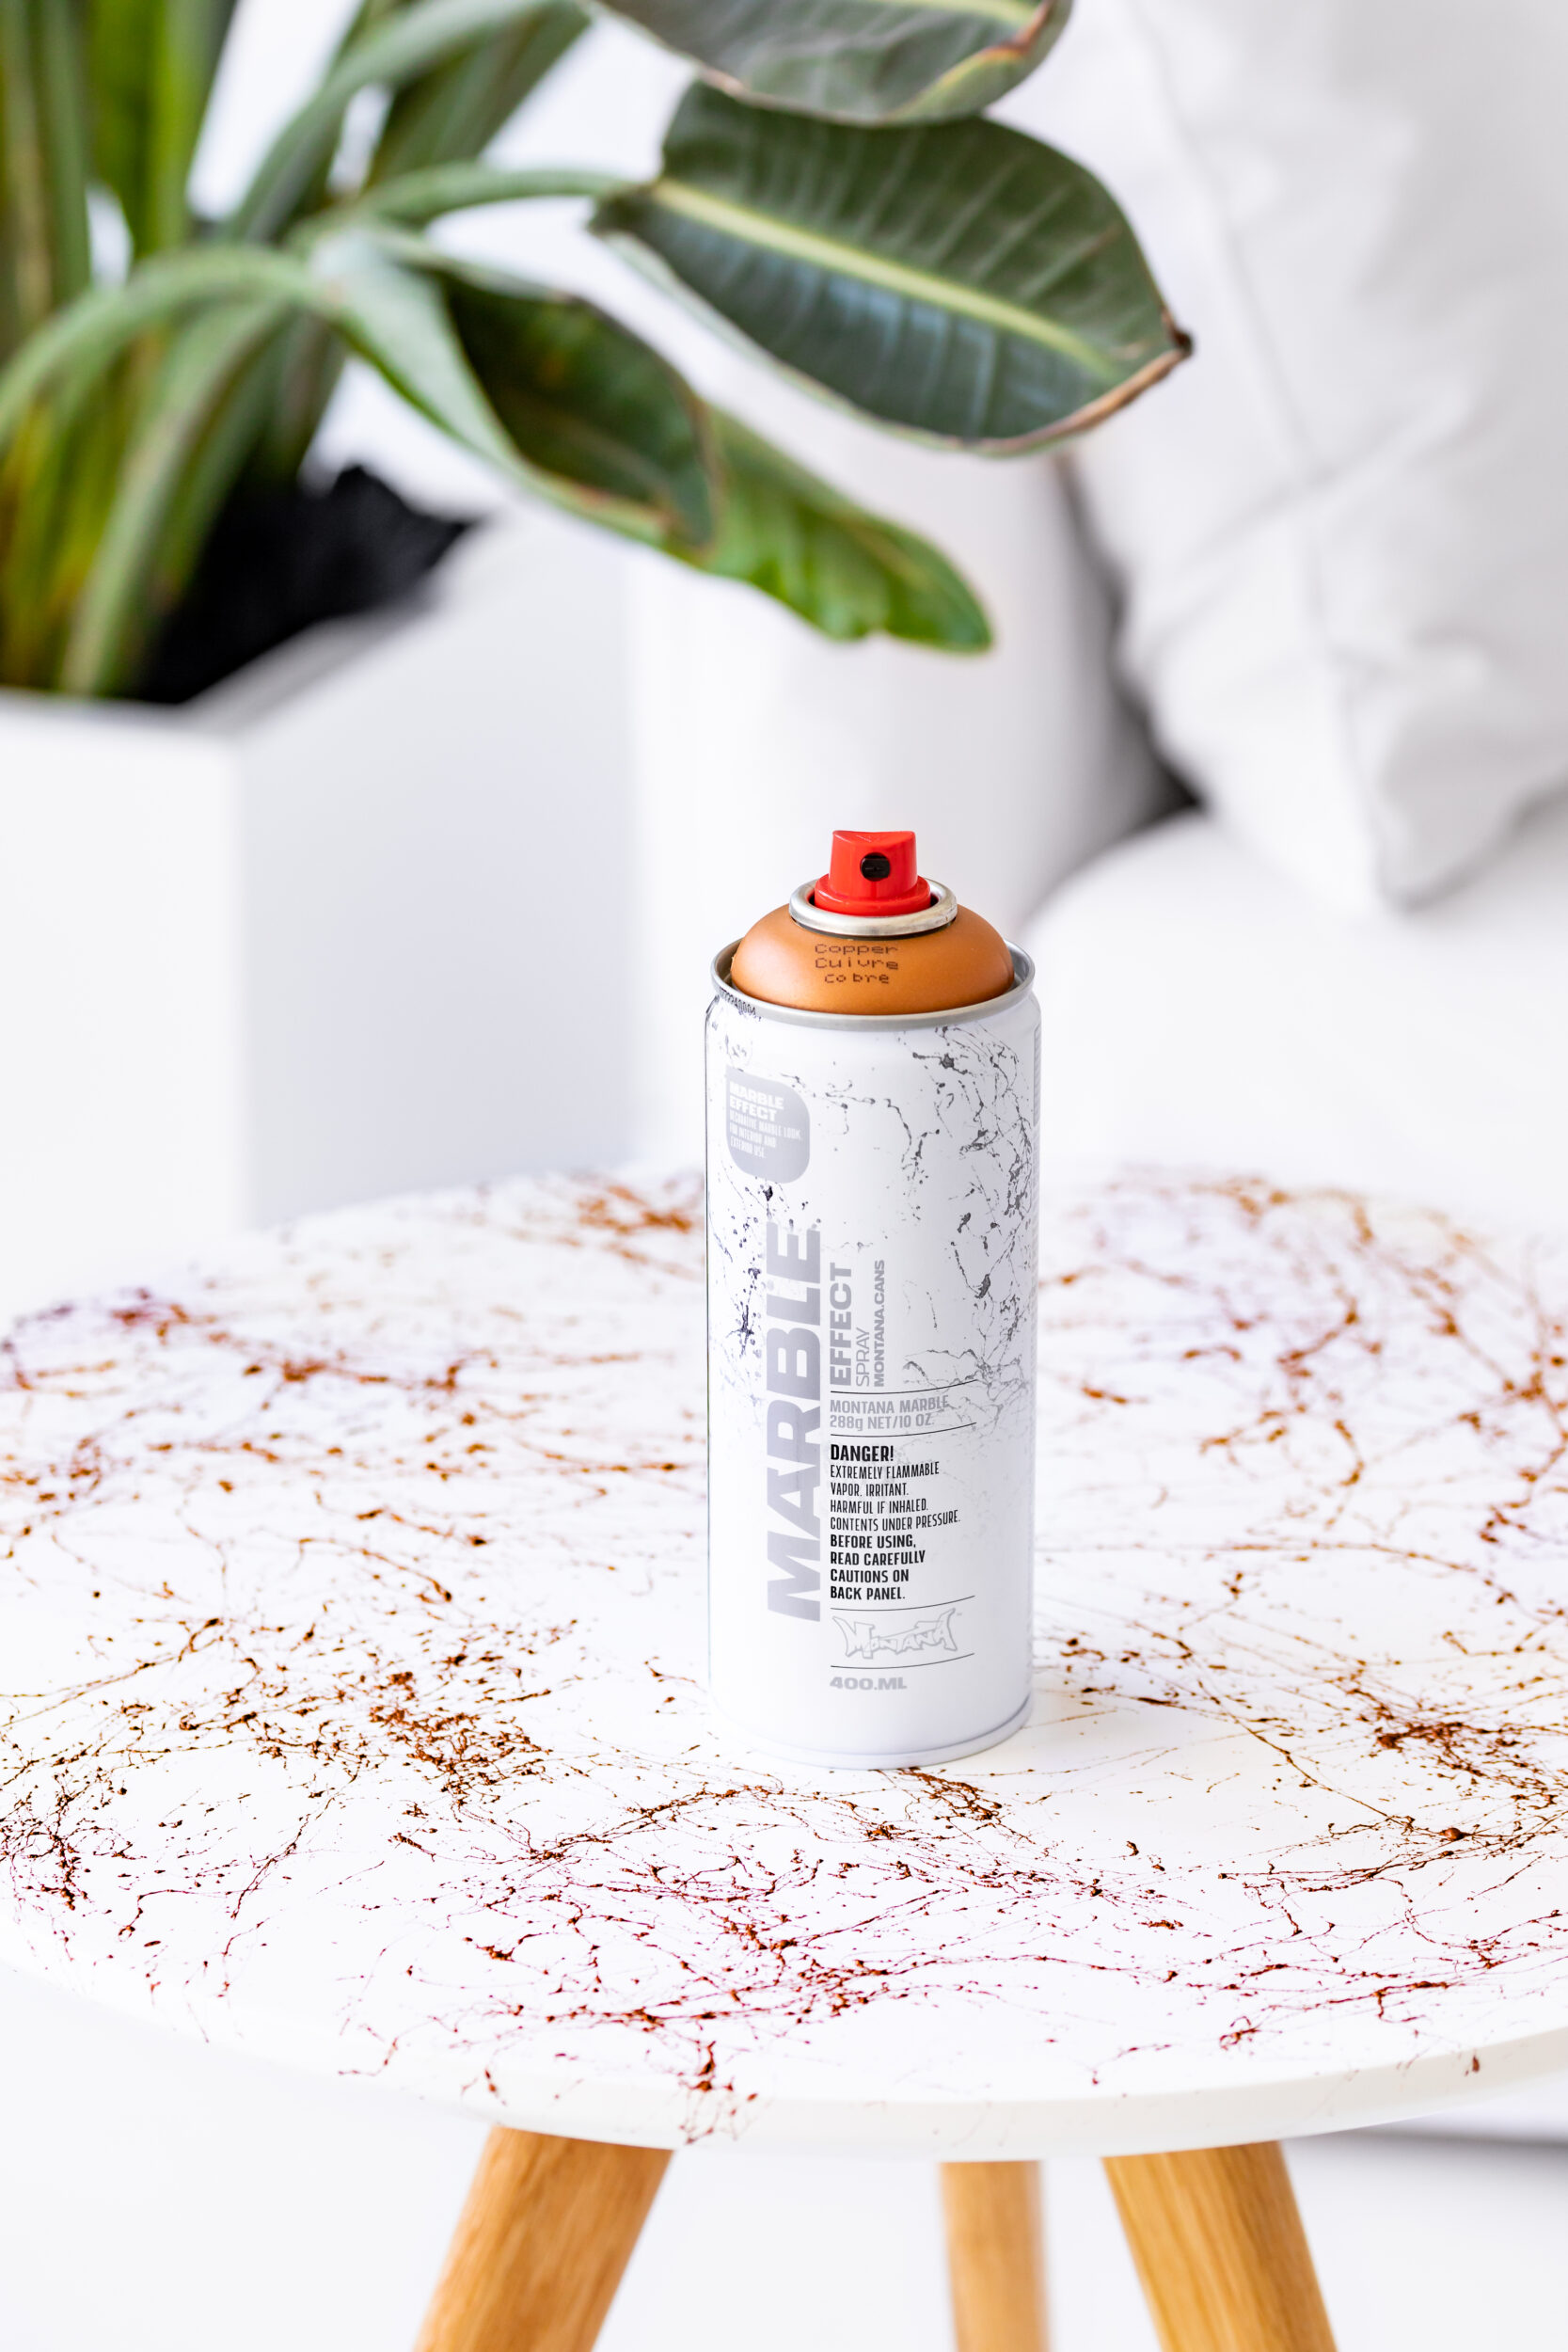
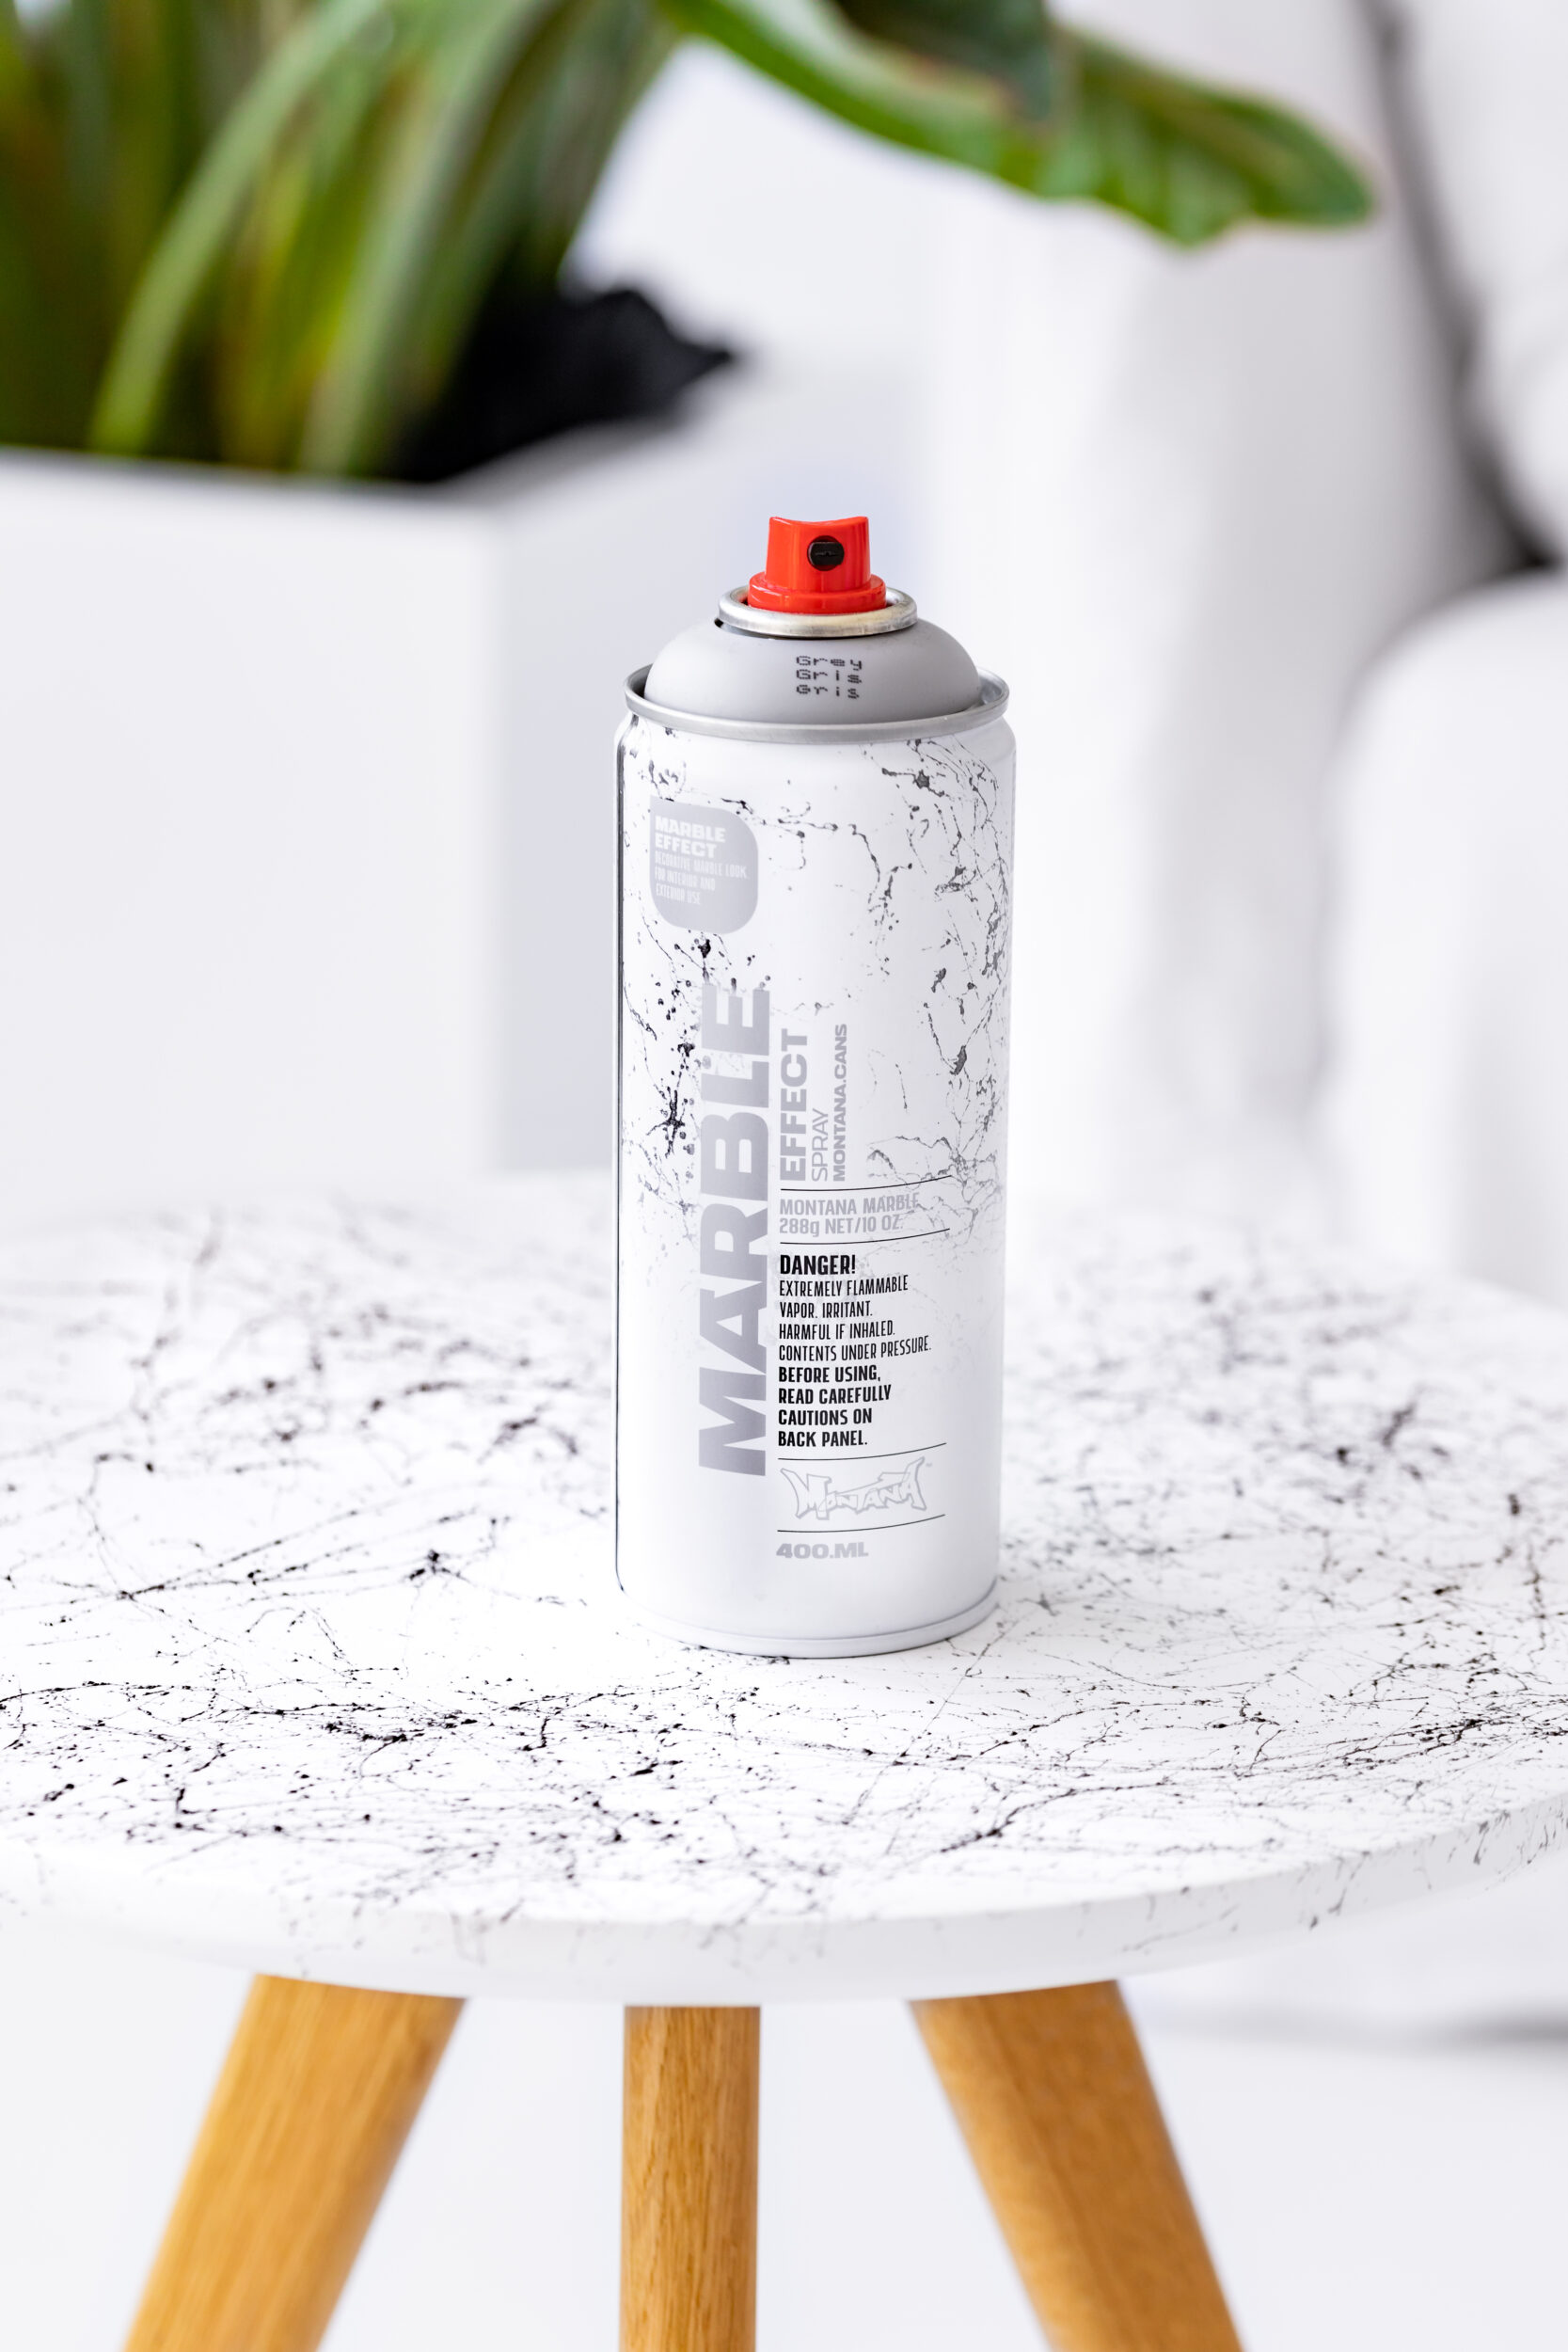
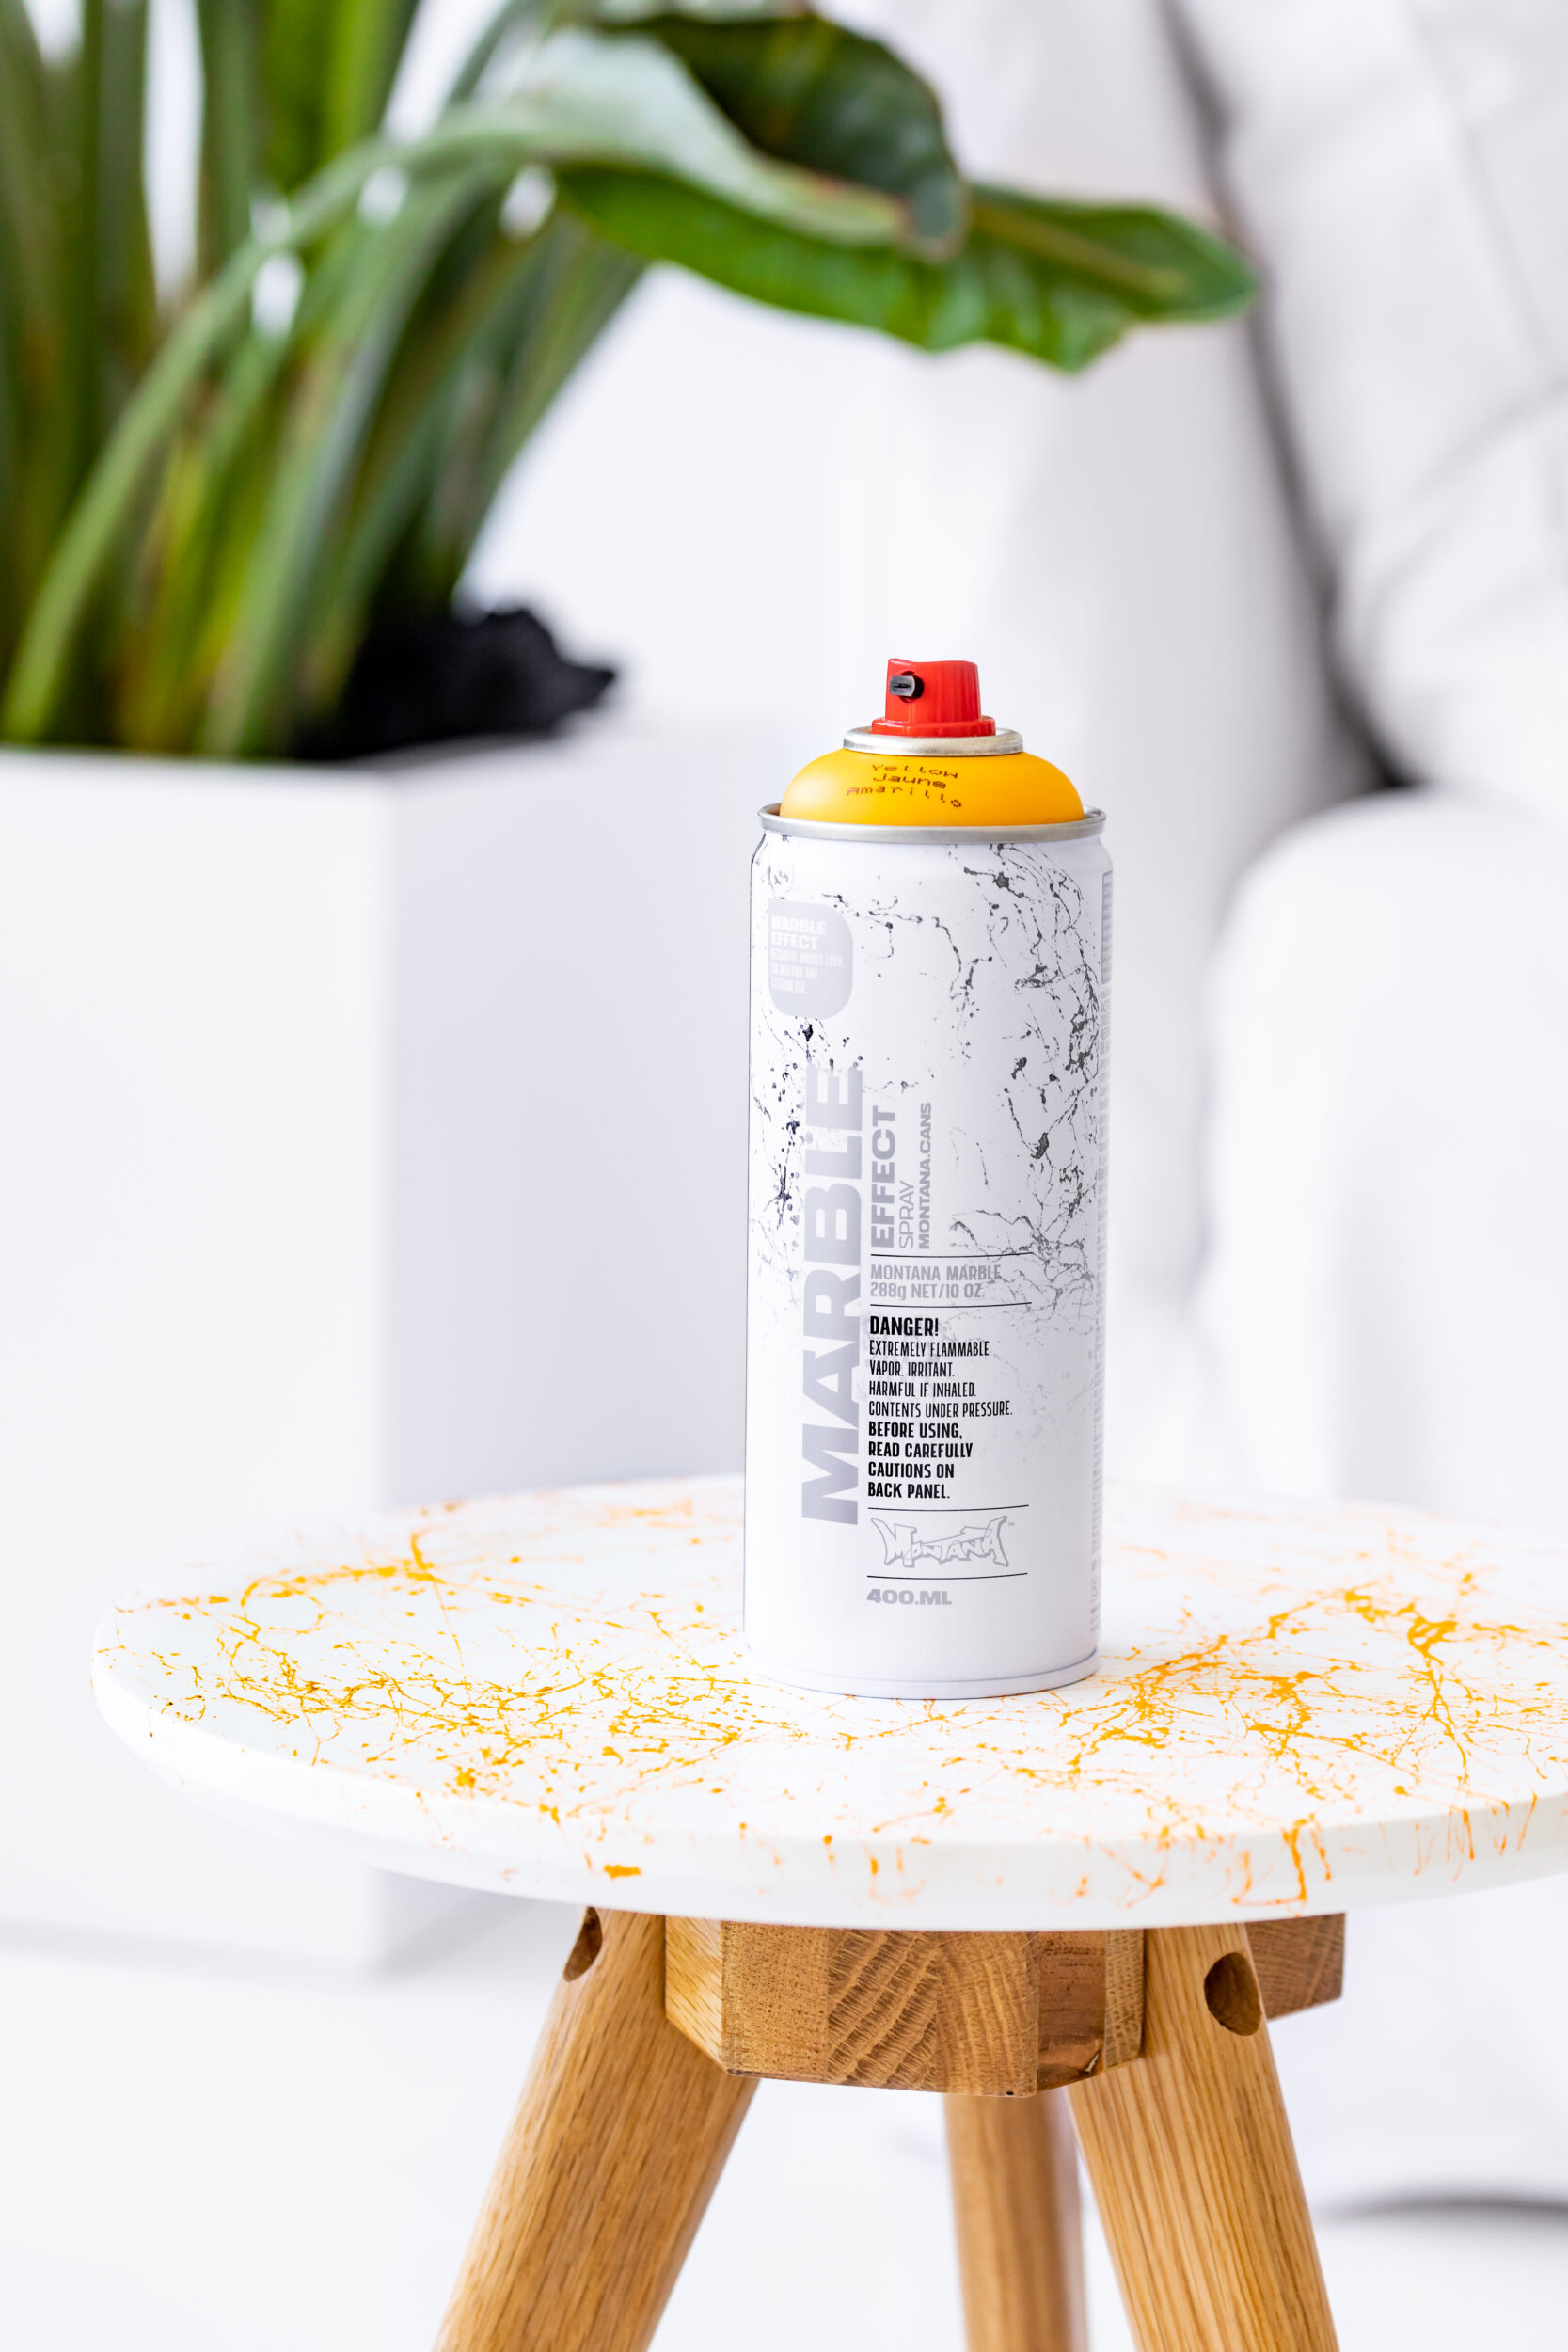
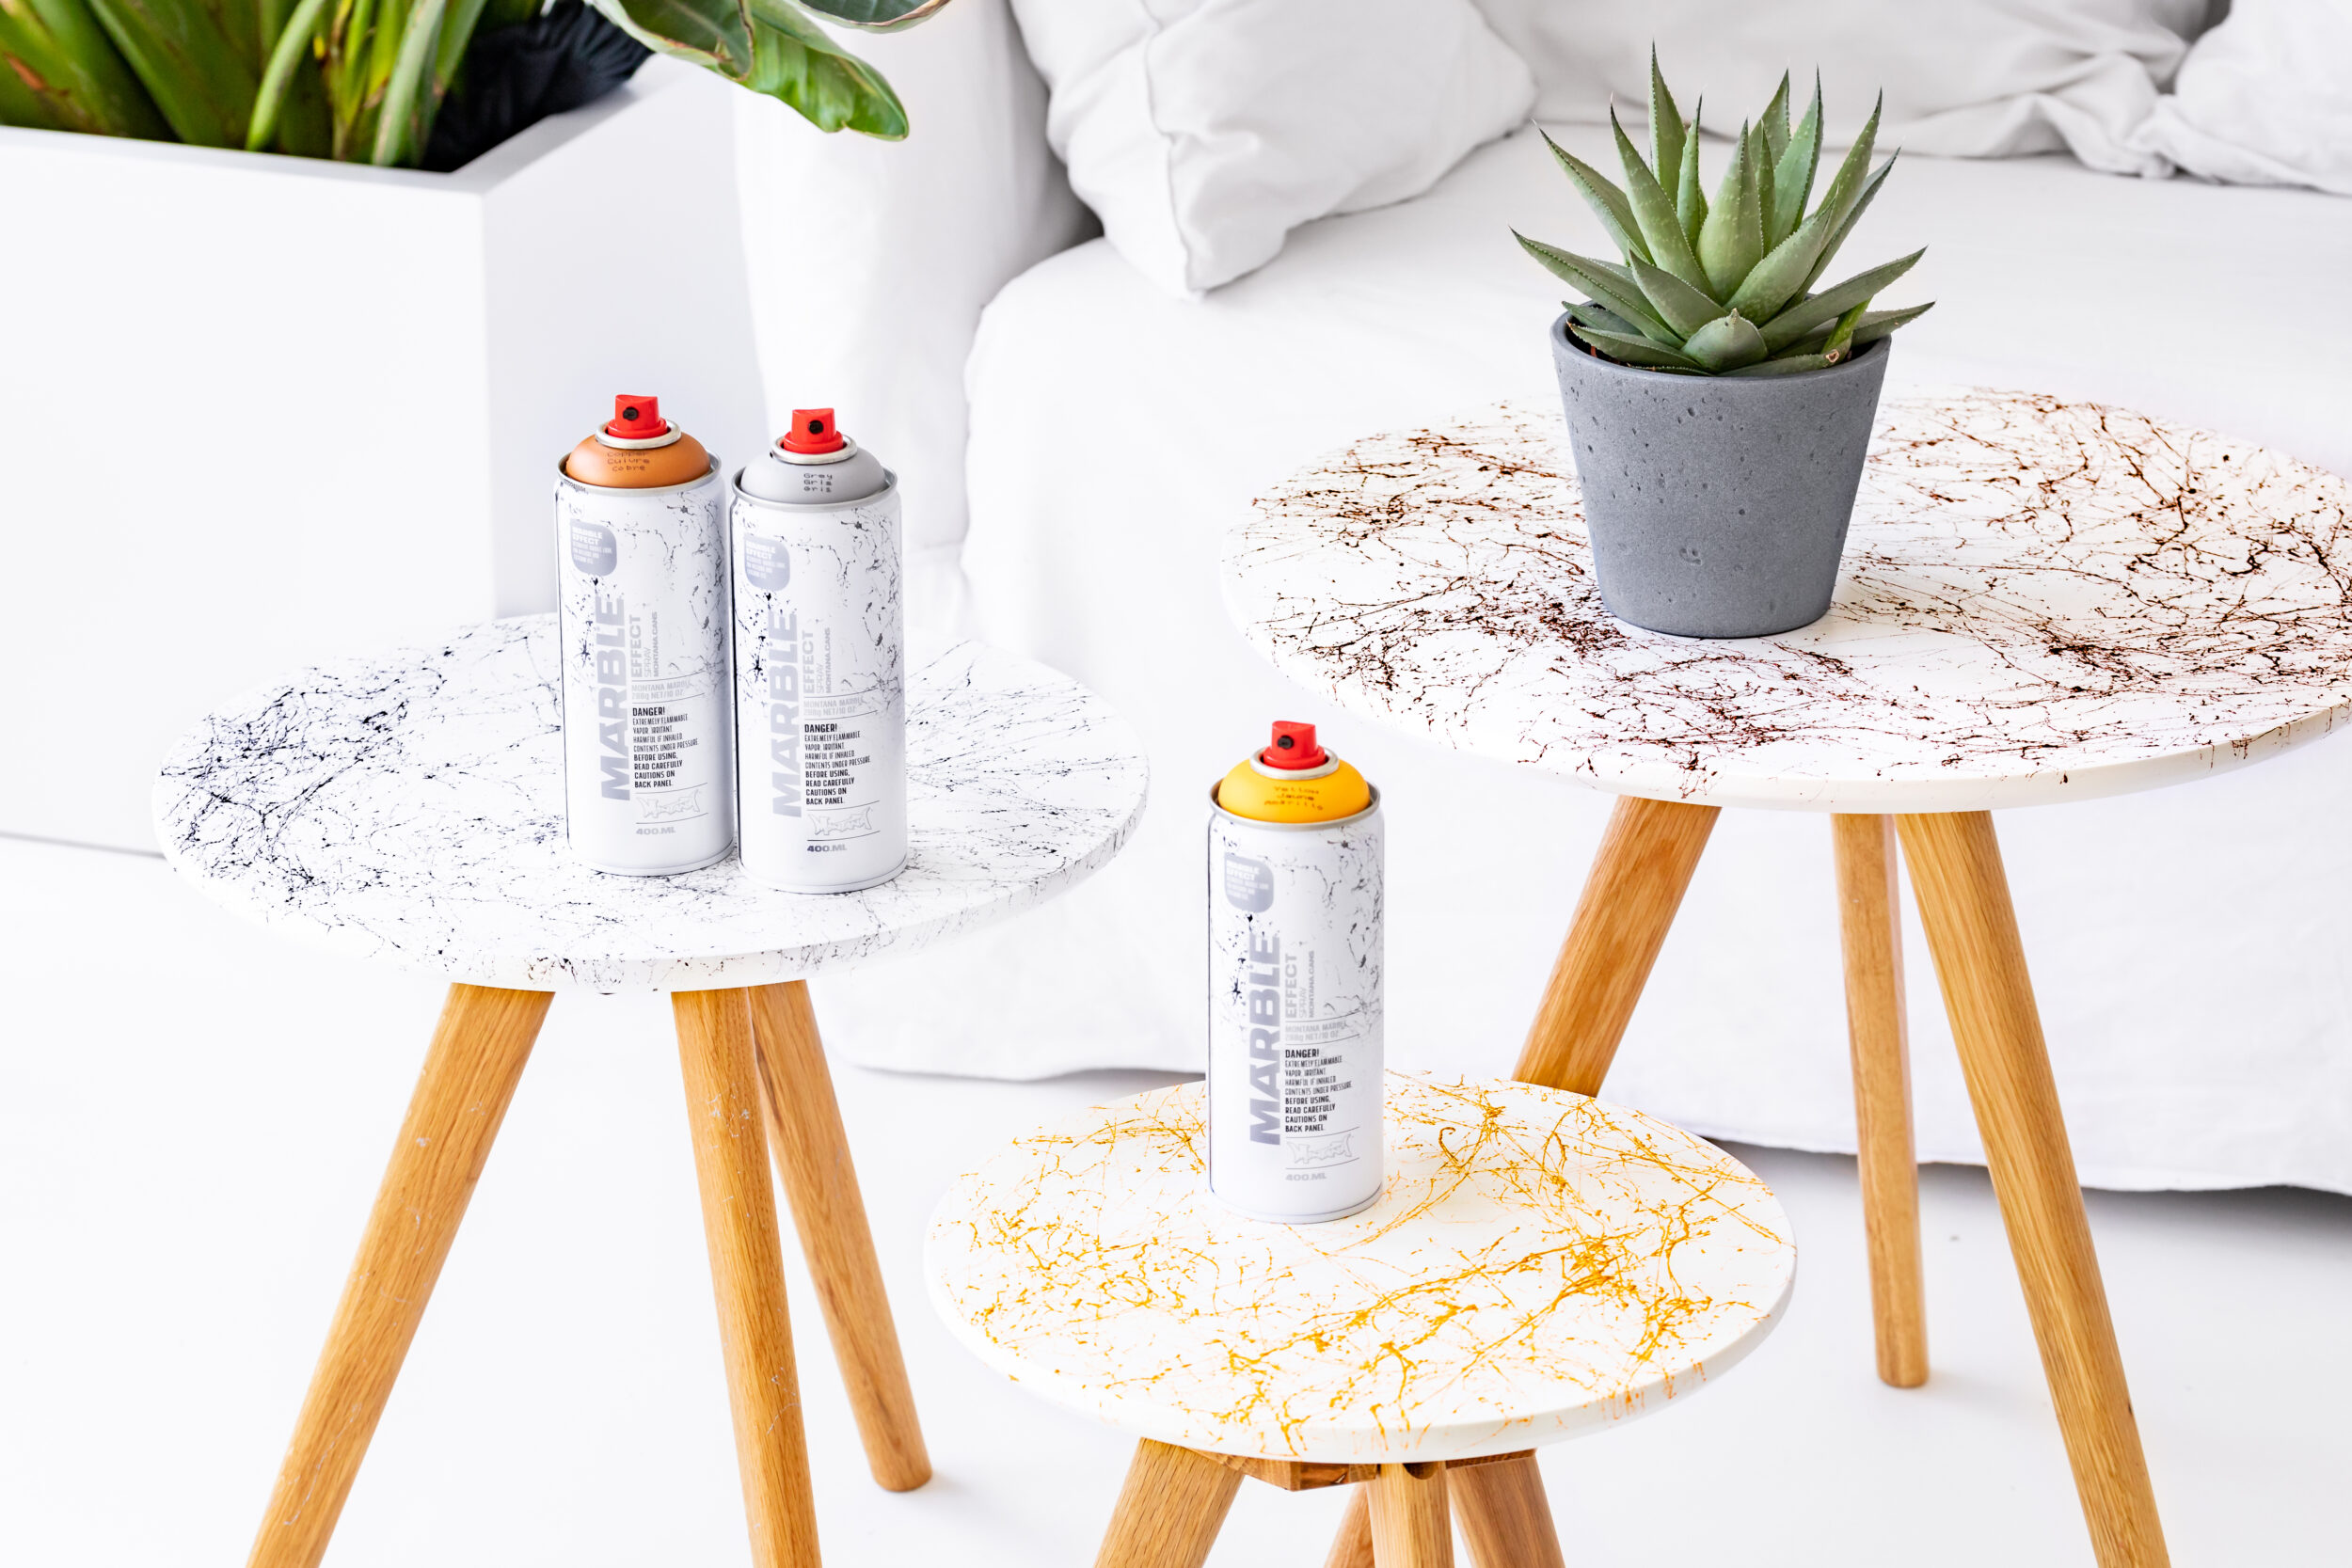
The Montana MARBLE Effect 400ml color range has long found a place in the list of must-have materials for our DIY tool kit. Its wide range of application possibilities has added flair and creativity to the most surprising array of projects. MARBLE Effect has found its way into our workspaces, onto our pinboards, on our clocks, onto our Christmas cards, Easter decorations, and even our bathrooms. And that are just some of the projects MARBLE Effect spray has enhanced and uplifted. With the release of the new colors Marble Copper, Marble Yellow, and Marble Grey, it was inevitable that we would shake up these newcomers for a project that would highlight their introduction into the color range. And when we found some beautiful small wooden tables, the stars aligned and the Marble Effect Table project was born. Here is what we did:
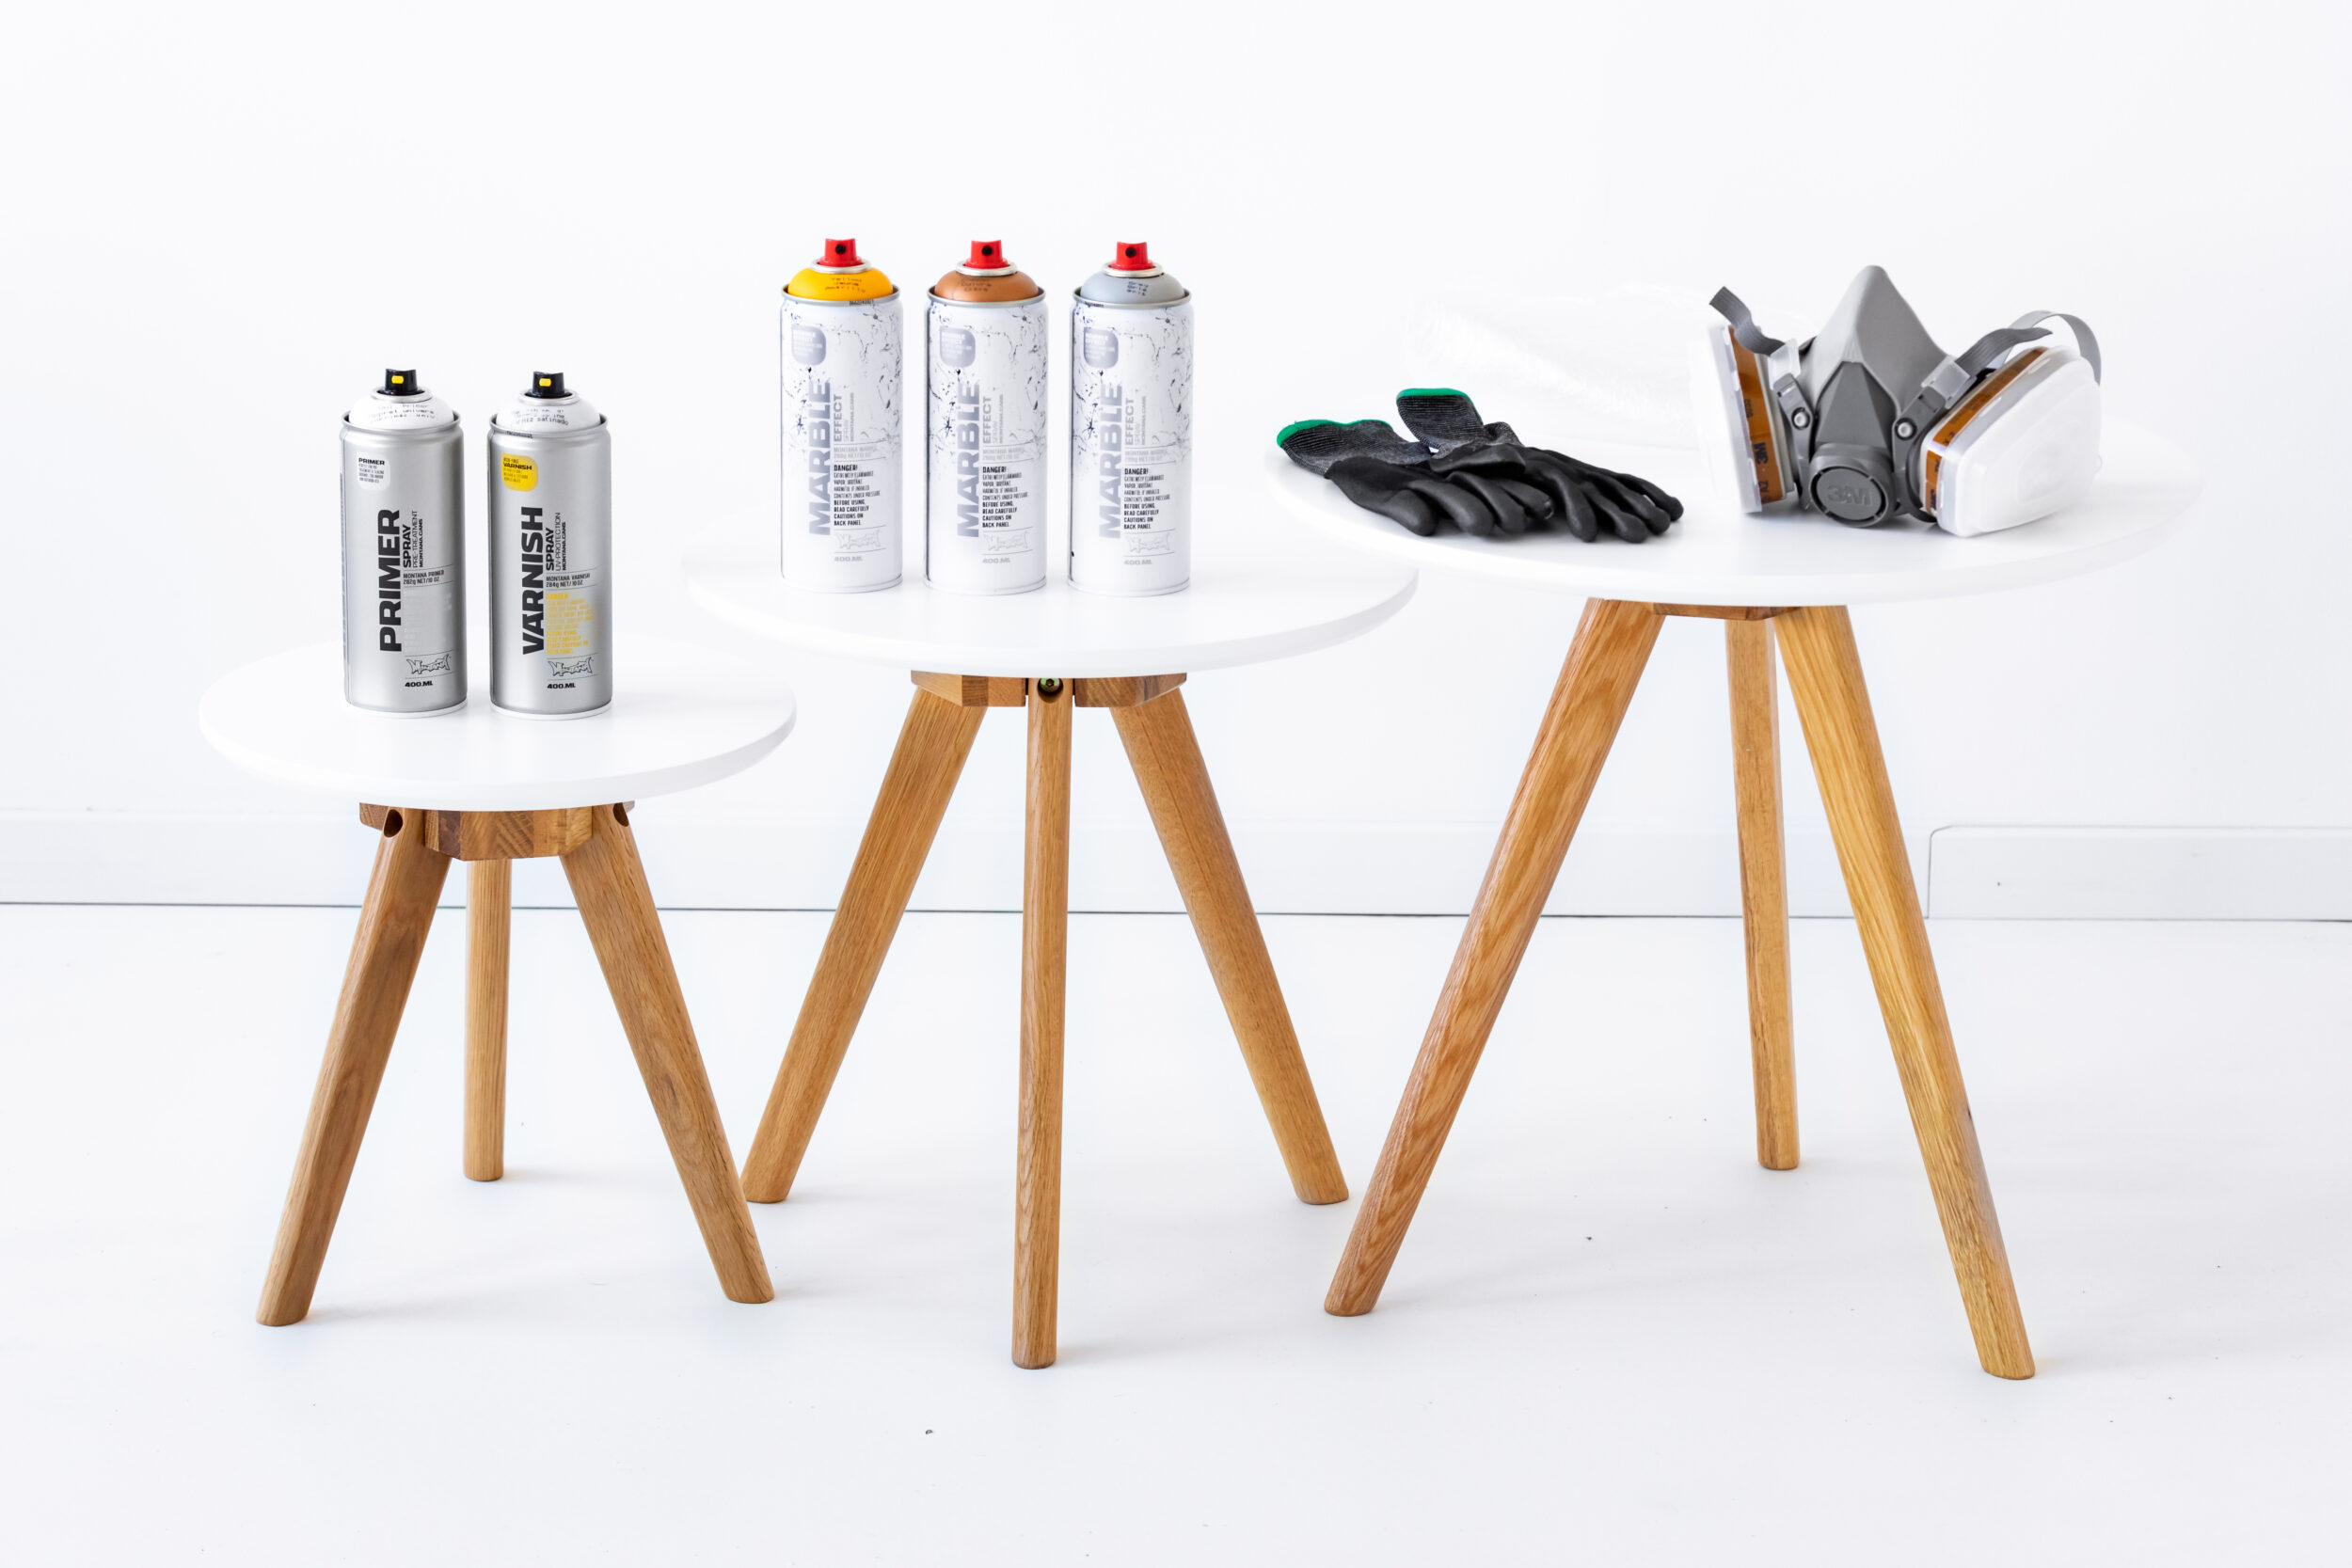
Materials used
- Wooden tables (of your choice)
- The new Montana MARBLE Effect 400ml colors Marble Copper, Marble Yellow, and Marble Grey
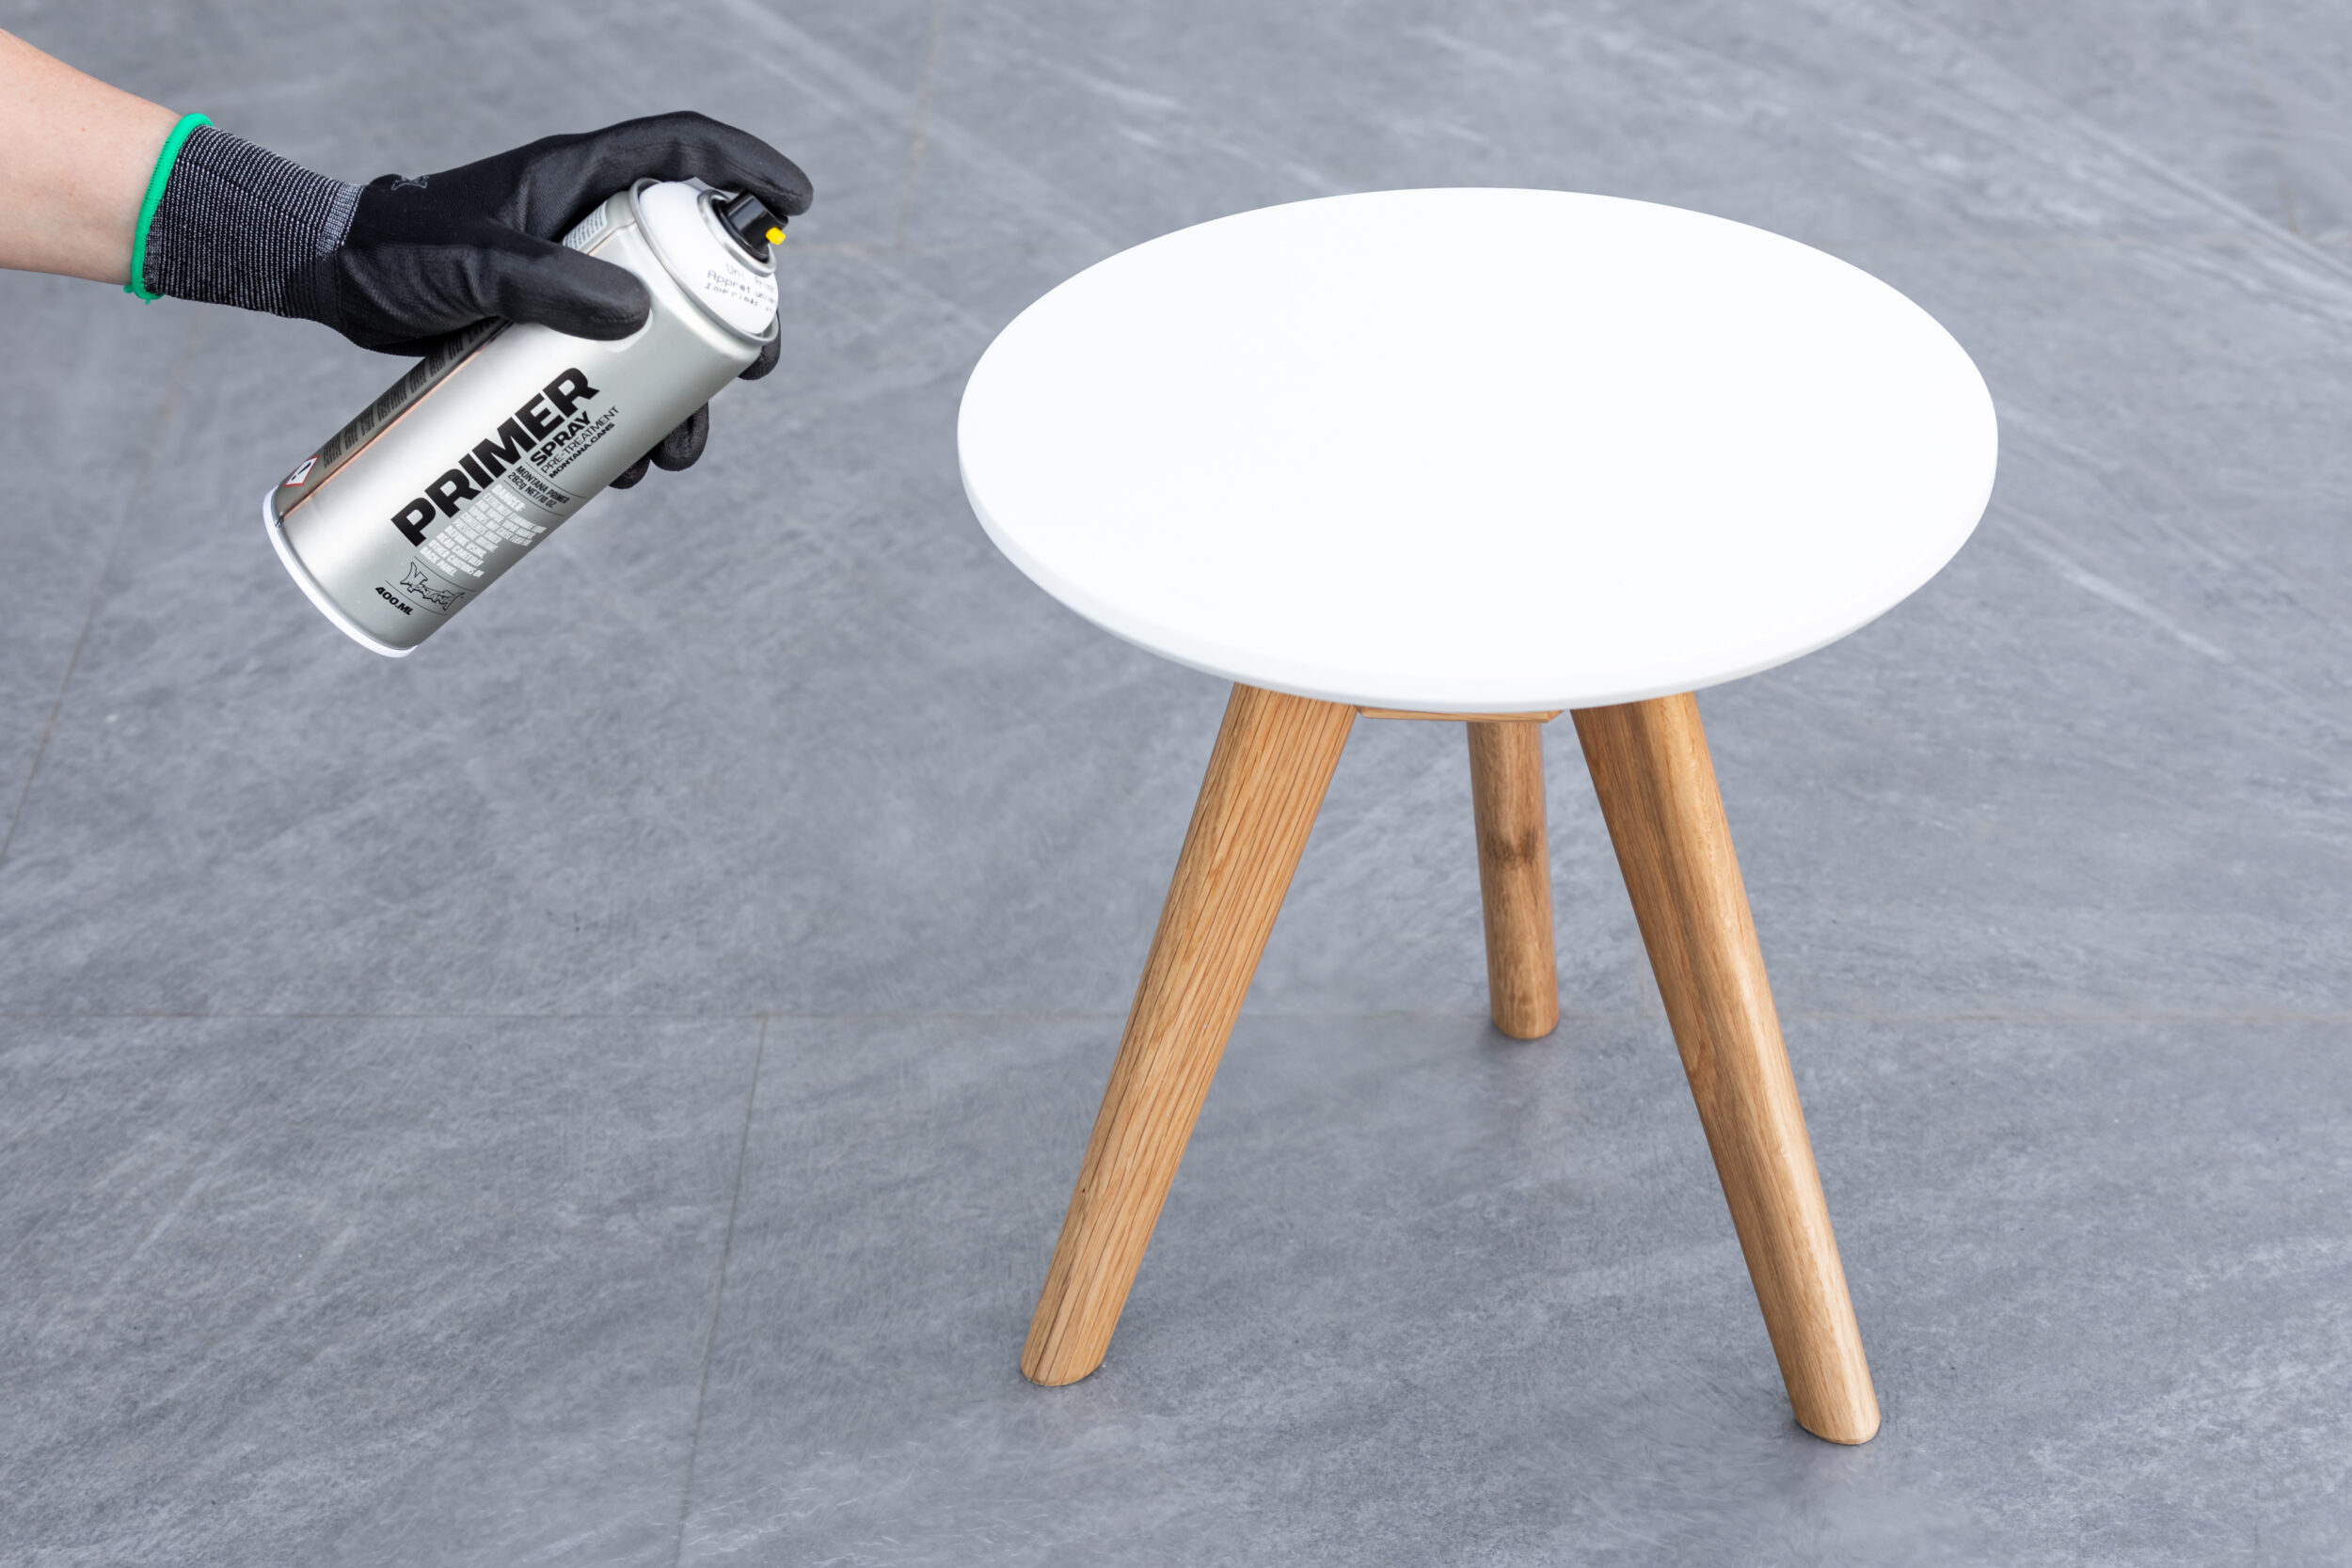
- Montana UNIVERSAL Primer (optional)
- Montana GOLD Shock White (optional)
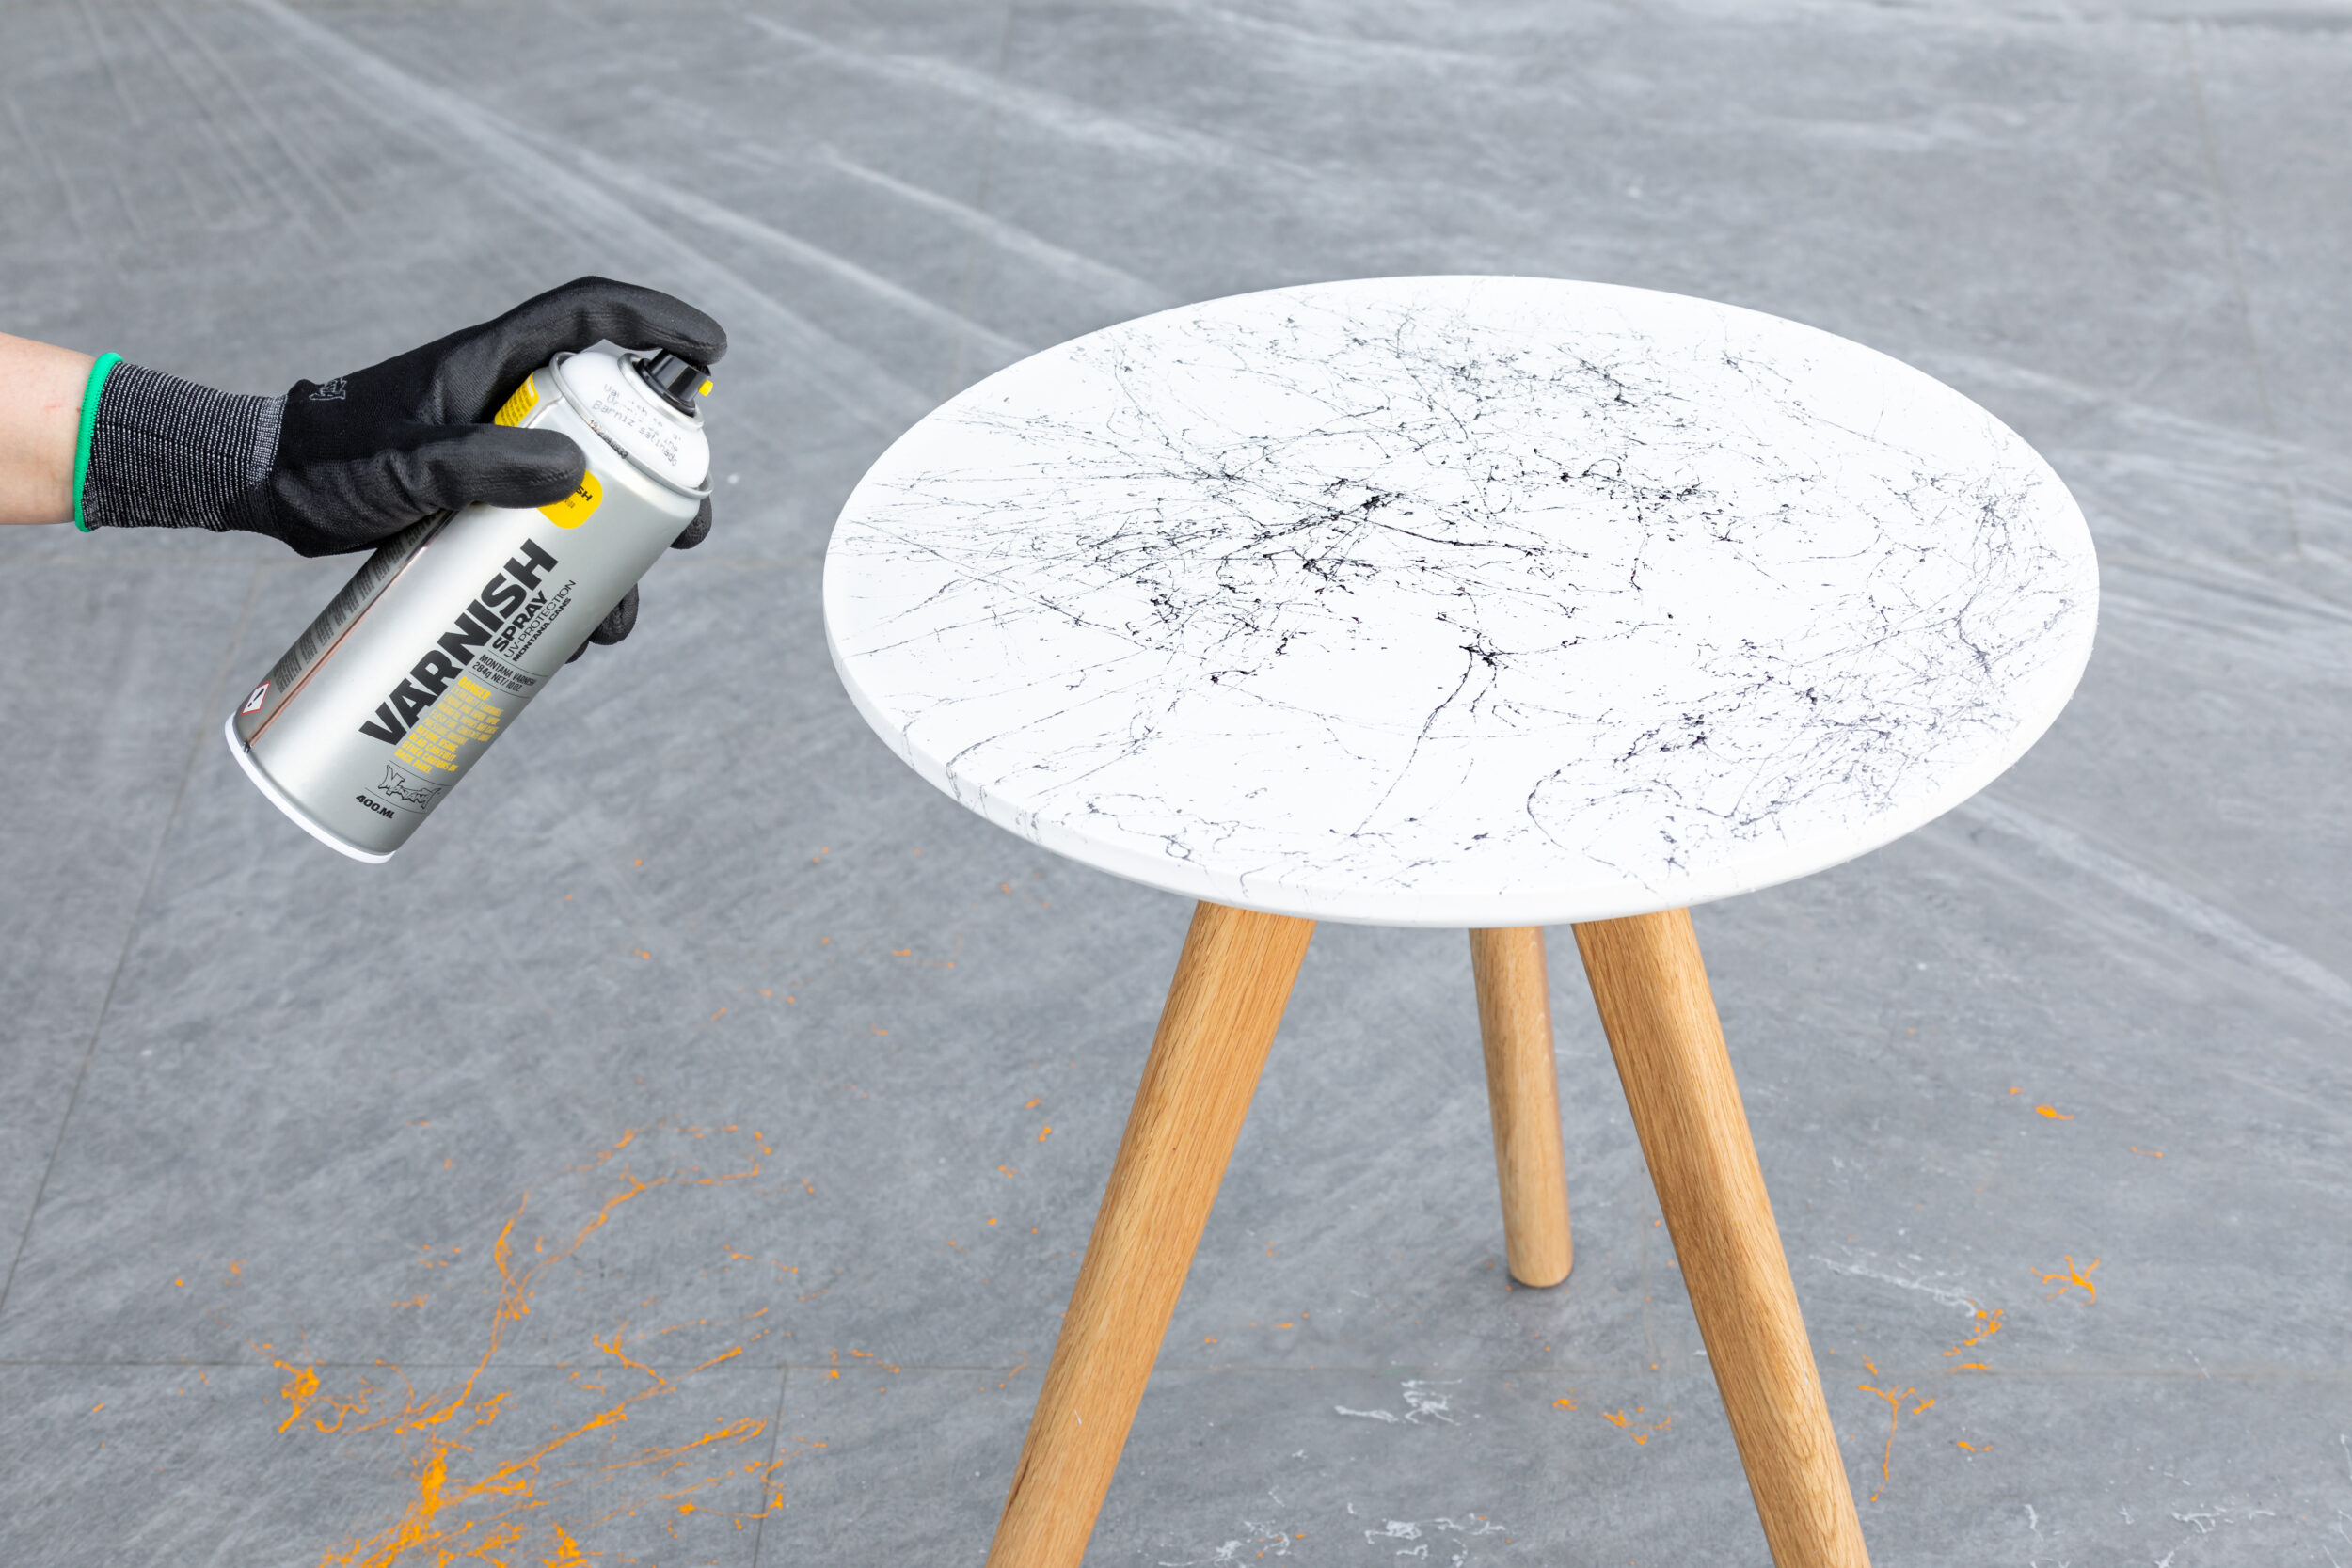
- Montana VARNISH (finish of your choice)
- Gloves
- Mask
- Drop sheet
- Sandpaper (optional)
- Scrap paper or a plastic bag
- Masking tape
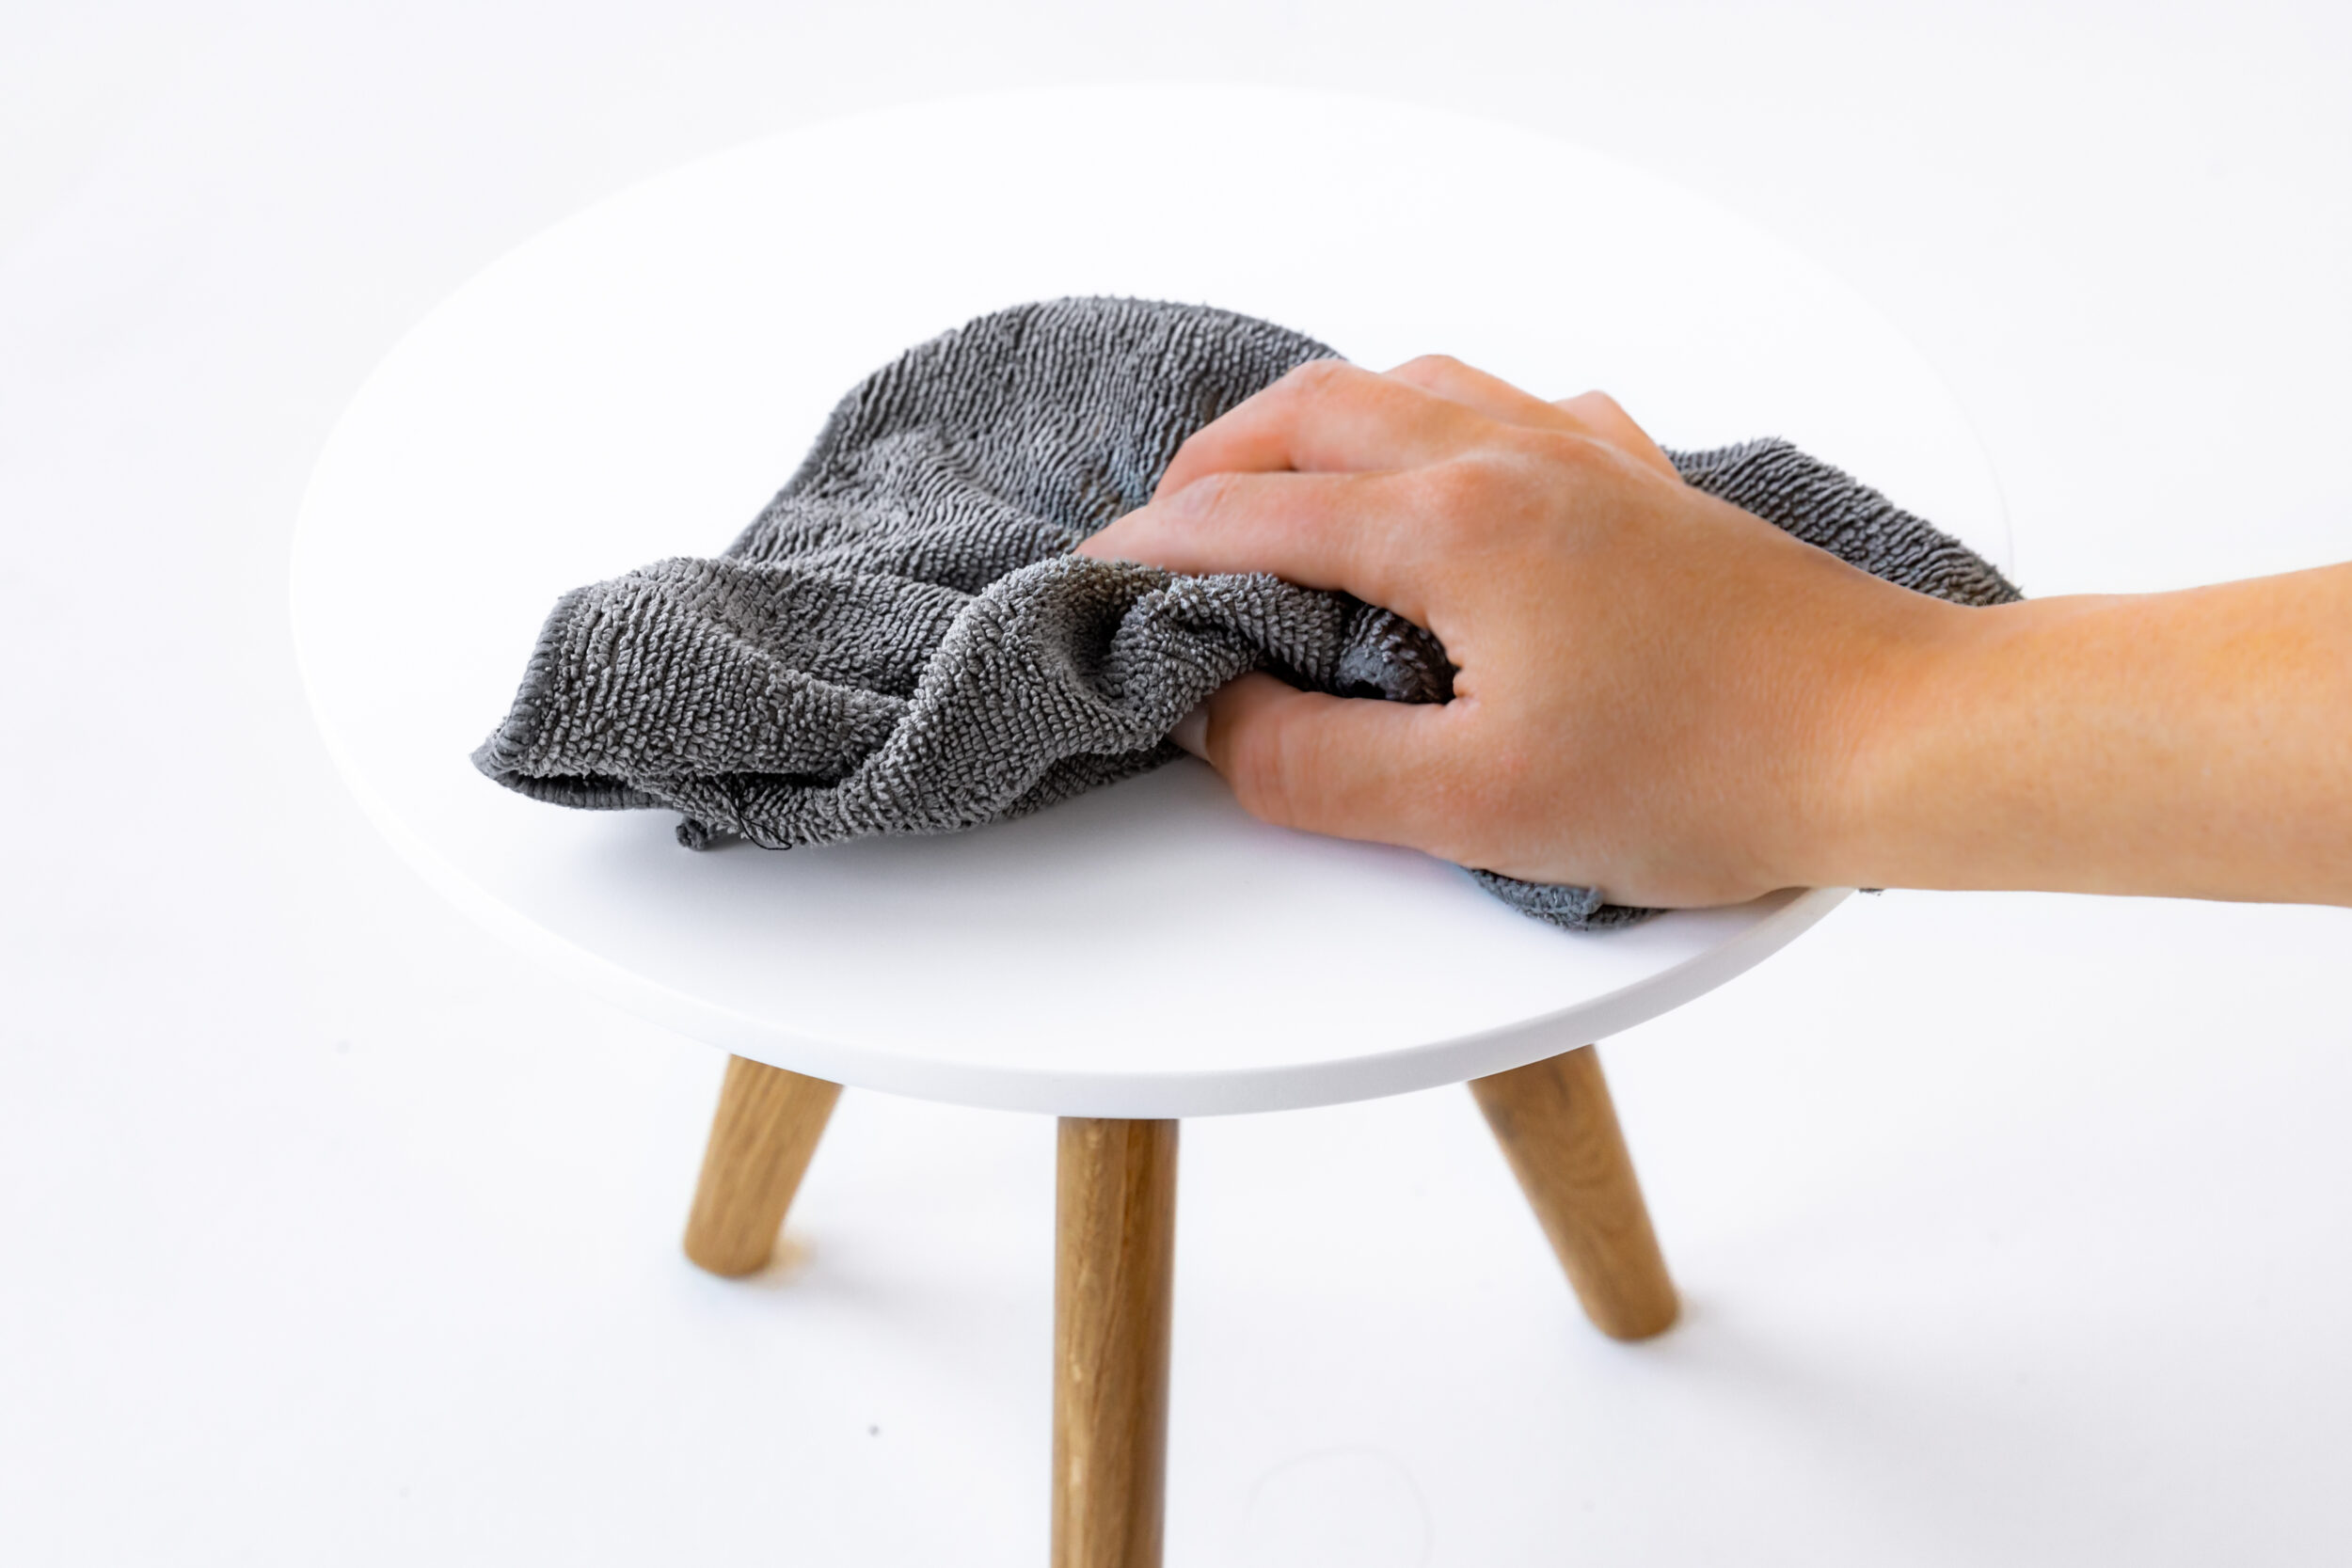
Before
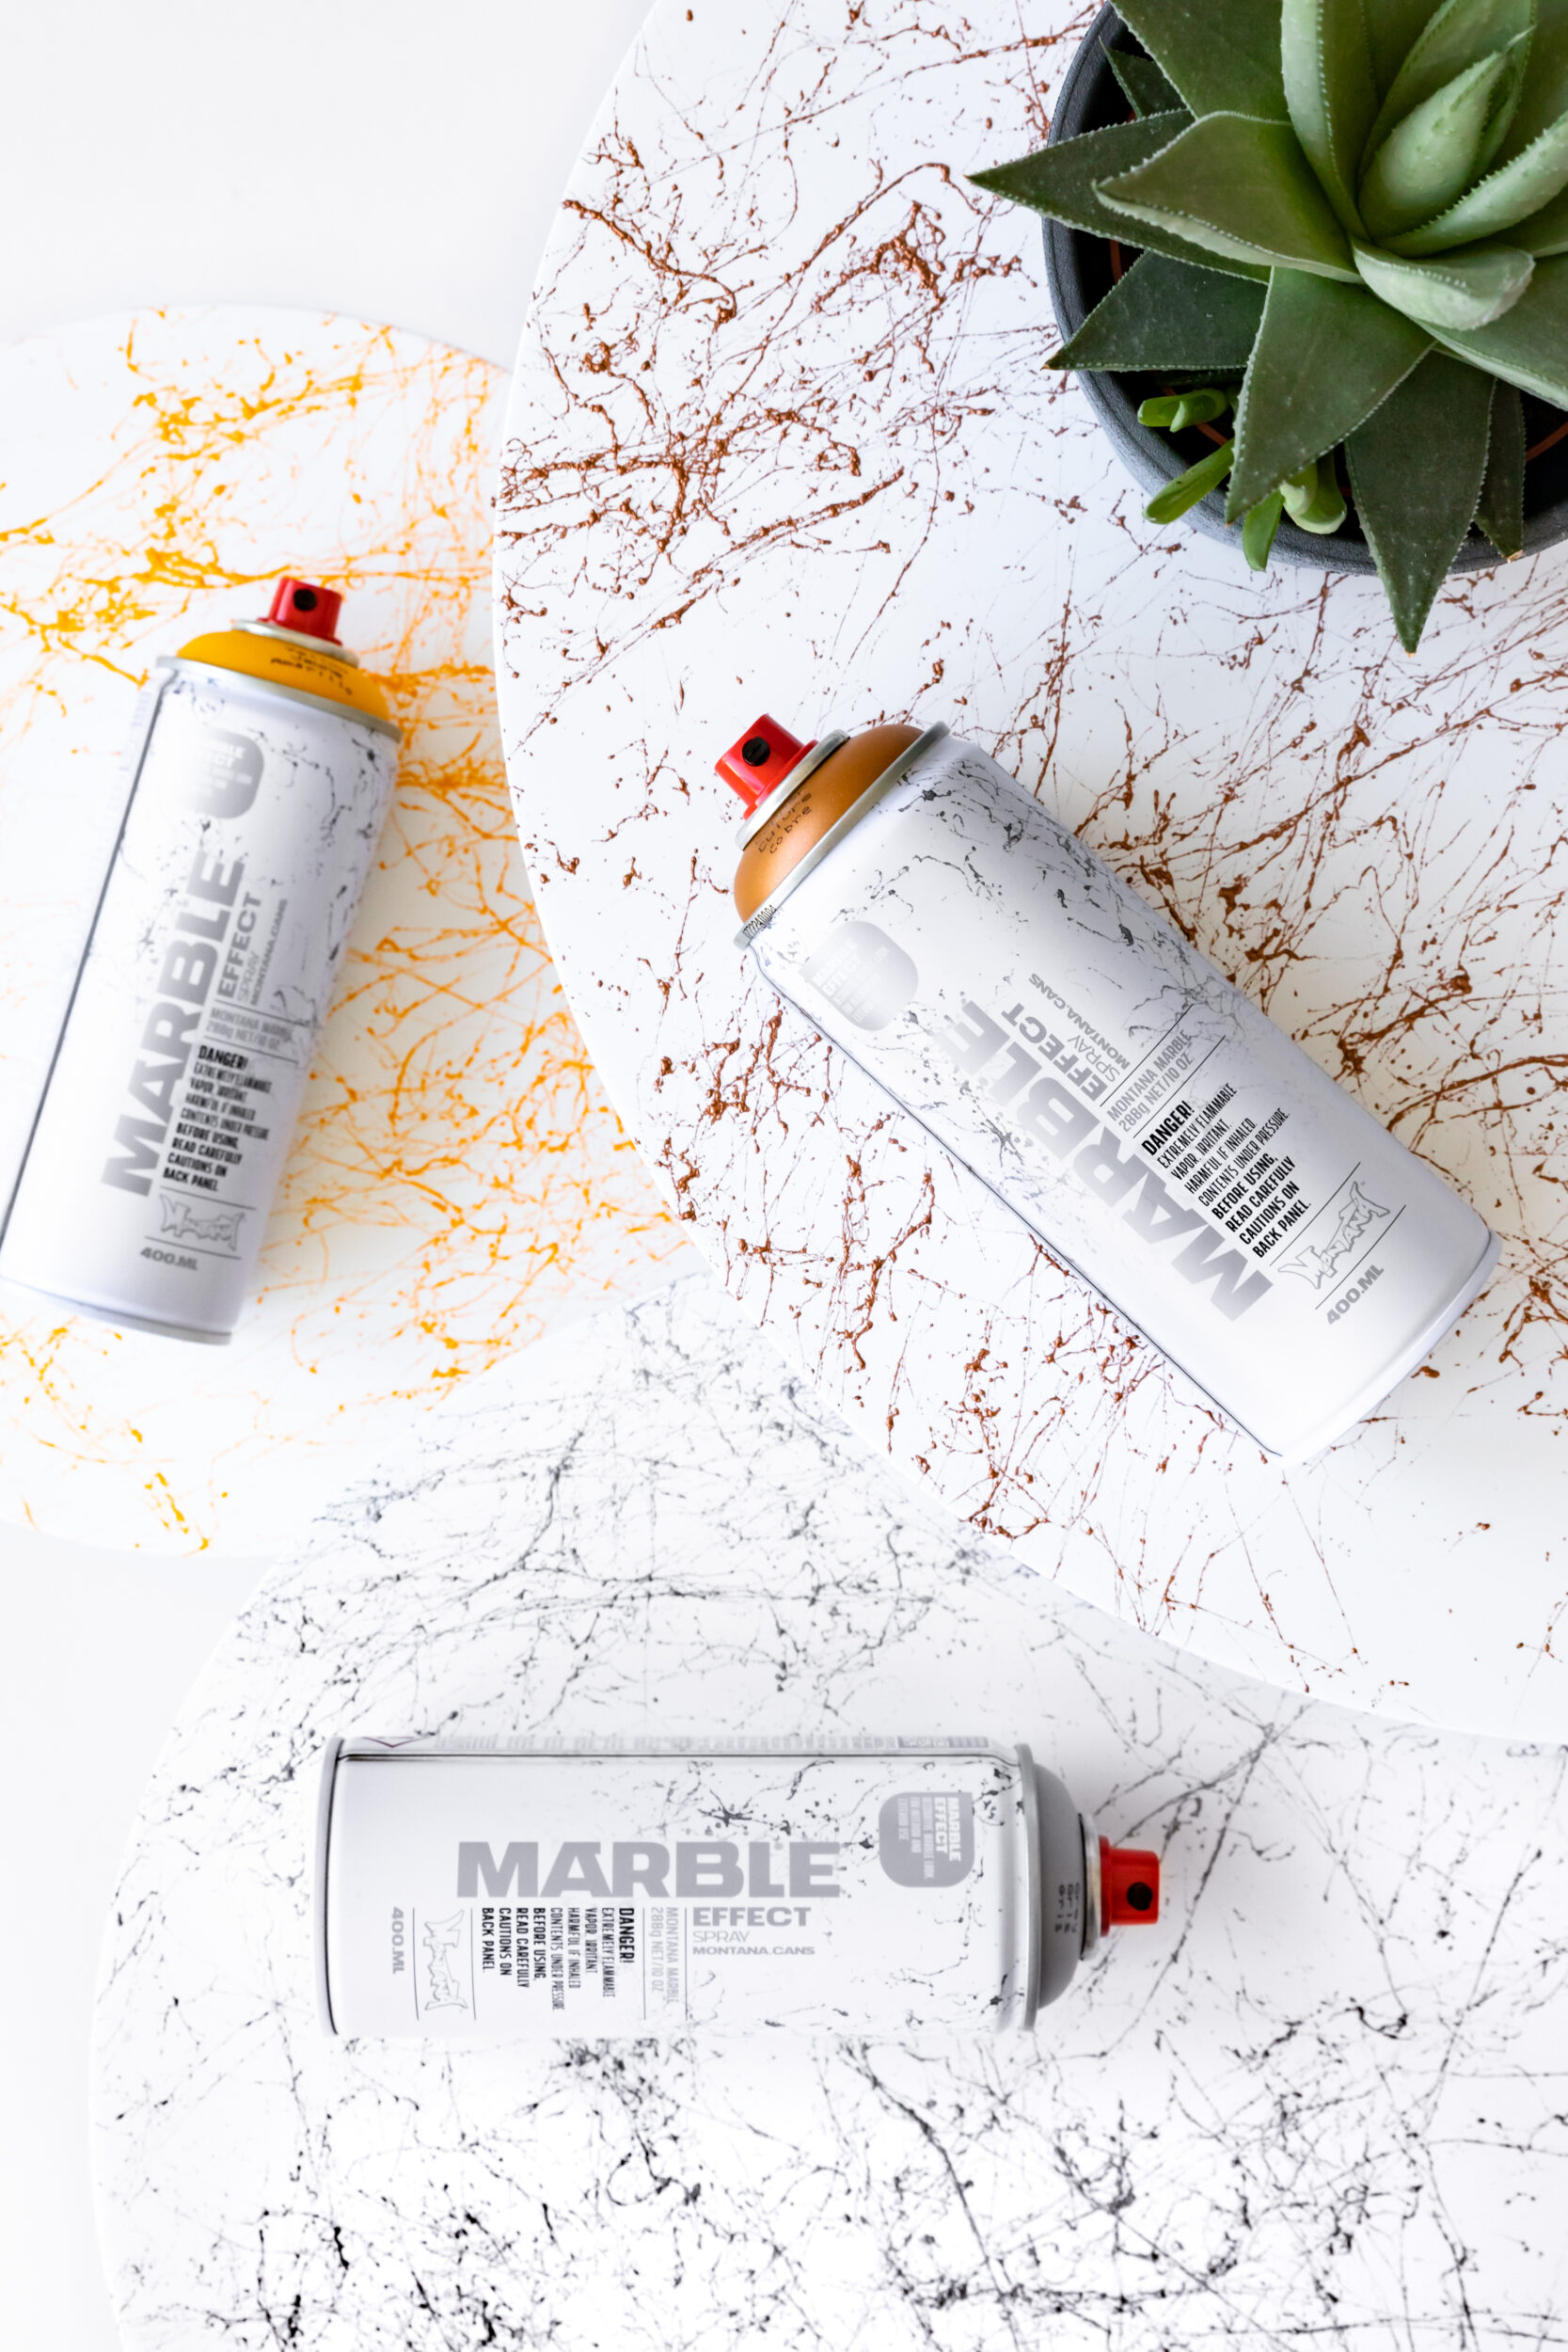
After
Well done and Happy Crafting!


