

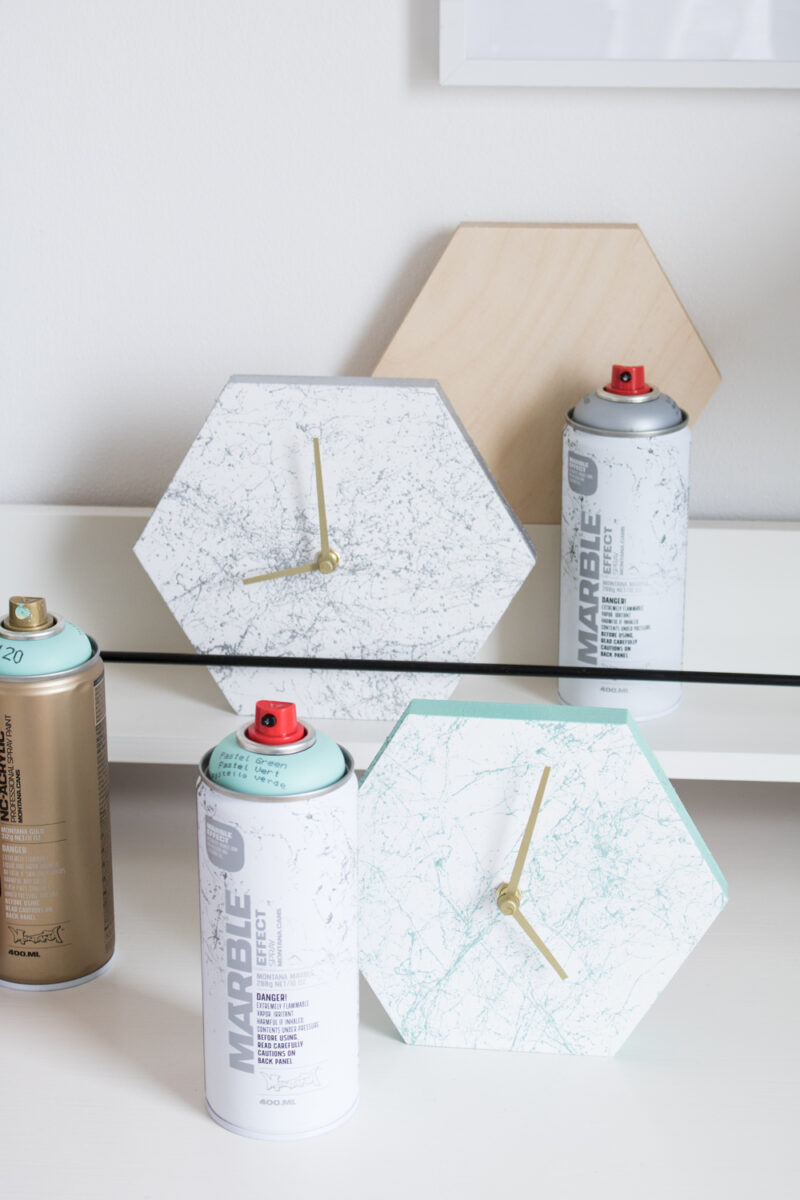
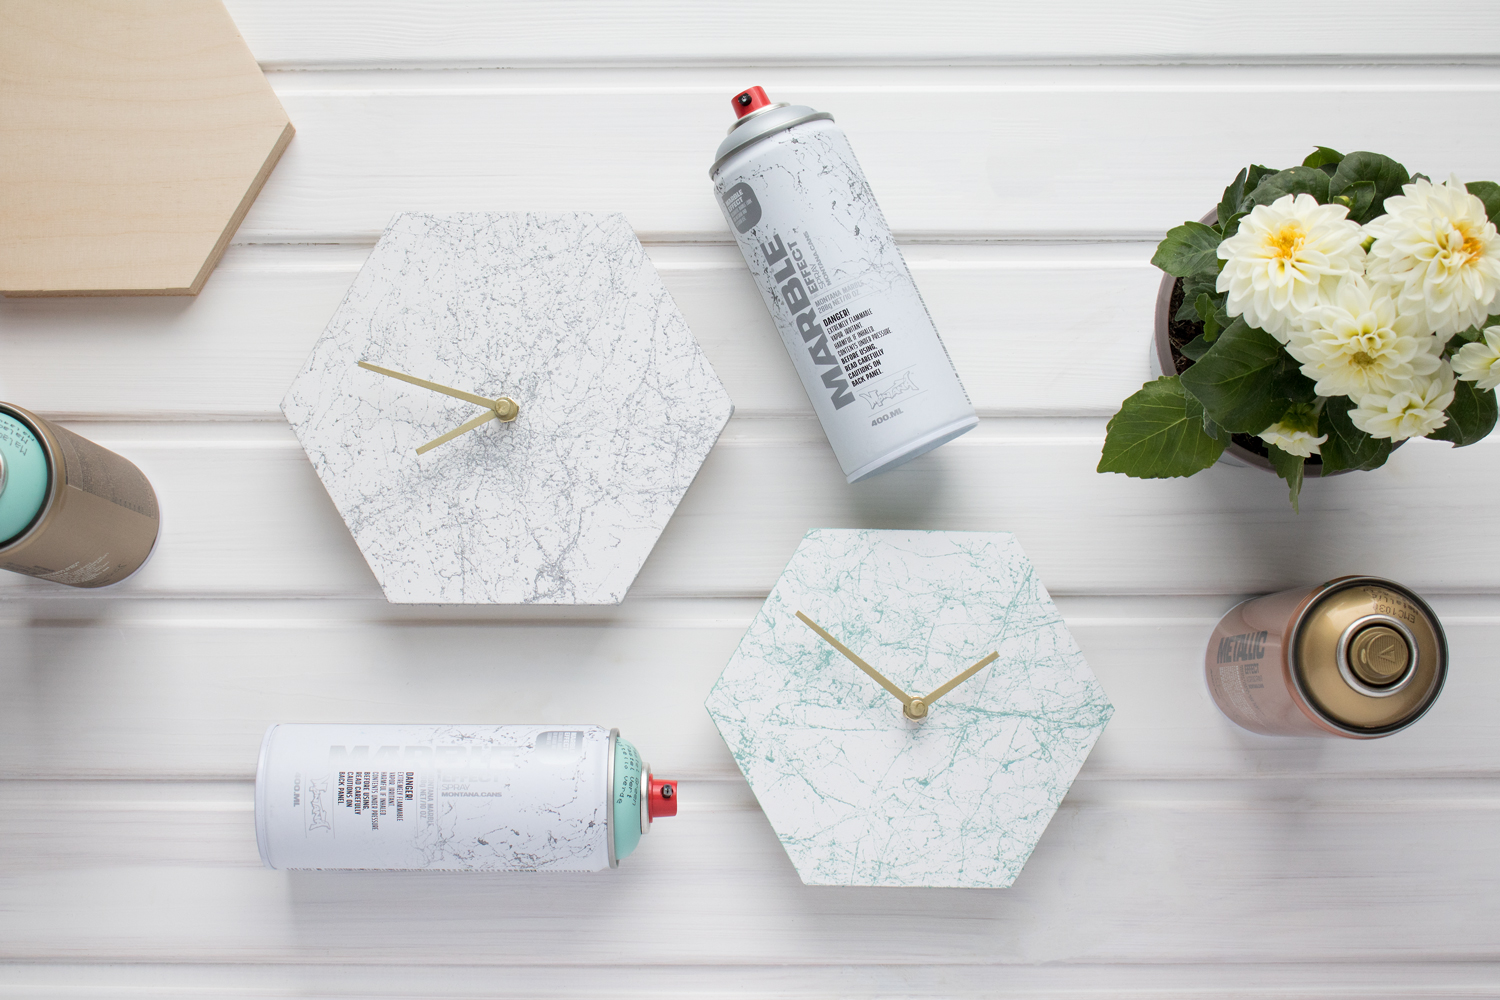
Passing time the way you like
When you get home from a hard day, there is nothing more liberating than taking the cell phone from your pocket that has been ringing and beeping all day. Putting it as far away from you as possible is probably the best thing you can do. The only problem is, this annoying little gadget is also a really handy tool for telling the time. Particularly if you haven’t worn a watch since you got it. This got us thinking. With the release of the new Montana MARBLE 400ml color Pastel Green, this could become a great prompt for a new DIY project. And that’s exactly what happened. Introducing the DIY Hexagonal Marble Clock.
Materials used
- Glass jars or cups
- Wooden tray (or material of your choice)
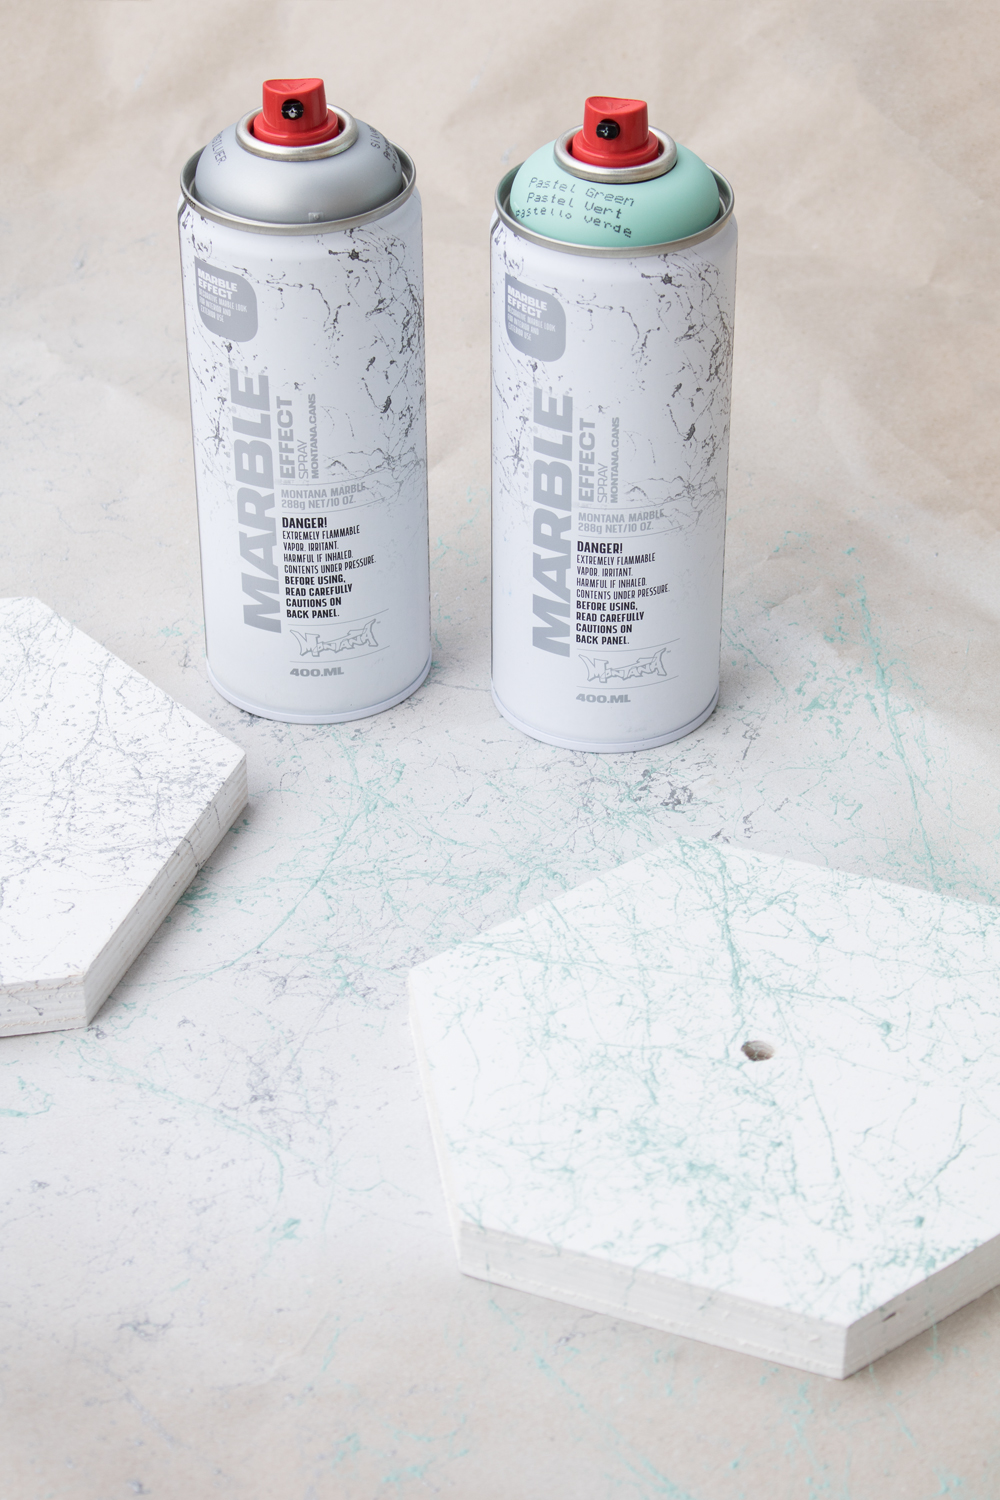
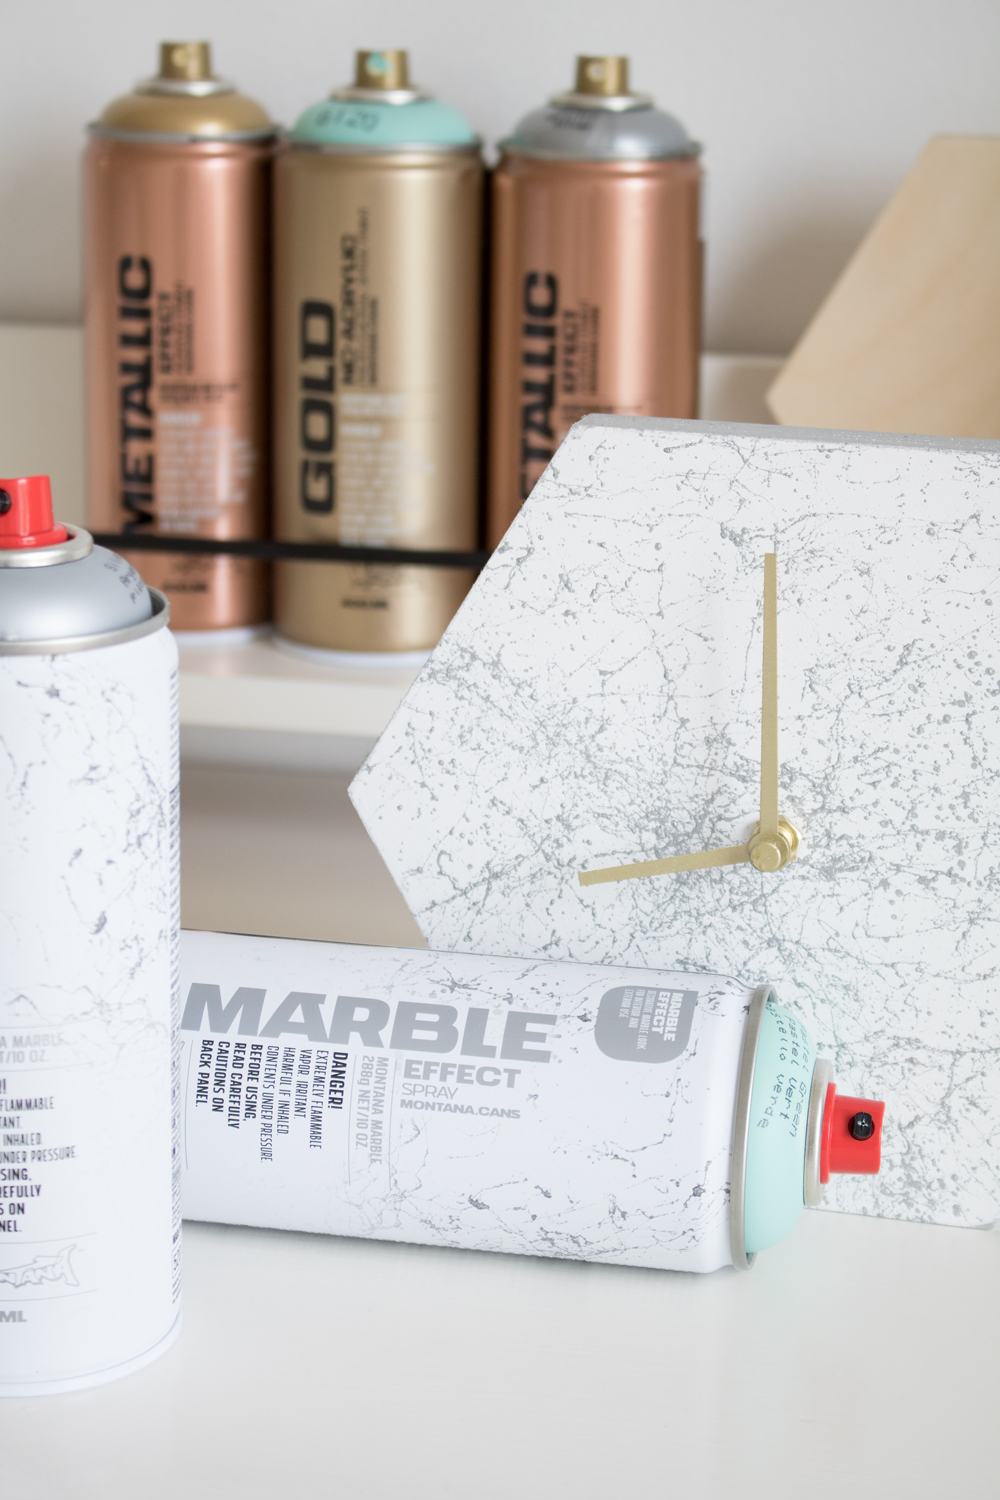
- Montana Marble Effect Spray in Green and Silver
- Montana GOLD 400ml in Malachite Light
- Montana UNIVERSAL PRIMER
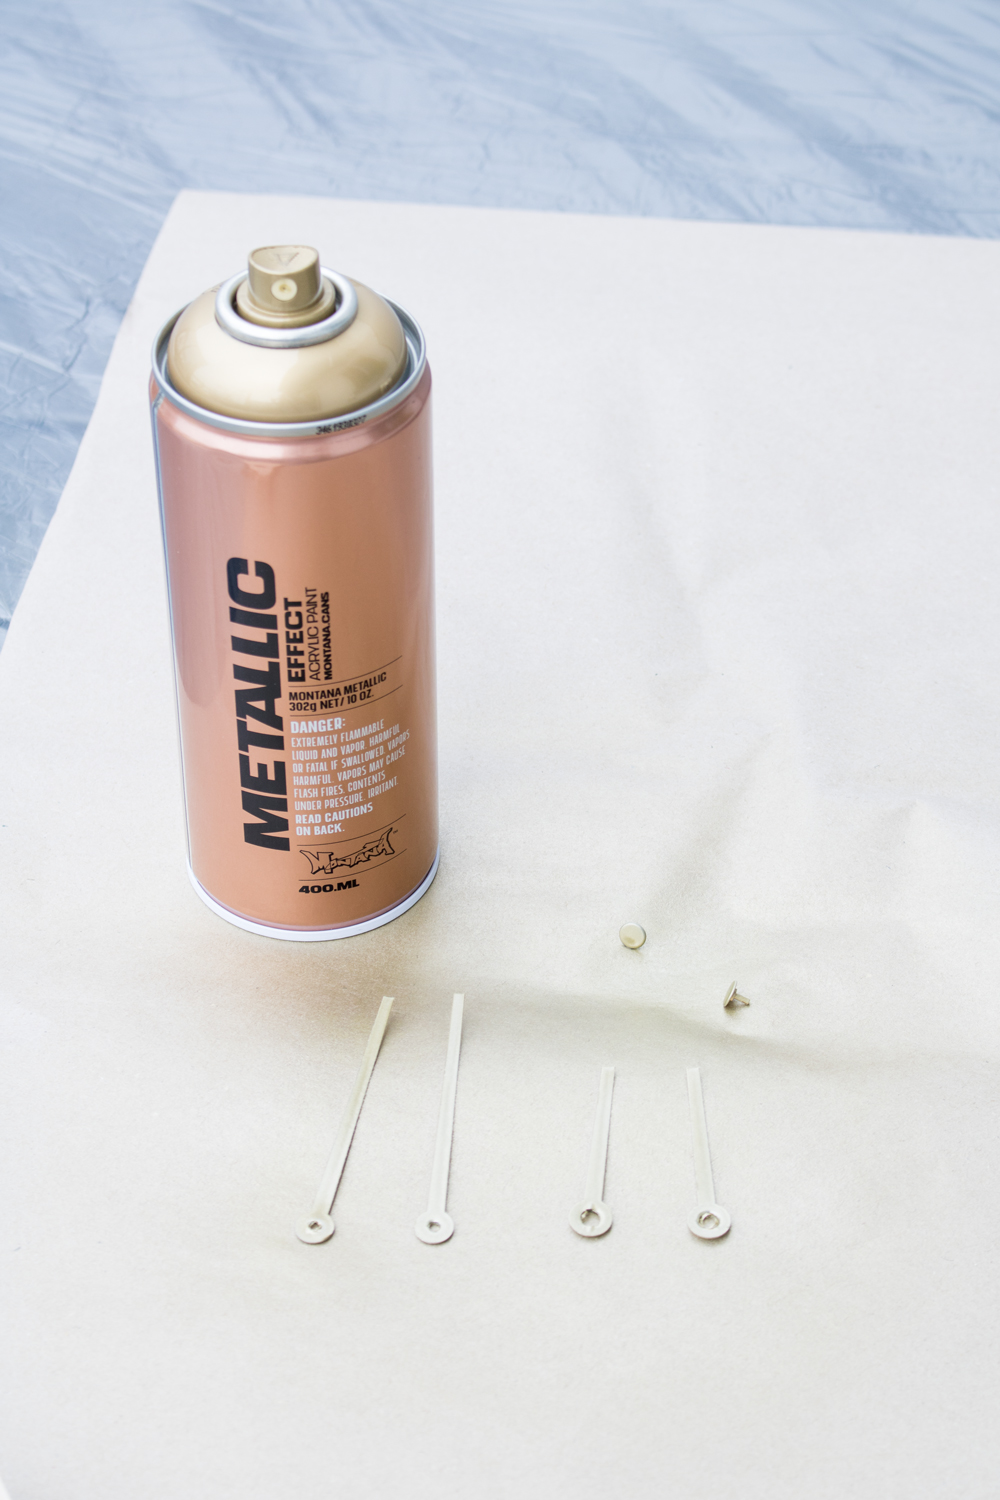
- Montana Metallic Effect in Silver and Aztec Gold
- Montana Varnish Spray in preferred finish. We chose Semi Gloss.
- Wooden rings
- Glue
- Masking tape
- Covering material
- Gloves
- Mask
- Drop Sheet
How it was done
As with all DIY projects, there are always some decisions that need to be made before you start so that you have fewer hurdles to resolve later on. We had decided that the base of our clock was going to be made of wood and that the shape would be hexagonal (six equal sides). Why did you ask? Wood because it is easy to find, cut, and shape. And if you have to buy it is affordable. The six-sided hexagonal shape was chosen because it looks classic, and because this shape makes it easy to establish where the four main points of the clock are (12-3-6-9), without needing numbers.
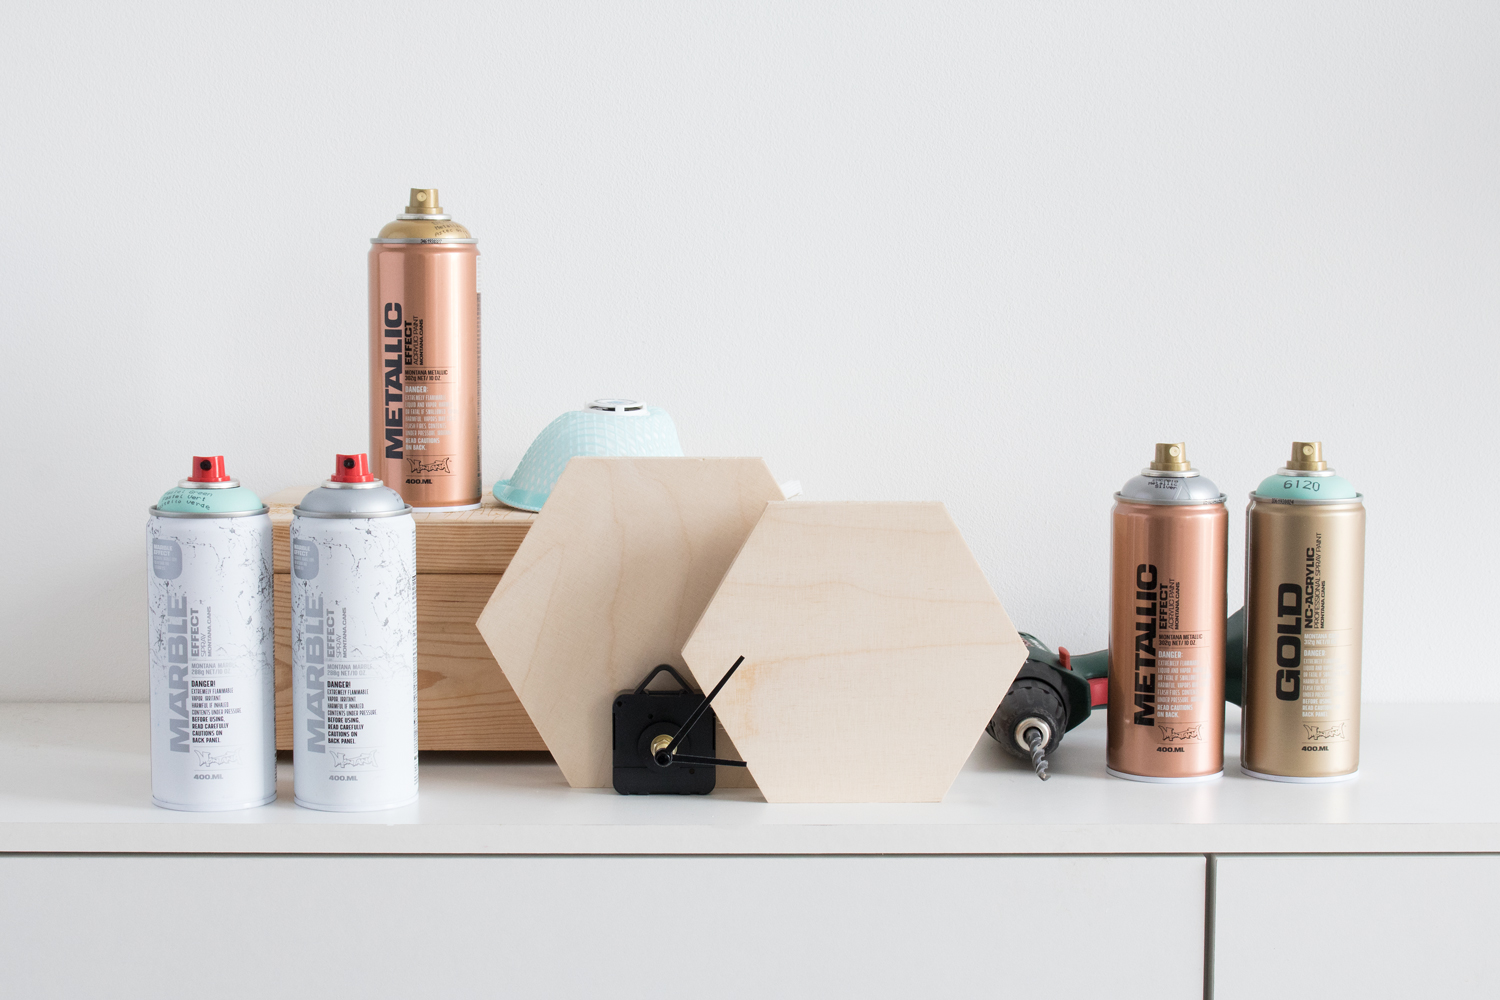
We sourced our clock base at the local Hardware store in their wood department. They also sold the clock mechanisms too, so it was almost like a kit. It isn’t too hard to find these kinds of wooden shapes at a big box hardware store, lumber yard, craft, or hobby store. But if you can’t, try cutting the shape yourself from a piece of timber at home or ask the assistant where you buy the wood from if they can cut the shape for you?
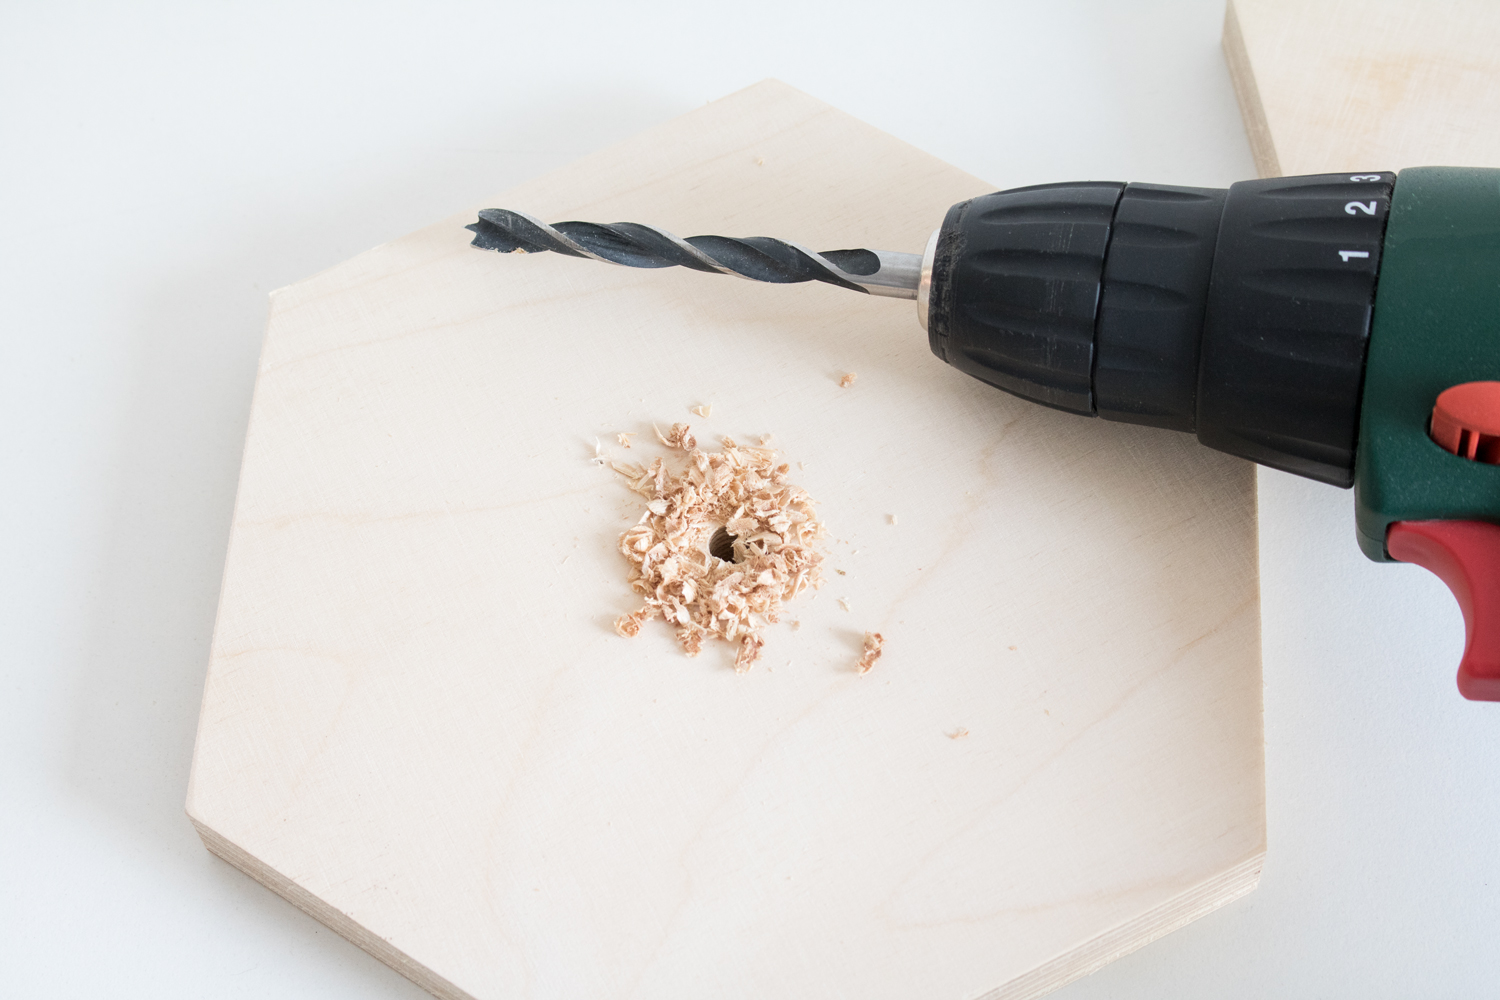
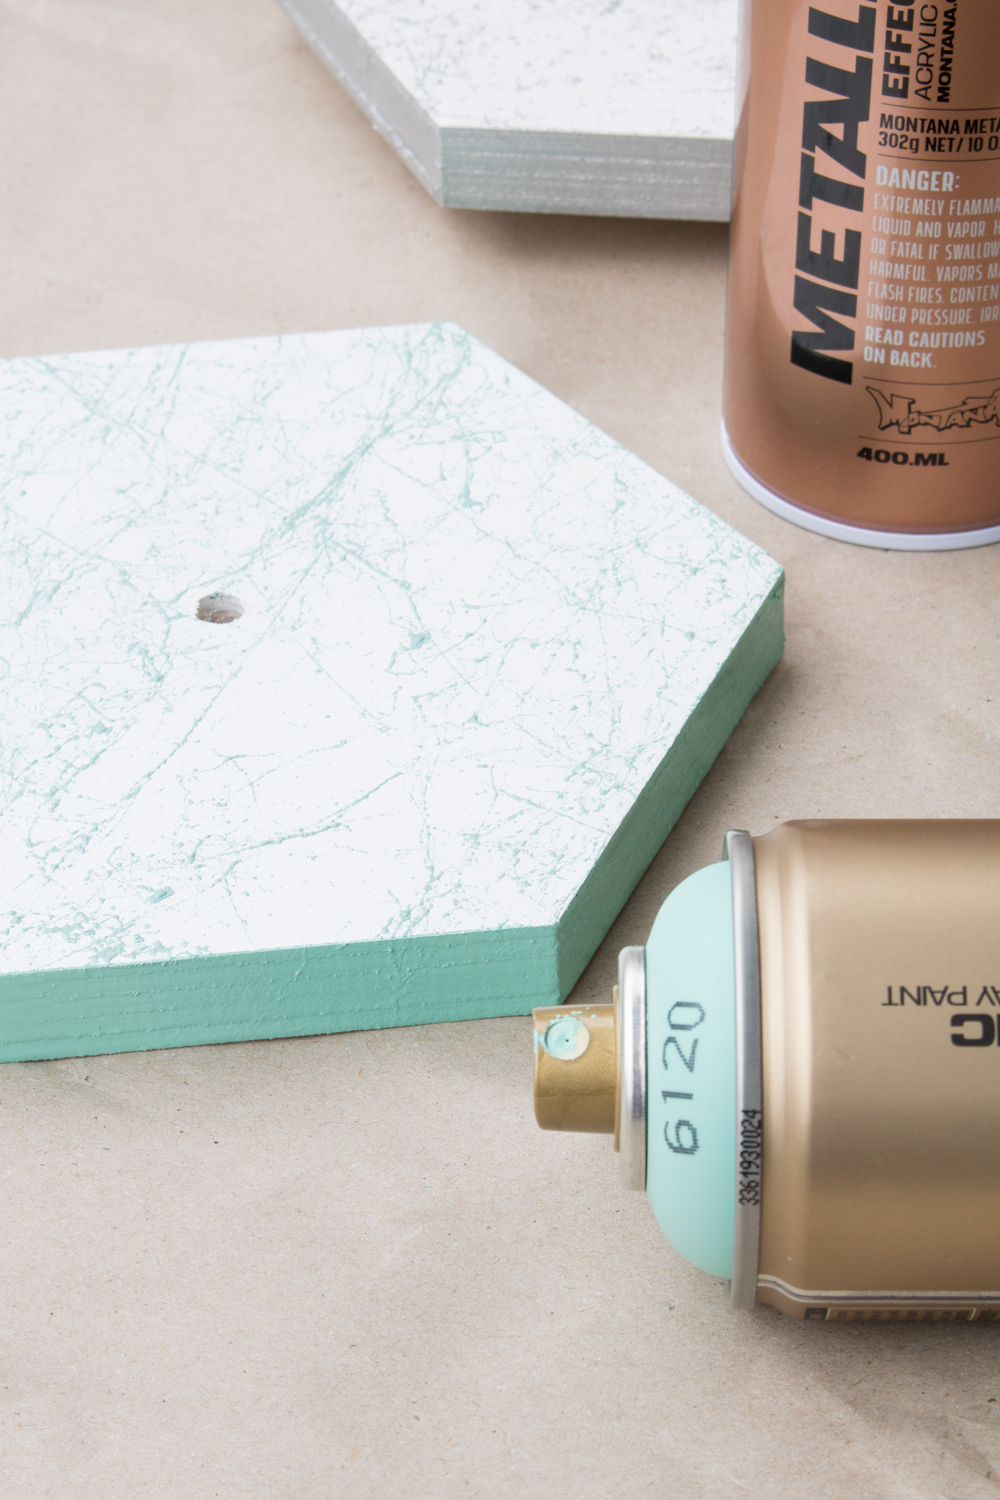
The next step is placing a hole in the middle where your mechanical clock insert will go. The hole needs to be big enough to fit the center pin of the clock insert. This will also be where the clock hands are located. Again, if drilling this hole is not an option at home, ask the assistant at the store where you buy the wood if they can do it for you?
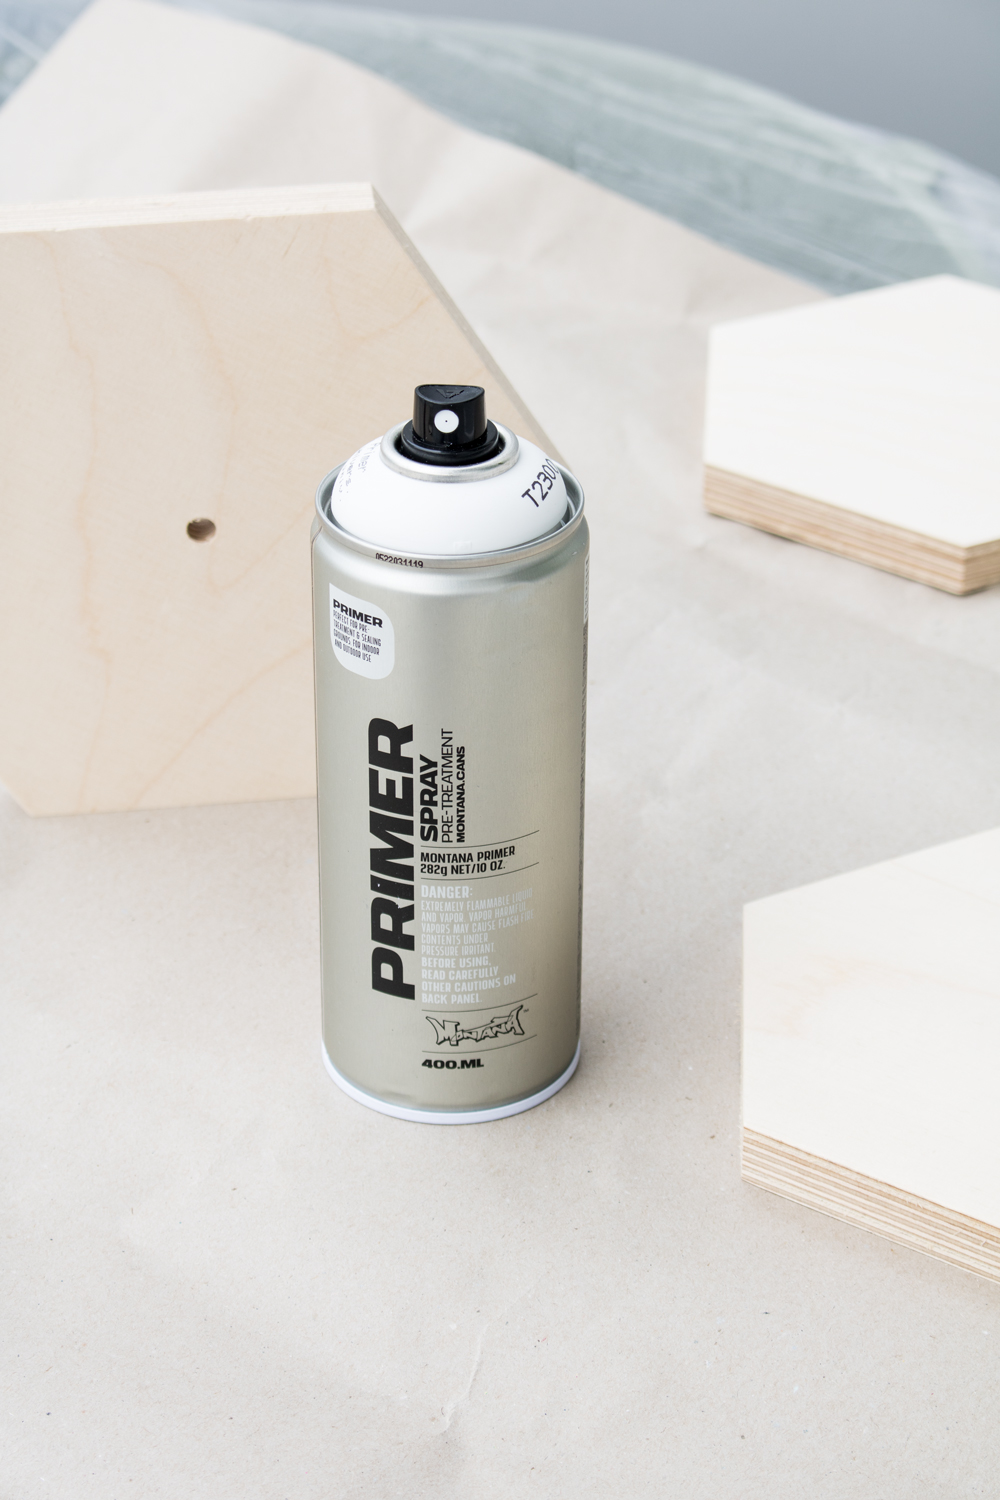
Most likely your wood is not painted or sealed. This is important so that you can paint the MARBLE Spray without it soaking into the wood, but more so as it offers a beautiful color contrast for it as well. We used Montana PRIMER 400ml Universal which is white, but if you have a Montana GOLD in the color Shock White this could work as well for your Hexagonal Marble Clock.
If your wood is relatively thick and there is no risk of it warping or bending once dry, you could apply thin even coat(s) to the side you will use as the clock face as desired. If the wood is thin, we recommend applying Universal PRIMER to both sides so there is even tension and the wood doesn’t bend. Then let it dry thoroughly before adding color.

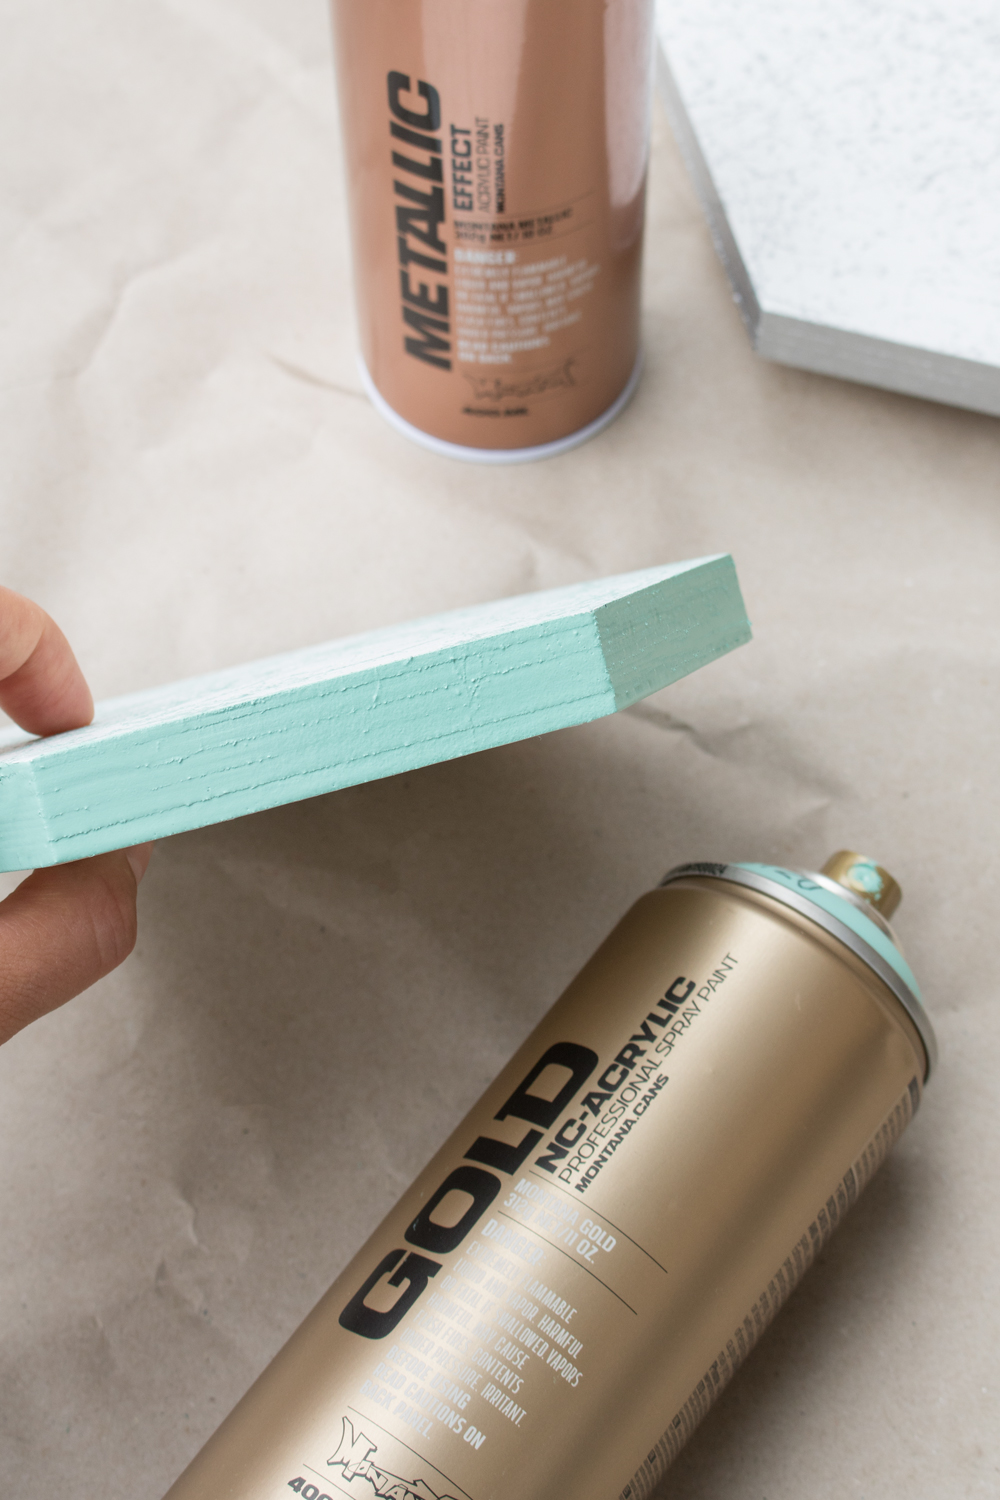
Before painting the clock face, the next step is to paint the edges of your wooden clock base. The reason for this is when they are dry, it is easier to cover the thin edges with masking tape effectively than it is to cover the whole clock face with all its tricky edges. Lay your wooden clock base on your drop sheet or some scrap paper, then apply the color you chose for the edges. Trying as best you can not to get any on the clock face.
Don’t worry if this does happen, you can re-apply some Universal primer or your Shock White touch it up later if needed. Due to our excitement about using the new Pastel Green MARBLE Spray, we chose to create two colorways. One was using the Pastel Green on the clock face with Montana Gold in the color Malachite Light on the edges. The other was to keep it timeless and use Silver MARBLE 400ml spray on the clock face, with METALLIC Silver on the edges. Remembering you could make any color variation you like.
Your edges are now dry so you can apply masking tape around the whole side of the clock base covering your color completely. Should there be any overspray or unwanted color from painting your edges, just grab the color you primed your wood with and spray a little on the areas that bother you. It really begins to look like your own personal Hexagonal Marble Clock by now.
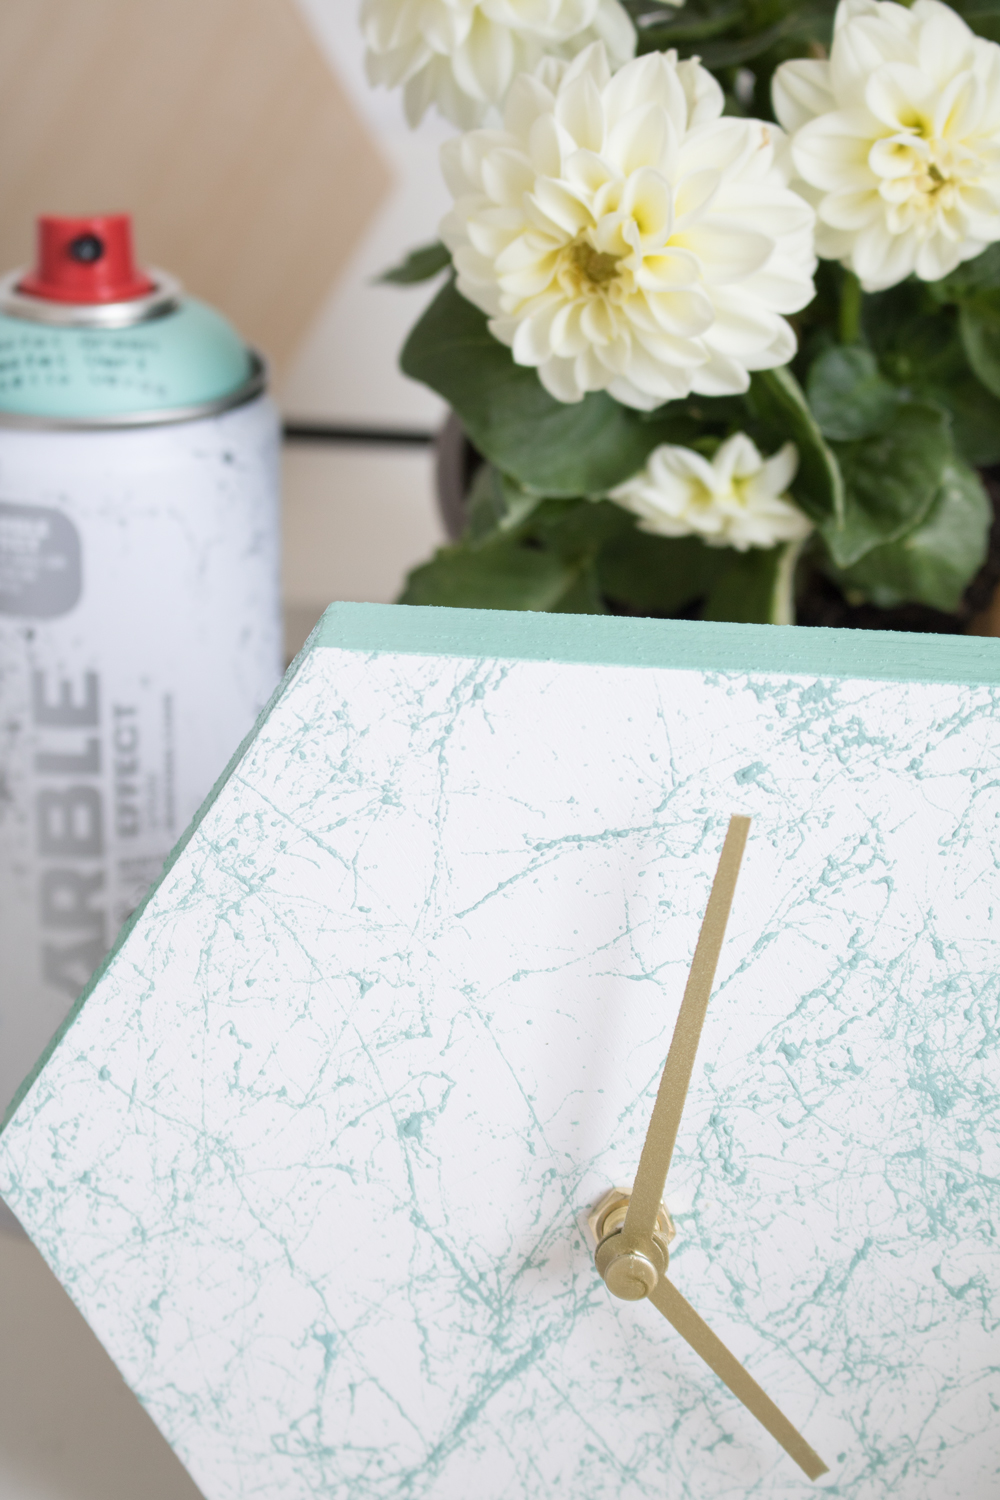
Then it’s the fun part. Apply your Montana MARBLE color by spraying it from above the clock face. This allows the strands of paint to separate while in the air and land organically on the surface. This also makes it look most like real marble. If you spray closer, the paint will land on the surface looking more like a spider web. Have a practice on some scrap cardboard so you can test exactly how far away you want to be from your clock while painting.
While your MARBLE Effect Spray is drying, place your clock hands and the fastening bolt/nut of the clock mechanism on your scrap paper or drop sheet. Using your Montana METALLIC Gold, spray them as desired. Again, you could use any other colors you want, but we were going for a timeless look in which the gold fit perfectly. Congratulations, you’re done! (nearly)…
The next day it is time to put it all together. With a little effort, you’ve just made a fantastic timepiece that you can enjoy for years to come. However, if you want to go all the way, we recommend a couple of coats of Montana VARNISH 400ml GLOSS spray on your clock base. This is for some extra shine, but it also gives some extra durability and makes the clock easier to clean. Be patient and only put it together once everything is completely dry.

Now you’re finished, and apart from waiting for things to dry and sourcing your materials, the working time is only about 20 minutes. Not to mention, there is nothing too difficult in making this project making it an easy to medium level project. As always remember to shake all your cans well for 2-3 minutes before use and remove any of the black safety rings from under the nozzles where it applies.
Now it’s time for a well-earned break, and you can do that admiring your classy new Hexagonal Marble Clock. Nice work and happy crafting.


