From flat to flash
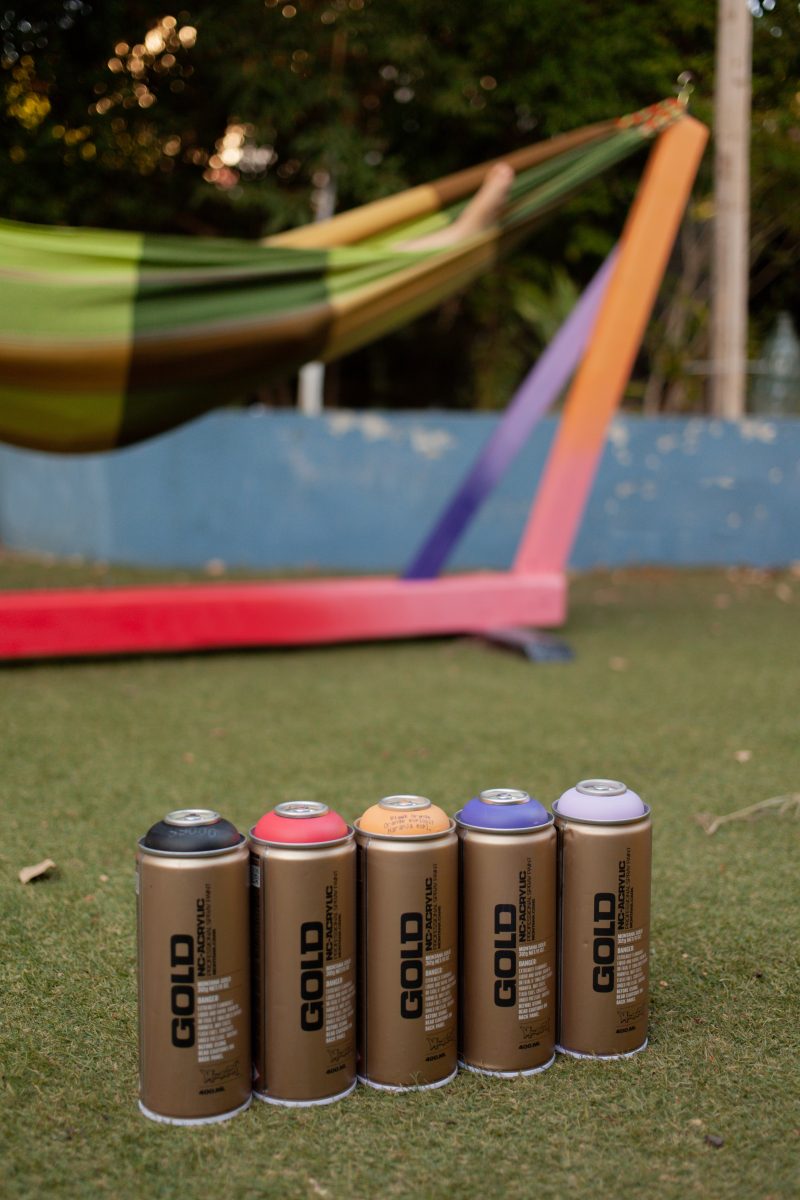
The forces of nature can’t be denied. The sun, the wind, the rain, and everything else that mother nature throws at us all take their toll on the things we own. Especially if those things are outdoor furniture. And a fabulous garden hammock is no exception. Thanks to the sun and the rain, after a few years in use an outdoor hammock can go from fancy to flat. The perfect invitation for a Hammock vivid color makeover. With a small selection of your favorite Montana GOLD can colors, Montana MARBLE Effect, and some Montana Gloss VARNISH, anything is possible. Read on to find out what we did.
Materials Used
- A wooded based self-standing hammock
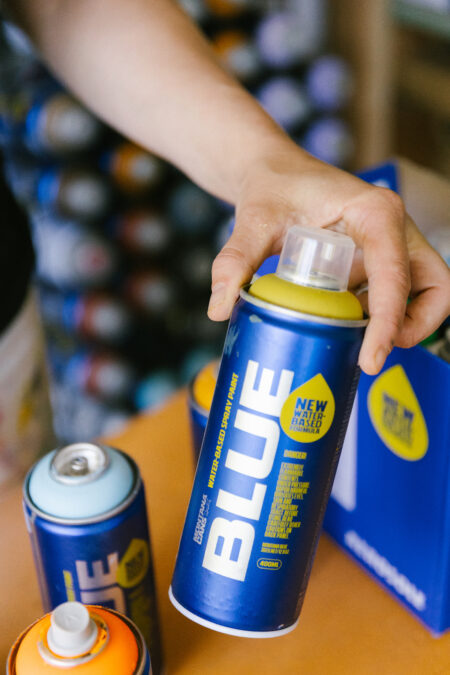
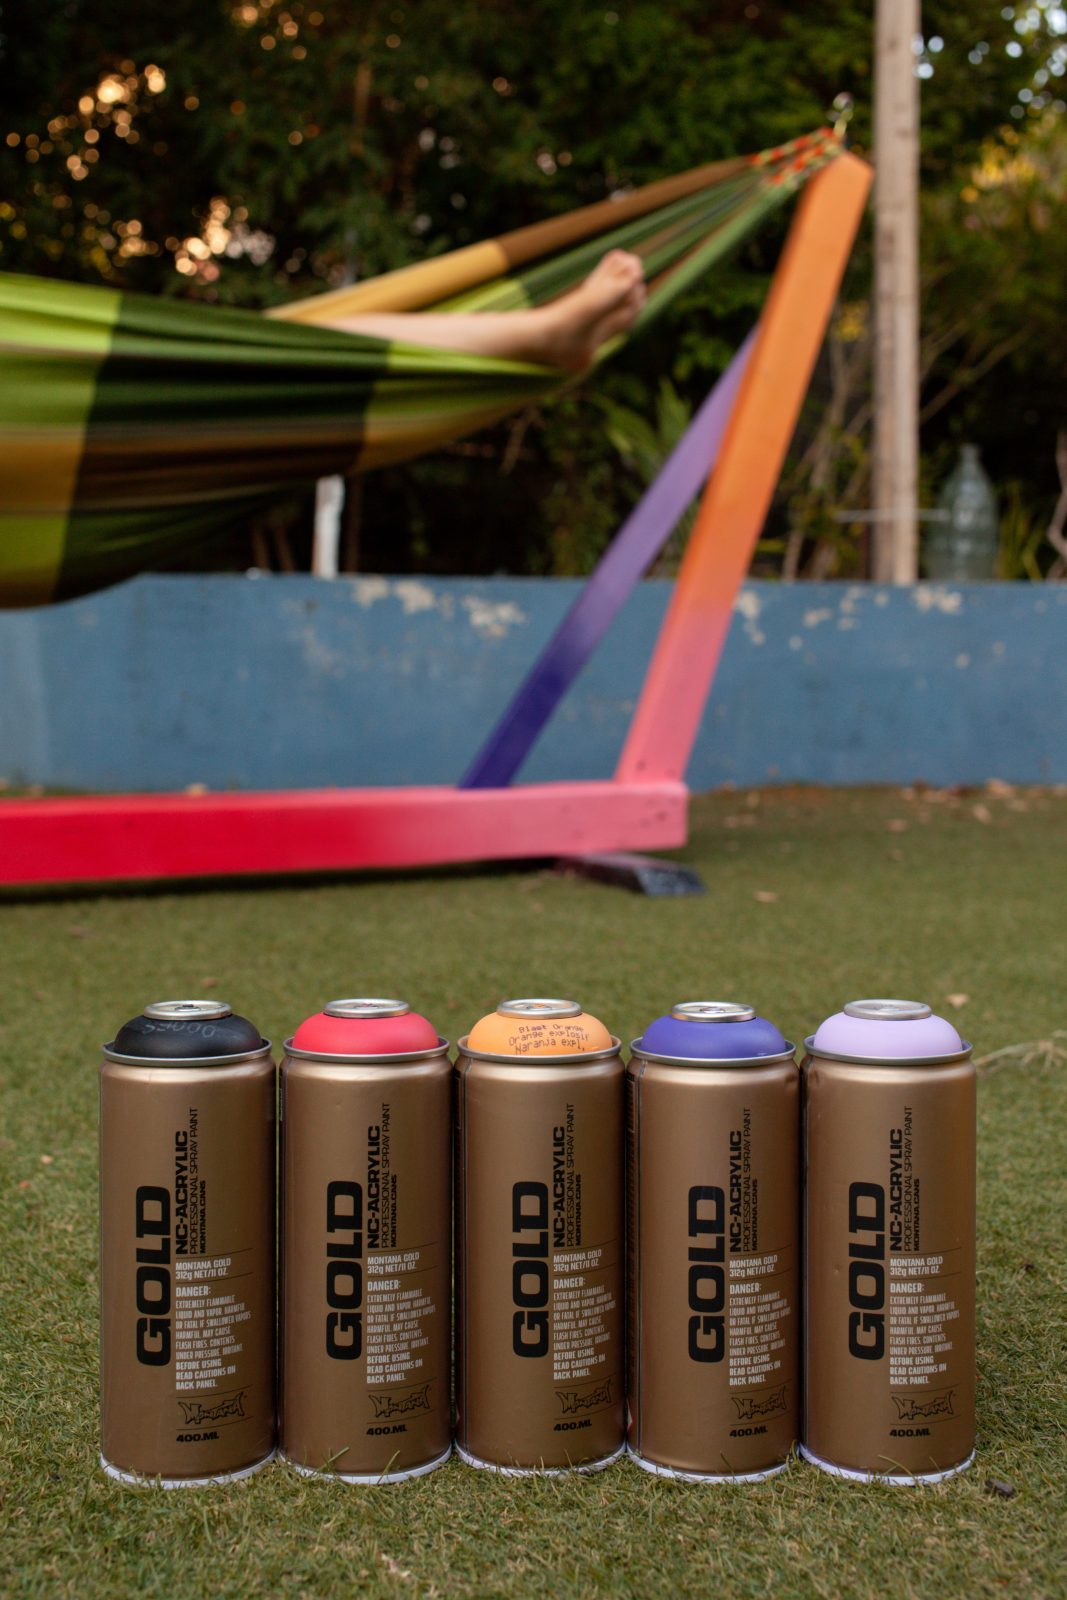
- Montana GOLD can colors of your choice (we used 6 colors)
- Montana MARBLE Effect White
- Montana VARNISH Gloss
- Sandpaper
- Masking tape
- Gloves
- Mask
- Drop sheets or protective material
How to
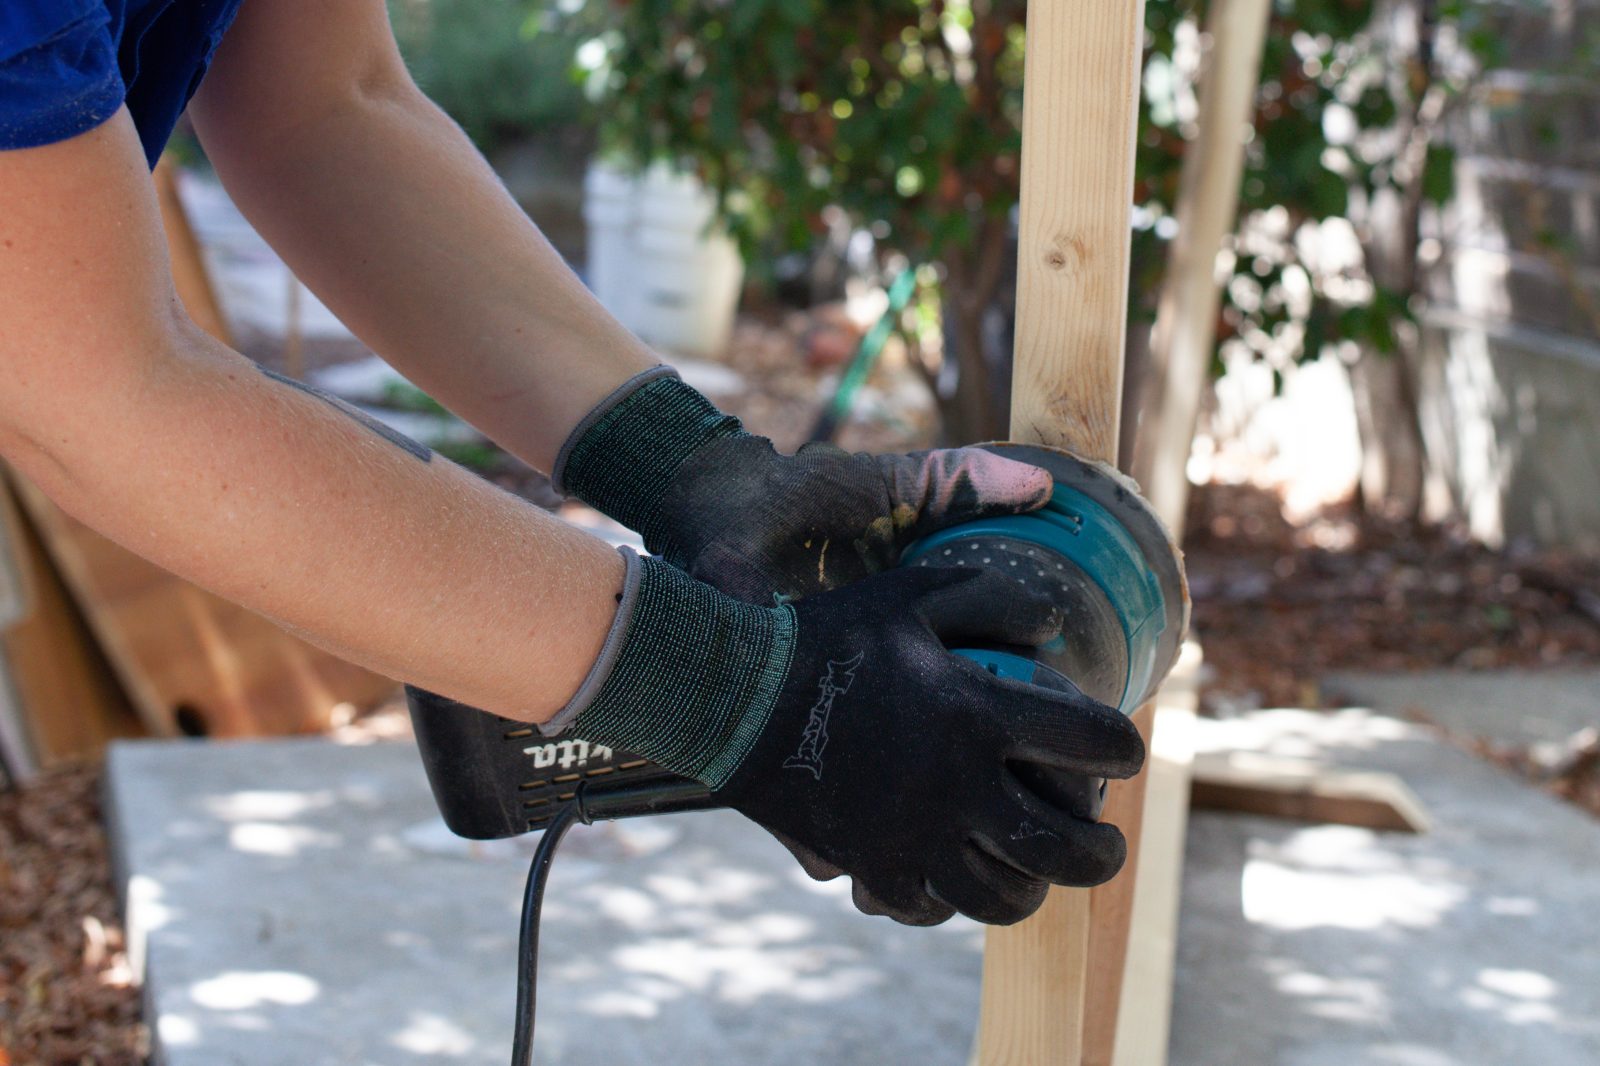
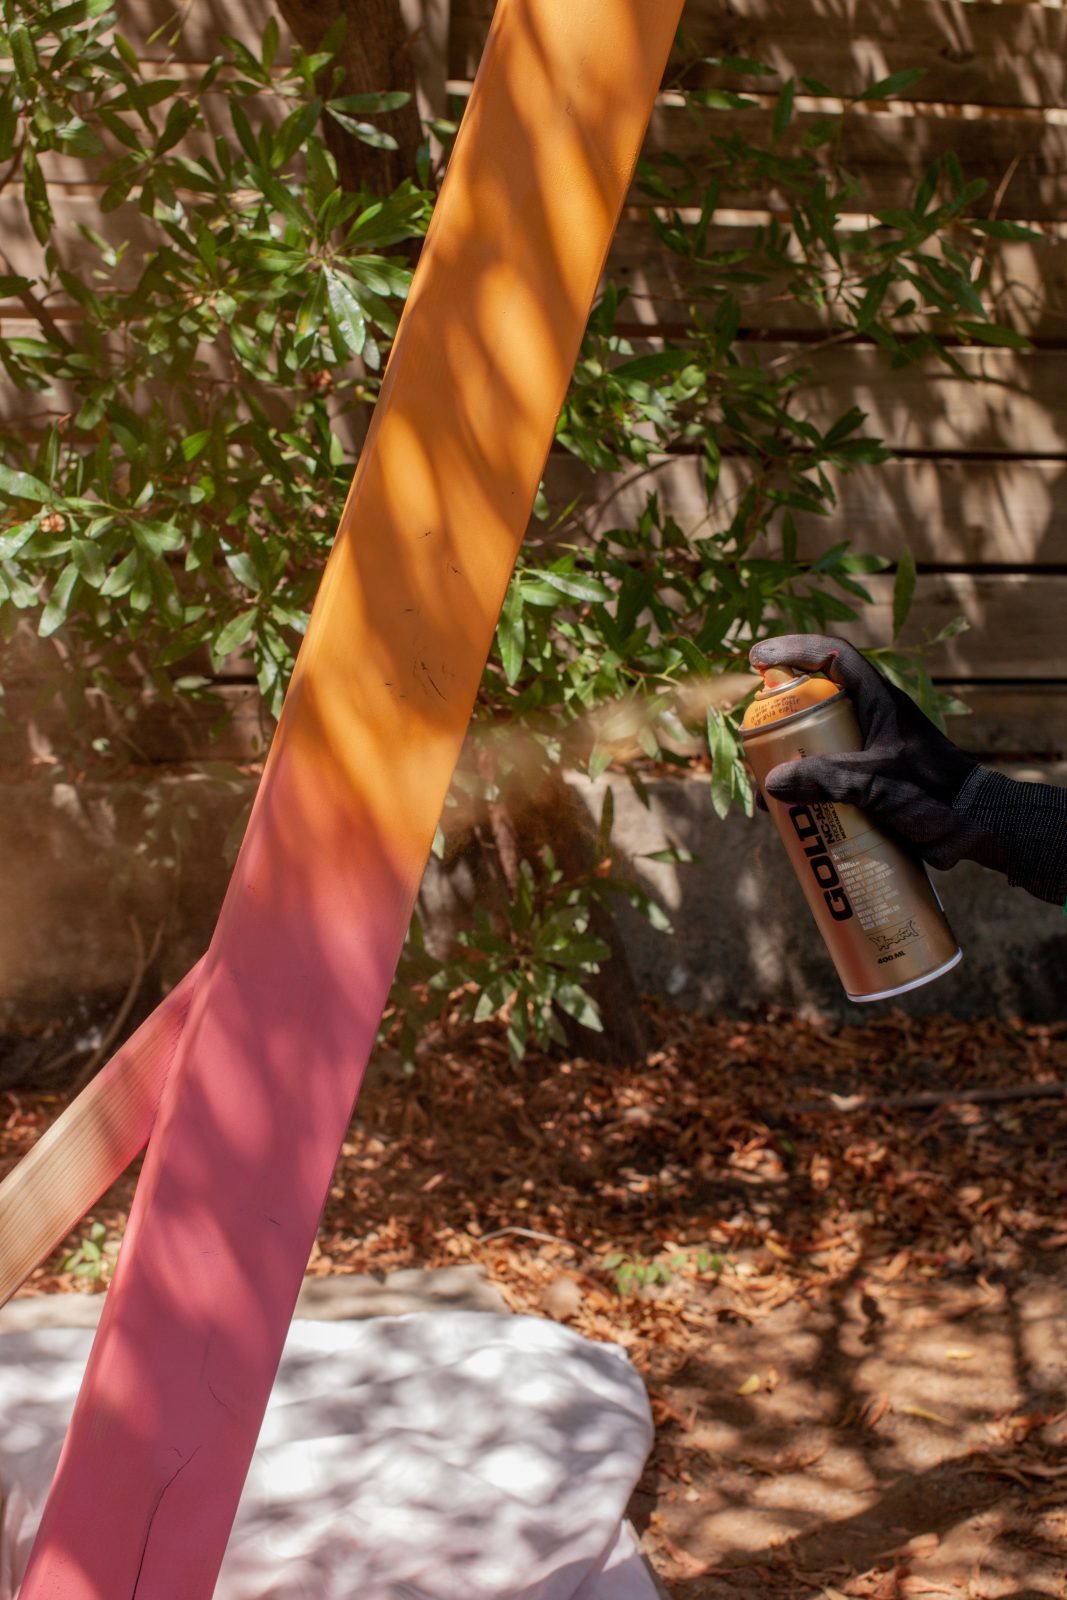
The first step is to remove the hammock material from the base and prepare the wooden parts of your hammock for painting. If required, clean off any dust and dirt. A steel brush can remove moss or harder material that may have dried on the wood. Then it’s time to start sanding. Depending on the surface of the wood, start with rough sandpaper and then repeat with smoother sandpaper as desired to remove any scratches. Remove any of the remaining dust and prepare your space for painting.

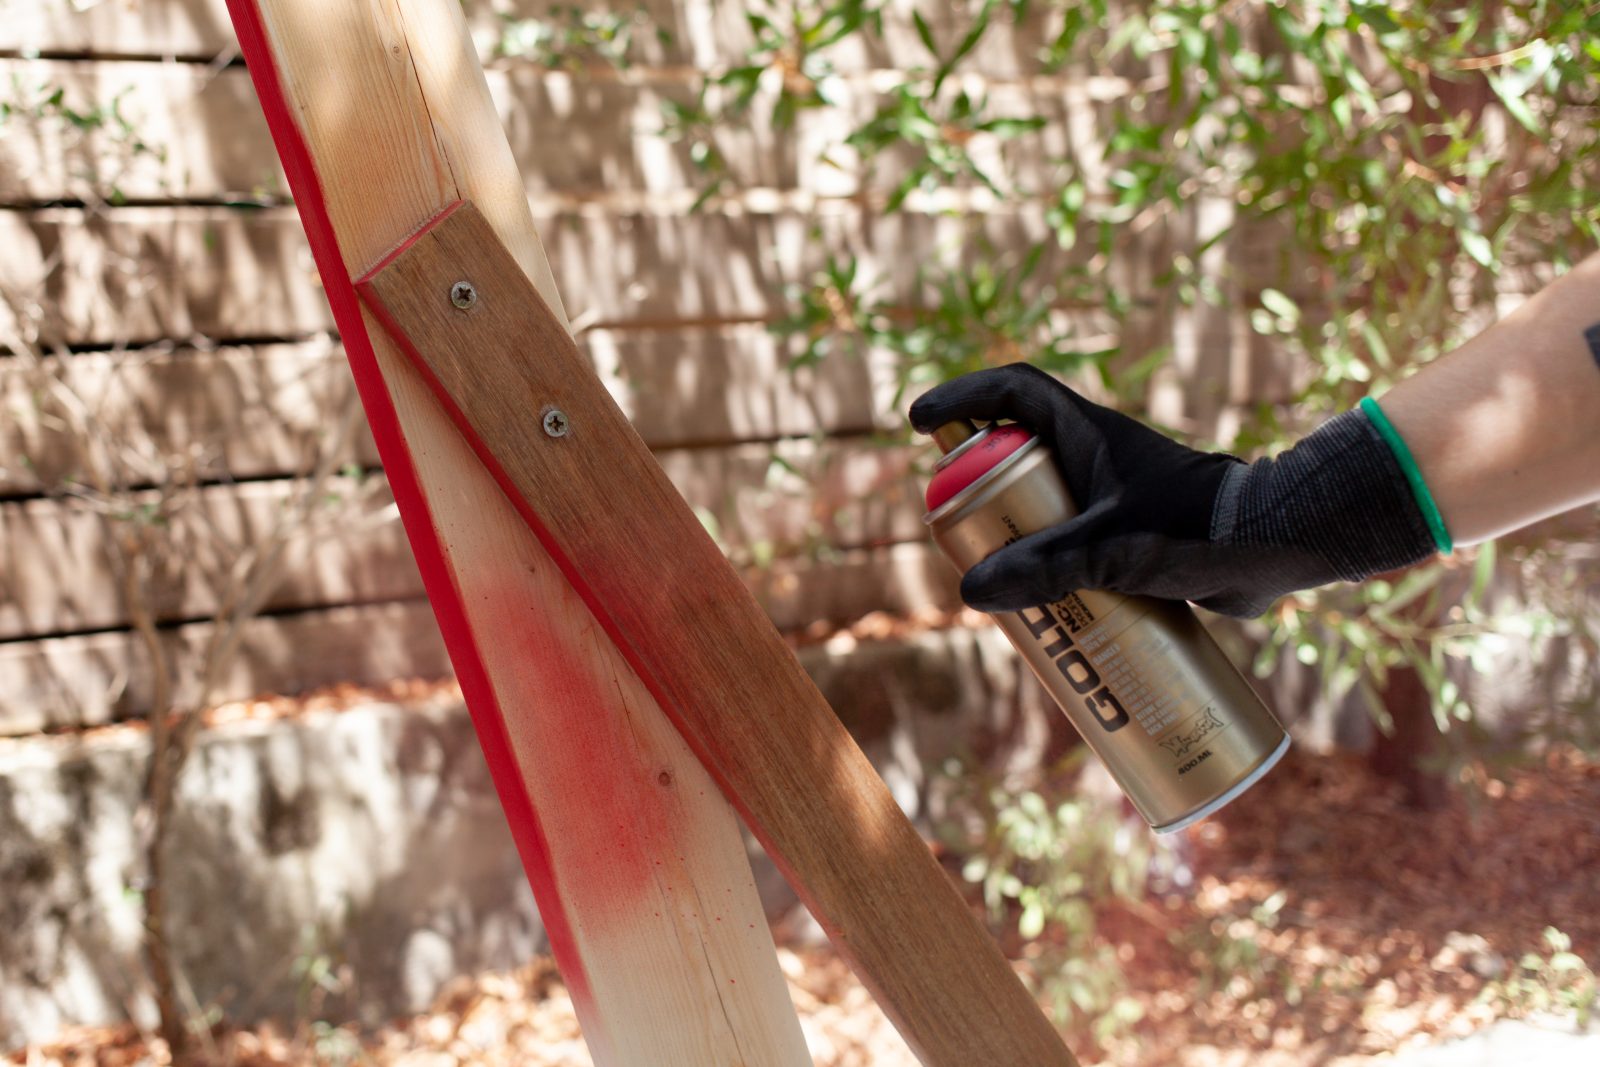
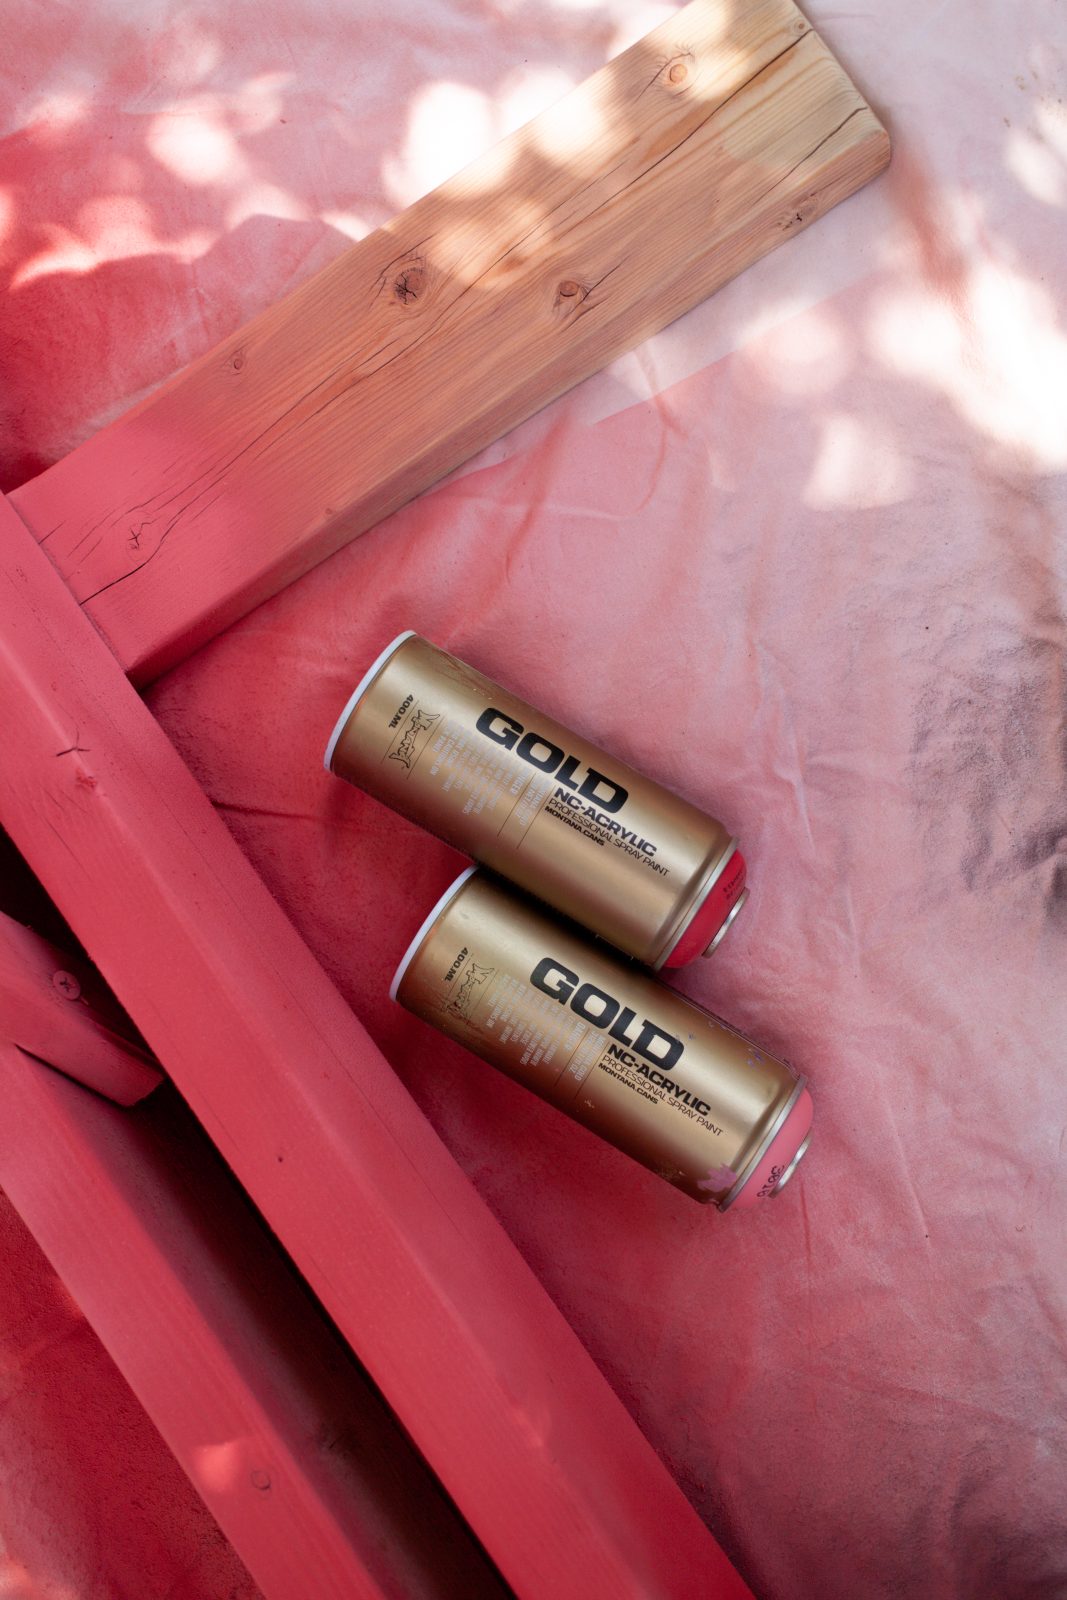
Painting can be as difficult or as easy as you want it to be. Should you want to make specific pieces in specific colors as we did, then cover the pieces you don’t want to color with masking tape and leave the painting surfaces exposed. Apply the colors, allow to dry, and repeat if required. Ideally, leave at least 1-2 hours drying time per color section, or if you have the option, leave each section to dry overnight. As each color is applied and has dried, cover it with masking tape to protect the new color and expose the next piece you want to paint. We had 5 colors that we used and wanted them to be vivid and dynamic.
If you want to keep it simple and save time, the easy way is to just paint your pre-prepared hammock base completely in one session with one Montana GOLD color. Or paint all the colors you want organically in one session without masking off individual pieces. Regardless of the way you chose, allow the hammock base to dry overnight.

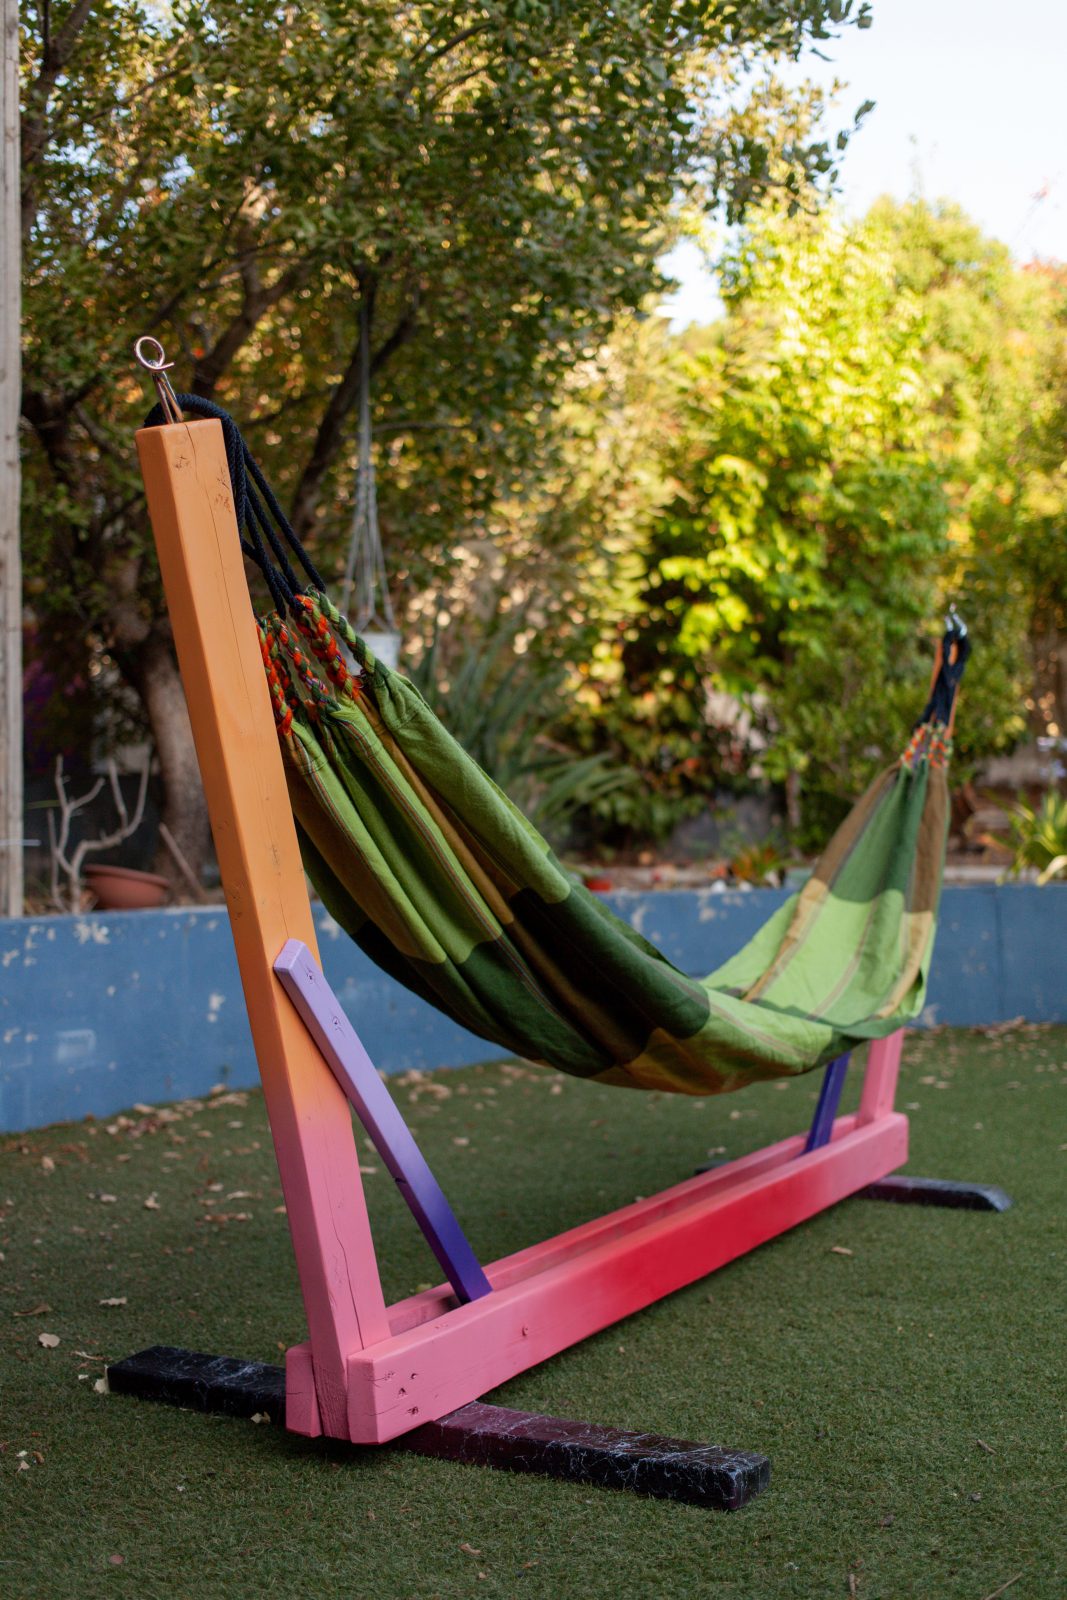
We wanted the feet at the base of our hammock to have the effect of stability and of being grounded. The way we did this is by painting them with Montana GOLD Shock Black first, and once dry we coated them with Montana MARBLE White. A simple process that gave the appearance of a solid stone base, or a marble base to be more accurate.
Once the colors were on and the base had dried, we threw the hammock material in the washing machine which made it look like new. This left us with the final touch which was to coat the hammock with Montana VARNISH to seal the wood. At the same time, we would be illuminating the color and giving extra UV protection so that there is more time before the next hammock makeover is needed.

We chose MONTANA Gloss varnish so the color would shine and the wood’s surface had the ultimate sealing possible. The more coats you put on, the more protection is achieved, but it is important to allow overnight drying before putting the hammock back into use. No matter how hard that may seem seeing as it now looks so good.
So there you have it. Your hammock is back in service, the sun is shining, and the wood has a new lease on life with some extra protection from the elements. More inviting than ever before, the Hammock vivid color makeover has added another amazing personal touch to your living space. Being a project for all skill levels means you can be a beginner or a pro, and enjoy it just as much. All you need is the materials, some patience, and about 2-3 hours of actual working time depending on how much effort you want to put into the preparation.
And while on the subject of preparation, should you want to apply a primer to your hammock base, the Montana PRIMER Universal is the ideal coating before you apply the Montana GOLD colors. And don’t forget to shake all your cans well for 2-3 minutes and remove the safety ring from under the cap before painting. You can’t go wrong.
Good luck and happy crafting.
Project by Jordan Katz