Getting your boogie on at home
Disco never went out of fashion, it just changed its name to various other names, like dance music, house music, or techno. The same goes for the disco ball. However, it didn’t change its name and managed to stay equally as cool. This is why our humble mirrored friend even today finds its way into many forms of decor, from hanging off of ceilings to being mini disco balls on car mirrors, and now even in fireplaces. Which got us thinking if there was such a thing as a colored mirror ball. And if there wasn’t, there should be. You got it… we had an idea, and the Glass Paint Disco Ball project was born.
Materials used
- Disco ball(s)
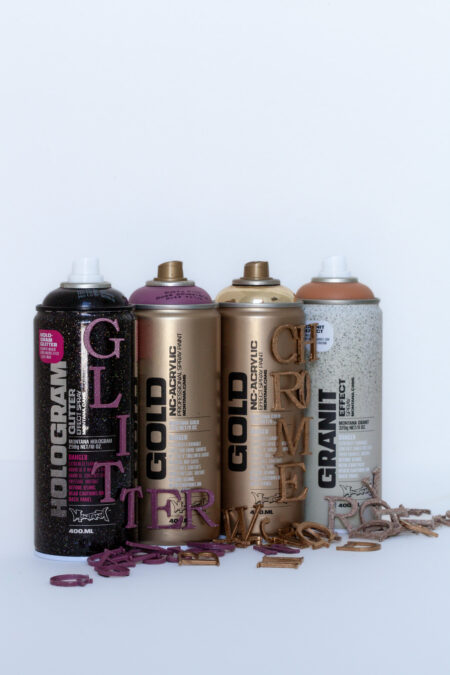
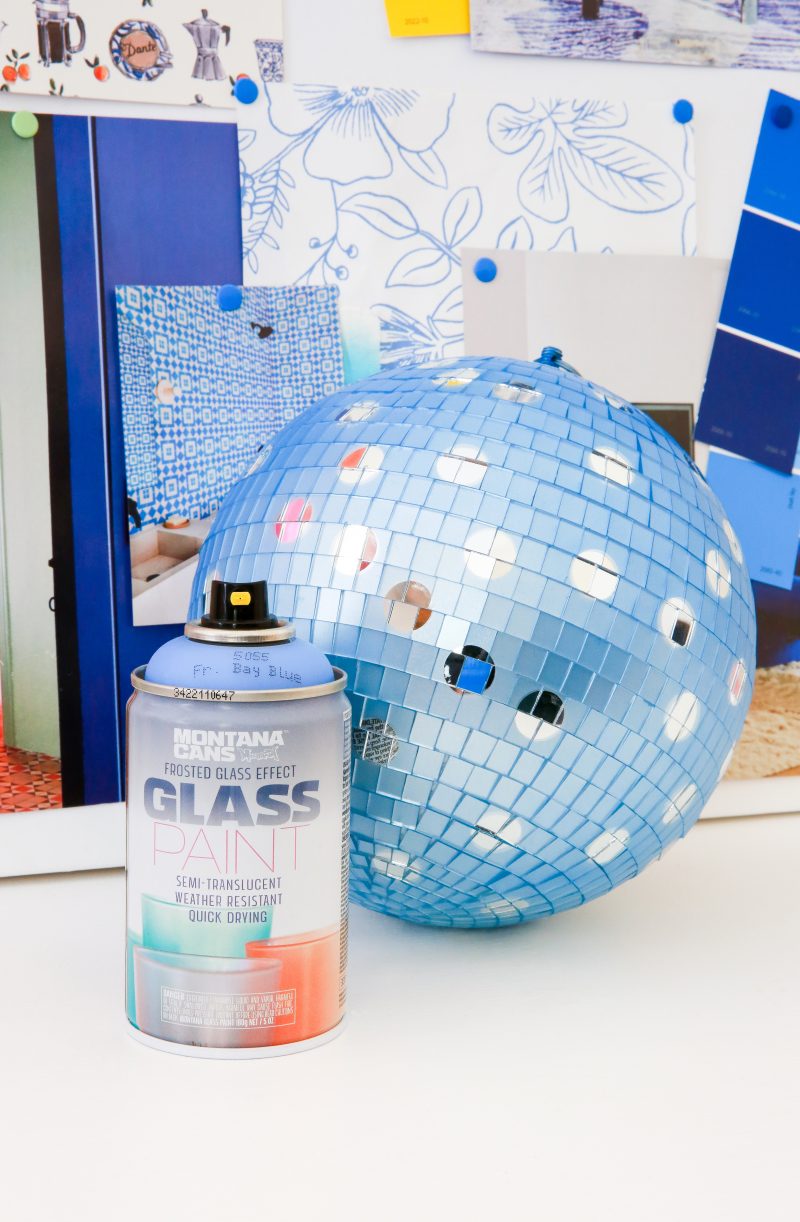
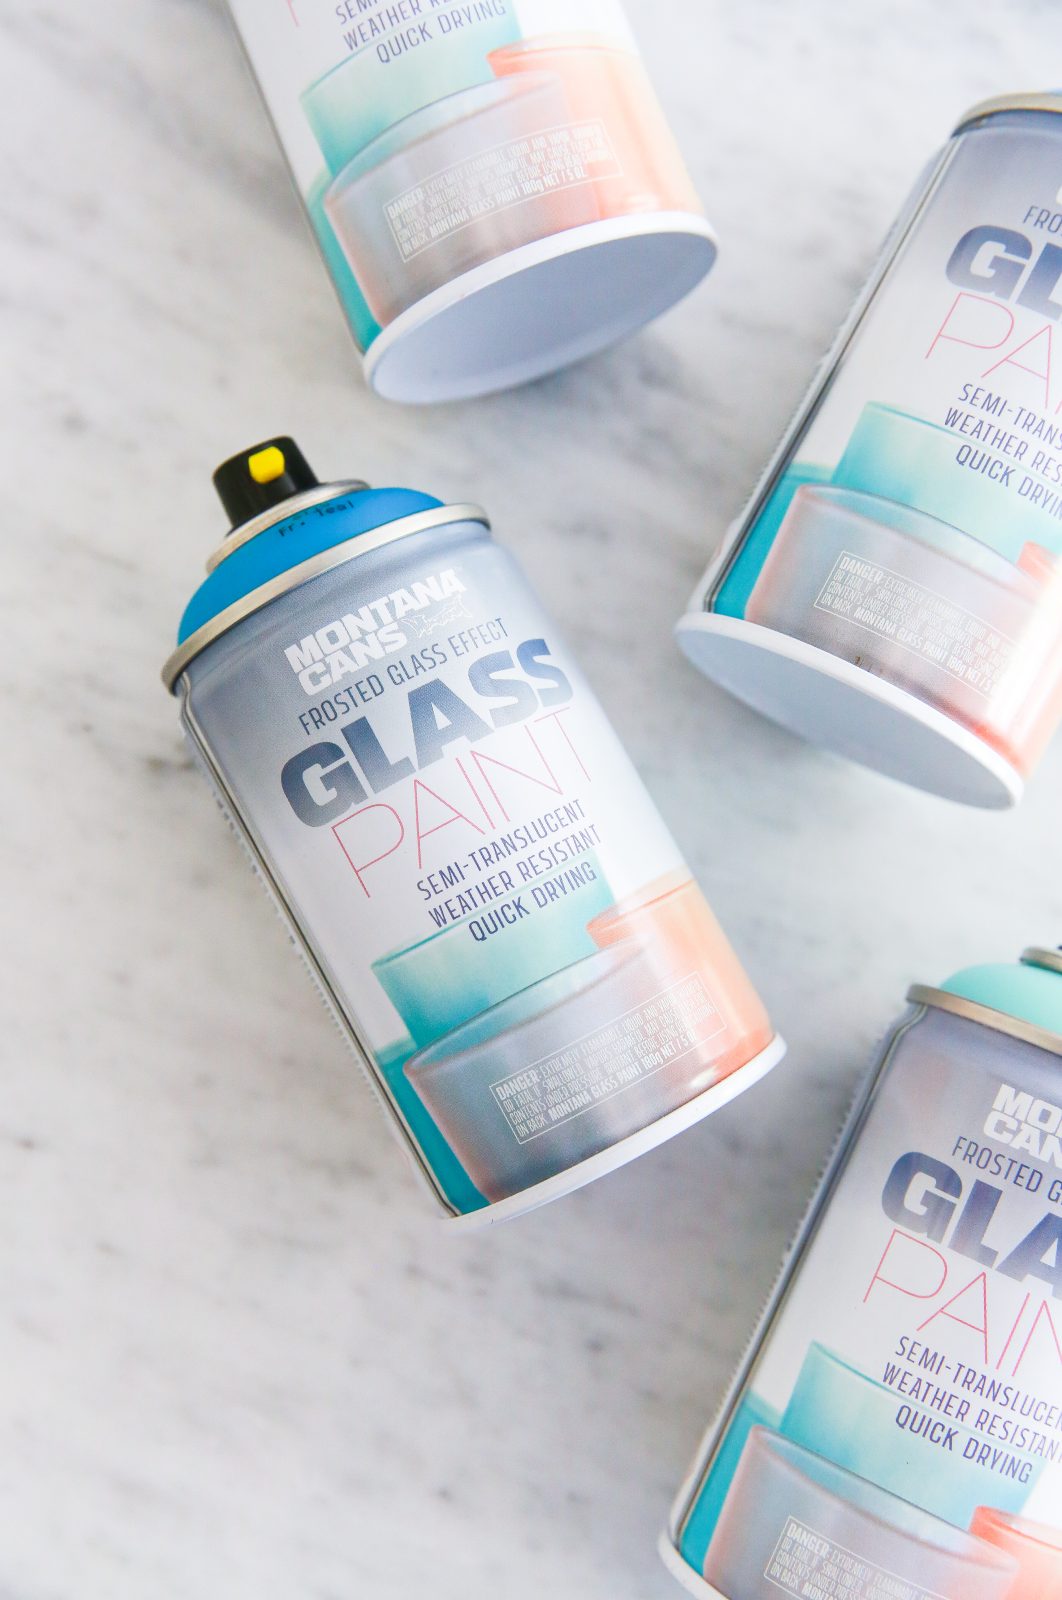
- Montana Glass Paint (we Frosted Teal, Frosted Mint, and Frosted Bay Blue)
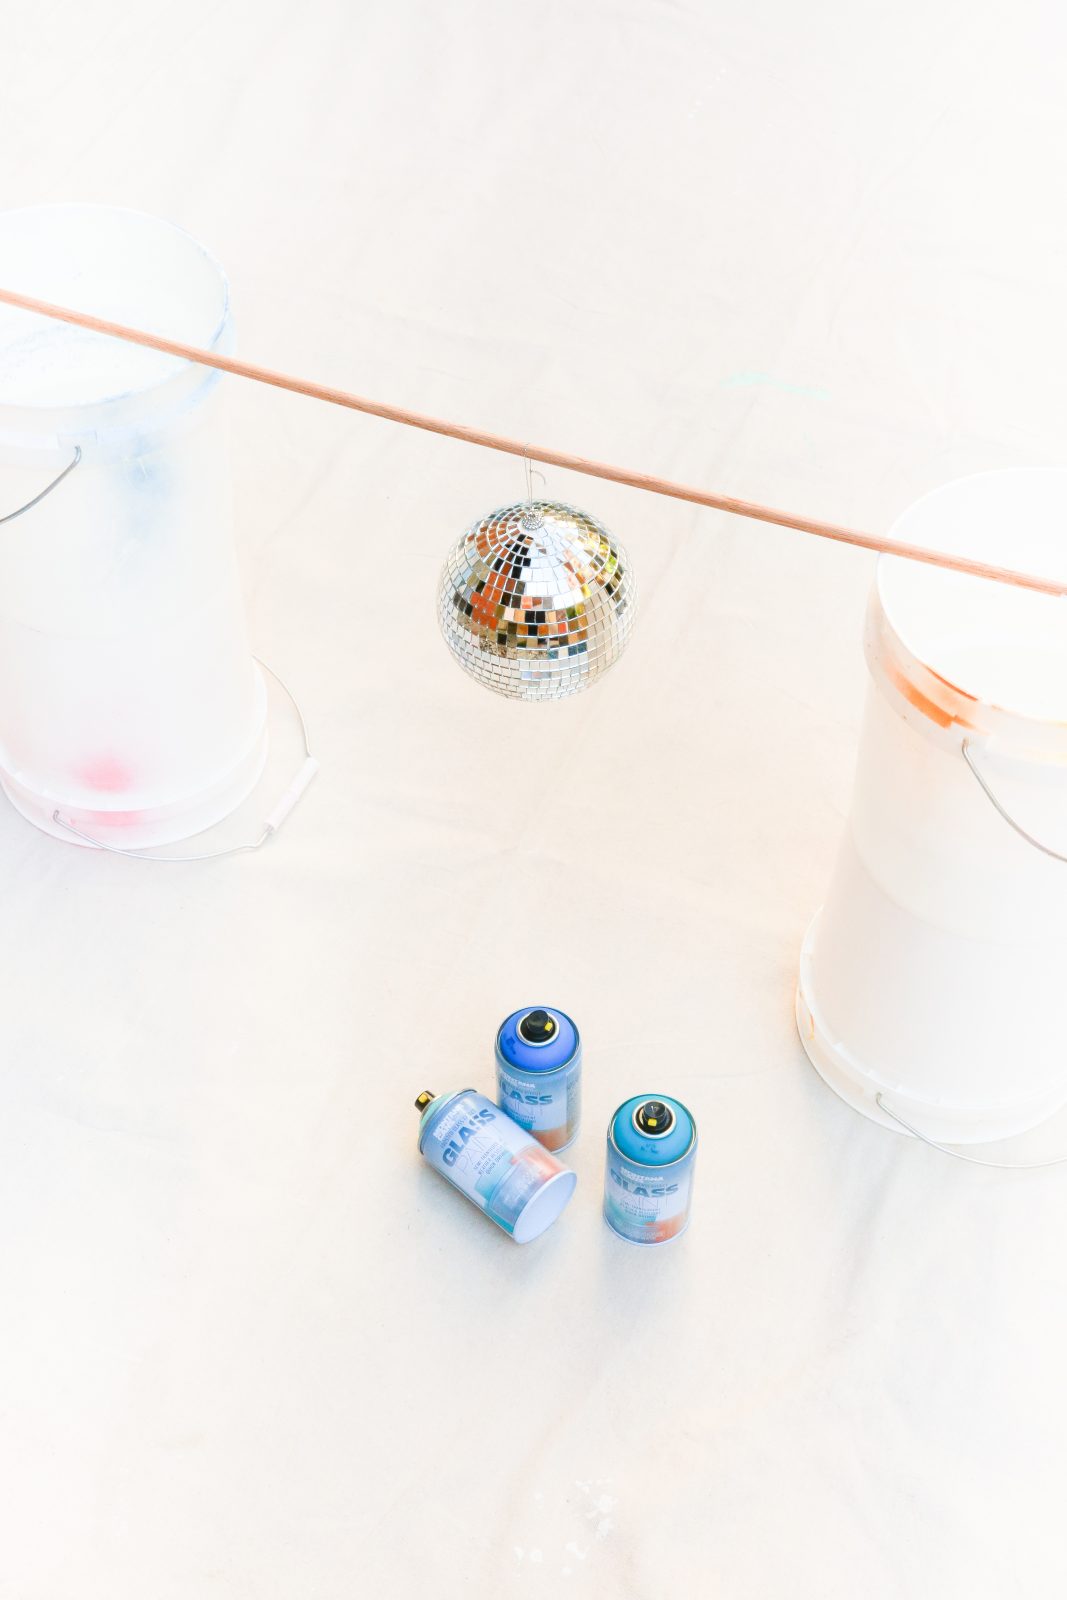
- Buckets (or something to elevate a rod onto)
- Dowel rod (or other types of rod)
- Stickers or masking tape (optional)
- Gloves
- Mask
- Drop sheet
How it was done
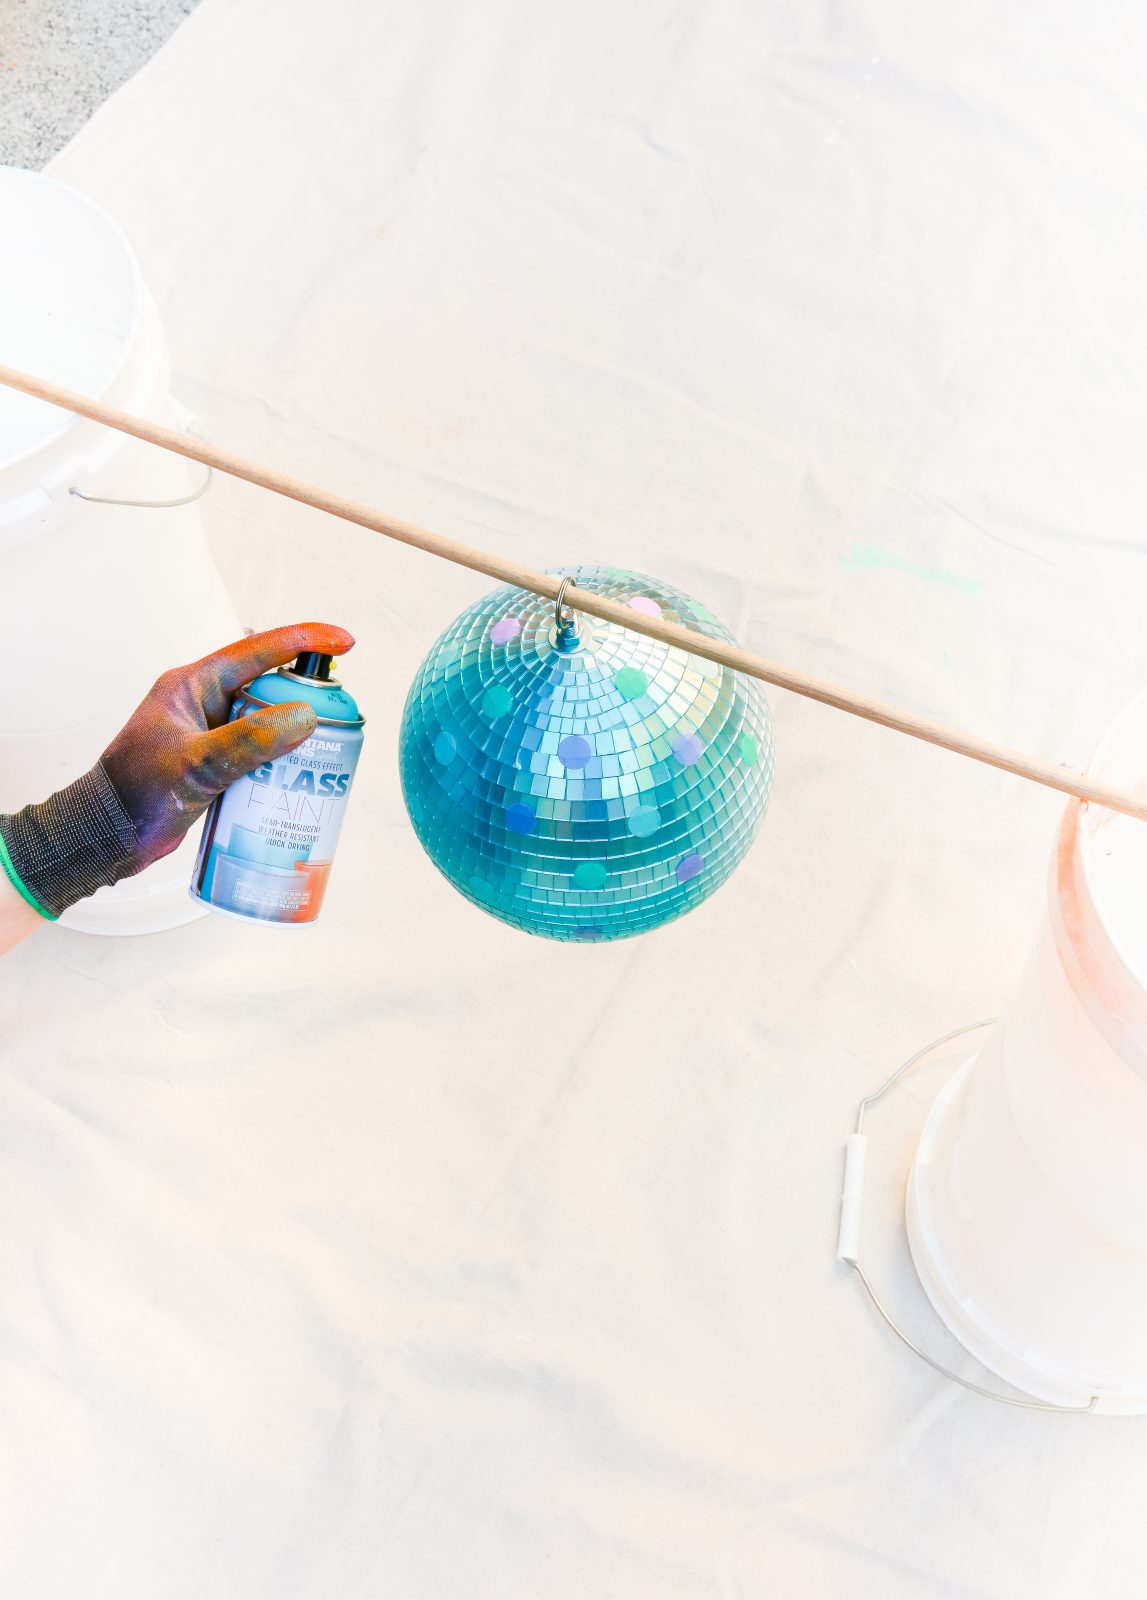
Assuming you have already sourced and bought your disco ball(s), make sure they are clean, and free of dust and oils. Dry thoroughly if you used any liquid cleaners (like glass cleaner) and allow to dry a moment. If you dug up some of your old disco balls from your past, this step is an important one if they were dusty. With your gloves on and your spraying area ready (outside in a well-ventilated spot if possible), hang your disco ball(s) on the dowel rod that you have leaning on two raised surfaces. Buckets will do the trick and any other thin light rod will work also.
Take the first of your well-shaken Montana GLASS Paint cans, remove the nozzle and turn it upside down to allow the black safety ring to fall out. Reapply the nozzle and test spray away from all objects. Then apply GLASS Paint to your disco ball(s) in sweeping motions allowing thin even layers to land on the ball.
You may like to give the ball a slight turn with your hand so that it rotates while you are spraying it. Another reason why wearing gloves is essential. The more coats you apply, the thicker the color, and the less light will reflect from the mirror pieces on the ball.
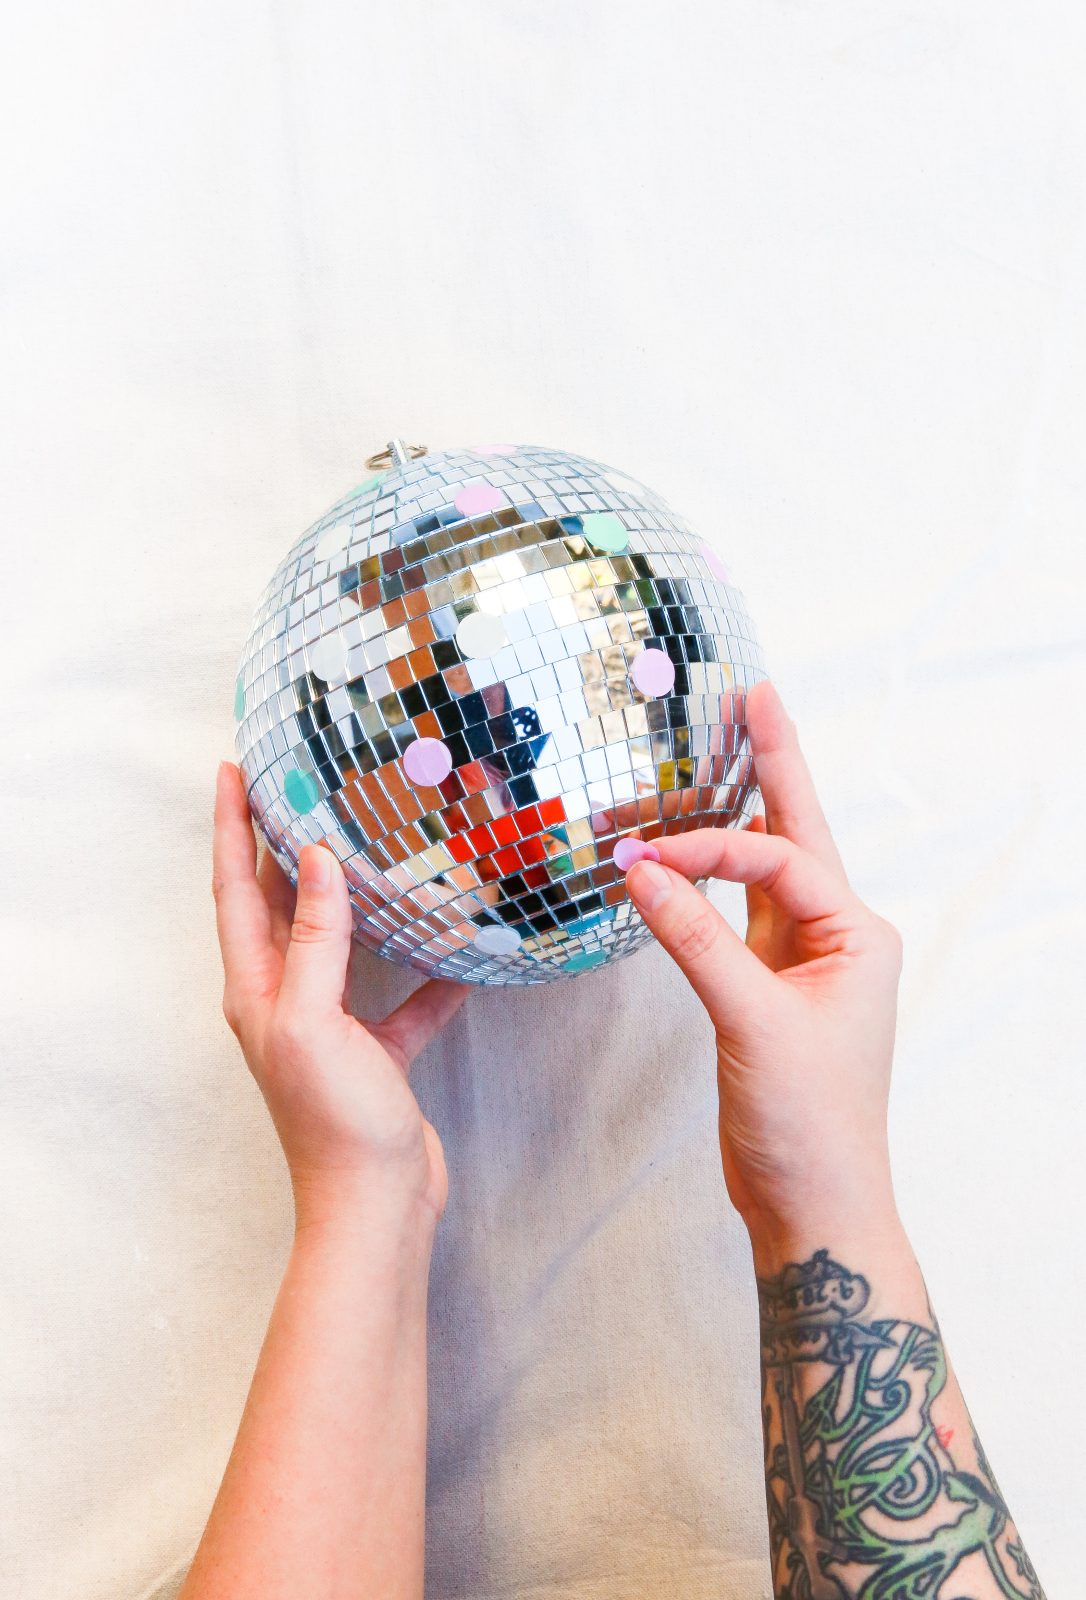
If you still want your disco ball to reflect light and potentially shine a light source on it for a cool effect (like in a real disco), it is important to cover some of the mirror tiles before painting it, which will leave areas of the mirror ball clean when the stickers are removed.
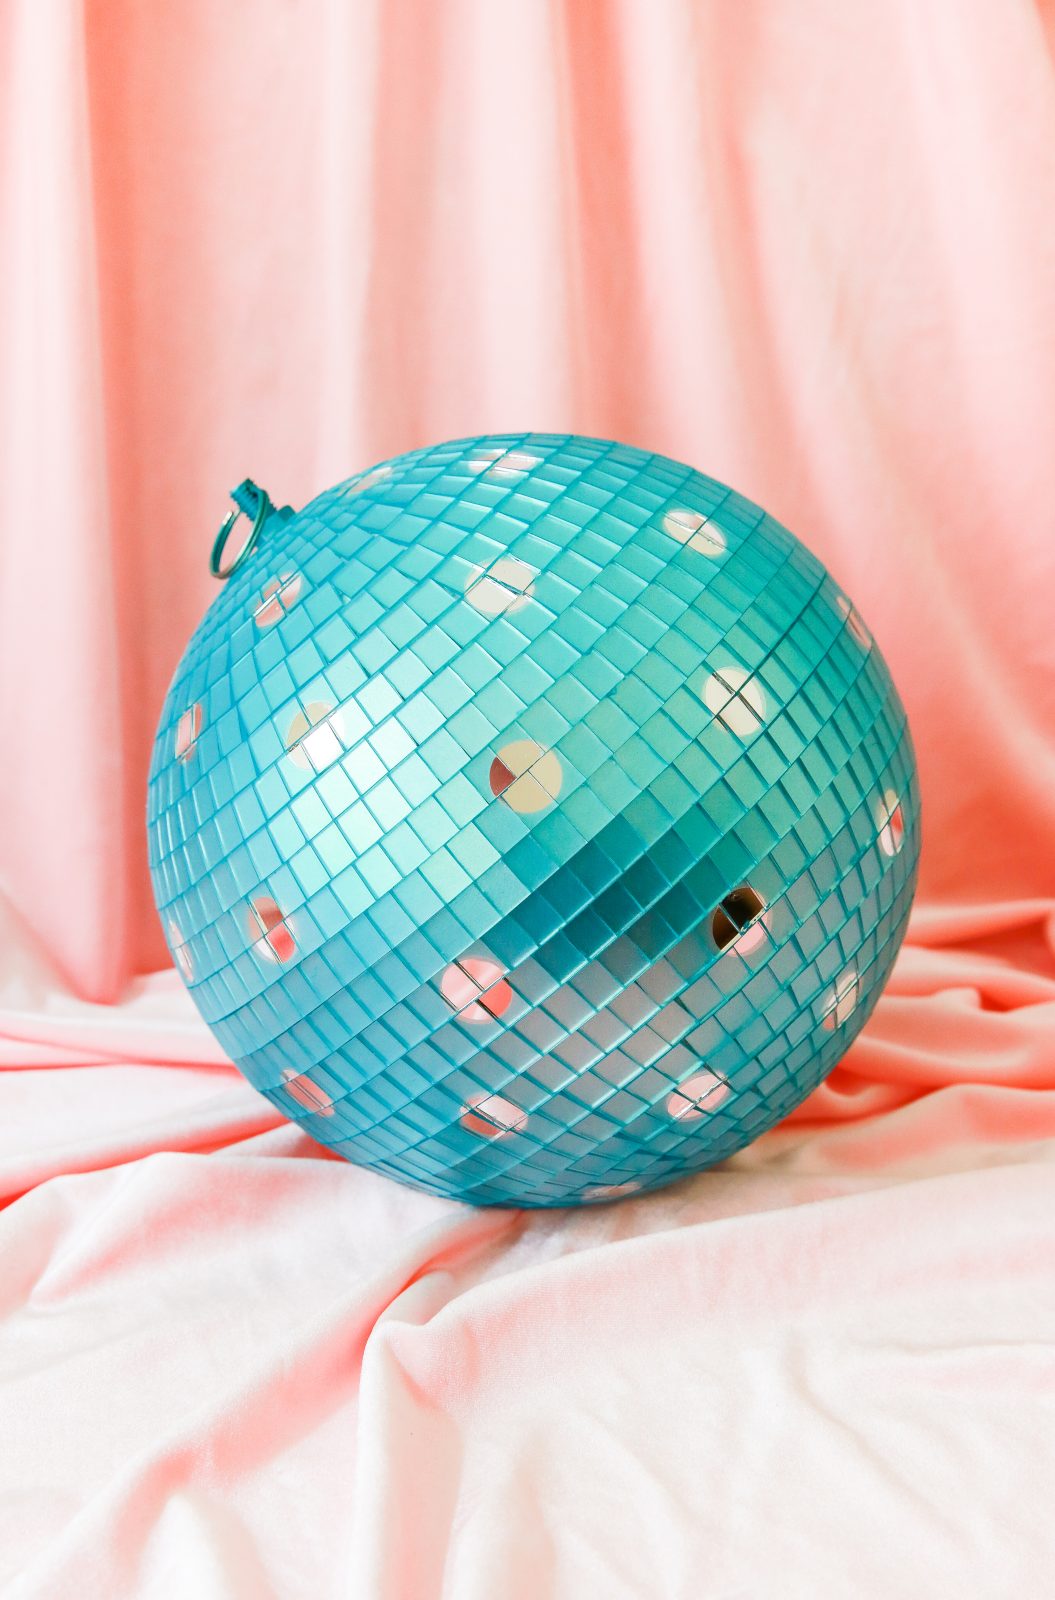
These clean surfaces will still reflect light from them if a light source is shone upon the ball(s). Various types of stickers could be used if you have any that will remove easily, or apply masking tape as desired if you have that instead.

Leave your mirror ball for about 6 hours to dry, or overnight for complete curing if possible.
There you have it. Now you can get your colored boogie on at home thanks to the Montana GLASS Paint and about 10-15 minutes worth of actual working time.
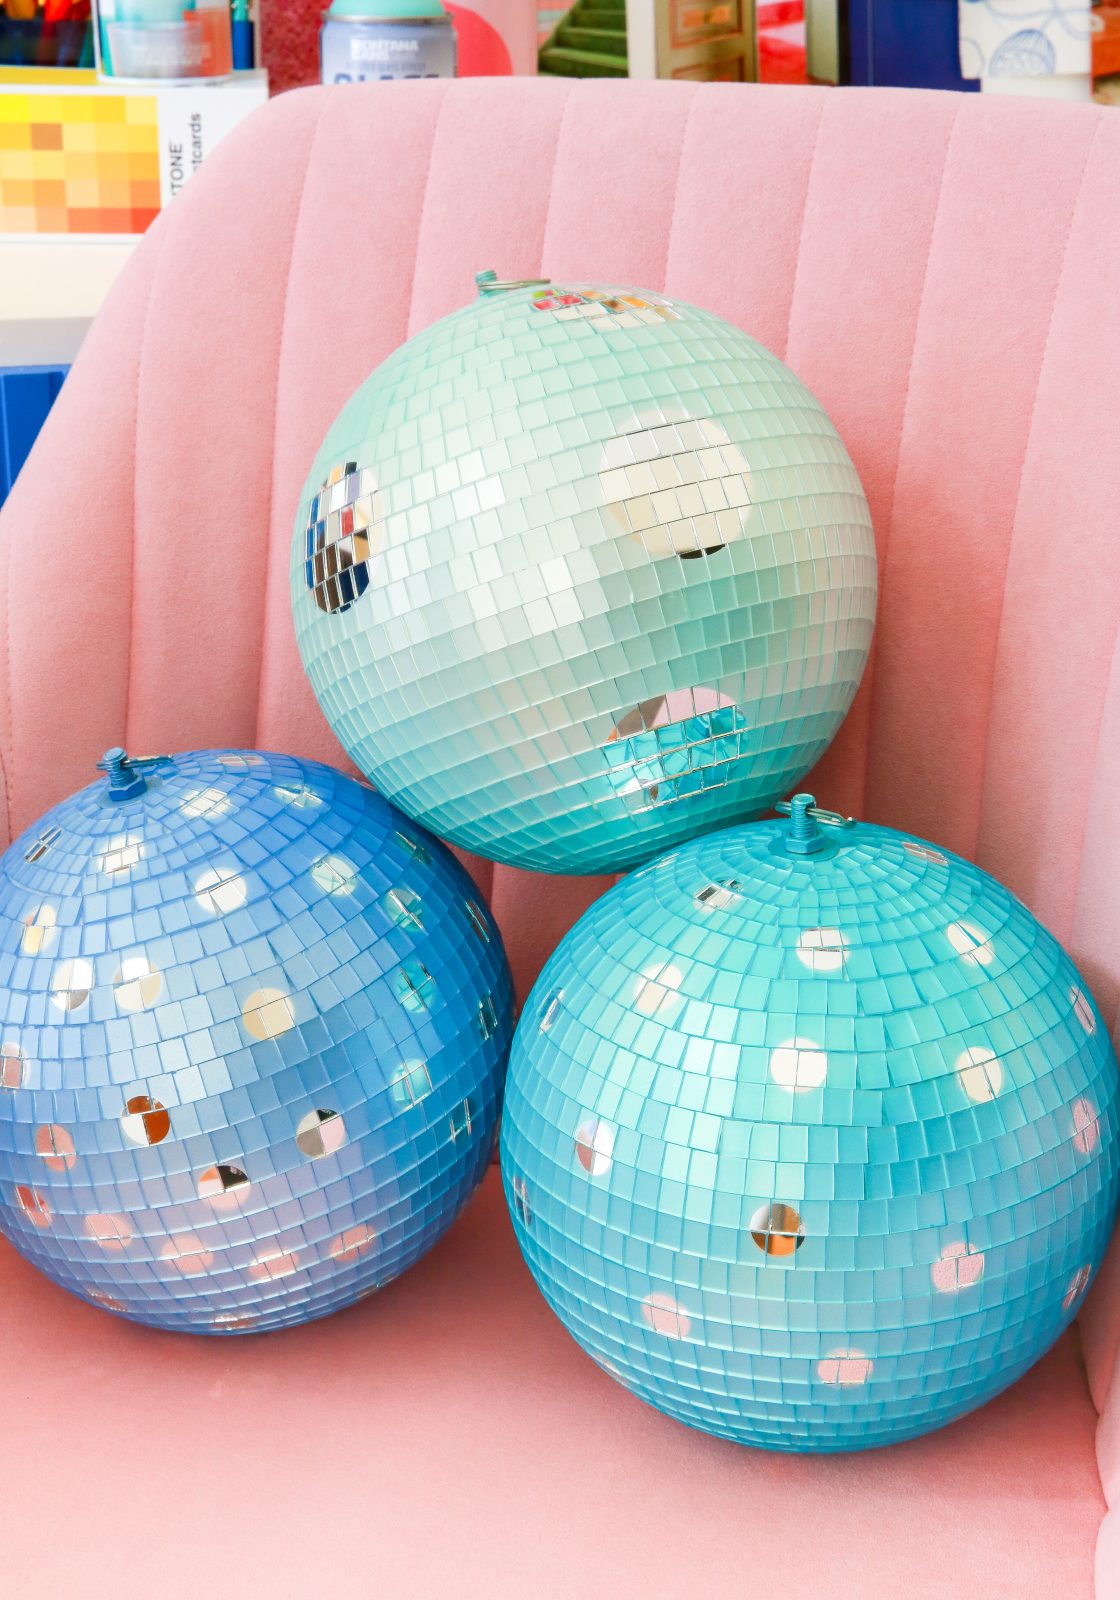
You don’t need to be experienced to do this, however, if you want to challenge yourself, you could experiment with color by creating GLASS Paint color gradients, or getting fancy with the shape of your masked areas which will intern affect the light effects you can achieve if you are going to try and make your disco ball have a reflective function also.
Now that’s groovy! Nice work and Happy Crafting.