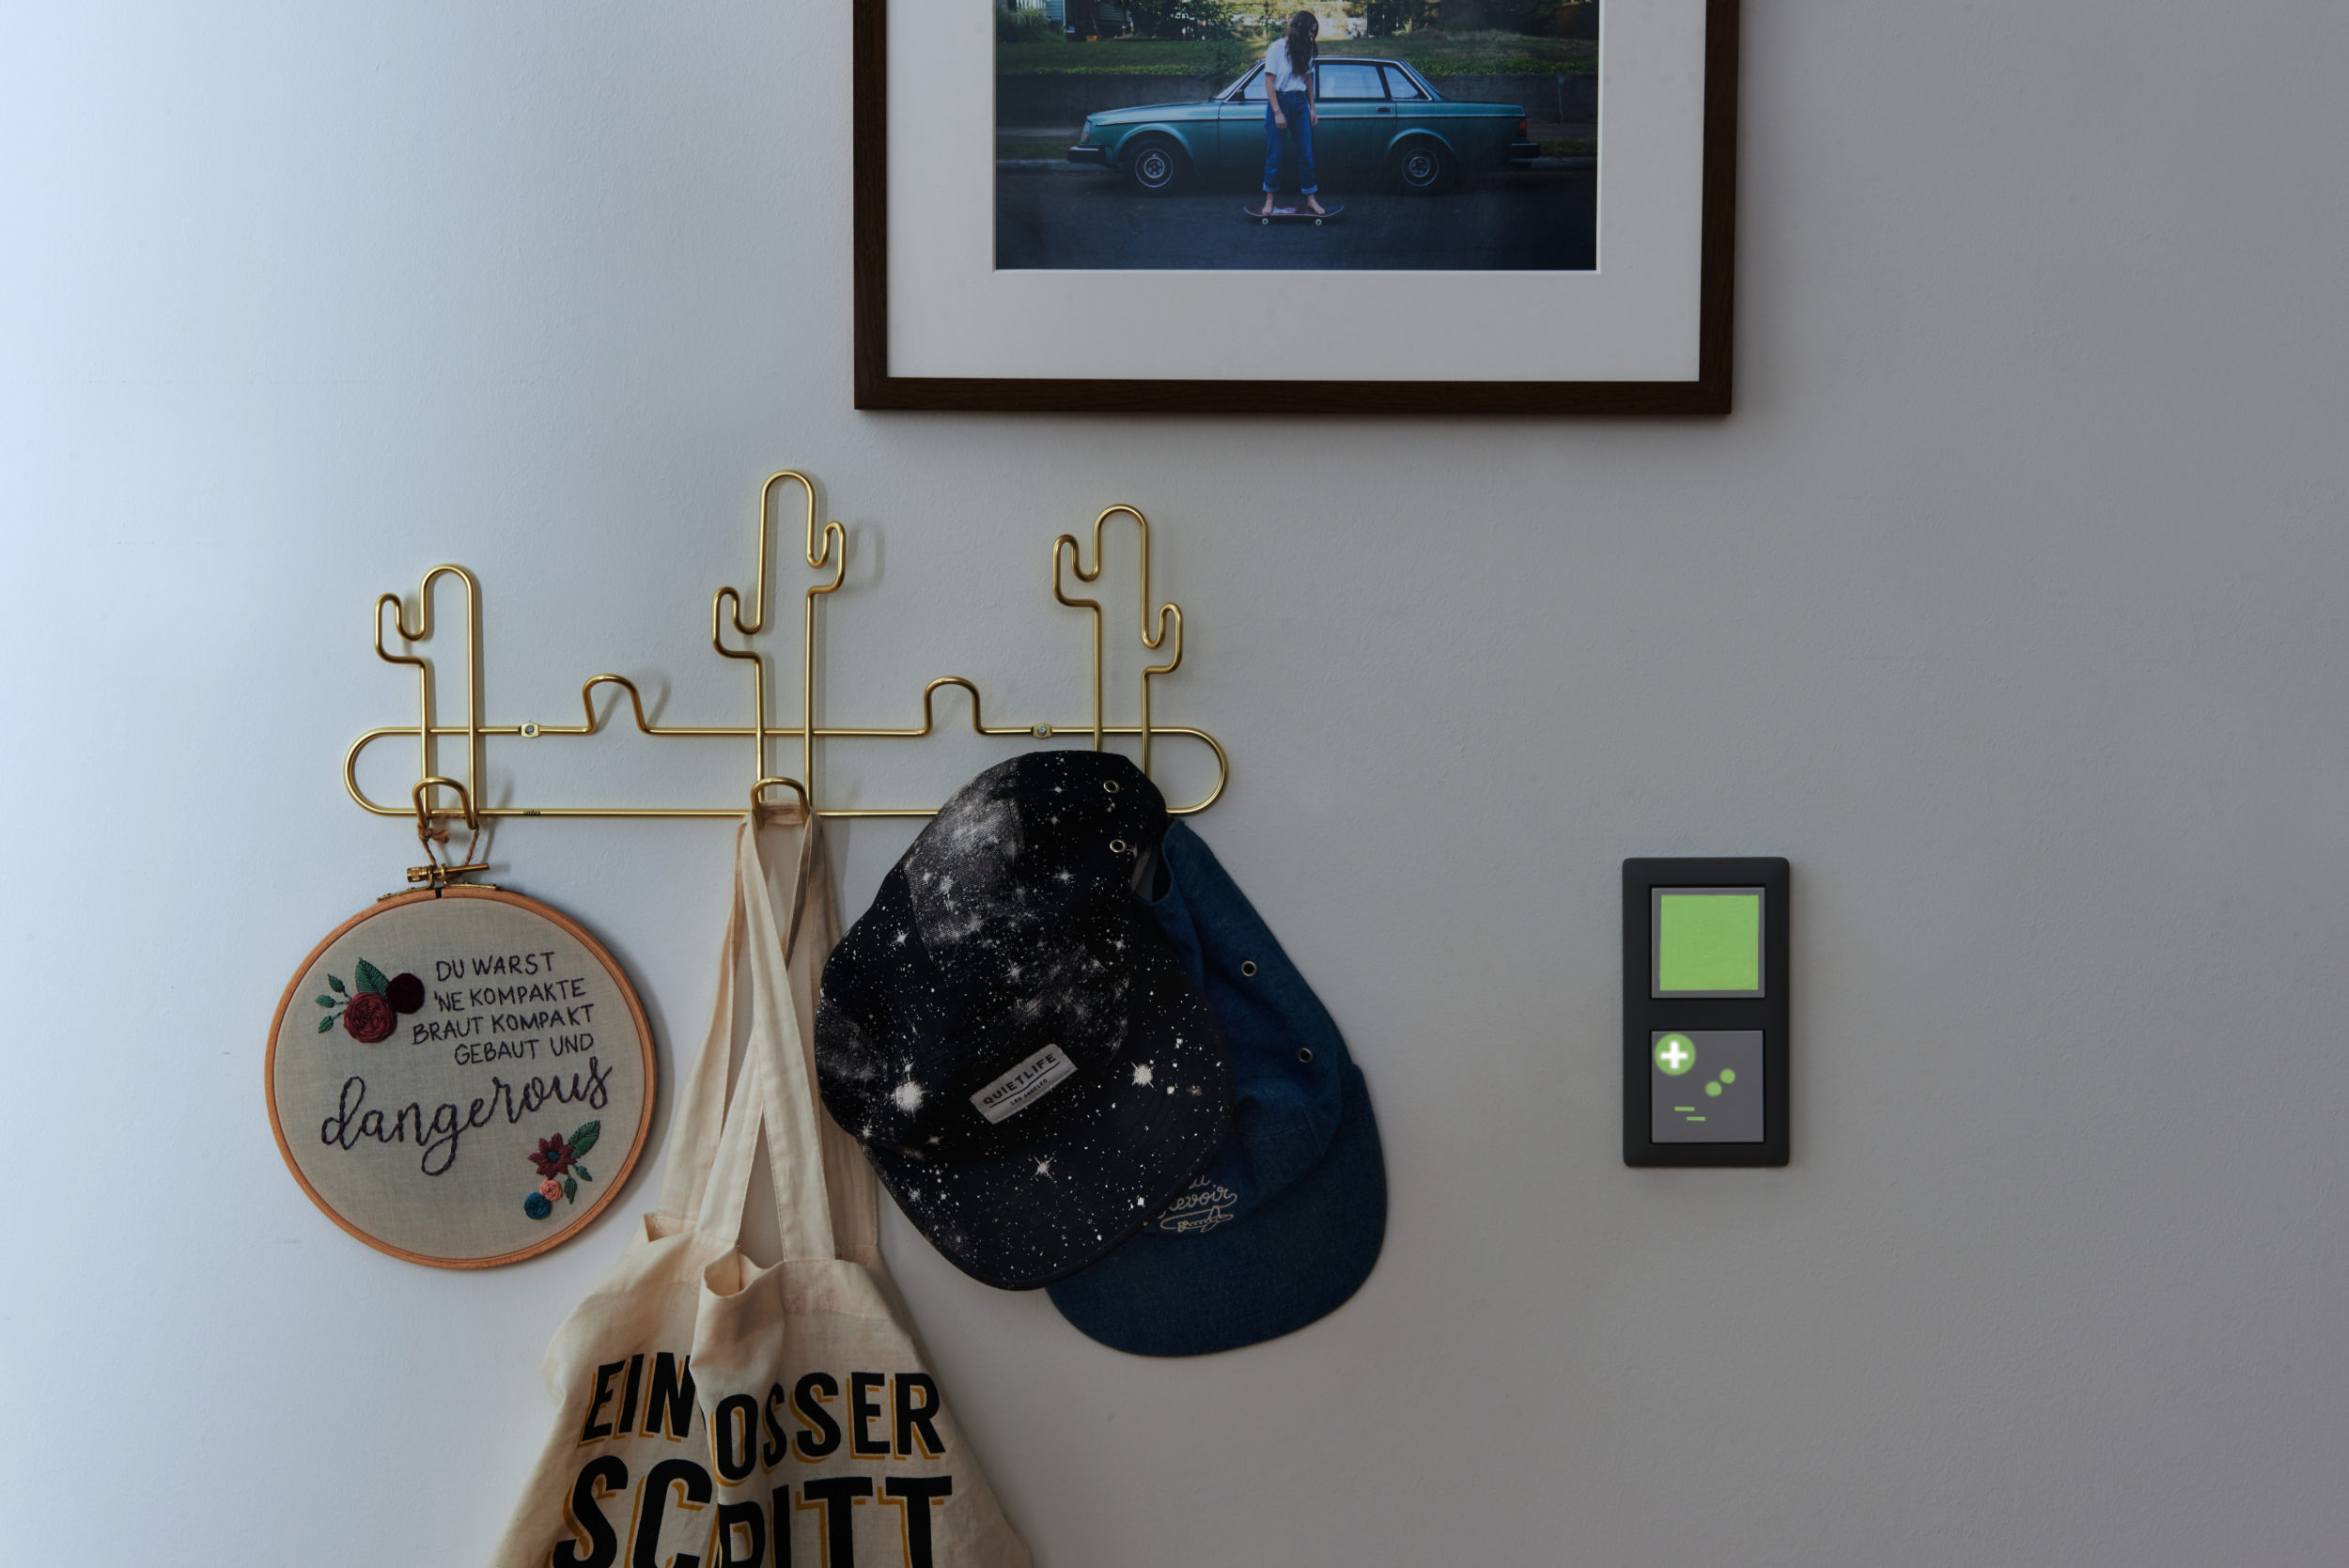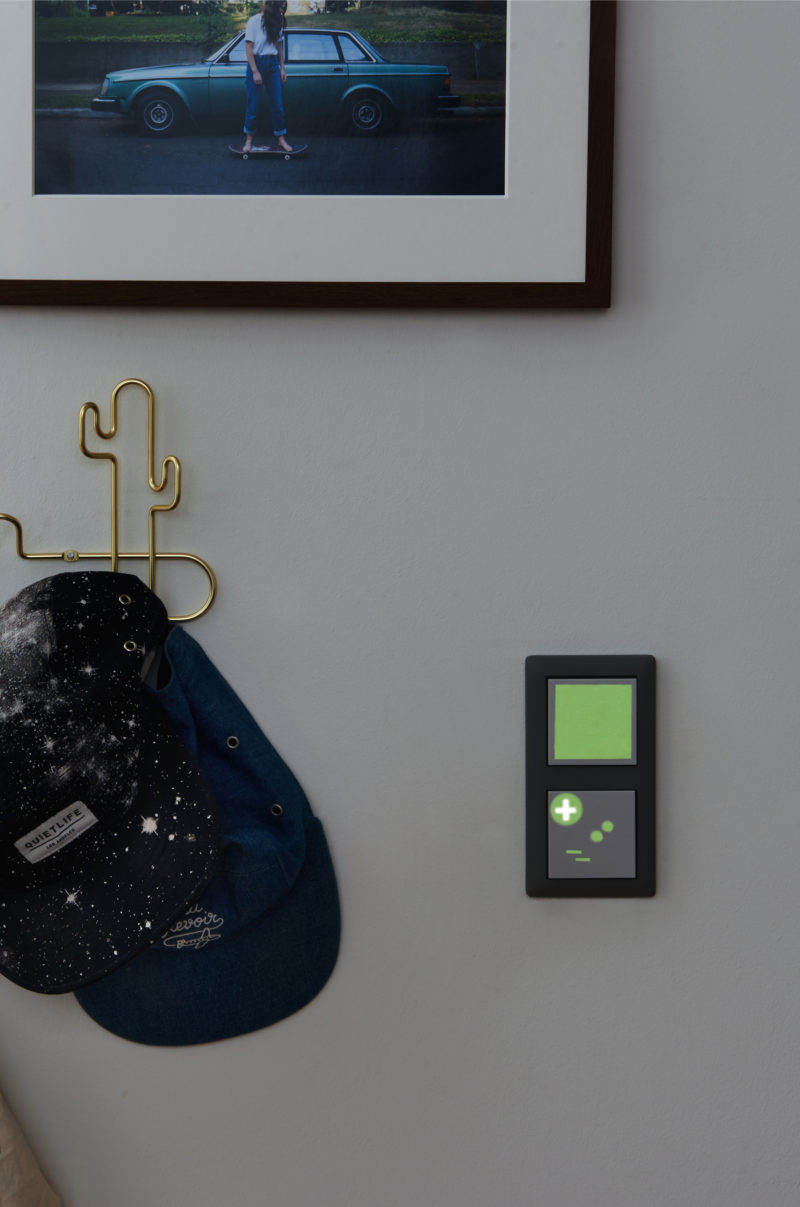
Seeing switches in the dark
Everybody has experienced that moment in the dark where you need to turn on a light, but you can’t see where the switch is. If only the light switch had a light of it’s own. Or…. it glowed in the dark. What a great idea! A practical and cool solution is to spray the switch with Montana NIGHTGLOW. We got to work and gathered our materials.
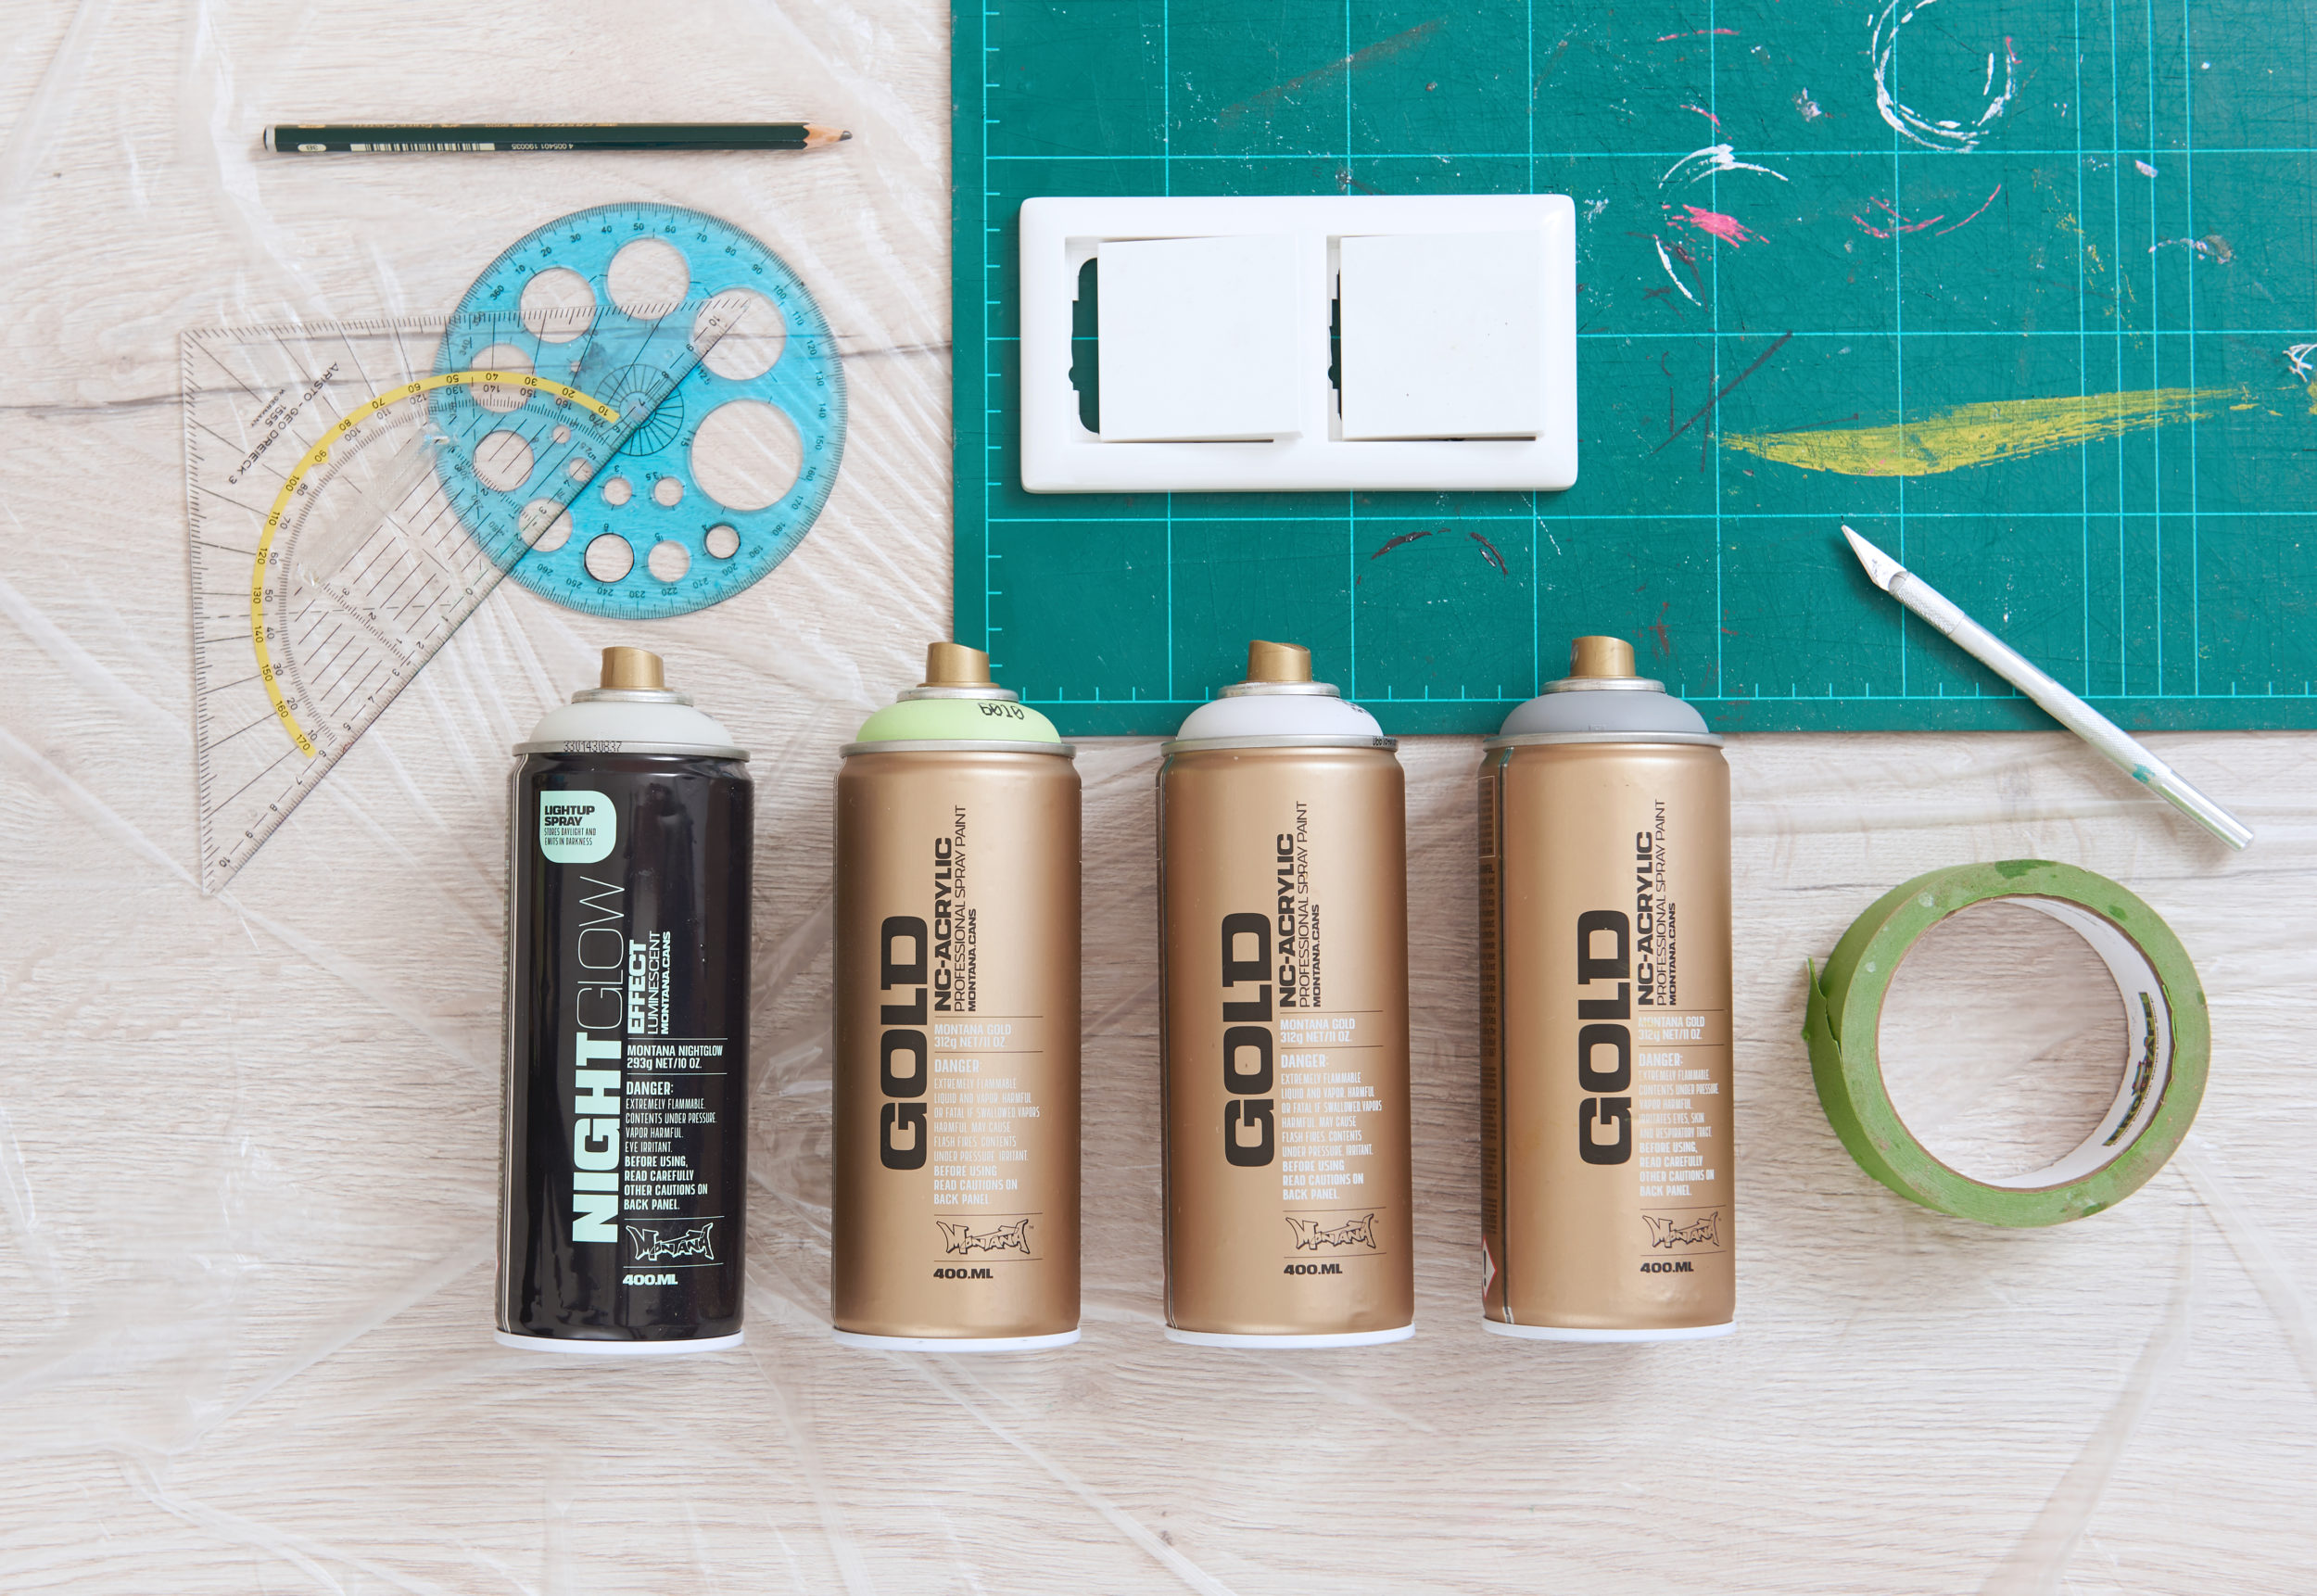
Materials Used
- Plastic light switch
- Montana GOLD Linden Green 6010 (and any extra Montana GOLD colors you want to add)
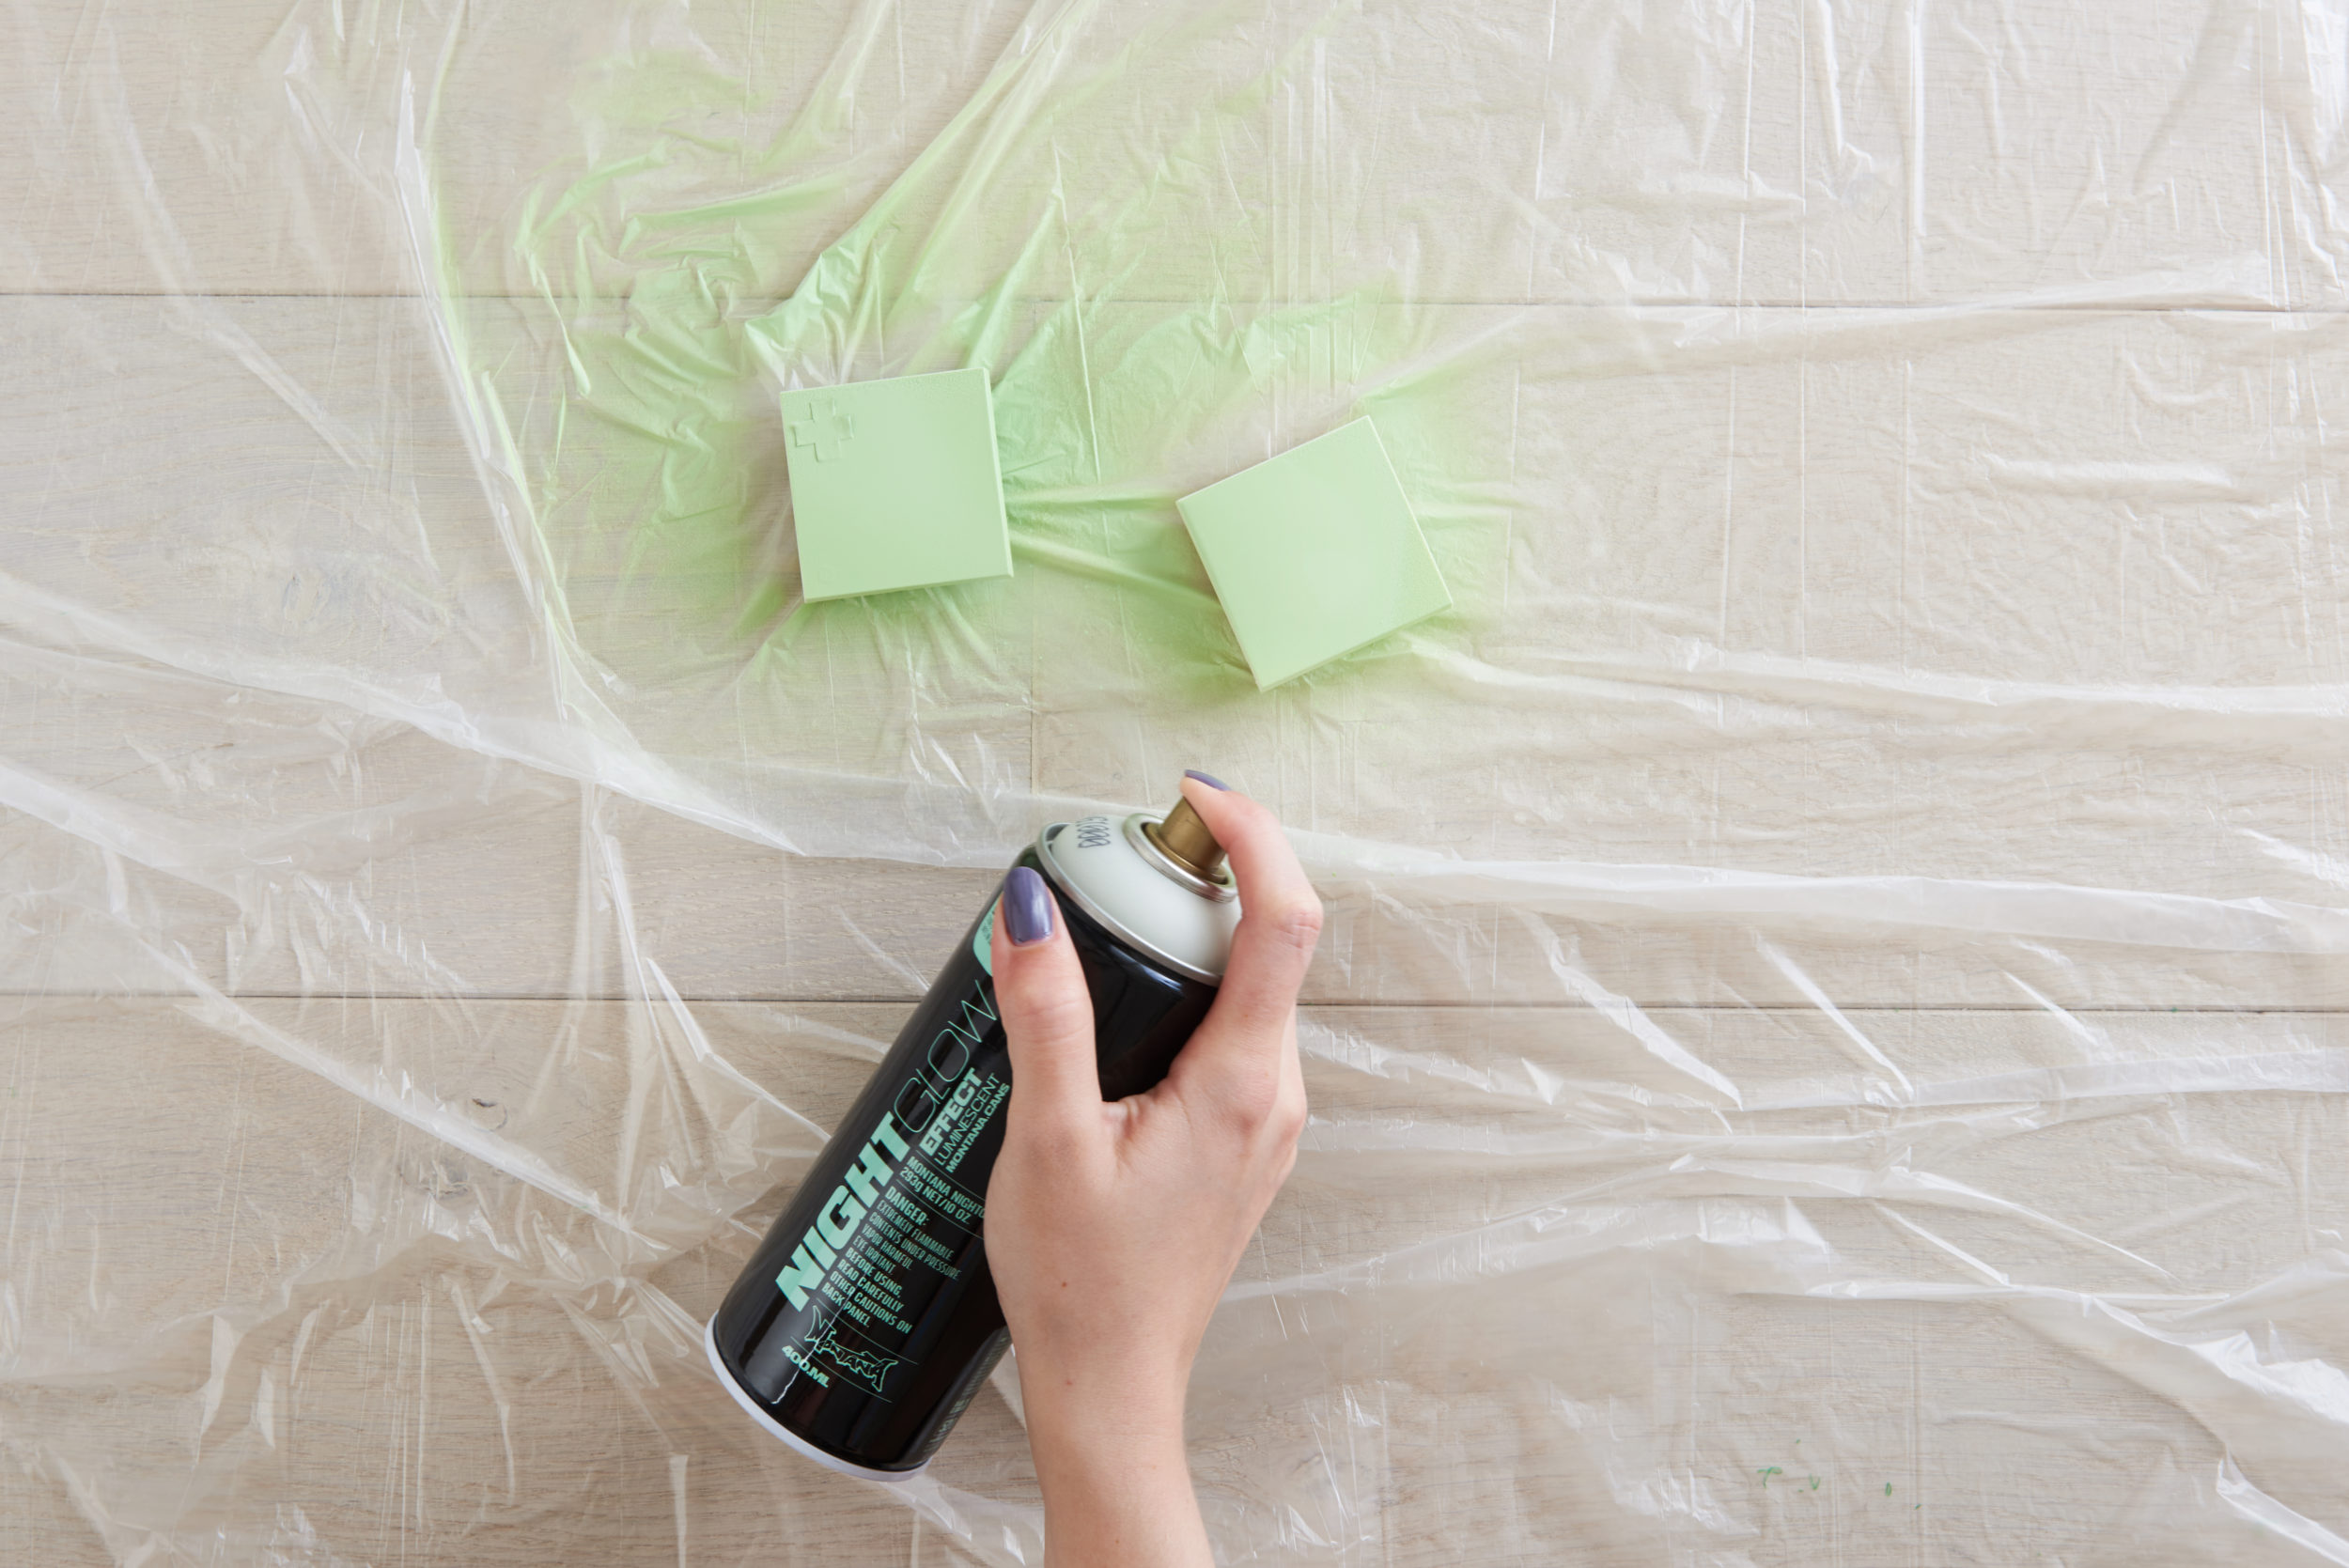
- A can of Montana NIGHTGLOW
- Montana PLASTIC PRIMER (optional)
- Masking tape
- Scalpel or craft cutter
- Pencil
- Rule or stencil material (optional)
How it was done
The first step is to remove your plastic switch carefully. Ensure that it is clean and free of dust. After shaking your Montana GOLD Line – Linden Green well, remove the safety ring from under the nozzle and re-apply it. For the best results apply a coat of Montana PLASTIC PRIMER (and let dry), so that the following colors adhere as well as possible. Once totally dry, apply two or more coats of Montana NIGHTGLOW. The more coats applied, the greater the potential glowing effect. You can leave it here and your switch will now glow in the dark. Or you can get more creative.
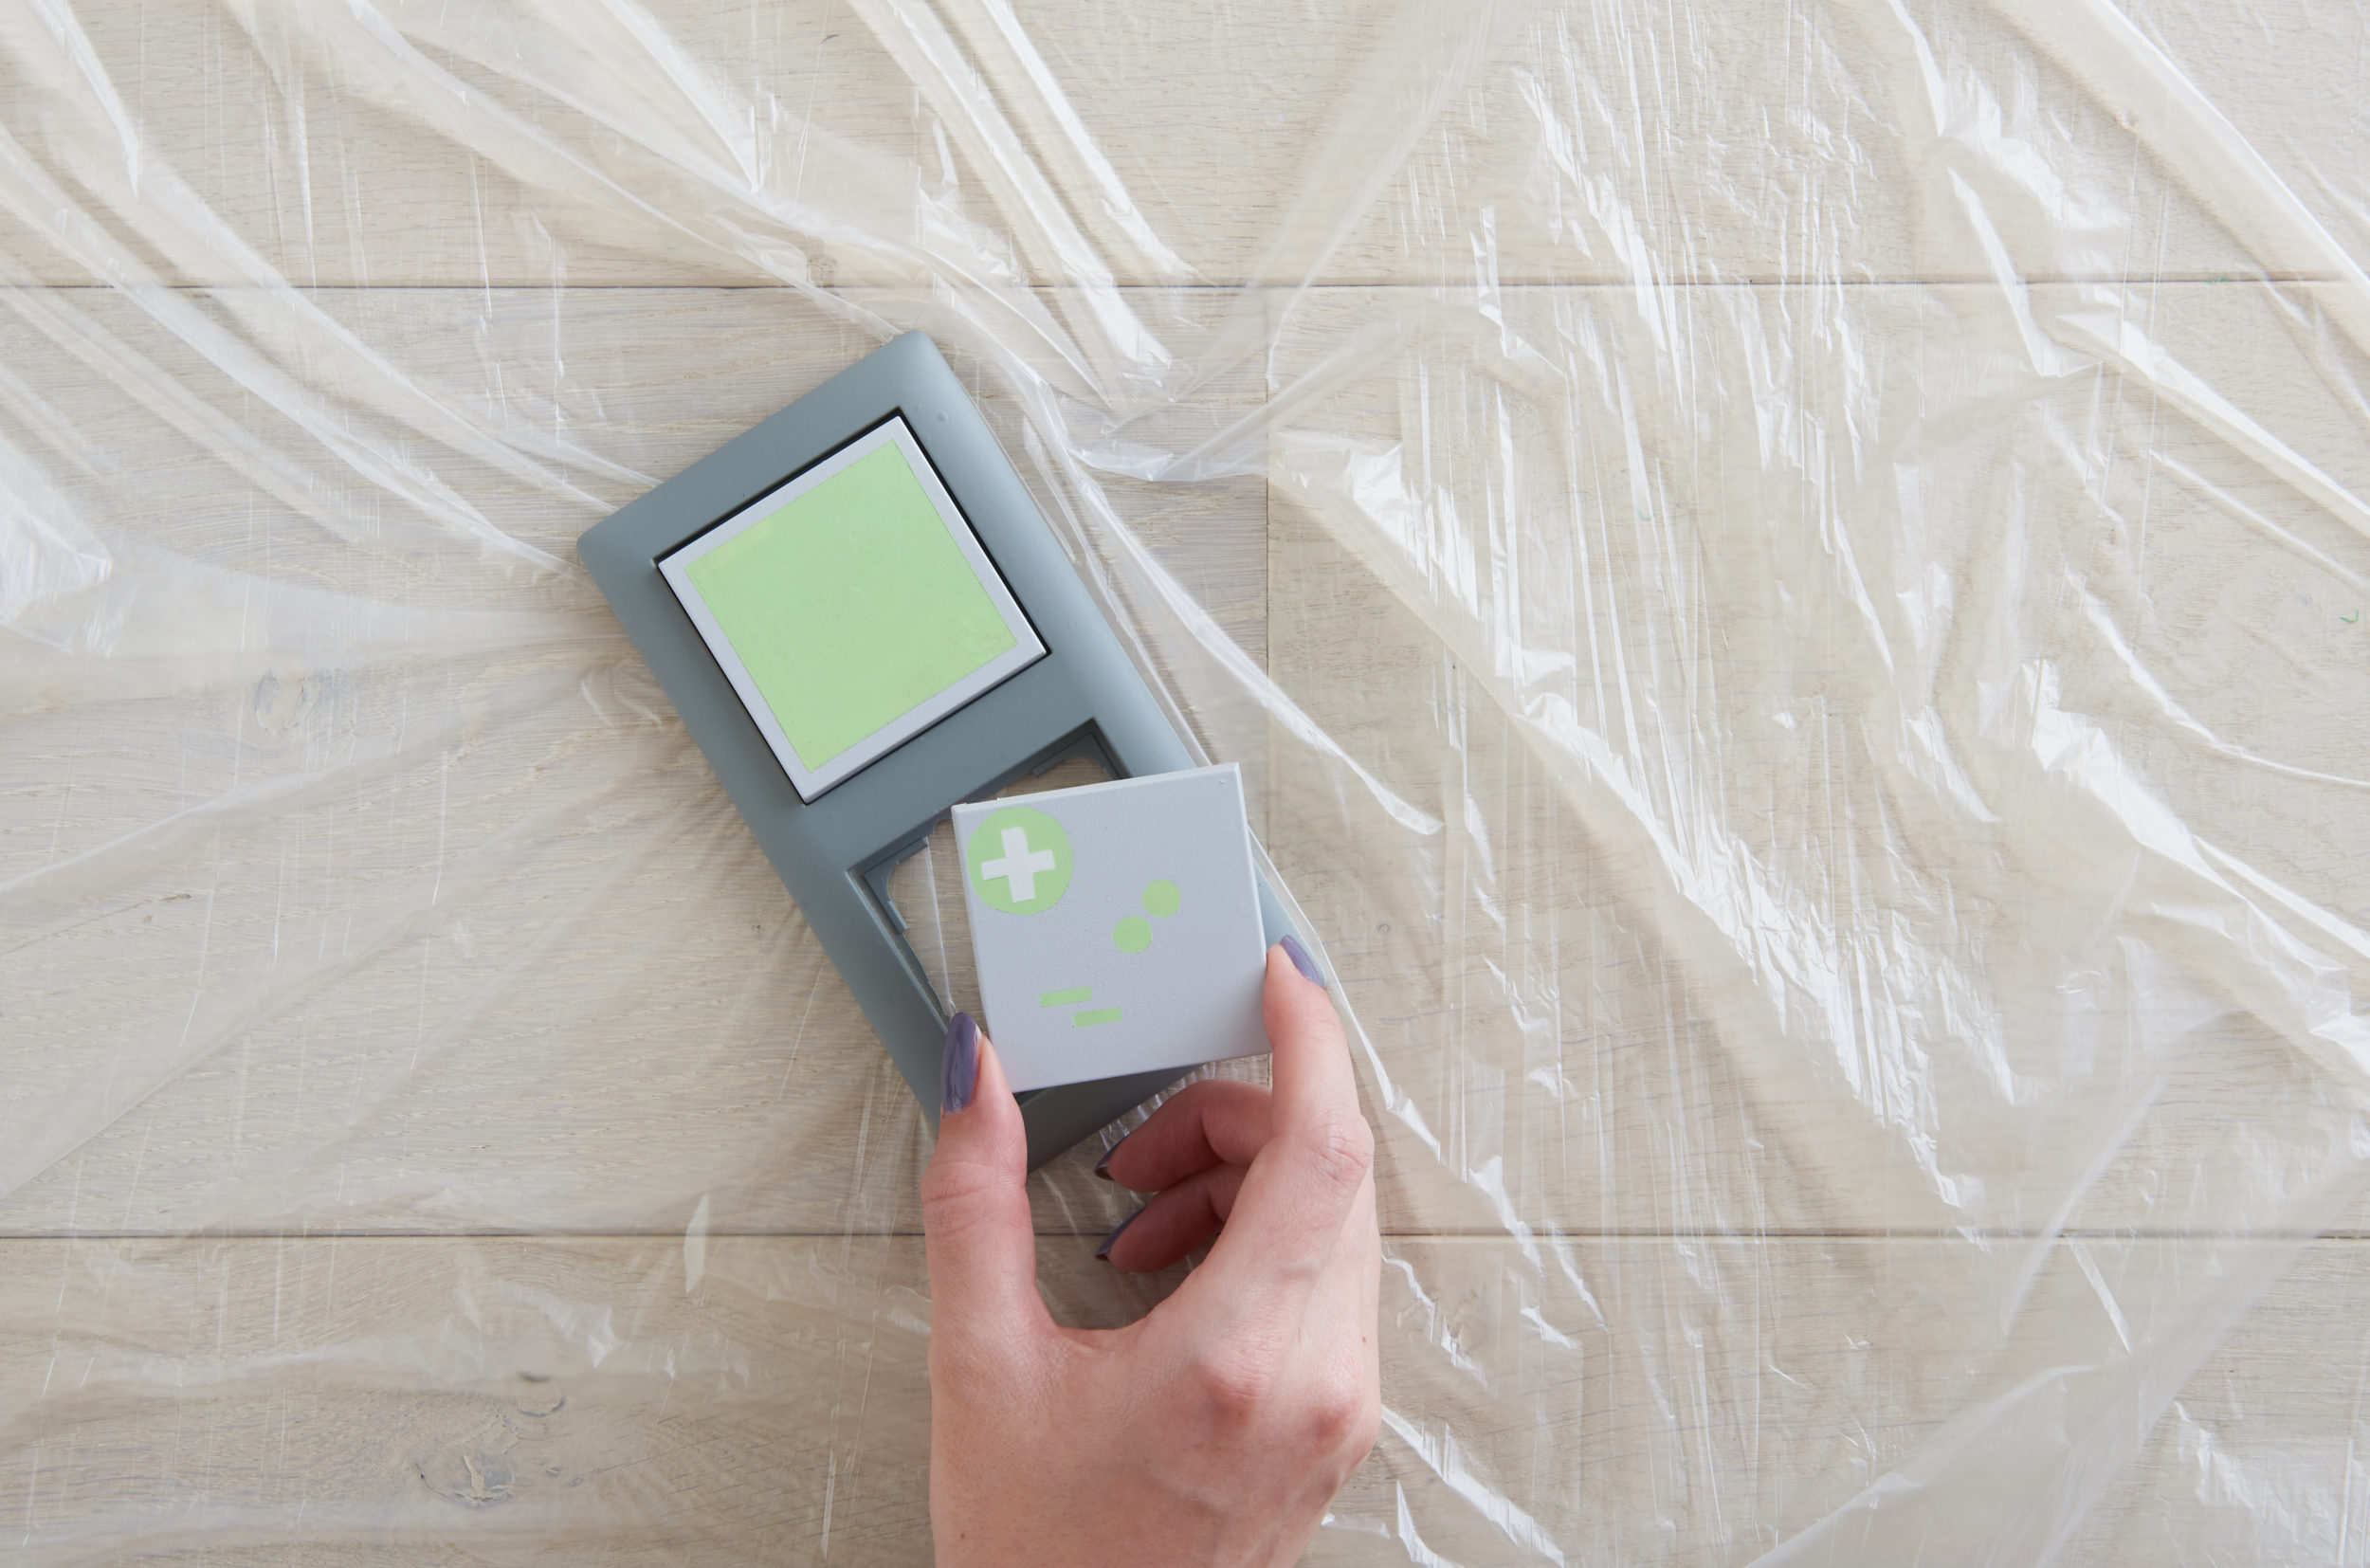
Personalise your switch by masking off any sections of the switch with plain masking tape, or symbols and shapes you have created and cut out of it. Stick them to the parts you want to have glow in the dark. Apply any variation of colors you may want to and get as practical or as crazy as you want. But remember, only the areas painted with NIGHTGLOW that were covered, will glow in the dark. Once all your layers have dried, remove all masking tape and re-apply your switch. Beautiful.. Now you can see your switch when ever you need to.
This project will probably take you about an hour and can be made by beginners or above. The more layers of color or designs you add, the more complicated and time intensive the project becomes. Happy crafting..