

Shaping and coloring clear plastic with ease
Sometimes, no matter how daunting or foreign a new material may seem, it may only take a small nudge or a little support from someone you know to make it seem a lot less difficult. Well, consider us that friend that is here to help you explore, and that potentially new material in your DIY repertoire is acrylic glass. What is acrylic glass you ask? Clear transparent plastic that, unlike real glass, is cuttable and easily shapeable for all of us at home. You guessed it, we came up with a project we called Fun Acrylic Trays.
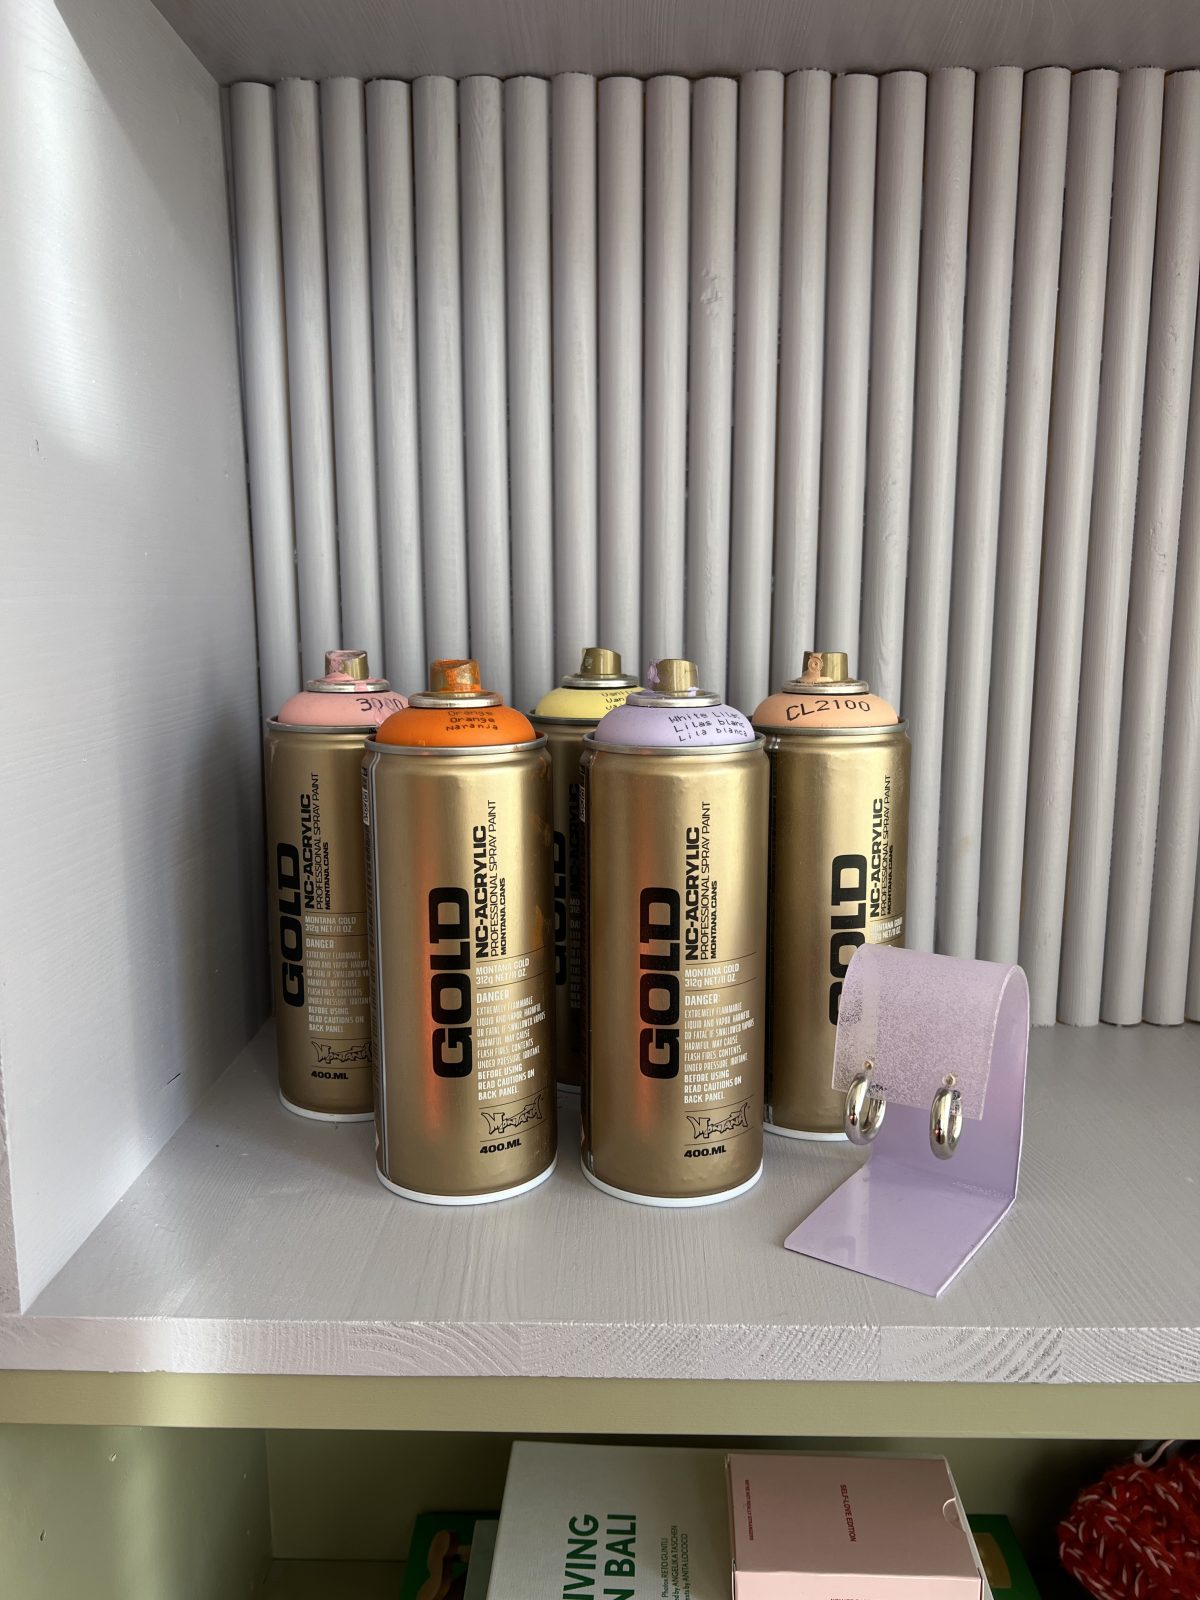
The contents needed for this are pretty simple. Firstly, some clean acrylic glass. This is also known under different trademarked names such as plexiglass. Some of your favorite Montana GOLD can colors, some sort of blade saw that can cut plastic. Sandpaper, a heat gun, a drill (optional), table clamps, a marker, and some heat-resistant materials like wood that you can shape your heated plastic over. And of course, gloves, a mask, and drop sheets are always welcomed.

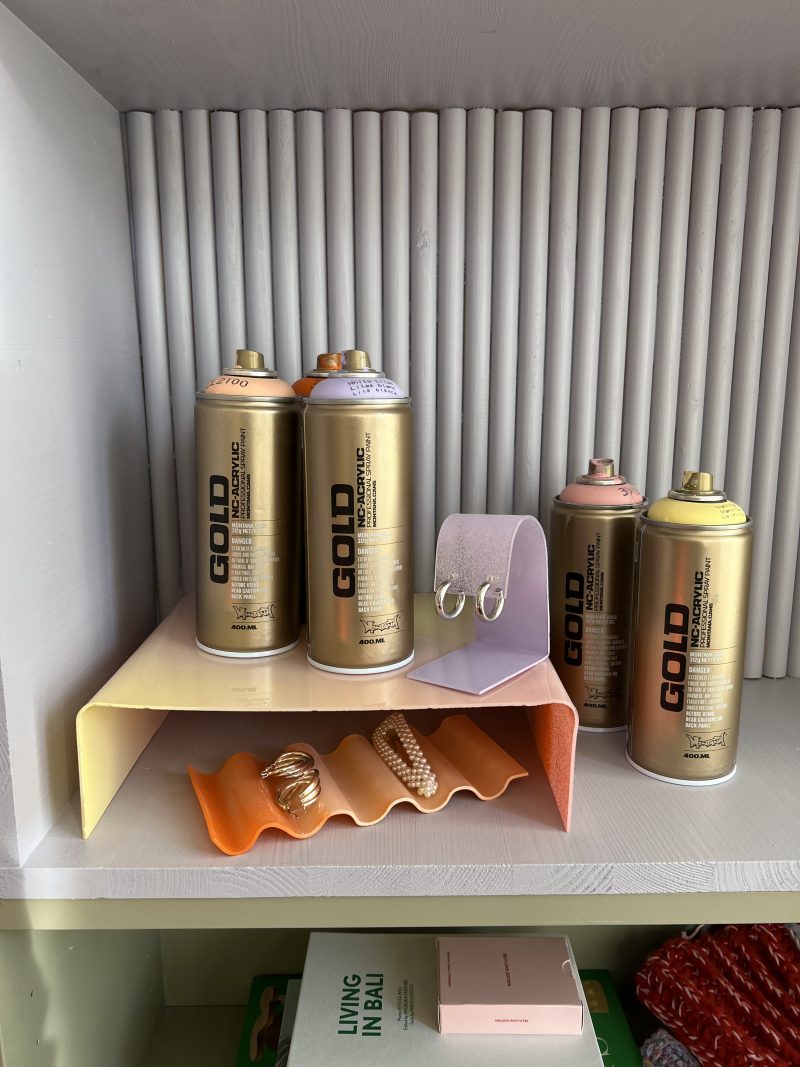
Our trays were created with the idea that they would display jewelry. With that in mind, we measured the required pieces, marked them out, and sawed them off the main sheet of acrylic glass. Using our sandpaper we sanded the edges till they were smooth so that there were no burs. For the earring holders, we first drilled holes which we could place earrings through.
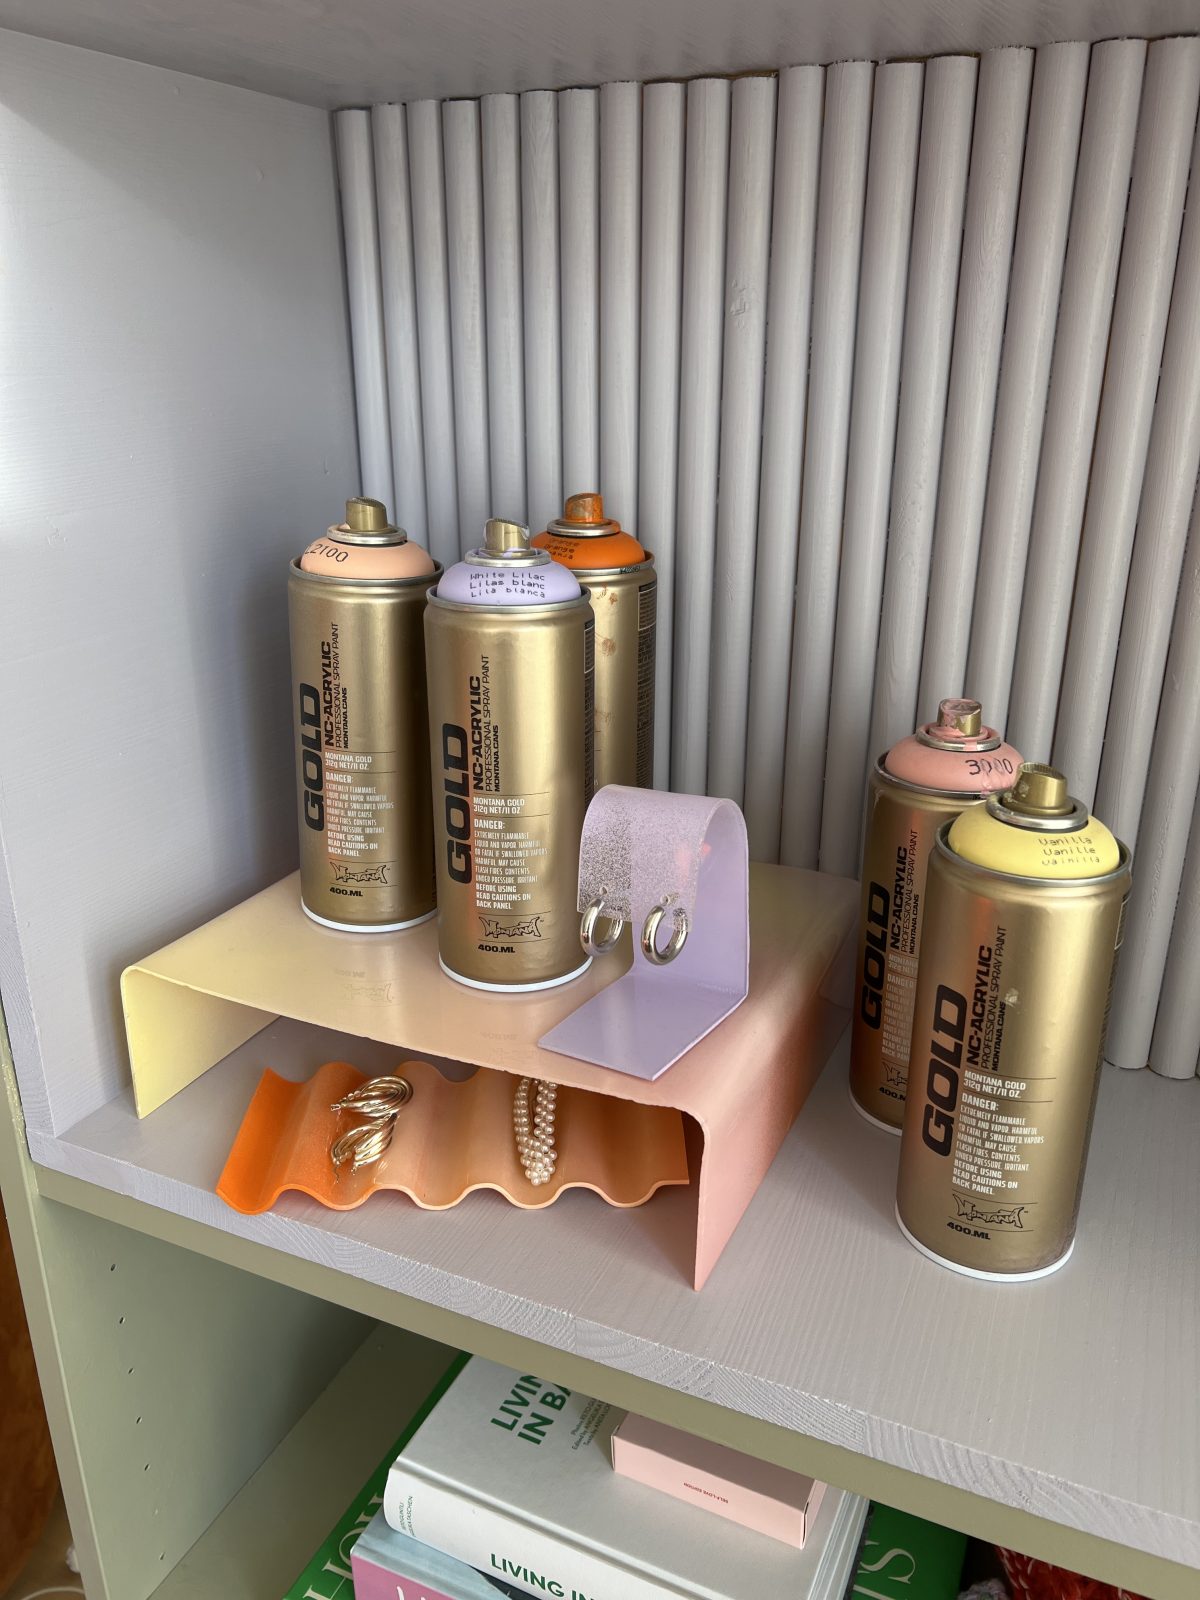
Then, after all the sticky safety covers had been torn off, we then proceeded to shape the plastics as desired. Now the plastic does get hot! So be prepared, clamp your acrylic pieces to the table, and leave space for where you want to bend or shape. And remember to avoid touching the plastics where you have heated them. To heat, take your heat gun, and at a distance of 20-30cm, blow on the desired spot till your plastic warms and becomes malleable. Do not heat the plastic too close or it may burn or bubble from the heat. While the plastic is soft, take your wooden or heat-resistant objects and bend the plastic in the shapes you wanted them to be. The film will help you see how simple this really is.
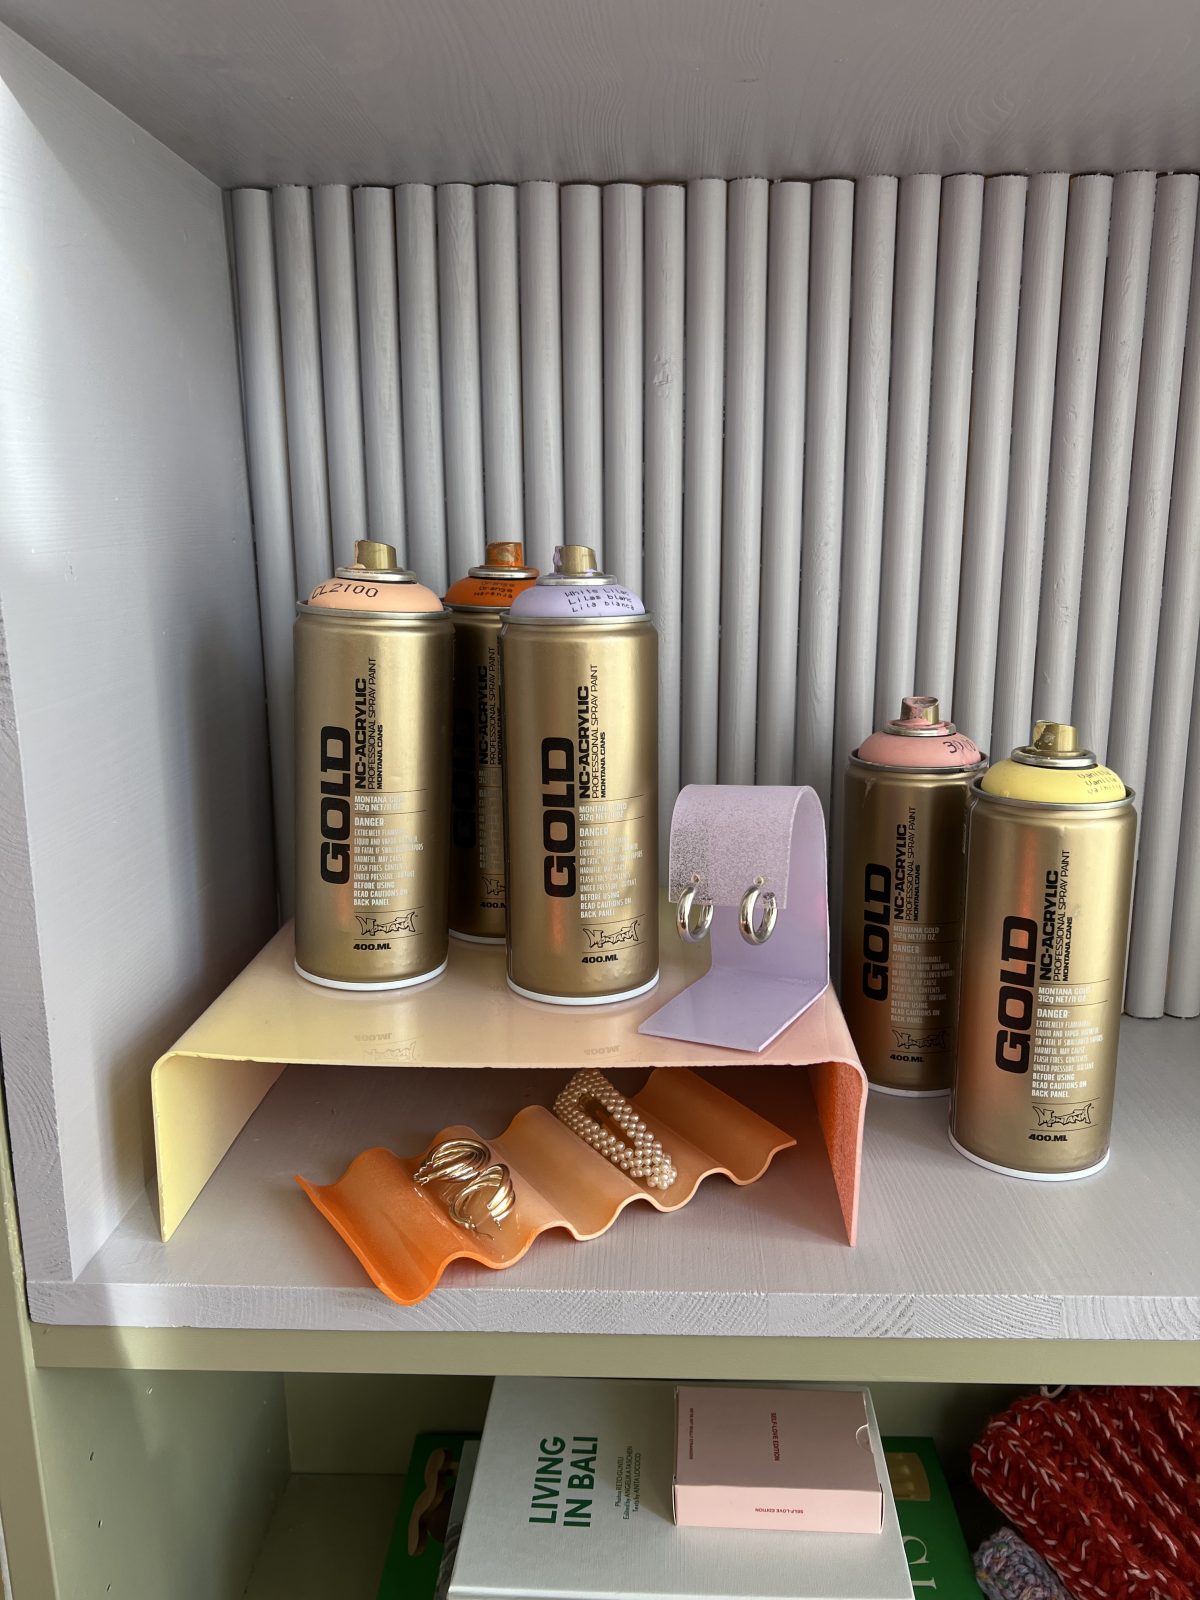
Now we get to the part we know and love, adding color! Shake all your Montana GOLD cans for 2-3 minutes. Once you can hear the mixing balls moving freely, remove the nozzle, turn the can upside down, and let the black safety ring fall out. Replace the nozzle back onto the can and spray in a direction away from any objects to start spraying. When you’re ready, apply the color you want to the reverse side of the plastic as desired. This will mean the color is underneath the plastic and the upper surface will remain smooth and shiny without paint scratches. And there you have it. Fun, cool, and very unique plastic trays for any purpose you can think of.
This project is for courageous intermediate to experienced-level creators who are willing to sink their teeth into a new material and a new technique. Or at least working with plastic is challenging. The painting part can be done by anyone.There is about an hour to an hour and a half of work required depending on the number of trays, the size, and the level of complexity of the shaping process. But the result is professional and worth every minute of it. This time you really need to give yourself a high five and acknowledge that it took courage to make this happen. Nothing that teamwork can’t resolve.
Well done and Happy Crafting!


