Color and reflections
Mirror, mirror, on the wall, which is the fairest color of them all… Or in this case, what is the fairest color of all. This is a difficult question to answer if you’re referring to the Montana GOLD color range with so many colors to choose from. Mirrors are always available whether new, used, or found. And when a beautiful round-edged wooden frame mirror found its way into our possession for free, it was clear that we had an allspraypainted color project right there in front of us. With a peek into the Montana GOLD color chart, a little hard work, and some patience, the Rainbow Mirror Project came alive. If you’re not already keen to see what we are talking about, read on and you soon will be.
BEFORE
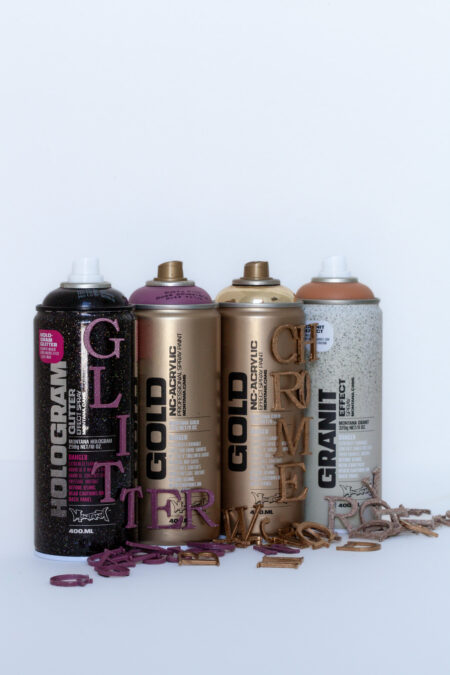
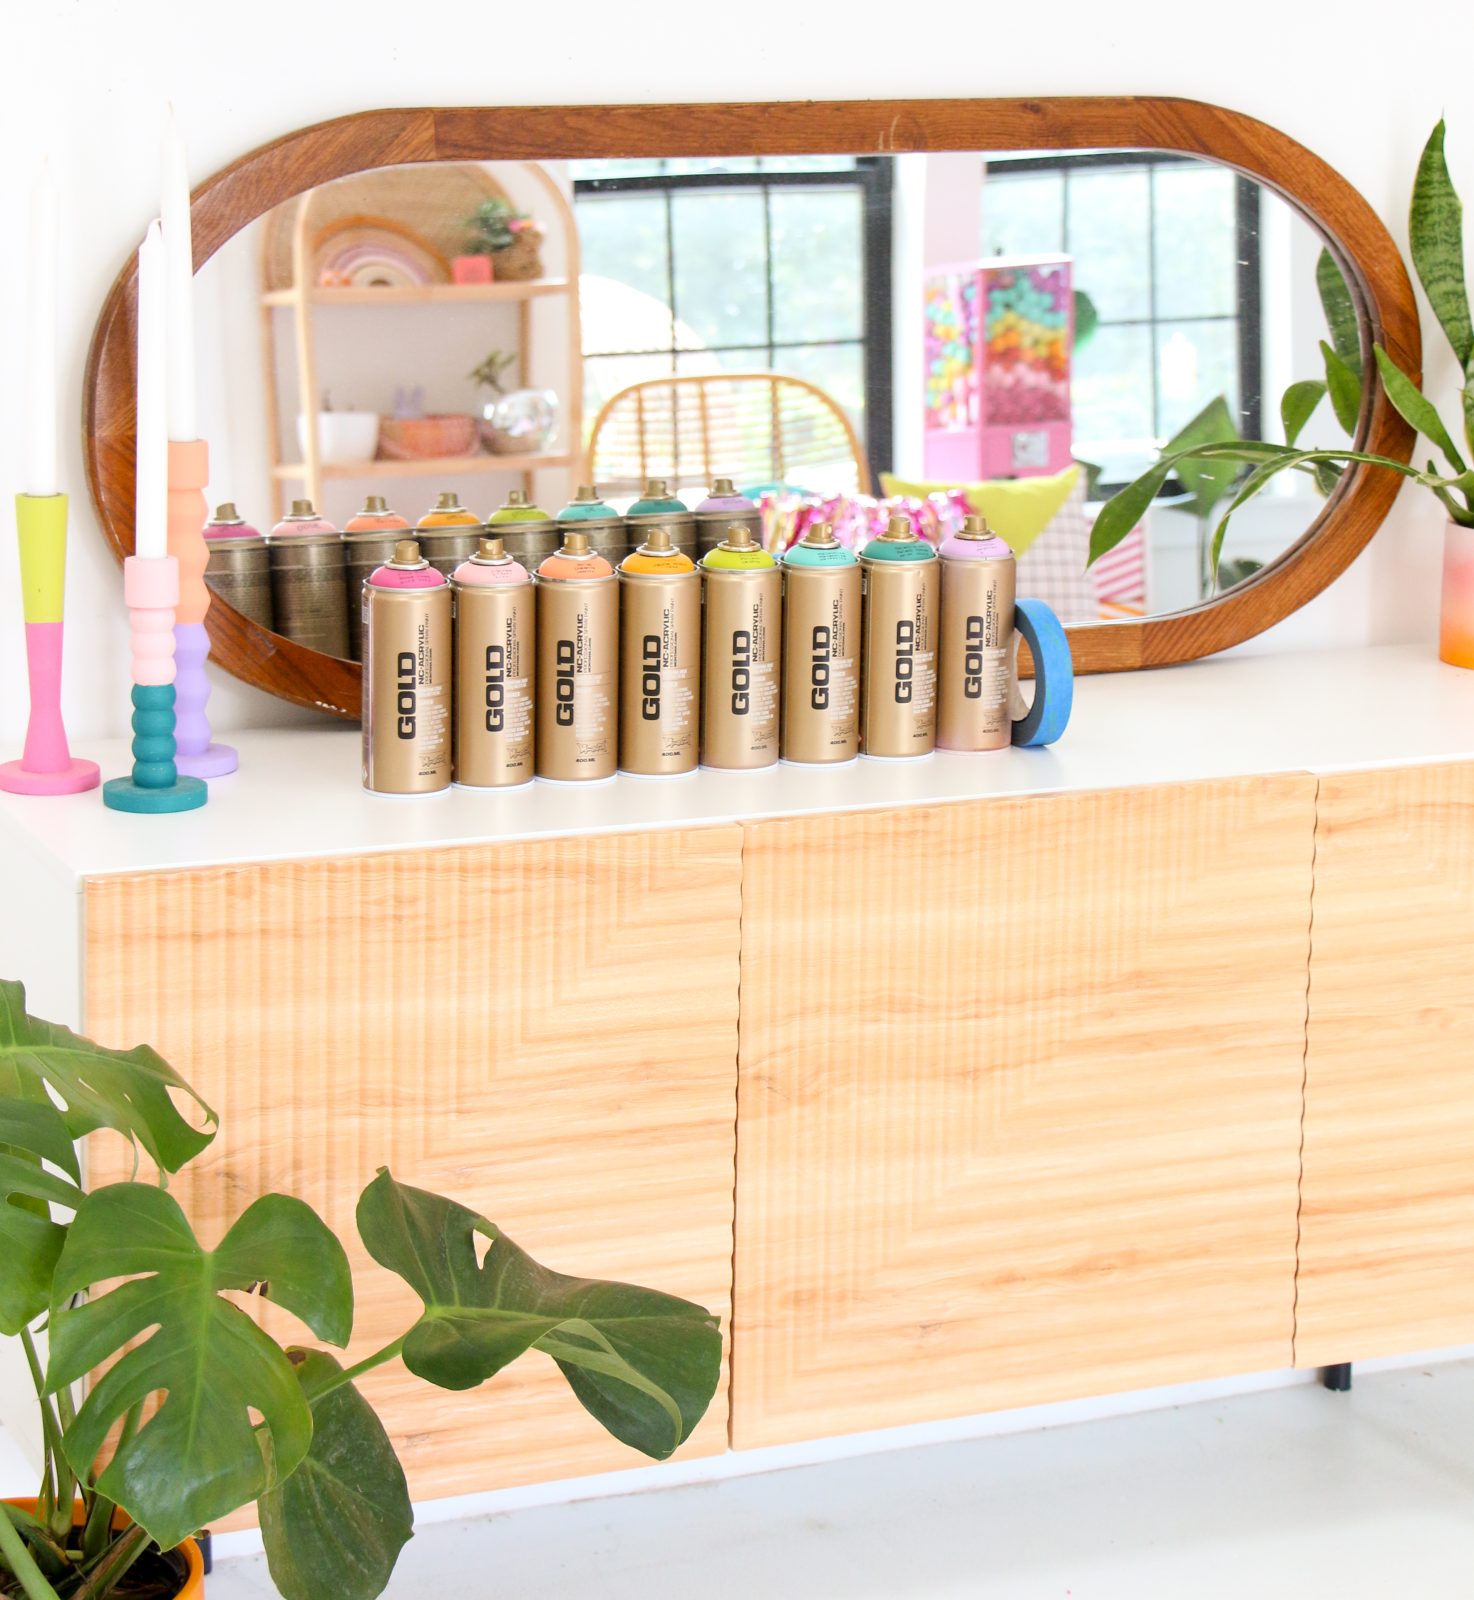
As soon as we saw this beautiful mirror, it was clear that we needed to get our gloves and mask and prepare for creativity. The thick, opaque colors of the Montana GOLD range were going to be perfect for the job and with little effort, the decision was made to use Strawberry, Punk Pink, Bazooka Joe, Lychee, Shrimp, Yolk, Poison, Malachite, Malachite Dark, Reef, Crocus, Shock White, and Viola.
Aside from our Montana GOLD cans, some masking tape, paper, and a can of Montana VARNISH were all we needed to make it happen. After our mirror was clean and dry, we masked off the mirror itself covering it with the paper in the middle. This was attached by the masking tape around the edges leaving only the wooded frame exposed and the mirror covered.
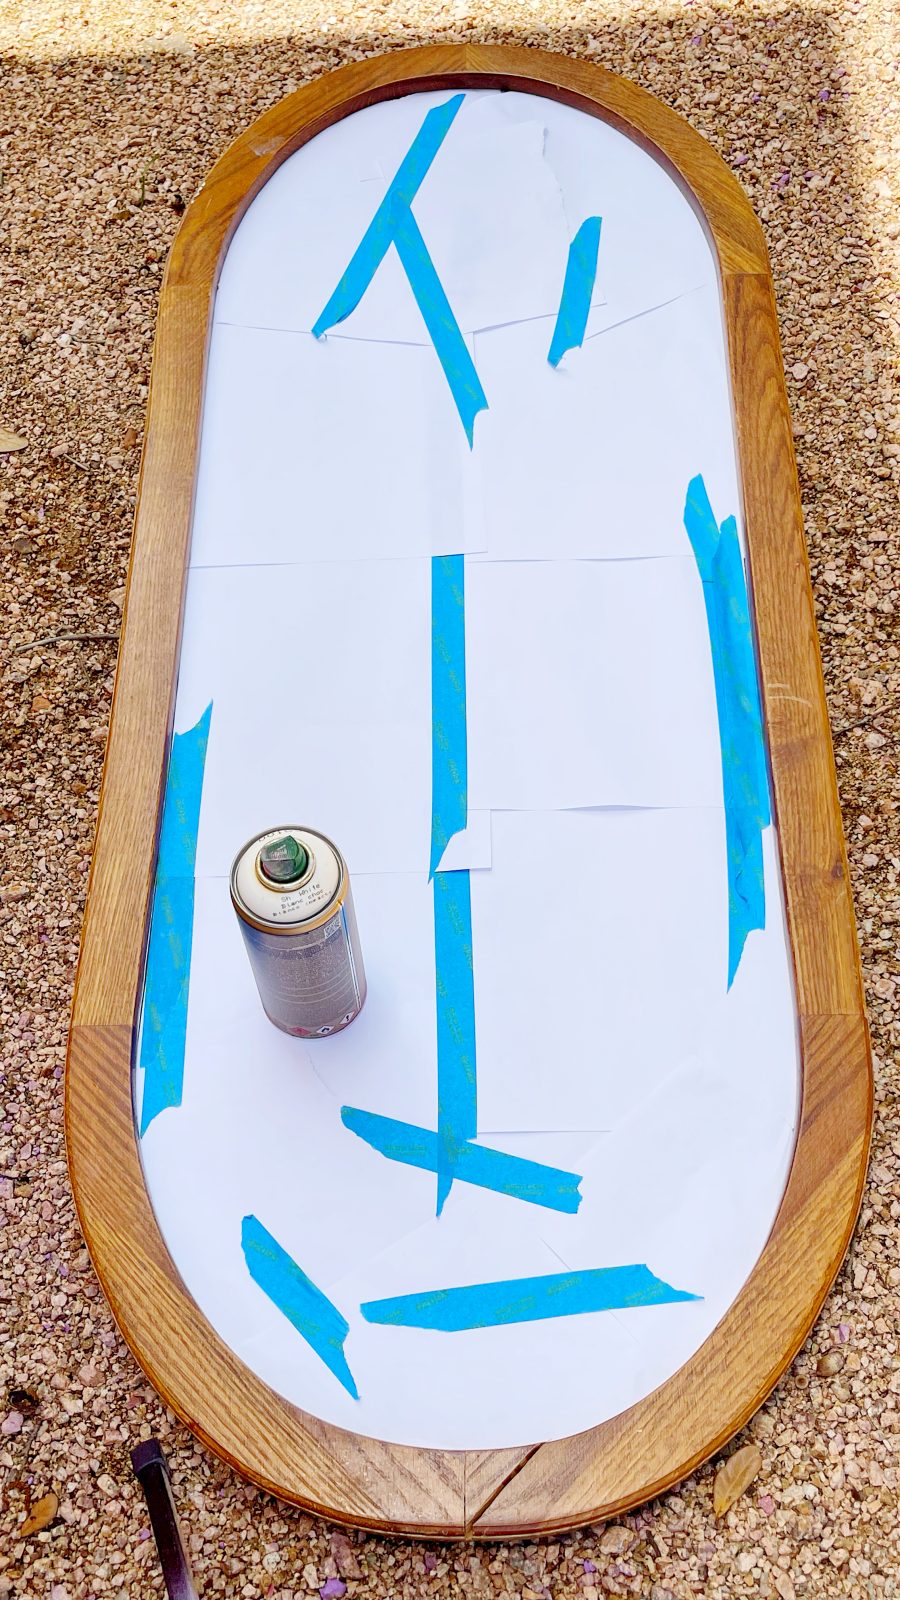
If your mirror requires it, grab some fine sandpaper and give the frame a light sanding. Remember to clean your exposed wooden frame free of dust, oils, or marks again before painting. We then sprayed the whole mirror frame with our Montana GOLD Shock White and allowed it to dry.
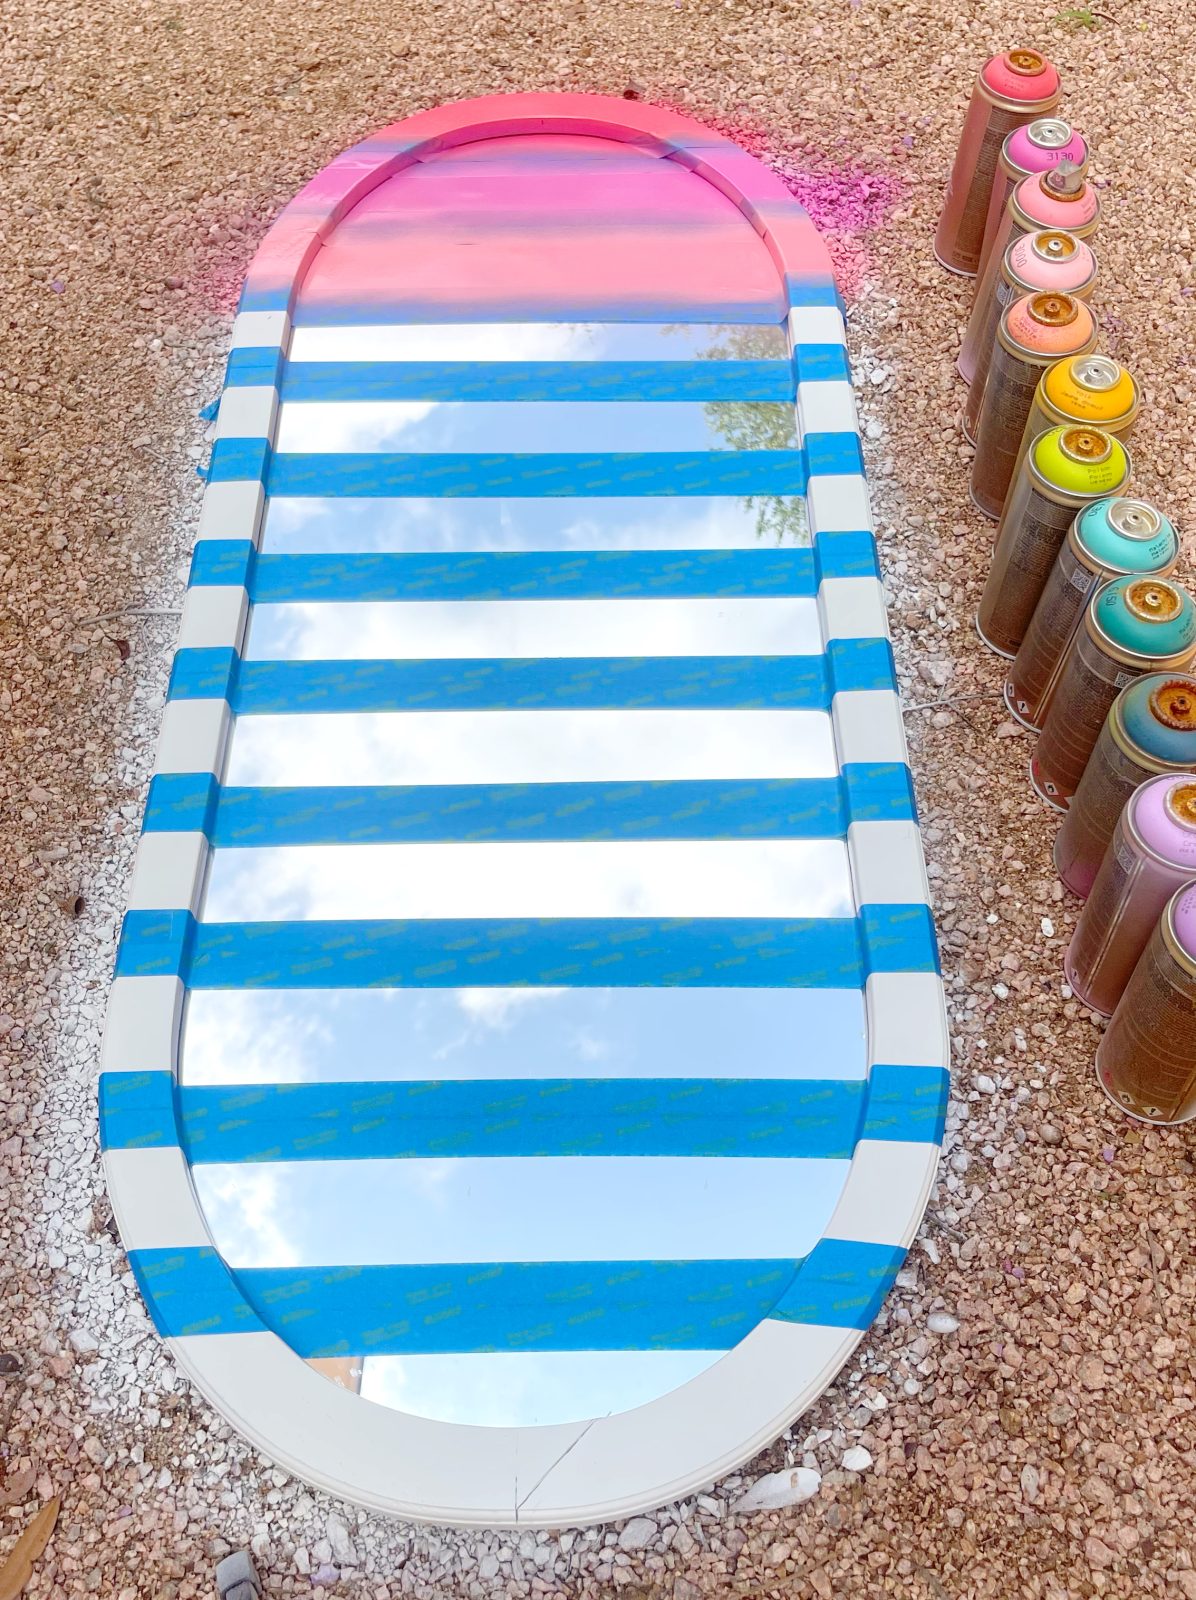
After removing the masking tape and paper covering the mirror, we were left with a clean mirror with a now-white frame. Awesome, but not as awesome as it was still going to get. We then proceeded to mask off equal geometric stripes running down the mirror vertically. As you probably already guessed, our number of unmasked spaces was equal to the number of colors we had chosen to paint them. You could prepare more or fewer lines, depending on the number of colors you had chosen to use. And if you had only one color to choose from, even that could be an interesting monotone or two-tone concept.

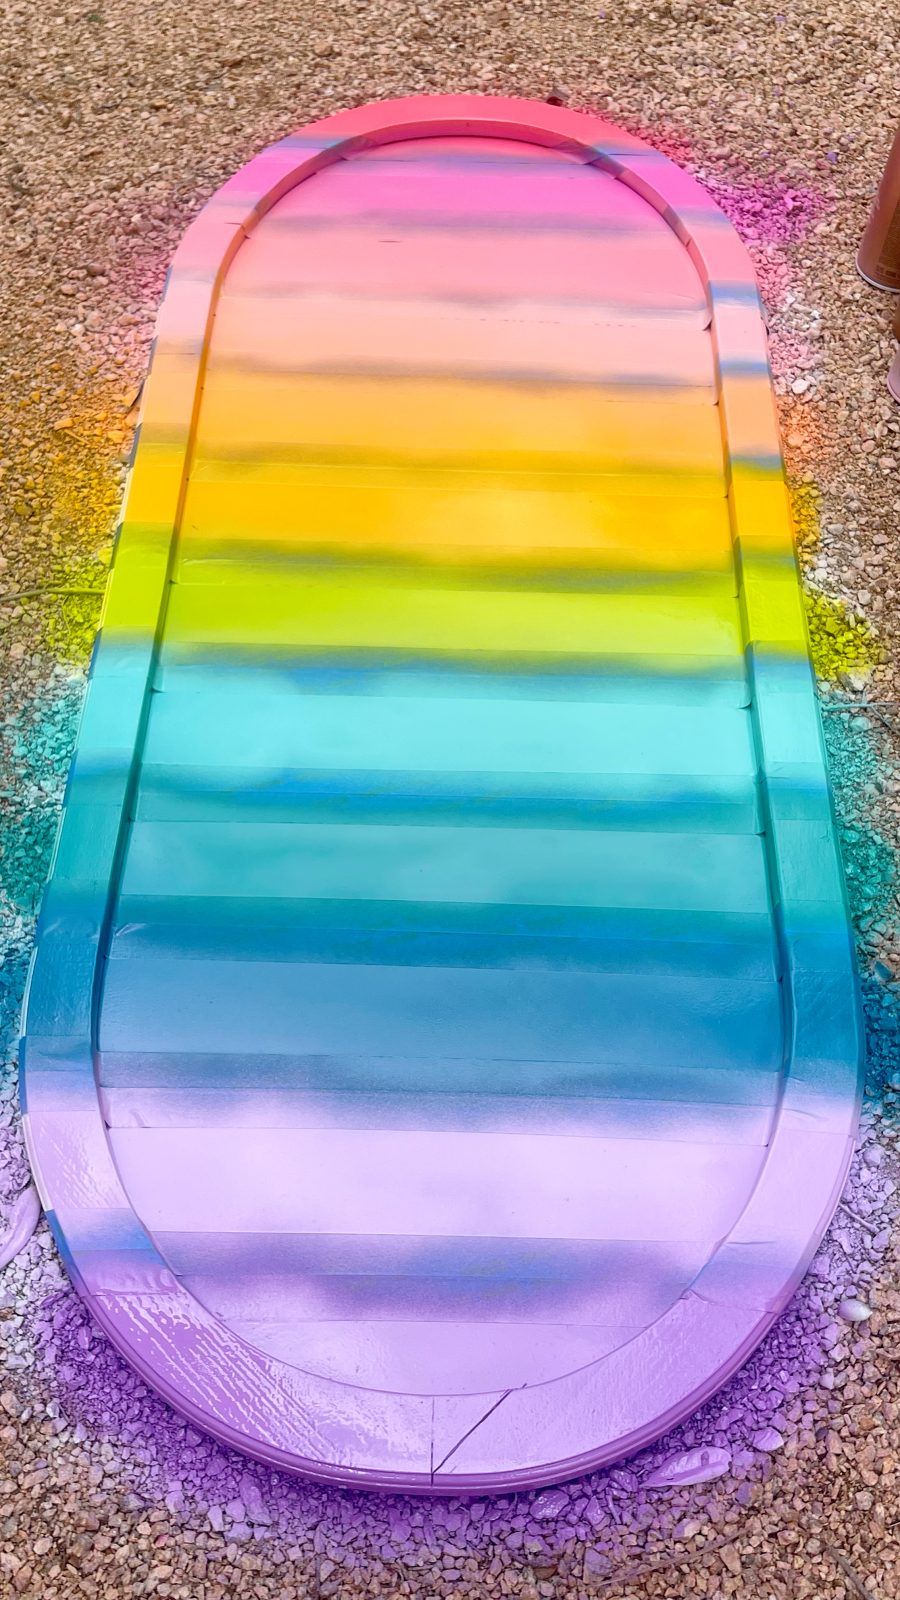
Of course, all the cans were shaken for 2-3 minutes, the nozzles had been removed, and the cans had been turned upside down allowing the safety ring from under the nozzles to fall out. Then at a distance of 15-20cm from the mirror, we sprayed thin even coats of color, one color at a time. It is very important that during this phase of the project, each color you apply stays only in the line that you are painting. If your spaces are thin and this is a challenge to paint each section without color going into the next stripe, simply place a piece of paper loosely over the exposed mirror so that any overspray lands on the paper, and not the mirror.
Work your way from one side to the other till all colors are applied and then leave the mirror to dry overnight so all the colors can cure. The last step is that extra little touch of durability in the form of a nice coat of varnish. We used the Montana VARNISH Matt, but you could choose Gloss or Semi-Gloss if you prefer. The VARNISH has extra UV blockers in it to slow the aging process of the paint and also gives it a nice seal making the mirror easy to clean and care for.
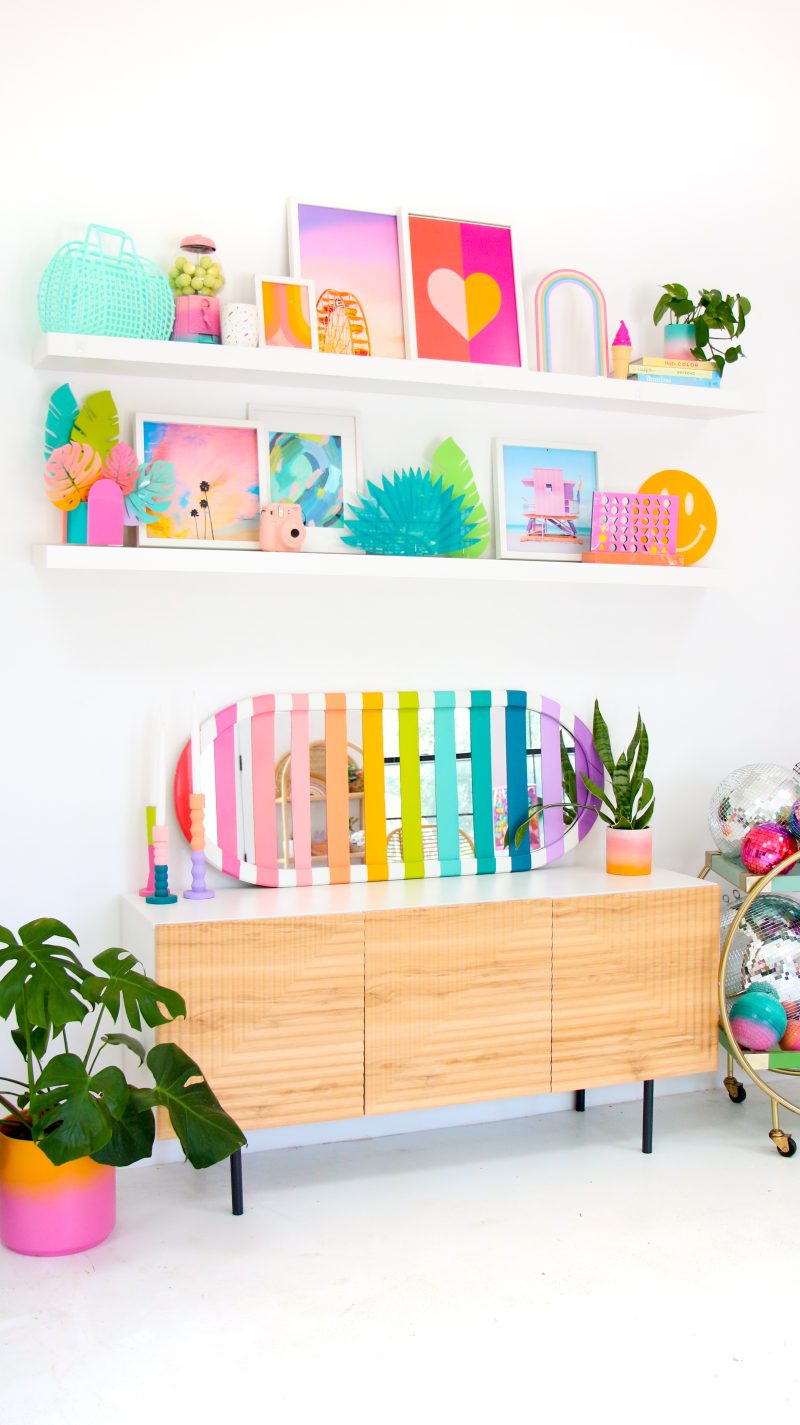
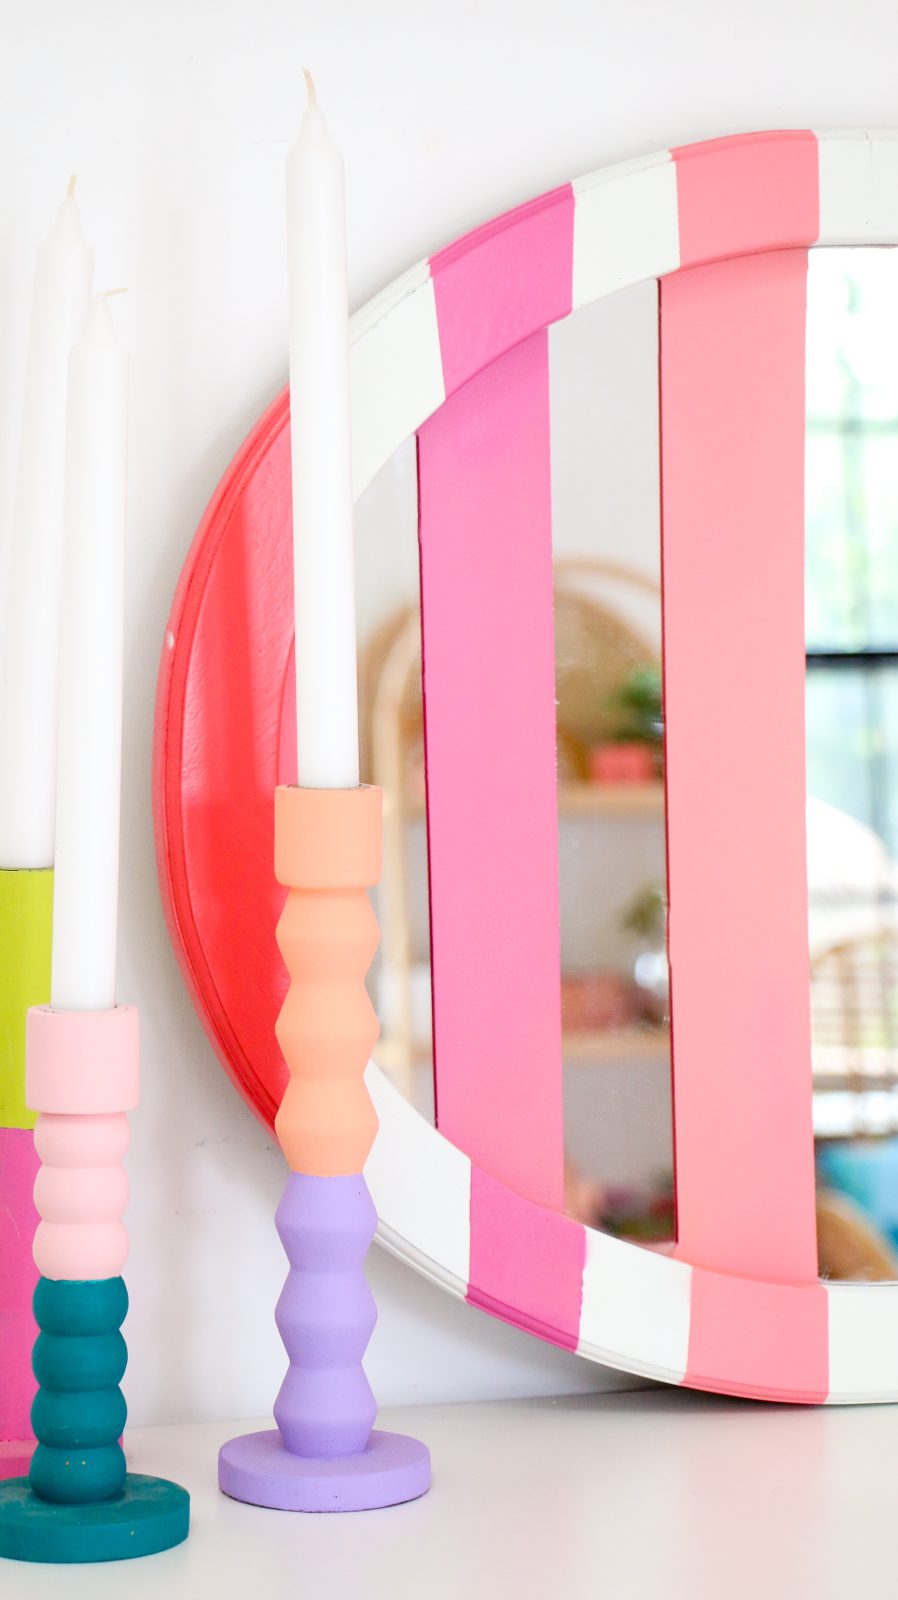
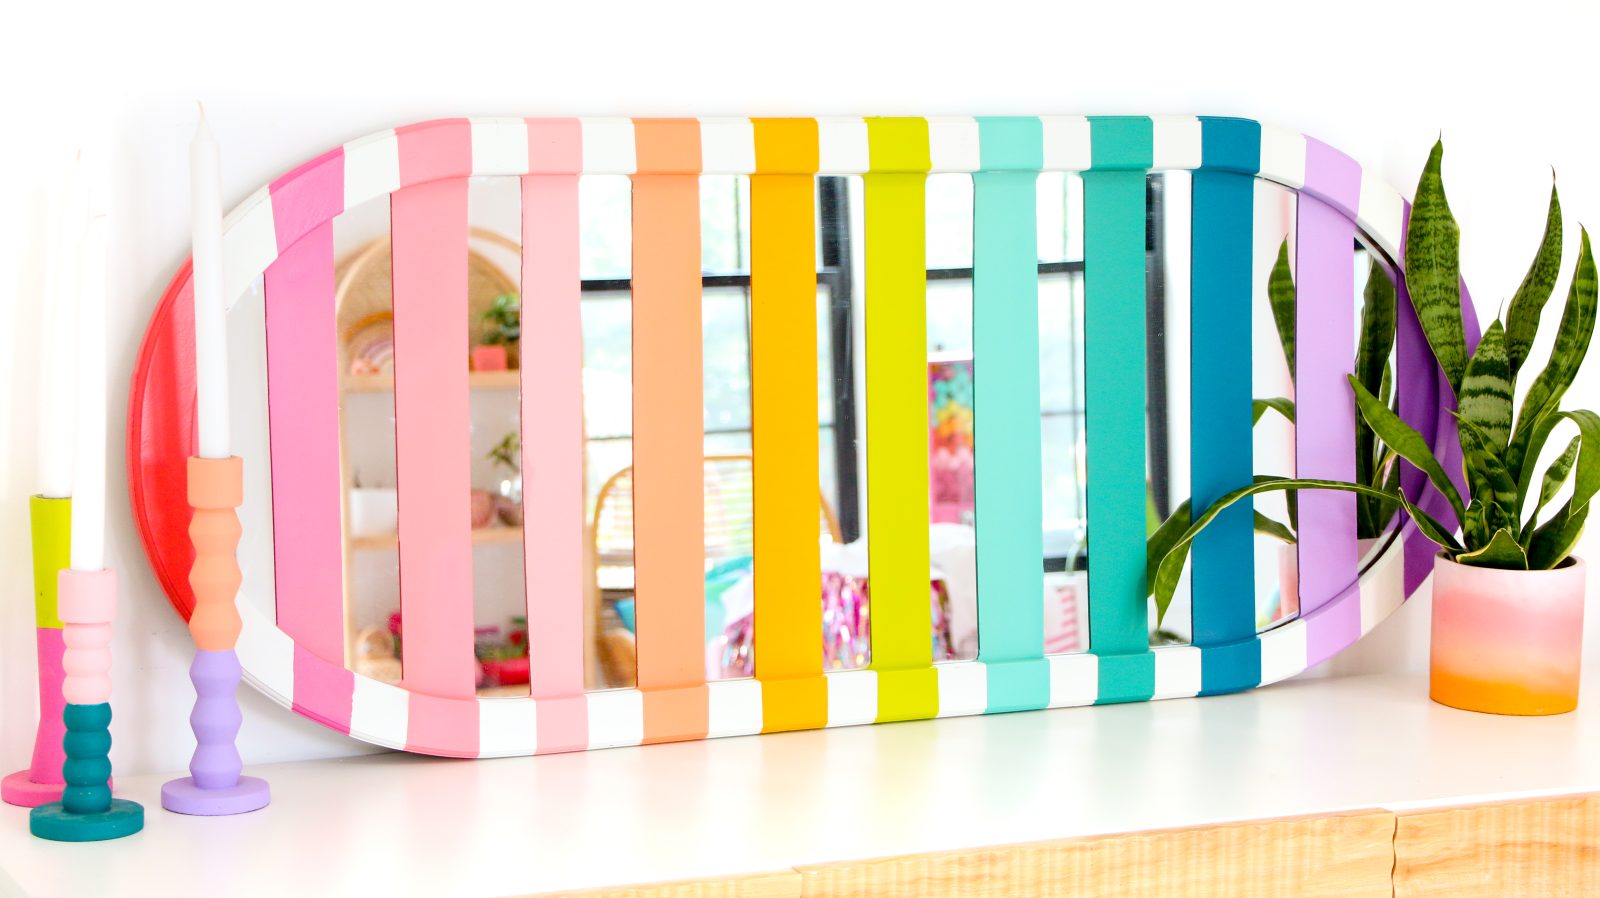
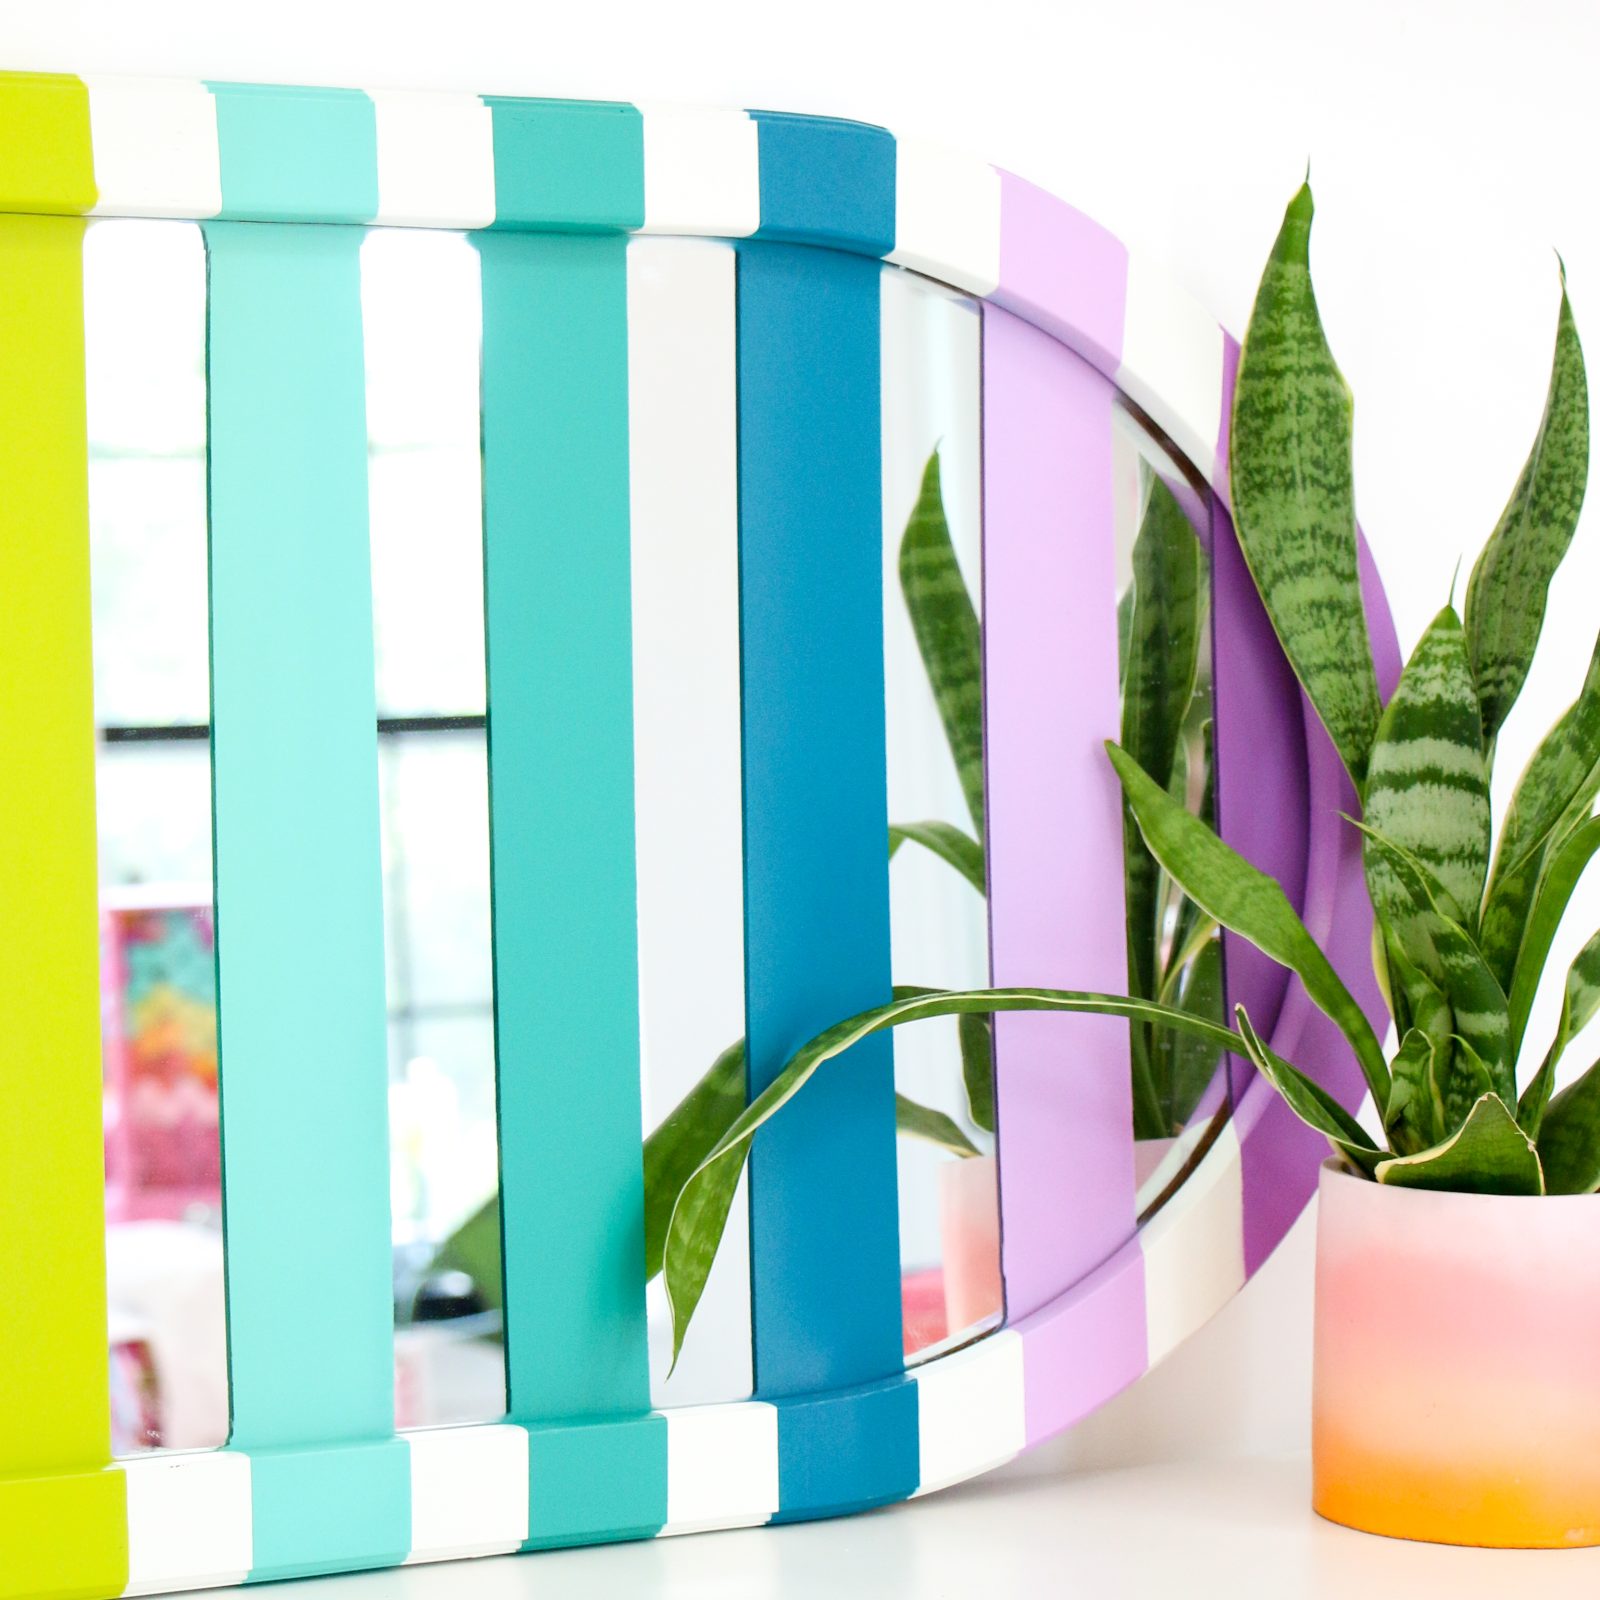
AFTER
All eyes on me(the mirror) or you (the reflection)! The mirror looks fantastic and the colored lines and exposed mirror reflections create an amazing effect. Do we look at the color, or do we look at the reflections in the traditional way? This you will need to decide for yourself. This is now all part of the mystique that our Rainbow Mirror Project has now created. This mirror could be a practical object to comb your hair or brush your teeth. But it could also be a piece of art or a cool piece of home decoration.
The working time for this project depends on the amount of linework you want to do. The more lines, the more time. The more masking tape as well. Calculate between 30 minutes and 2 hours of working time and you’ll most definitely finish somewhere in between that. For best results, where possible leave colors or varnish coats to dry overnight. You don’t need to have craft or painting experience to do this project well.
You just need patience and to put in the hard work in regard to masking off the areas cleaning that you don’t want to be covered in color. So leave the boxes Beginner-Intermediate-Expert open and tick the appropriate one off for yourself after your finished.
Another project that was done well. Congratulations on your old/new mirror. I’m sure it will capture a lot of attention regardless of if it is your attention or someone else’s.