No water required
It’s never the wrong time to work with wood and never a bad time to work with dried flowers. Upon a recent trip to the craft store to top up on some supplies, we came up with an idea that could bring both together, give us a chance to shake up some Montana CRACKLE Effect 400ml cans, and dust off the hot melt glue gun. And upon completion, we realized we had created both home decor and some art at the same time. Want to do the same? Read on.
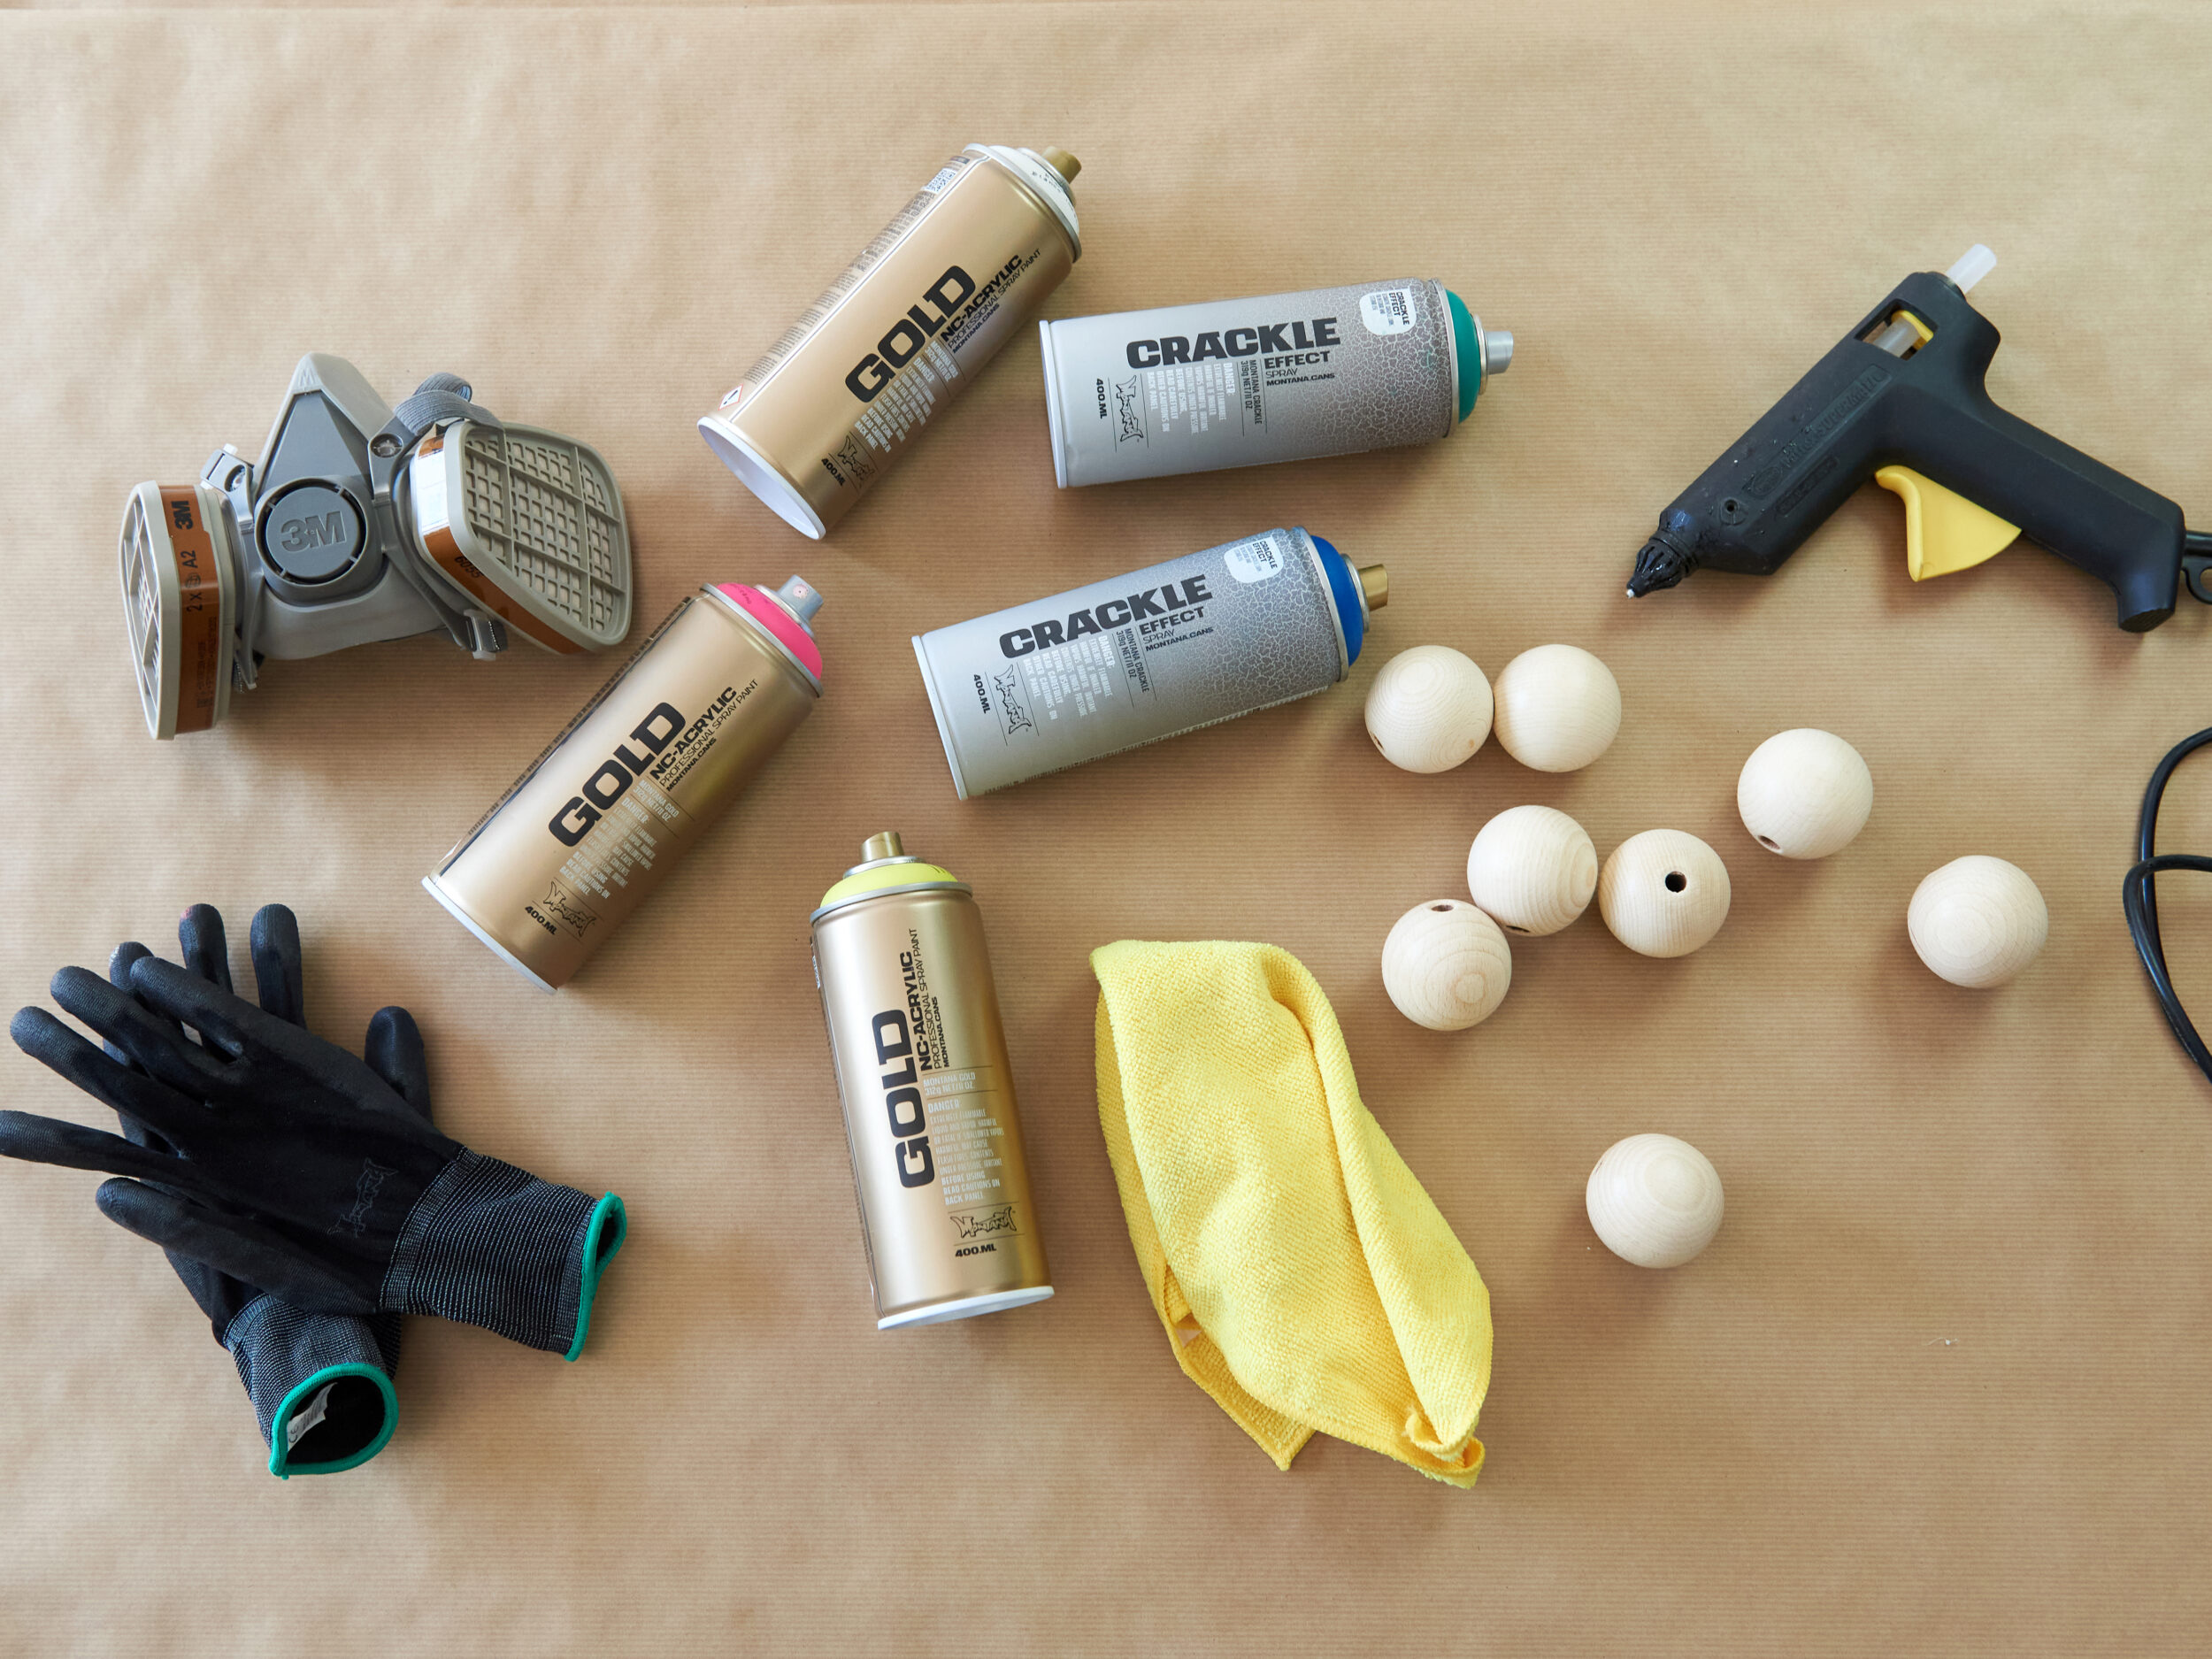
Materials Used
- Large round wooden beads or balls (with holes)
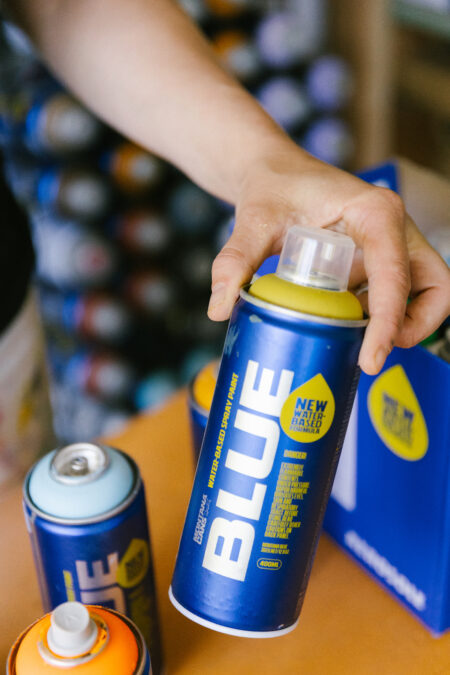
- Montana Crackle Effect Spray 400ml (we used Gentian Blue and Patina Green)
- Montana GOLD colors (we used a variation of pink and yellow)
- Montana PRIMER 400ml Universal
- Hot melt glue gun
- Gloves
- Mask
- Drop sheet
How we did it
Our idea started with the realization that spring had so many beautiful flowers to offer. Even just growing on the side of the road. As we were traveling by road on the way to the craft store when we saw them, we first picked some grasses and flowers and put them aside for later use. Then back on the road to get supplies.
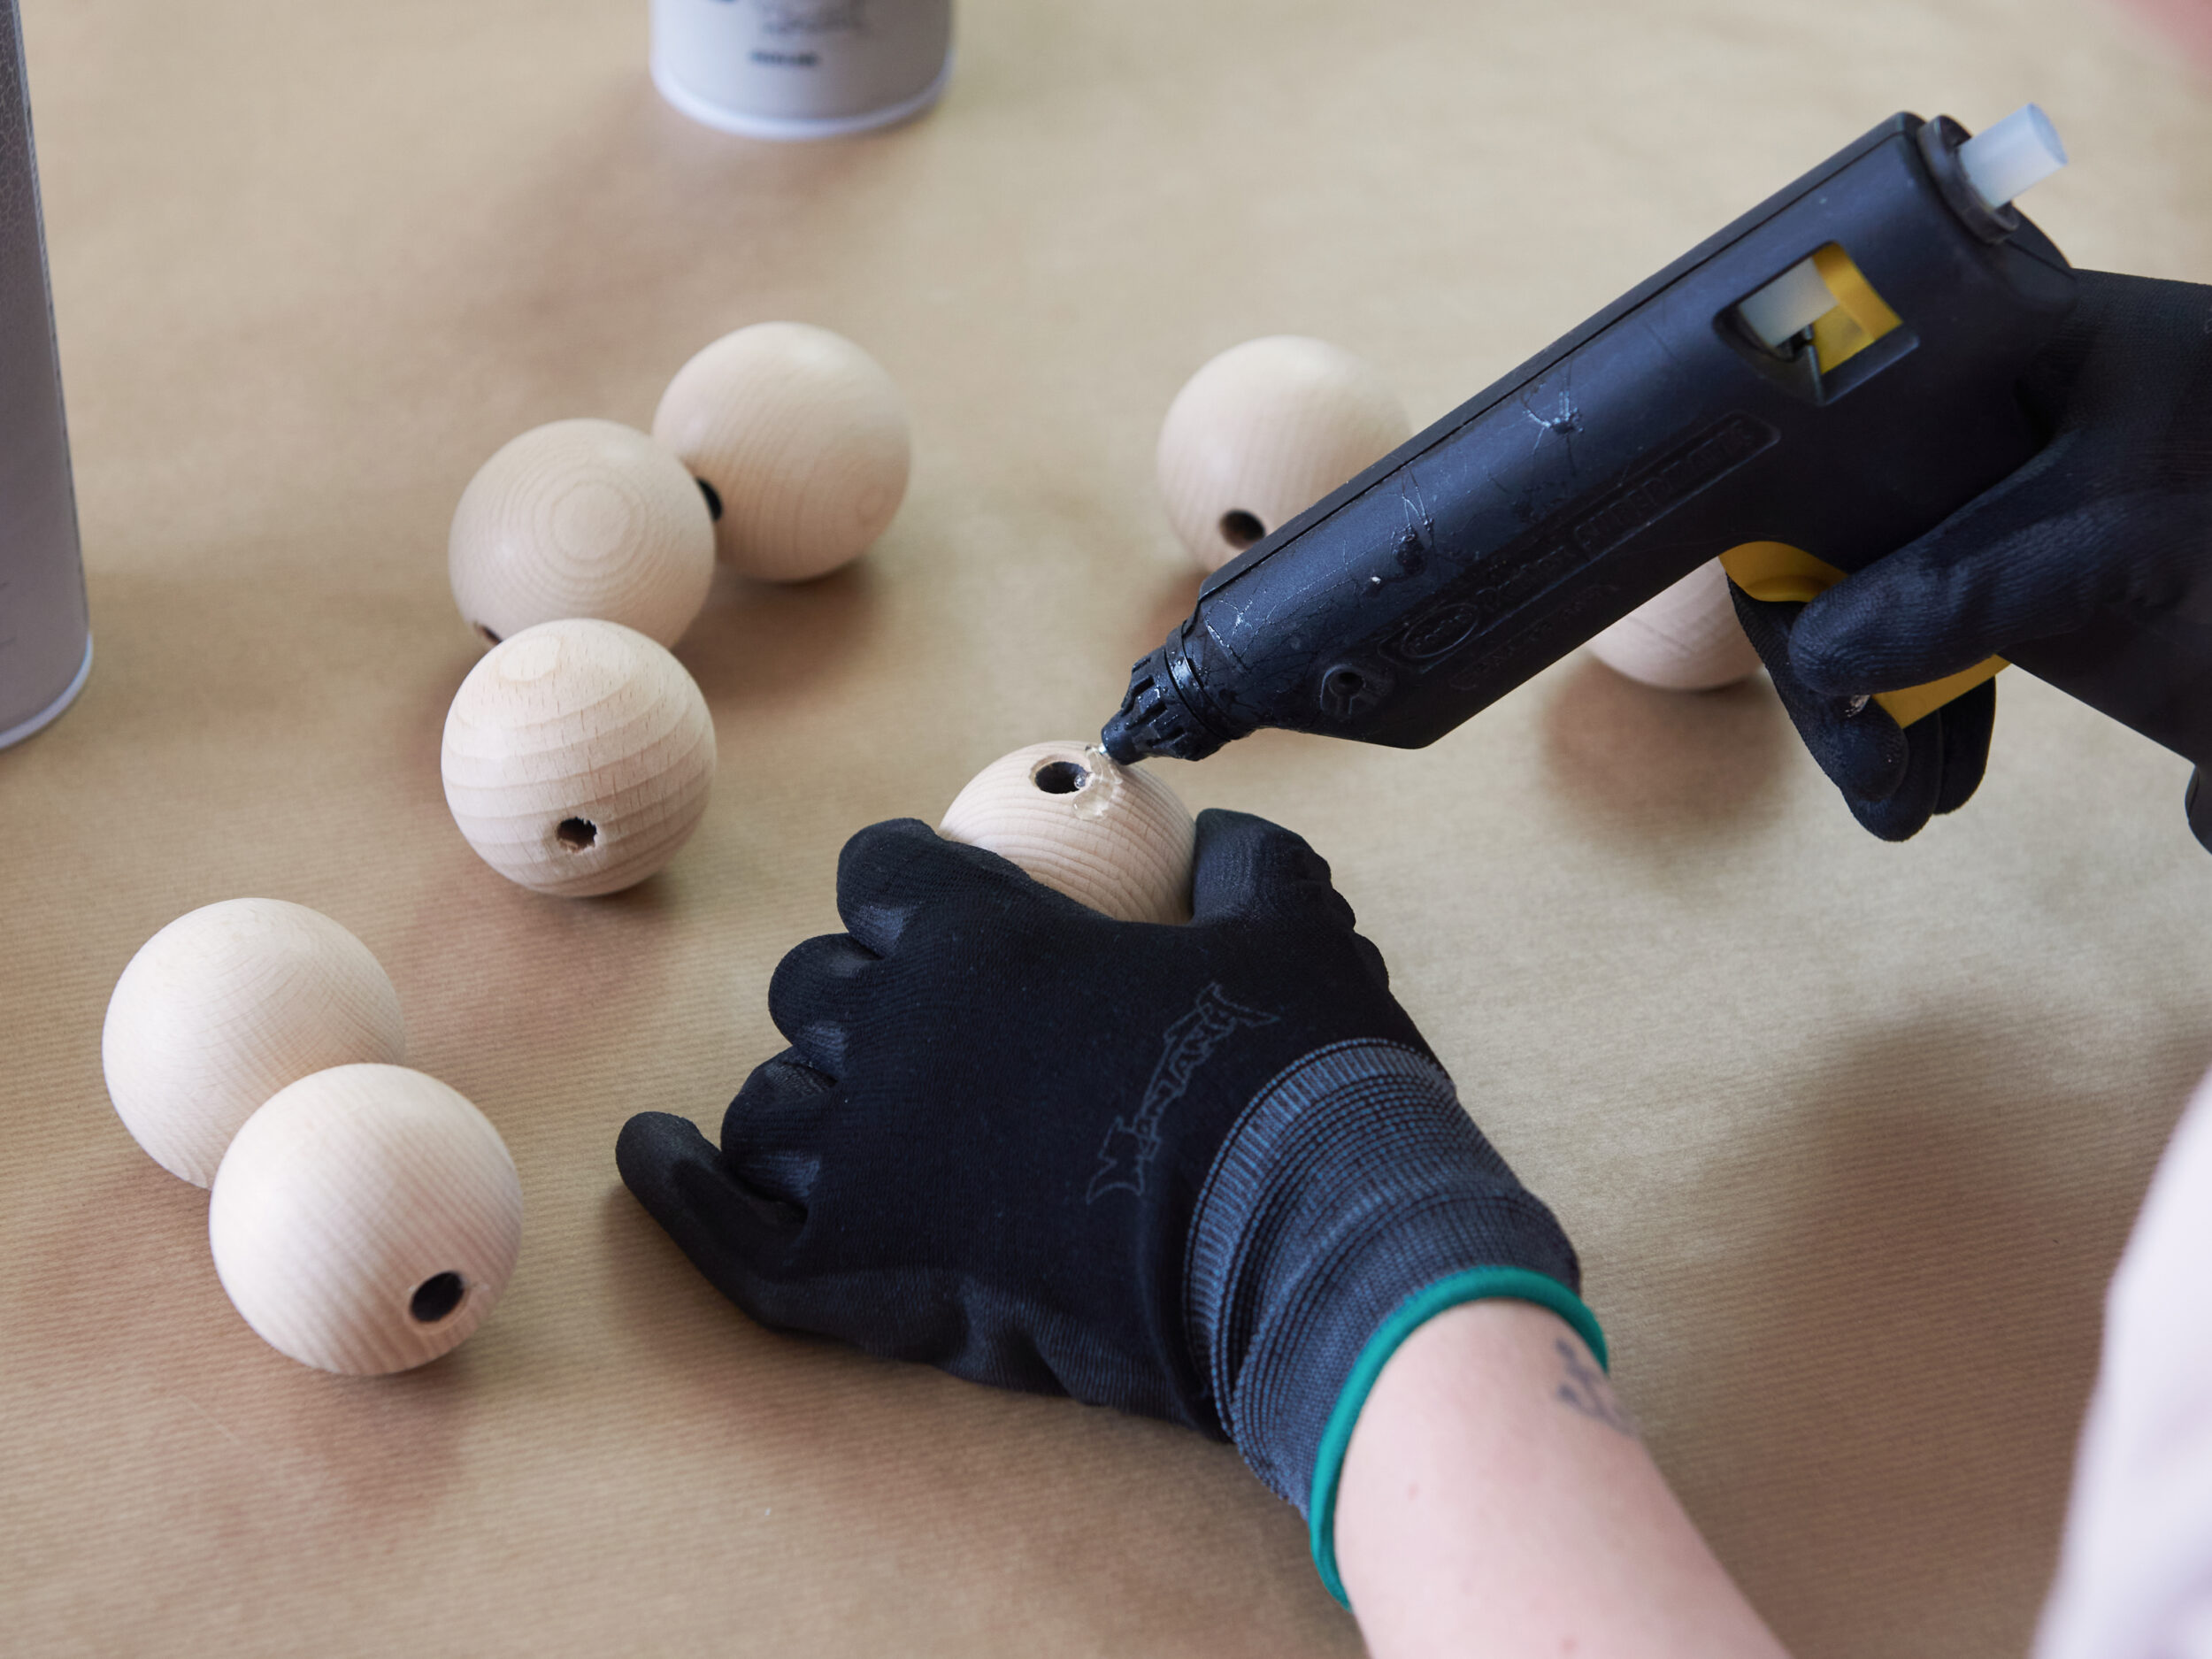
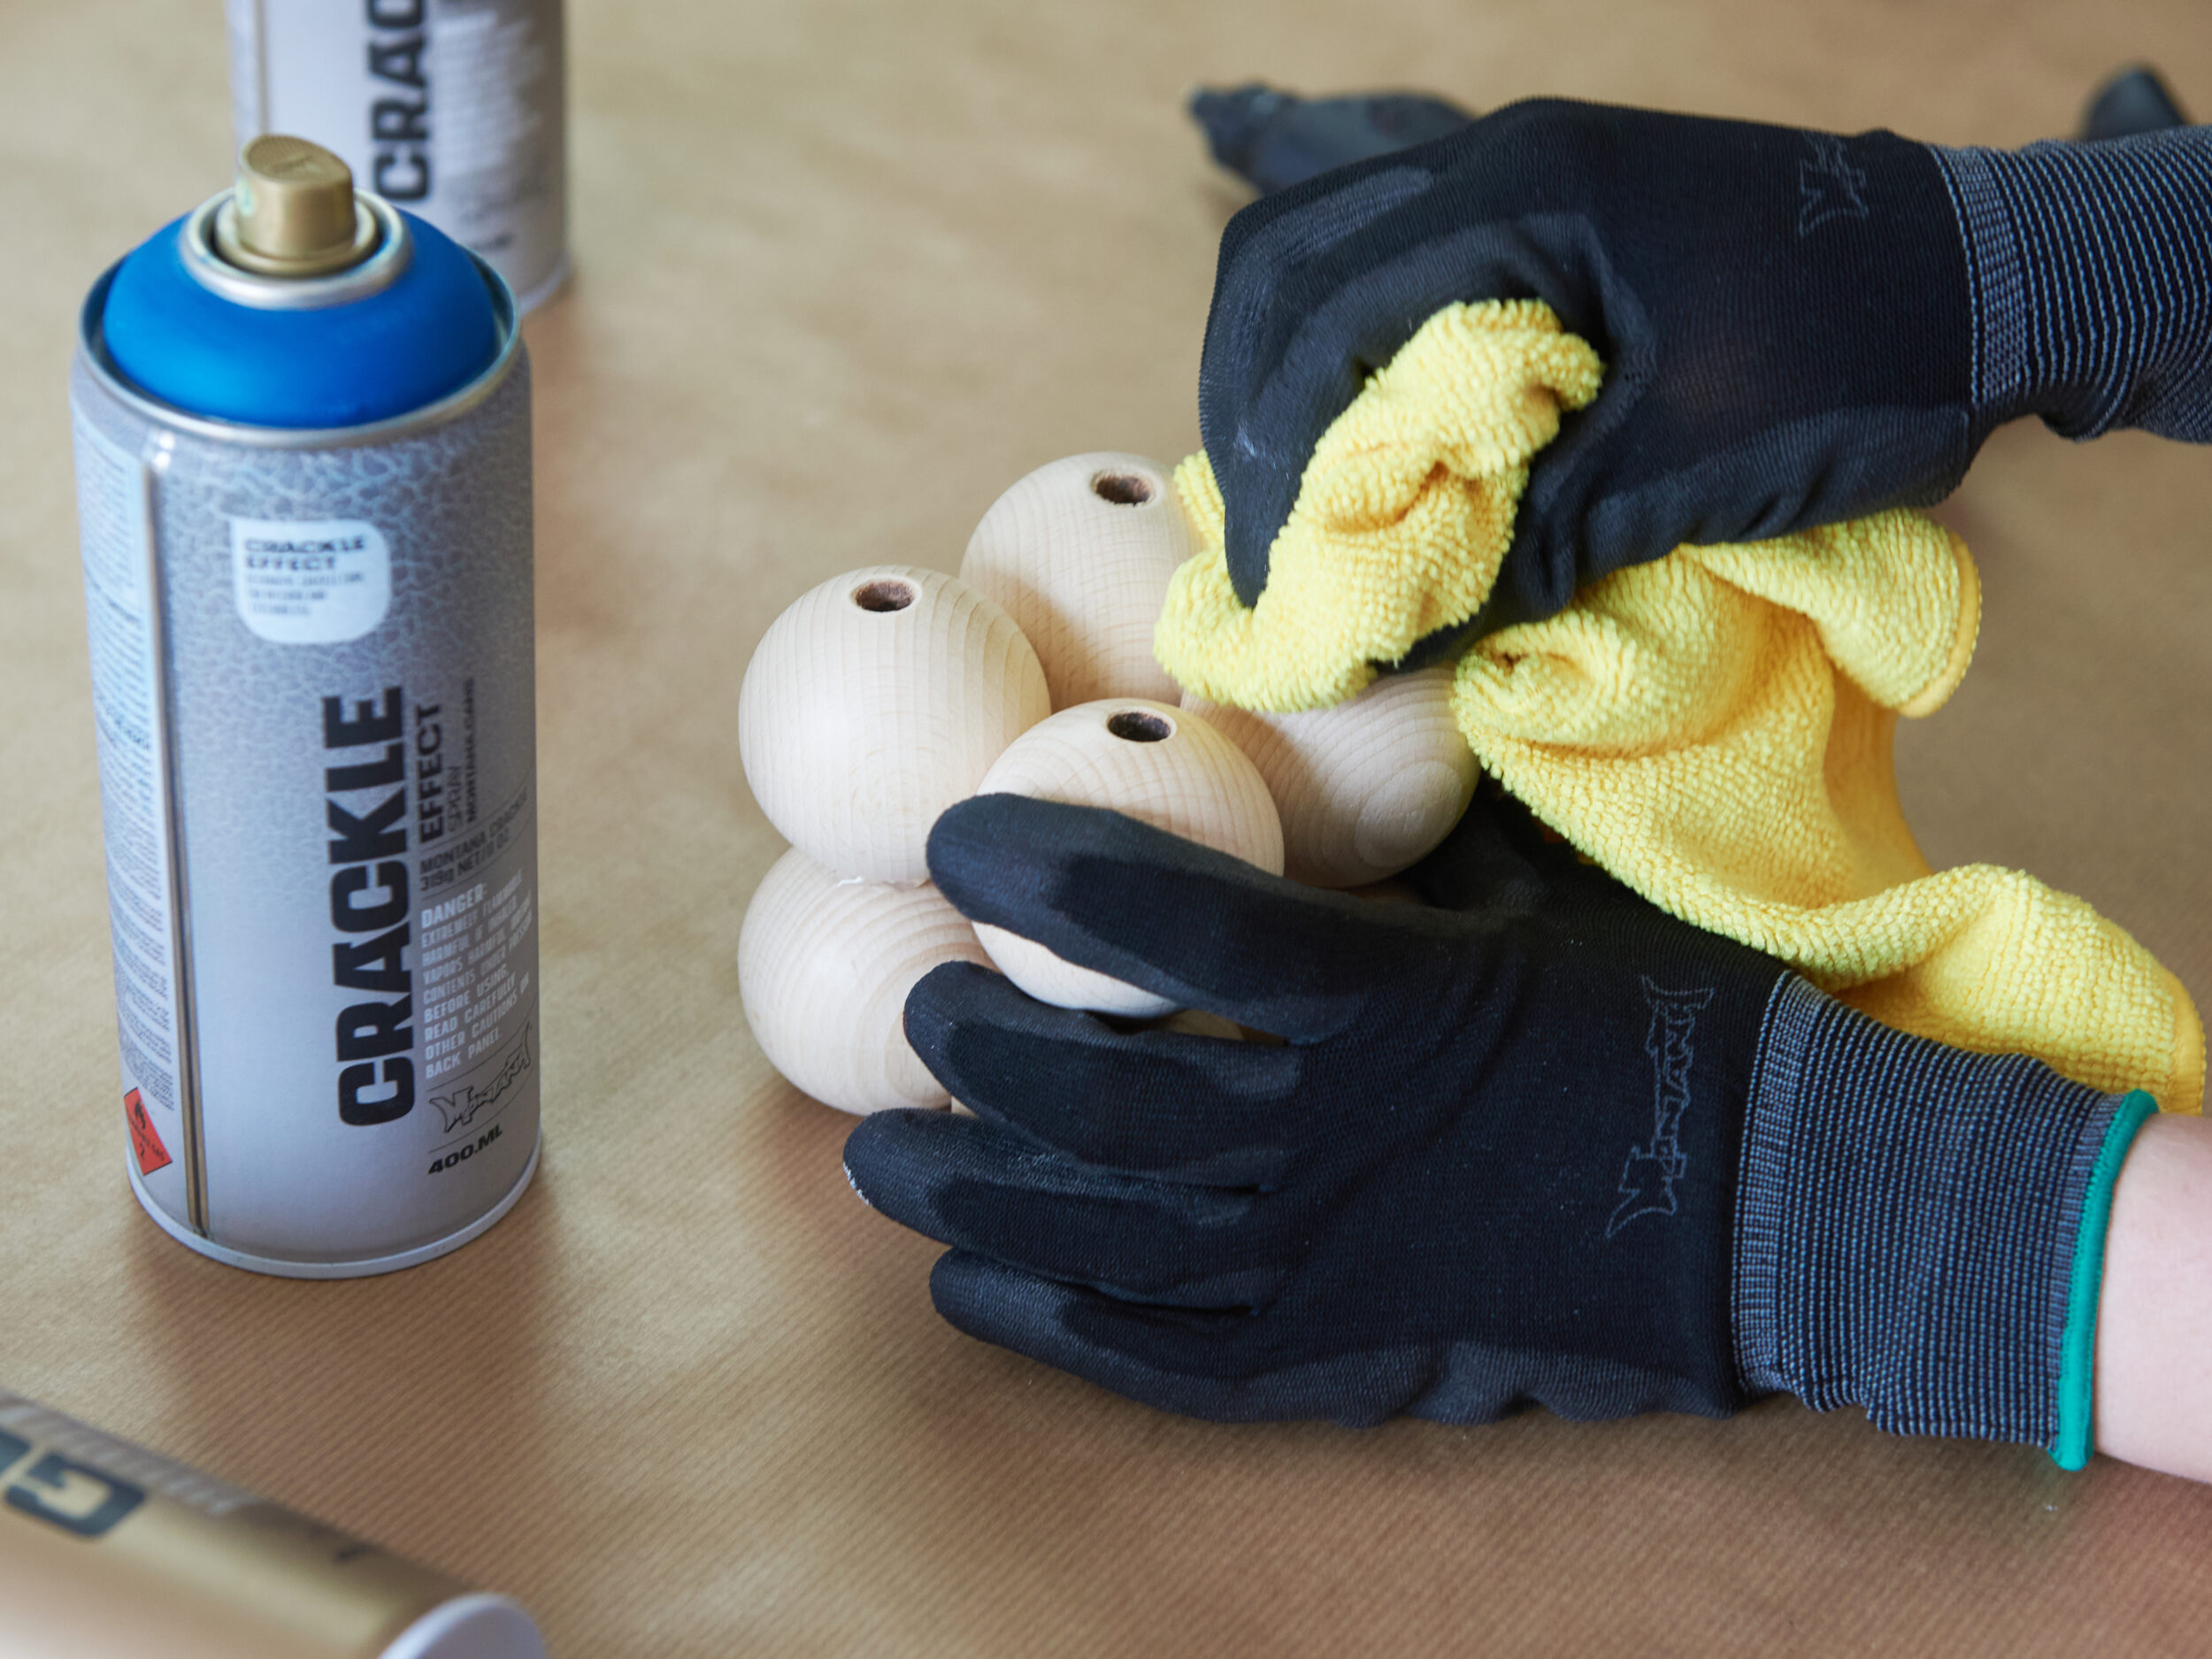
Once back in the studio, our bag held the new wooden beads, Montana CRACKLE Effect 400ml cans, hot-melt glue gun sticks, and a Montana PRIMER Universal 400ml can that we had just bought. The rest we already had on the shelves. The wooden beads were the size of balls with holes in them which were just the right size to place flower stems in. Taking our hot-melt glue gun, we first glued two balls together at a time ensuring that the holes lined up vertically. Allowing them to dry as we made the other sets, we needed 4 sets of balls per base which we glued together in a square form, ensuring the lines were all aligned vertically. Then we gave it a good wipe to remove any dust that may have accumulated on the beads.

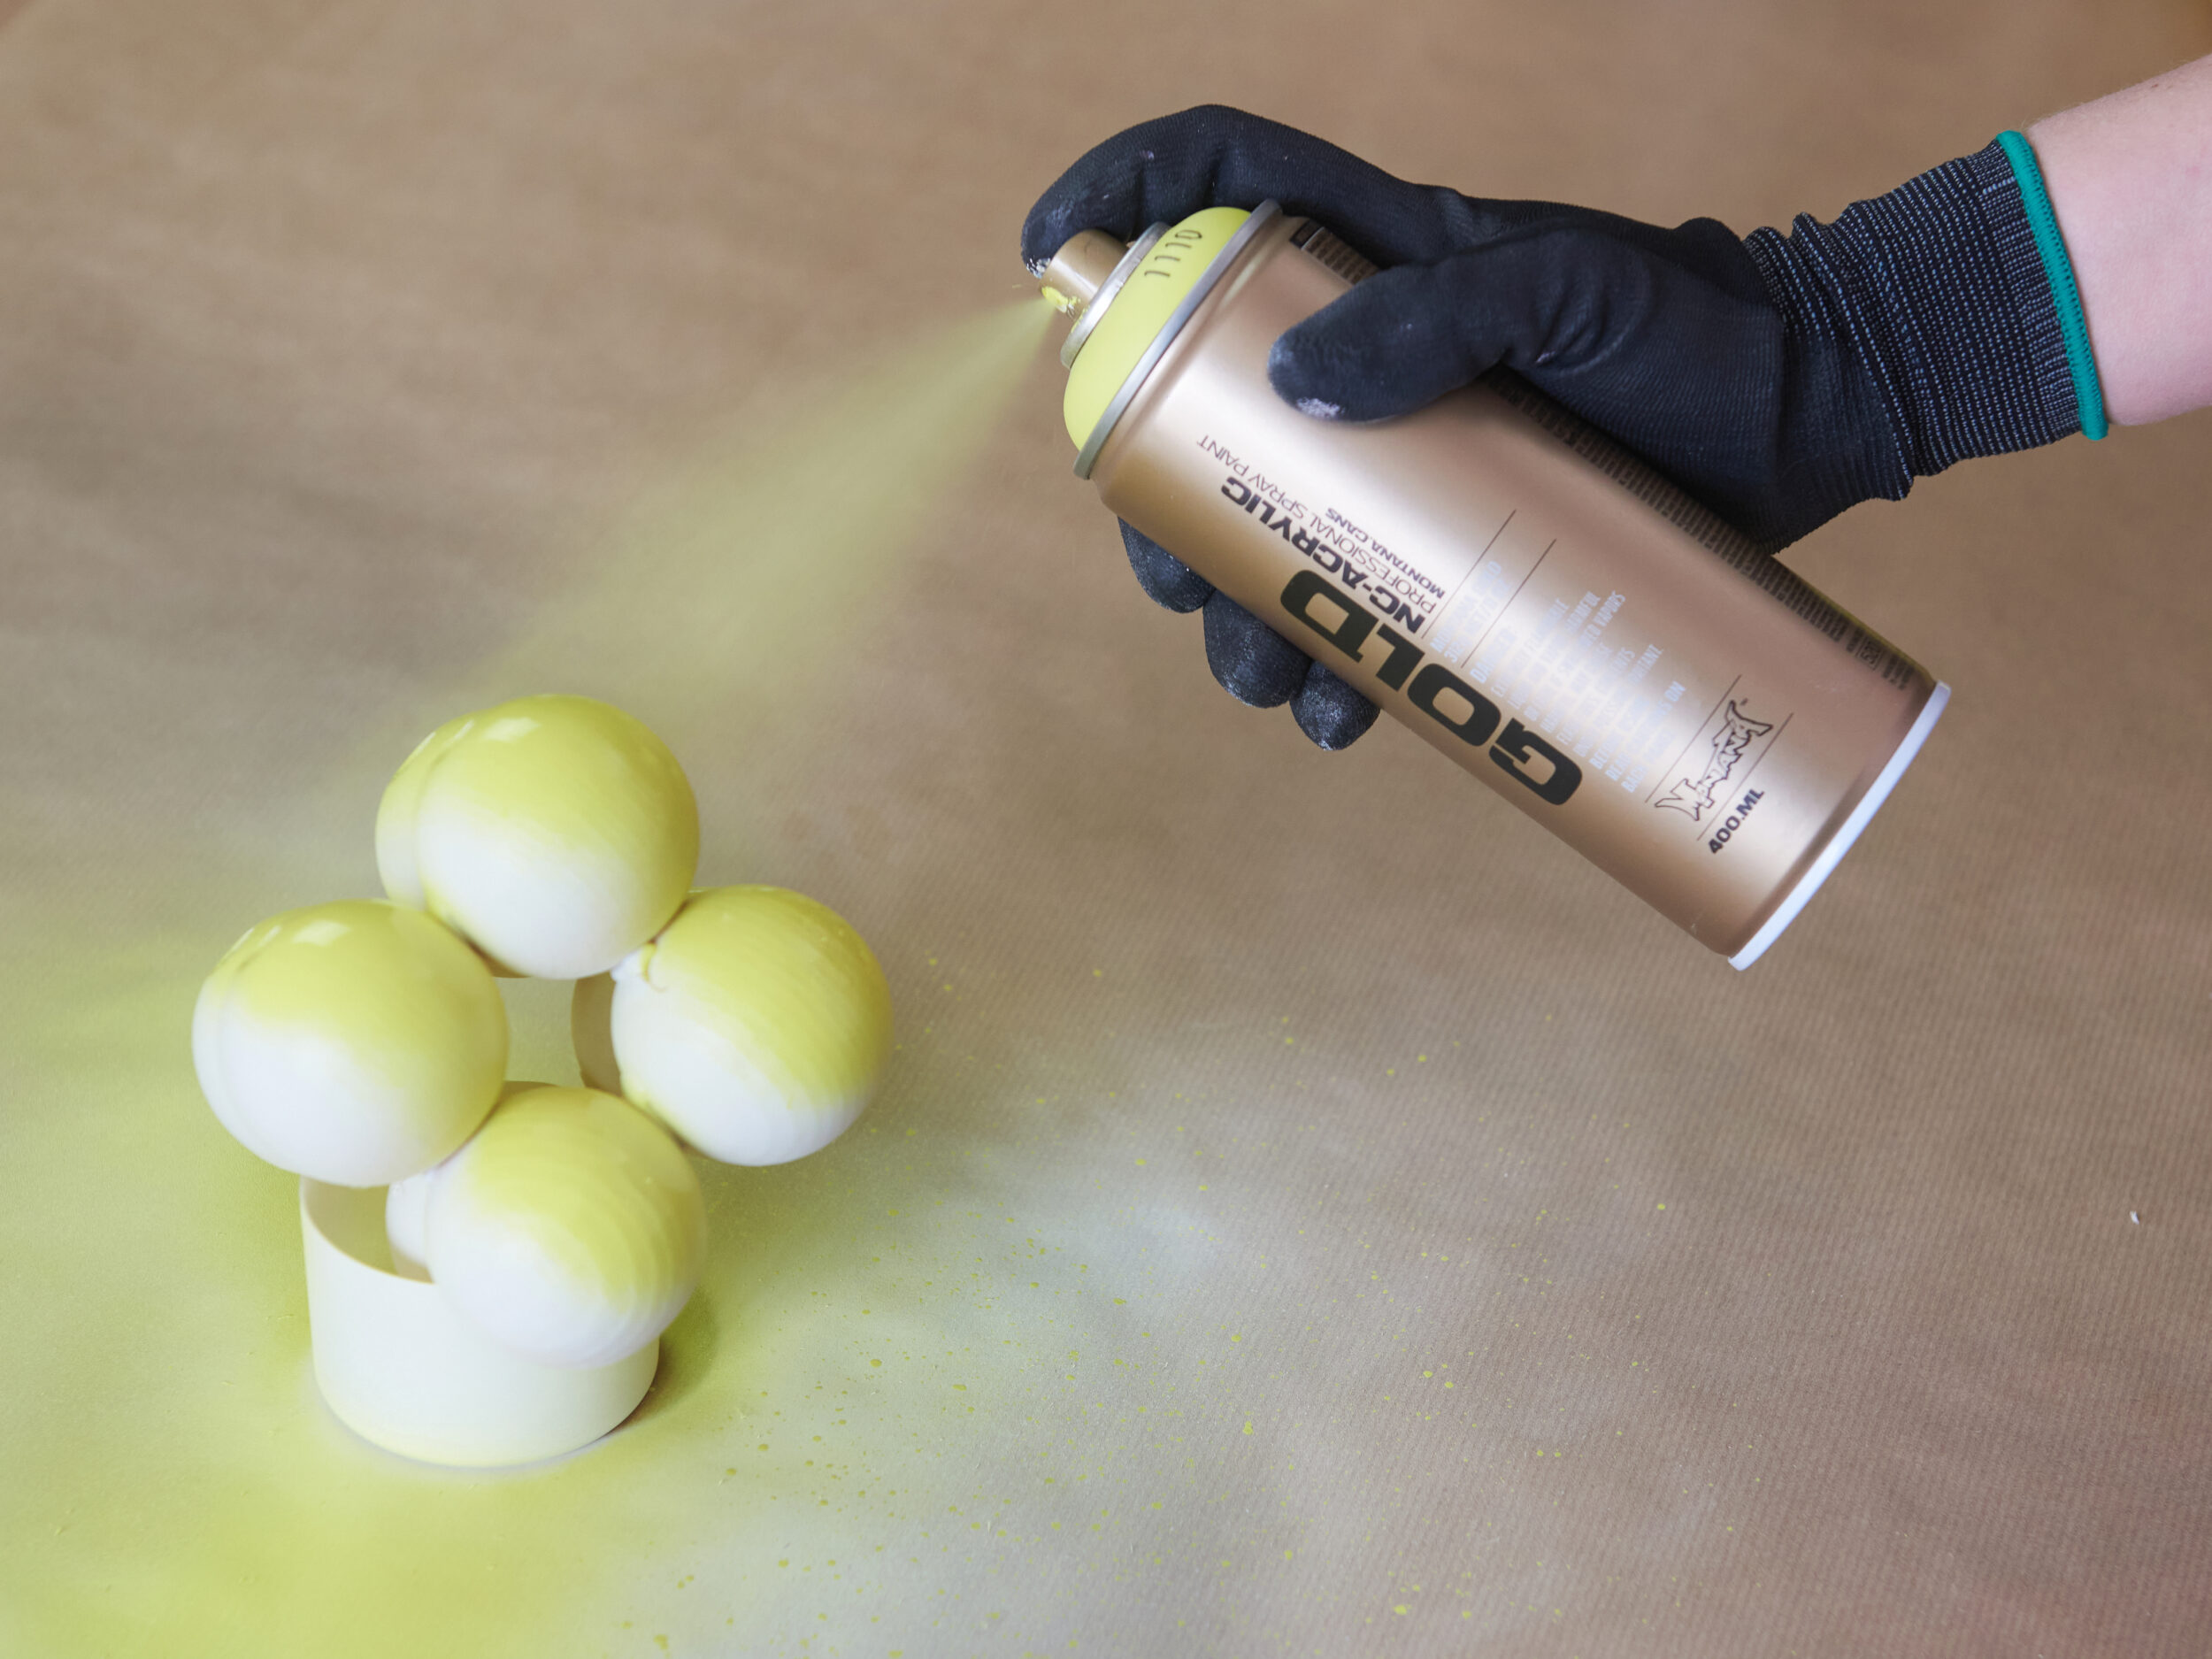
Taking our pre shaken Montana PRIMER Universal can that had removed the safety ring from underneath its nozzle, we first coated the now square form made from our wooden beads and primed it white. Using a spray can lid, we propped up the form so we could paint the entirety in one go. You can do the same with another object like a cup, or hang it in some stiff wire if you prefer. Then we let it dry overnight, however, if you are working early in the day, give it 12 hours to dry completely.
The pre shaken Montana GOLD can colors were next on the list. In thin sweeping strokes, we applied a variation of yellow to one sculpture and pink on the other. You could use any color you want to, but we decided on these colors to get a dynamic contrast with the Montana CRACKLE Effect colors Gentian Blue and Patina Green that we had chosen.

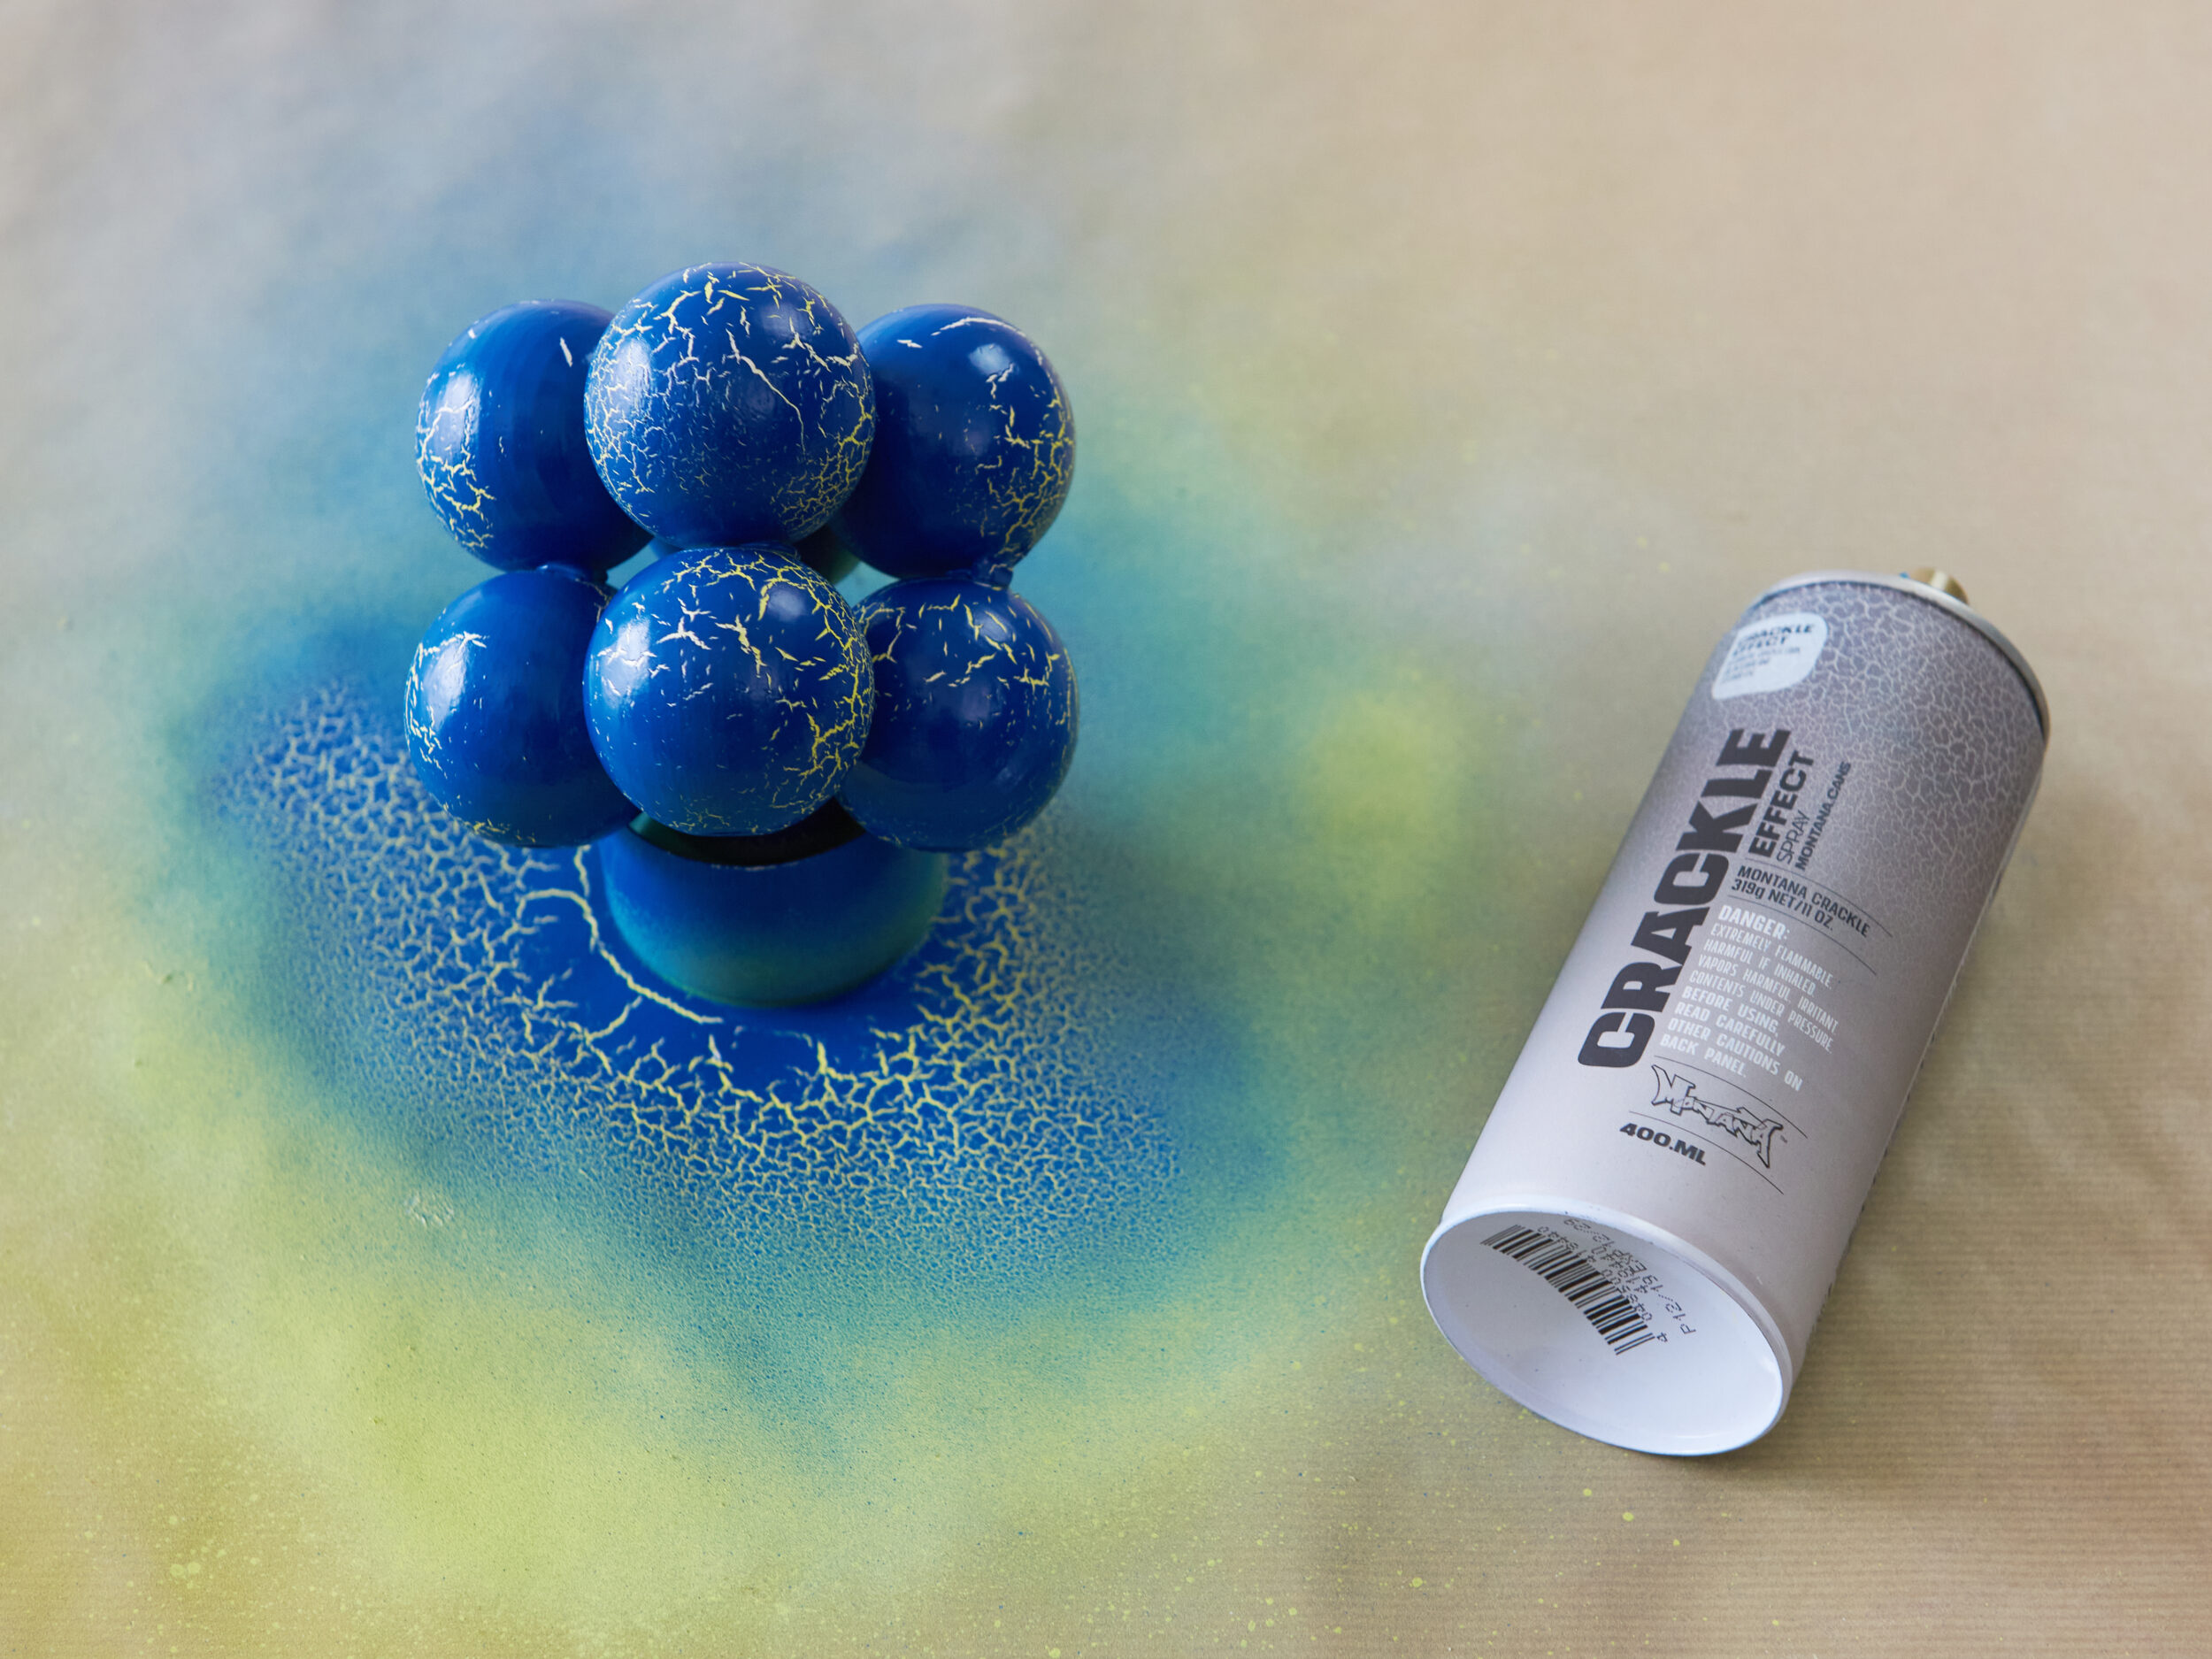
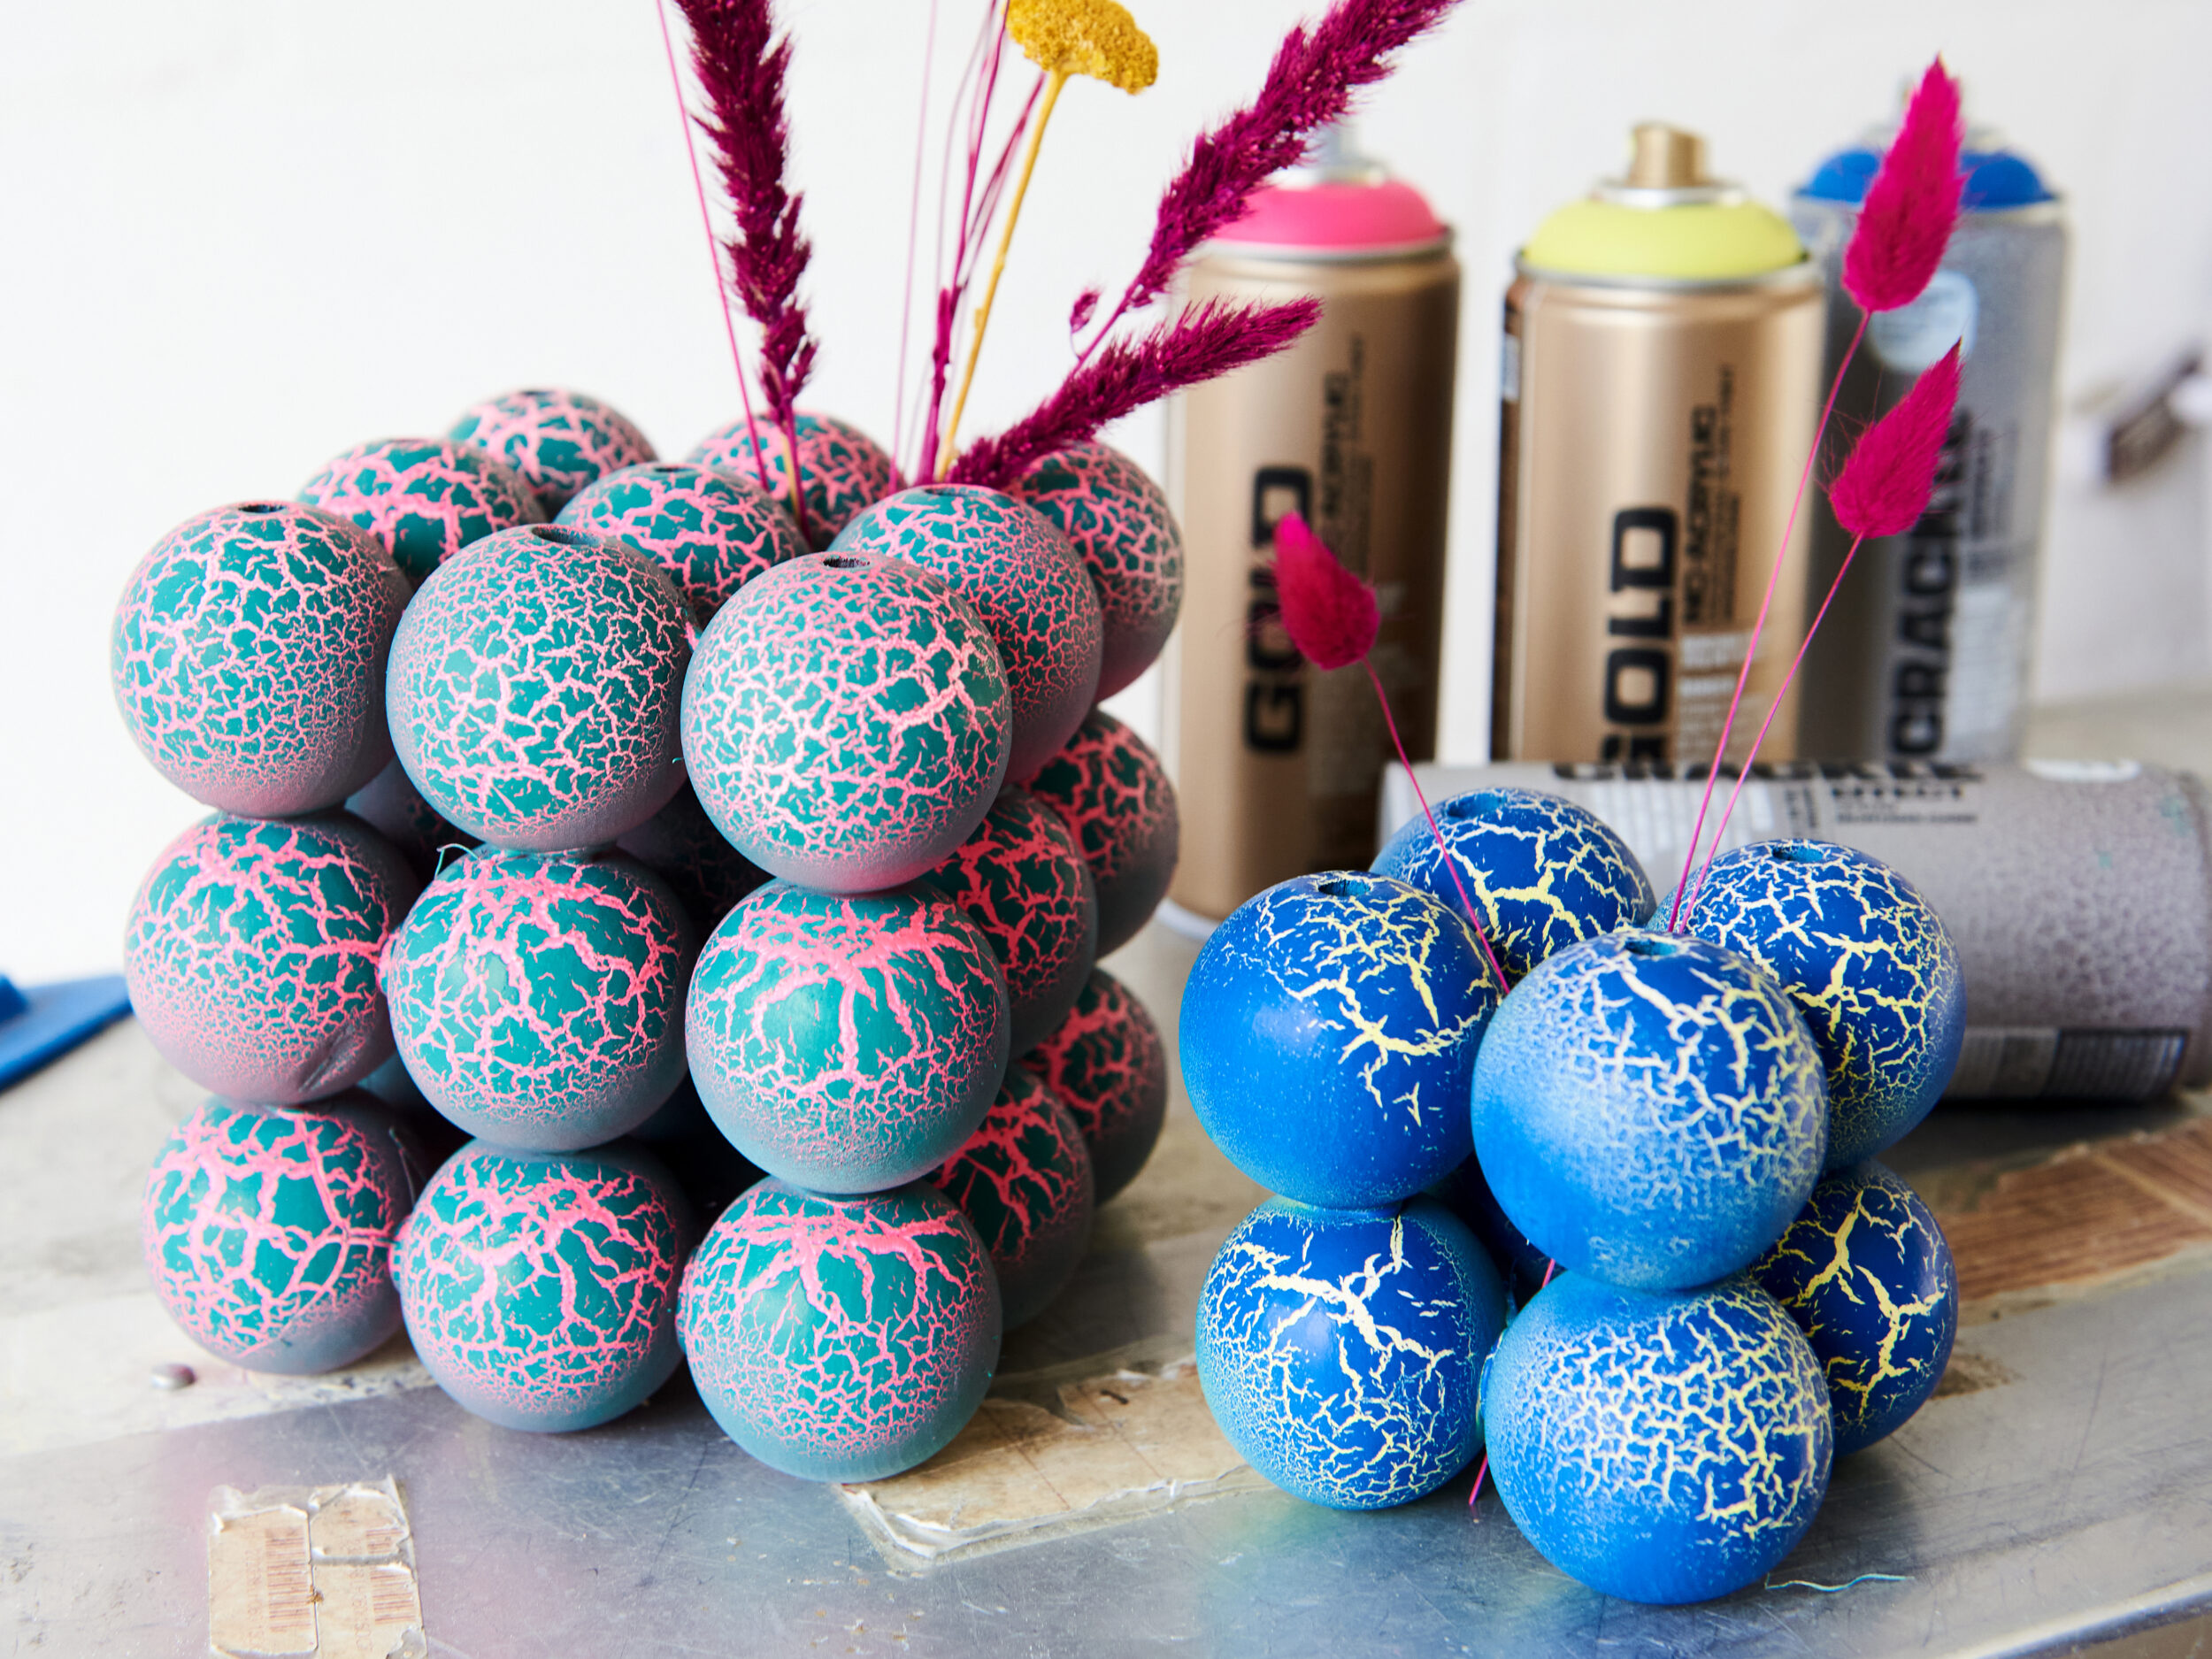
Within 45 mins to 12 hours, the CRACKLE Effect colors must be applied for the crackling process to take place. So, after some lunch and a cup of coffee, the CRACKLE colors went on. And it didn’t take long for the crackle effect to take place right before our eyes! Yellow and blue, pink and green, what amazing colorways!

Reversing back a little to those lovely flowers and grasses we picked, with a few days in the sun at the window, we were left with perfectly intact dried flowers that were elegant to look at and sweet to smell. Each stem fit perfectly into the holes of the beads and our Crackle ball sculptures took on a new function as dried flower holders. Nothing like anything we had seen before. This time we had outdone ourselves with the “less is more” motto which had proven to be true once again.
The whole process was less than 40 minutes in working time, but the drying and applying times are important. The glue has to be hard, the primer has to be cured for 12 hours or more, and the CRACKLE Effect colors should never be applied too late. But it’s all easy to do, and above all fun. For experts or beginners. Just keep your eyes open for more elegant flowers so you can change the mood.
Nice work and Happy Crafting!