When all you need is a little color
Colorful Easter Eggs. Festive days aren’t just an excuse to have days off work or school. They all have their backgrounds and historical origins, and in most cases, whatever your orientation, they are all great days together with people you love. Easter is a classic example of such a day. Color, searching for Easter eggs, and let’s not forget copious amounts of chocolate. The one symbol, however, that seems to be universal is the humble egg. And with that, we decided to go back to basics and add some color to the beloved hard-boiled egg. This is how we did it.
BEFORE
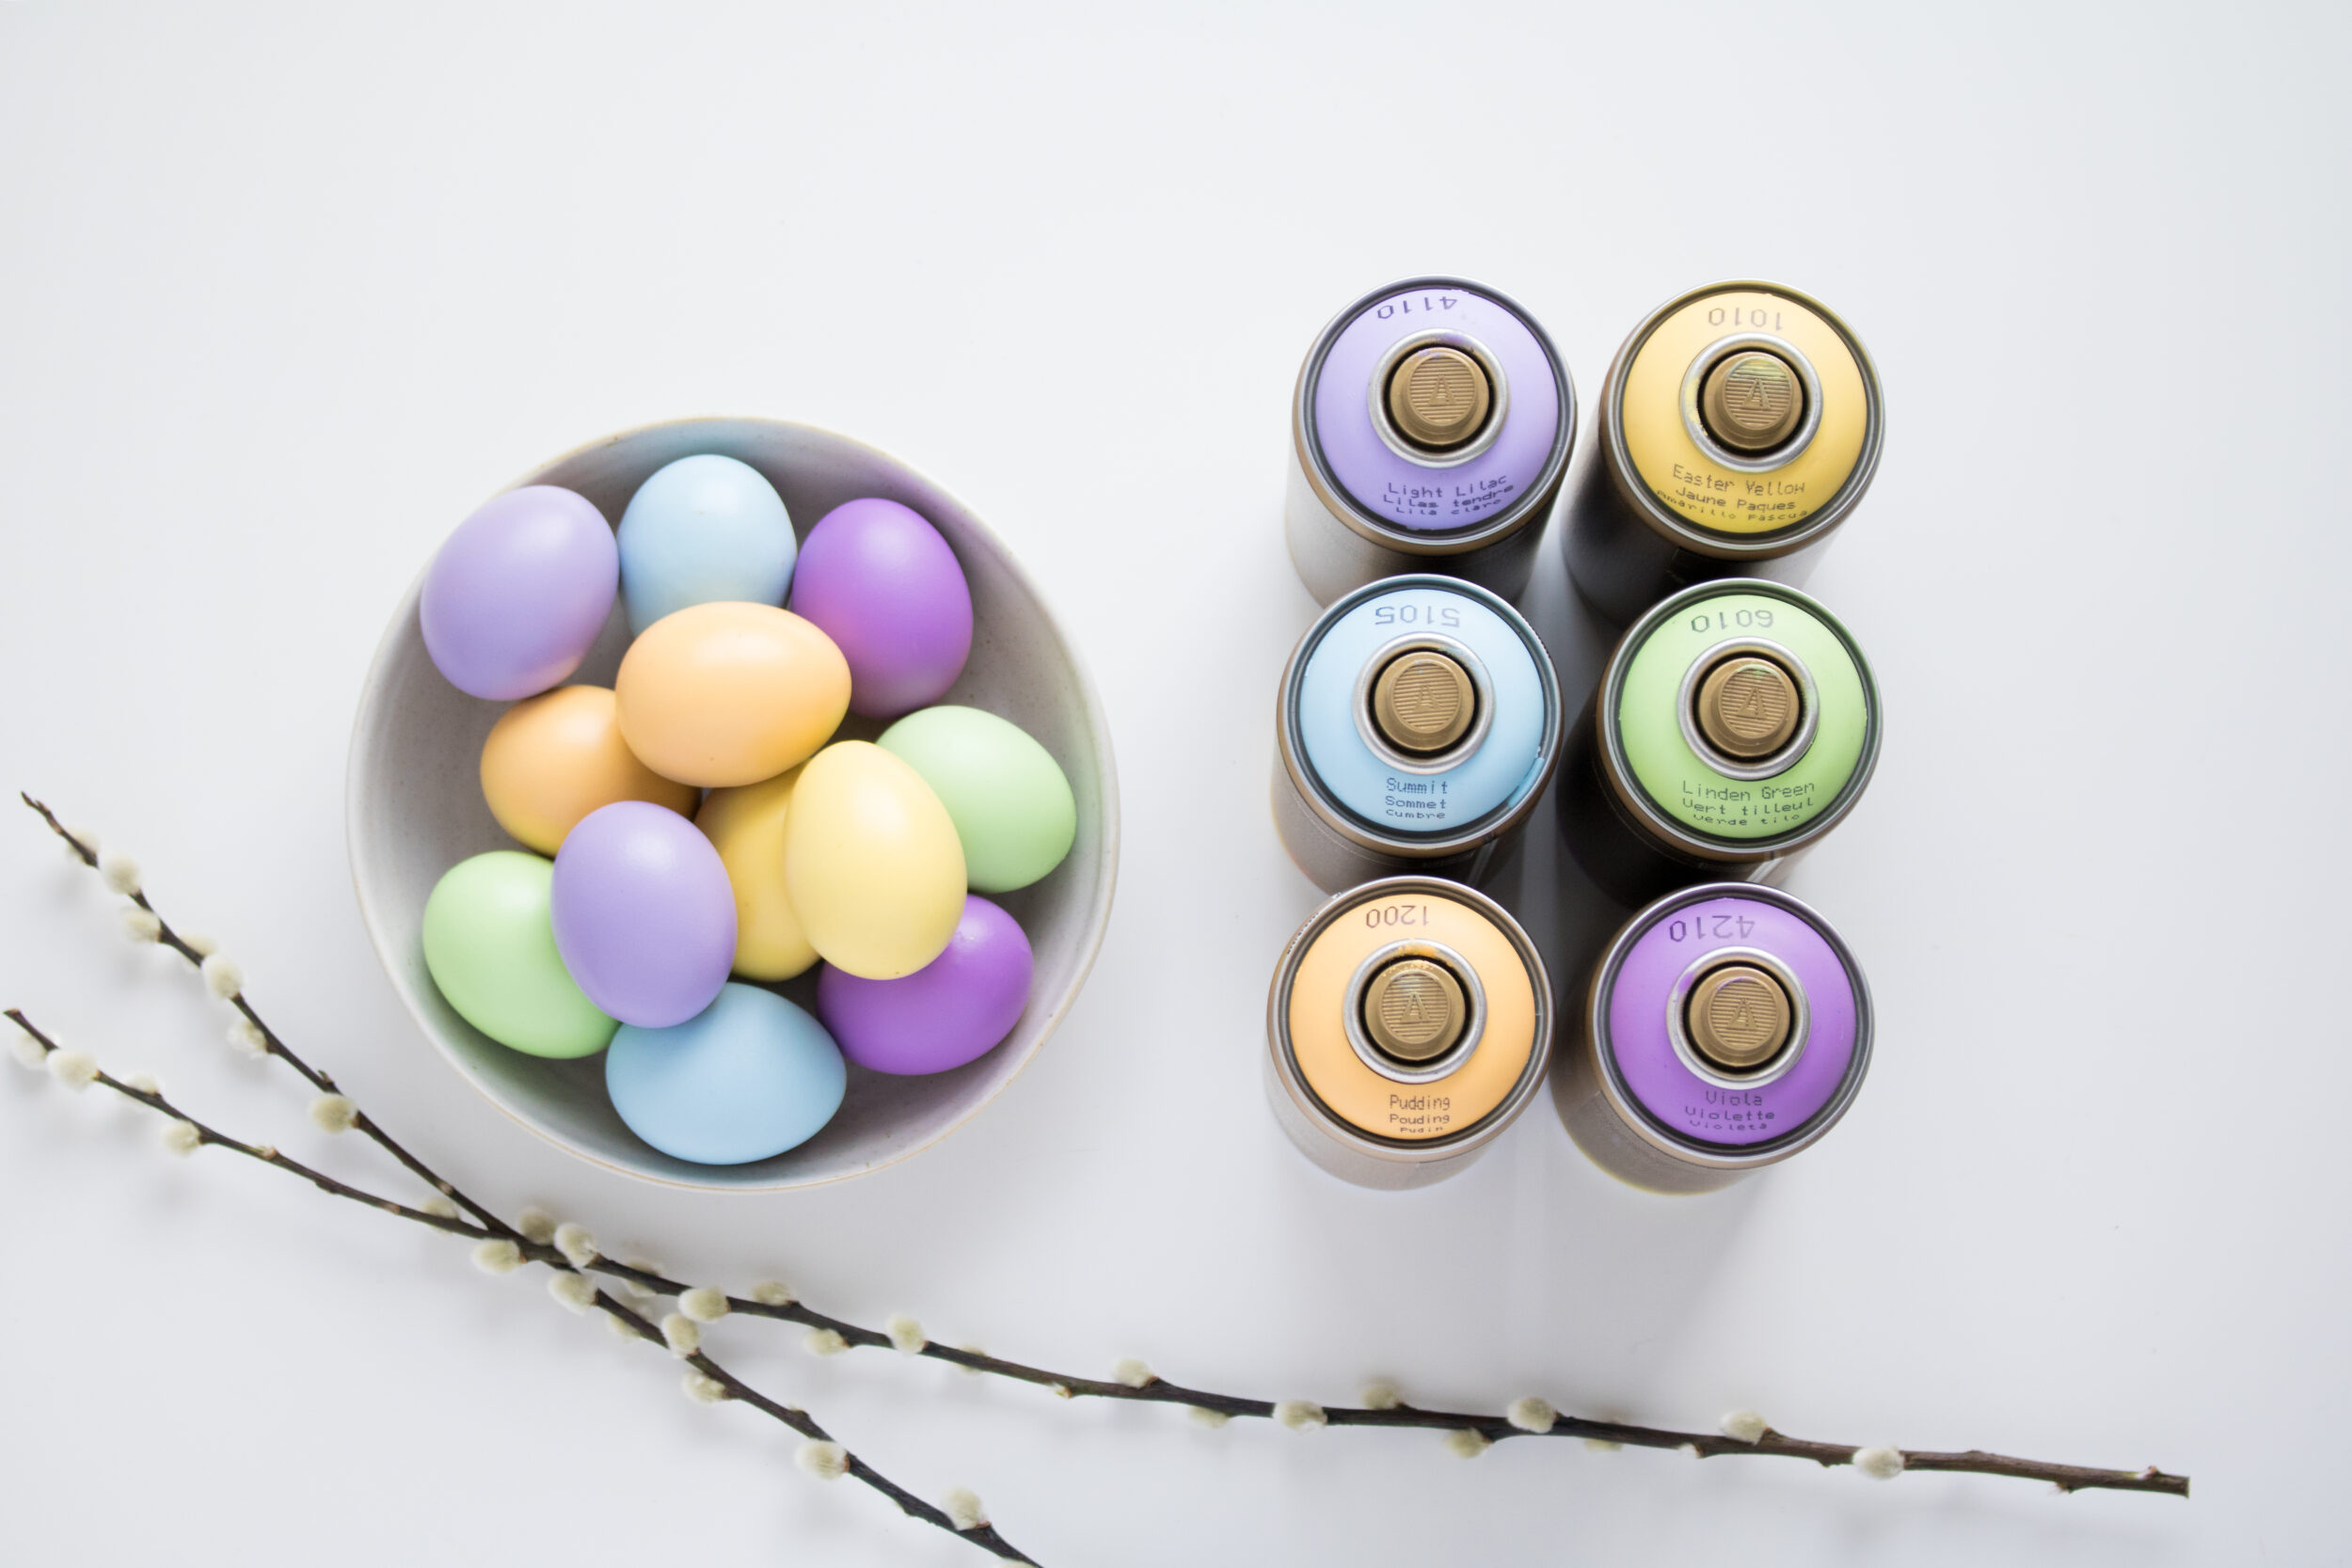
For this project, there weren’t any materials required that were out of the ordinary. Our workspaces were already prepared with a drop sheet, gloves, and our masks. And our chosen Montana GOLD colors were at hand’s reach.
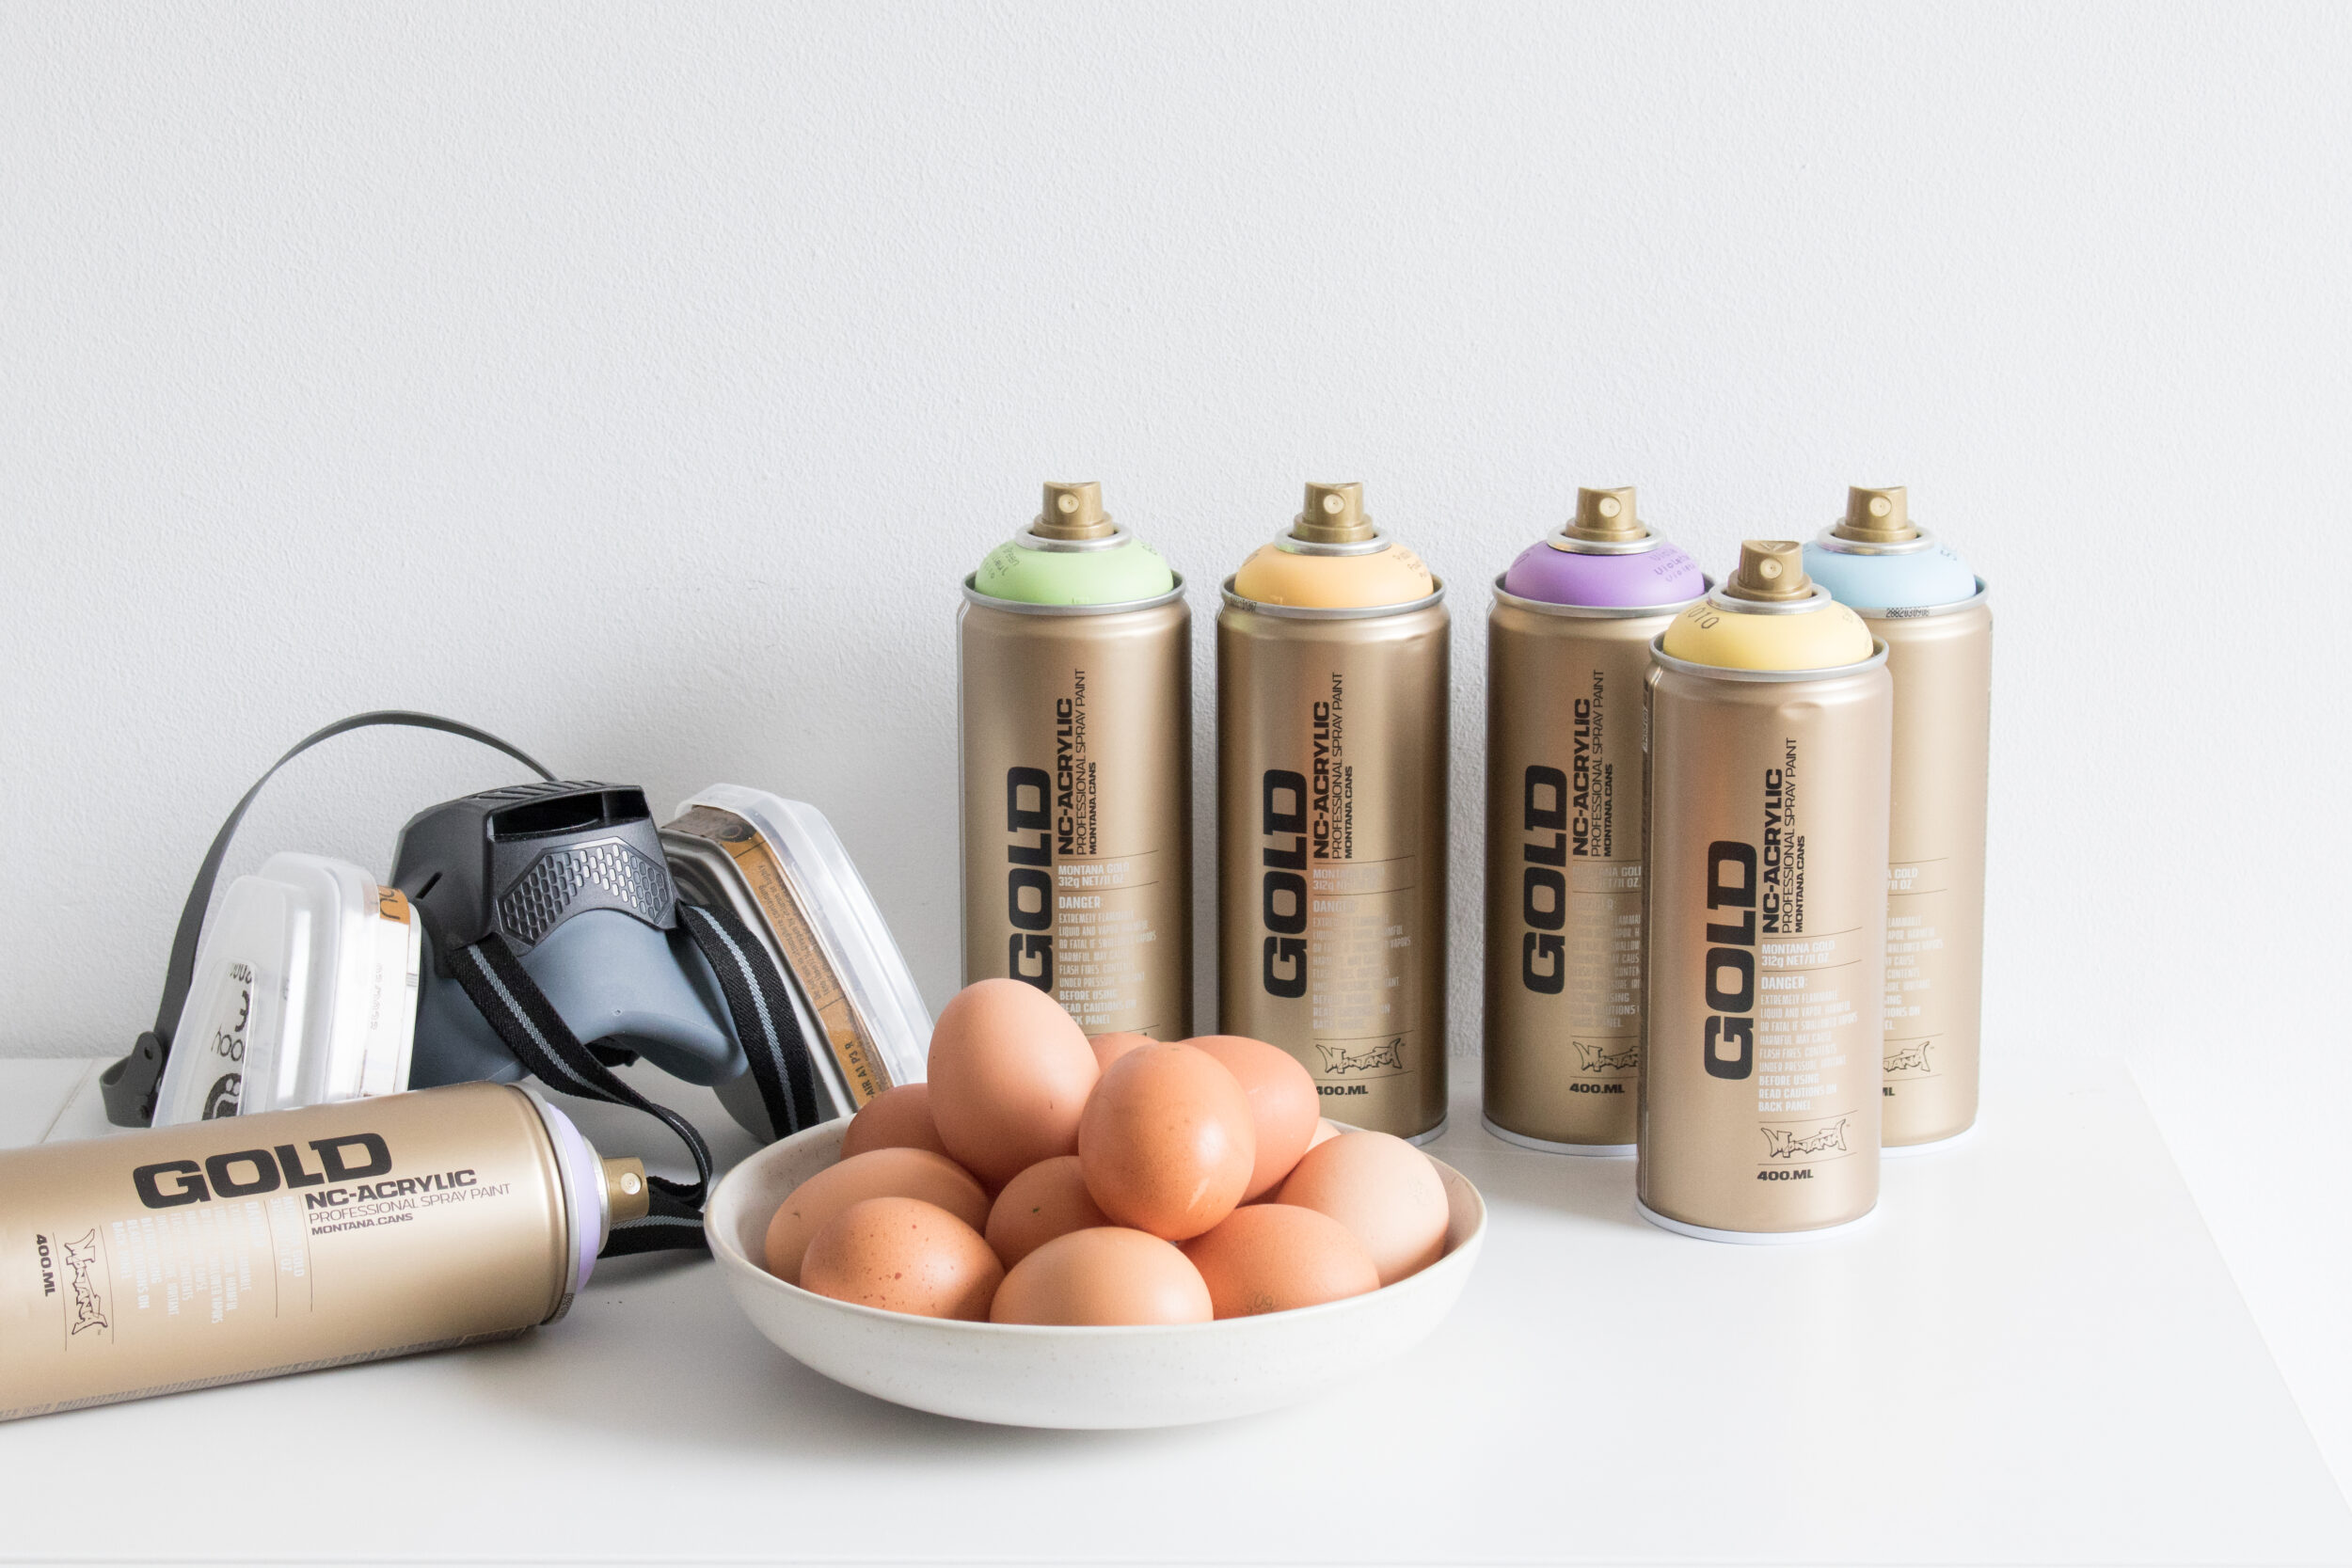
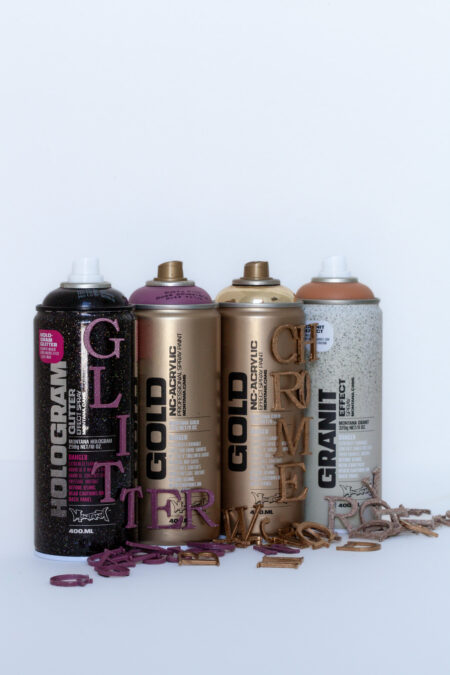
You can choose any colors you like, but we chose to stick to a pastel colorway with the colors Light Lilac, Summit, Pudding, Viola, Linden Green, and of course, Easter Yellow. In keeping with the theme “back to basics”, we used good old-fashioned chicken eggs. Not so that we could eat them later (eggs should not be eaten if spray painted), but as they have such a beautiful form that is natural and durable if hard-boiled. If you wanted, you could choose to pierce the eggs at both ends and blow out the contents to have hollow eggs. Disclaimer: Please note that the paint is not food safe. Only for decorative purposes.
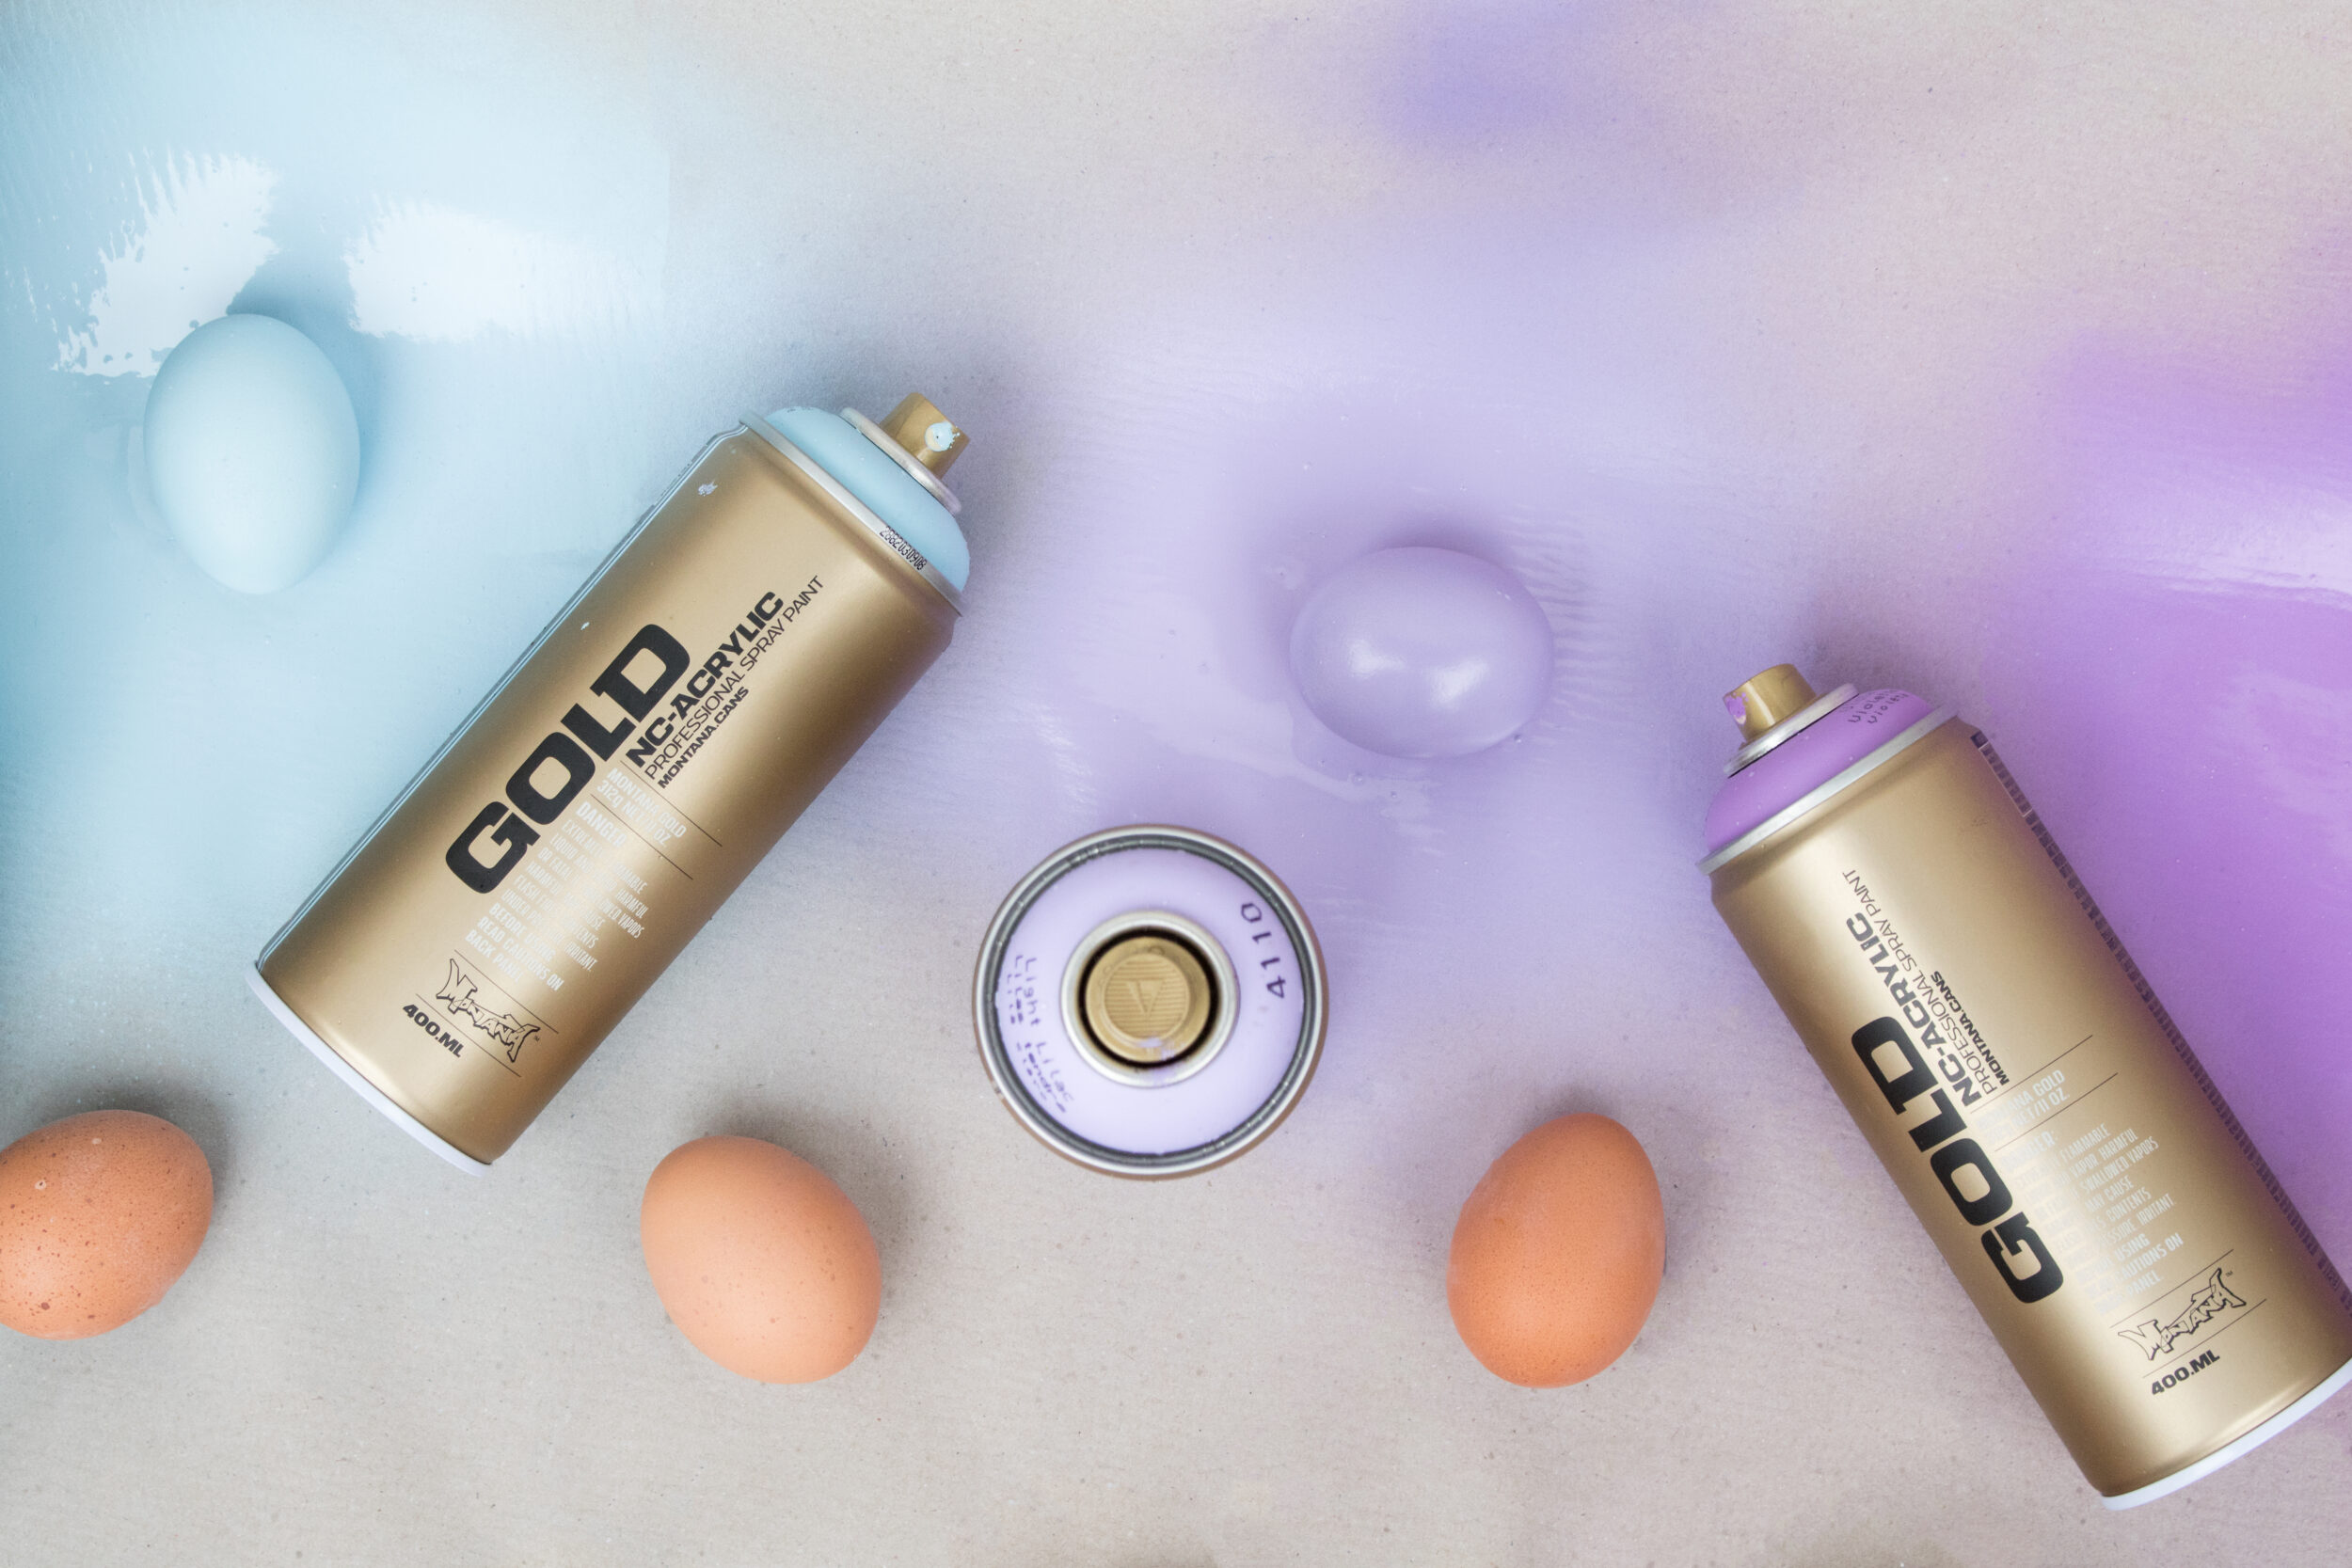
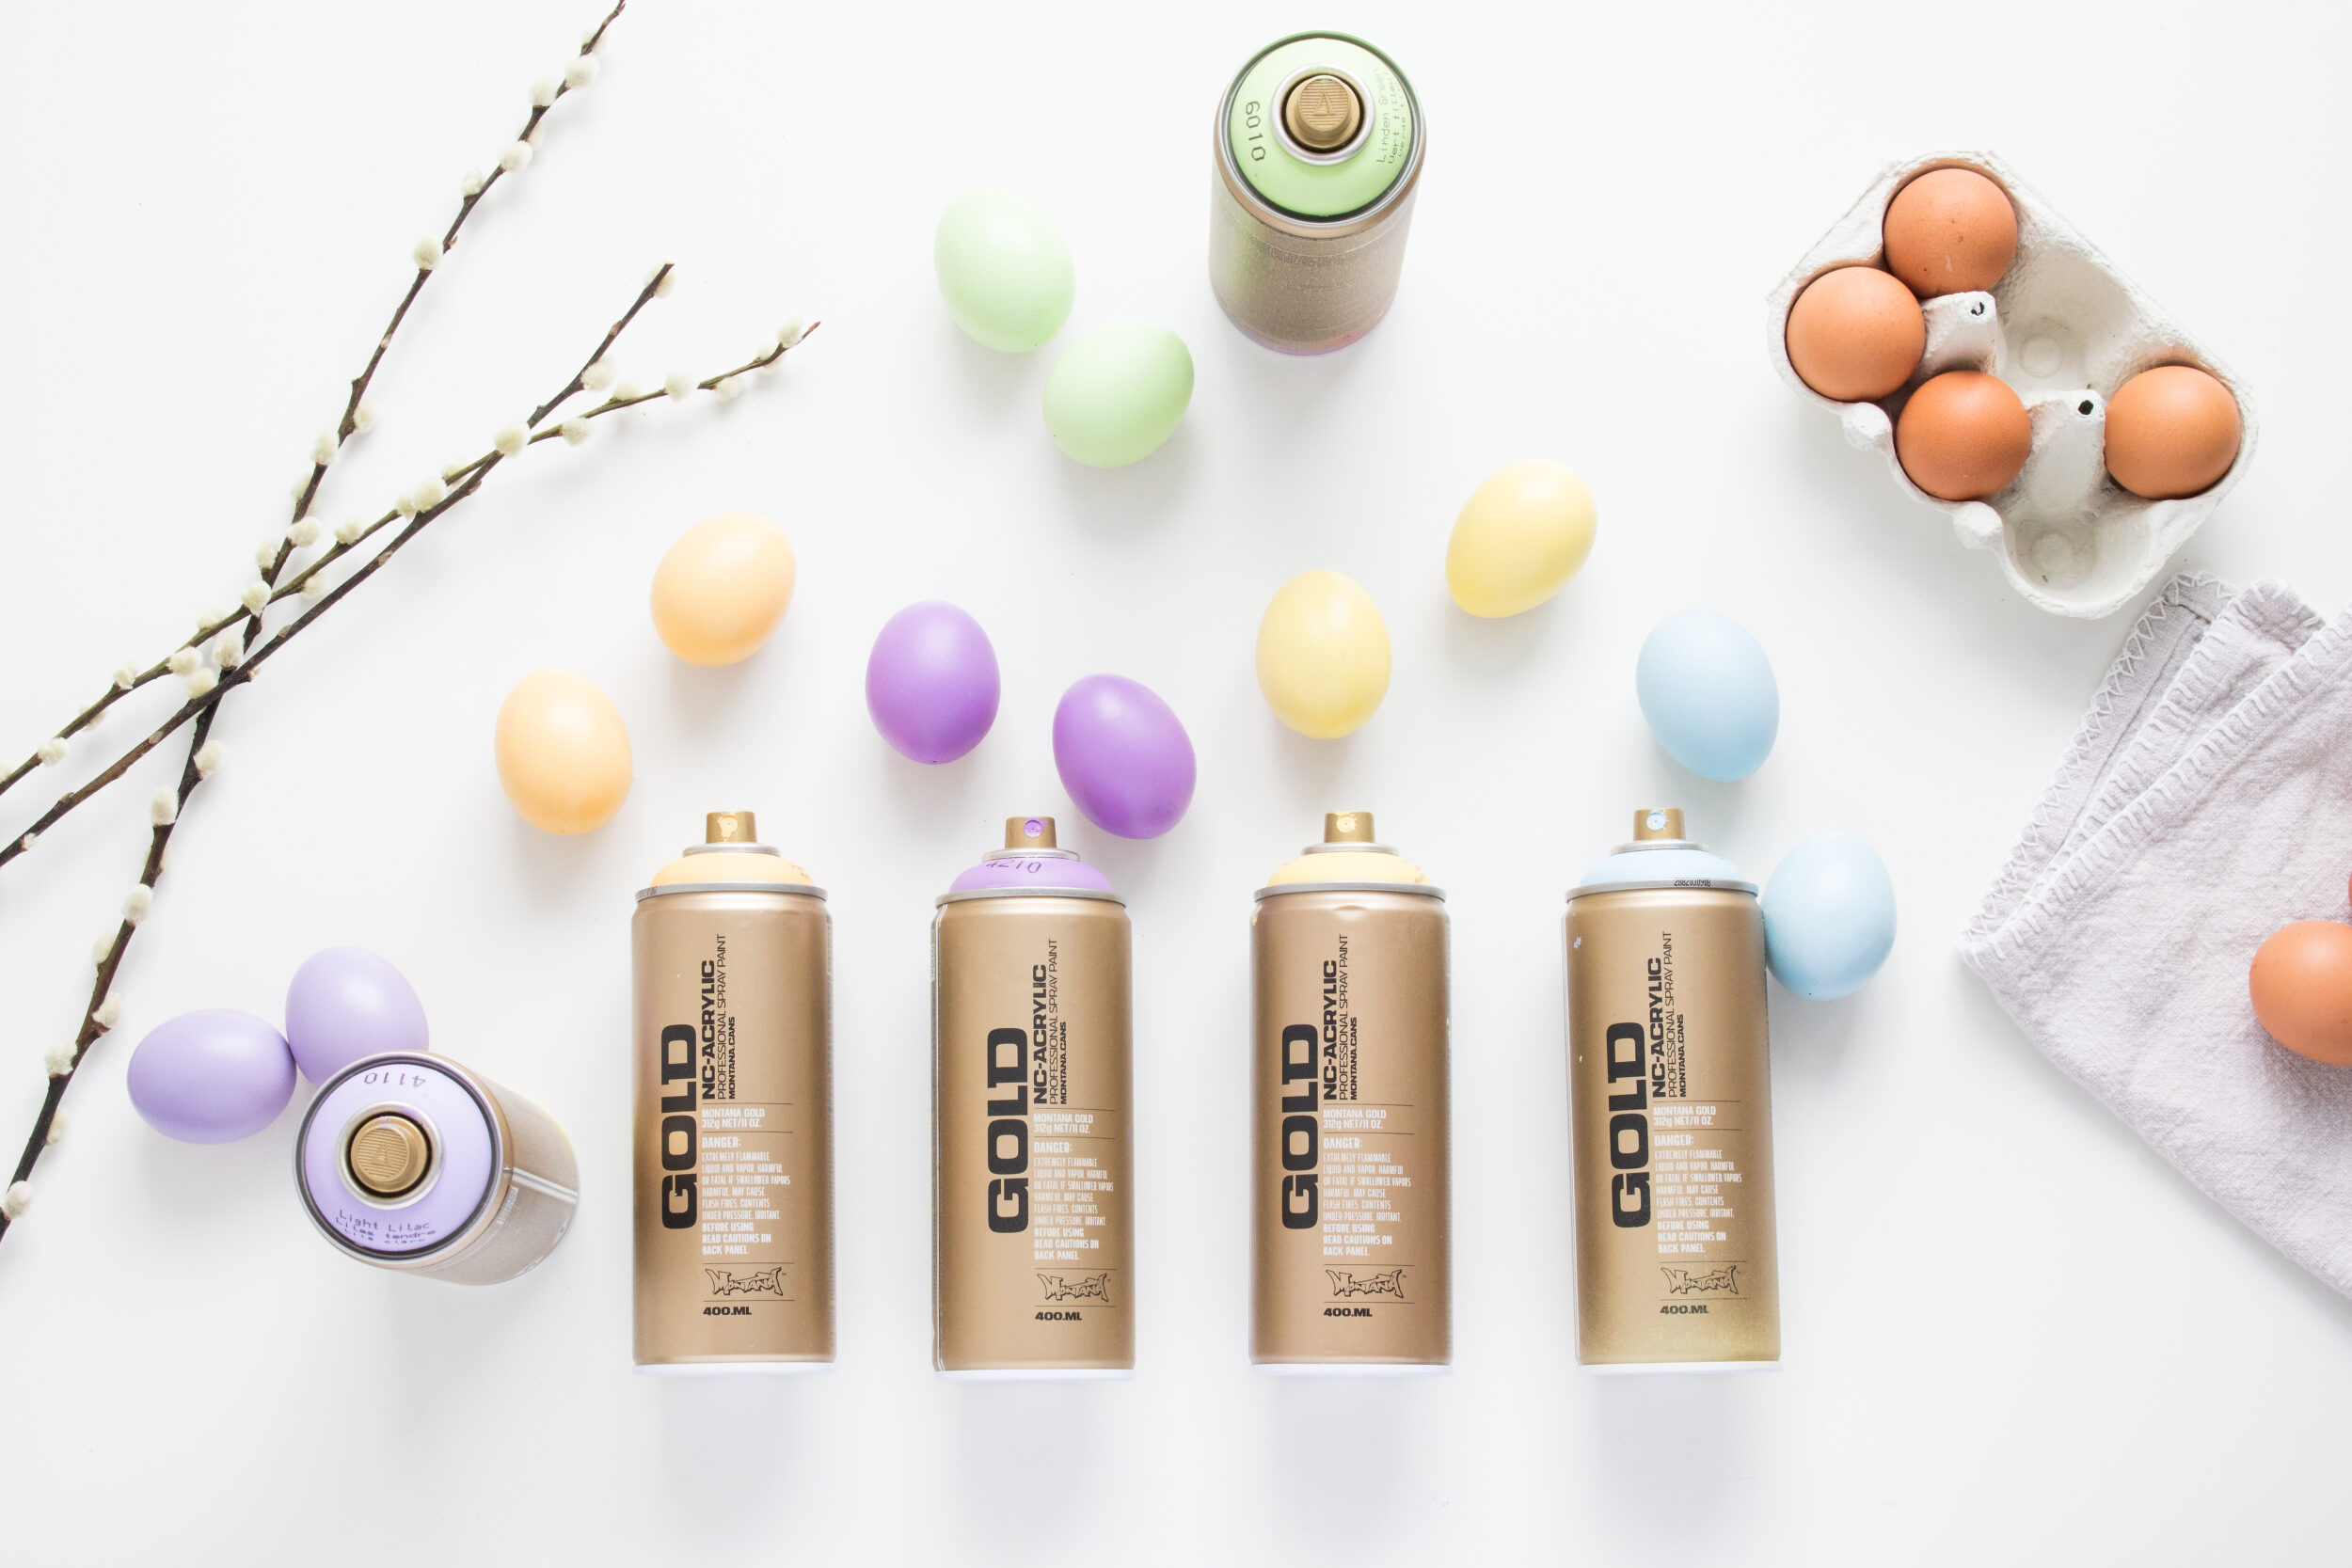
Or you could use decor eggs made of wood, plastic, or foam. If you use foam, pre-prime with Montana Polystyrene PRIMER and ensure all the foam’s pores are covered and sealed. After having shaken the cans for 2-3 minutes, removing the nozzle, and allowing the black safety ring underneath it to fall out, you’re ready to trigger your cans and paint your eggs.
Lay each egg on your drop sheet with enough space around it so you can spray from all angles. Then paint each egg in thin layers from 15-20cm distance, in slow sweeping motions. Allow to dry and roll slightly so that the unpainted patches can be sprayed. Then repeat the process so that all sides of your egg are painted. Allow to dry and your eggs are done!
AFTER
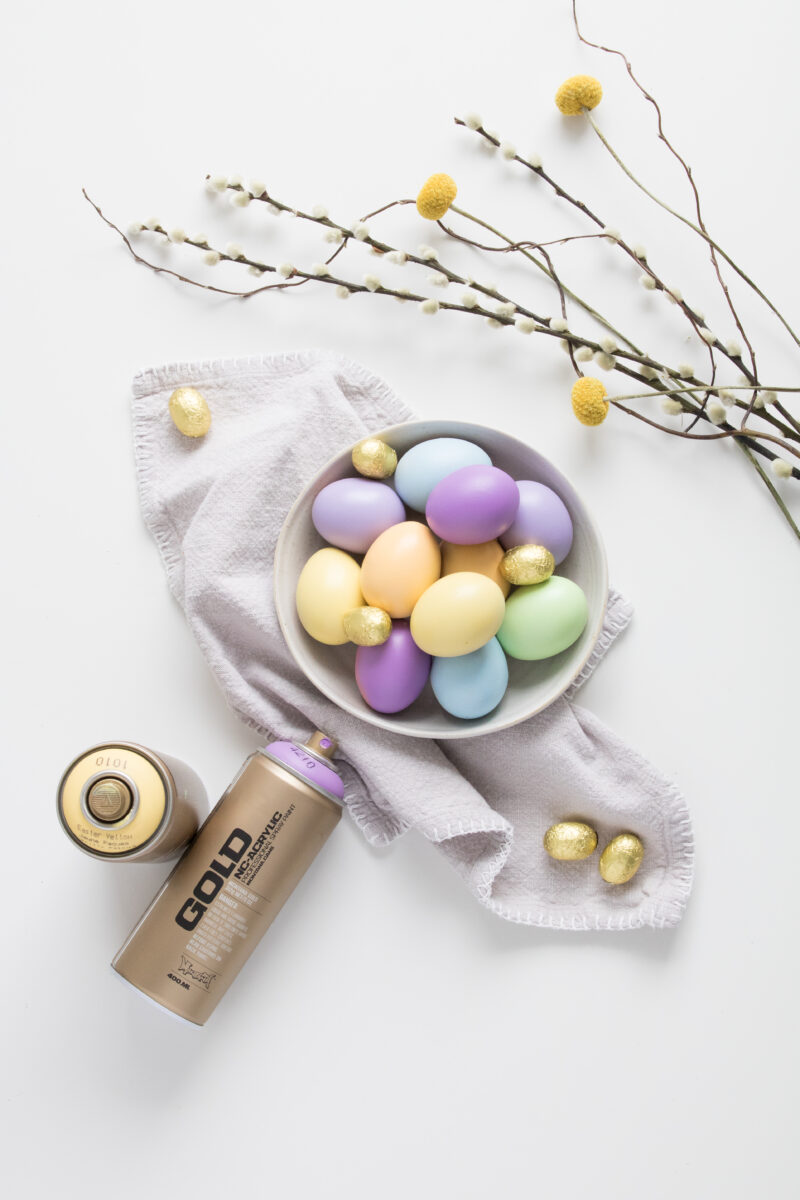
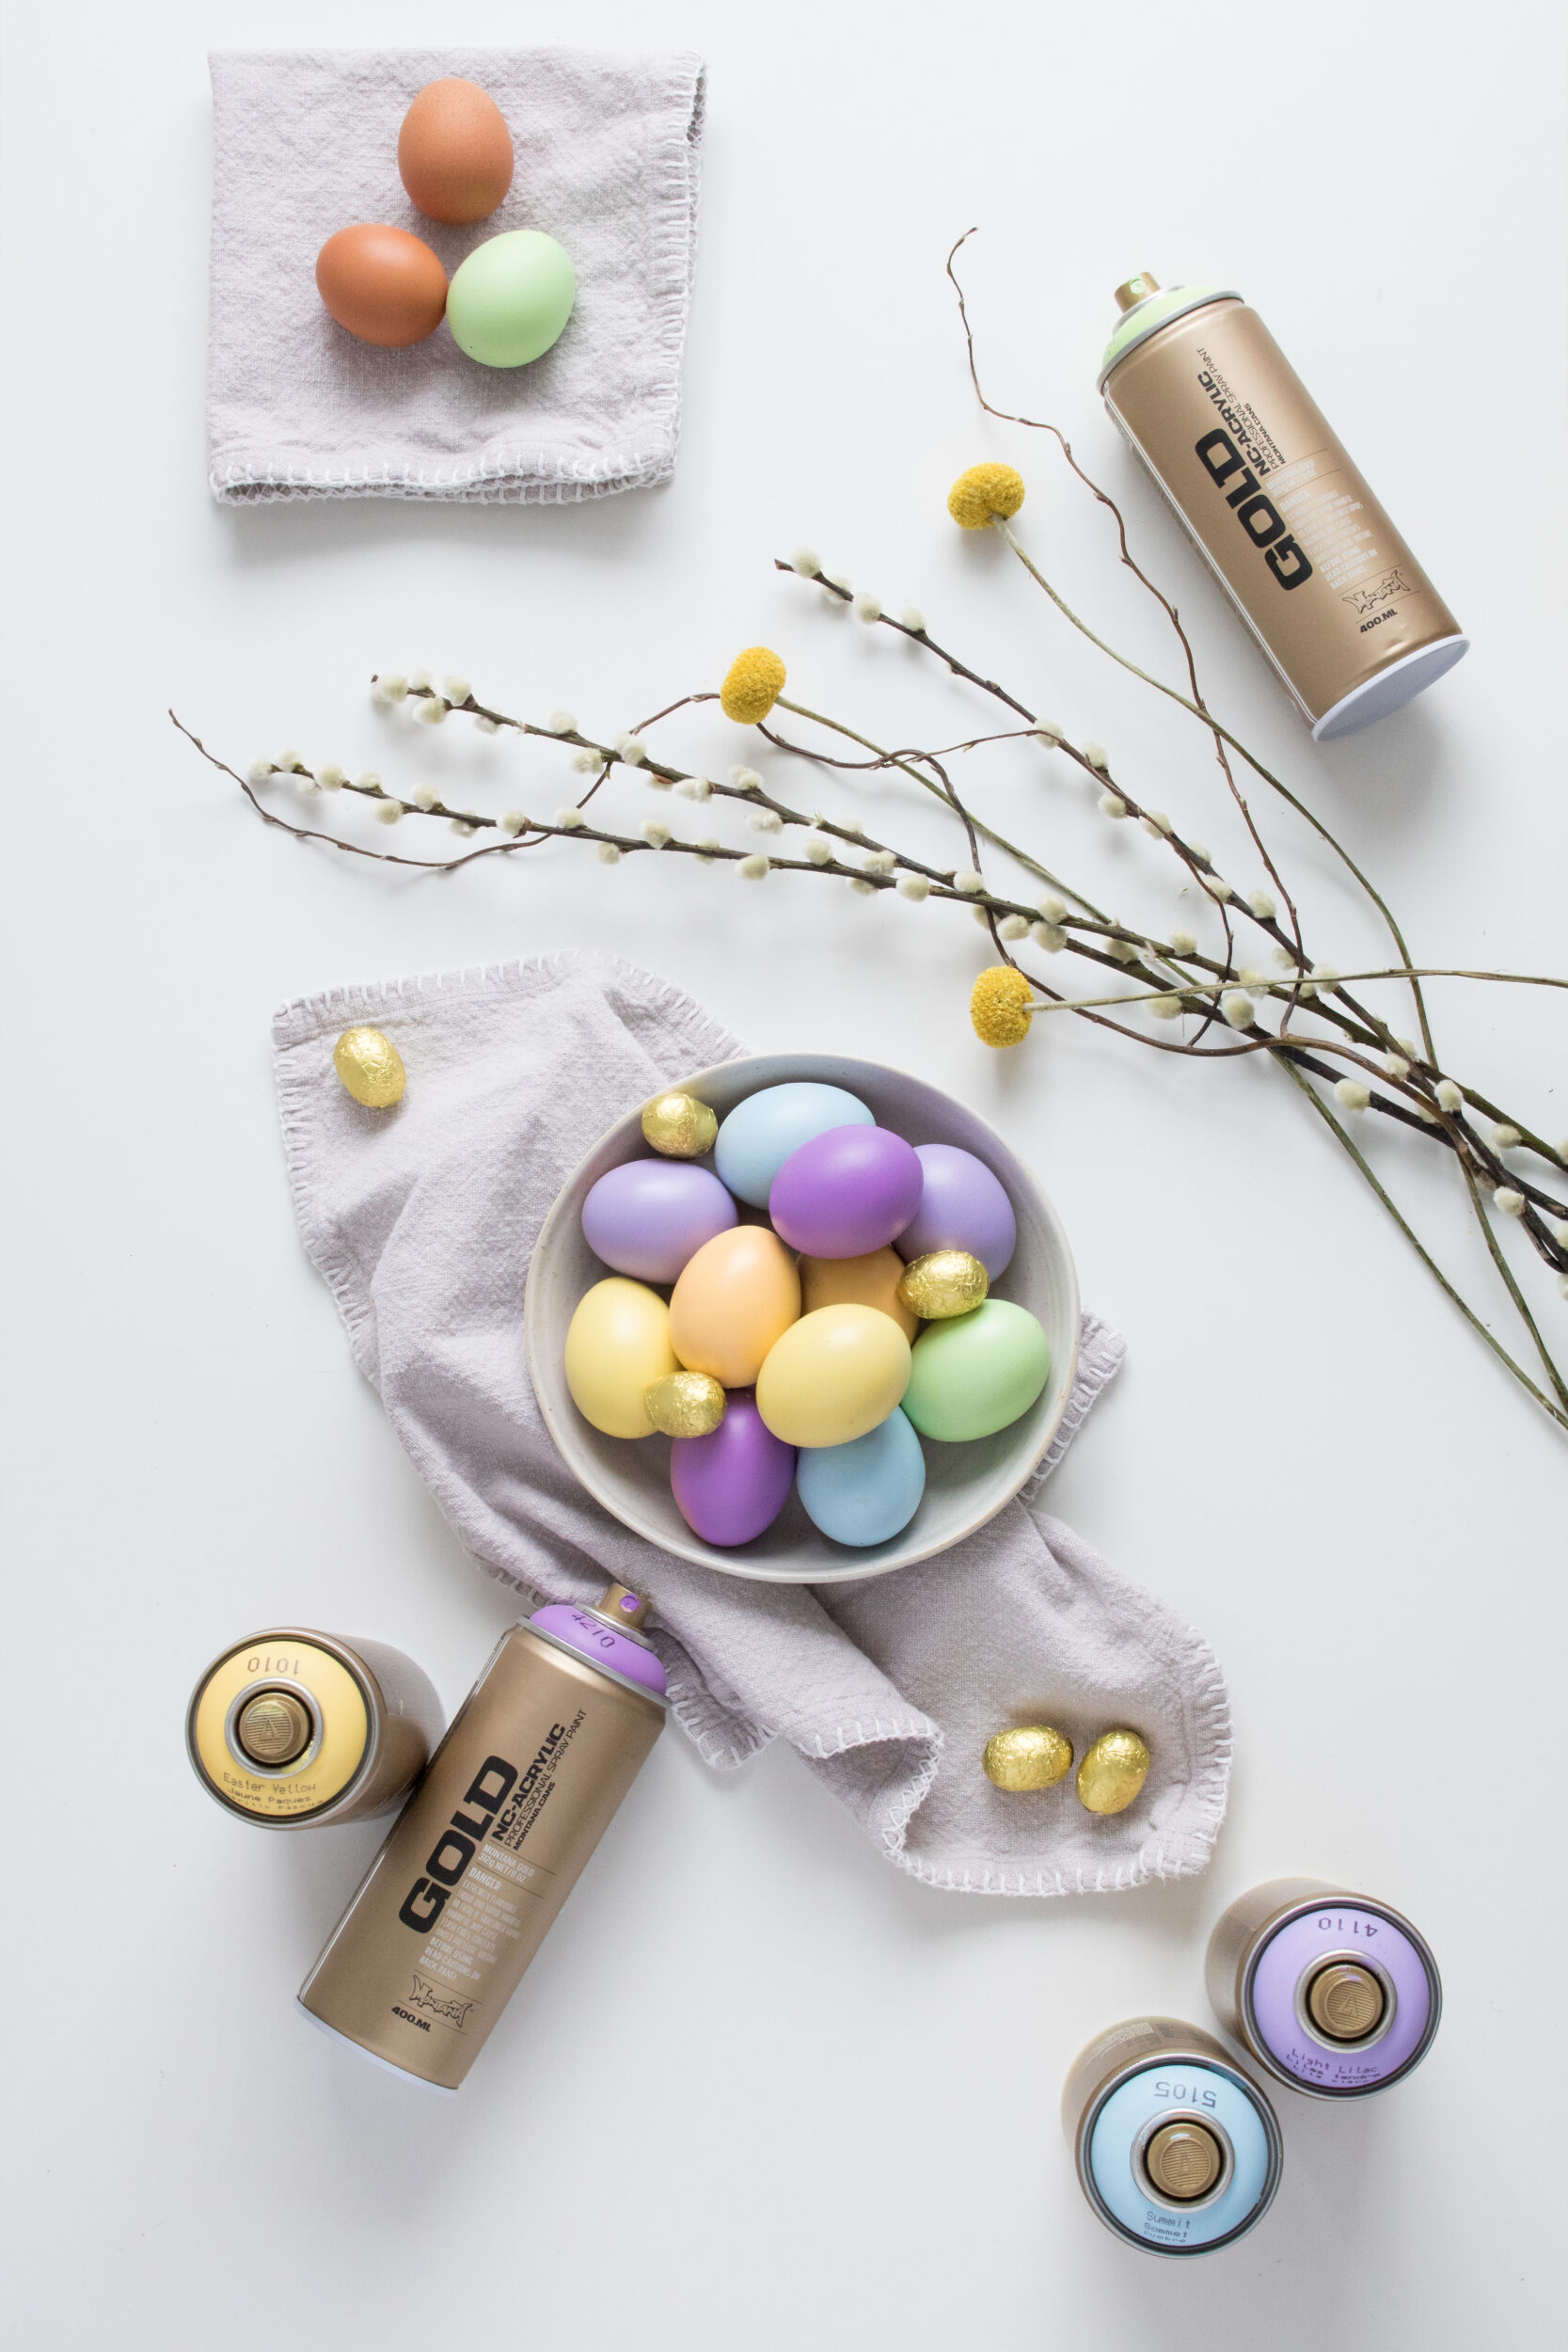
Your eggs are now dry, the colors look amazing, and the whole painting process took less than 5 minutes. What was the most challenging part of the project was hard boiling the eggs so that they didn’t crack. But even that isn’t too hard if you go slow and start with cold water.
Such beautiful, simple eggs mean you can then put your energy into how you want to present them. Play with different bowls, holders, and color combinations. Or even make a day of it and invite some friends to join in and catch up while you’re doing it. Compliment your Colorful Easter Eggs display with some seasonal flowers or twigs from the garden, and you have yourself a timeless Easter decoration for indoors or out. Then, all you need to have is a happy Easter. Happy Crafting.