Paper pom-poms to bring in the new year
The last champagne bottle has been emptied and the remainder of the Christmas hang over is nearly gone. All we need to do is clean up. But what’s the next step? Easy, wipe off the cob webs, drink as much water as we can and get ready to do it all over again for the New Years eve celebrations. And what better to add to the decor then a new classy touch of metallic creativity. Crepe paper pom-poms, here we come!
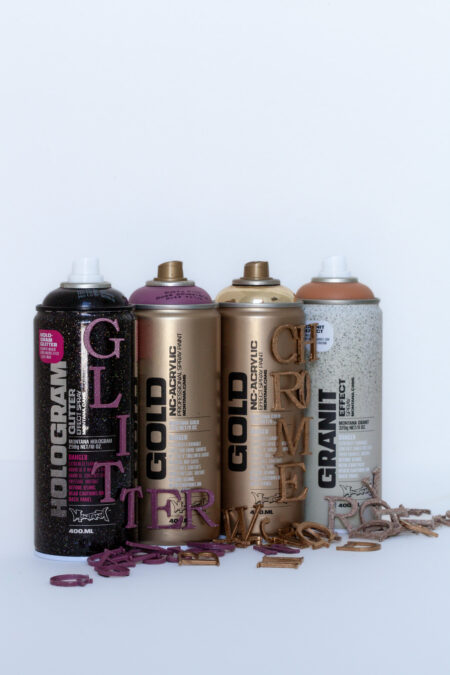
Materials Used
- Montana GOLD CHROME EFFECT color Copper Chrome. (Or Chrome effect color of your choice)
- Montana GOLD color Liberty
- Some paper that can be folded and formed. E.G. Crepe, parchment or tracing paper. (paper that can hold a bit of moisture in the form of paint)
- Scissors
- Thin cord or thread
- Gloves
- Mask
- Drop sheet
How it was done
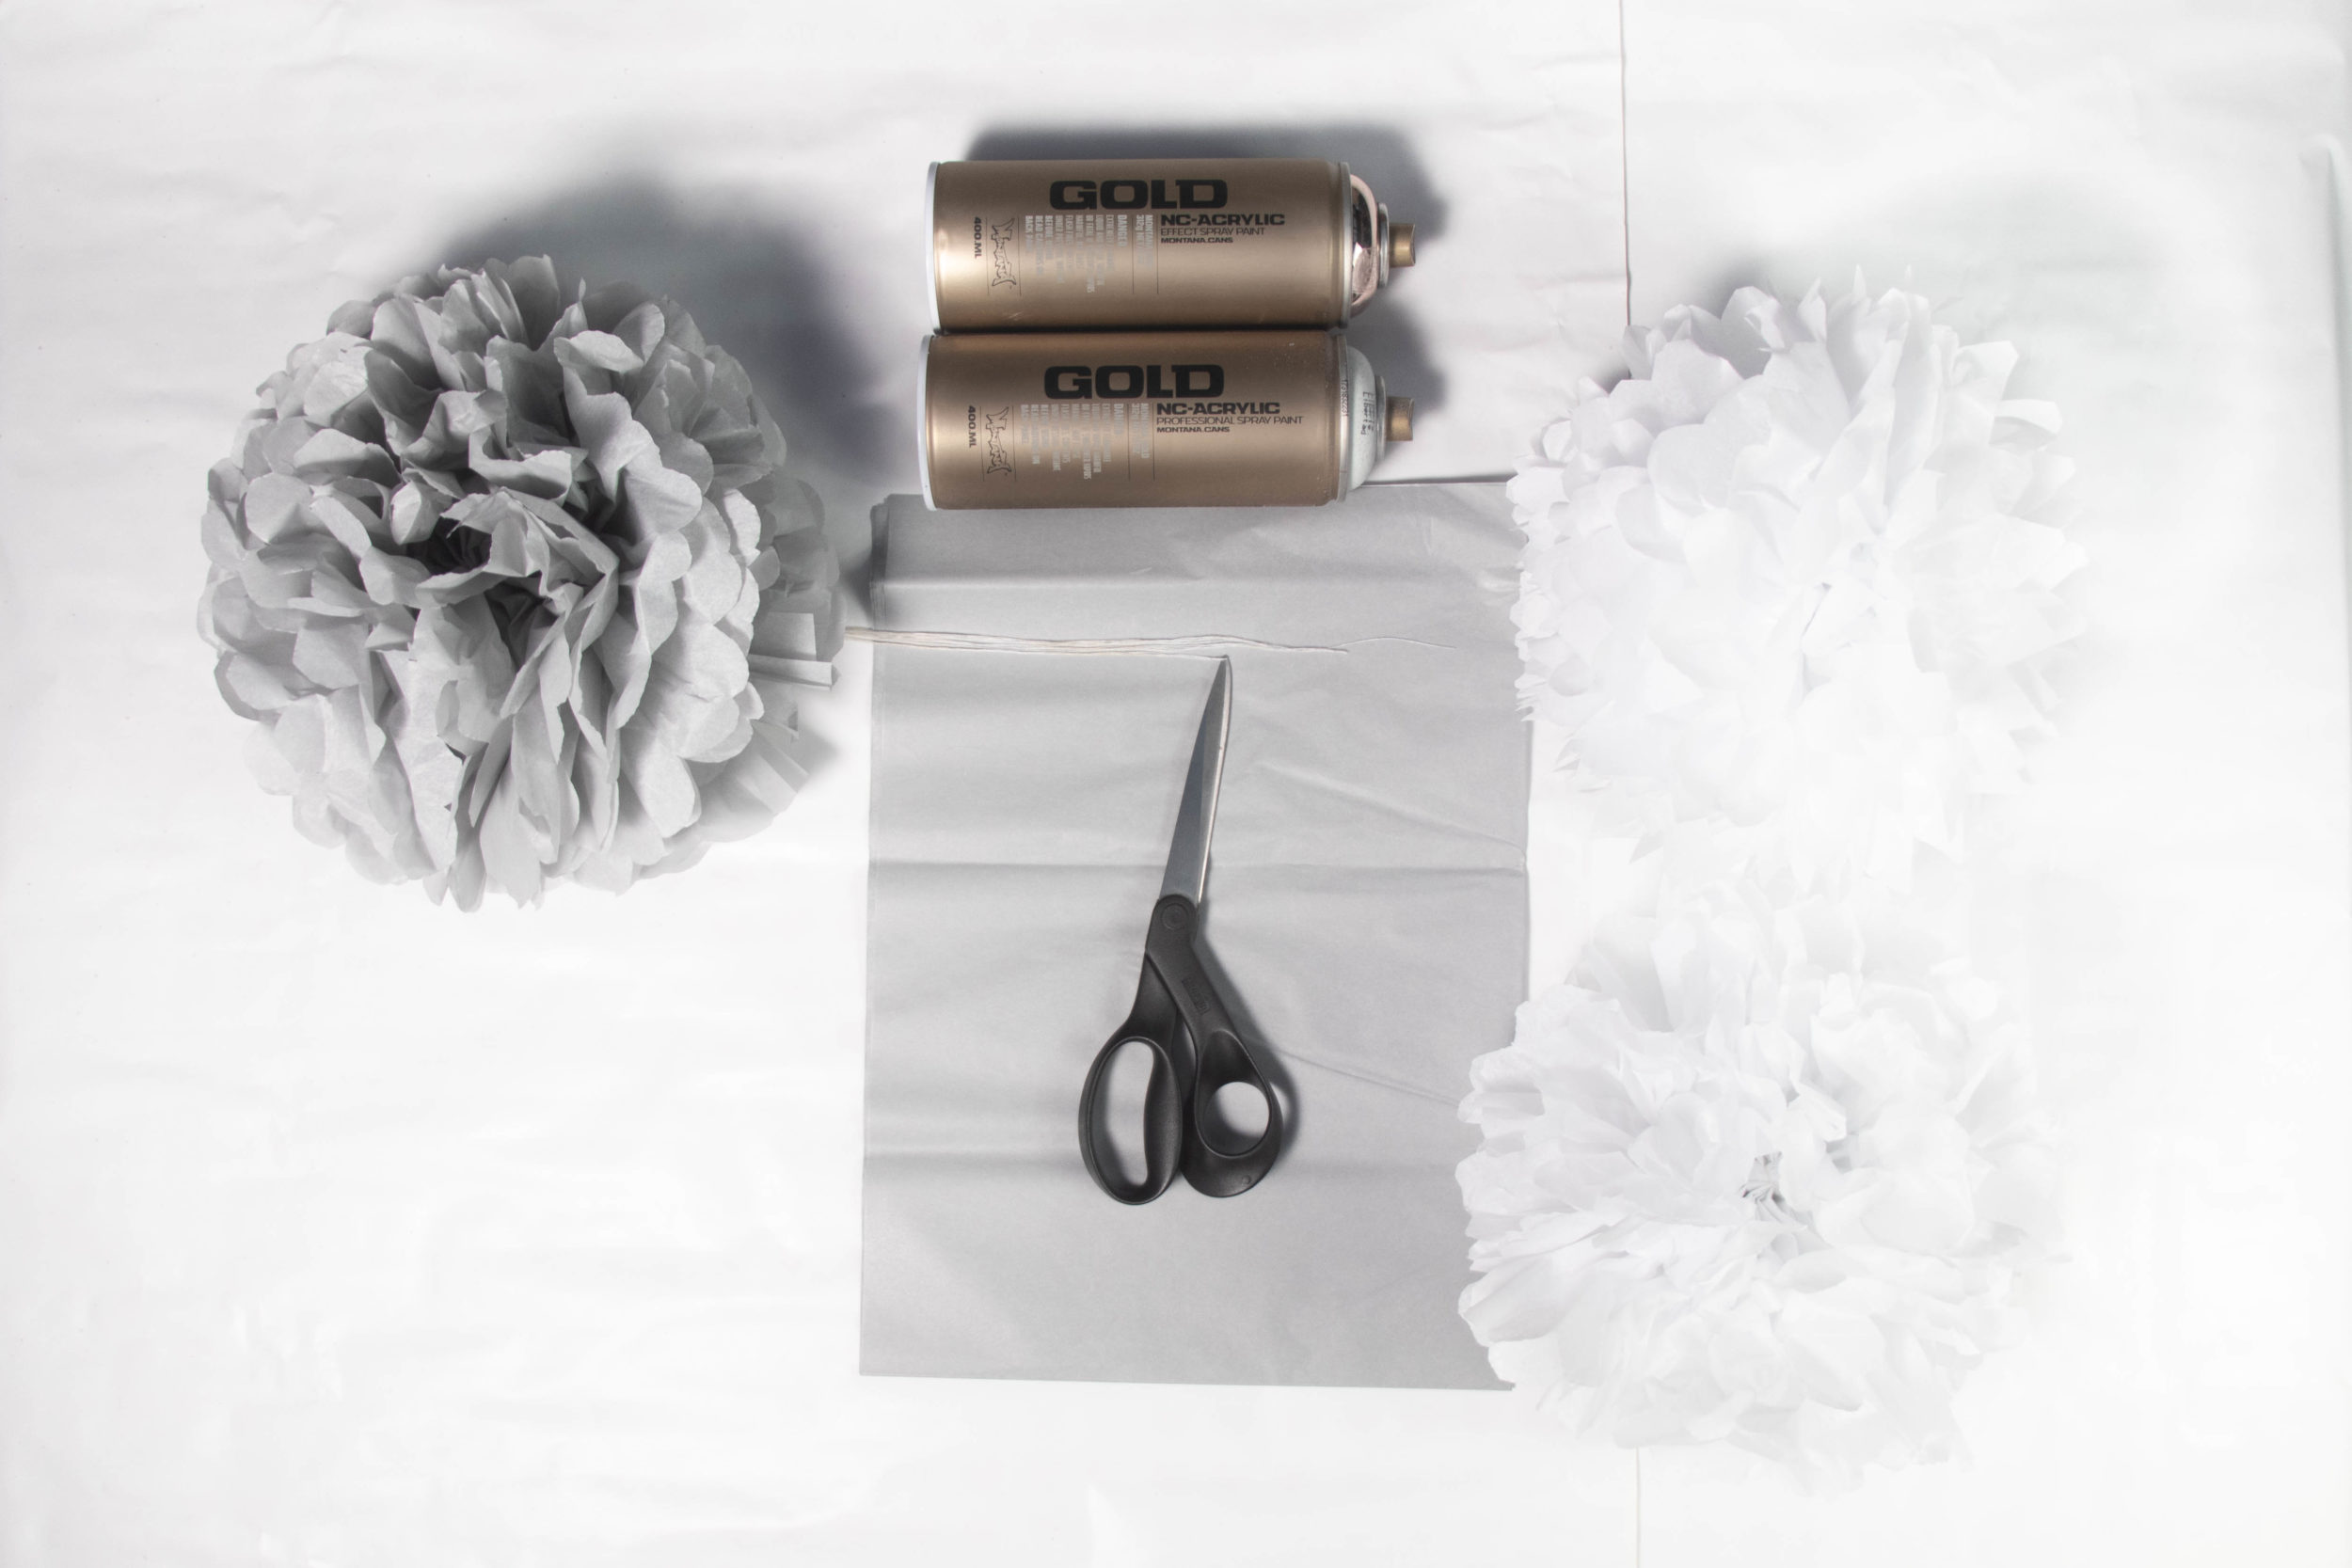
Thanks to Christmas we had a lot of papers left over from packing and creating presents. We had a nice sturdy, semi transparent parchment paper that was great for folding and manipulating while holding its shape. We laid multiple sheets on top of each other equally and laid them in front of ourselves in portrait position. Trying to keep all folds equal, we then folded the full lengths of the paper from top to bottom, over then under as if we were creating a fan. The result was one neat, thin bundle of paper. This was to form the main body of our pom-poms.

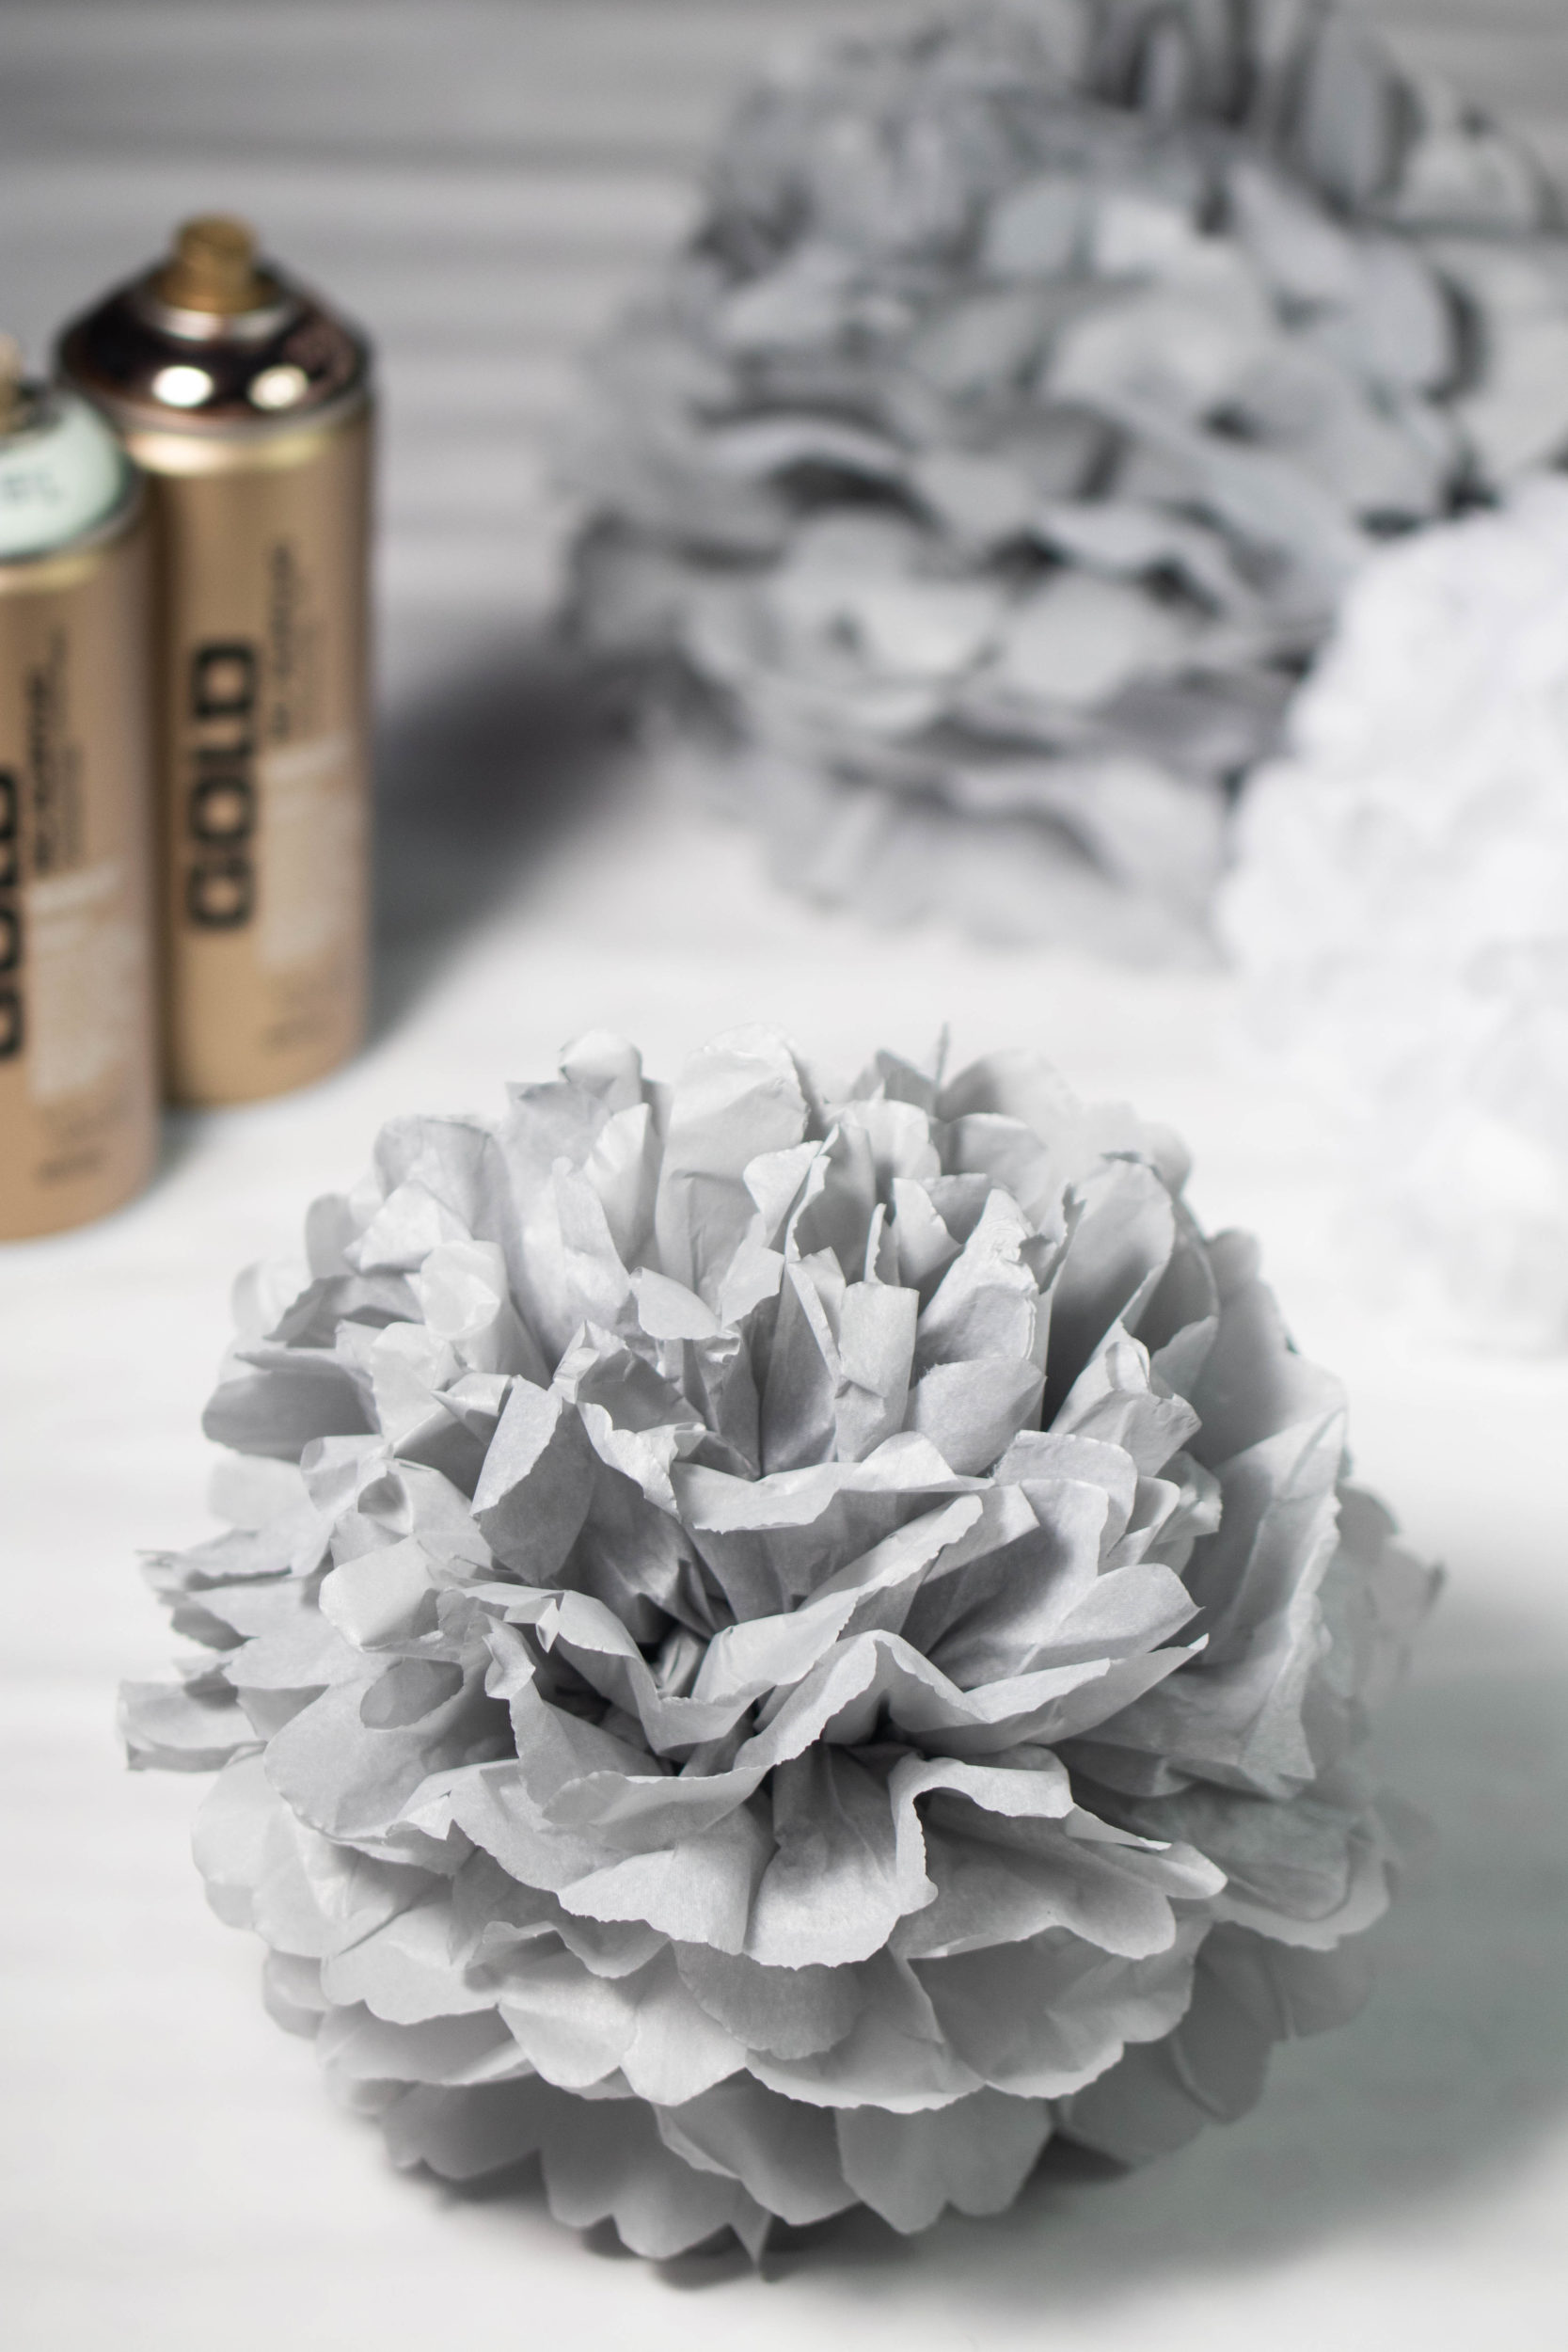
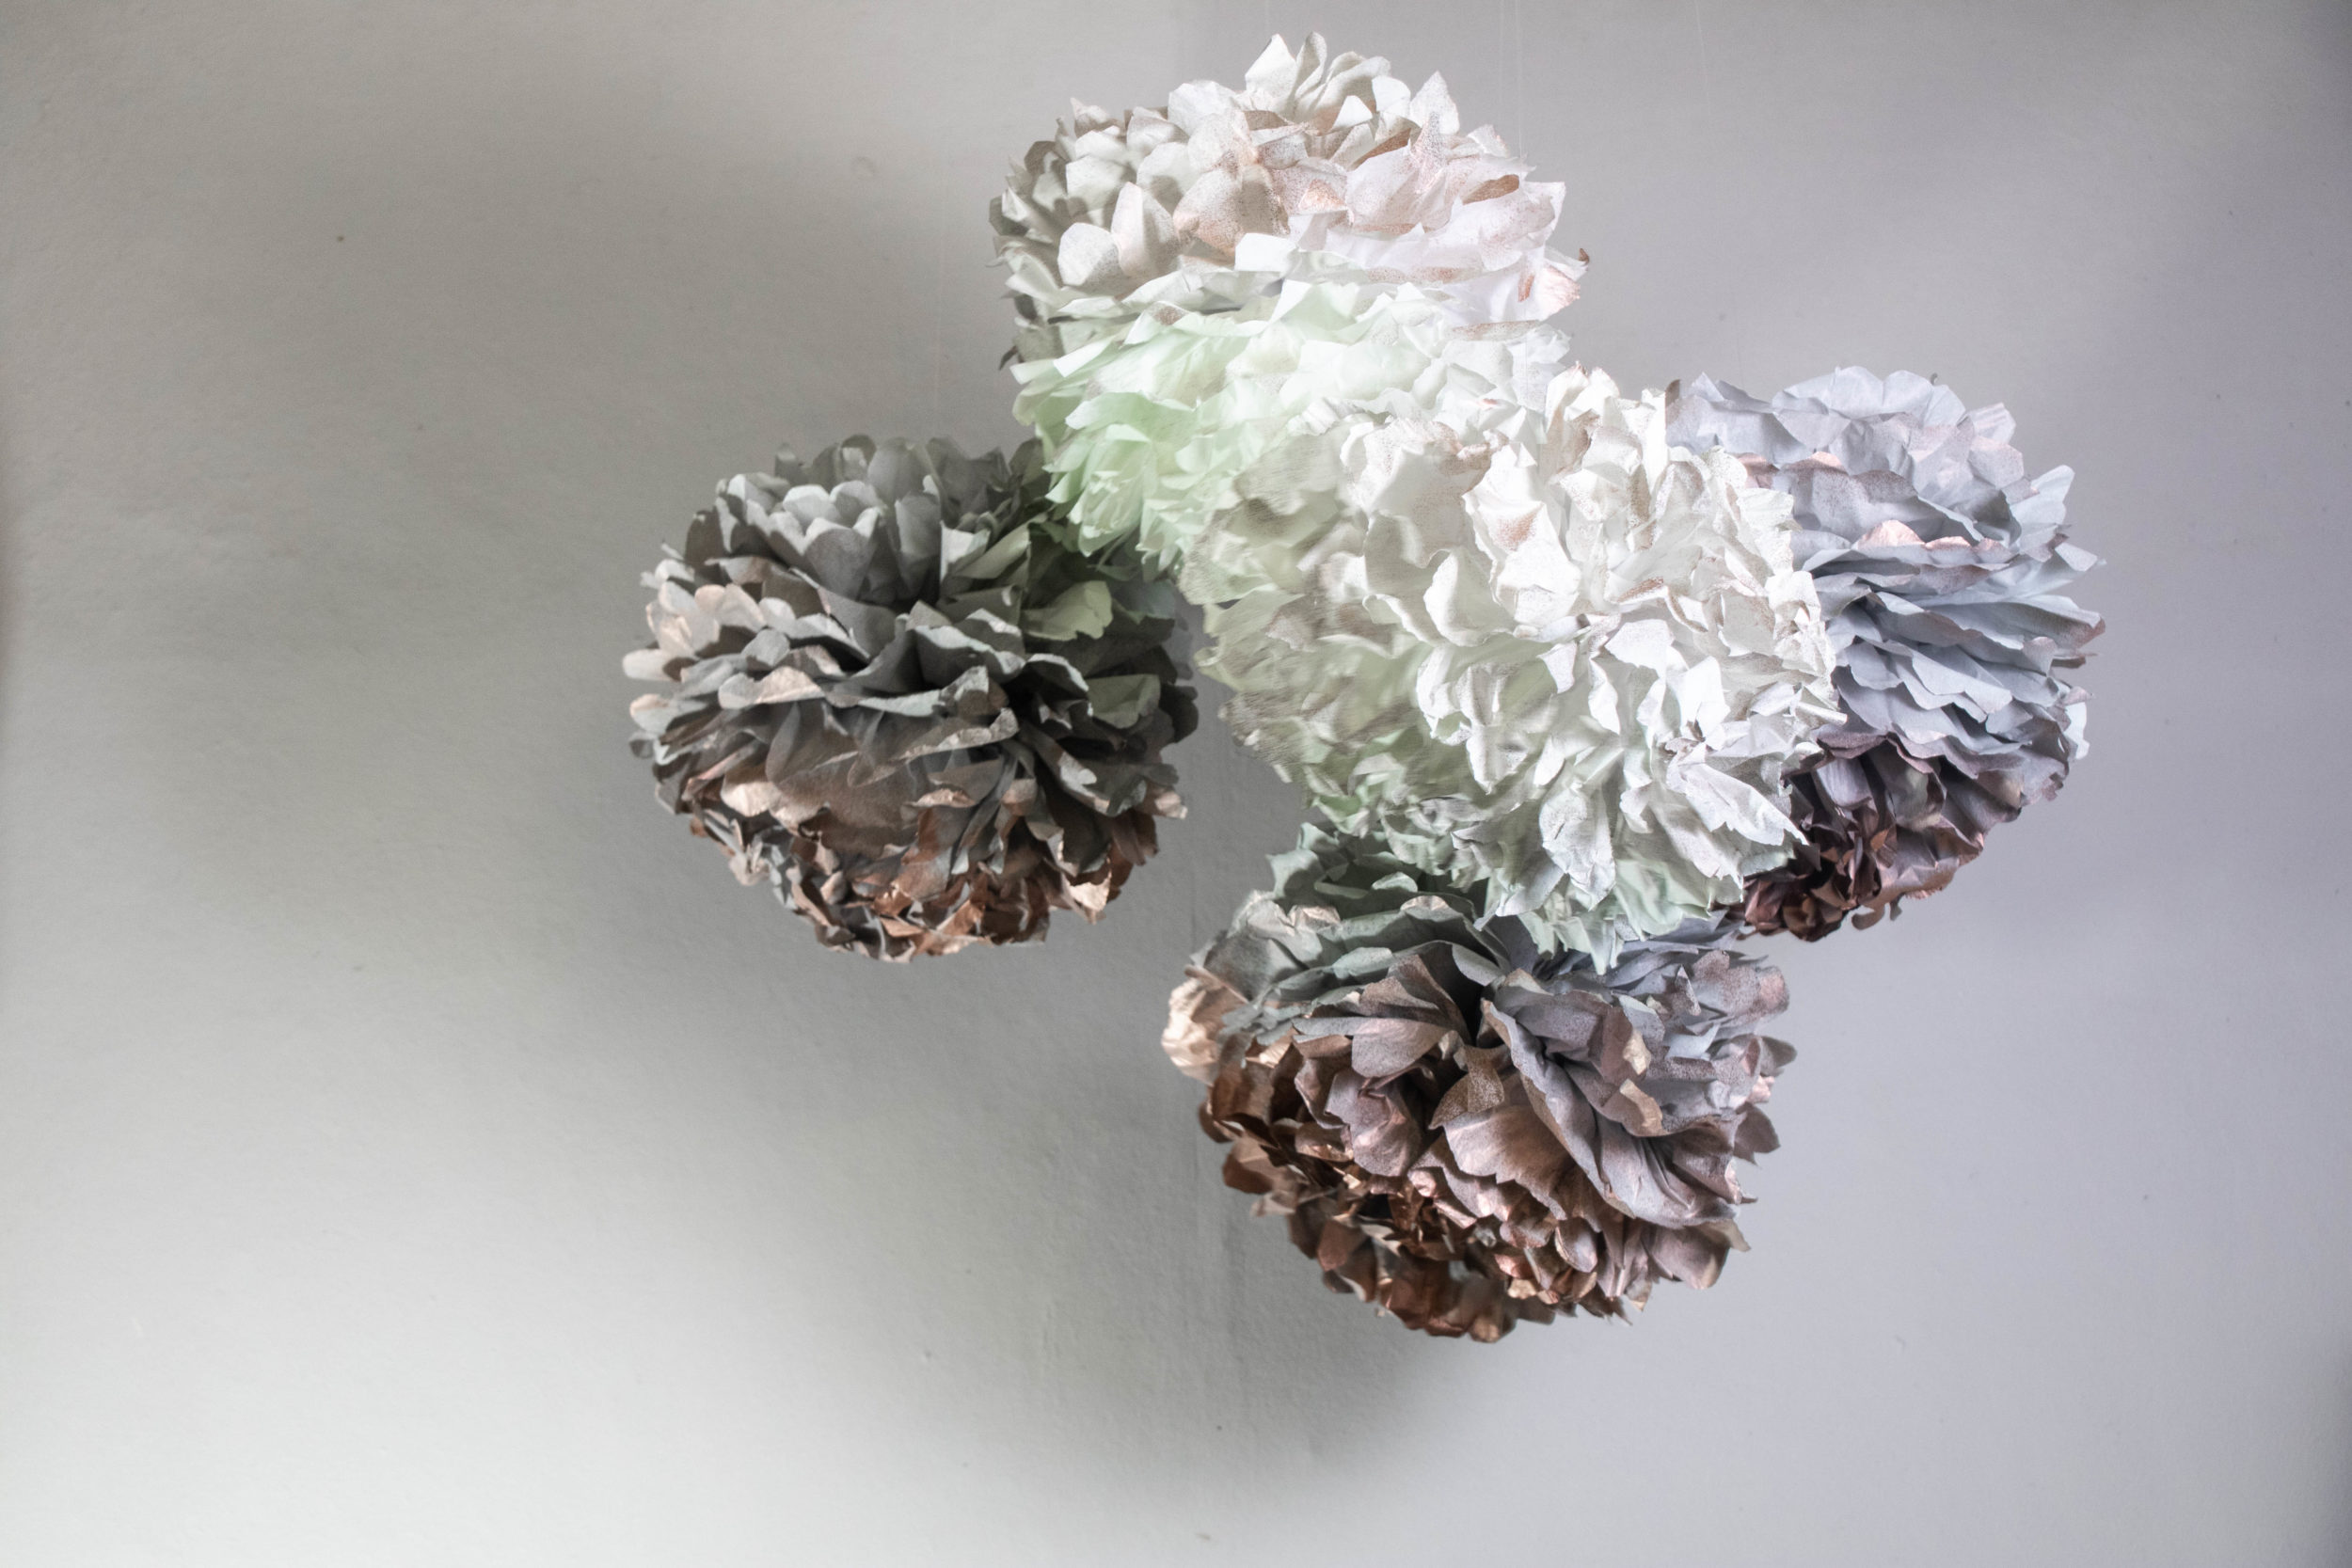
To hold them together we took our thin string or cord and tied the bundle together in the middle, firmly. While tied together, we took our scissors and and trimmed the ends of the paper in a rounded/semi circle form. We then unfolded the paper bundles top and bottom one piece at a time, pulling them up and teasing in to place to create a circular form. At this point you can give your pom-poms the shape you want, so take your time and follow your dreams.
With pom-poms pulled and teased, it was now time to prepare our cans. We shook all cans for 2-3 minutes. Then turned them over, took off the nozzles and let the little black safety ring underneath fall out. We re-applied the nozzles and gave a little test spray away from any surfaces to make sure everything was primed and ready.


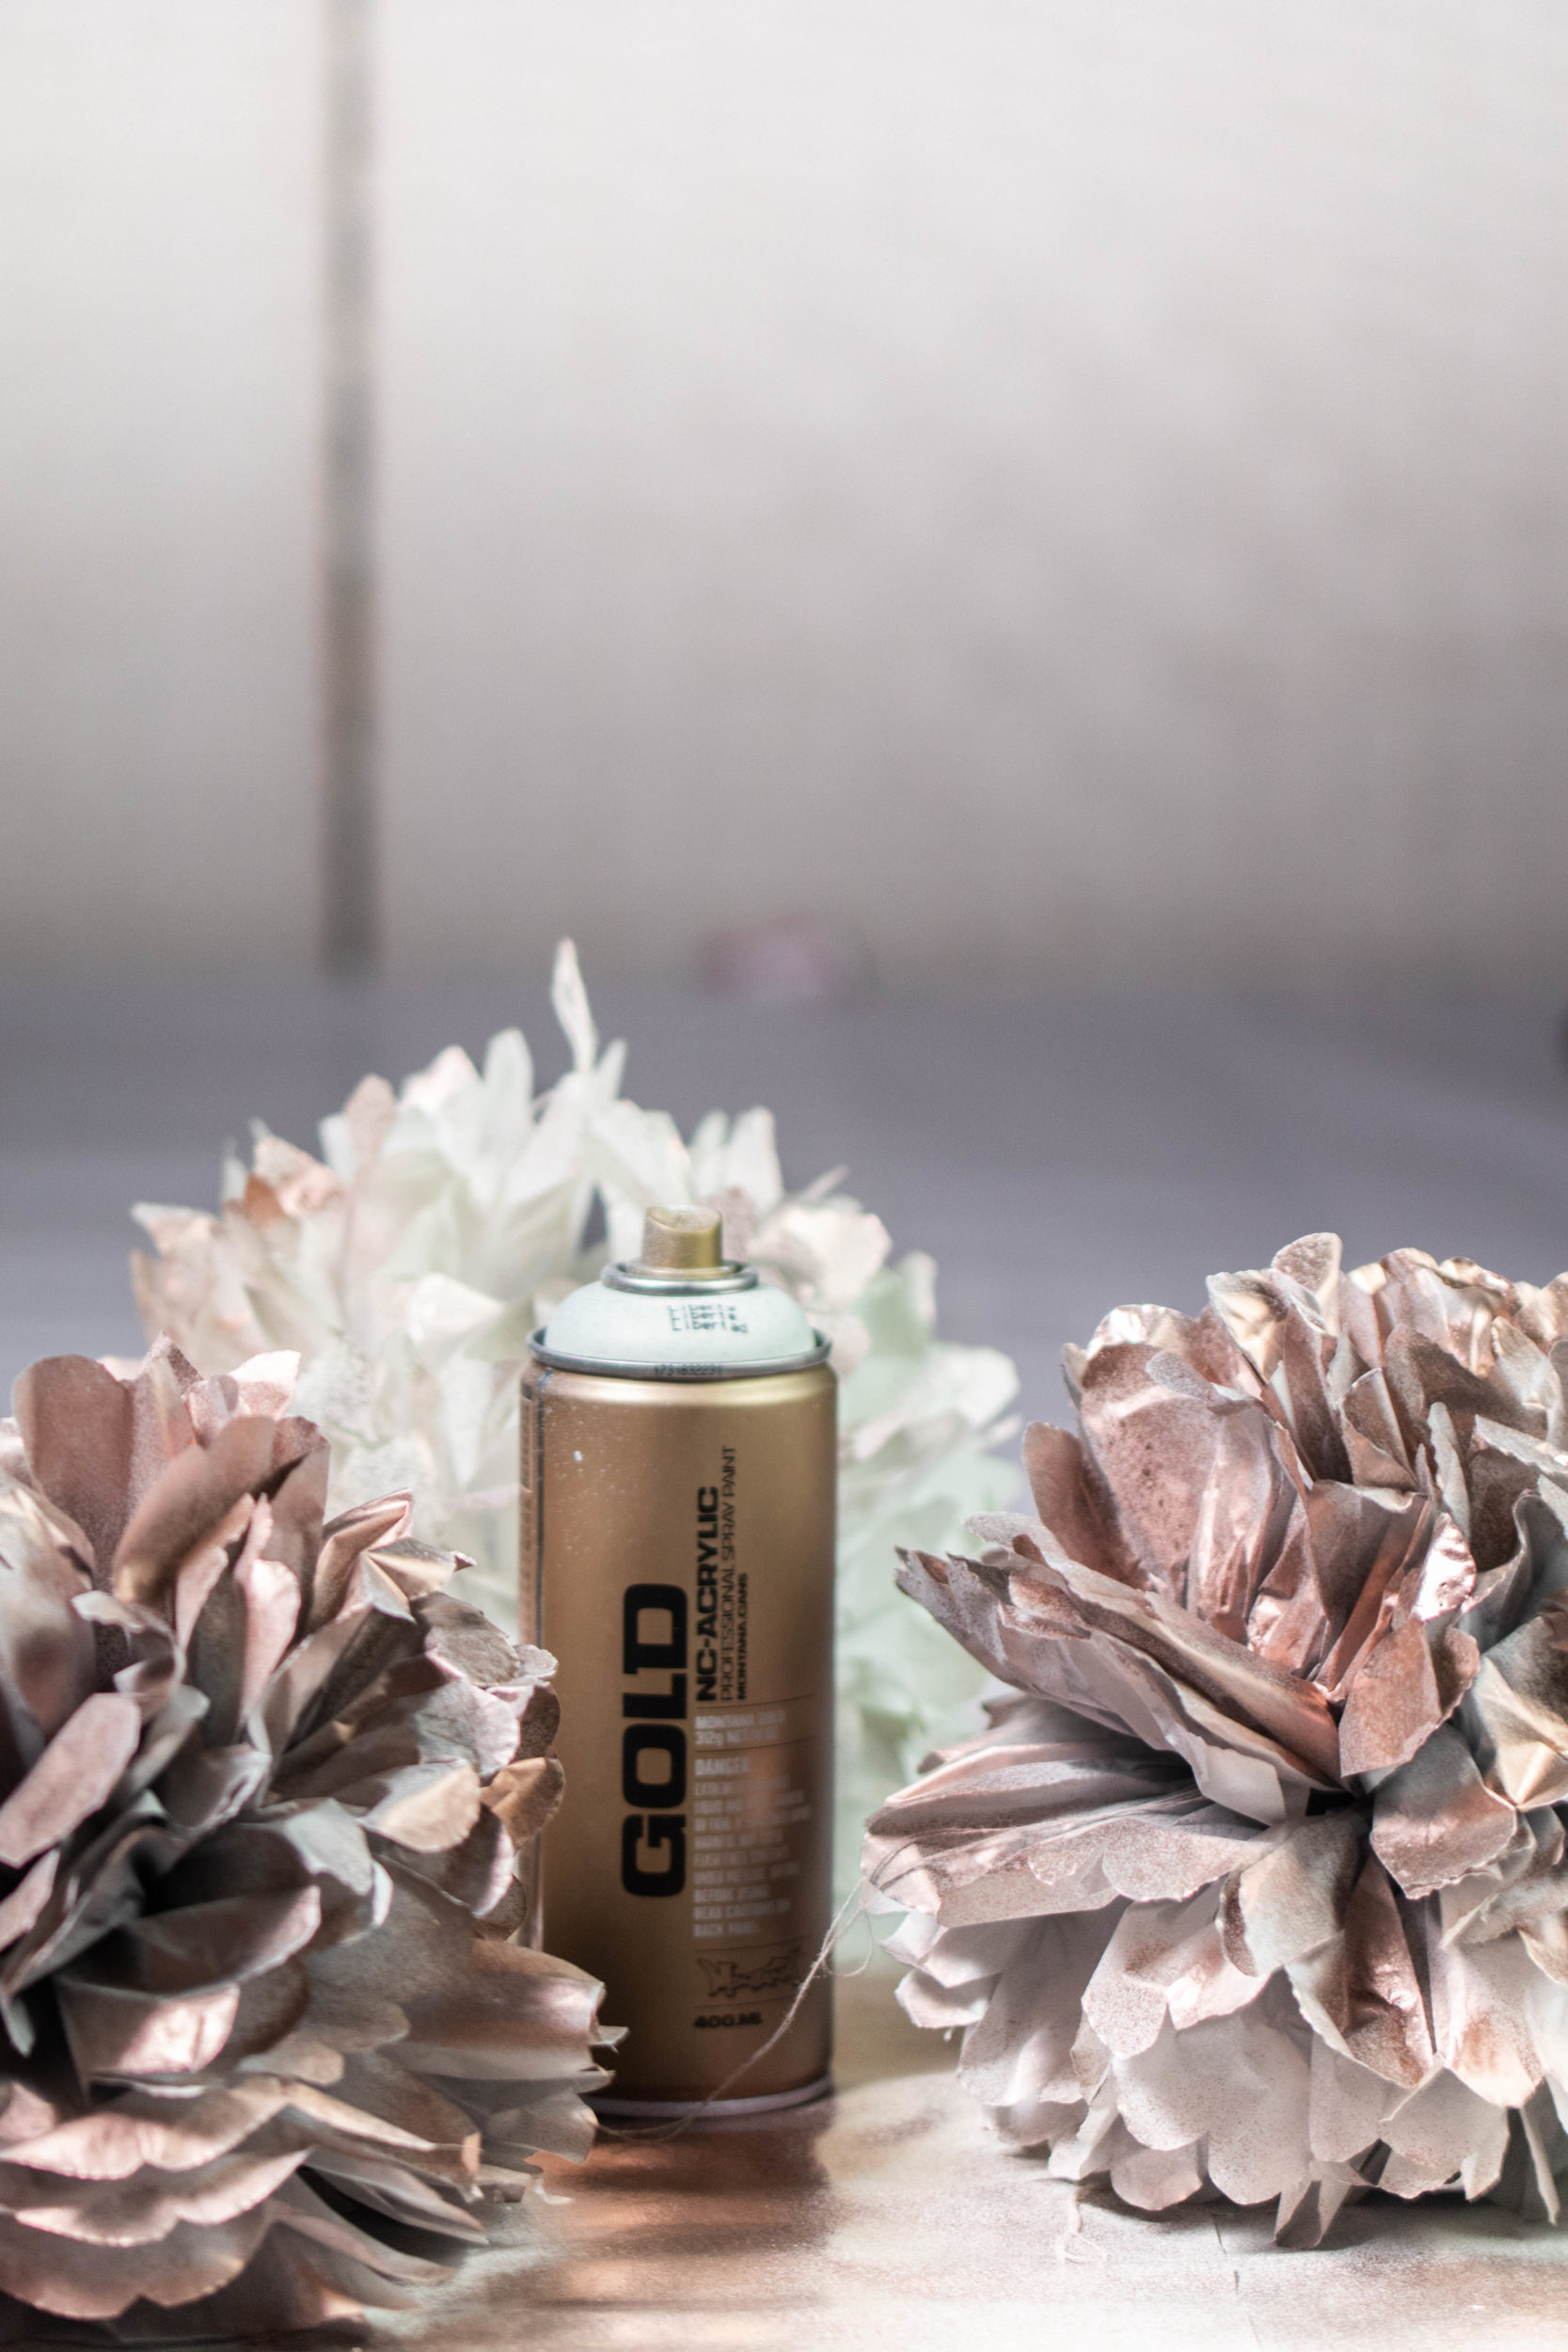
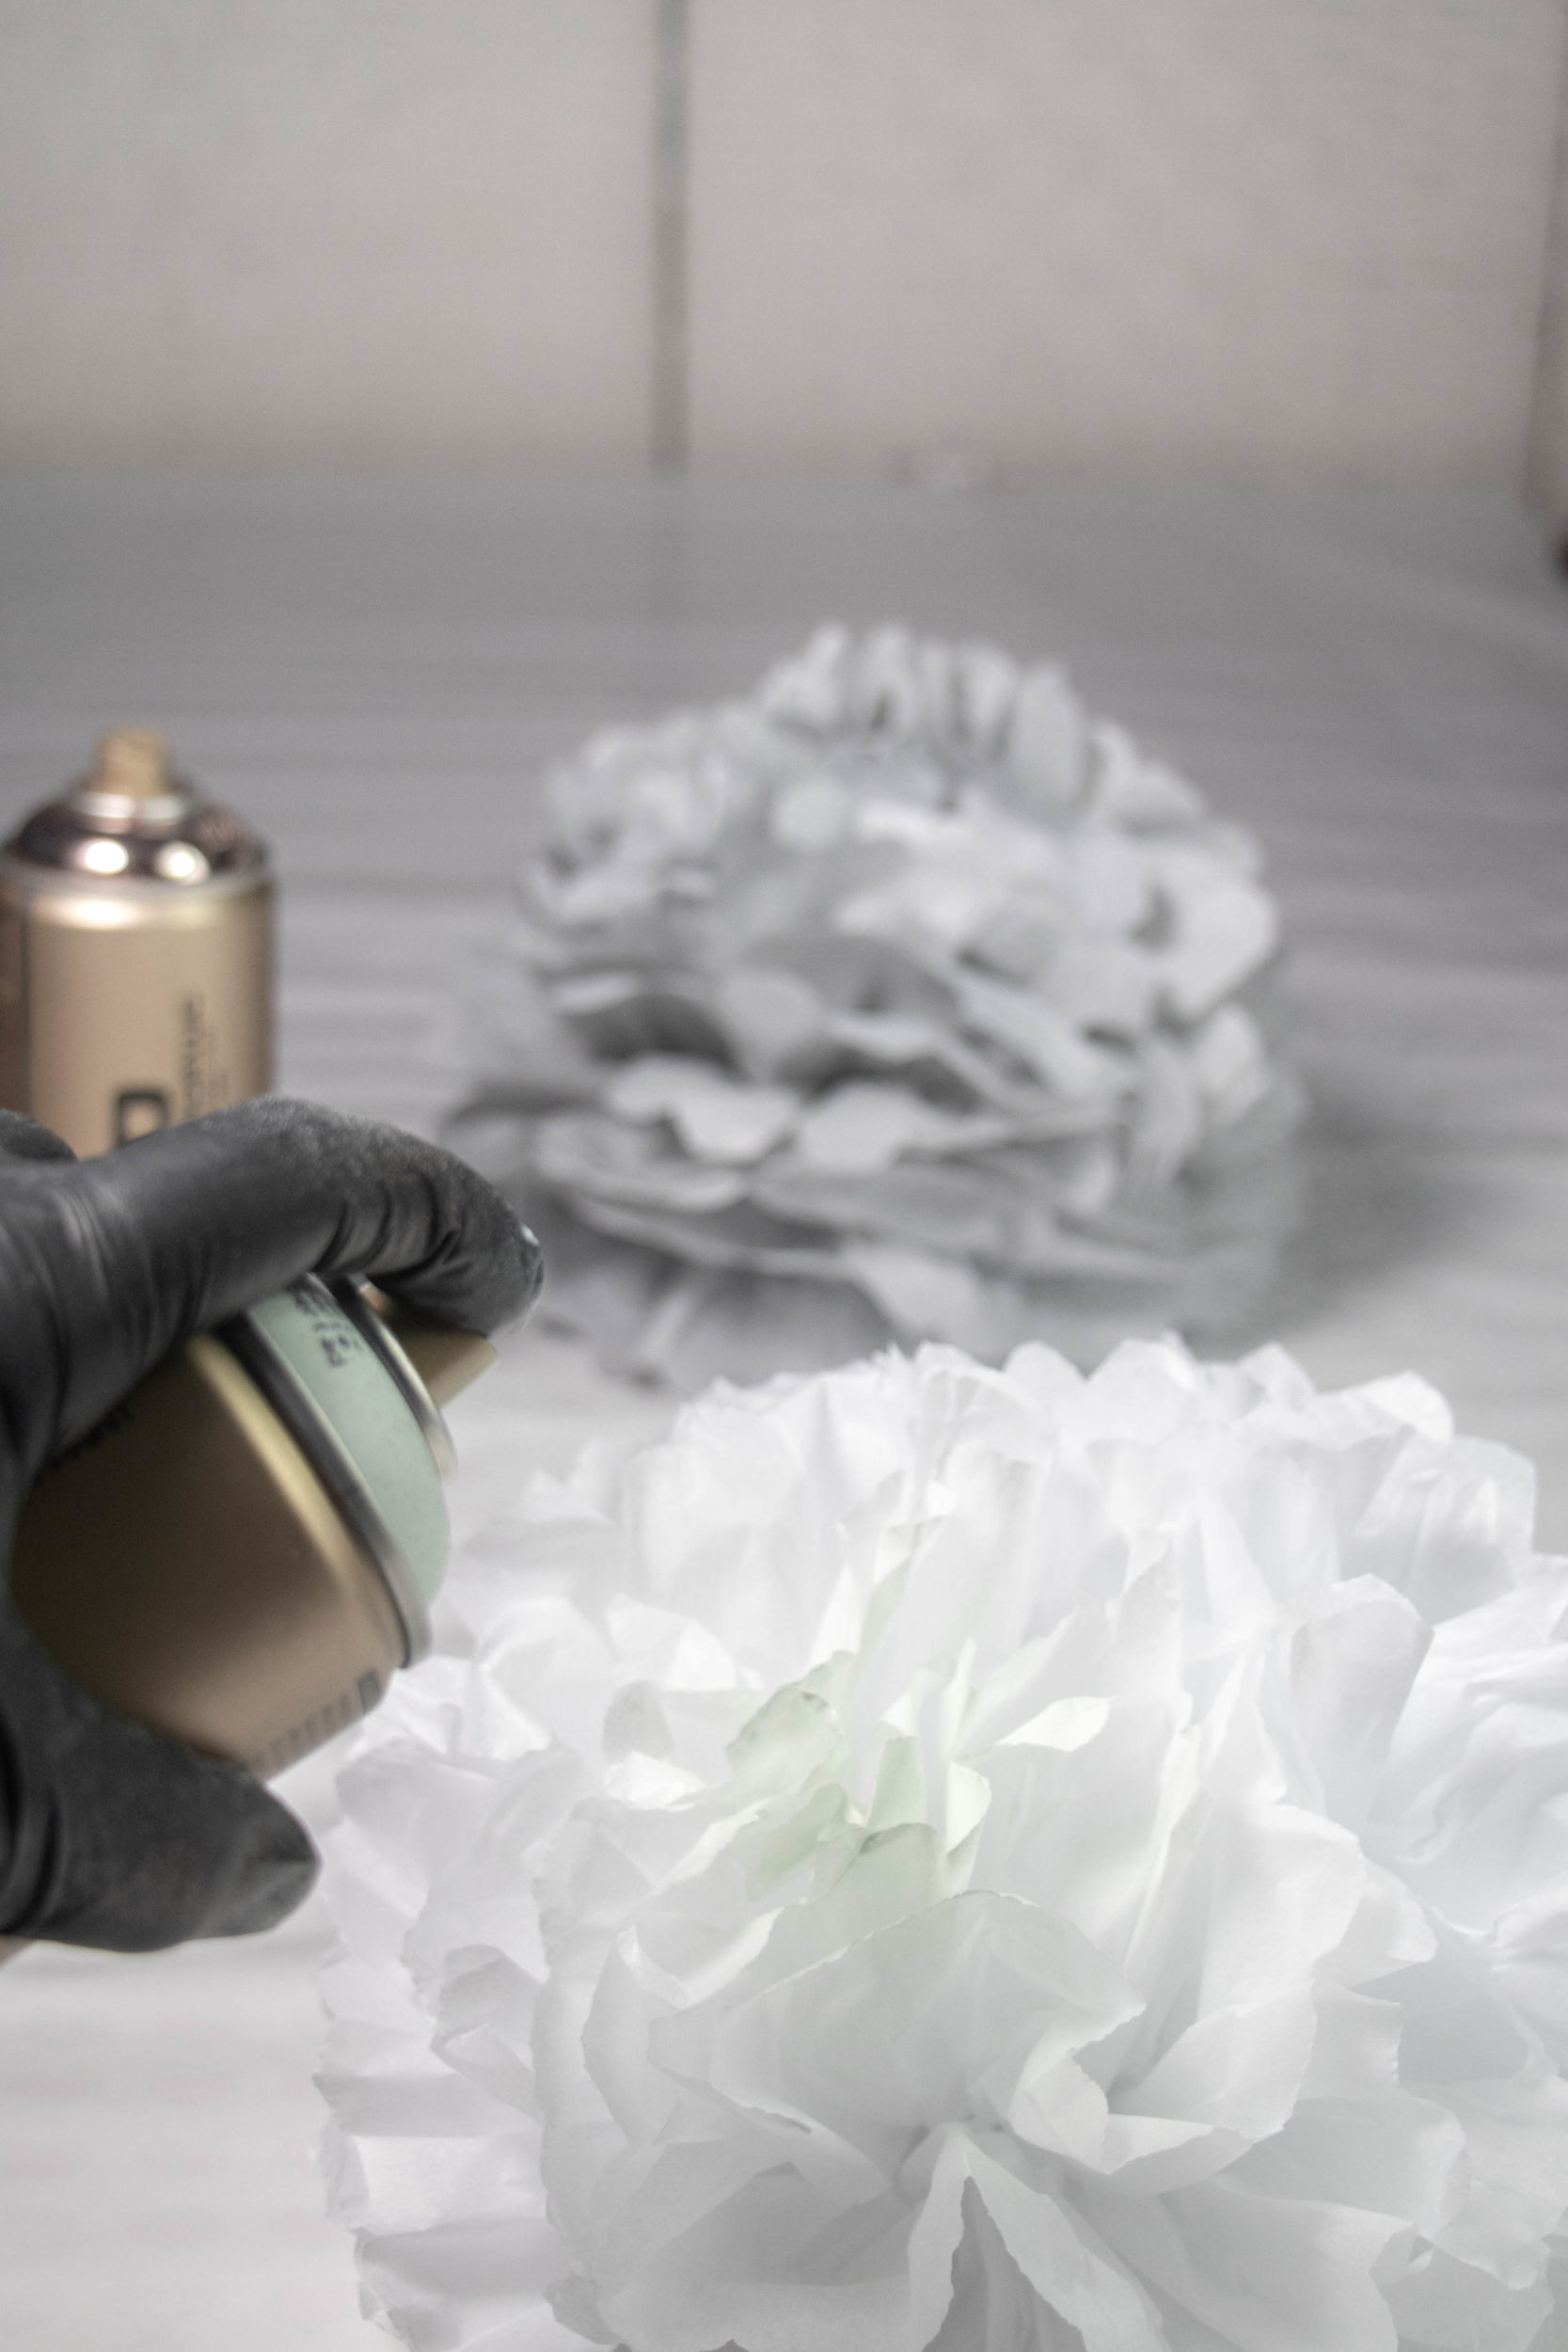
With gloves and mask on, we laid the pom-poms down on our pre-prepared drop sheet. You can choose the colors you want to use. We recommend one Chrome Effect color and one standard Montana GOLD color. Our combination was Montana GOLD Copper Chrome and Montana GOLD Liberty. First we sprayed some of our pom-poms with Liberty. On some pom-poms we left areas of paper showing. By the time we finished this process the originally painted pom-poms were dry enough to apply our Copper Chrome. Not too much though. The combination of exposed paper and a touch of color here and there is exactly what makes the pom-poms look natural. And stunning as well!
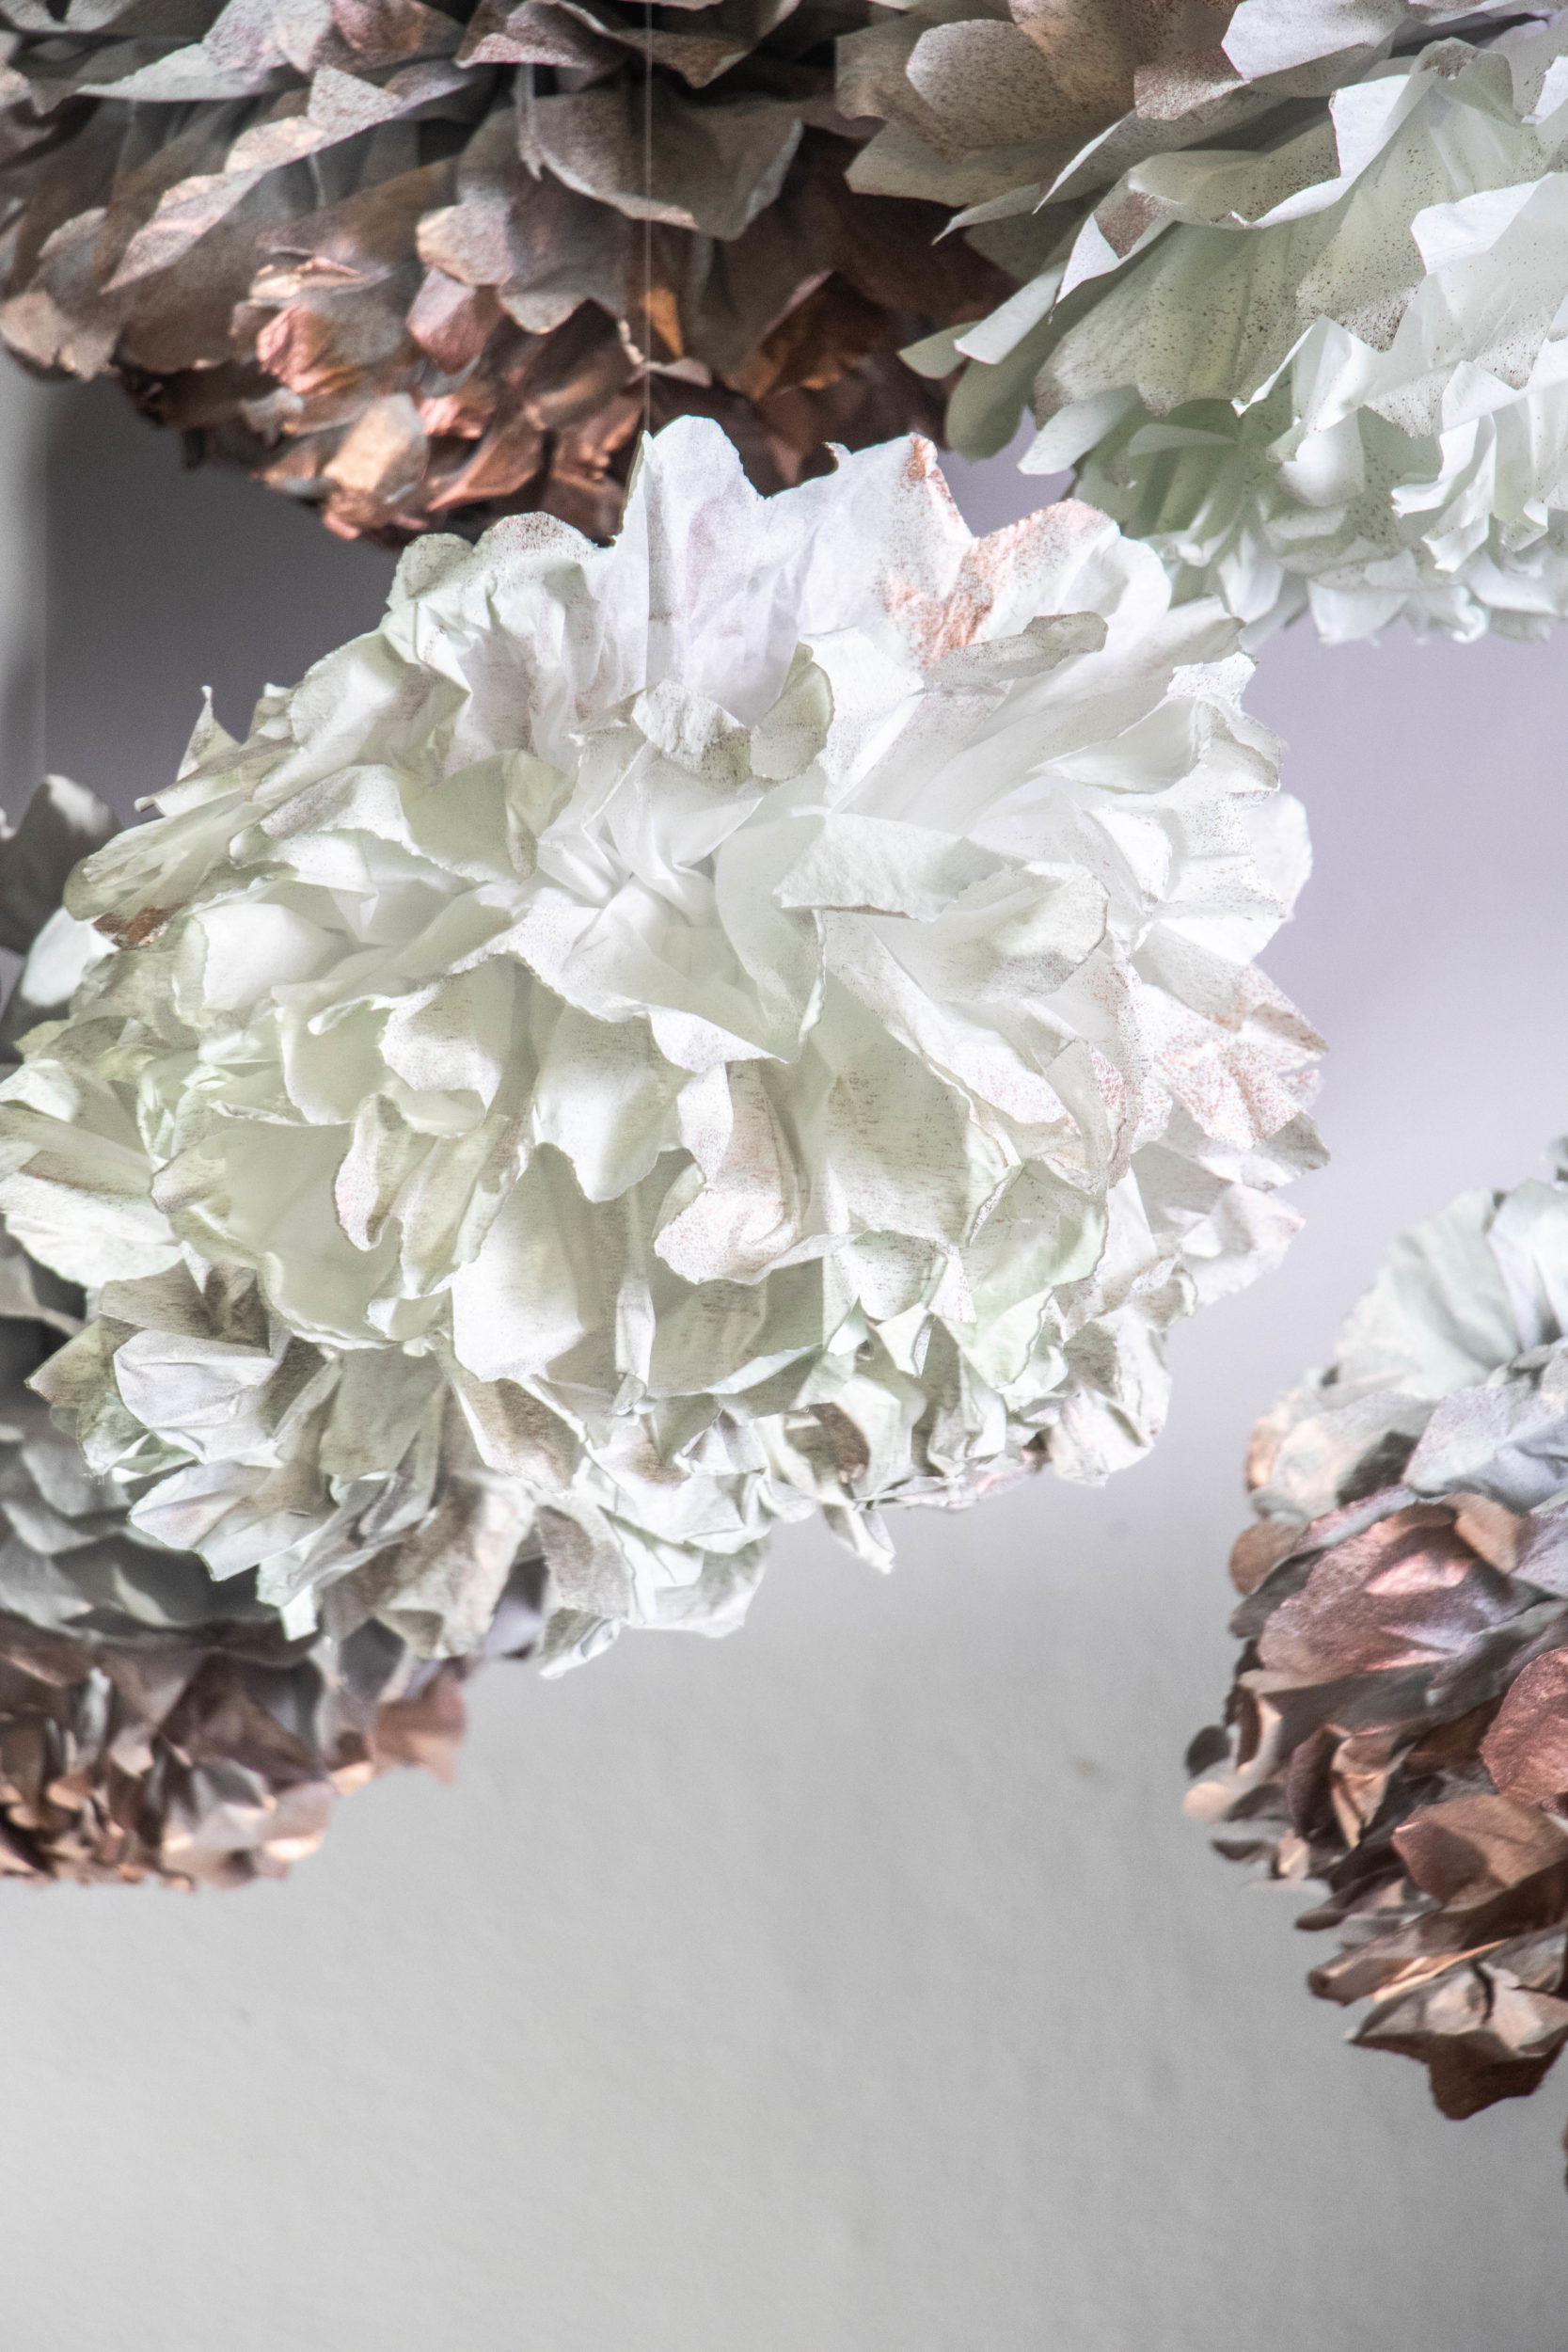
At this point you are done. You just have to decide if you want to attach them to a surface with some masking/sticky tape. Or if you want hang them from somewhere with some extra cord? In this case clear cord like fishing line would be ideal. Either way, they look amazing, so let the celebrations begin.
This project is for medium skill level, only due to the patience needed in folding and teasing the paper. The working time is only approximately 30 minutes depending on how many pom-poms you make. Good luck and happy crafting!