The beauty of color and nature
It’s Christmas time again and regardless of if you live somewhere there is freezing snow or blazing sun, we have a project for you that will embellish any home or living space with the Christmas spirit. All you need is a little time, pine cones, and some color. Montana Cans color of course. Sound easy? Read on to learn about the Christmas Pine Cone Project.
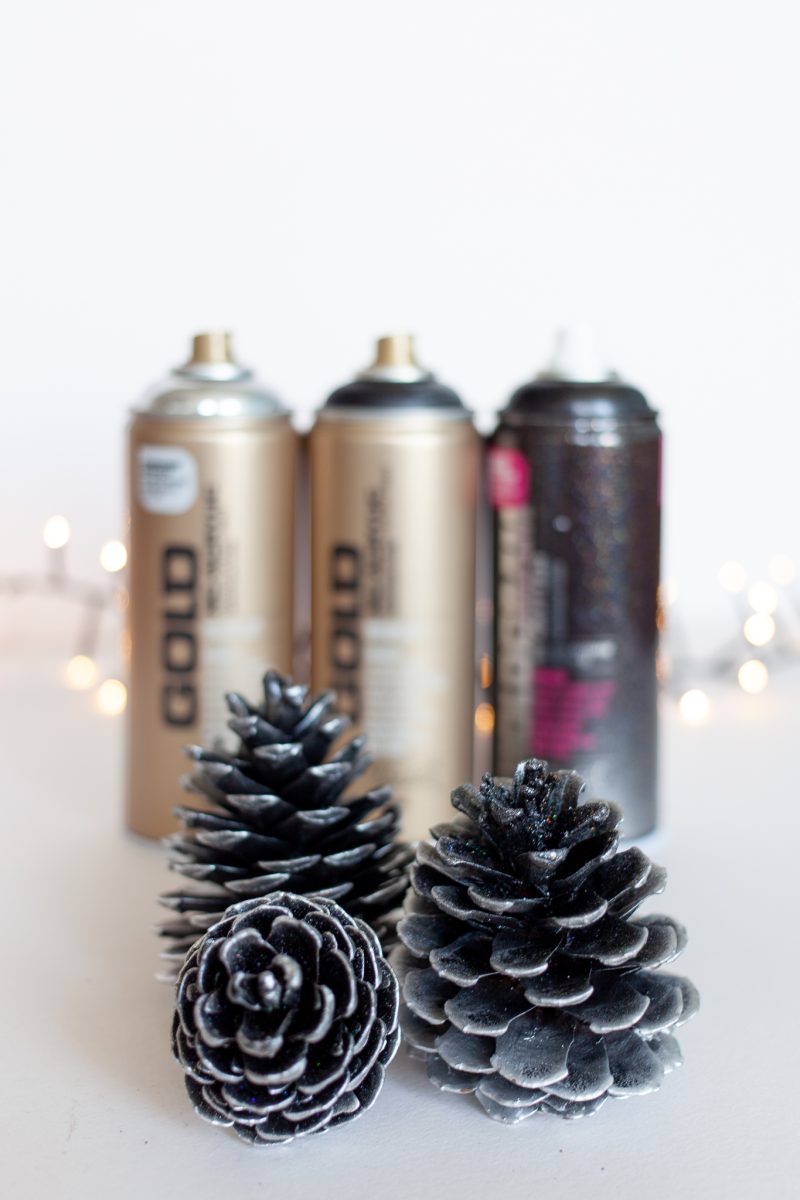
Before
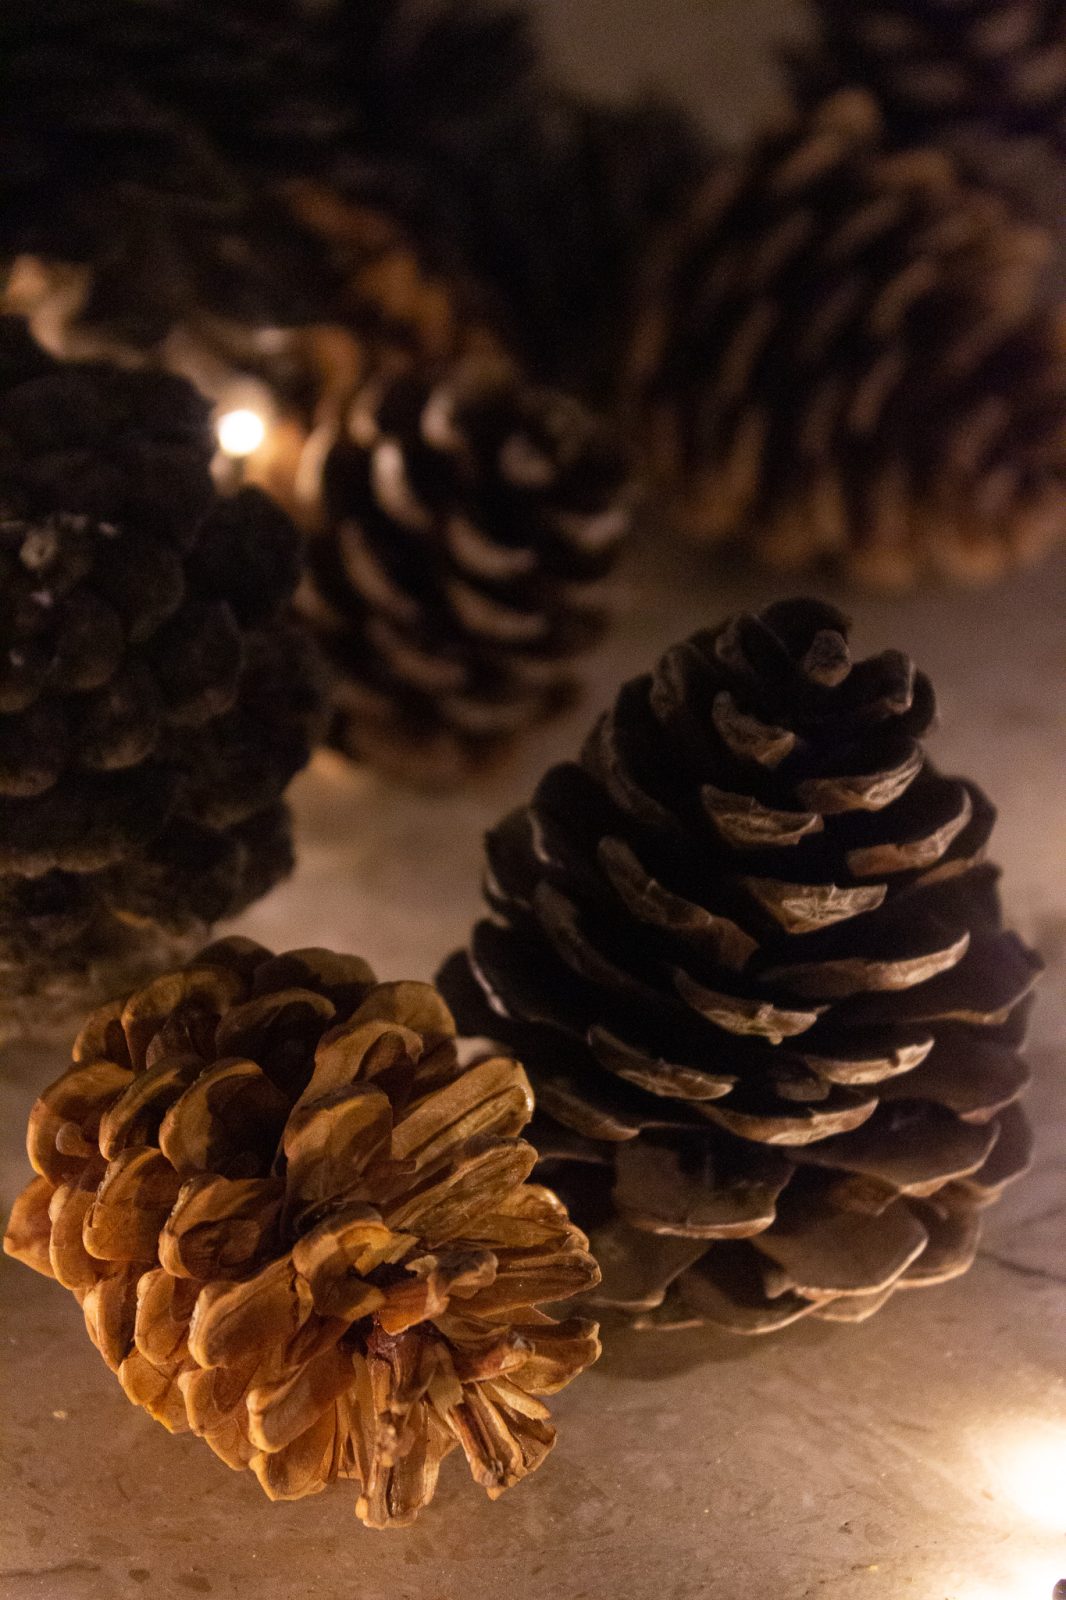
The pine cone is a versatile gift that nature offers of its own free will. When the time is right, depending on the breed of pine, the cones fall out of the tree so you can find as many pine cones as you need just lying on the ground. For this project the bigger the better, and it is important that the cones are open. Then it’s time to go to the studio to arrange your colors and make a shopping list to buy the cans you still need.
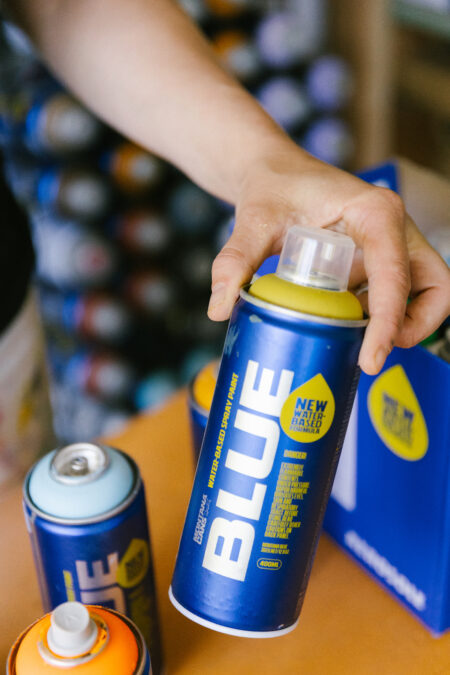
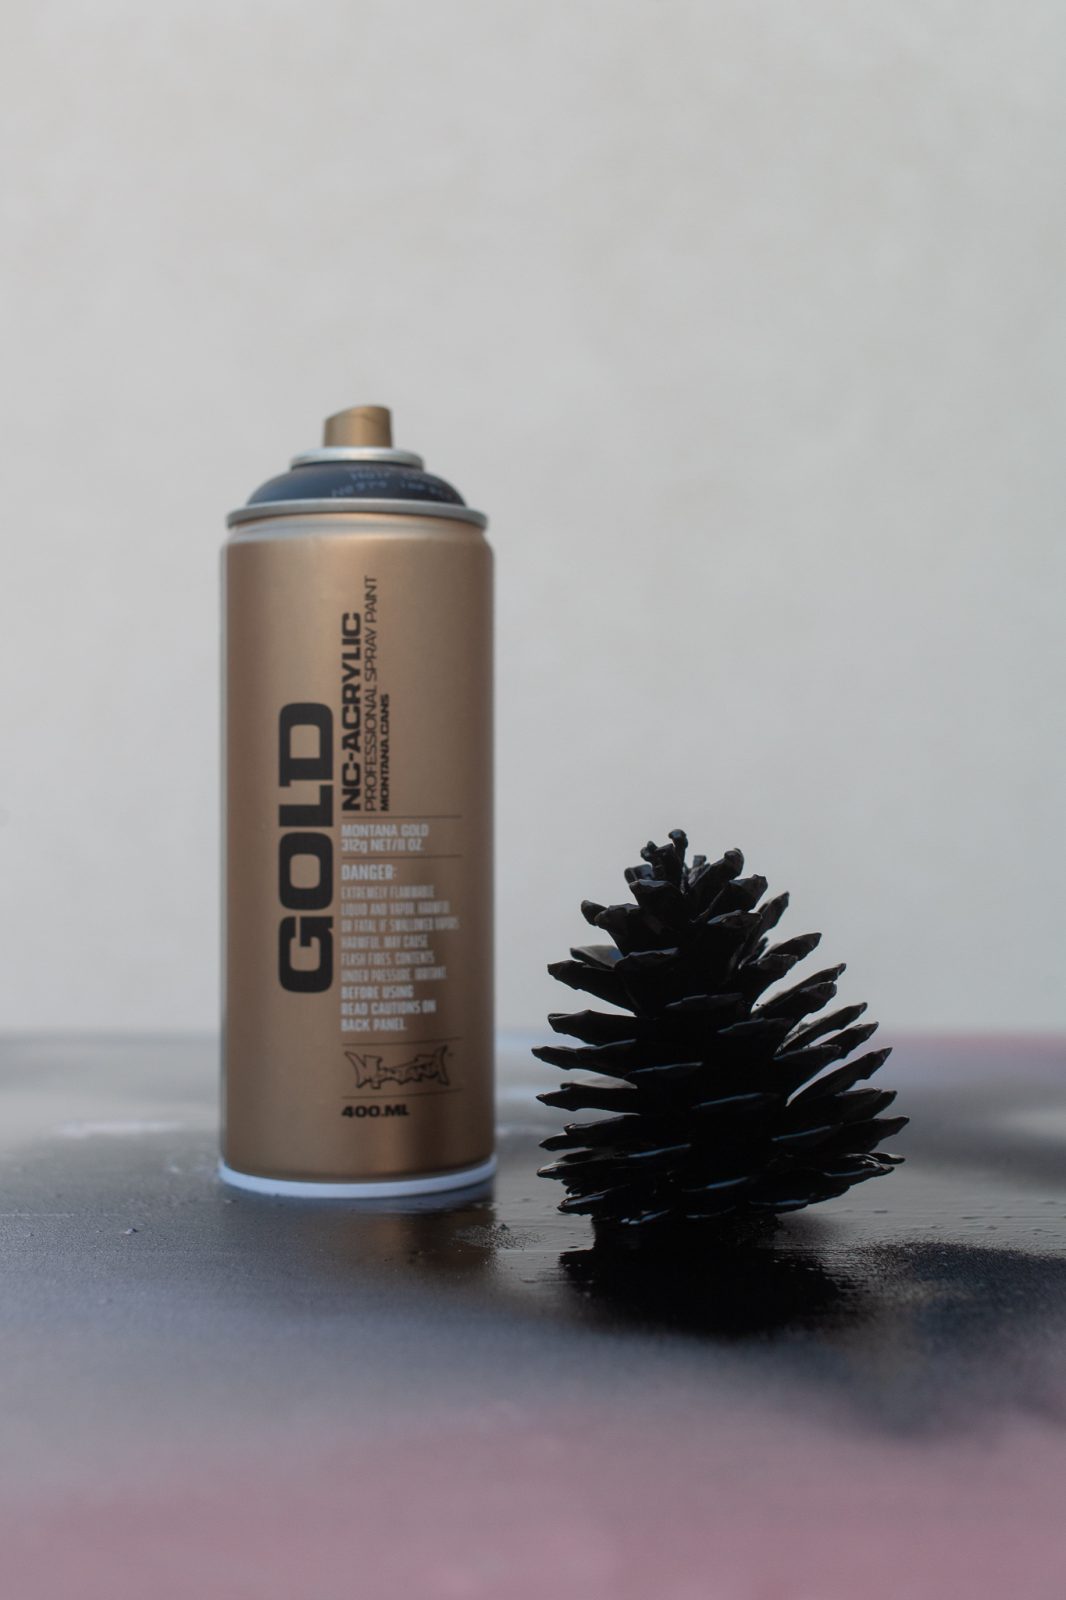
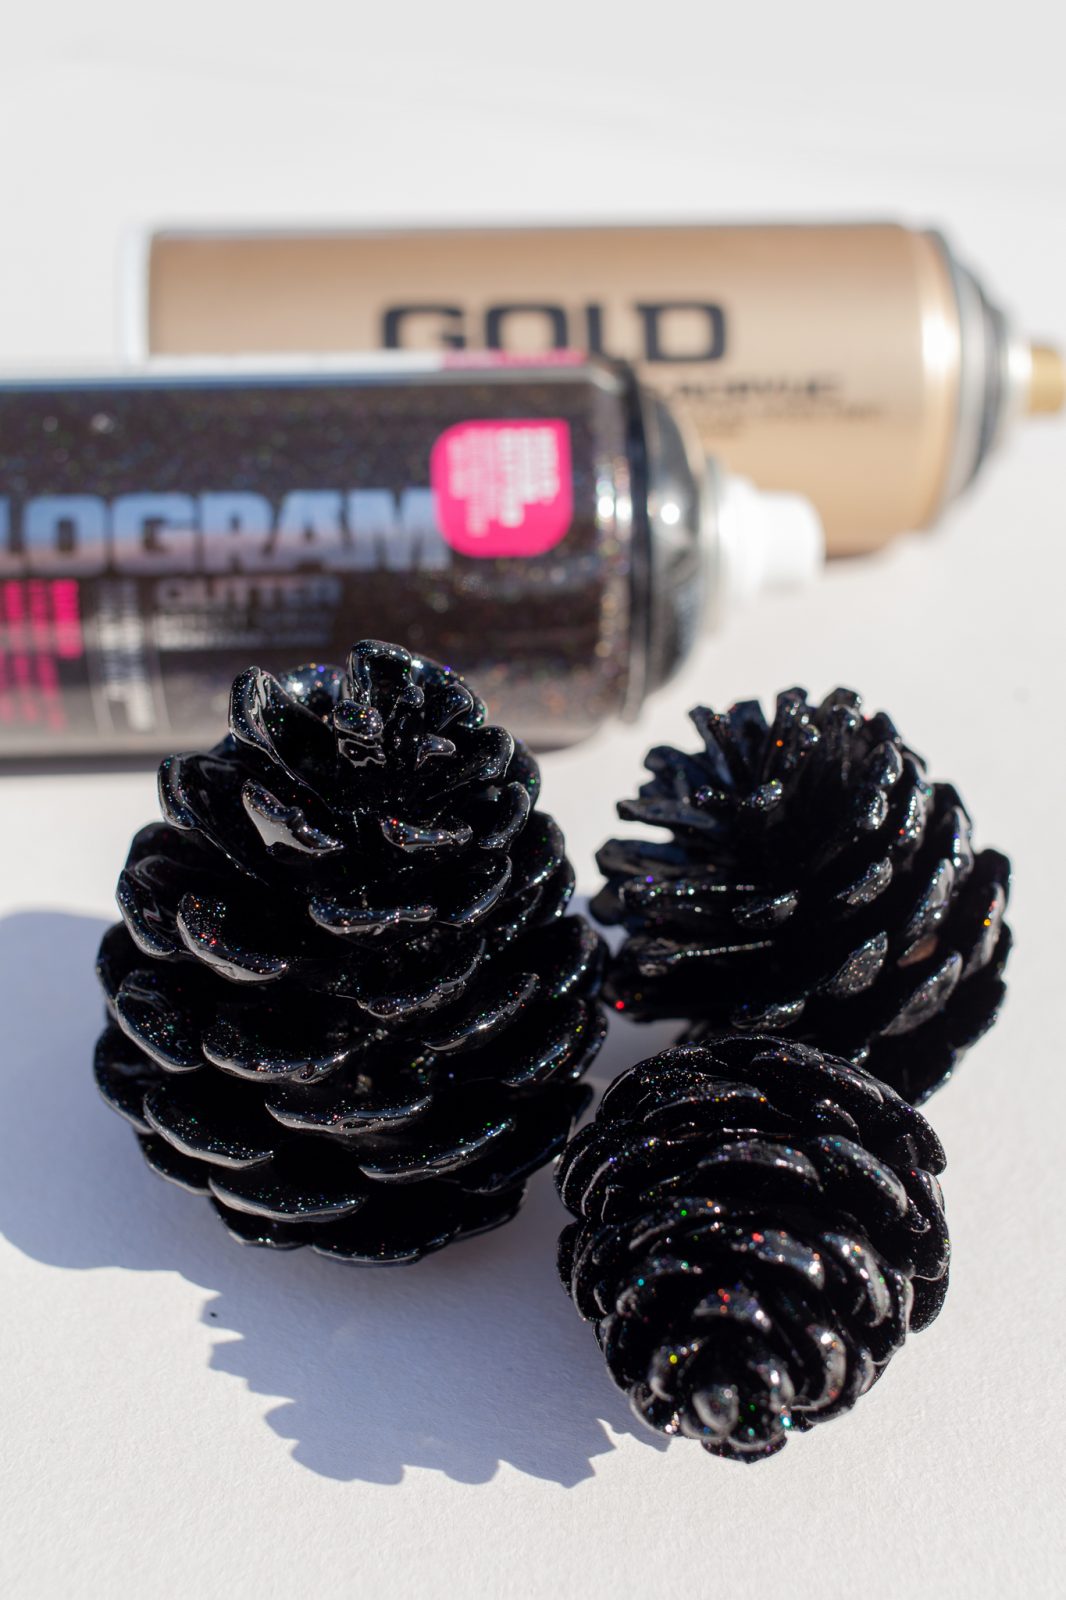
We used Montana GOLD cans in the colors Shock White and Black, Lichi, and the Chrome effect colors, Montana Hologram, and the Montana Metallic color Rosé. Separate your pine cones into two groups. One group to prime with Shock Black and coat with Montana Hologram spray, the others to prime with Shock White and then coat with any of the other sprays.
The Hologram pine cones
After having shaken your cans for 2-3 minutes or more till you hear the mixing ball shaking freely, turn the can upside-down, remove the cap, and allow the safety ring to fall out. Re-apply the cap and test spray away from any surfaces. Take your Montana Shock Black, and on your drop sheet or protected spray area, spray your open pine cones so that they are coated completely from the top and bottom.
Once dry, place your now black open pine cones on their sides and take your prepared Montana Hologram can, and spray thin even coats of Hologram glitter as desired. The hologram particles on the black will give an elegant timeless result.
The colored pine cones
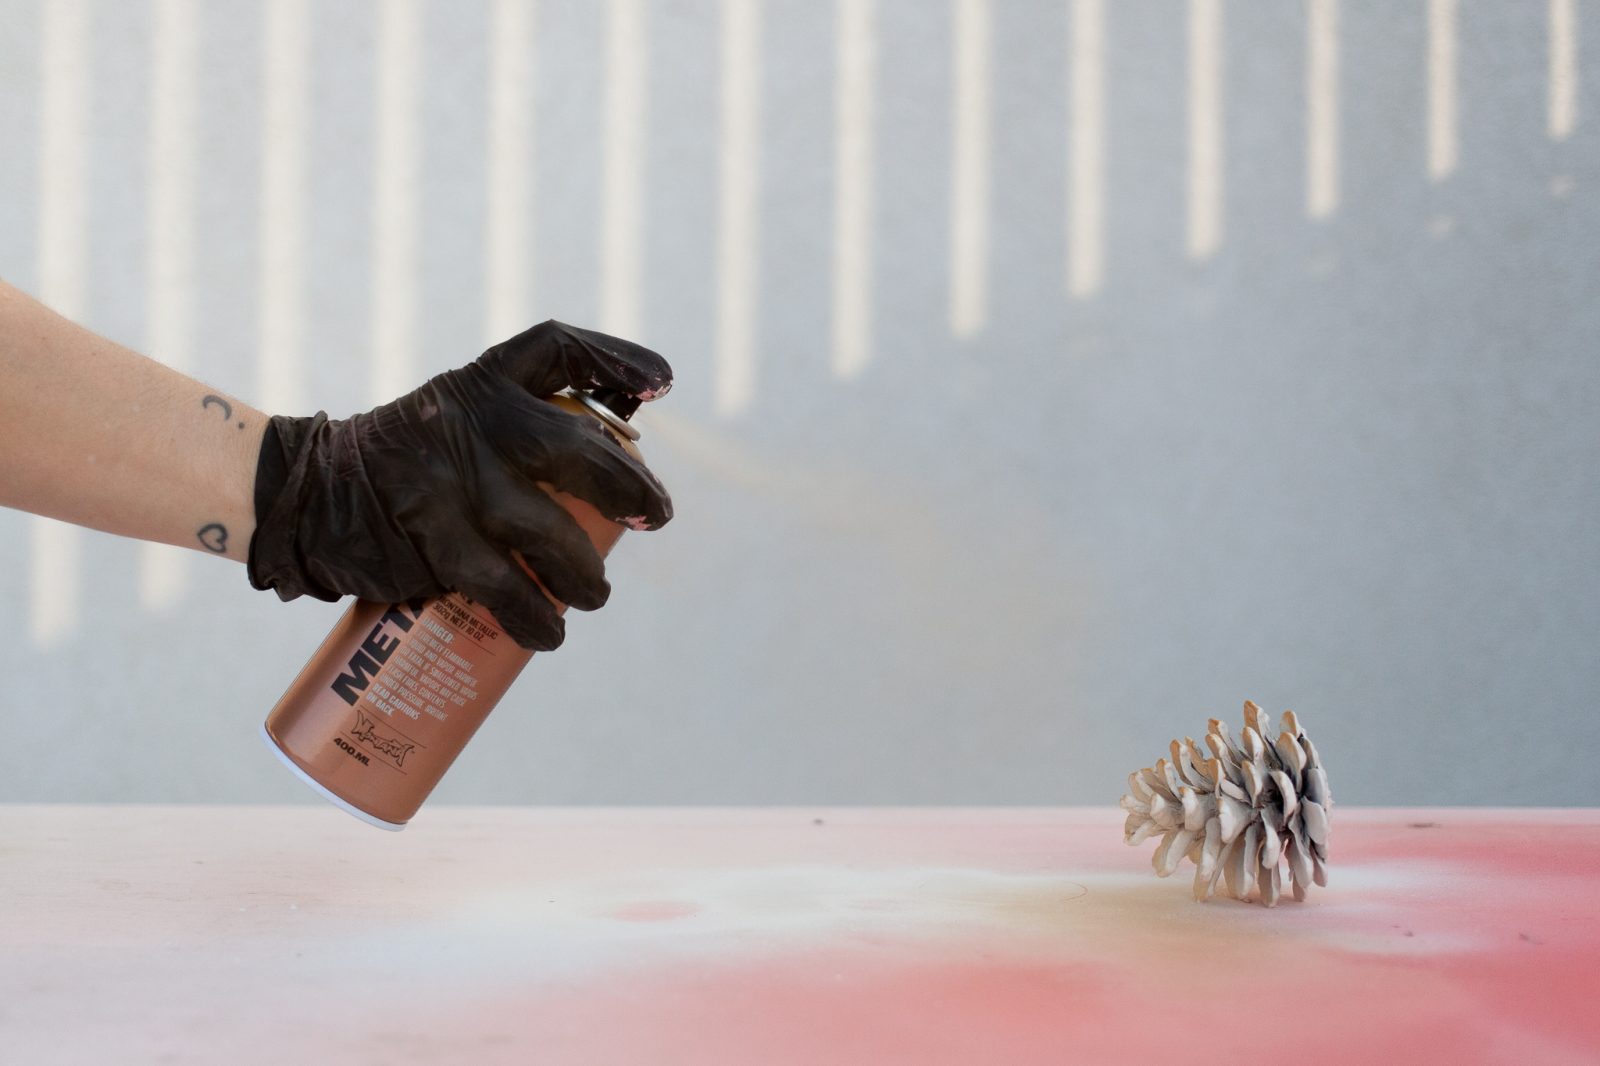
The process for adding color to the other pine cones is more or less the same. Take your prepared Montana Shock White can and apply white from the top and the bottom ensuring the cone is completely white. This time once dry, grab your chosen Montana GOLD color, Chrome effect color, or Metallic color and spray only from the base upward, but all around the cone.
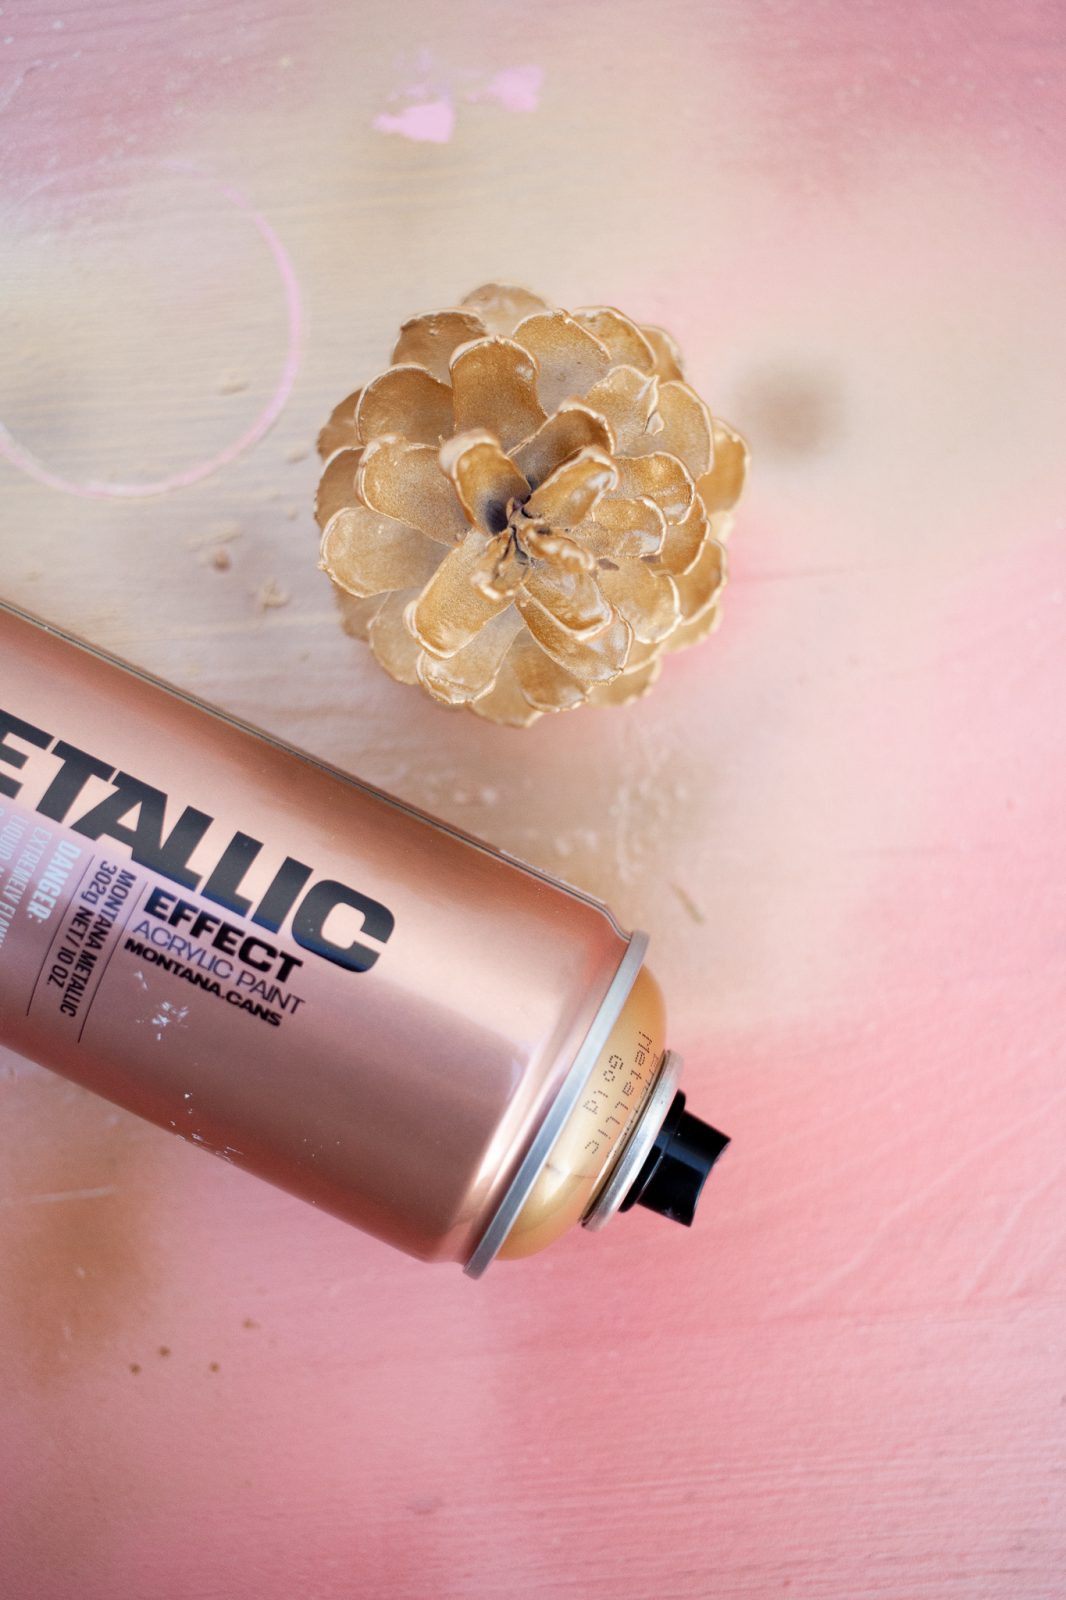
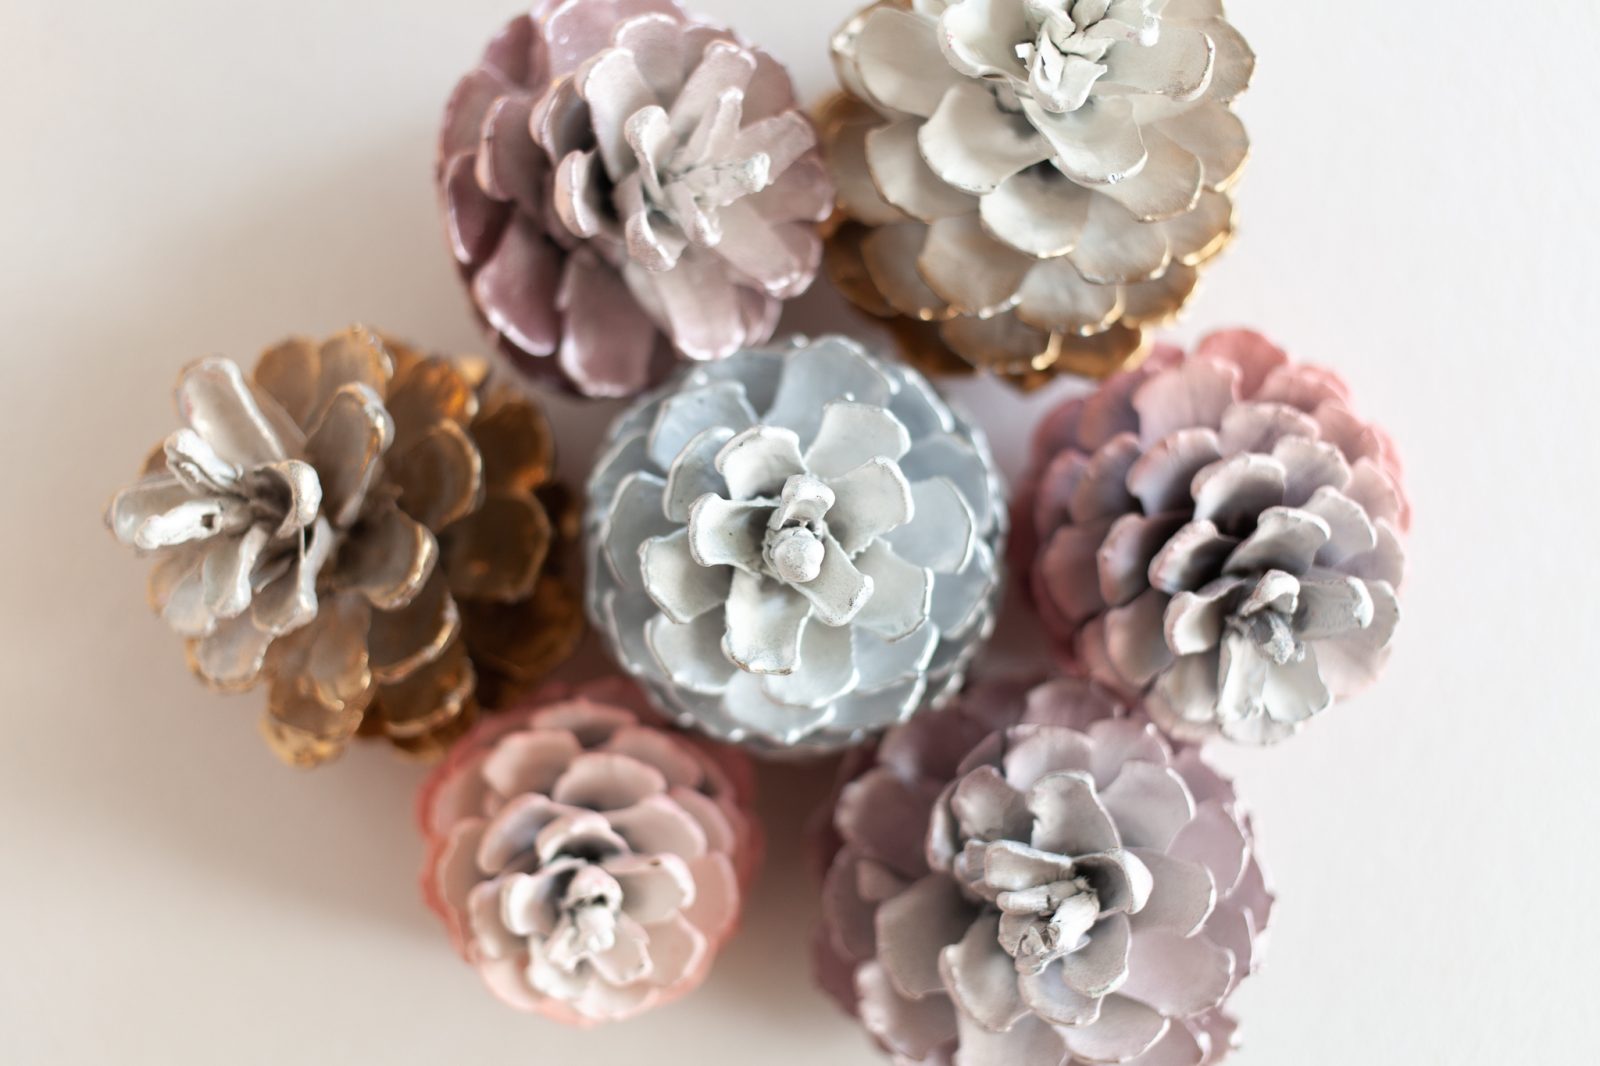
The idea is that the white base coat on the inside of the open cone is not covered and a two-tone color effect with outside and inside is obtained. When you are happy with the work you have done, take off your mask and gloves and revel in what you have just achieved.
Have no fear if you mess it up, you can either use the new color as the new base color and try the process again, or you can coat the pine cone completely if you think it’s a good look.

After
Well, there you have it. This project doesn’t get much easier than this with a result that is as classic as Christmas itself. An amazing mix of dark holographic cones that look great amongst the subtle two-toned cones painted with variations of the Montana GOLD, Chrome effect, or Metallic colors. Should you have ideas for different colorways, all you need is more cones and some more colors. In as little as 5 minutes of work, you could have a whole different Christmas mood.
Apart from hanging, attaching to the Christmas tree, or adding to other Christmas decor, we found that our Christmas Pine Cone Project looked fantastic when combined with simple Christmas lighting. The type that is on sale in just about any store each Christmas. Nothing too fancy, nothing too complicated. However, creating a mood that looks like it was made by a pro.
It doesn’t matter what your skill level is, this is a project for anyone that is old enough to use a spray can at any skill level. Now it’s time to get back to the best part of Christmas, being together with friends and family, and opening the presents. Merry Christmas and a Crafty New Year.