More than just wooden decor
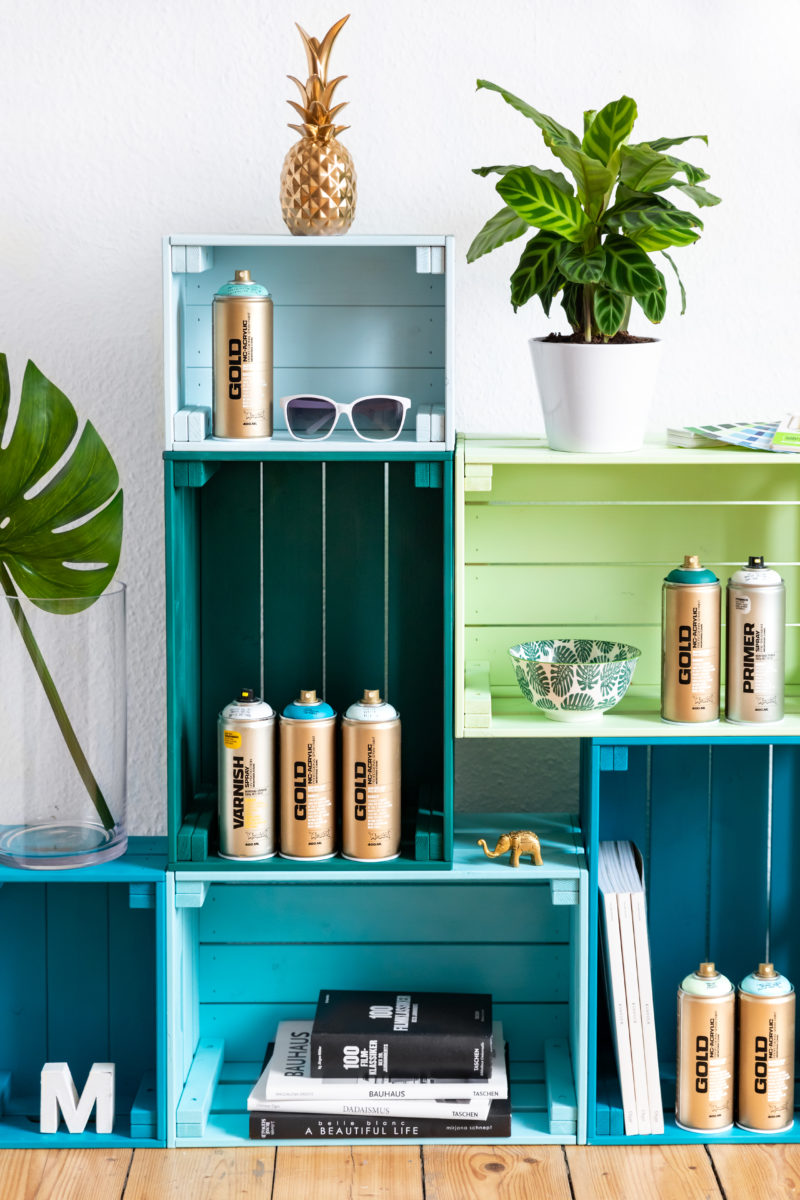
Wooden boxes are true allrounders. Whatever the purpose, it looks nicer with a wooden box involved. When these ones arrived at our local homeware store, we knew exactly what had to be done. And with a studio full of Aqua colored Montana GOLD cans, we also knew what colors it would be done in. Learn here how we created our Aqua Wooden Boxes as shelving and decor.
Materials Used
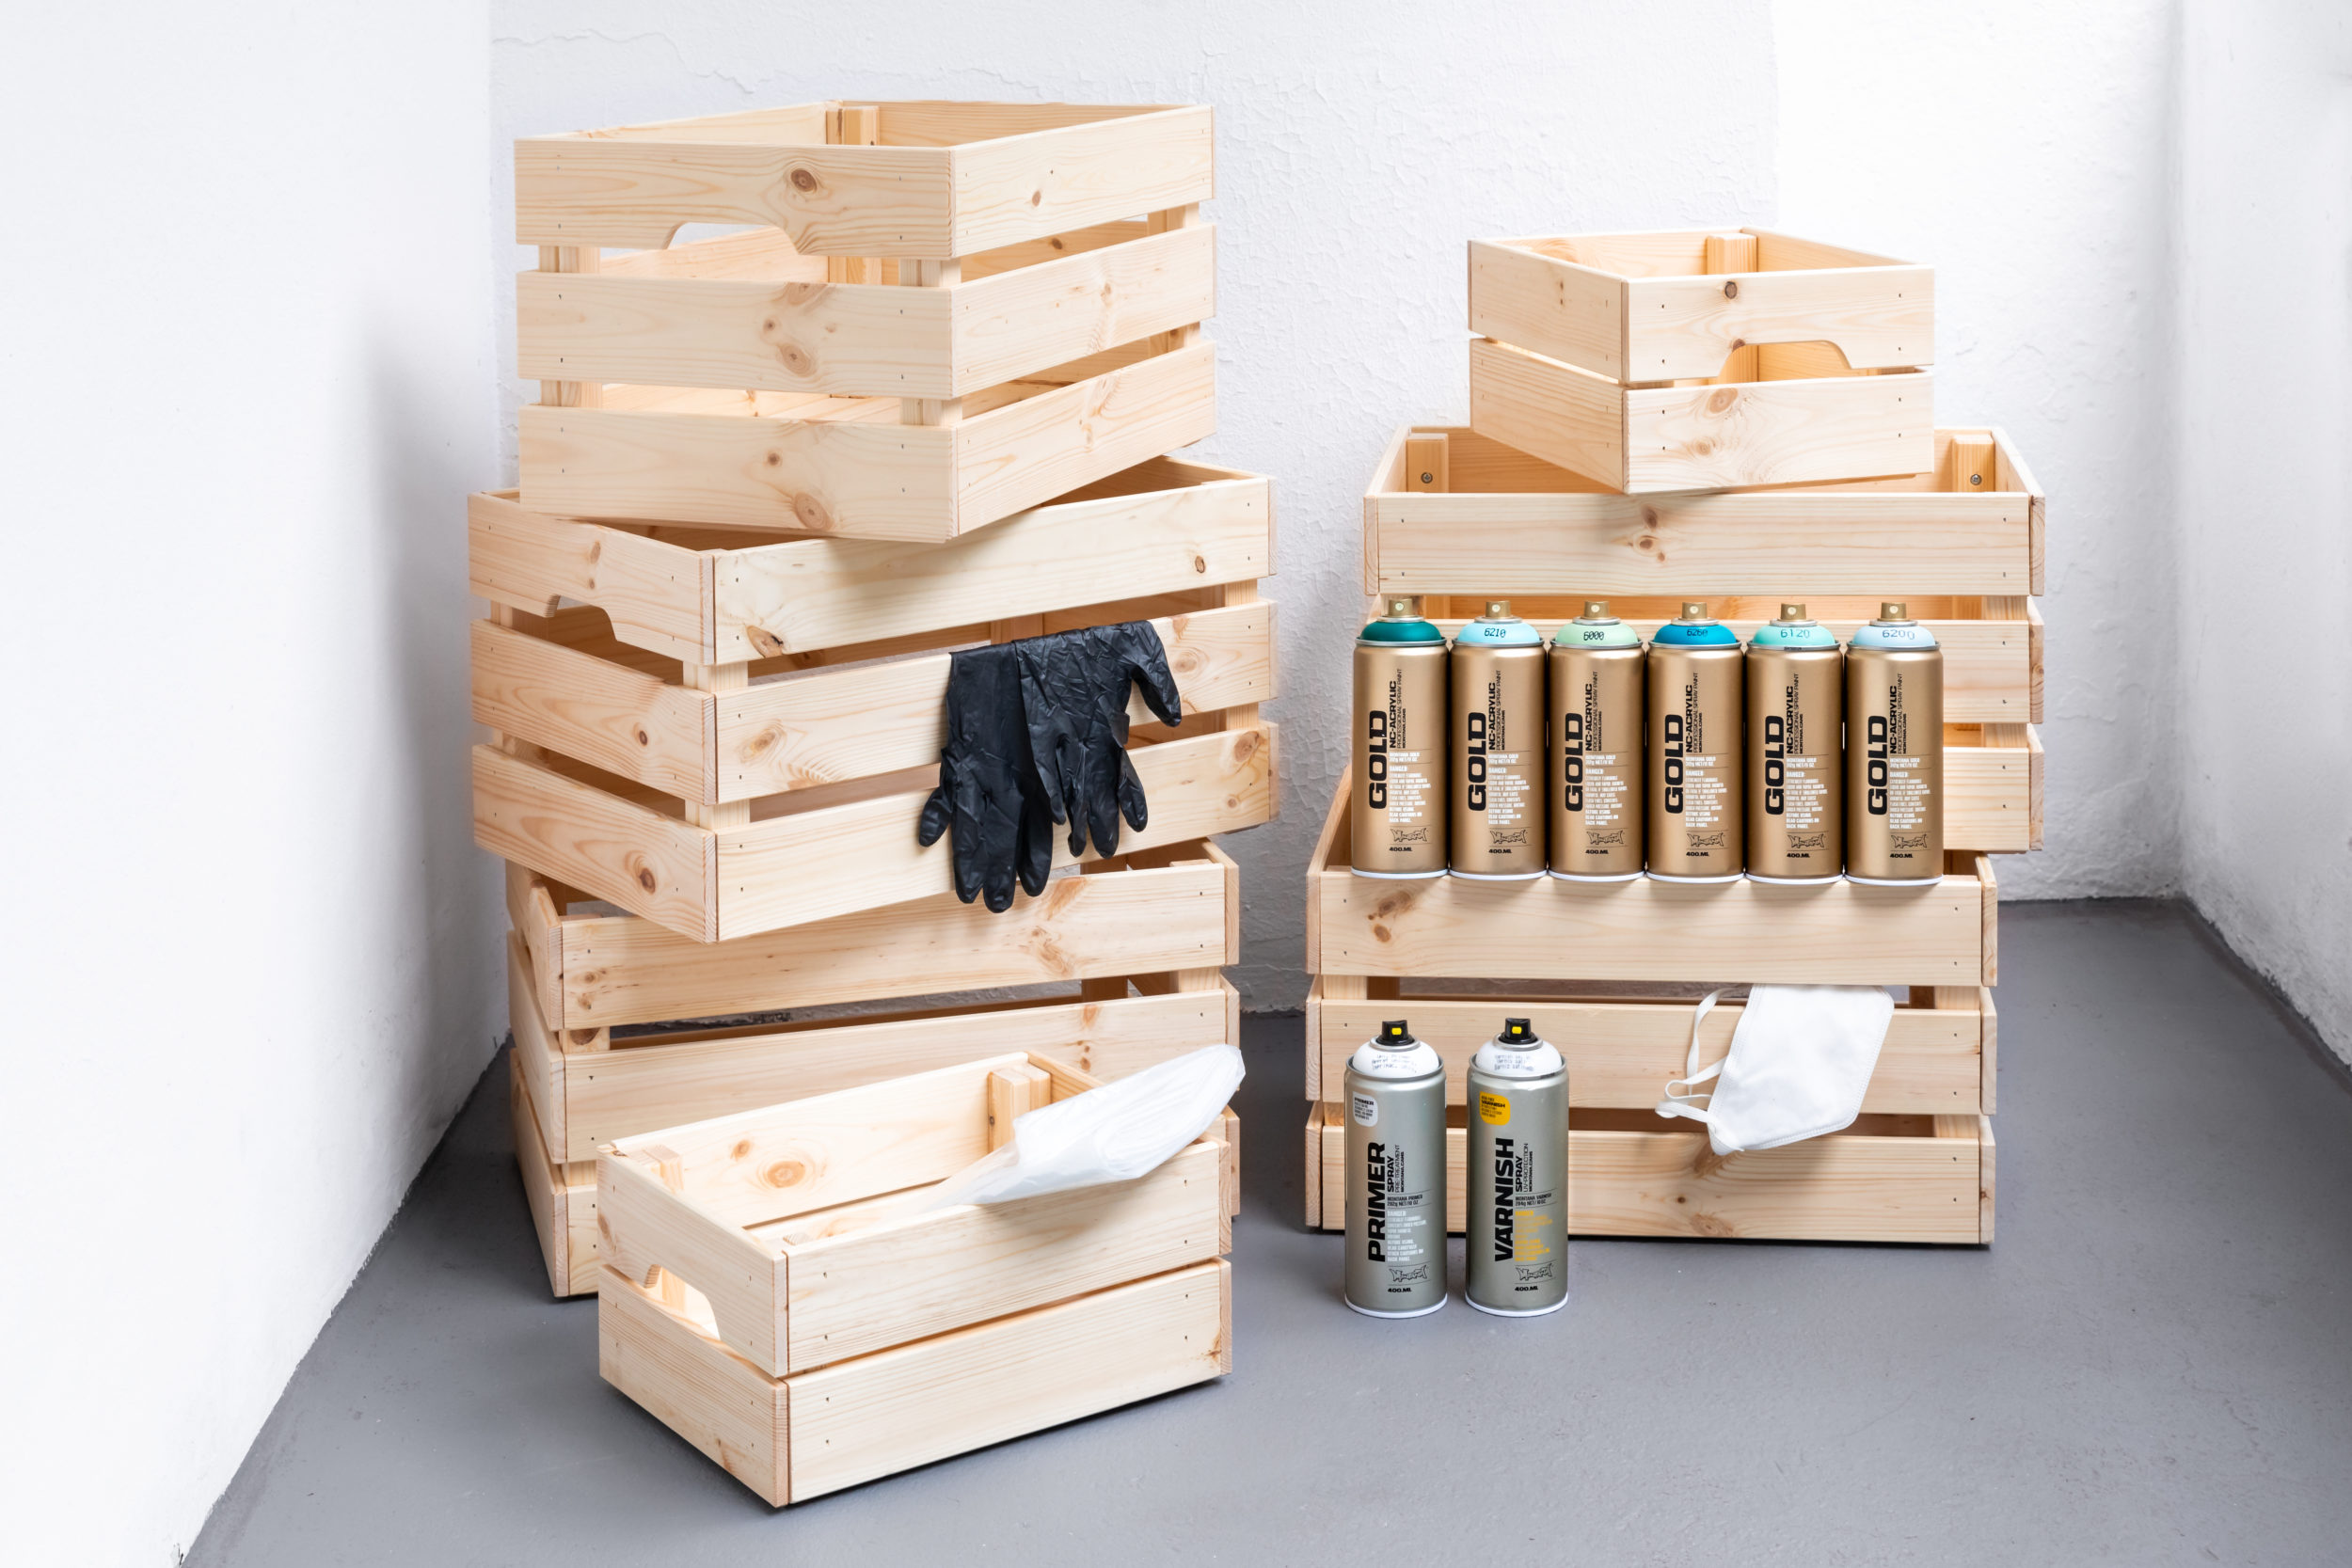
- Empty wooden boxes (Purchased or recycled)
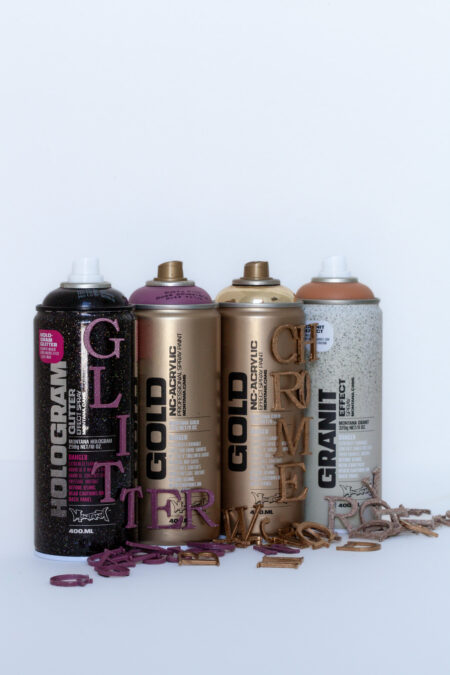
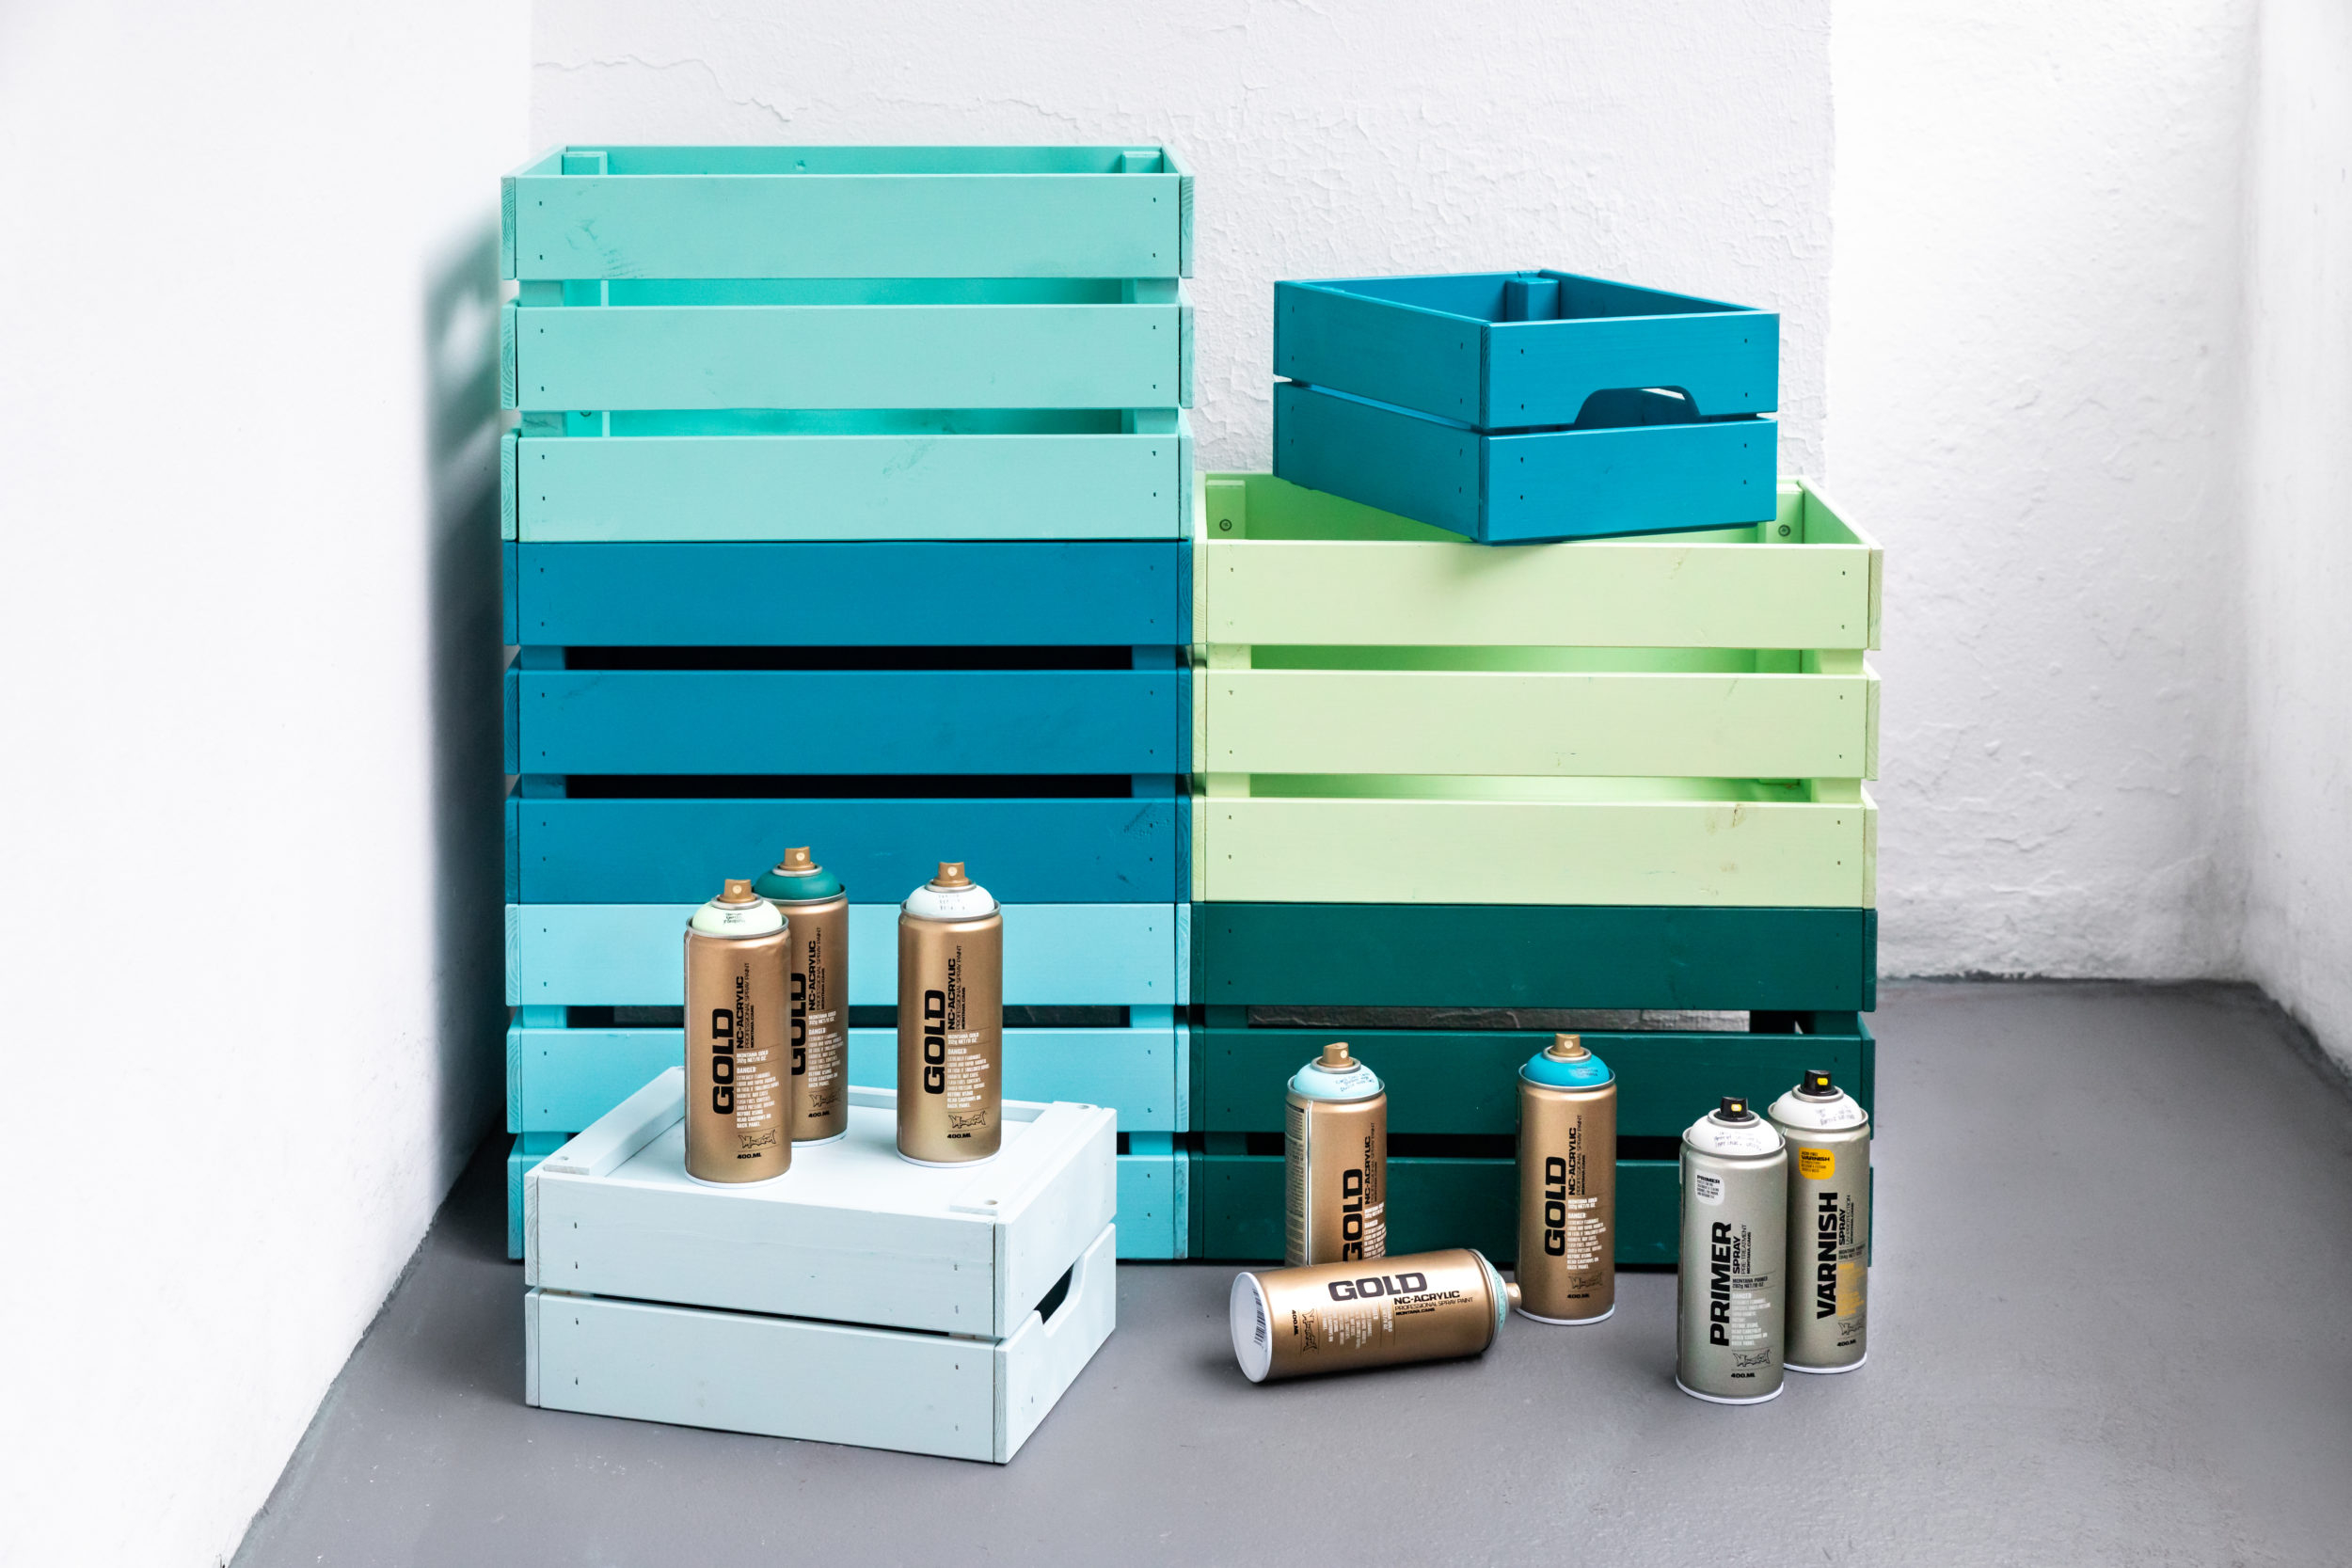
- Montana UNIVERSAL PRIMER spray 400ml in colors Venom, Malachite Lite, Pine, Cool Candy, Aqua and Venice
- Montana VARNISH in Gloss, Semi Gloss or Matte
- Sanding paper
- Gloves
- Mask
- Drop sheet or card board
How it was done
Make sure your boxes are smooth and free of possible splinters by sanding lightly with fine sanding paper. Brush them off and make sure they are clean and dry. Our bought ones were already ready to start.
Naturally we already had our mask and gloves on, put a drop sheet on the floor in our spraying area and shook the cans vigorously for 2-3 minutes before we started. After having removed the little black safety ring from under the nozzle, it was all systems go. To ensure the best result and the nicest looking colors, we used the the Montana UNIVERSAL PRIMER spray which is white in color to pre-coat and protect the wood. Two light coats, with a light sand in between coats was ideal. If you already have the Montana GOLD color SHOCK WHITE, you could use this as a primer.

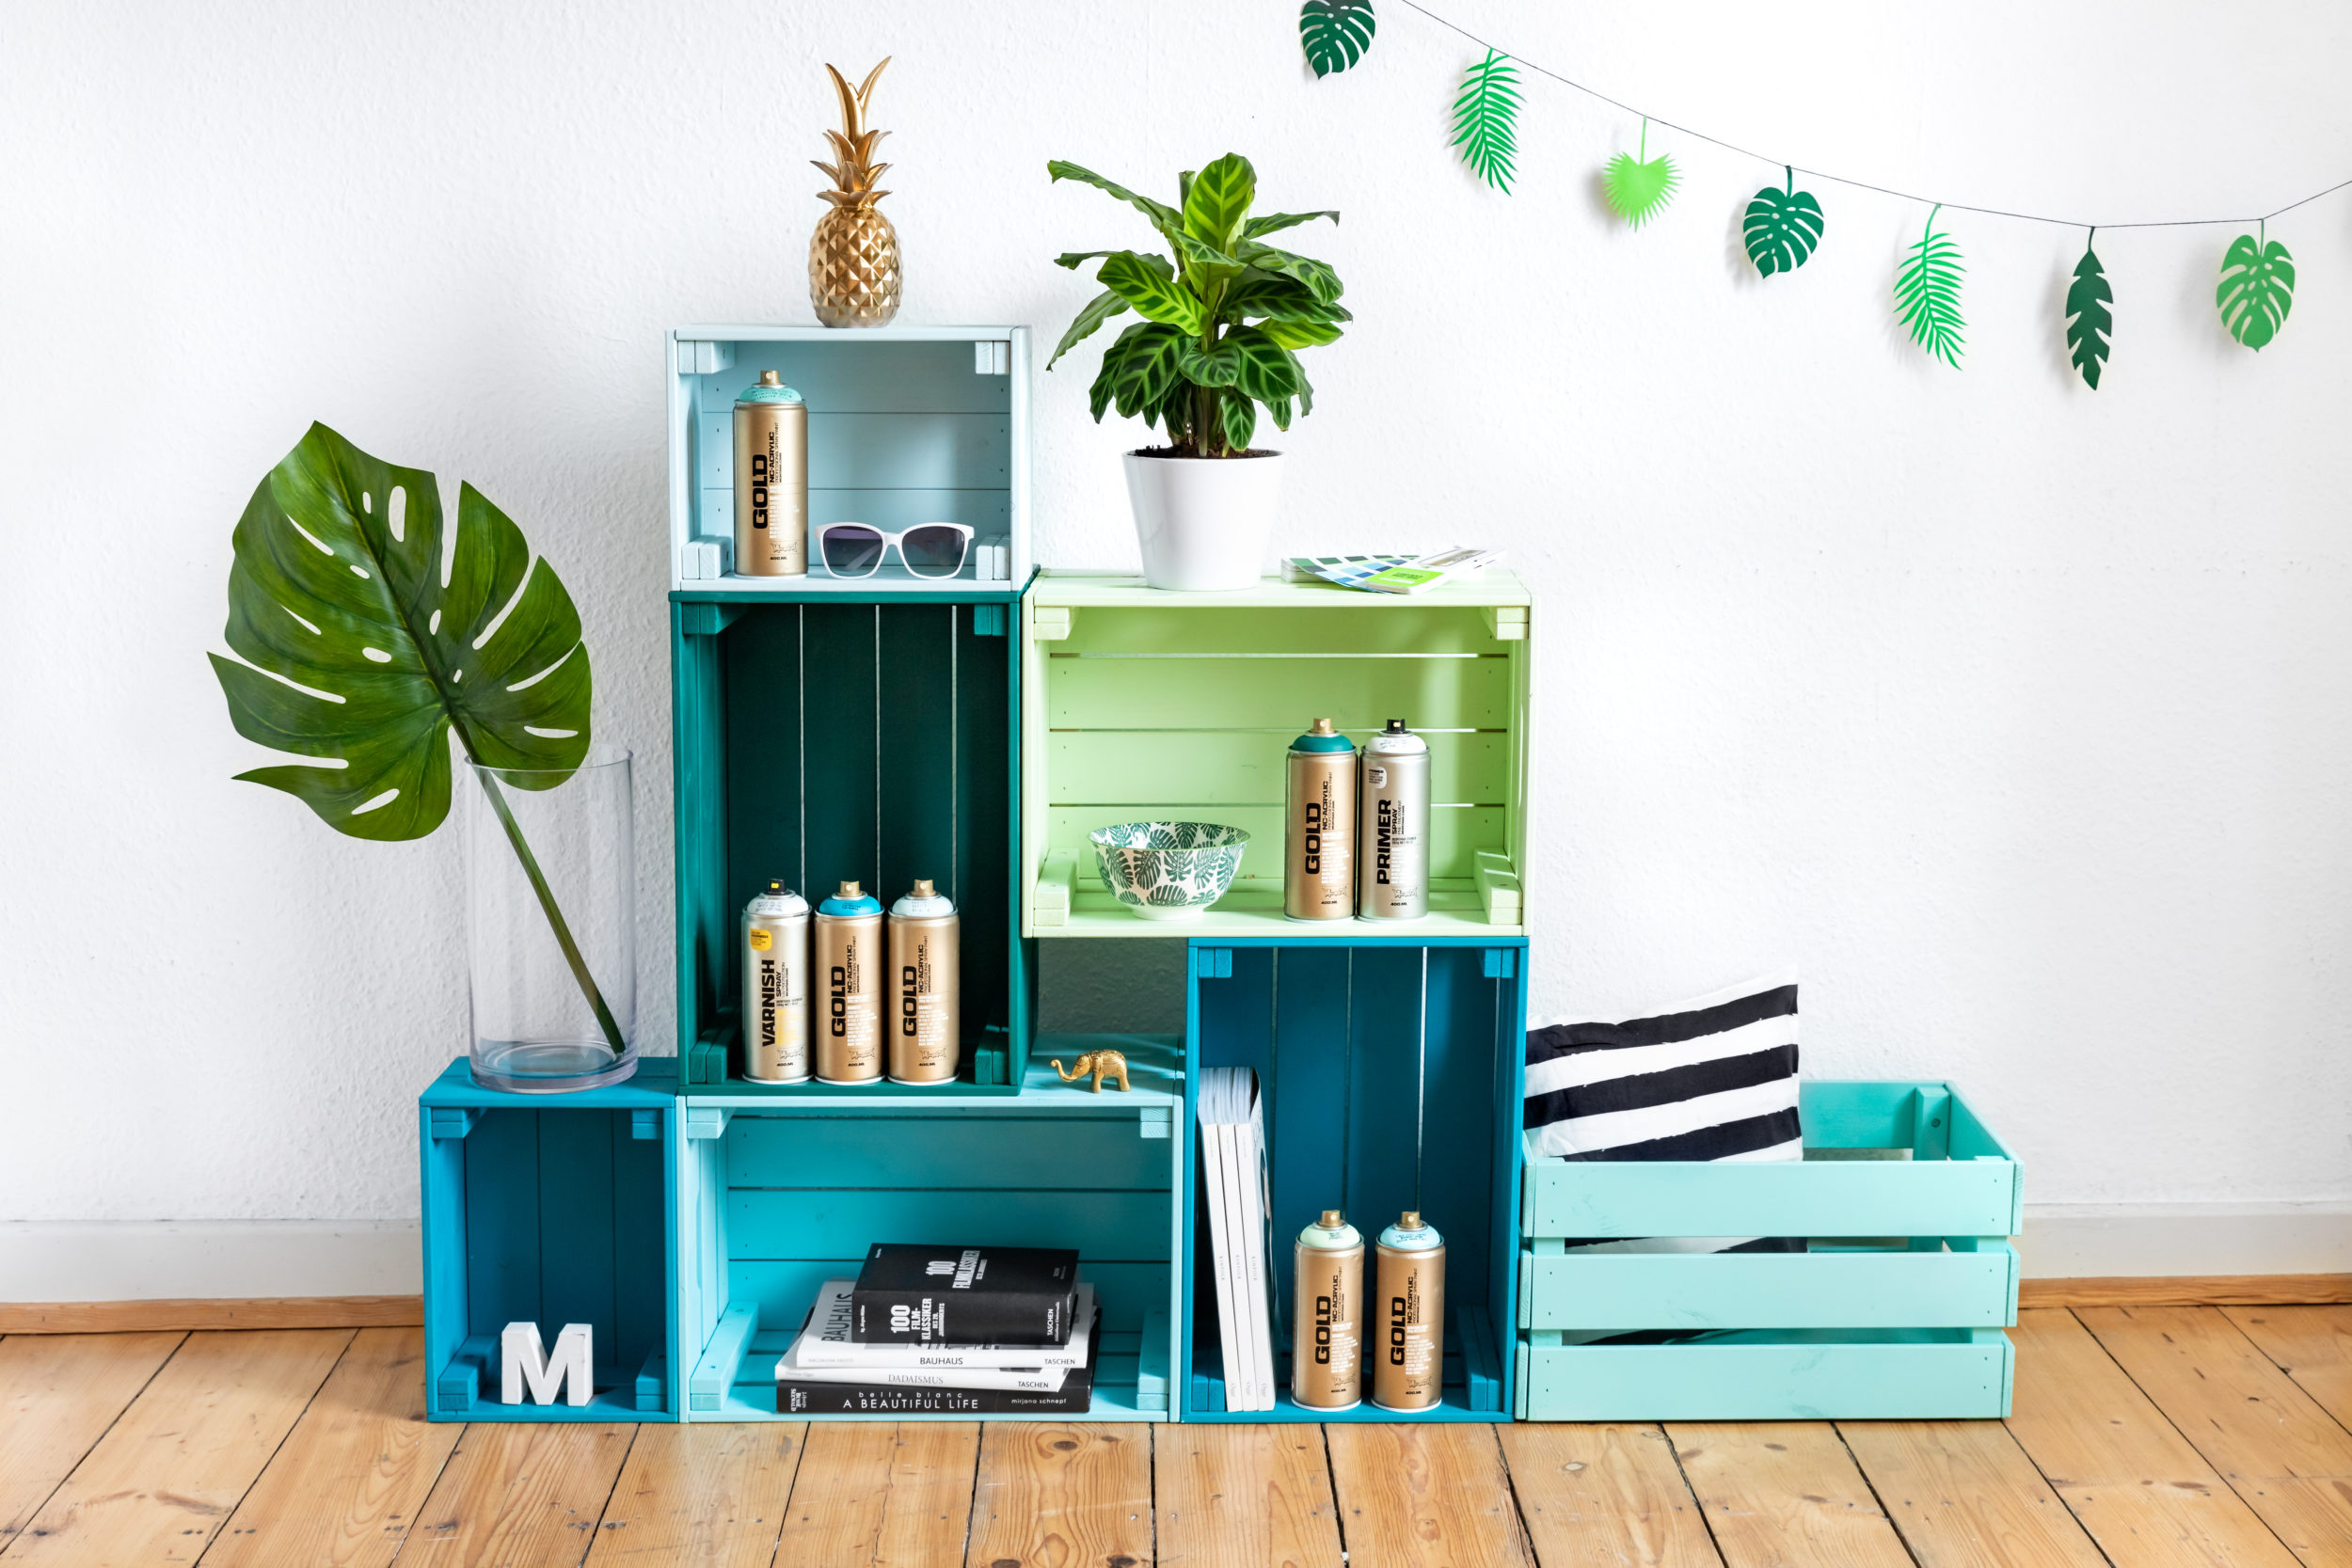
Then the fun part started. Adding color, box by box. We had an aqua theme in mind so we used variations of blues tones and aqua inspired colors. But you could go as discreet, or as crazy as you want. Remember to consider where the boxes would go and for what purpose you would use them. We knew we wanted to use these boxes as shelving, so it would fit perfectly with the existing colors in the room. At a distance of about 15cm – 20cm from each box, we applied thin even coats of color. One color per box.
Luckily we had a warm day when we did this. By the time we finished the inside of a box, it was dry enough to turn upside down and paint the outside of the box. Two coats were more than enough, but you can do as many or as little as you like.
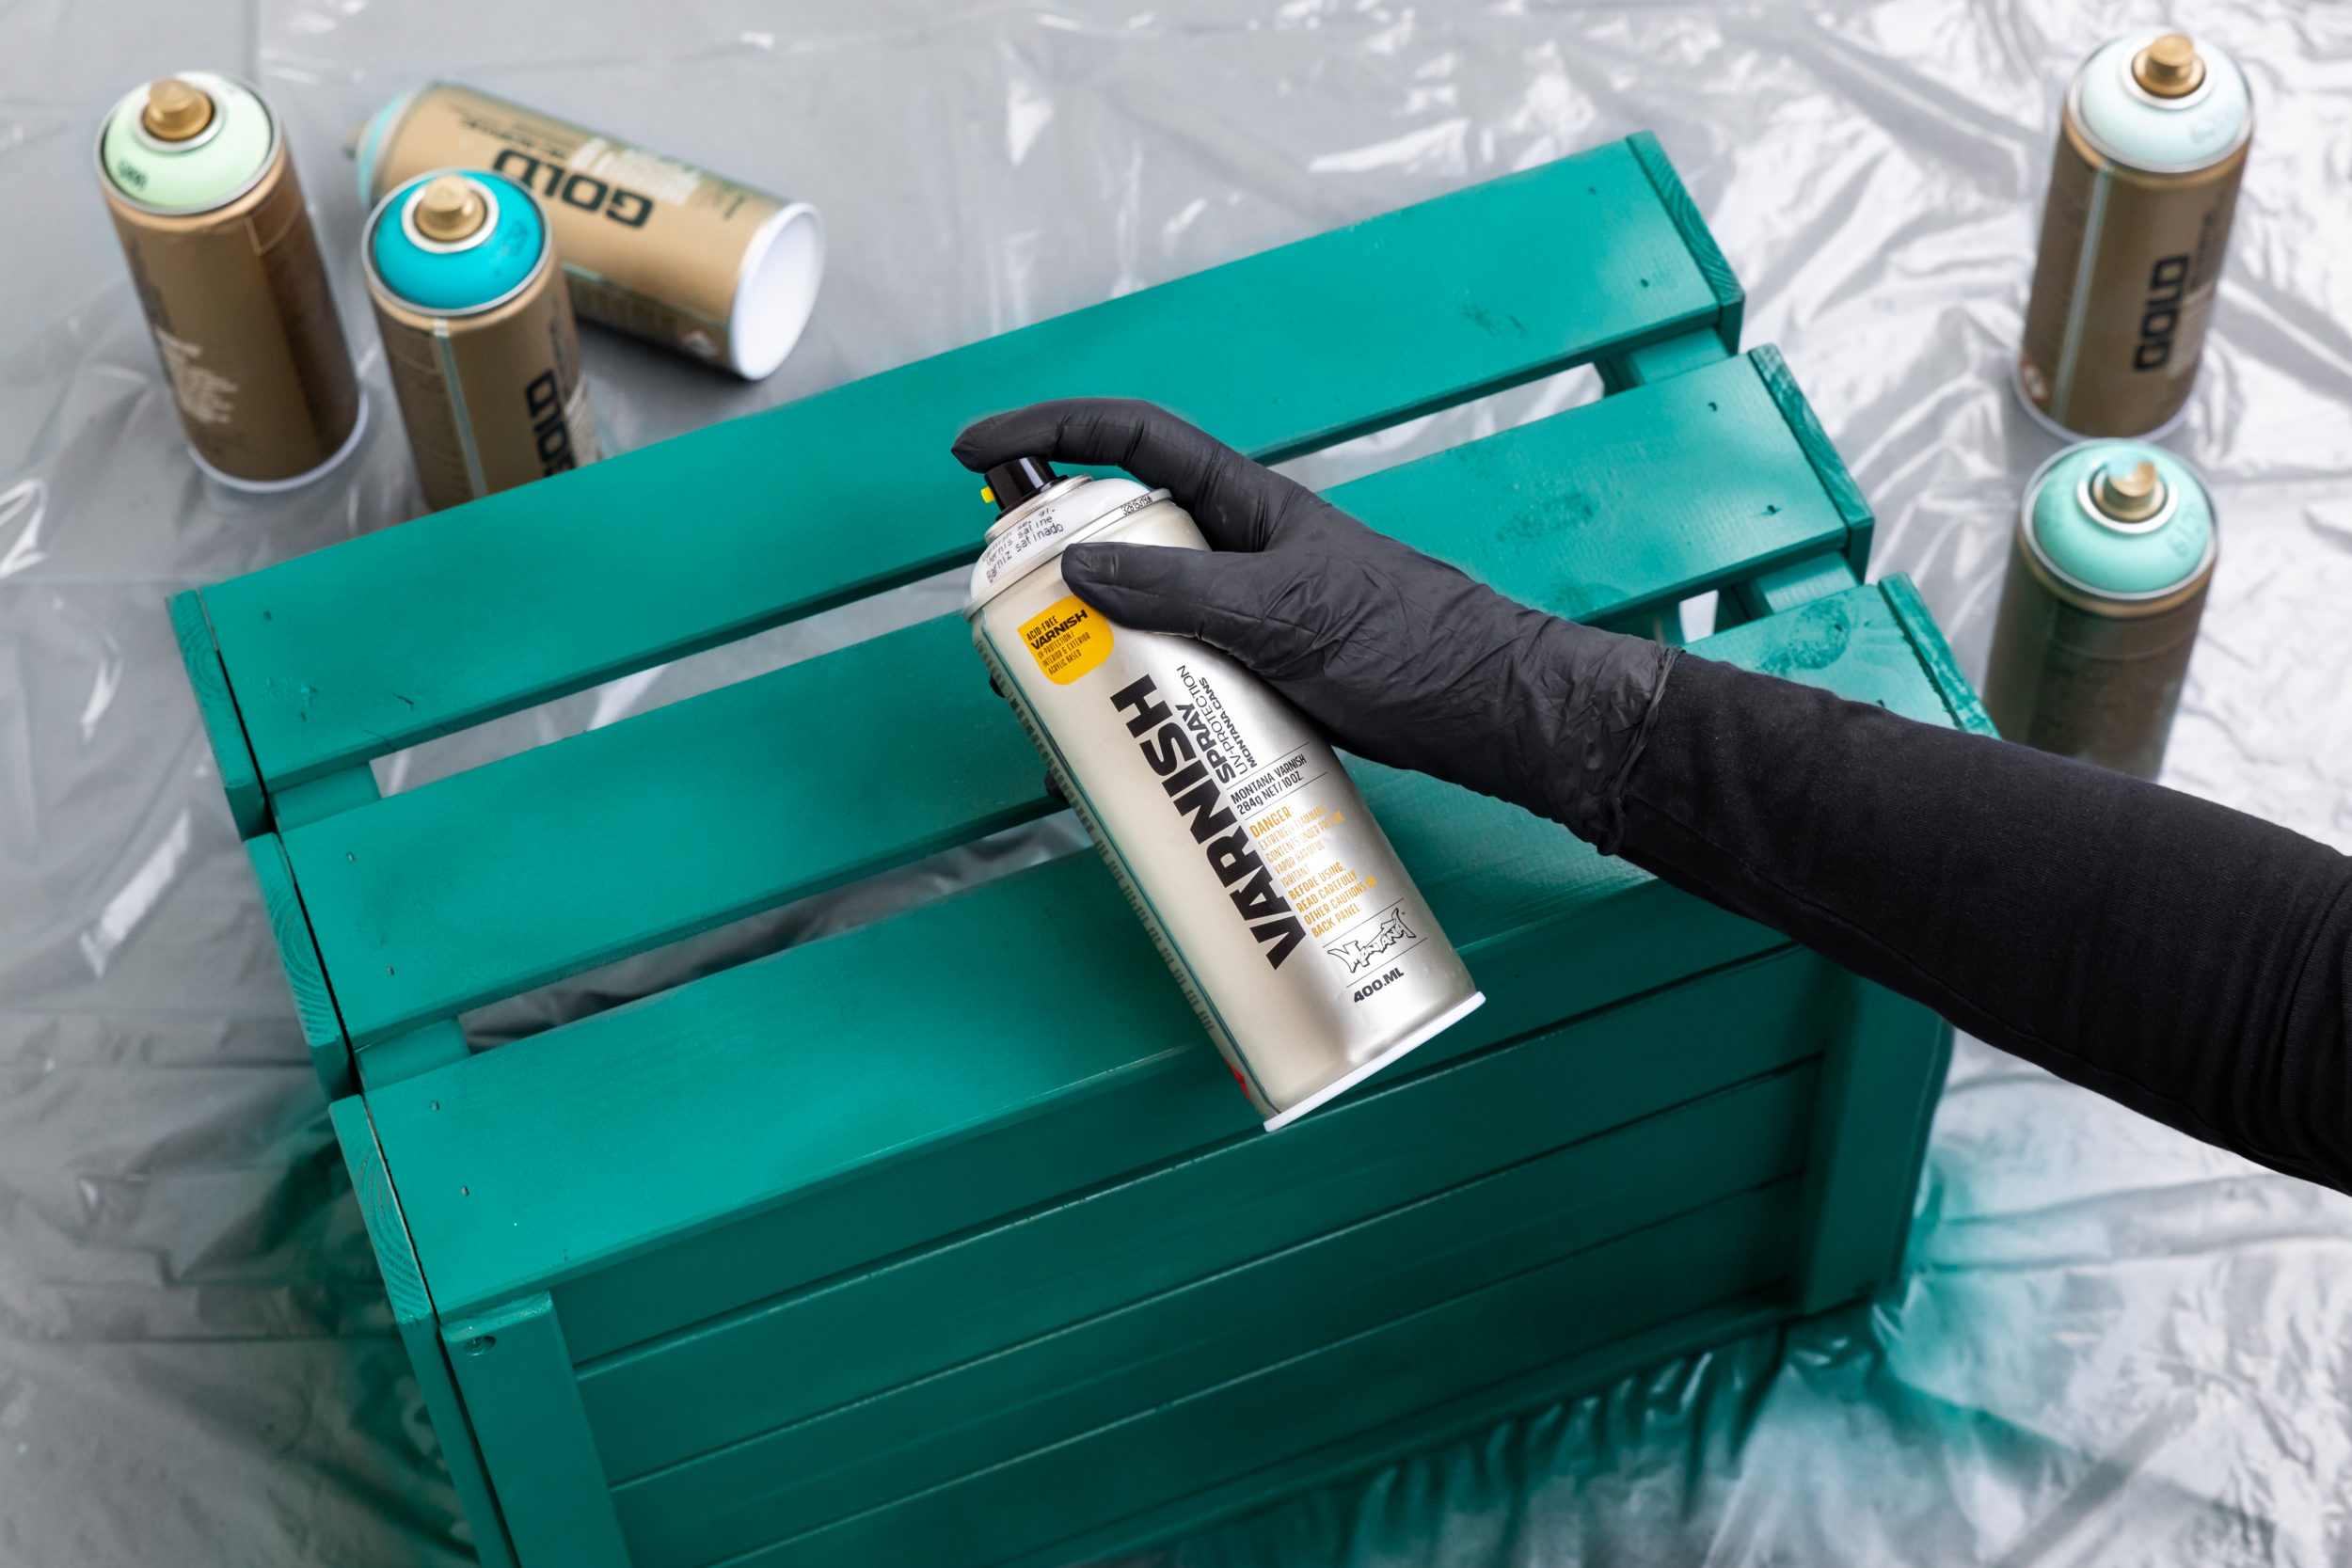
It was more fun than we were expecting. Painting with the warm sun on your back was almost meditative. Once the boxes had dried over night, we wanted that final touch of durability in the form of the Montana VARNISH spray. This also allowed us to have a matte, semi gloss or gloss finish while protecting the boxes from scratches, dents and uv light. And with that we were done! Stunning and practical at the same time..


This is an easy project for any skill level. You just need patience to paint and allow paint to dry. Even if you were not happy with one coat, a light sand and another coat later you are back to where you want to be. Those books and decor are now off the floor and the room looks a little fresher as well. All this, with just a few wooden boxes and a lick of paint. Fabulous..
Good Luck and Happy Crafting!