Travel in style the way you want to
The suitcase is a vital part of modern-day travel. In the age of budget airline tickets, the carry-on suitcase has become the traveler’s best friend when it comes to avoiding check-in luggage fees which have seemed to become the norm for budget airlines. Unlike the backpack which isn’t optimal when it’s heavy and on your back, the suitcase or trolley as it is also known, has the benefit of being able to be pulled around without much effort and can be left where it is standing when your waiting in line or just waiting to get going.
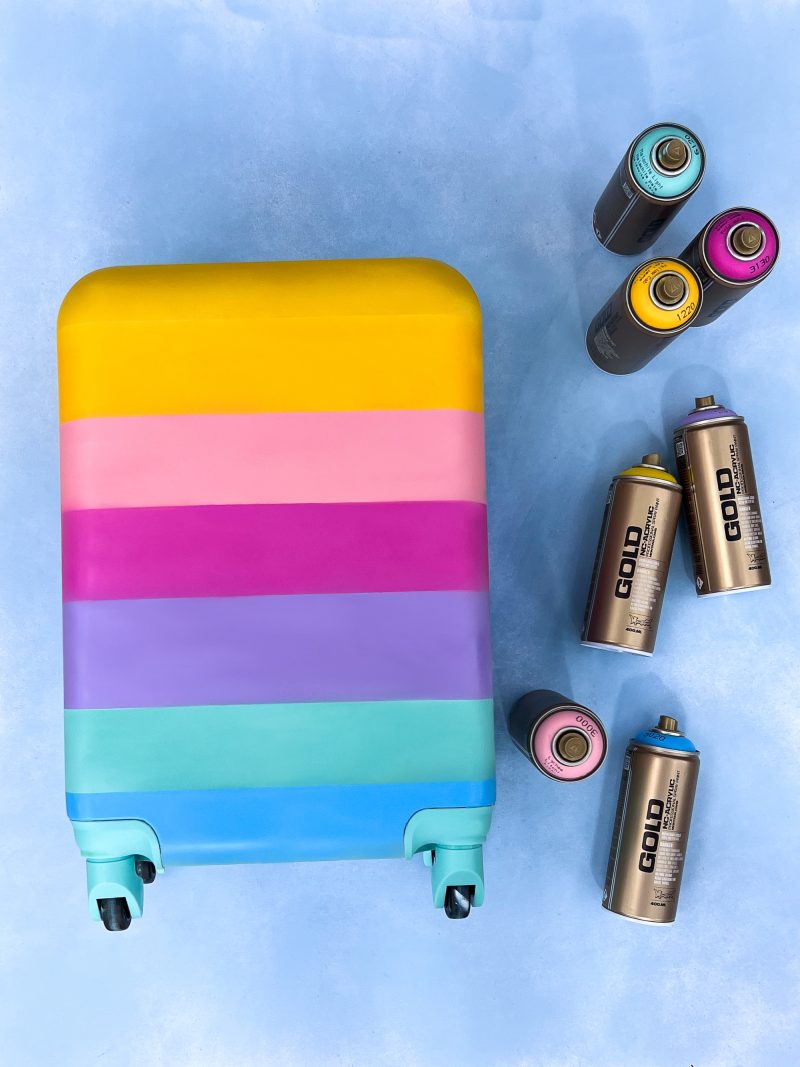
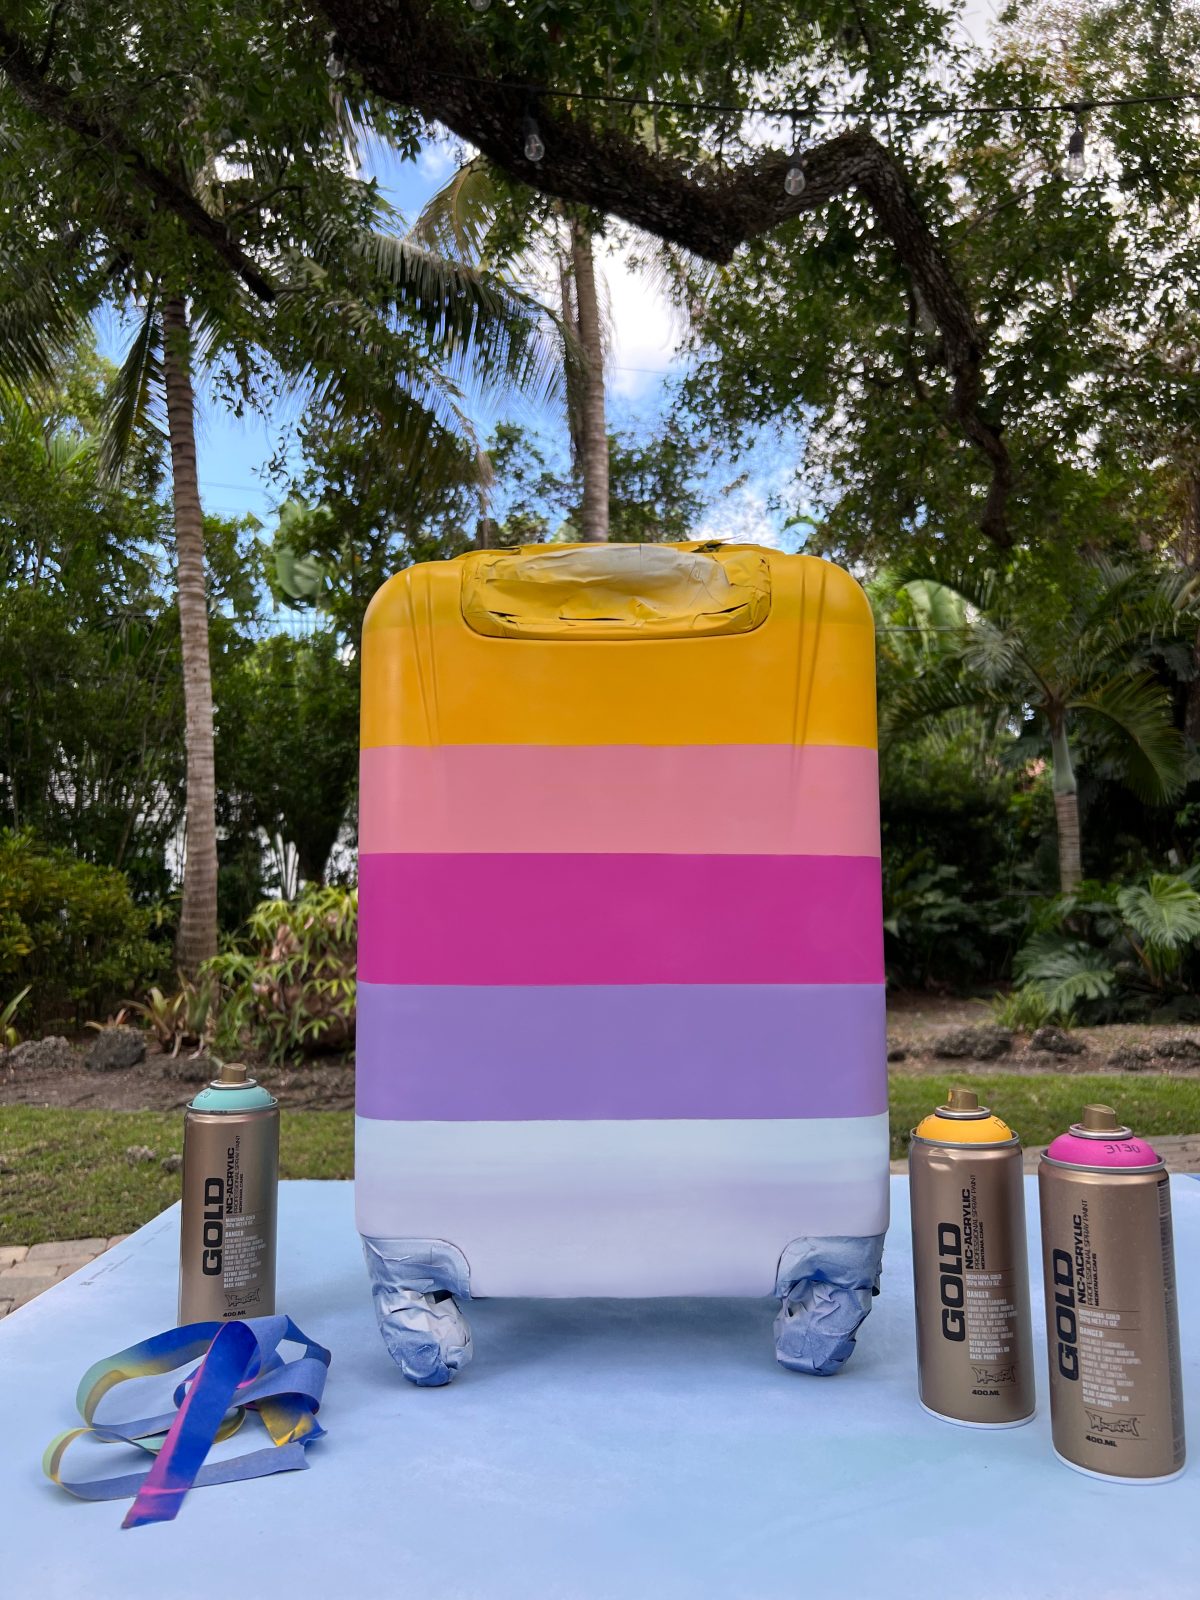
With an endless supply of suitcases to choose from, it doesn’t always mean that the one you have or can afford looks the way you want it to. Have no fear, you are about to have an allspraypainted moment! Which inspired us to come up with the Rainbow Suitcase Makeover. Grab your suitcase and read on and you too can travel in style the way you want to.
Materials used
- Hard shell suitcase
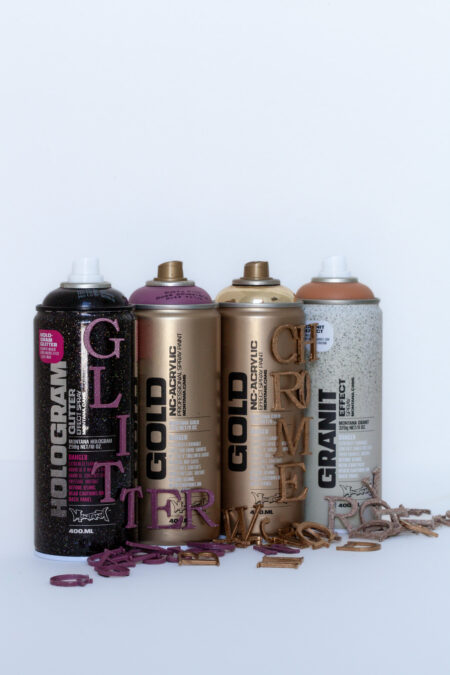
- Montana GOLD spray cans (colors of your choice)
- Montana PRIMER Plastic
- Craft knife
- Drop sheet
- Mask
- Gloves
How it was done
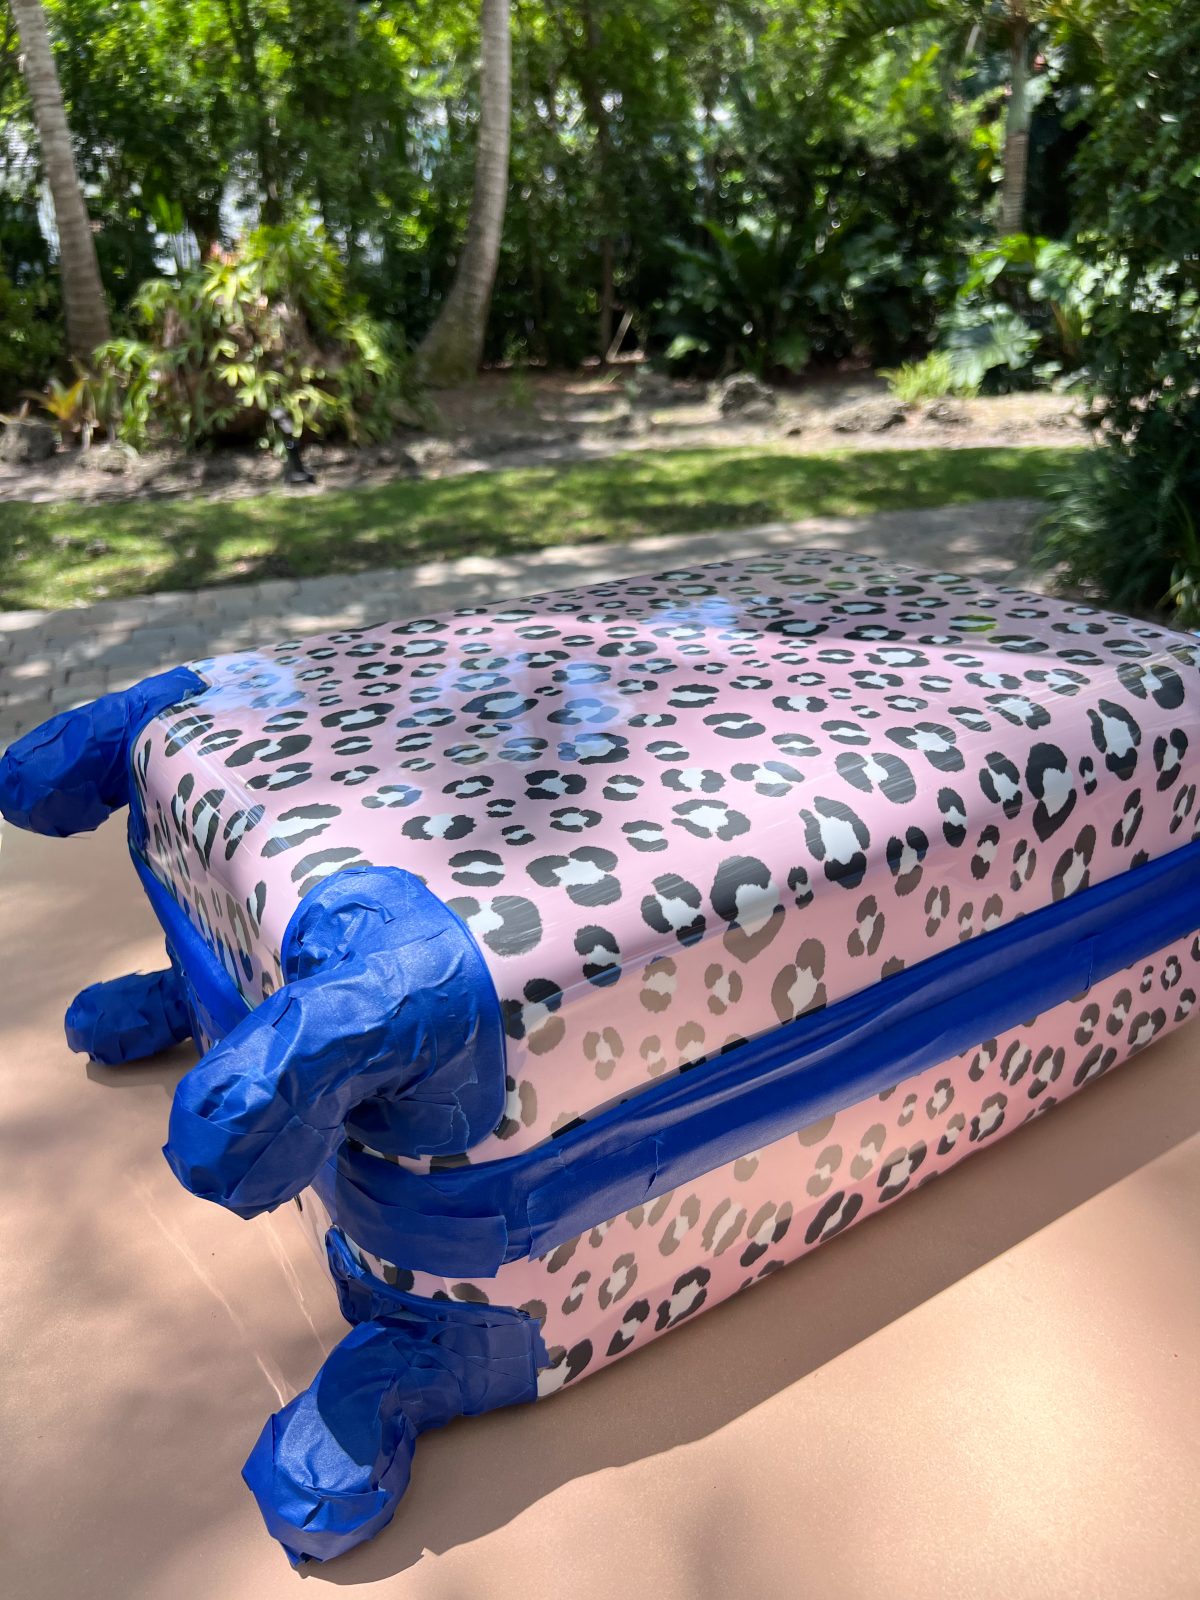
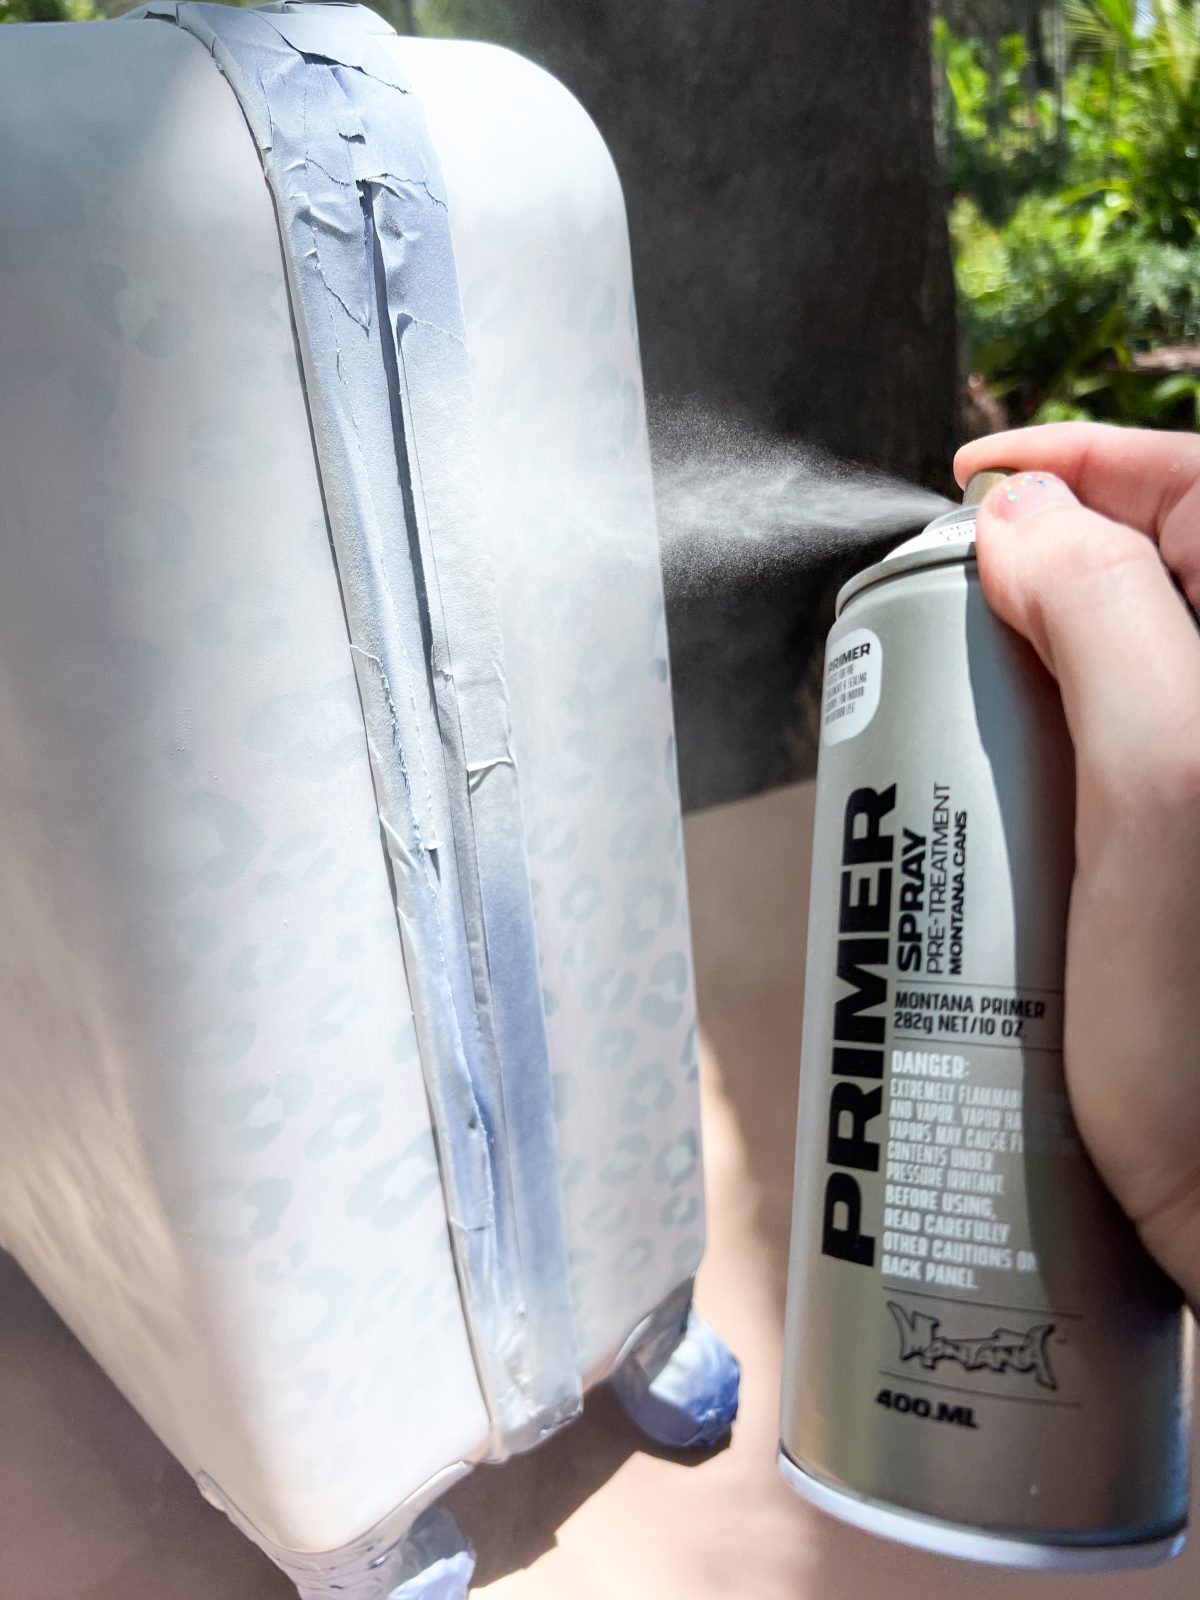
As with all projects, the first step is to always make sure the object you are working with is clean, dry, and free of dust, oils, or any marks if applicable. In our case for this project, the object was our suitcase and before we applied our masking tape over all the zips, handles, wheels etc, we made sure the case was clean and dry. Once the areas you don’t want to add color to have been masked up securely, we turned to our trusted Montana PRIMER Plastic spray to prepare the busy plastic surface for our cool color makeover.
The PRIMER Plastic’s transparent white color was enough of a precoat for our suitcase, but if you want an even more neutral base color, once your PRIMER has dried overnight you could also choose to coat the whole suitcase in the Montana GOLD Shock White before applying other colors. As your suitcase is made of plastic (difficult for any paint or lacquer to adhere to), we suggest leaving each coat of color for at least 2-3 hours to dry, and at best each color to dry overnight. This will minimize the possibility of paint tearing off when you want to apply and remove masking tape between colors.

We decided to paint our suitcase a rainbow-layered style, with sharp lines of color moving from the top downwards. These sharp lines are achieved by applying masking tape and removing it again while the paint is still wet. Although this was time-consuming as we needed to leave the colors dry thoroughly before applying the next color, you could choose to make more organic lines without masking tape which means you could paint your suitcase in one session.
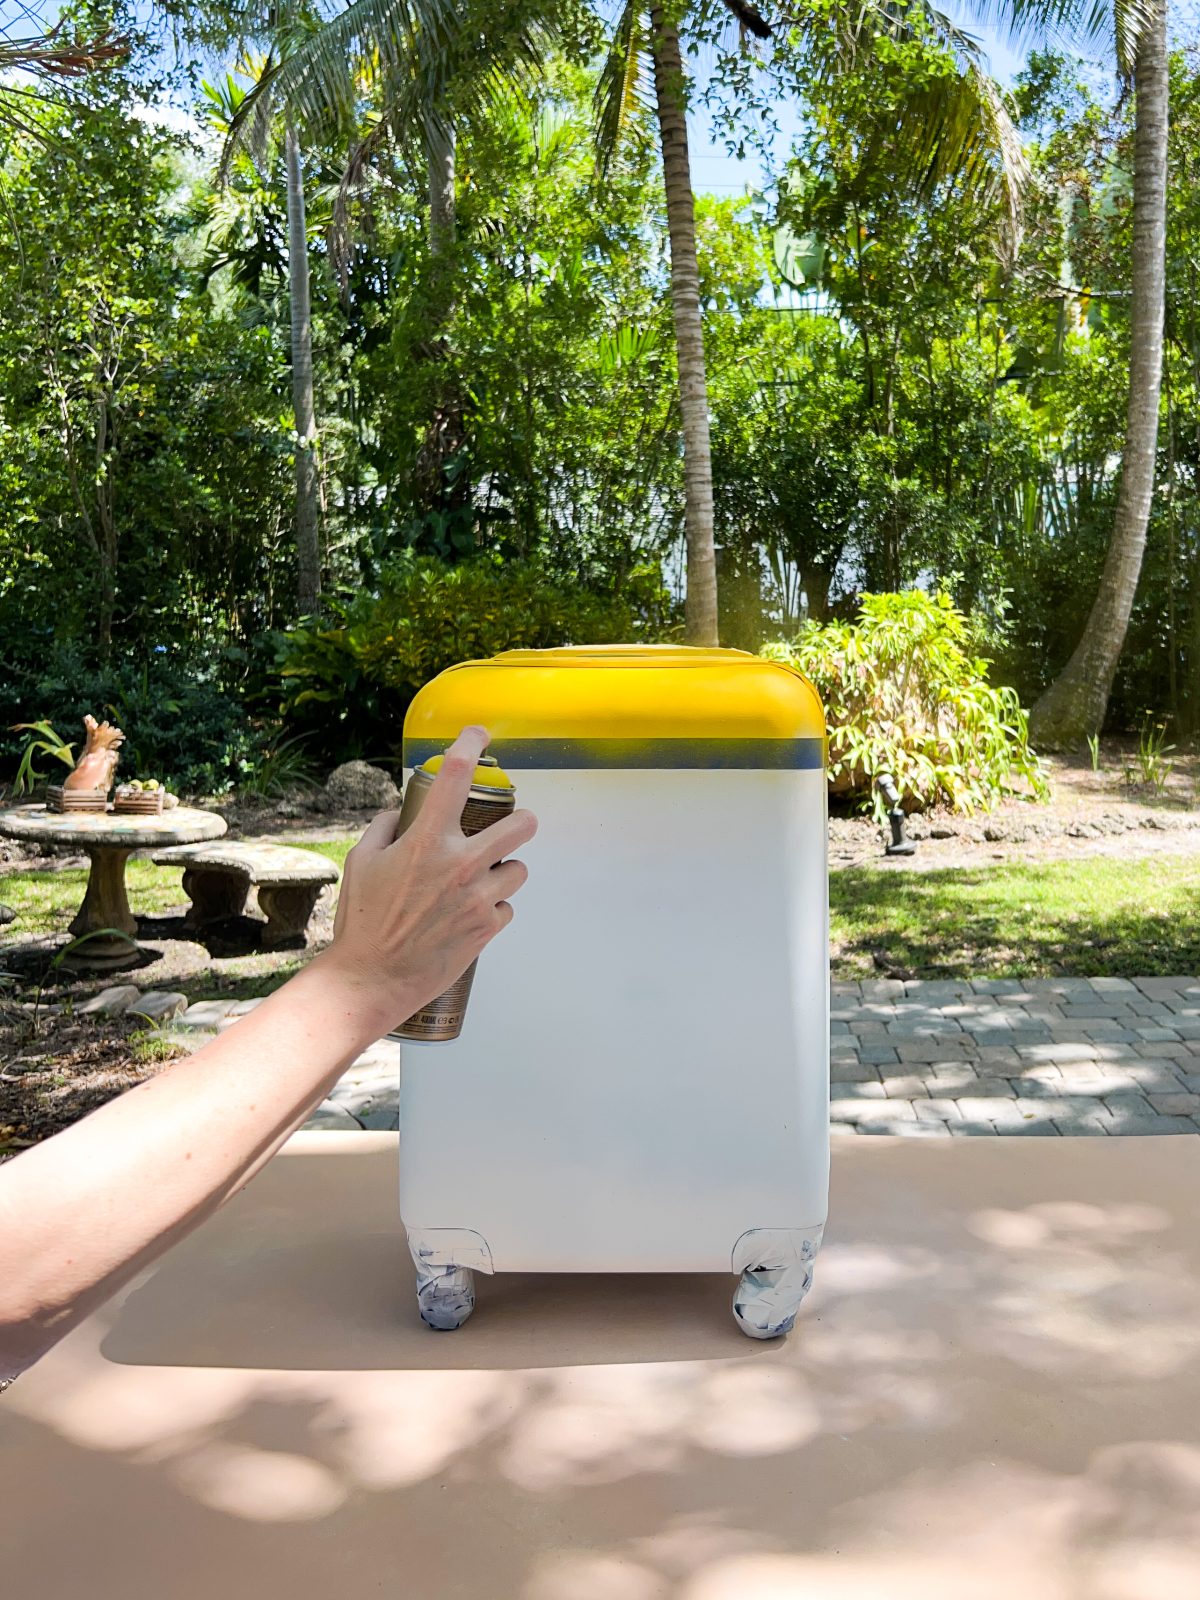
Starting with our yellow which was the purest color, we calculated the size of each line of color we wanted considering all the colors that would come afterward as well. Then, after the usual gloves and mask were on, we shook the cans for 2-3 minutes, turned them upside down, and removed the nozzles to allow the safety rings to fall out. We then reapply the nozzle with a test spray away from everything to get the can started, and you’re ready to go. Thin even coats are the key to a great finish at about 15-20cm distance from the suitcase.
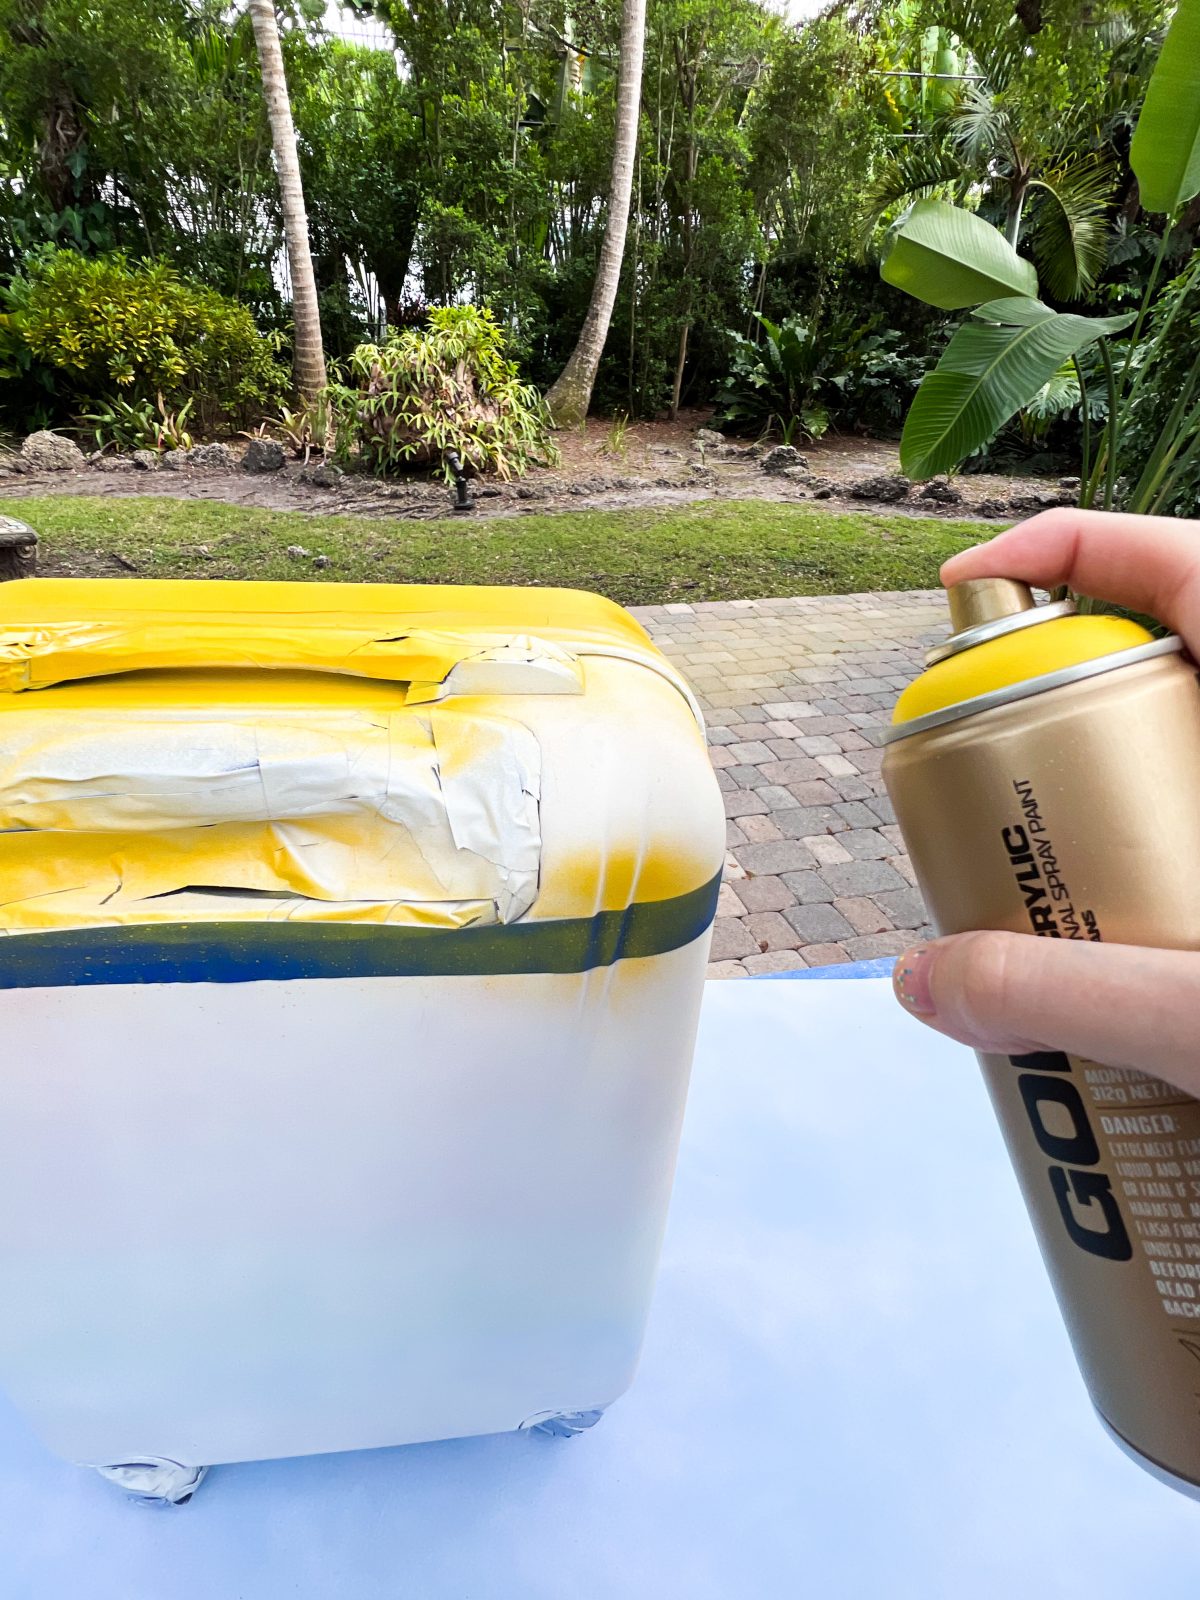
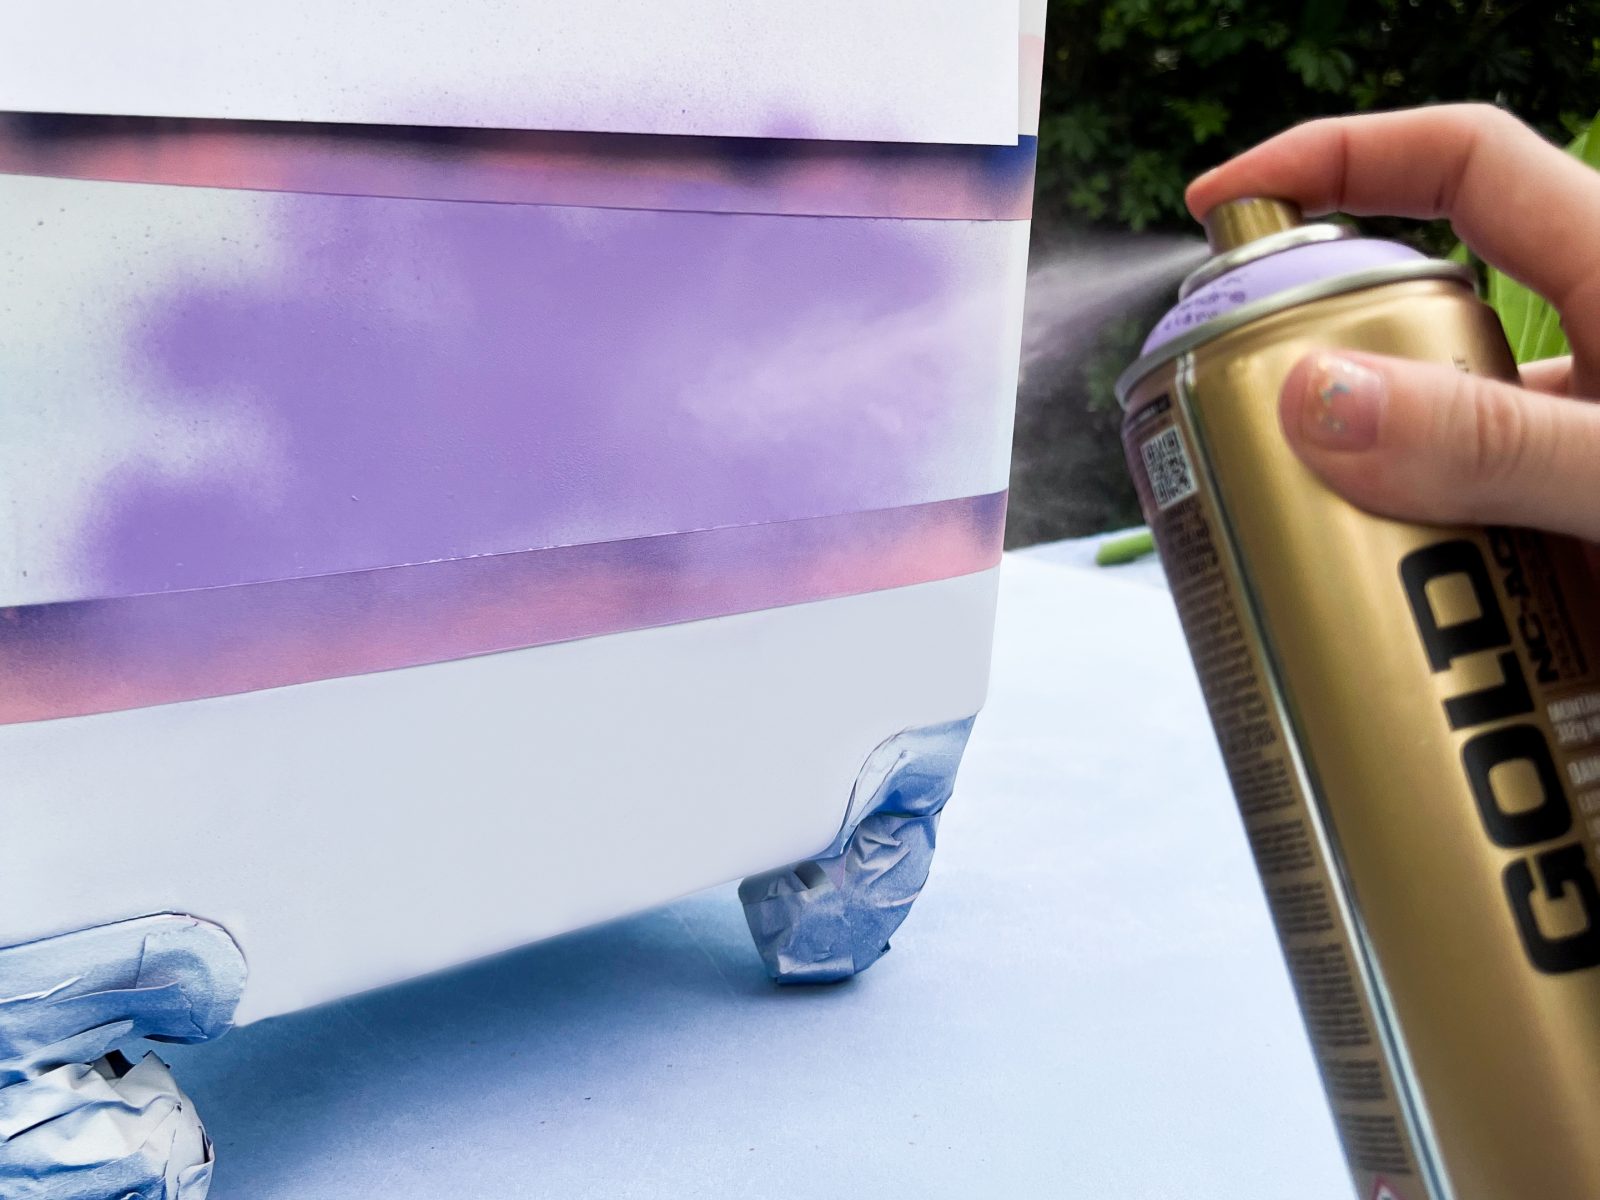
After each color remove the masking tape straight away while the paint is still wet or drying to prevent paint from adhering to the tape and tearing in blotches as you remove it. If you have the time and patience, leave the color to dry for at least 2-3 hours. If you want the super finish, let each color dry overnight. If by chance your line is not sharp when you remove the tape, DON’T WORRY! you can touch it up once it’s dry. Either reapply masking tape and spot spray where your line isn’t neat, or spray a little of the required color into a container and with a small brush paint the color on while the paint is wet to touch up the affected area by hand.
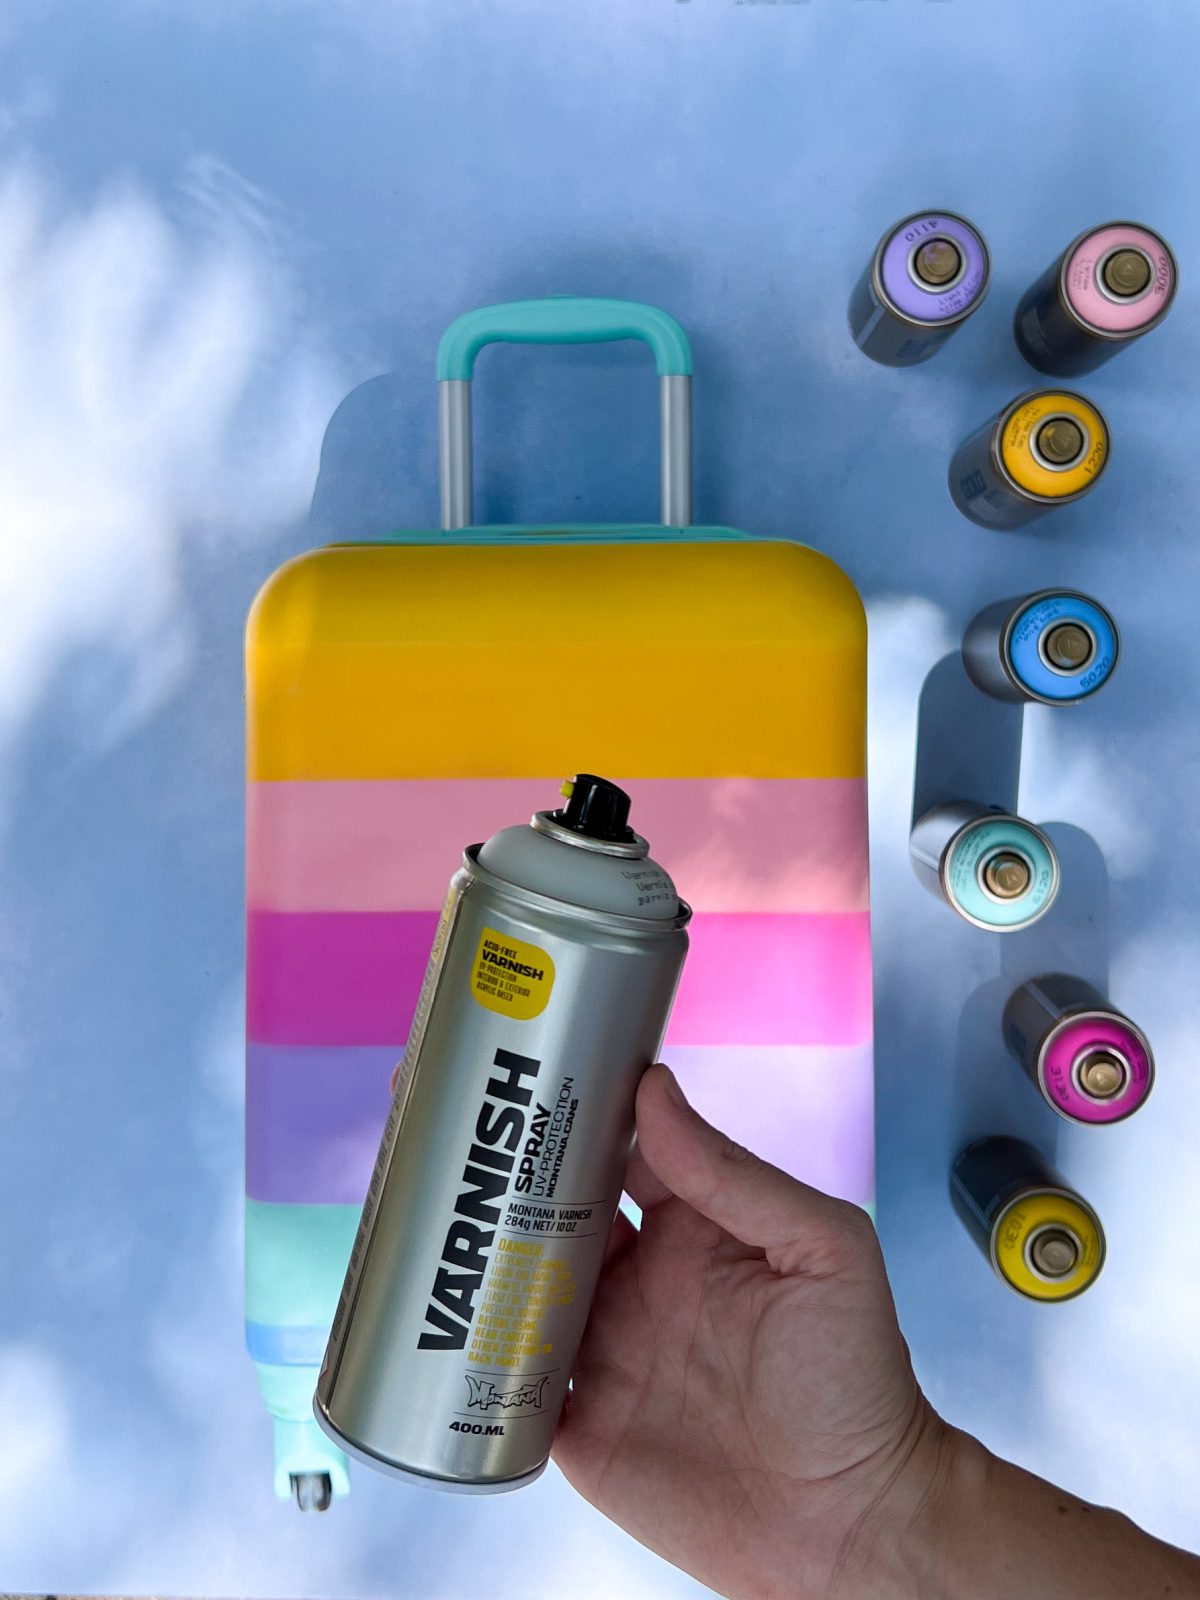
At this point, the hard work is behind you. The colors are all on and have dried overnight, you have removed the tape from all covered areas, and all that is left is some Montana VARNISH to secure and protect what you have created. And… if you want a gloss, semi-gloss, or matt finish, here is your chance to do that also.

Grabbing the Montana VARNISH in the finish of your choice (Matt, Semi-Gloss, or Gloss), apply thin even coats as desired to achieve the level of finish you want. You could also choose to apply varnish before removing the masking tape which would result in just the painted areas being coated and the handles, zippers, and wheels staying in their original state.
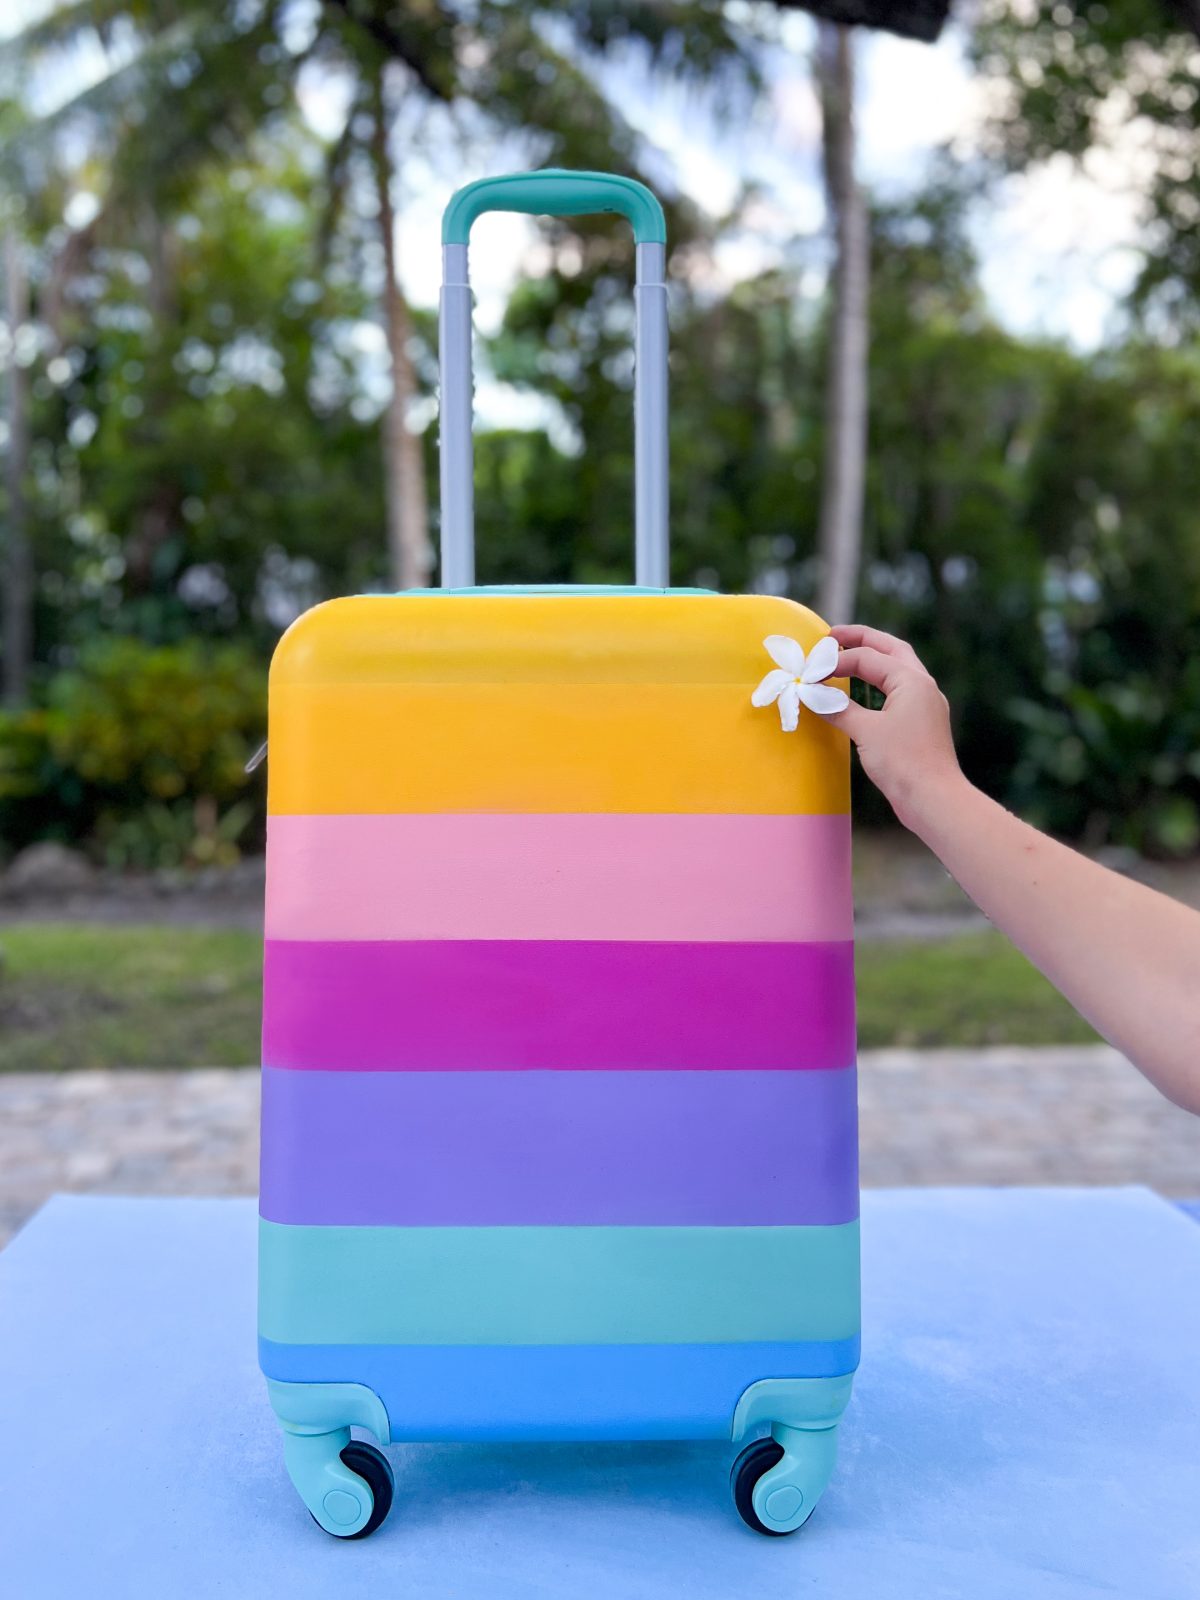
Let’s face it, your suitcase looks fantastic. There is no chance you won’t recognize it at the airport on the luggage belt if you check it in, and now it matches your style the way you would have liked it in the first place. And if your style changes, so can the paintwork of your suitcase. After all, you know what to do now.
This project takes between 1 -3 hours of working time which you can do in one session or you can spread it over a week if you have the patience to let each color dry thoroughly. The latter offers the best result but it’s important that the technique you choose also fit your aesthetic. Whether you are a beginner or a DIY fanatic, this project is an all-skill level exercise and the difference in difficulty level can be controlled by you. So have faith in yourself, and give your suitcase the style makeover to match your personality. Go for it.
Happy Crafting.