To impress – just add color
Do these two scenarios sound familiar at all?
*A quiet rainy day. You finished your book the night before and there is nothing on TV. You’ve been looking at those ceramic objects on your mantle now for years. As much as you love them, you just can’t stand looking at them anymore. Or….
*You happen to stumble on a yard sale. You see some dusty ceramic sculptures over in the corner, in a half opened box. You fall in love with their potential and manage to buy them for next to nothing.
Your reality may slightly vary from this but I think nearly everyone has seen ceramic objects and thought, “I could really do something with them, but what?”. The simple answer is to add some color. We did, and here’s what we did:
Materials Used
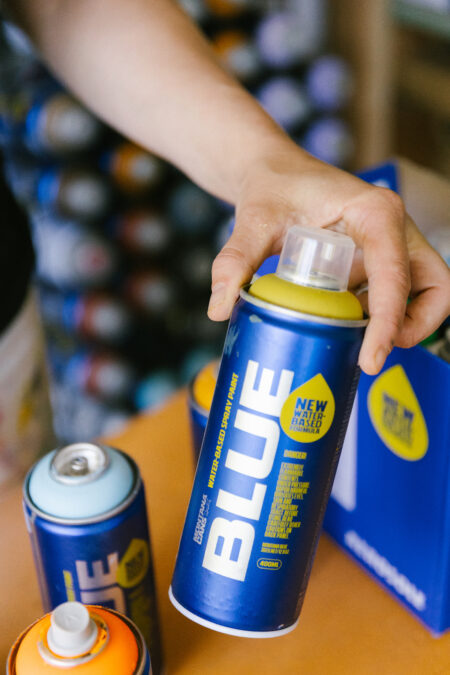
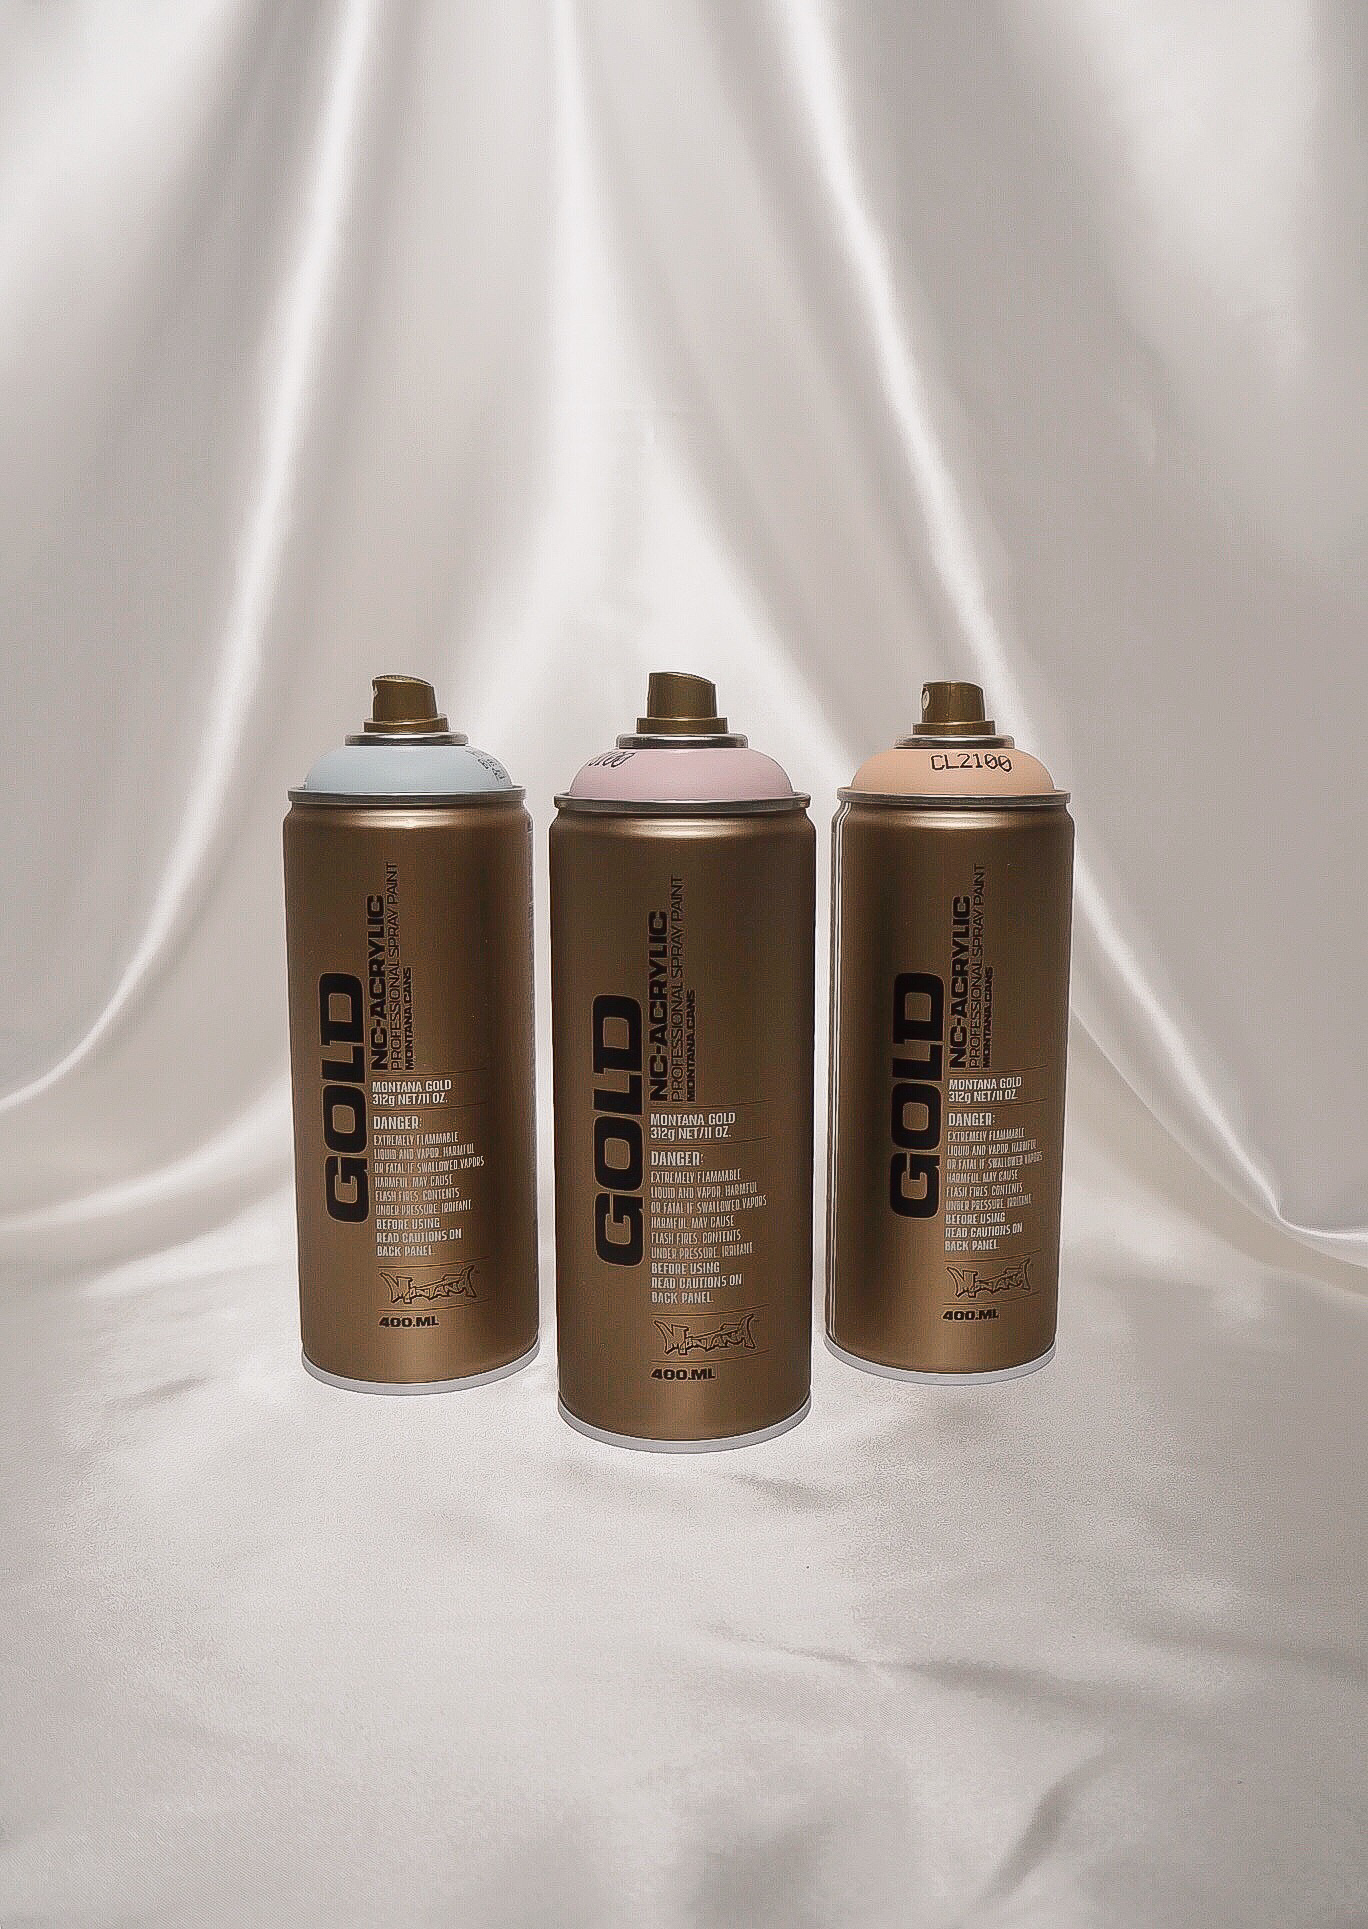
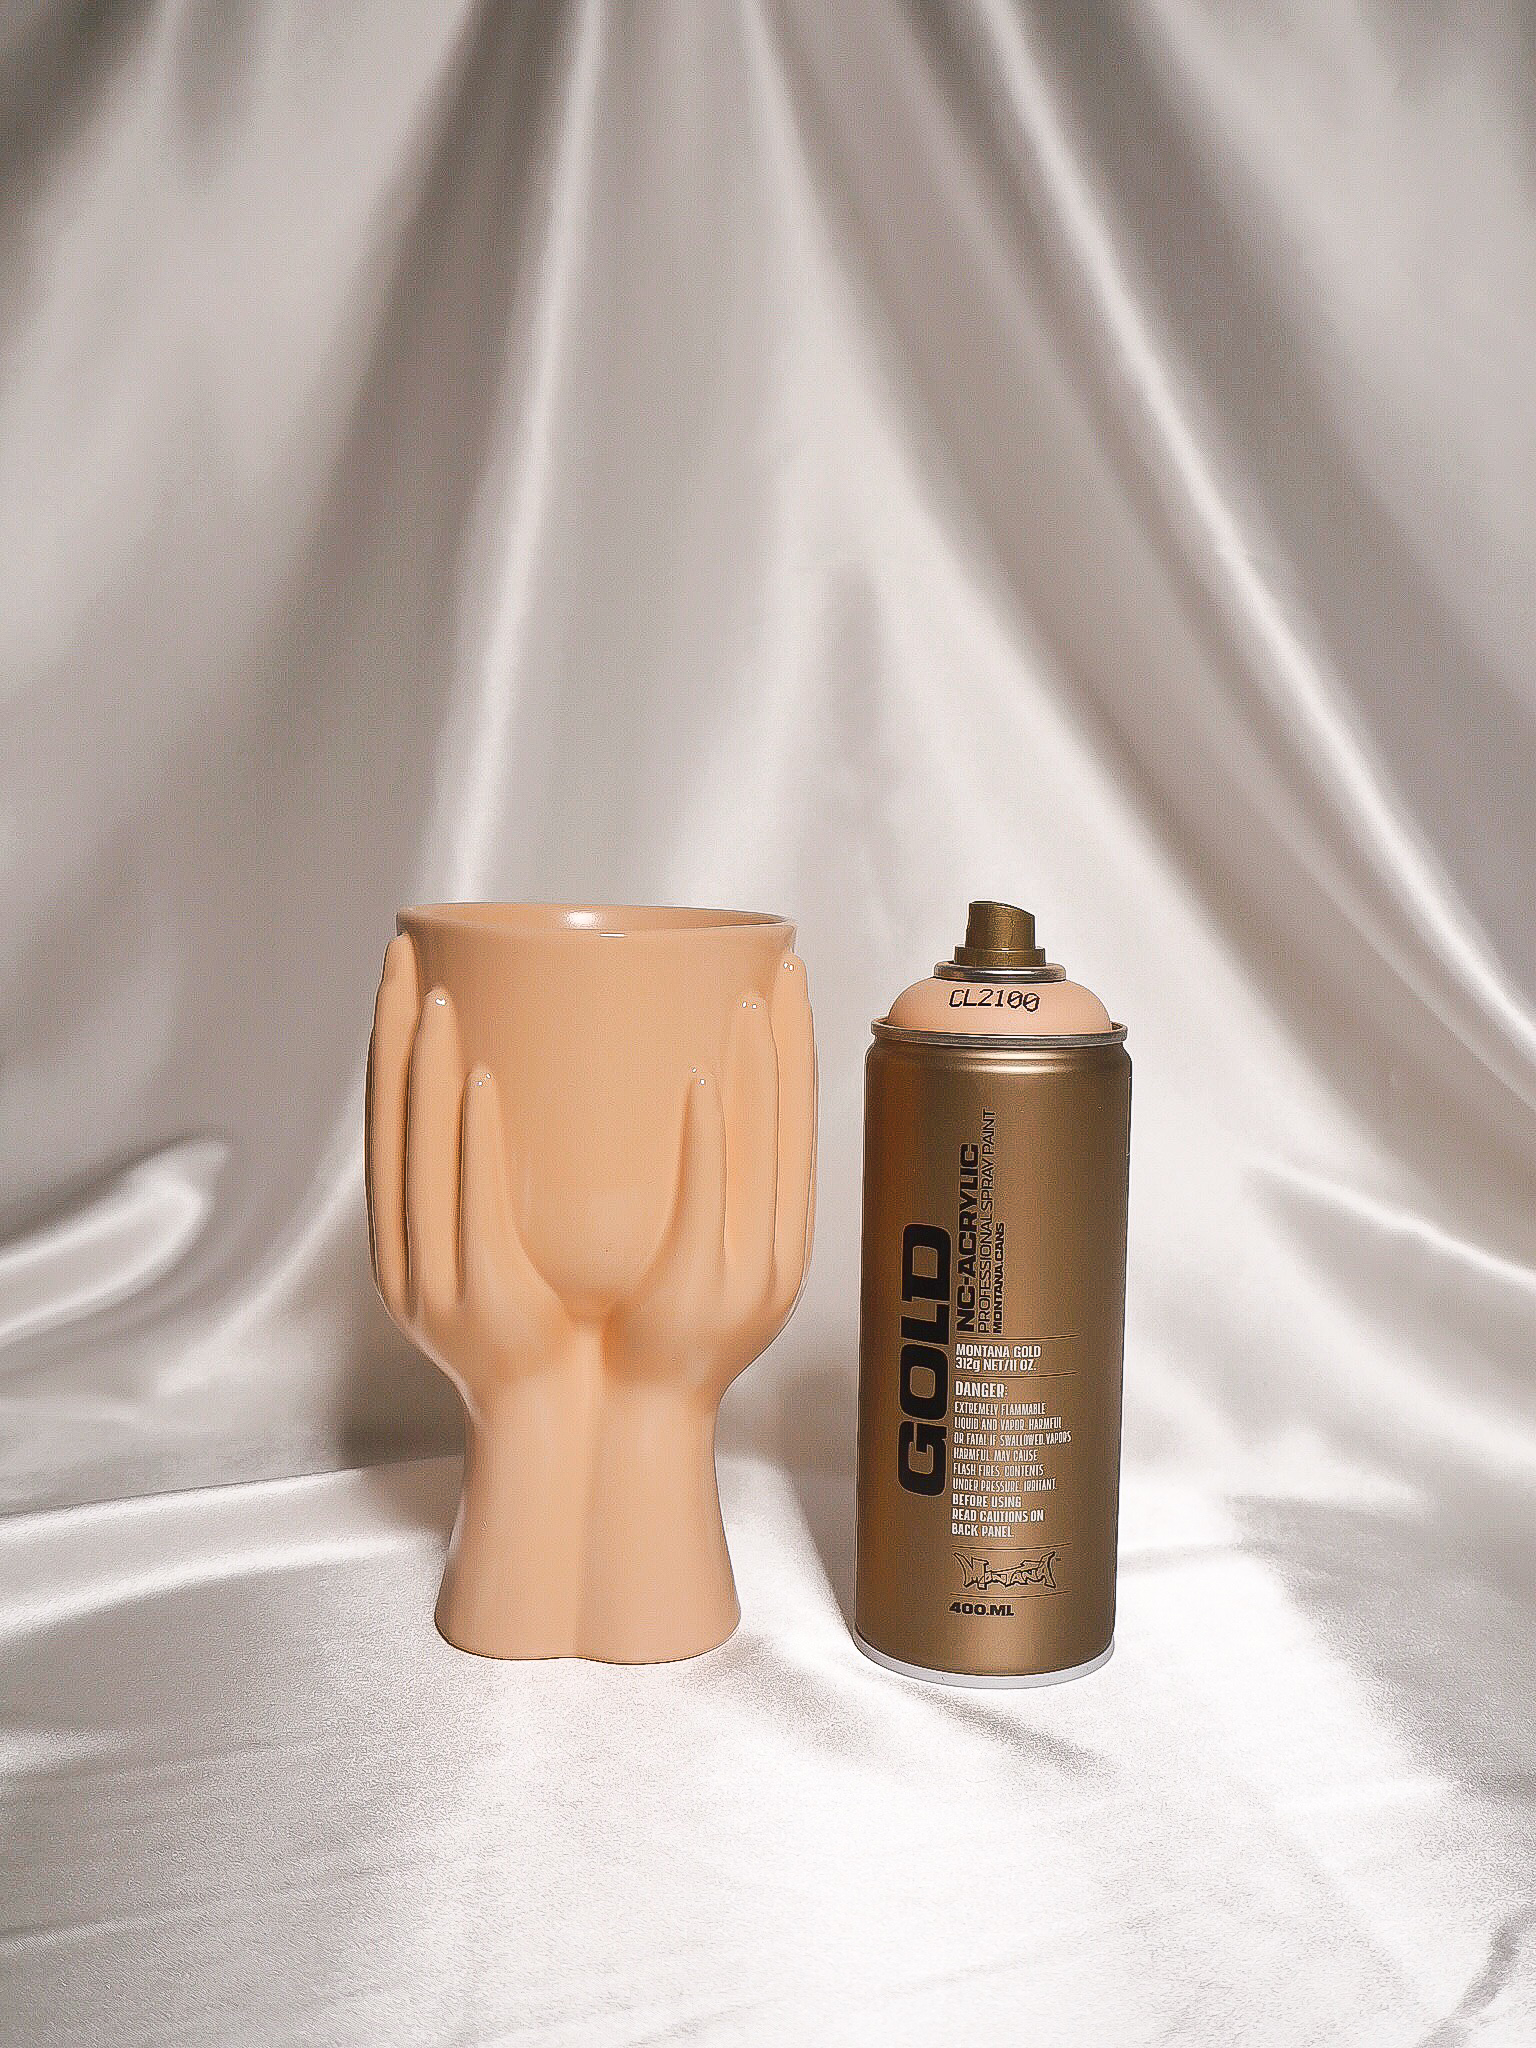
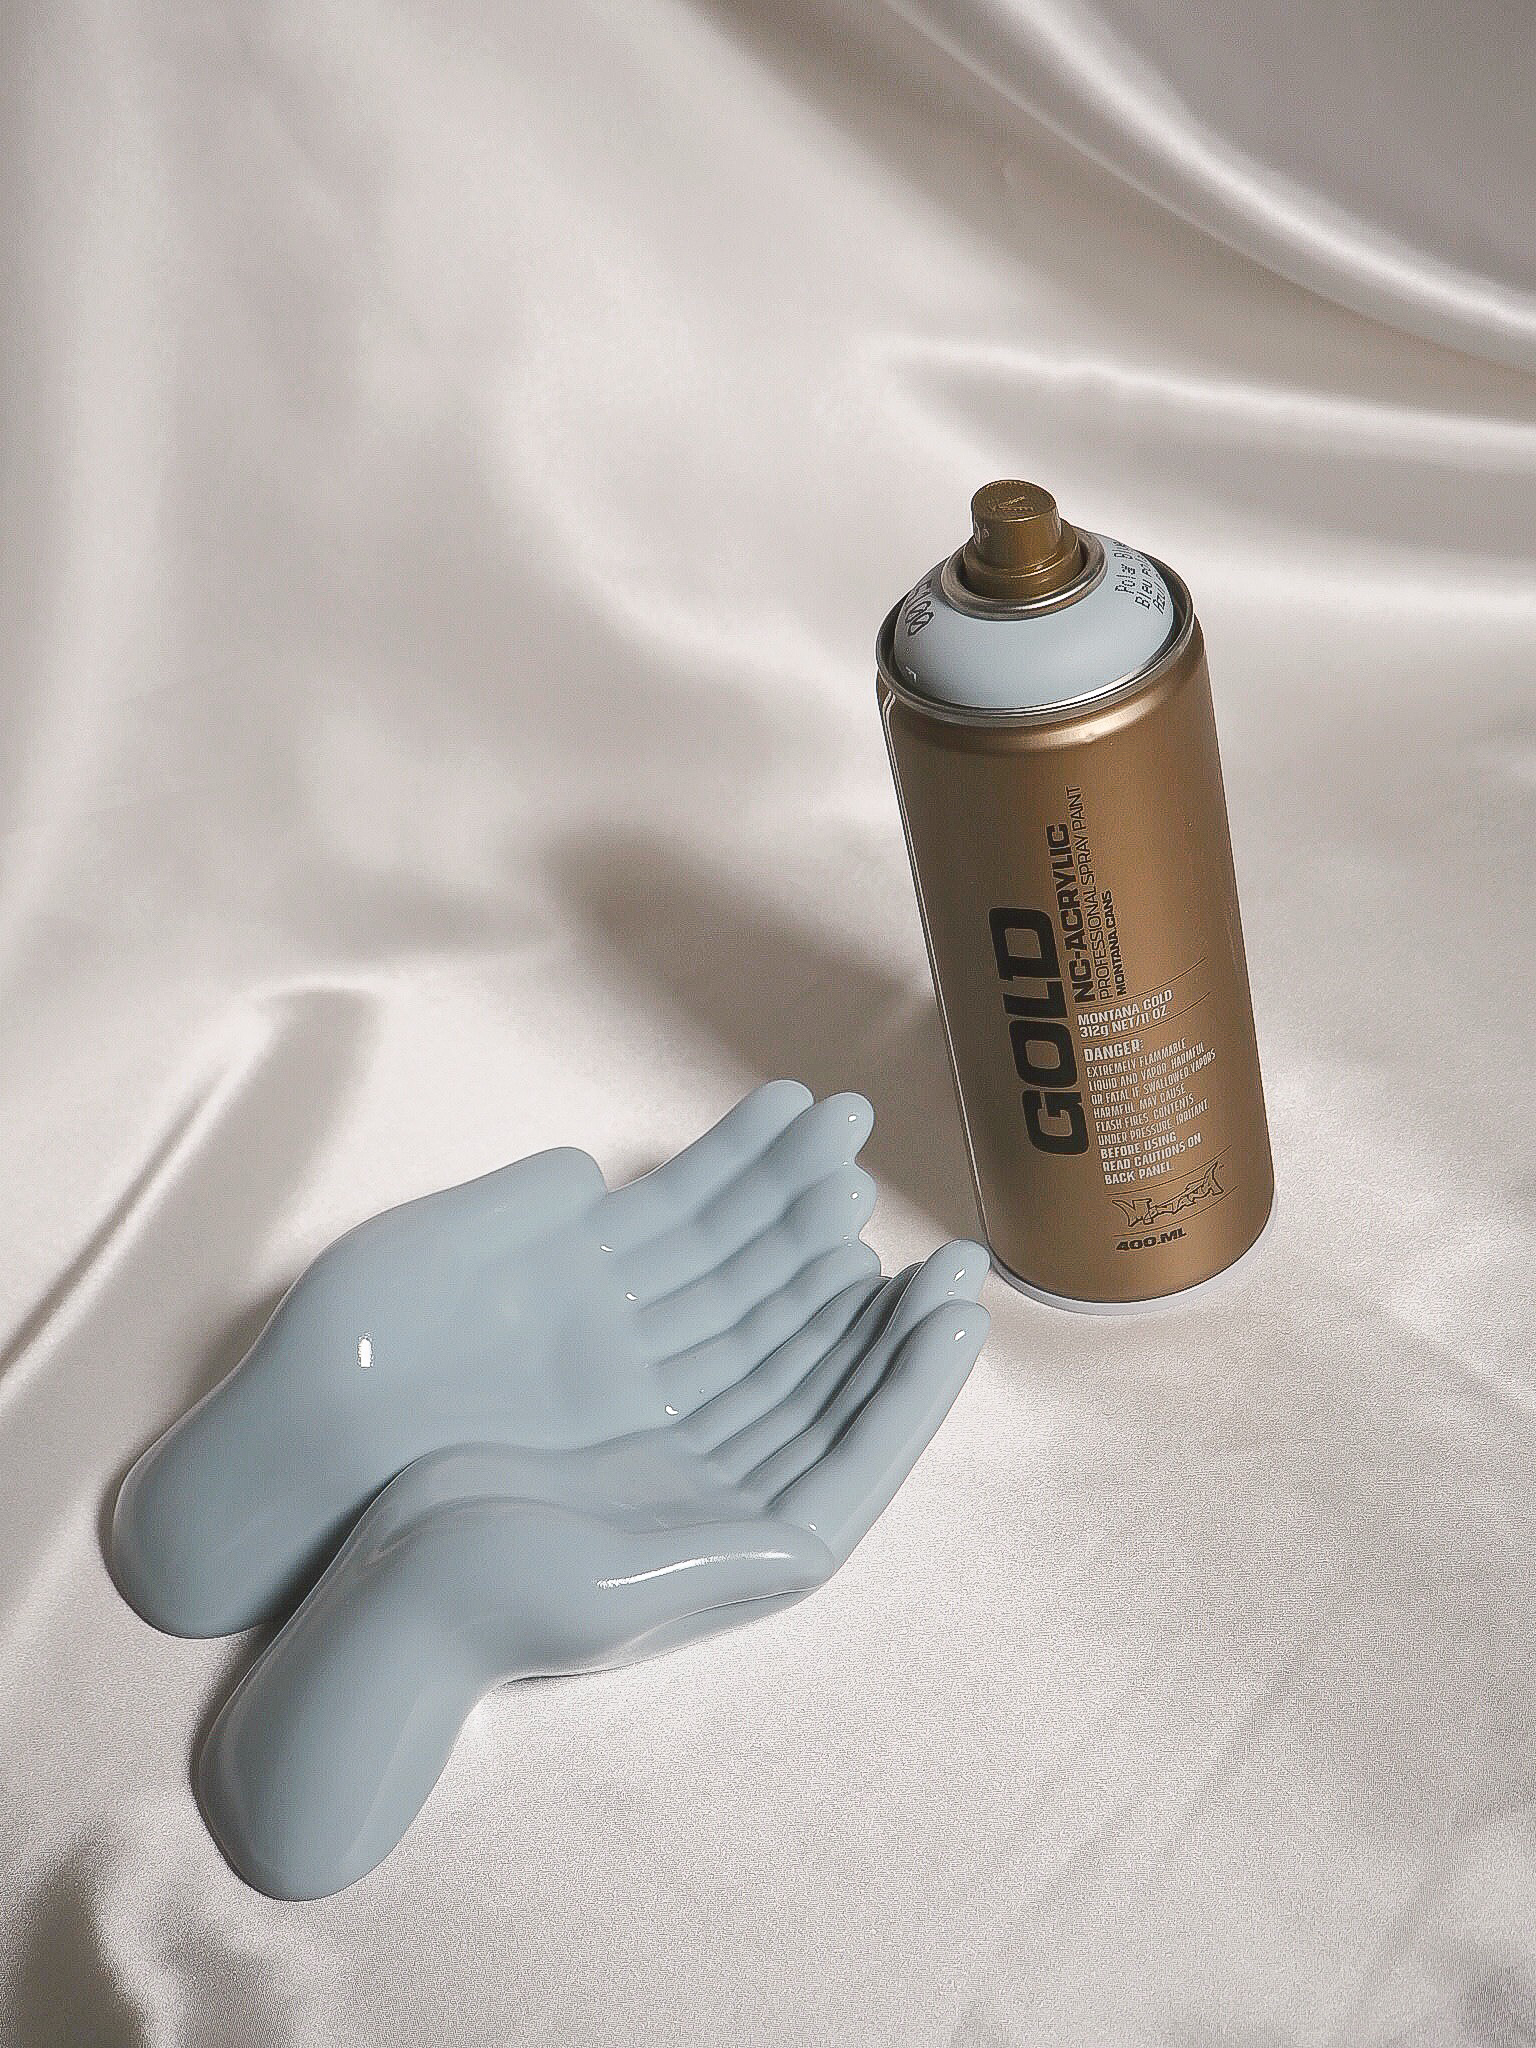
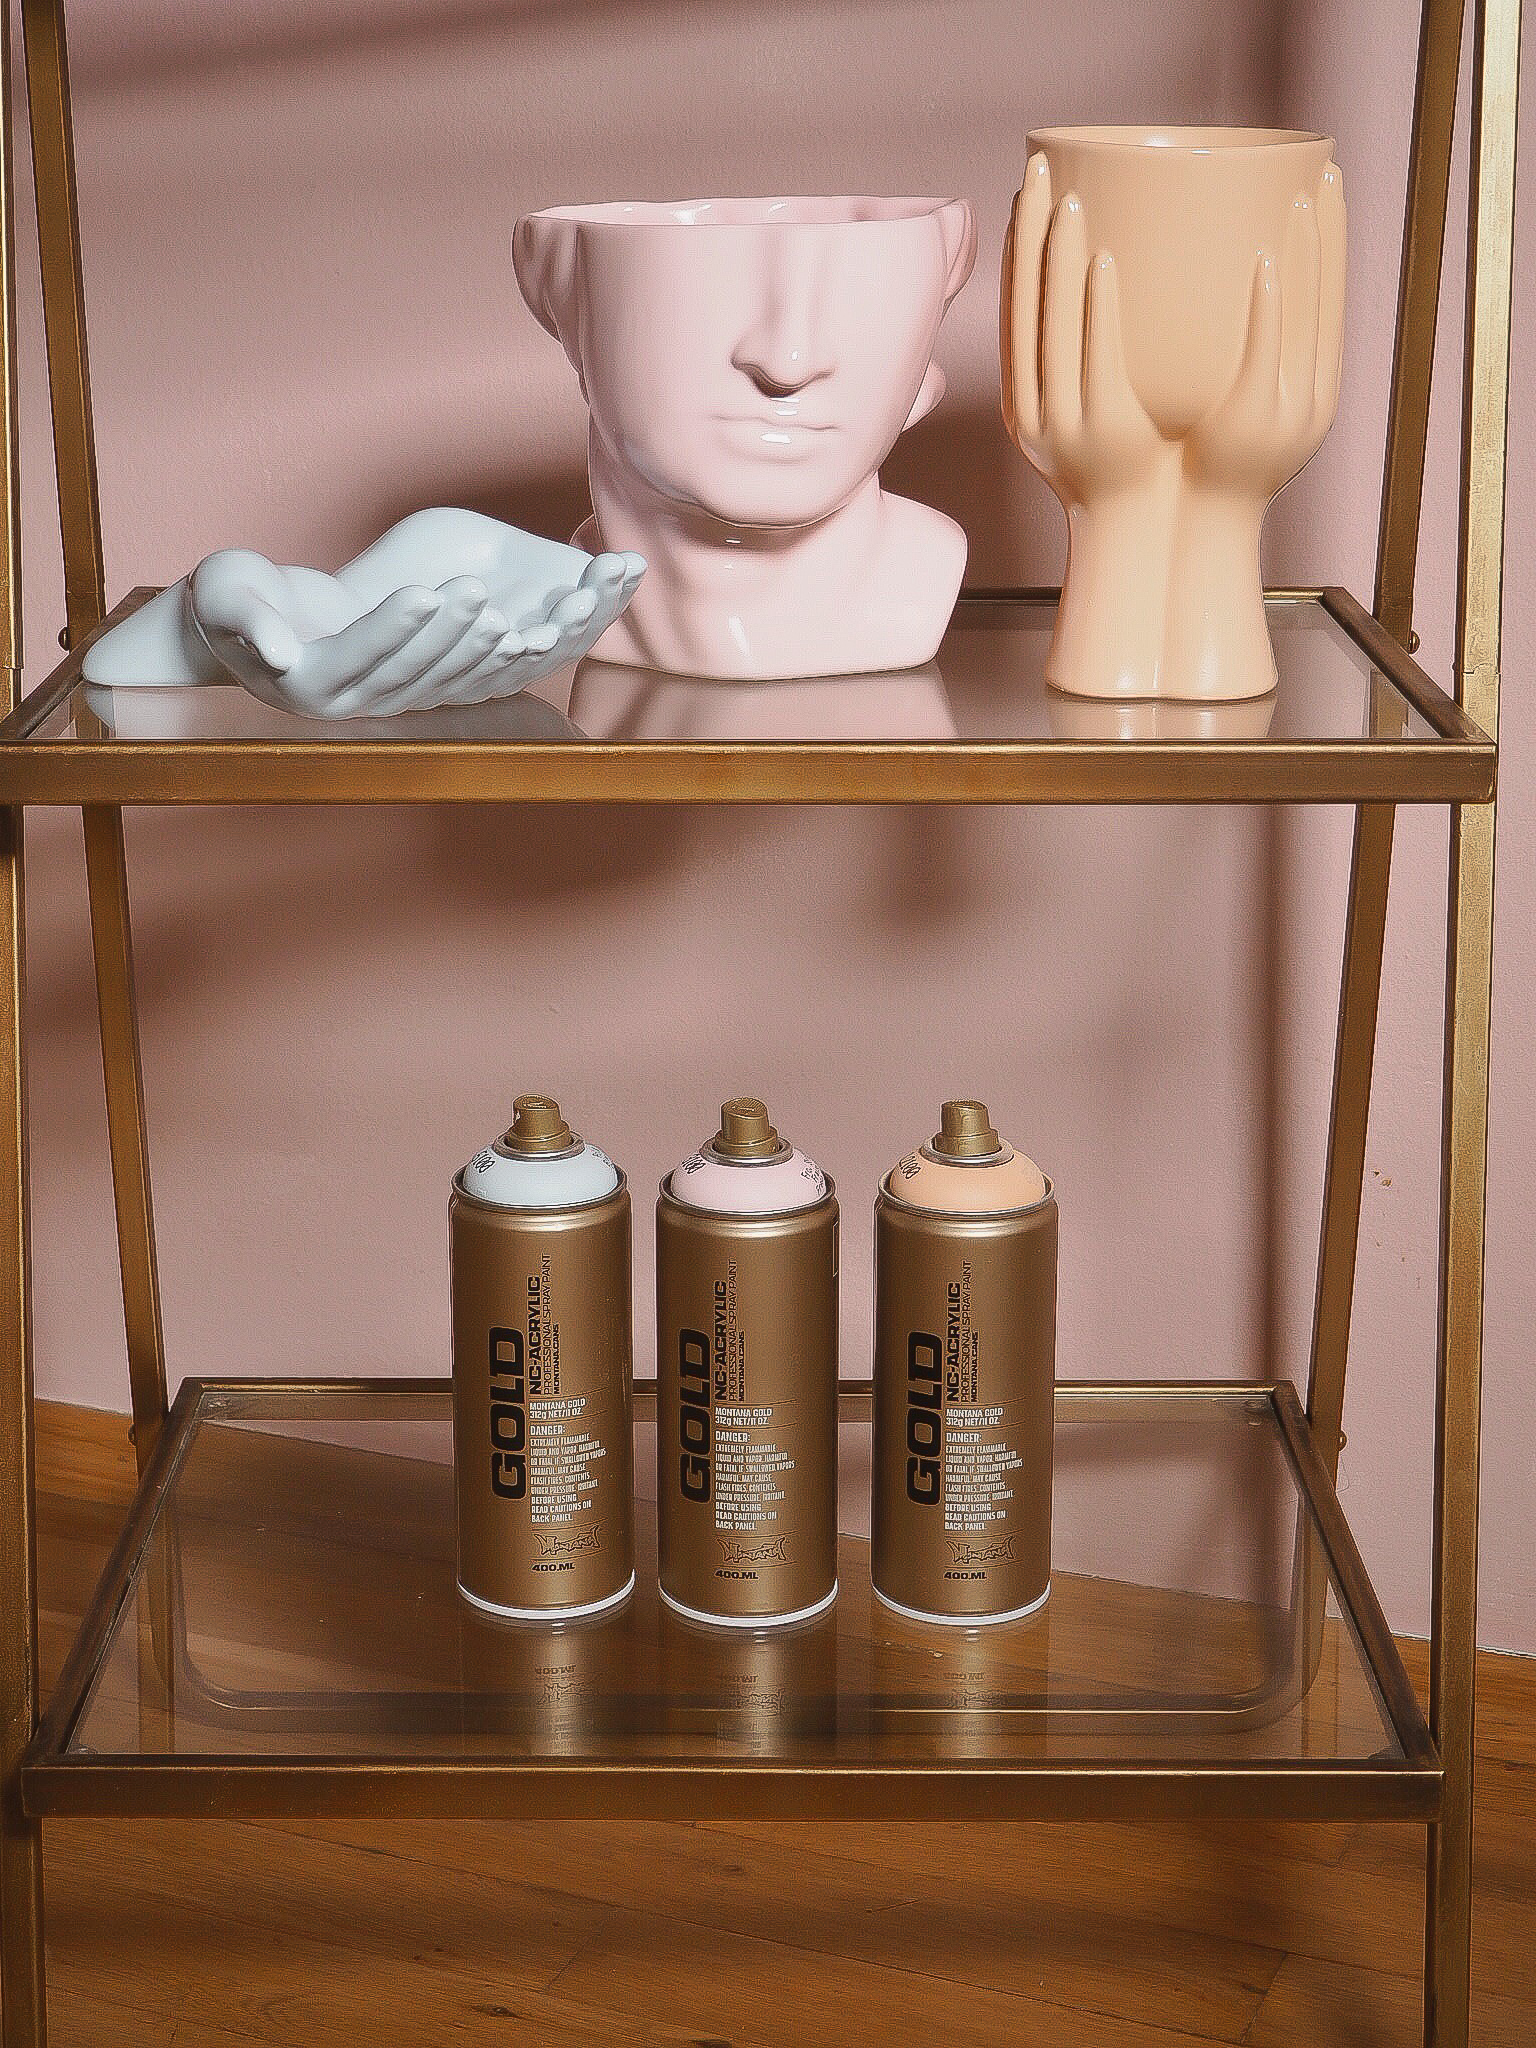
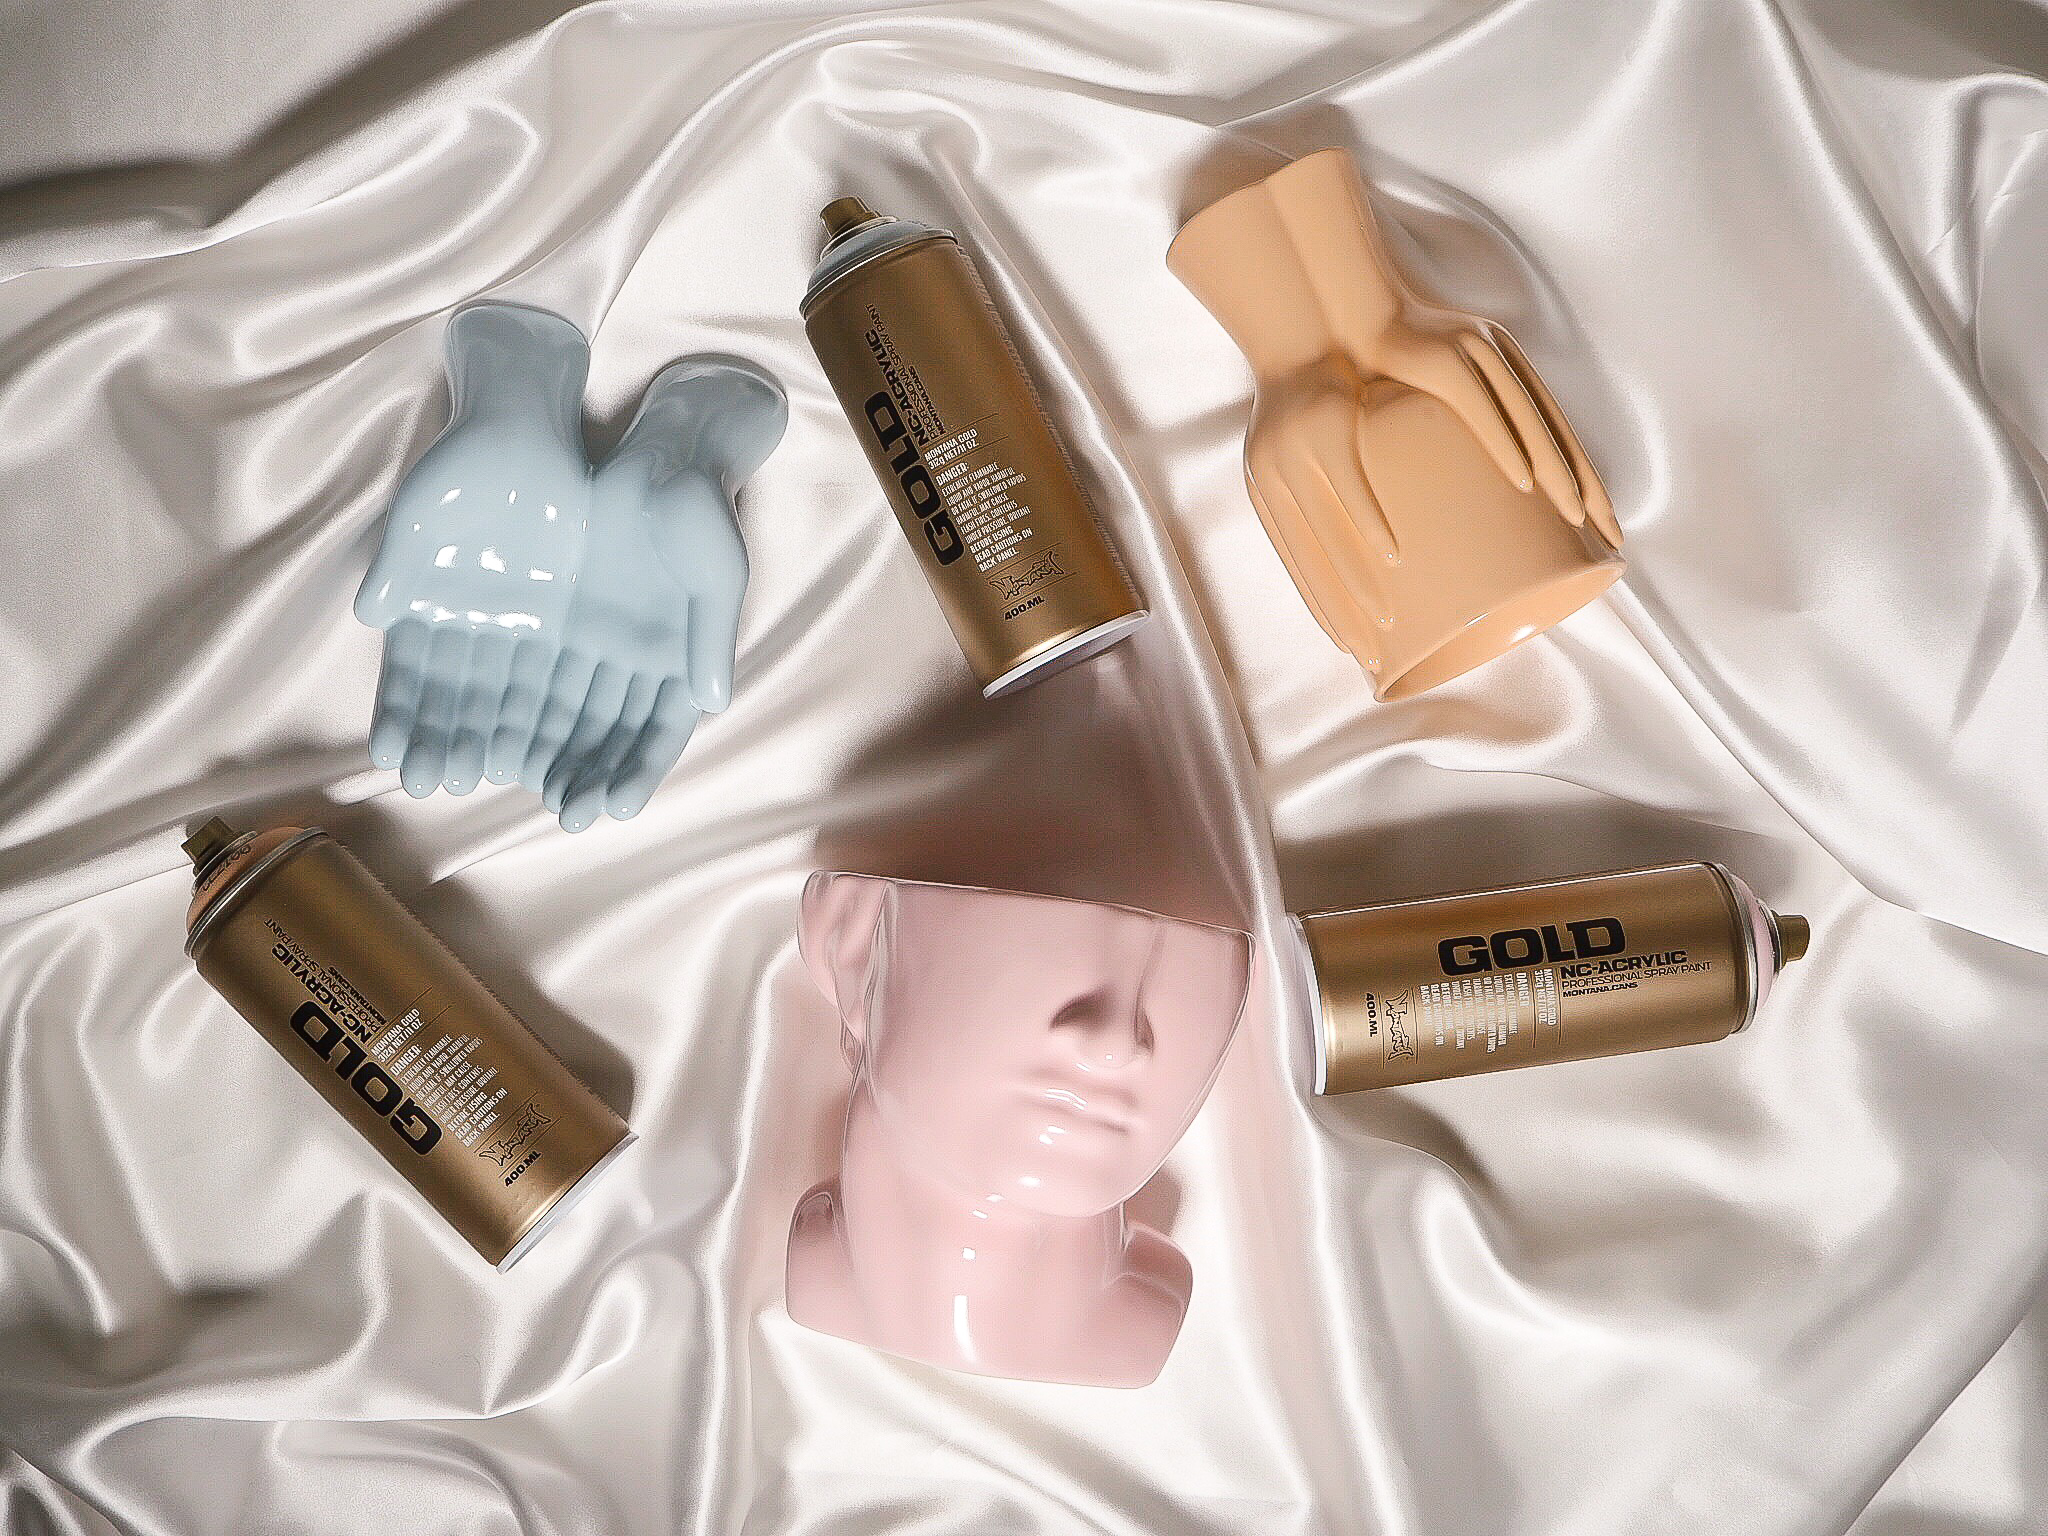
- Montana GOLD colors Polar Blue, Shrimp Pastel and Frozen Strawberry
- Montana VARNISH in Gloss, Semi Gloss or Matte
- Ceramic objects
- Gloves
- Mask
- Drop sheet
How it was done
First you need to source your ceramic objects. If you already have some that desperately need a makeover, then you are ready for the next step. If you don’t, keep your eyes open in homewares stores, Second hand shops/markets or best of all yard sales. Or of course online, but that’s less romantic.

Make sure you clean them free of dust, oils or any other nasties. Let them dry and put them aside on your drop sheet in your painting area. If you are not painting them the same day, maybe cover them with a towel to prevent dust settling on them again.
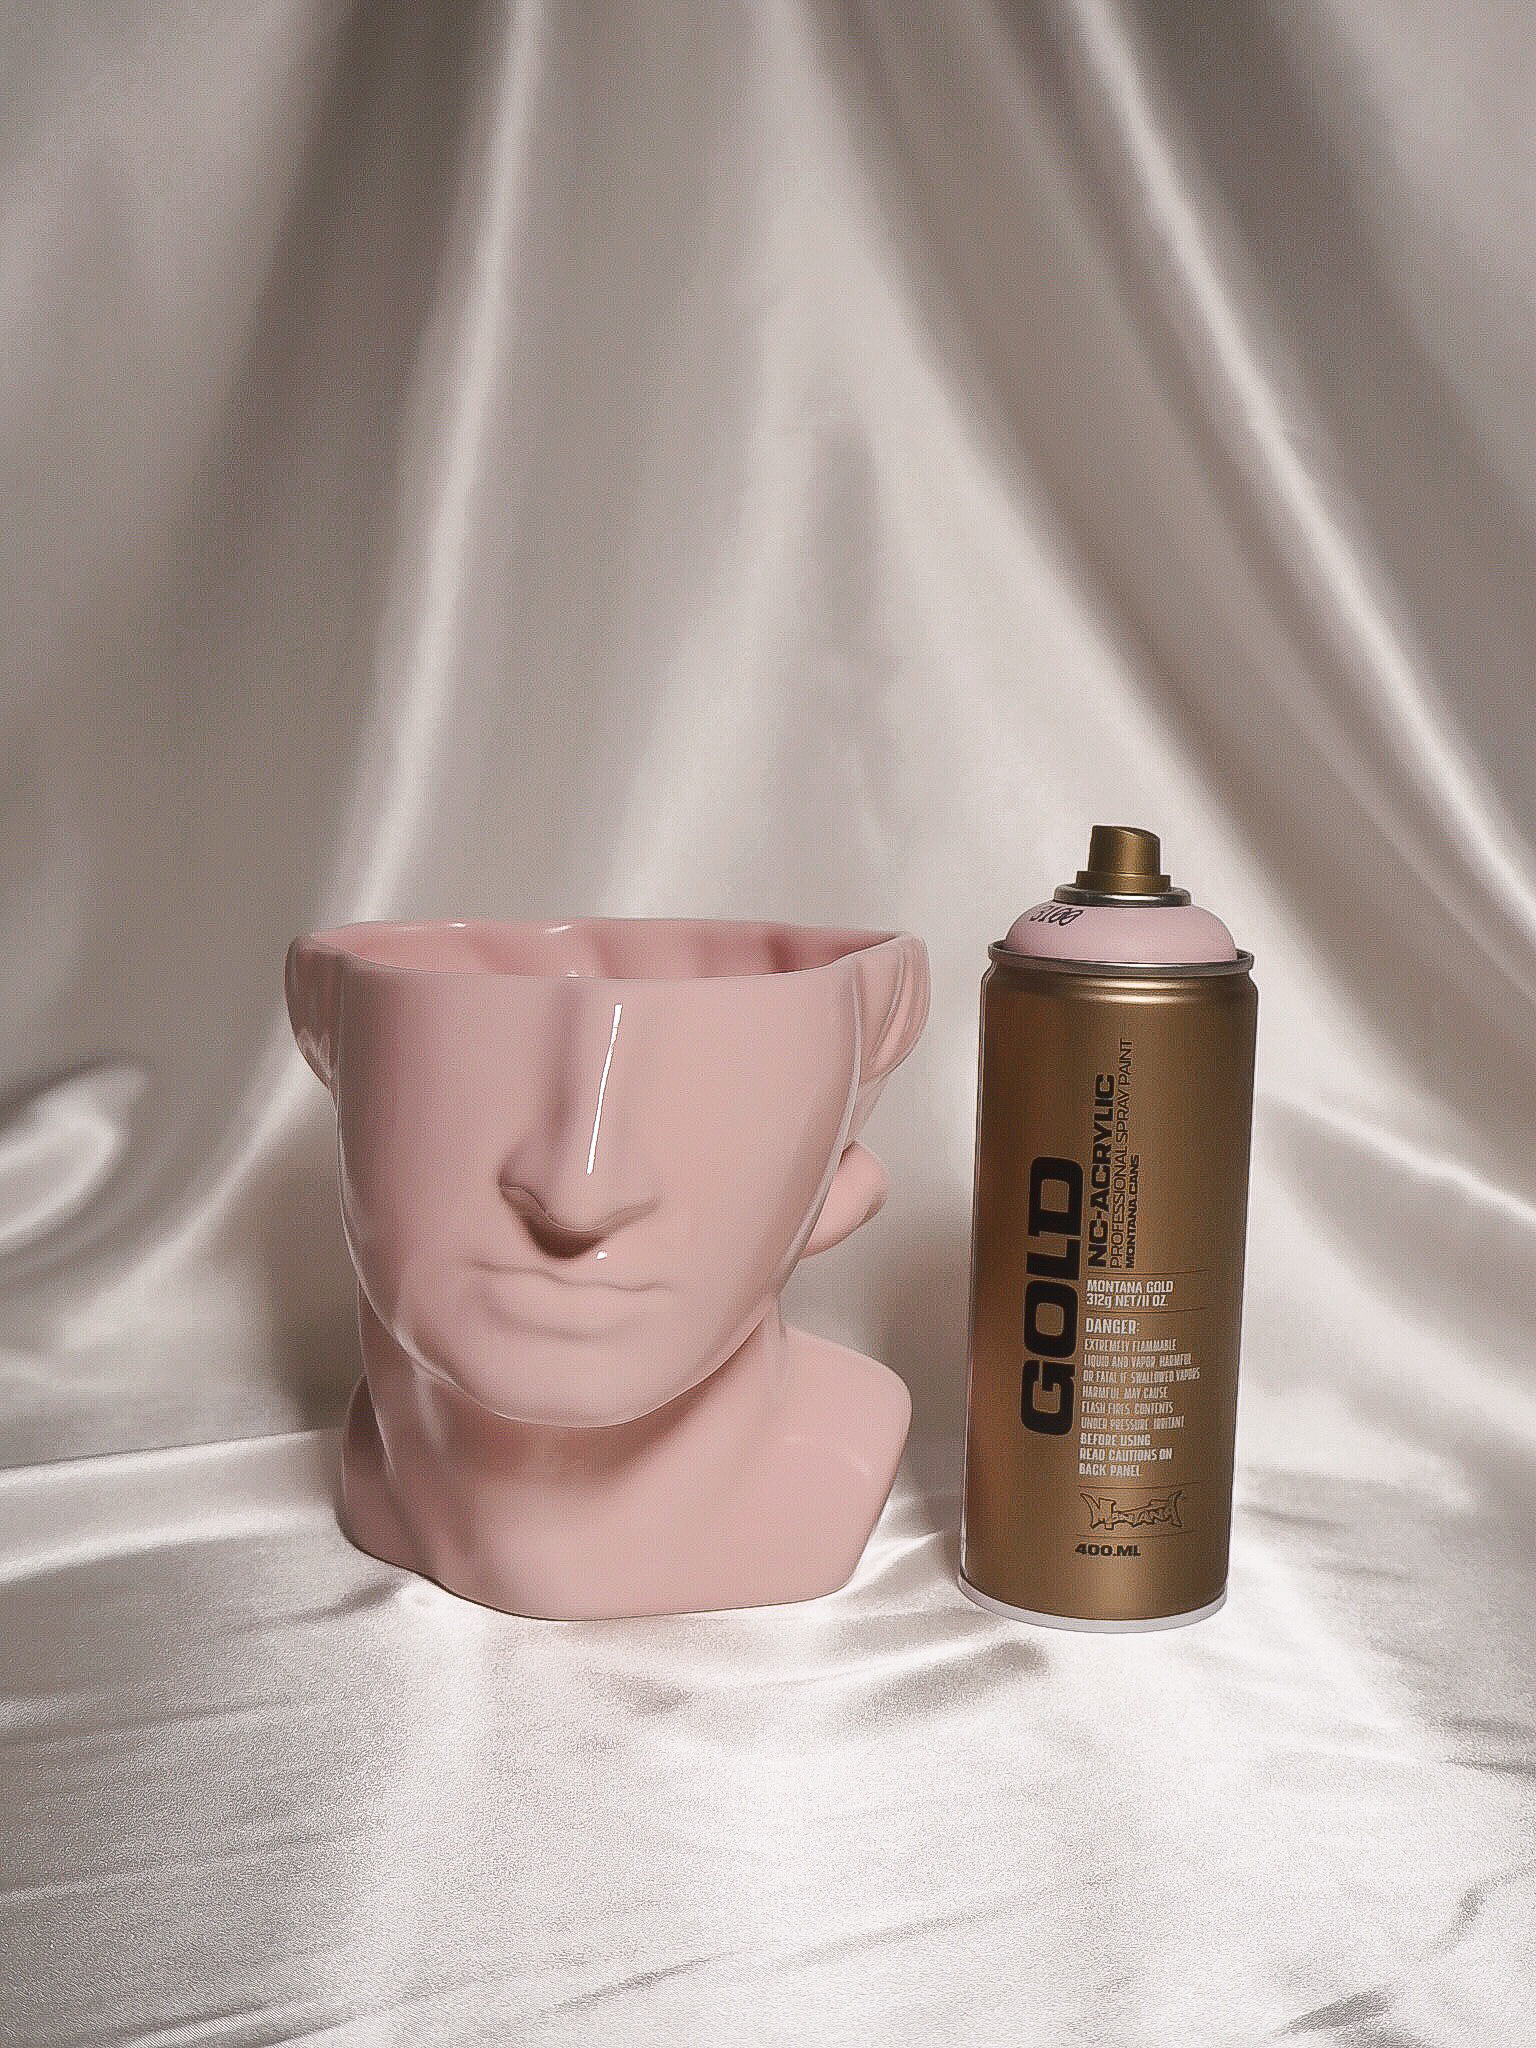
Now the ridiculously hard part, making your mind up on which colors to use. We chose Montana GOLD Polar Blue, Shrimp Pastel and Frozen Strawberry. No particular reason except they are beautiful colors. Shake the cans for 2-3 minutes. Turn them upside down and remove the nozzles. Let the little black safety ring underneath them fall out. Re-applied the nozzles and give them a teanie weanie squirt test spray, away from any surfaces. Or even better do this outside.

On your drop sheet place your first ceramic object and spray in light even coats at about 15cm-20cm away. If you are too close you may get drips. If you want, repeat this process for a second coat. Either wait for it to dry and then grab your next object, or if you have enough space on your drop sheet place the next object down and paint with your new color.
Make sure you are far enough away from your first one so it doesn’t get over spray on it. If you want to add a varnish coat to seal your objects, try using one of the Montana VARNISH sprays in the finish in Matte, Semi Gloss or Gloss finish. Just leave the painted objects over night to dry and apply the next day.
This project is super easy. Everyone is a winner. The actual working time is only approximately 5 minutes per object. You just need to let them settle over night if you want to varnish them as well. You can do it. Happy crafting!