Big is sometimes better when it comes to wood
Hold up! Have you seen those beautiful wooden blocks that are now available as home furniture and decor? We have and we couldn’t resist personalising ours just a little. Why a wooden block? Well a list of ideas come to mind for me. Coffee table, bedside table, stand for flowers, floor based book ends or just a touch of nature in an otherwise over plasticised world. Either way if you can get your hands on them, top up your coffee and read on. We’ll tell you how we personalised them.
Materials Used
- Wooden Blocks (purchased, recycled or see a timber yard for other options)
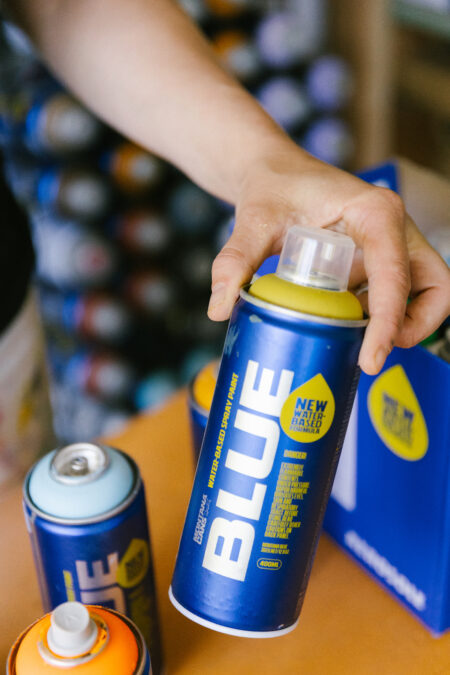
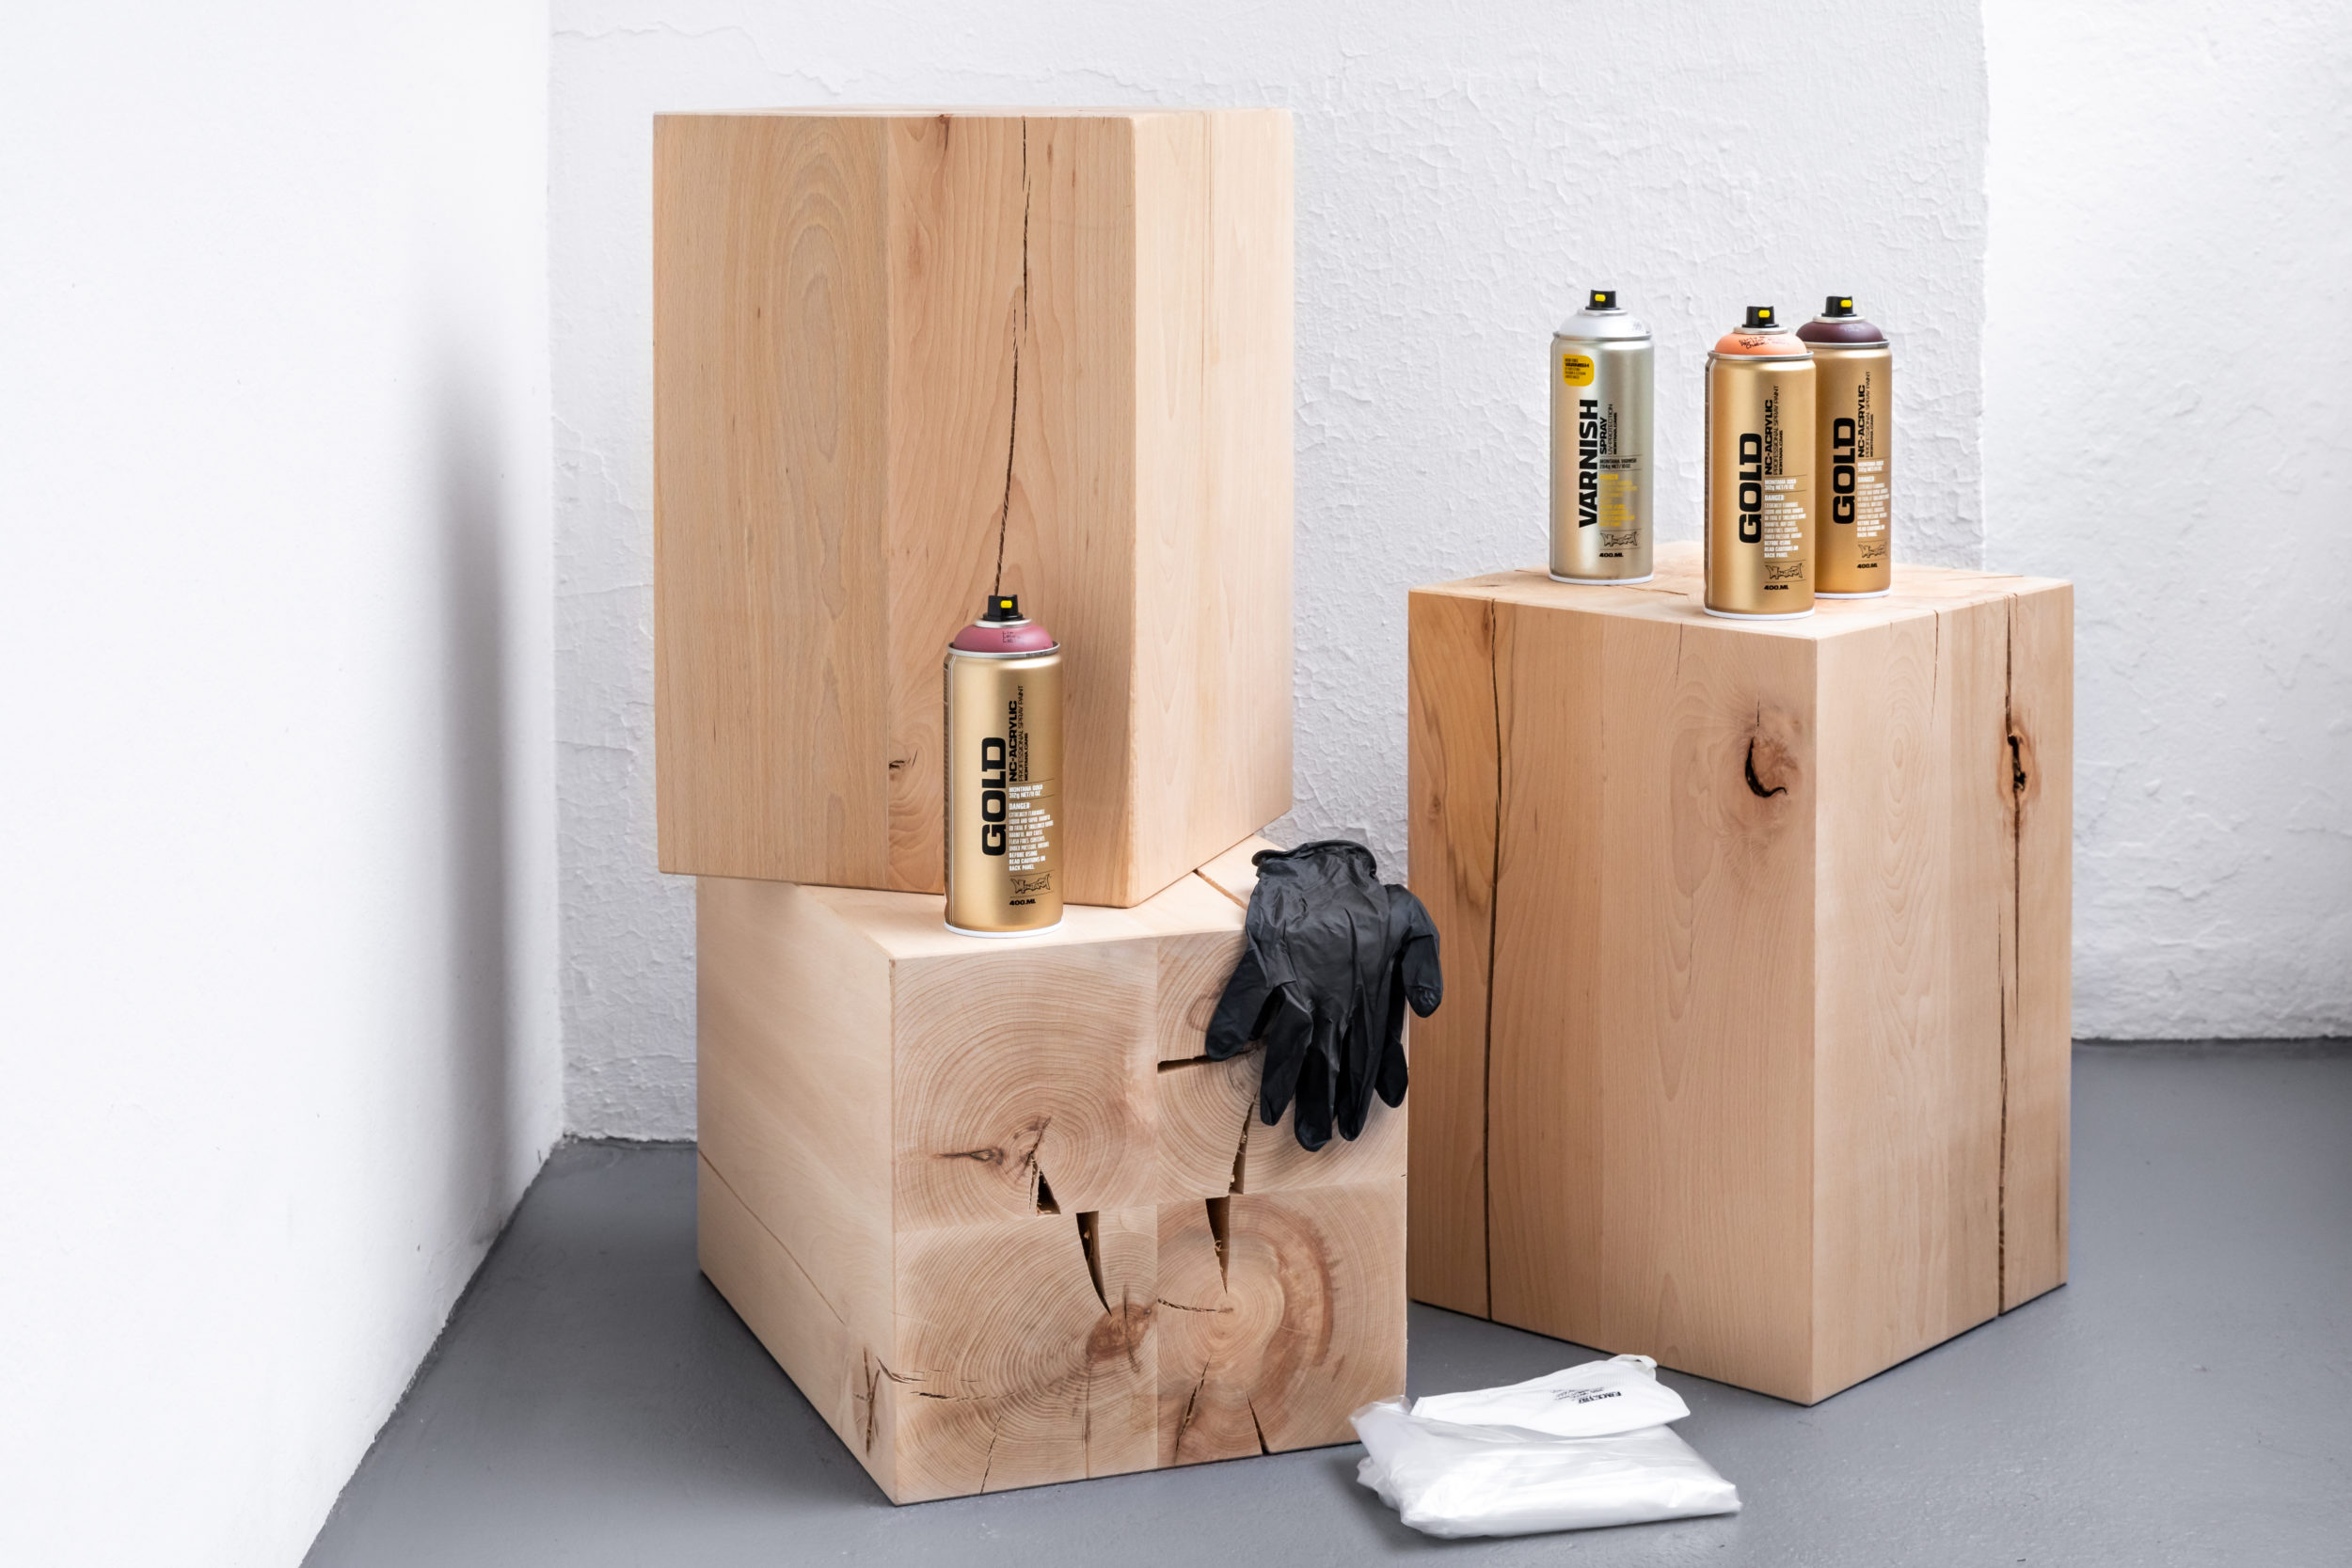
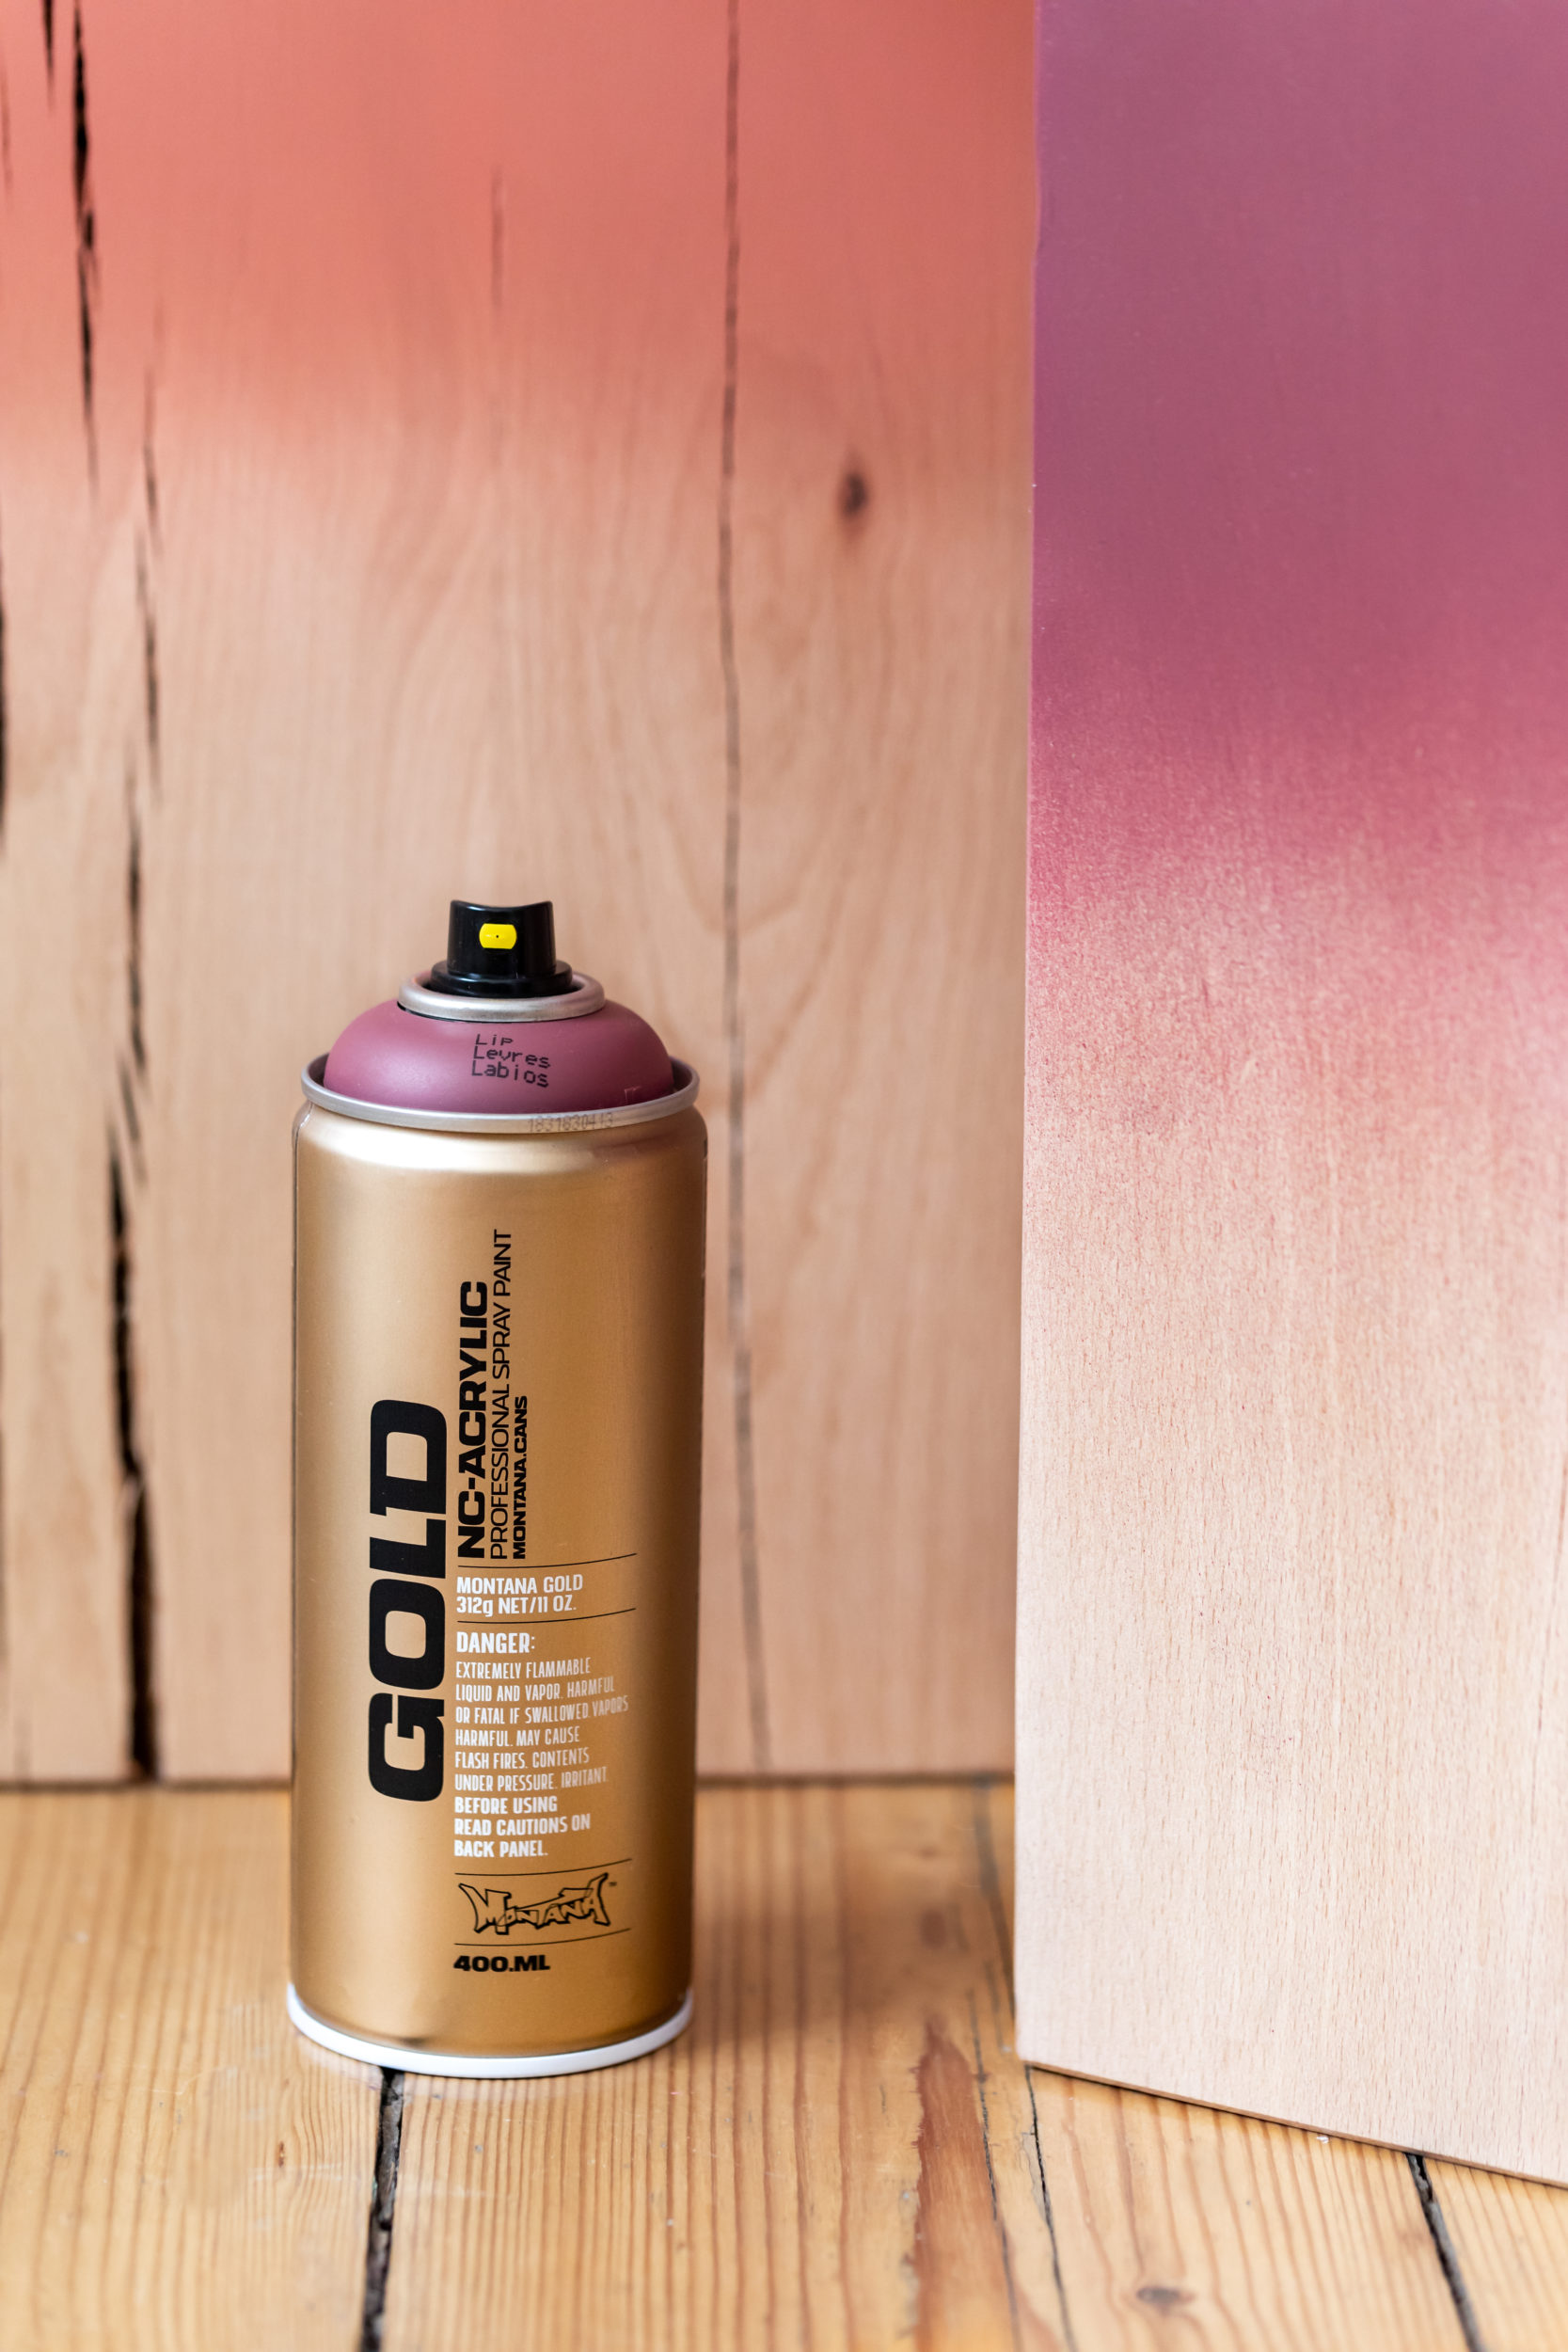
- Montana GOLD colors. We used the colors Salmon, Purple Red and Lip. We had 3 blocks/3 colors.
- Montana VARNISH in Gloss, Semi Gloss or Matte
- Sand paper (if required)
- Gloves
- Mask
- Drop sheet
How it was done
This idea spawned due to seeing these lovely wood blocks at a local home furnishings store. But there are other ways to source them. Online, in a hardware store, recycle some wood or speak to a timber yard. If you know someone who works with wood, maybe they can glue together some bulky off-cuts and cut them into blocks for you?

Once you have your blocks, you need to assess if it is ready to paint or not? Ours were straight off the bat. Clean, dust/oil free and smooth. But if required, take some sand paper and rub your blocks down. Start with rough sand paper, working your way down to fine sand paper. This will eliminate any scratches and leave you a nice smooth finish.


Then the part we are all familiar with by now. Prepare a painting space with the drop sheet, put on our gloves. Shake the Montana GOLD cans vigorously for 2-3 minutes. Take off the nozzles and turn them upside down, allowing the little black safety ring to fall out. Nozzle back on, a short test spray away from any surfaces to see if we are ready to go and mask on. However this time we chose to use a different nozzle on the can.
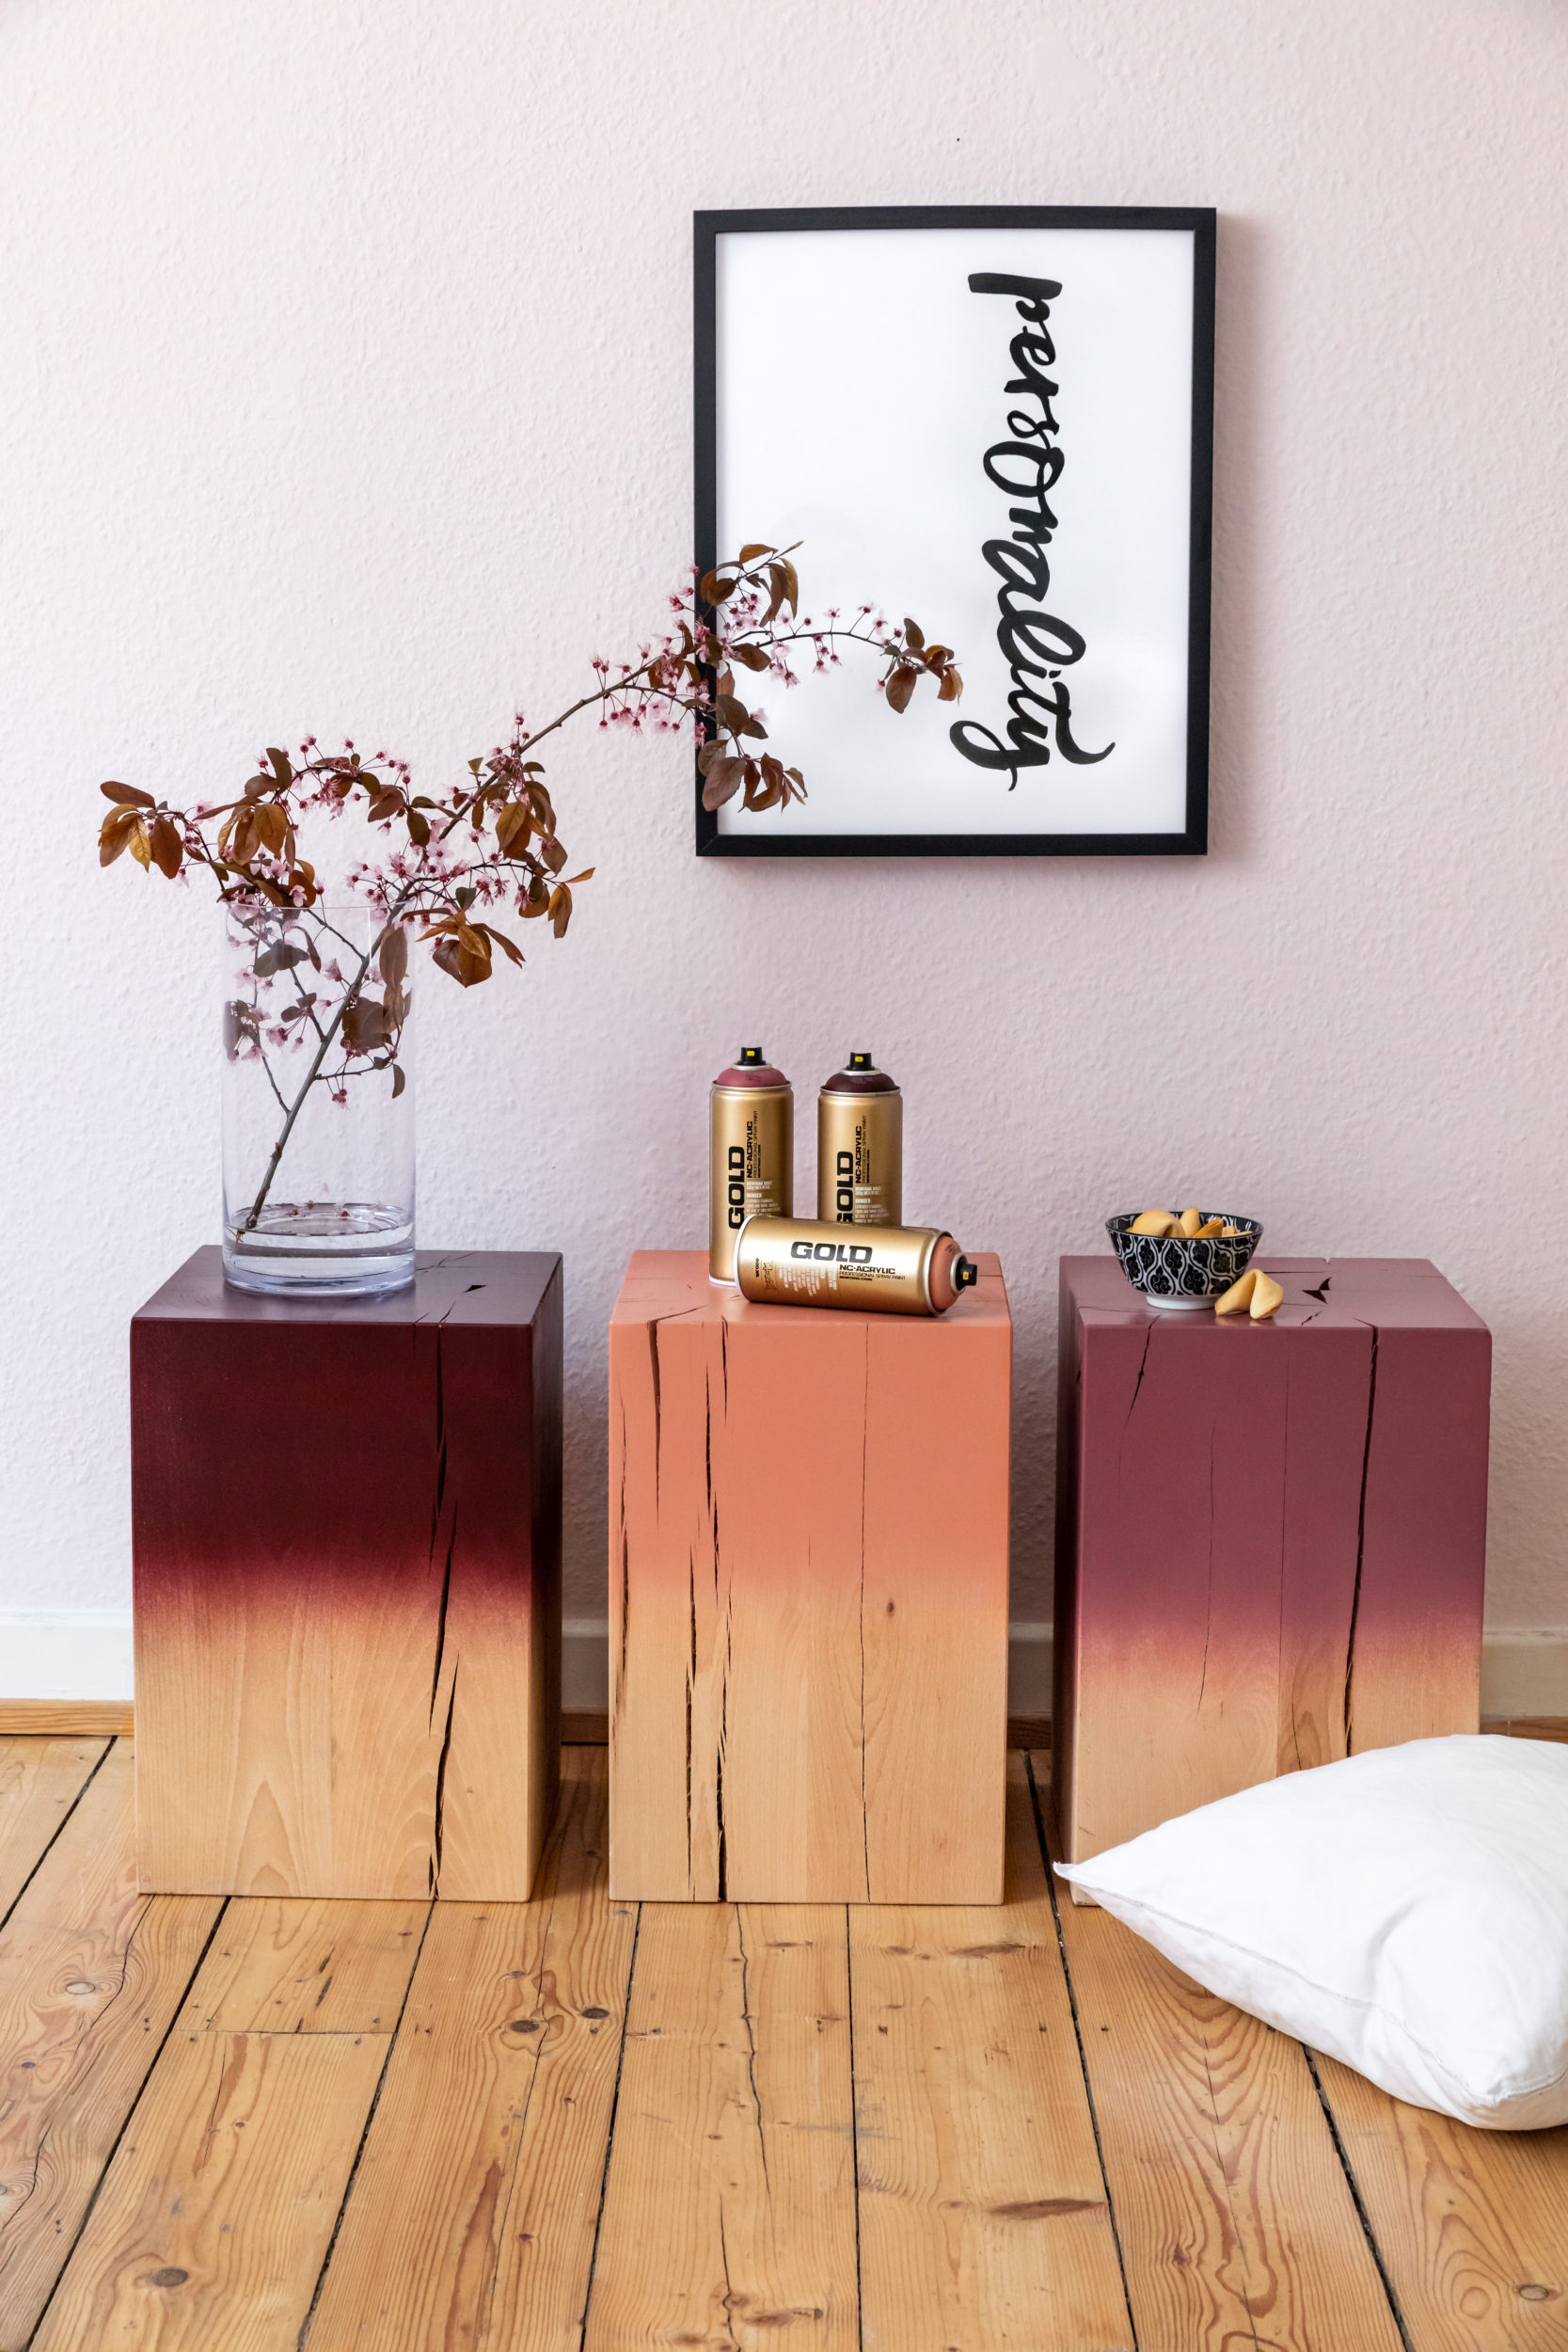
Instead of the standard skinny beige dot nozzle that the can comes with, we chose a Flat Jet Cap Medium from our Montana DIY Capset. A must have for any DIY’er. This cap delivers paint evenly in vertical or horizontal output depending on how you turn the plastic insert. Which makes fading gradients easier as long as your spray stroke is in the direction you turned the insert. We had ours set to spray horizontally and thats what we did.
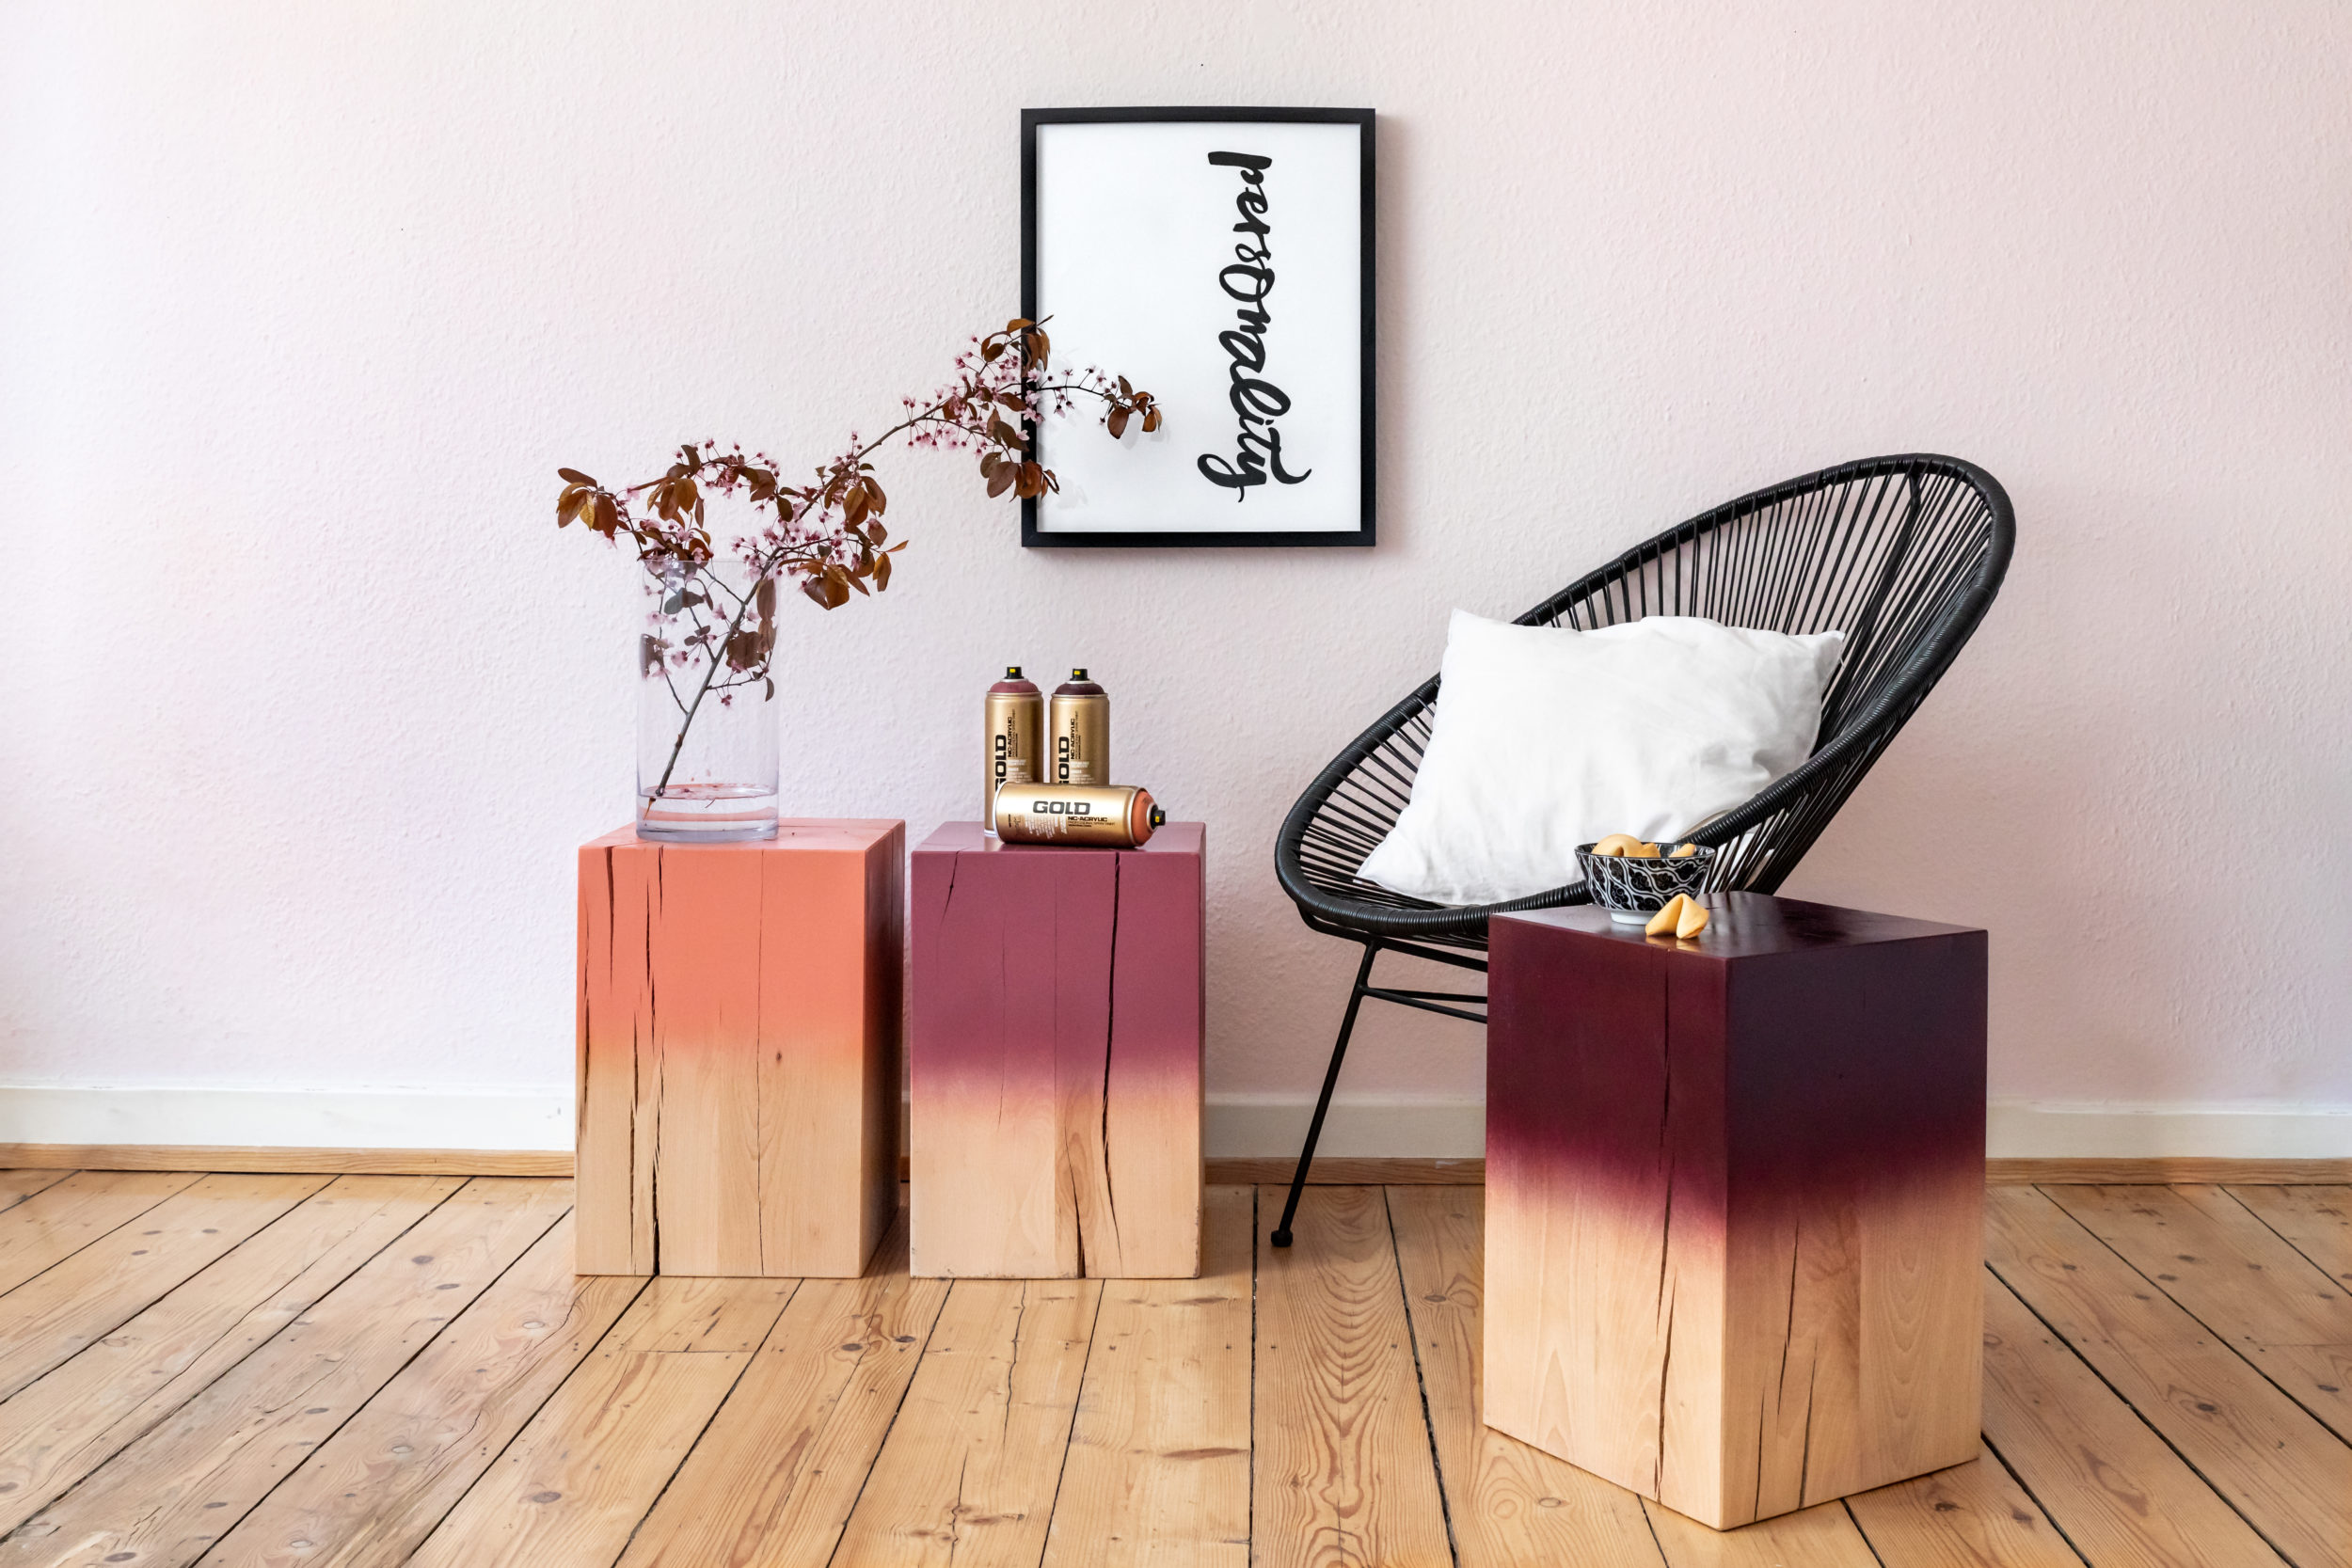
Now you don’t need a degree to figure out fading. You just need to make your spray strokes get further and further away from the surface your painting as you spray (in this case on our wooden blocks). If you do this, you will notice at each pass, the paint applies a little thinner and the color appears to become less opaque. When you have done majority of your fade, you can also spray from a little higher up the block so the spray mist falls thinner on the part you are fading. This may make the fade look smoother. If it looked fine as it was, you and leave it at that. If you are not feeling confident, don’t worry!

Grab an old piece of cardboard and practice on it as much as you need to until your happy. Think about where you want the fade to stop also. Remember if you want the look of natural wood to stay on the lower parts, you need to consider that when your spraying. If you can polish your nails then this will be a breeze. Repeat these steps for as many blocks as you have.
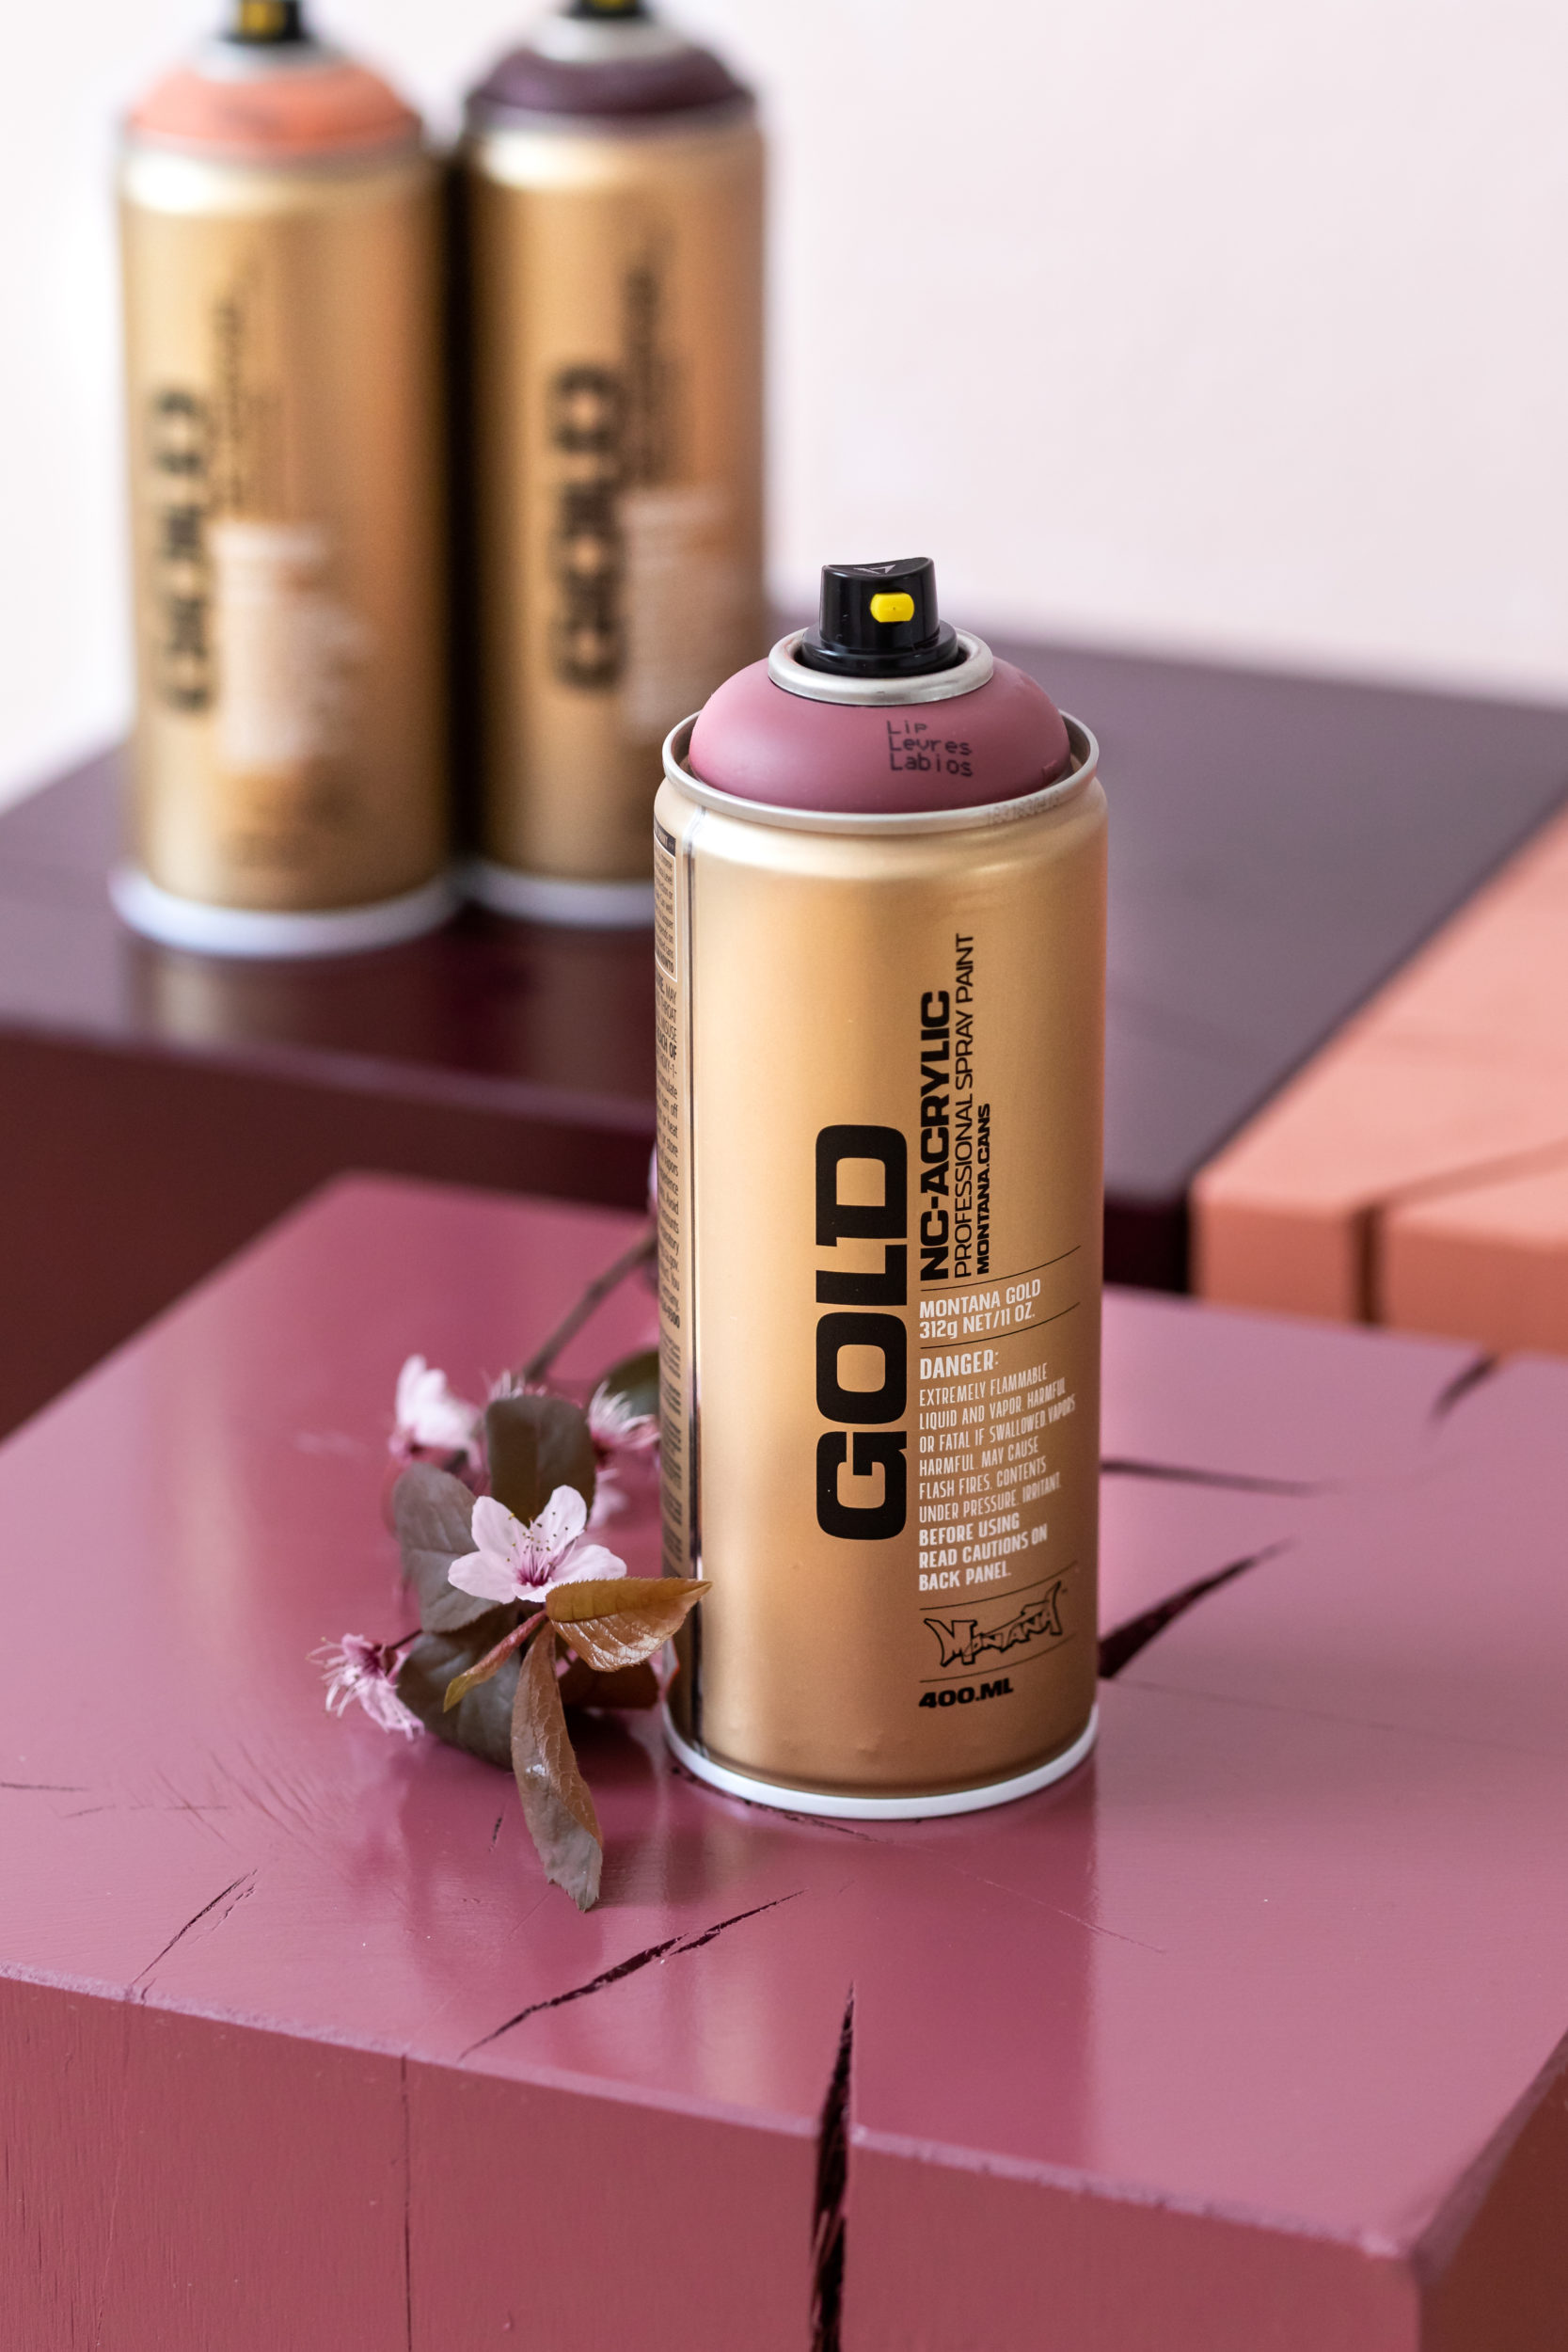
We left our blocks to dry over night. This let the paint harden and then we could do our final touch, the VARNISH. If you liked the look as it is, you may decide to leave it. But wanted that extra little bit of protection to seal the wood to ensure we could clean the blocks, they wouldn’t absorb and liquids (coffee cup, wine or plant base stains) and so the color was protected. Montana has VARNISH in Gloss, Semi Gloss and Matte, so if you want to do this step choose the finish you like. It’s transparent but works just like the Montana GOLD colors. Ensure your varnish is on the whole block so you get one even finish.
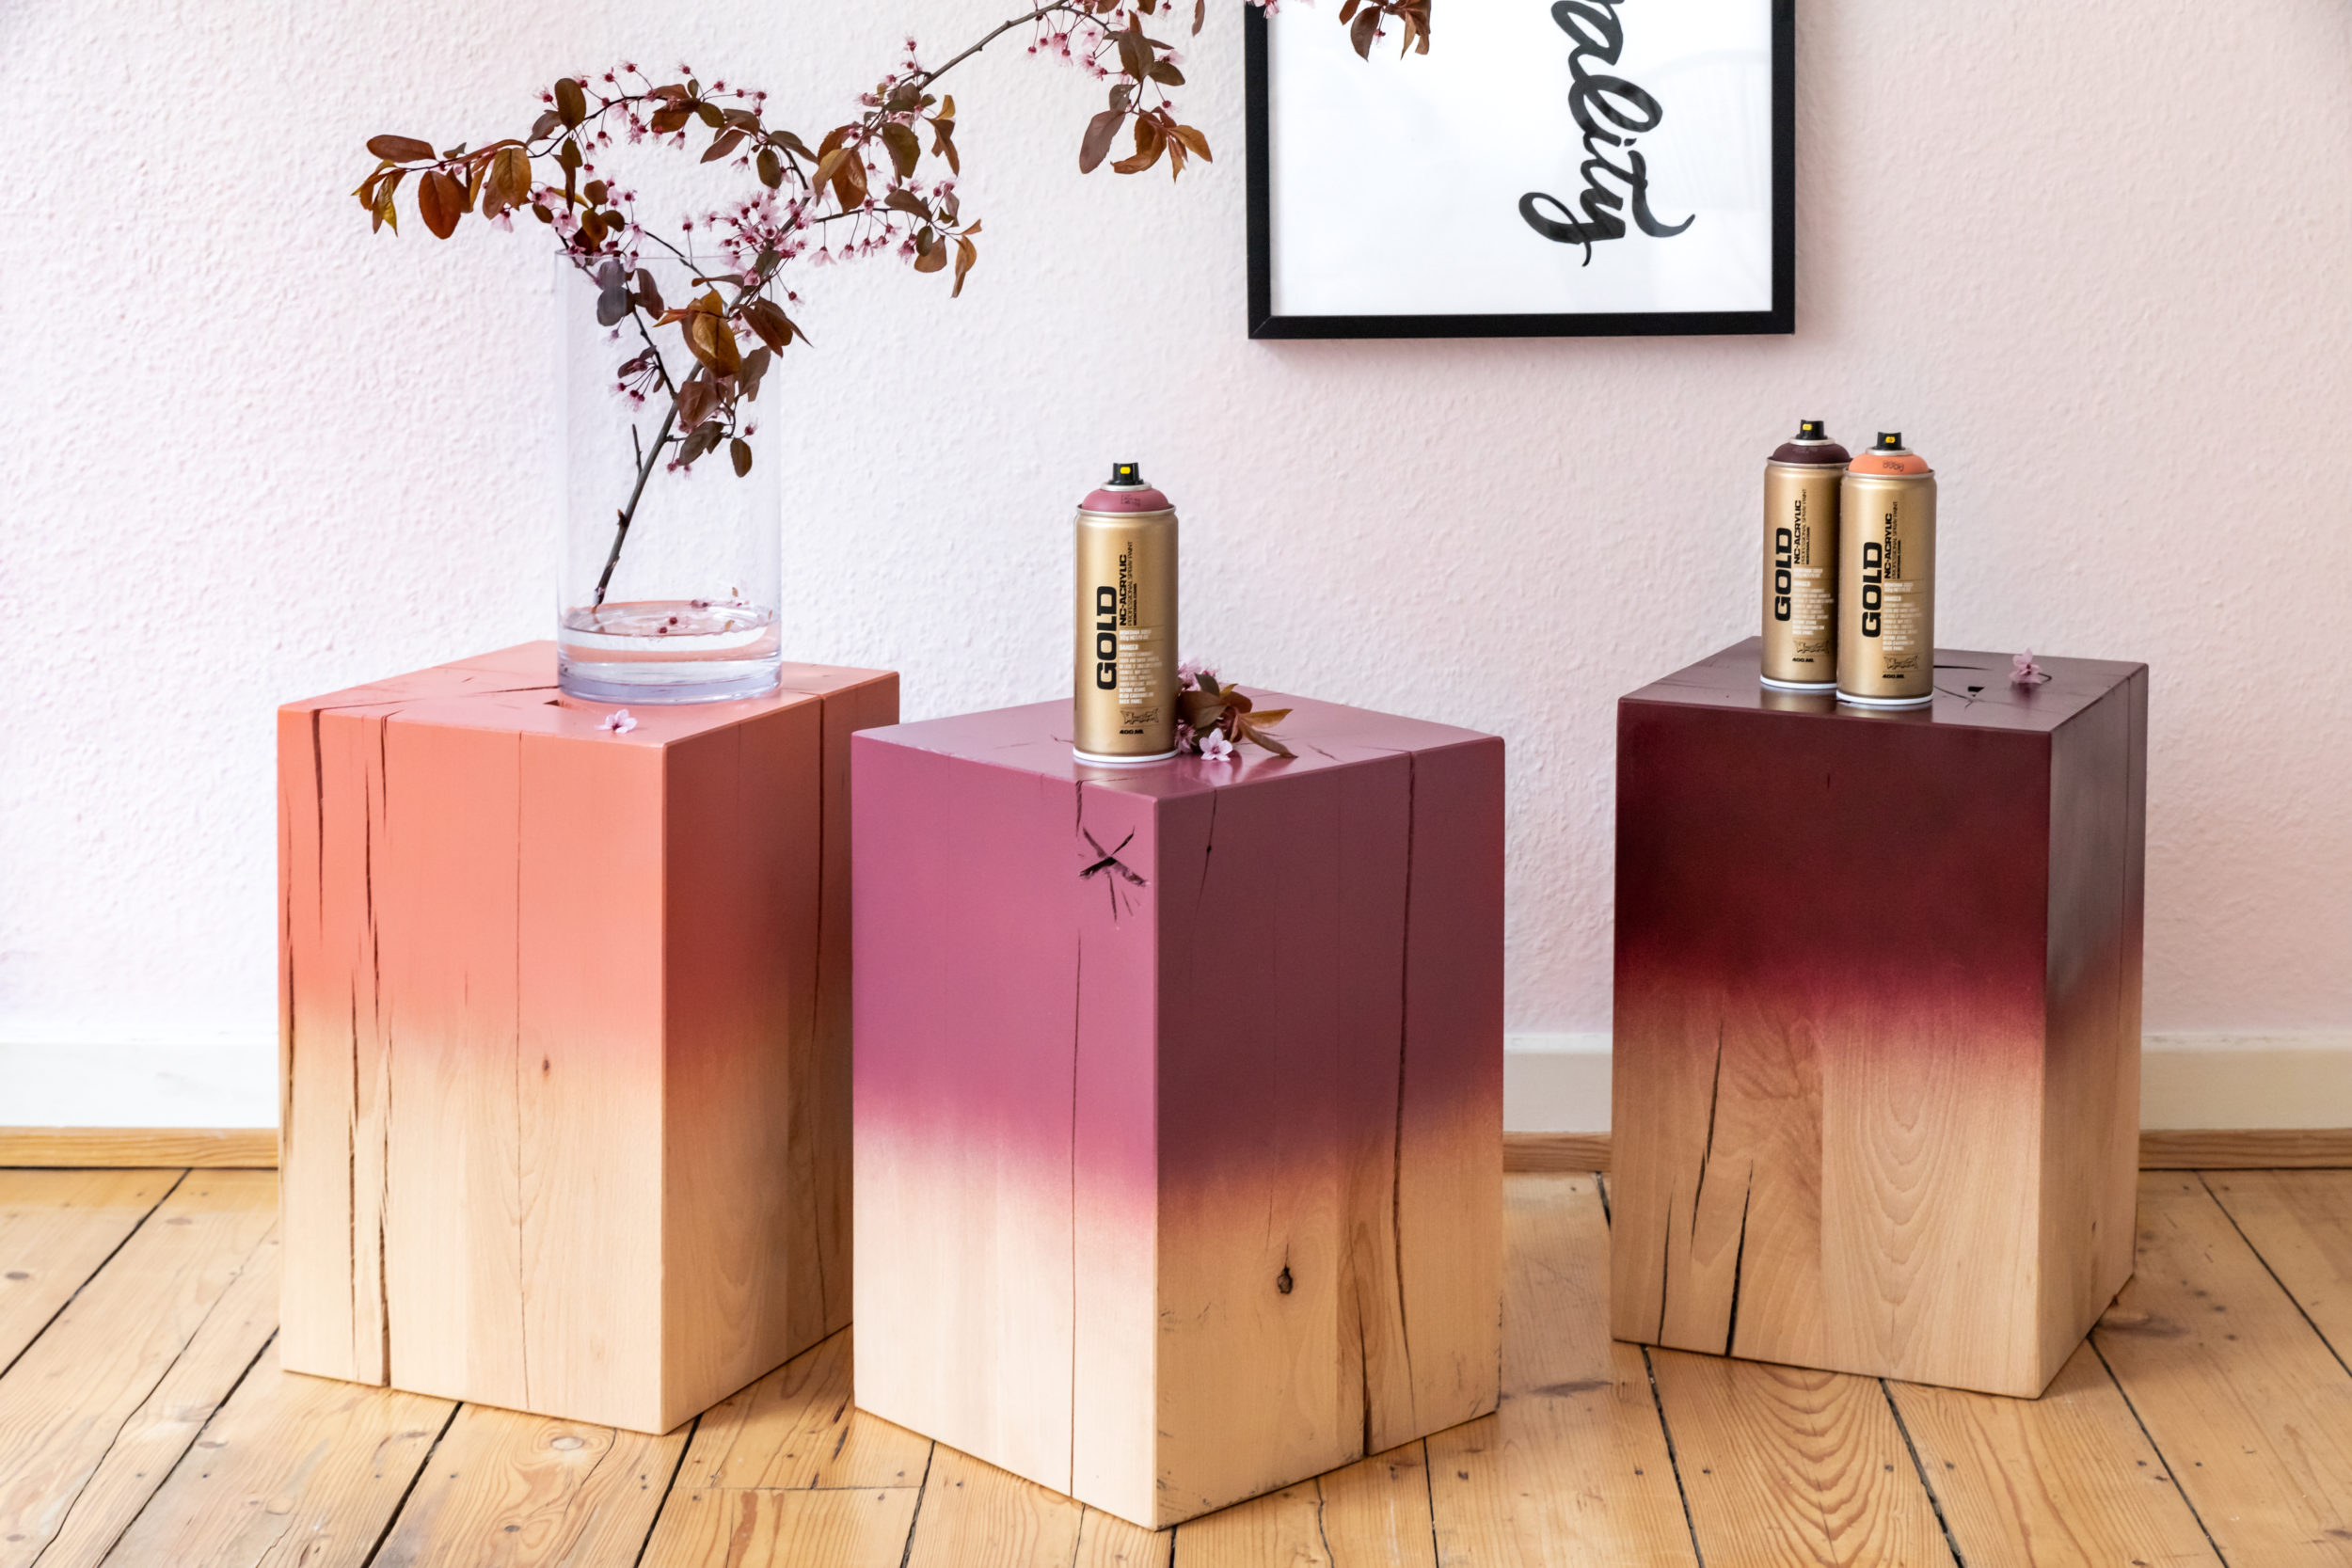
And now you are done! EASY and impressive. Find a good home for them somewhere at home and enjoy their natural charm. This project is able to be done by anyone. The only consideration is your fading. Practice as much as you need to if you need to and you can’t get it wrong.
Good Luck and Happy Crafting!