Cool Minimalist Wall Decor
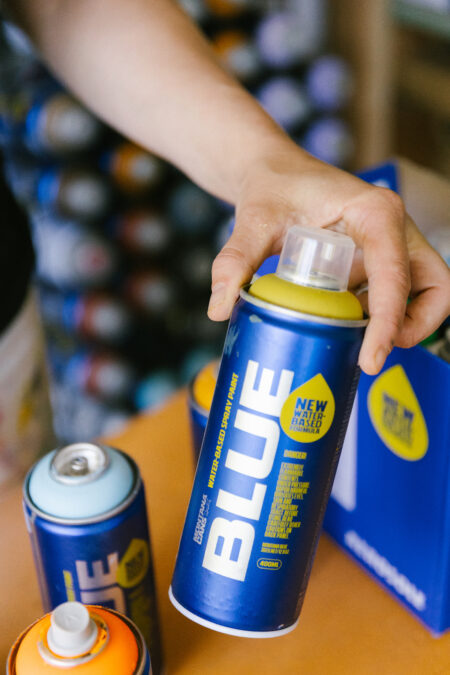
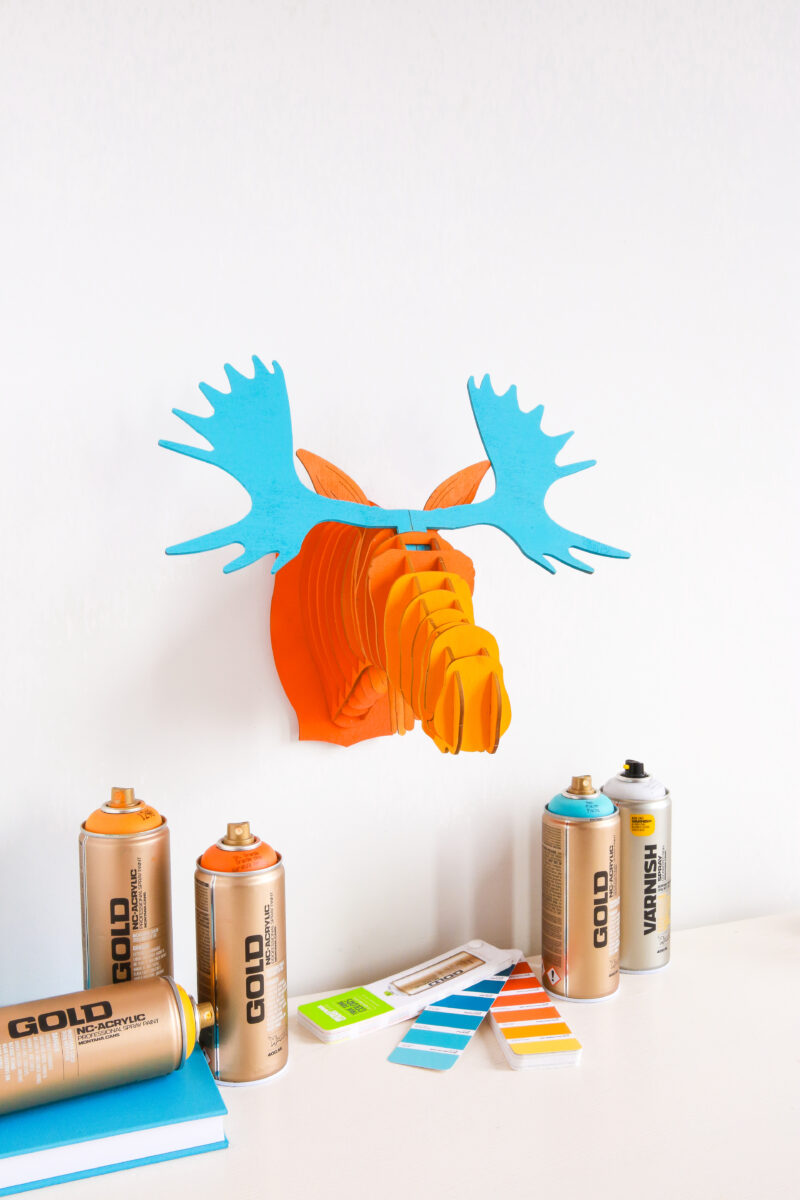
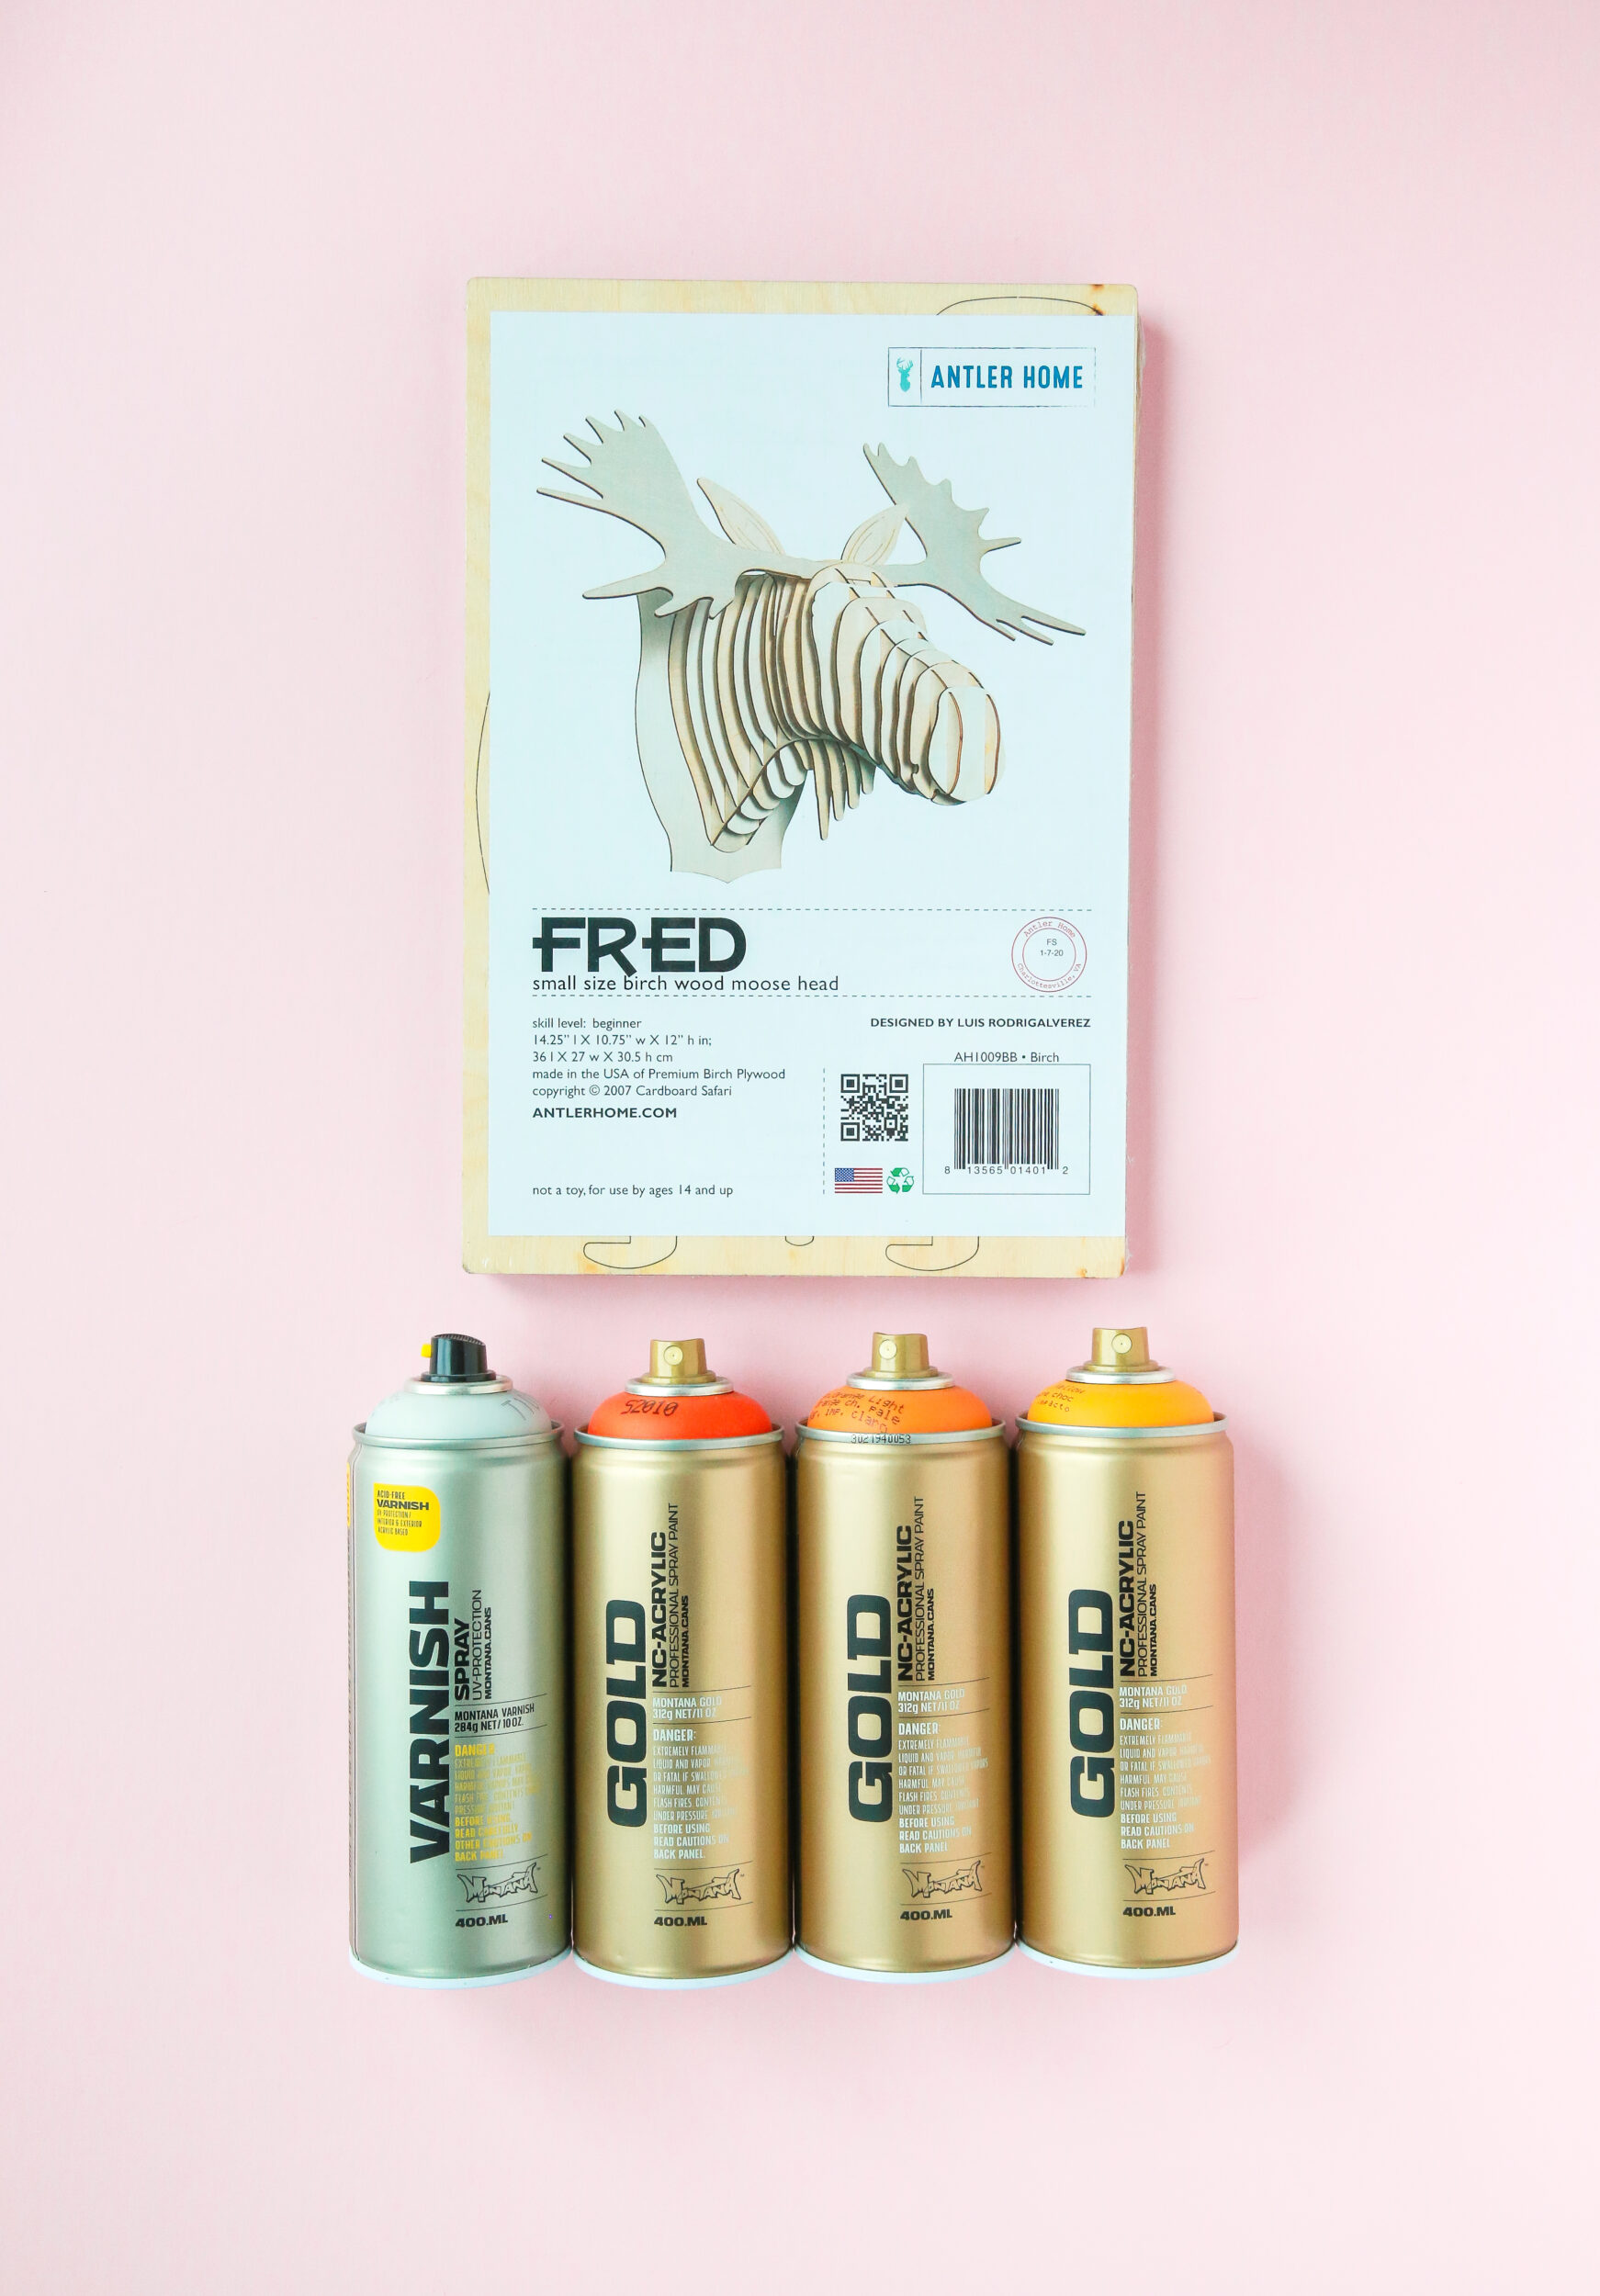
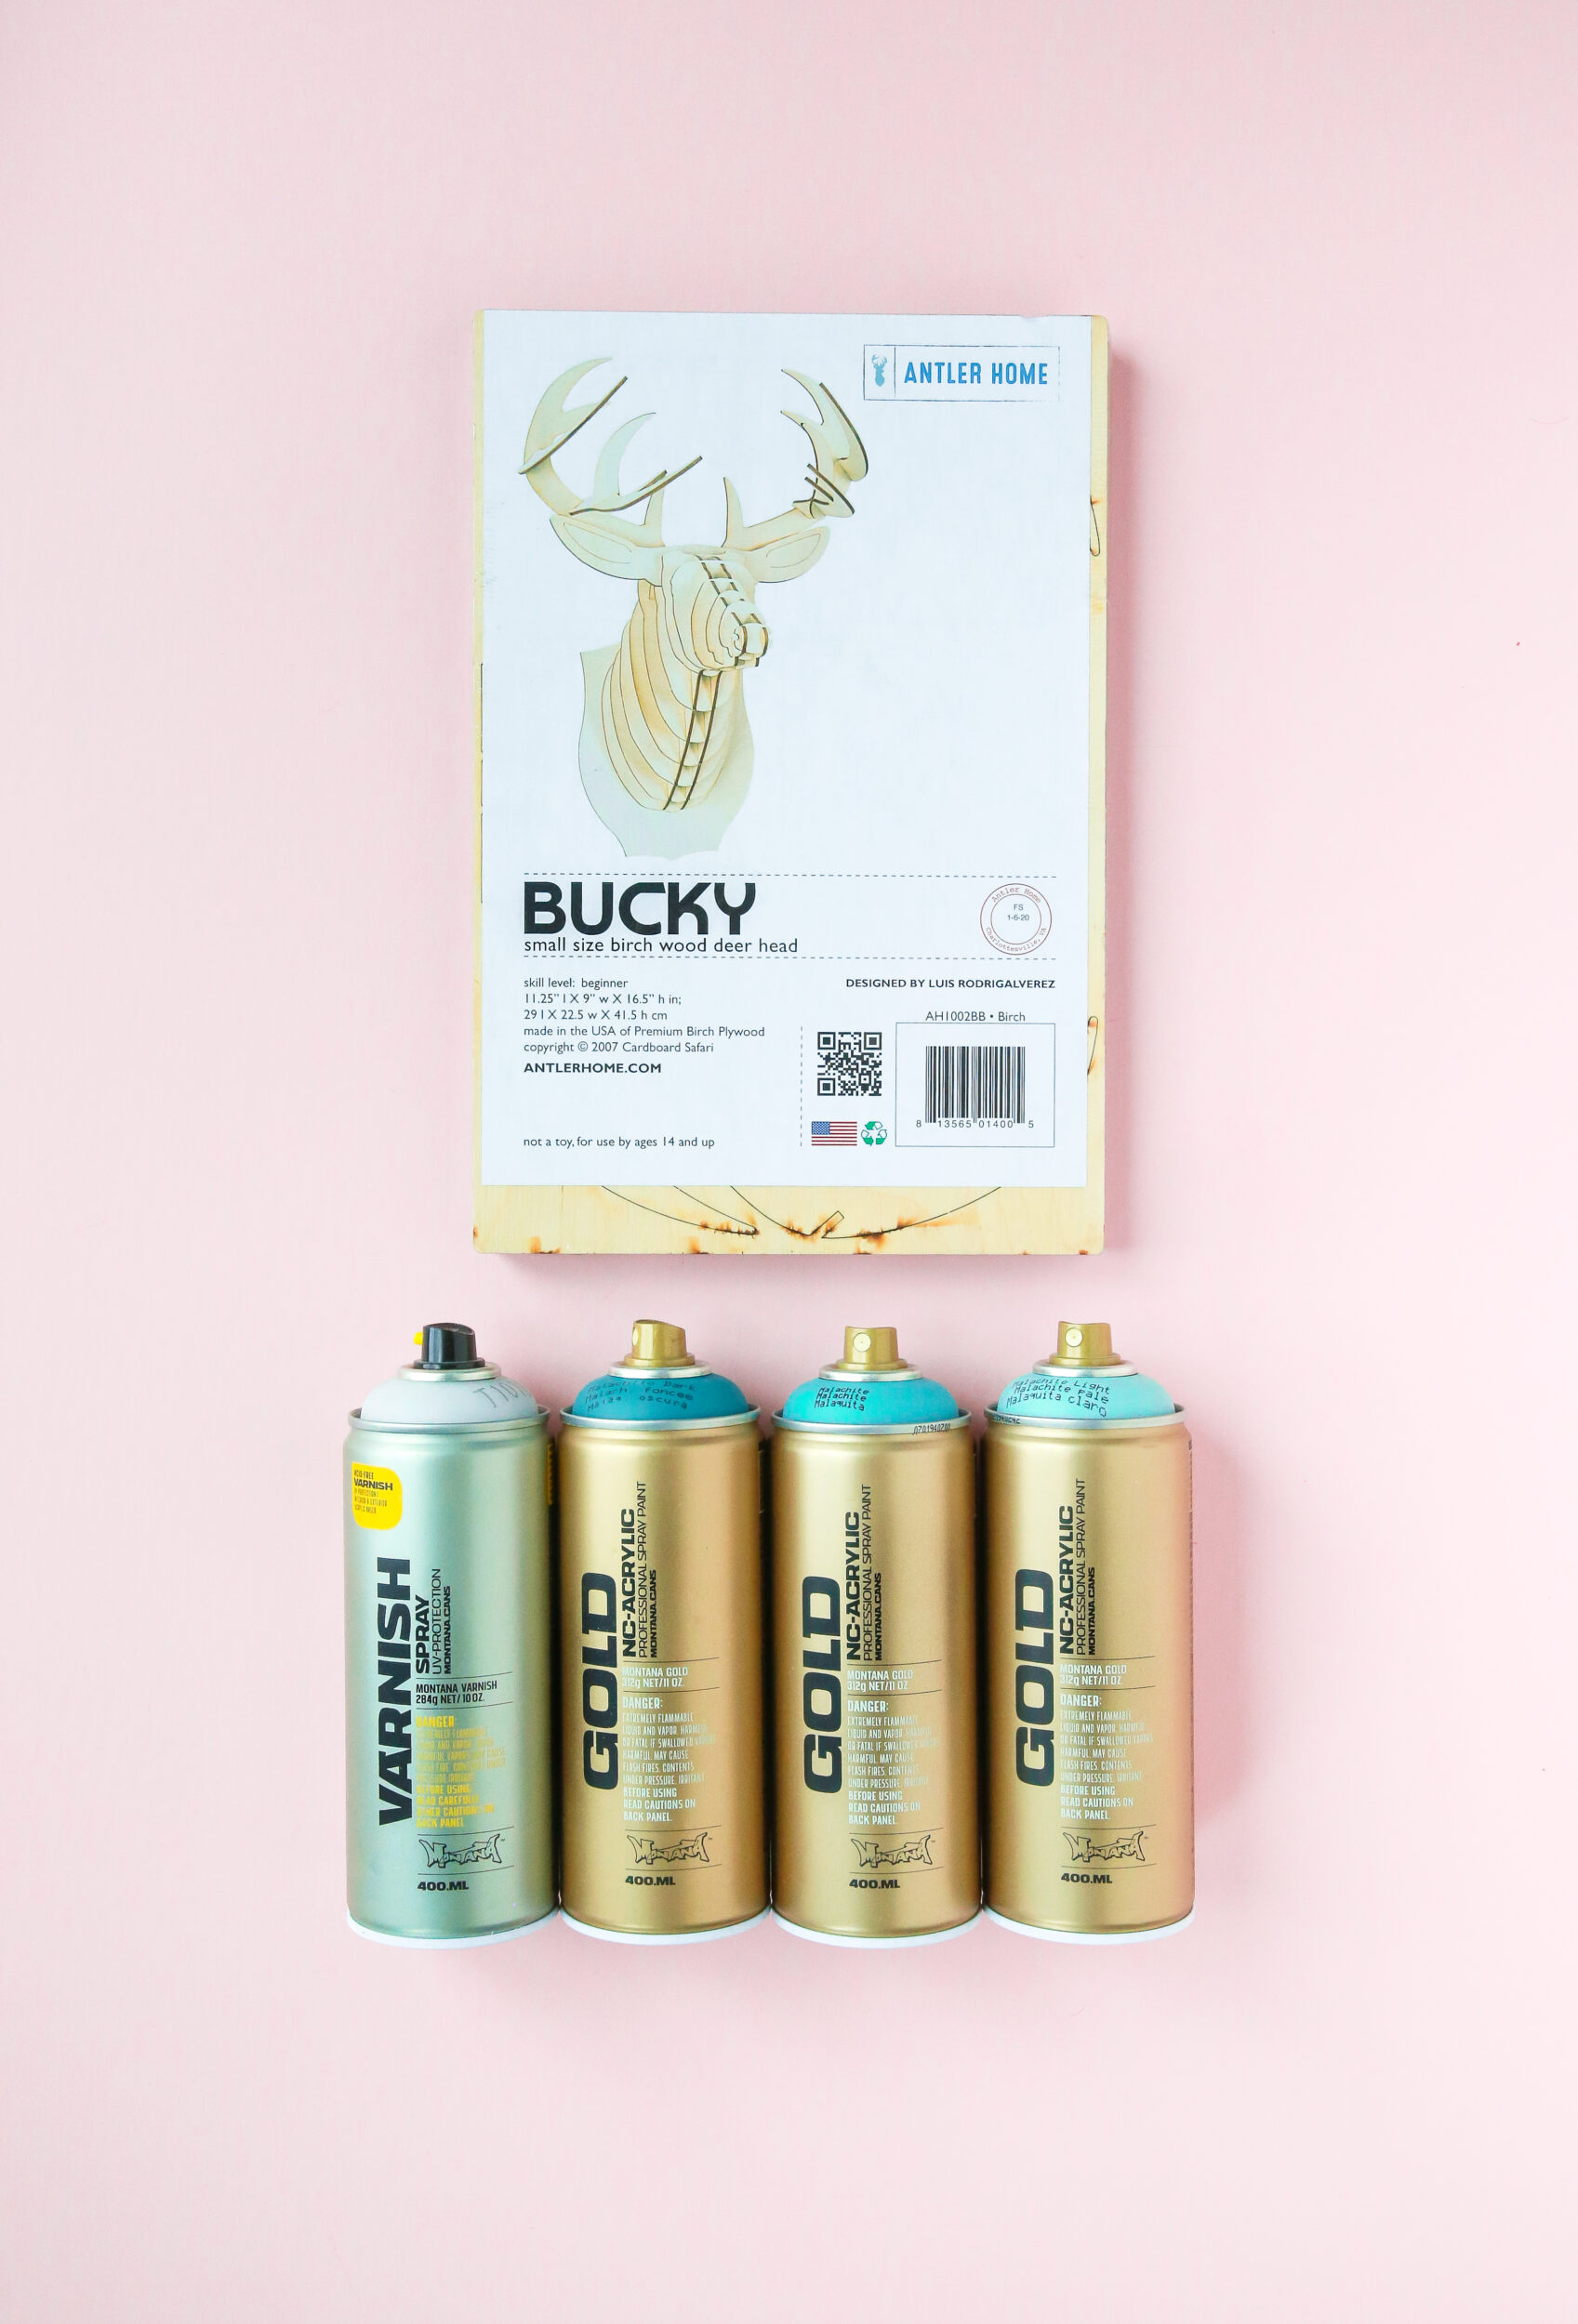
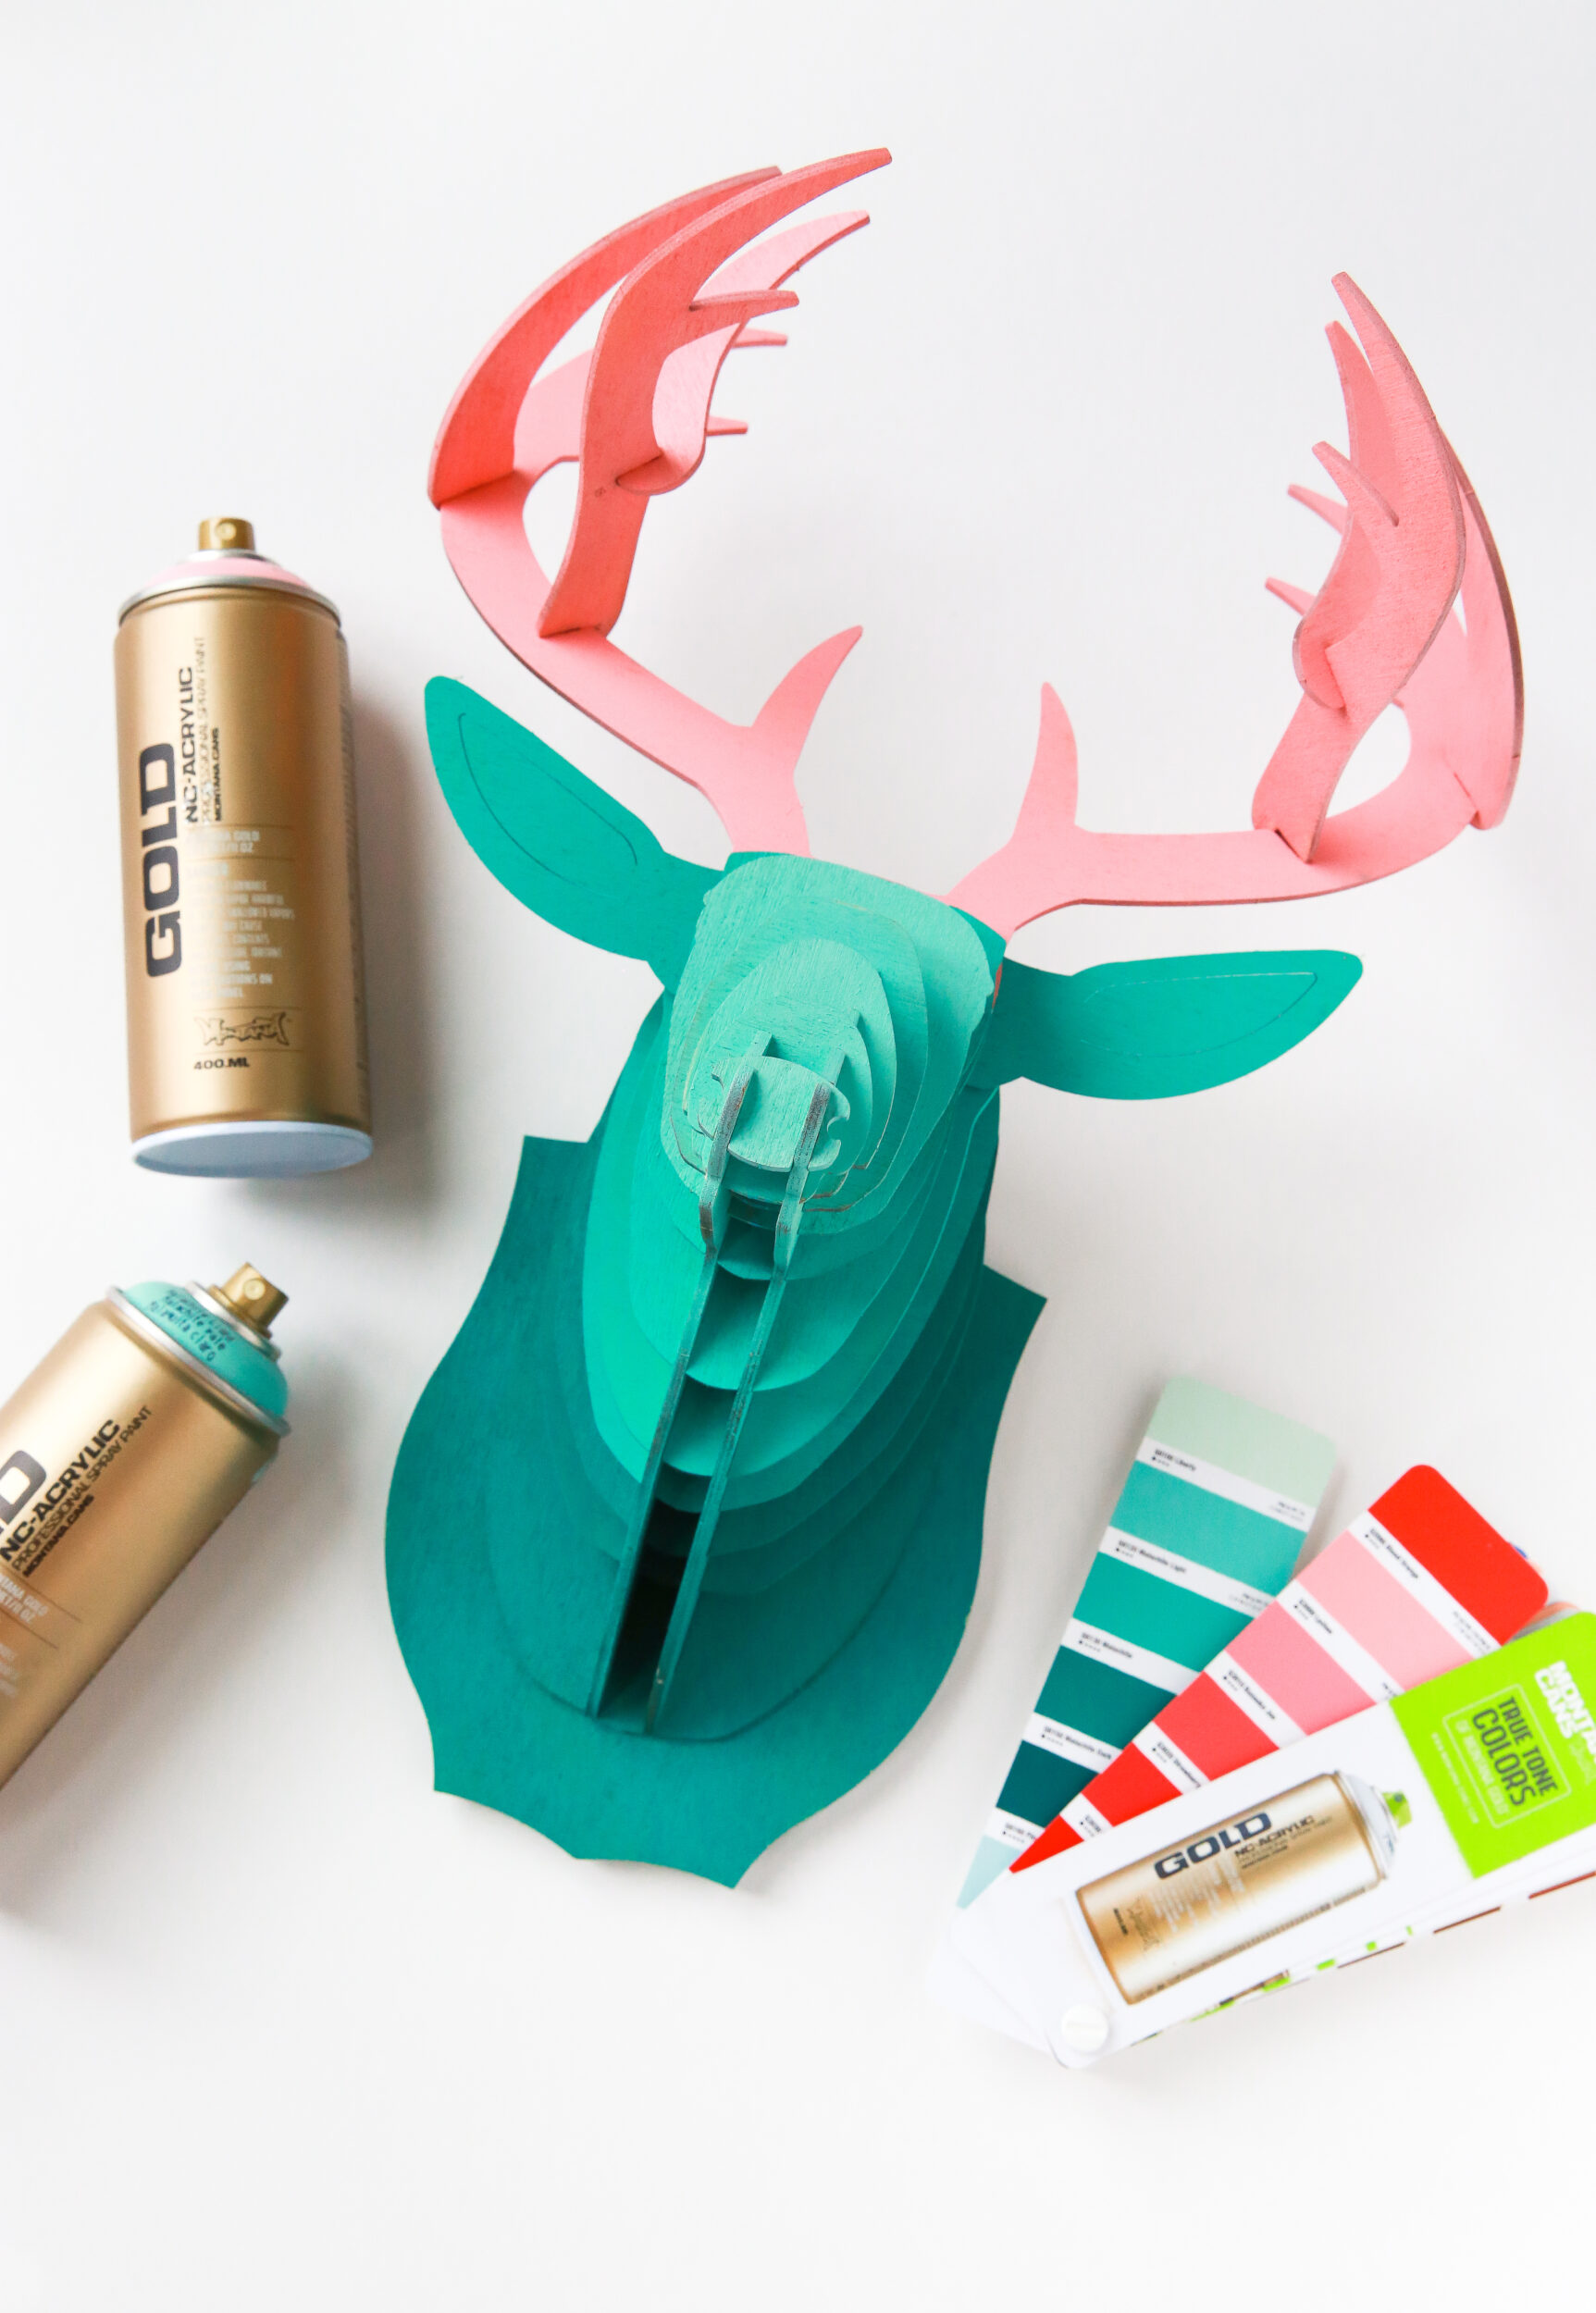
If you’re not familiar with Cardboard Safari, you will be now. Famous for their cool cardboard, wooden, and acrylic DIY sculptures, you may have seen some of their animal heads hanging around somewhere? Rachel from The Crafted Life knows how to pretty things up and created a collaboration piece using her favorite cans, Montana GOLD. The pieces Rachel worked on were a very vibrant moose and one deer head. Or at least they became bright. Read on to find out what she did to create these Painted Wooden Animal Heads.
Materials used
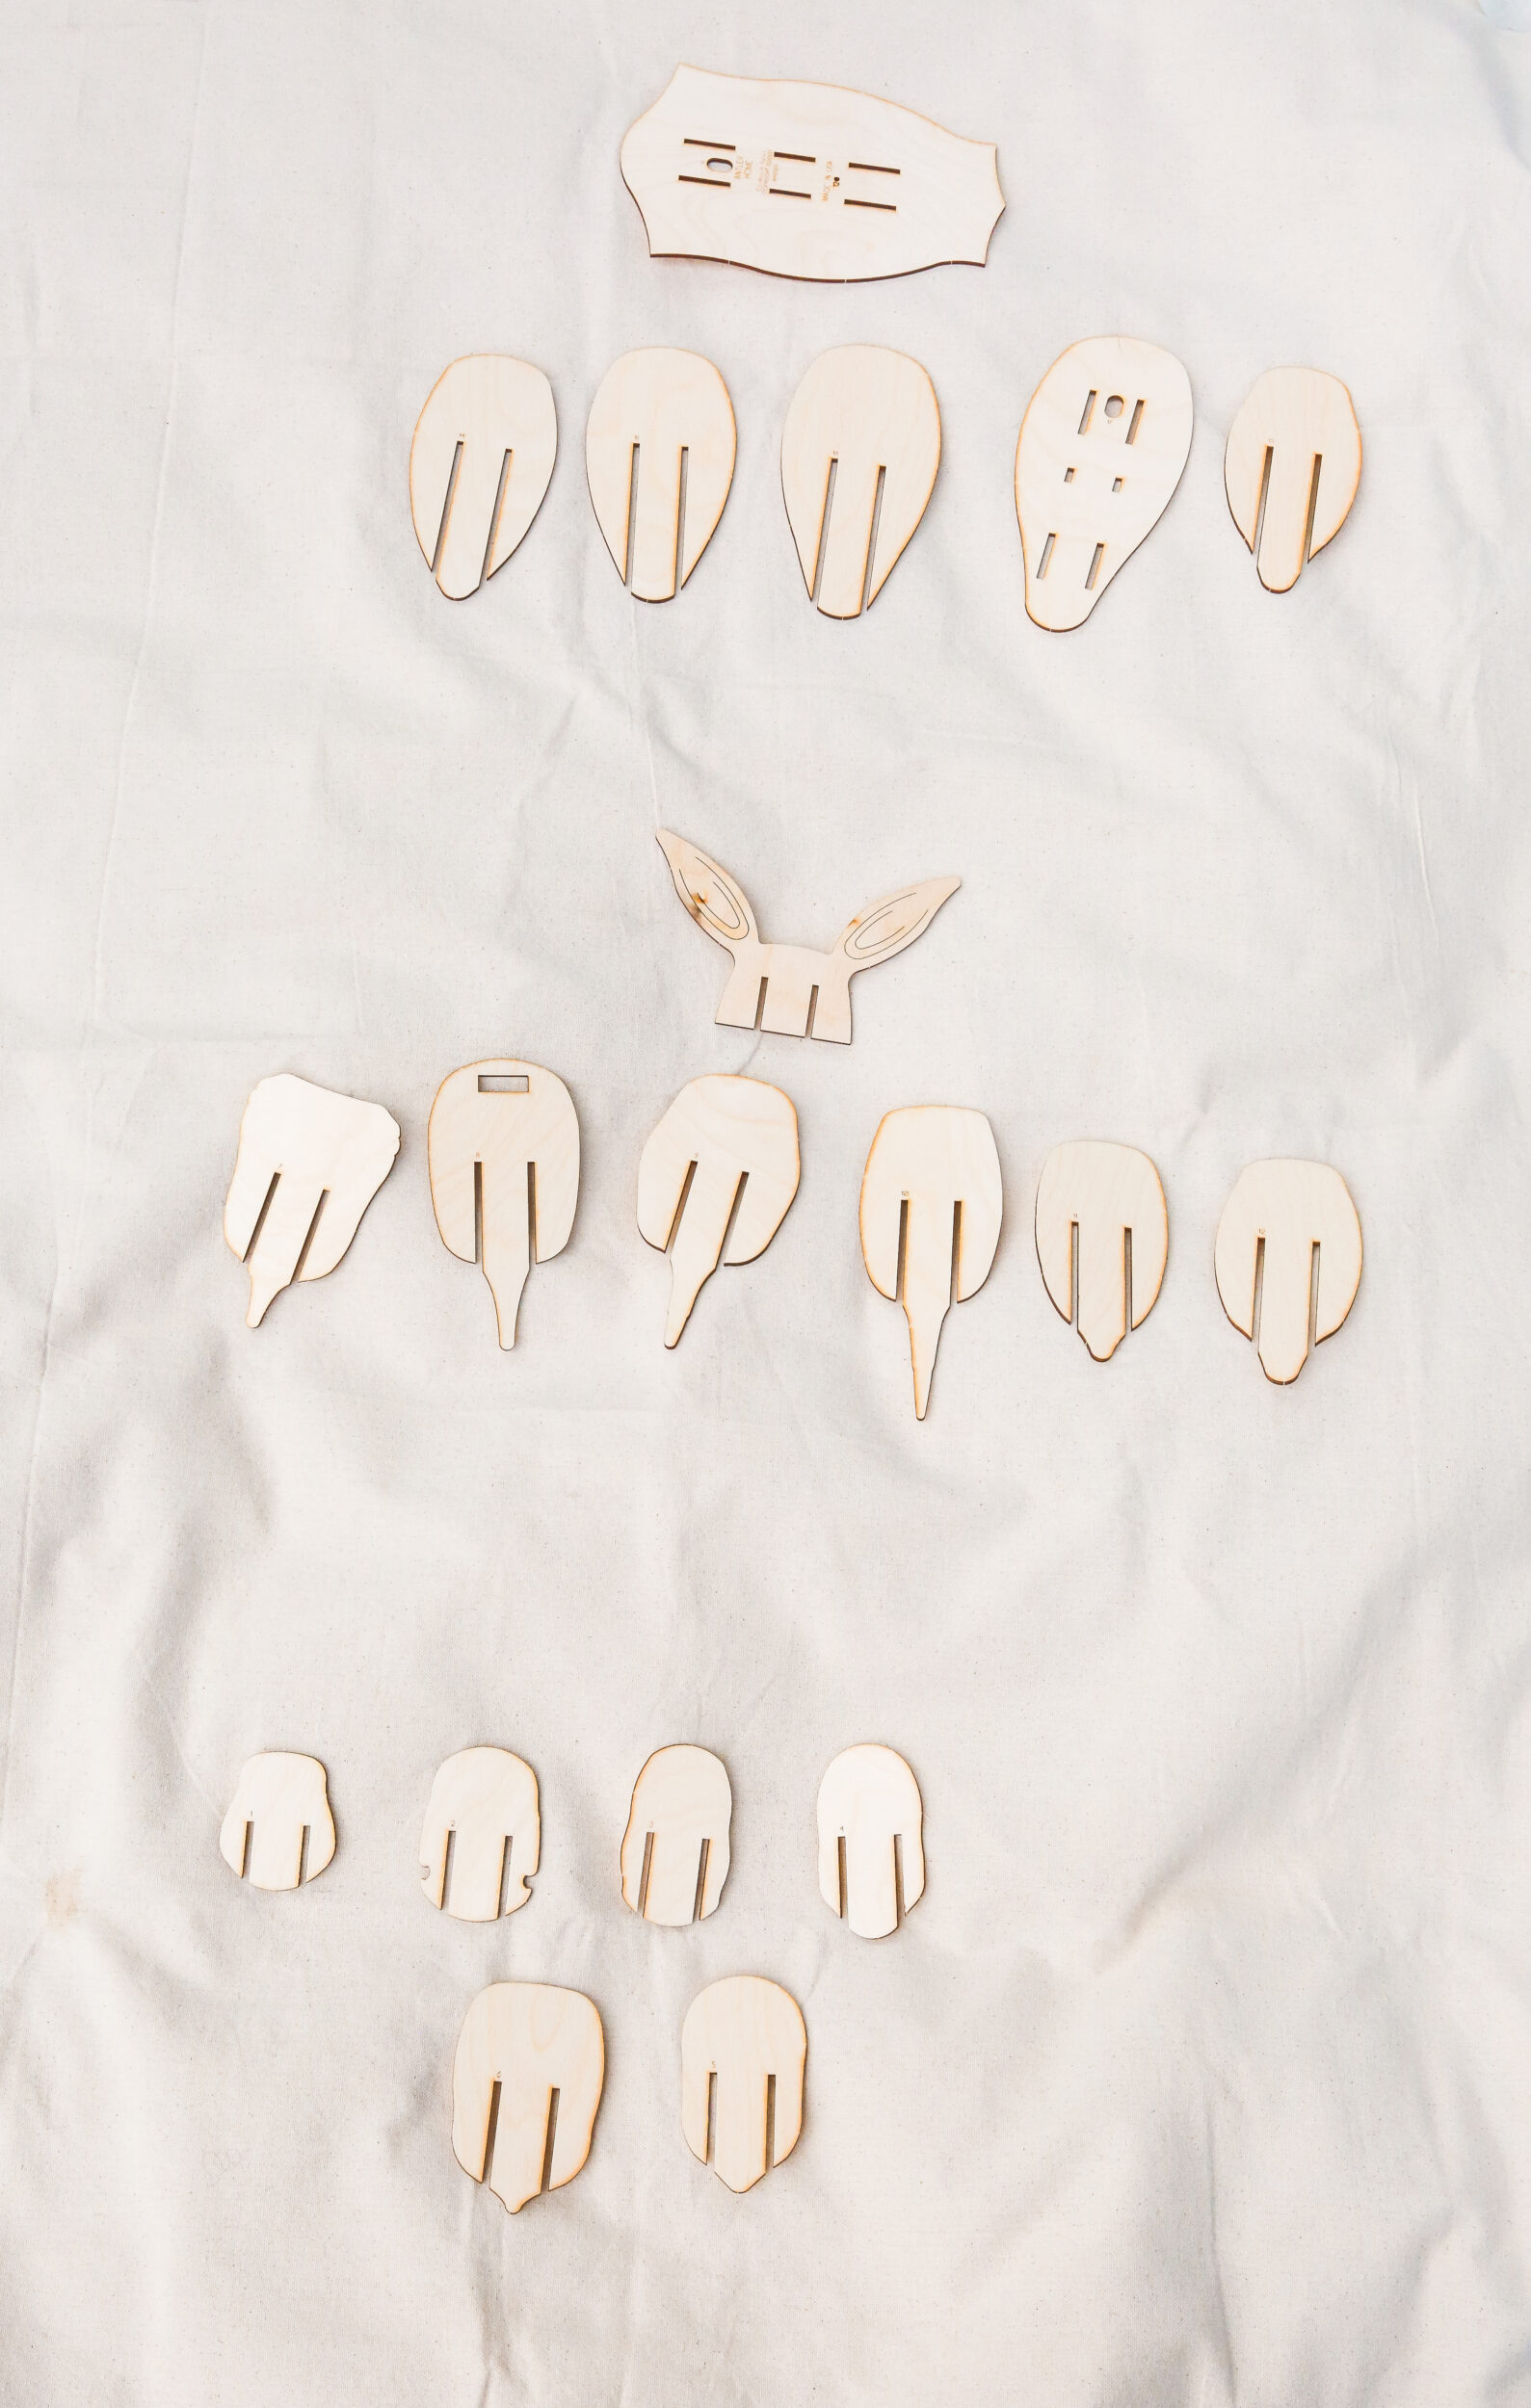
- Wooden Animal heads, we got ours from Cardboard Safari
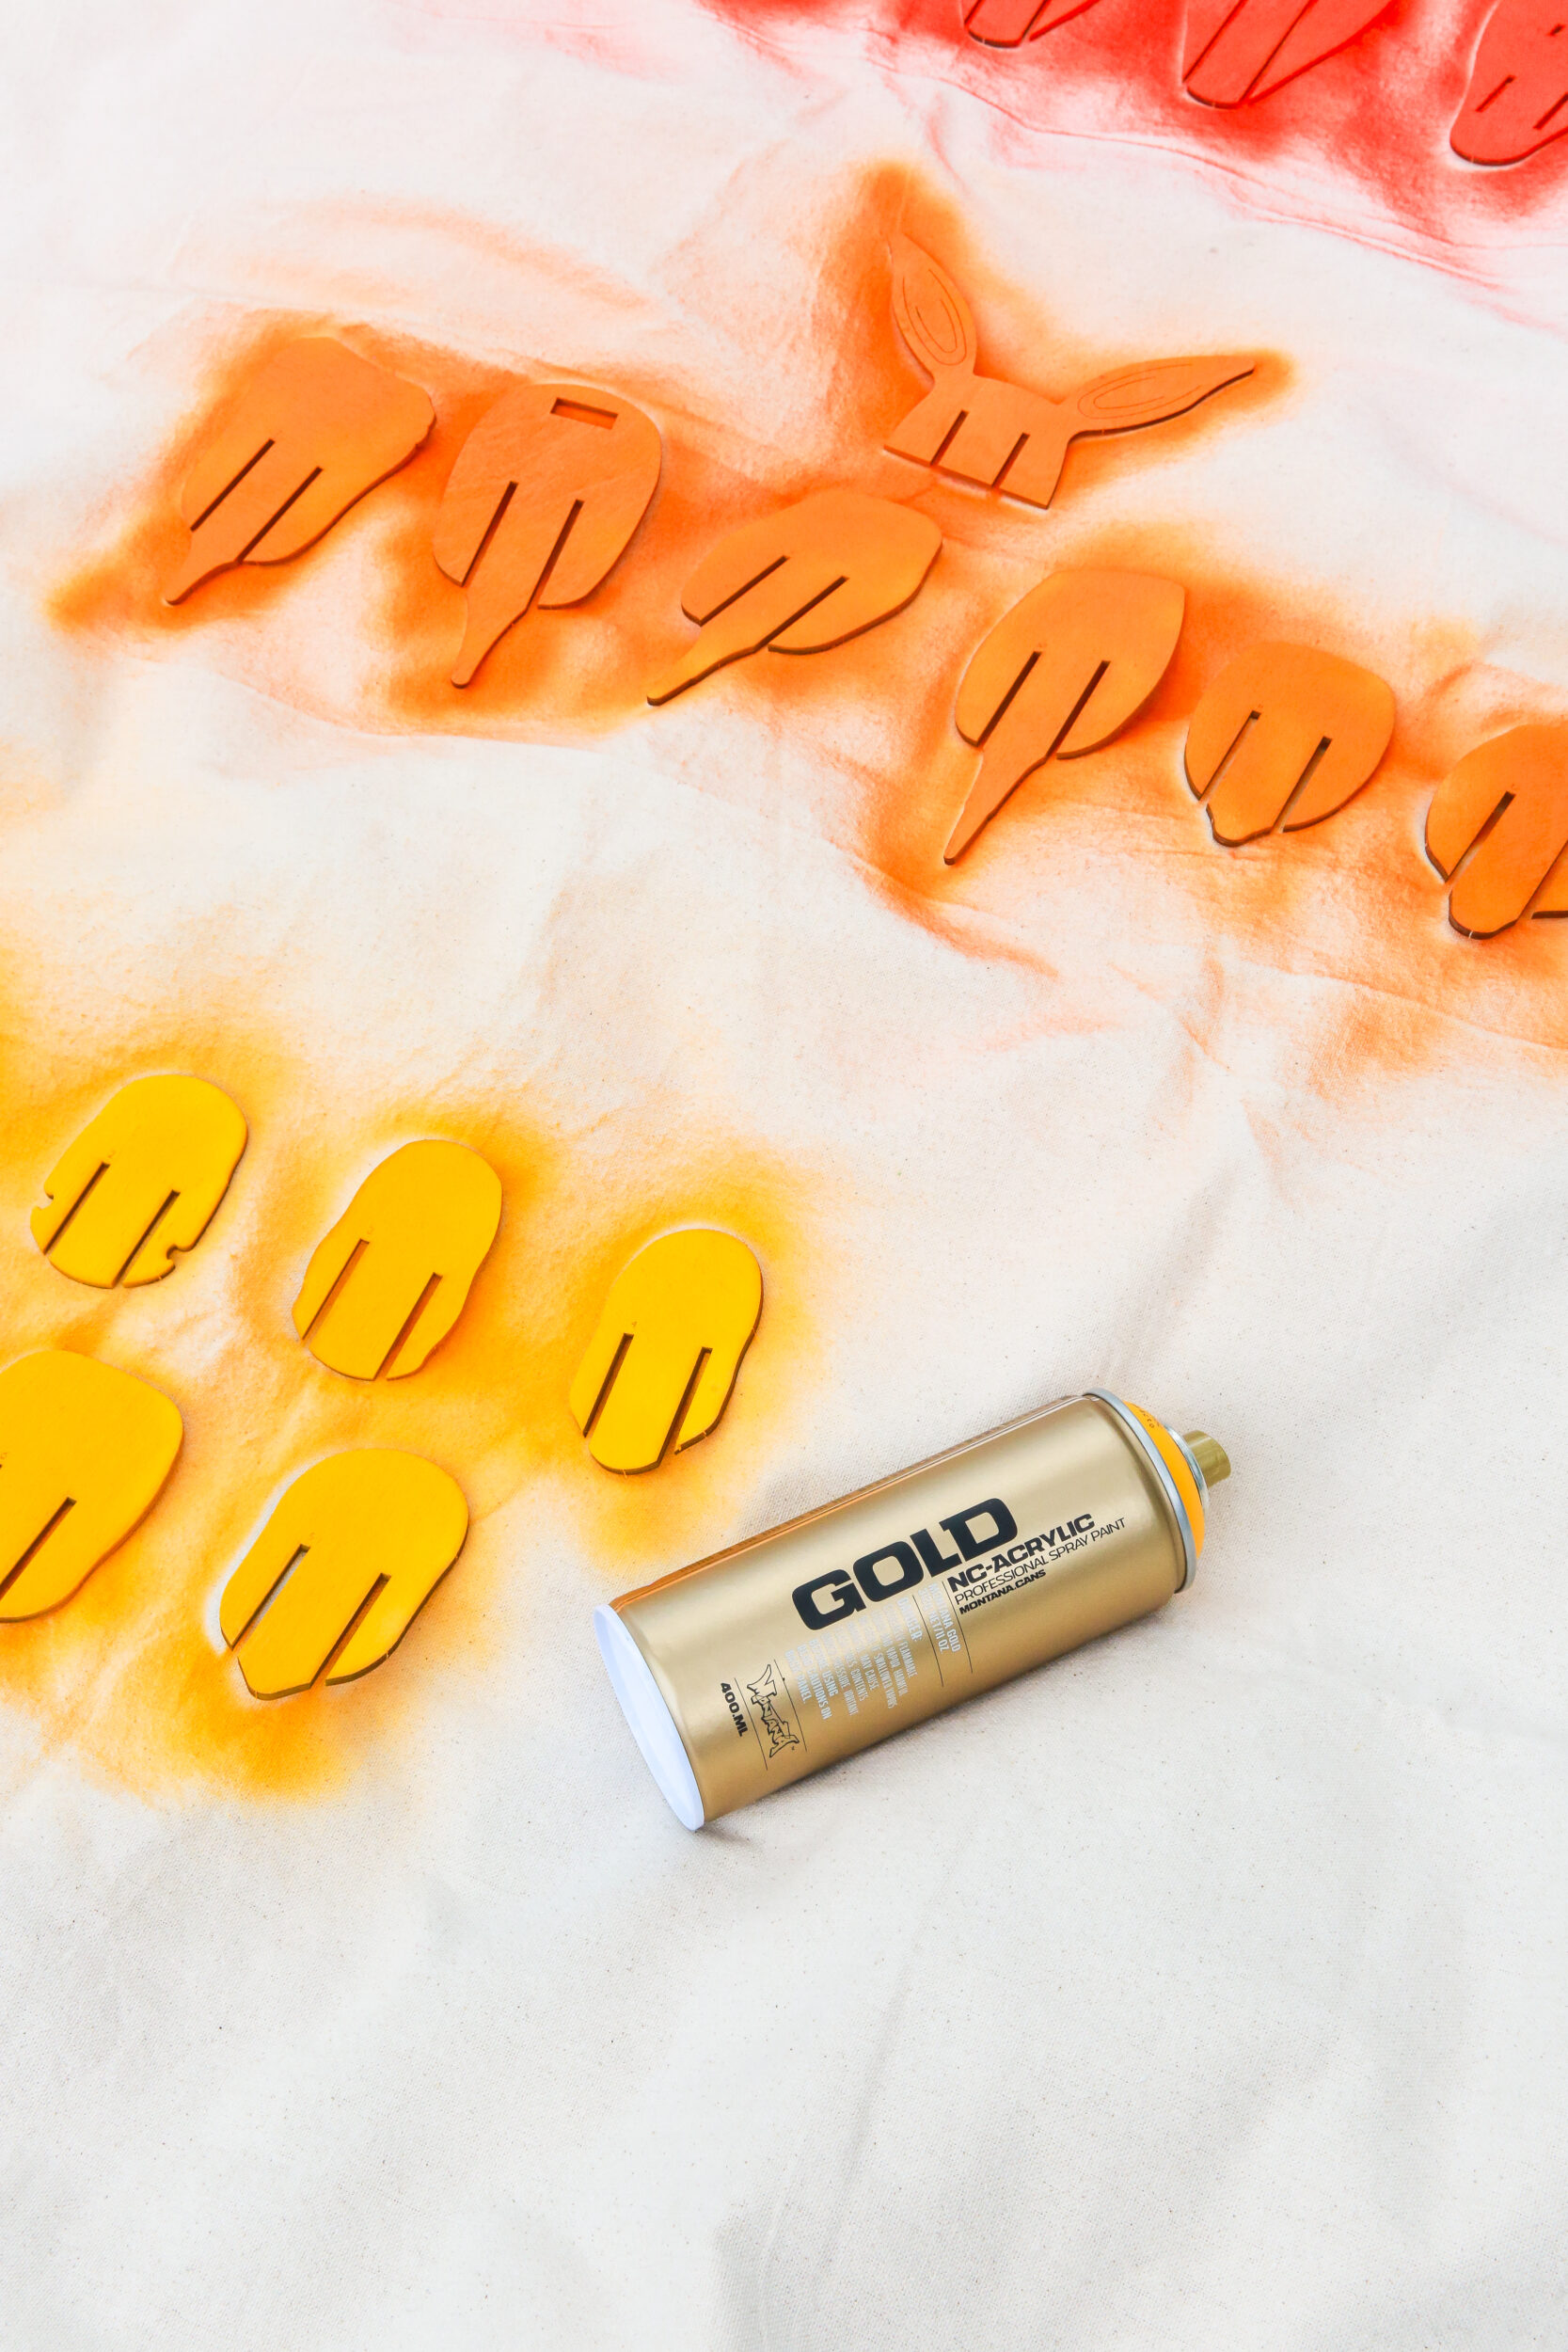
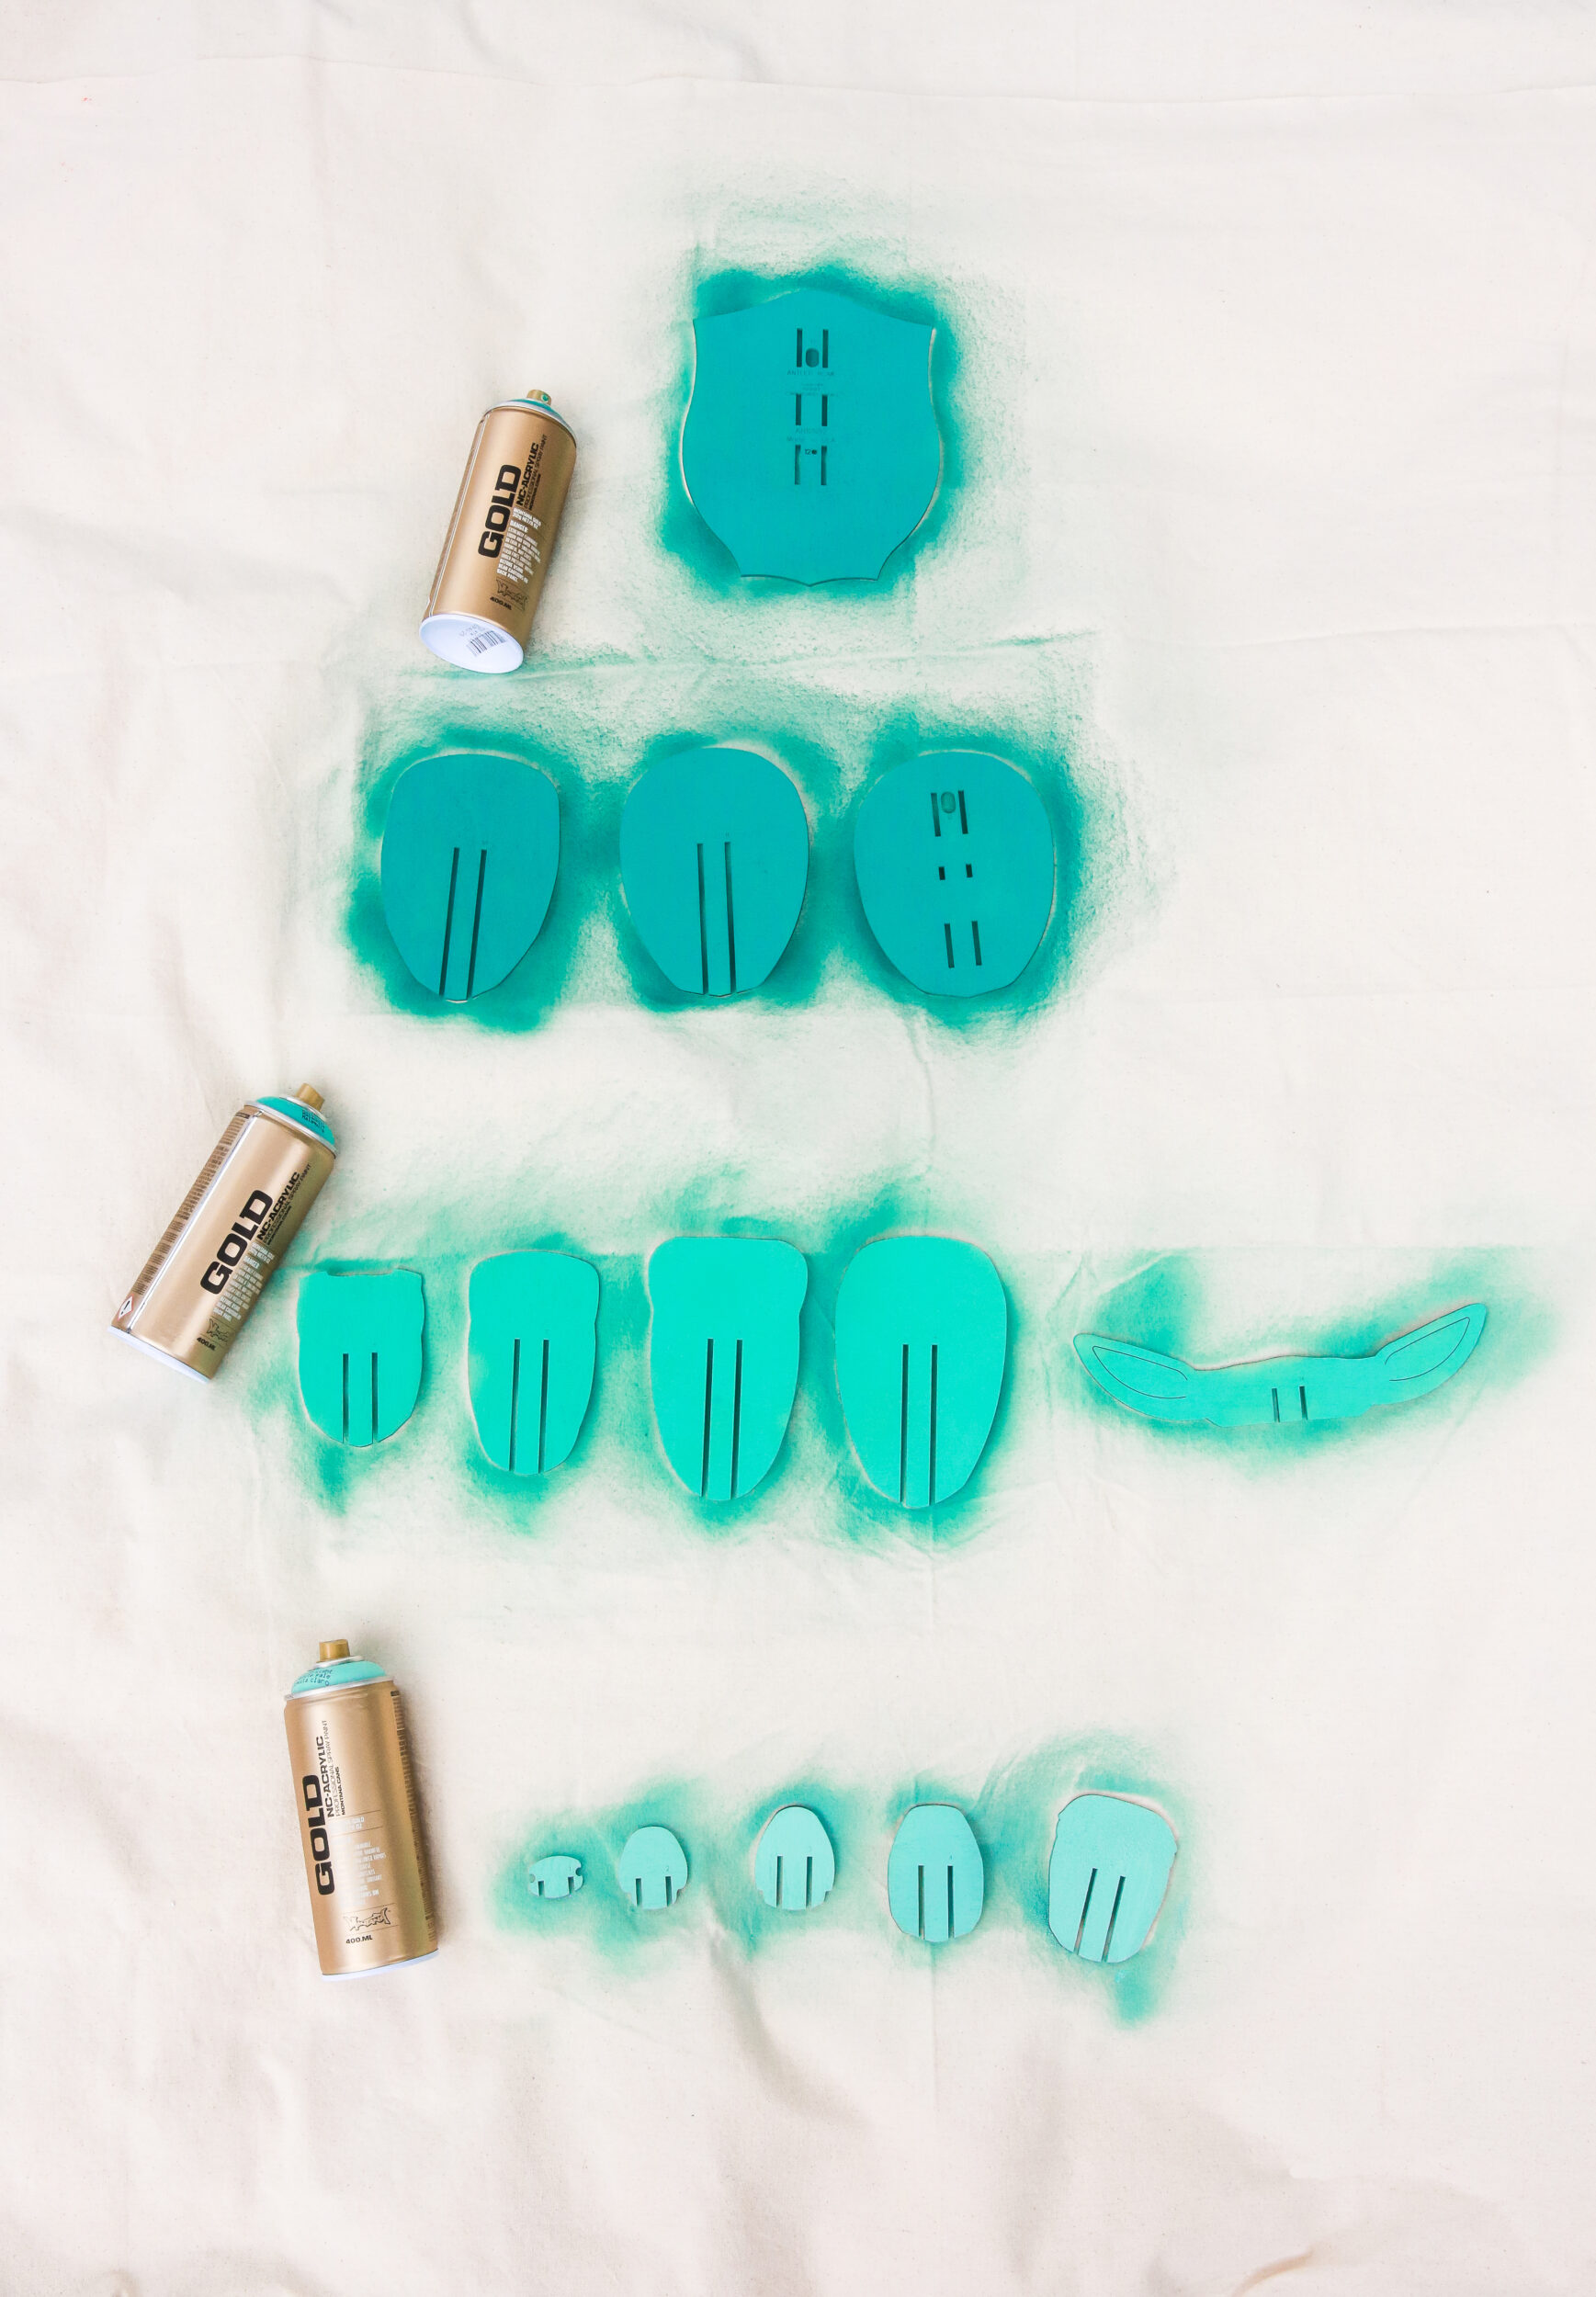
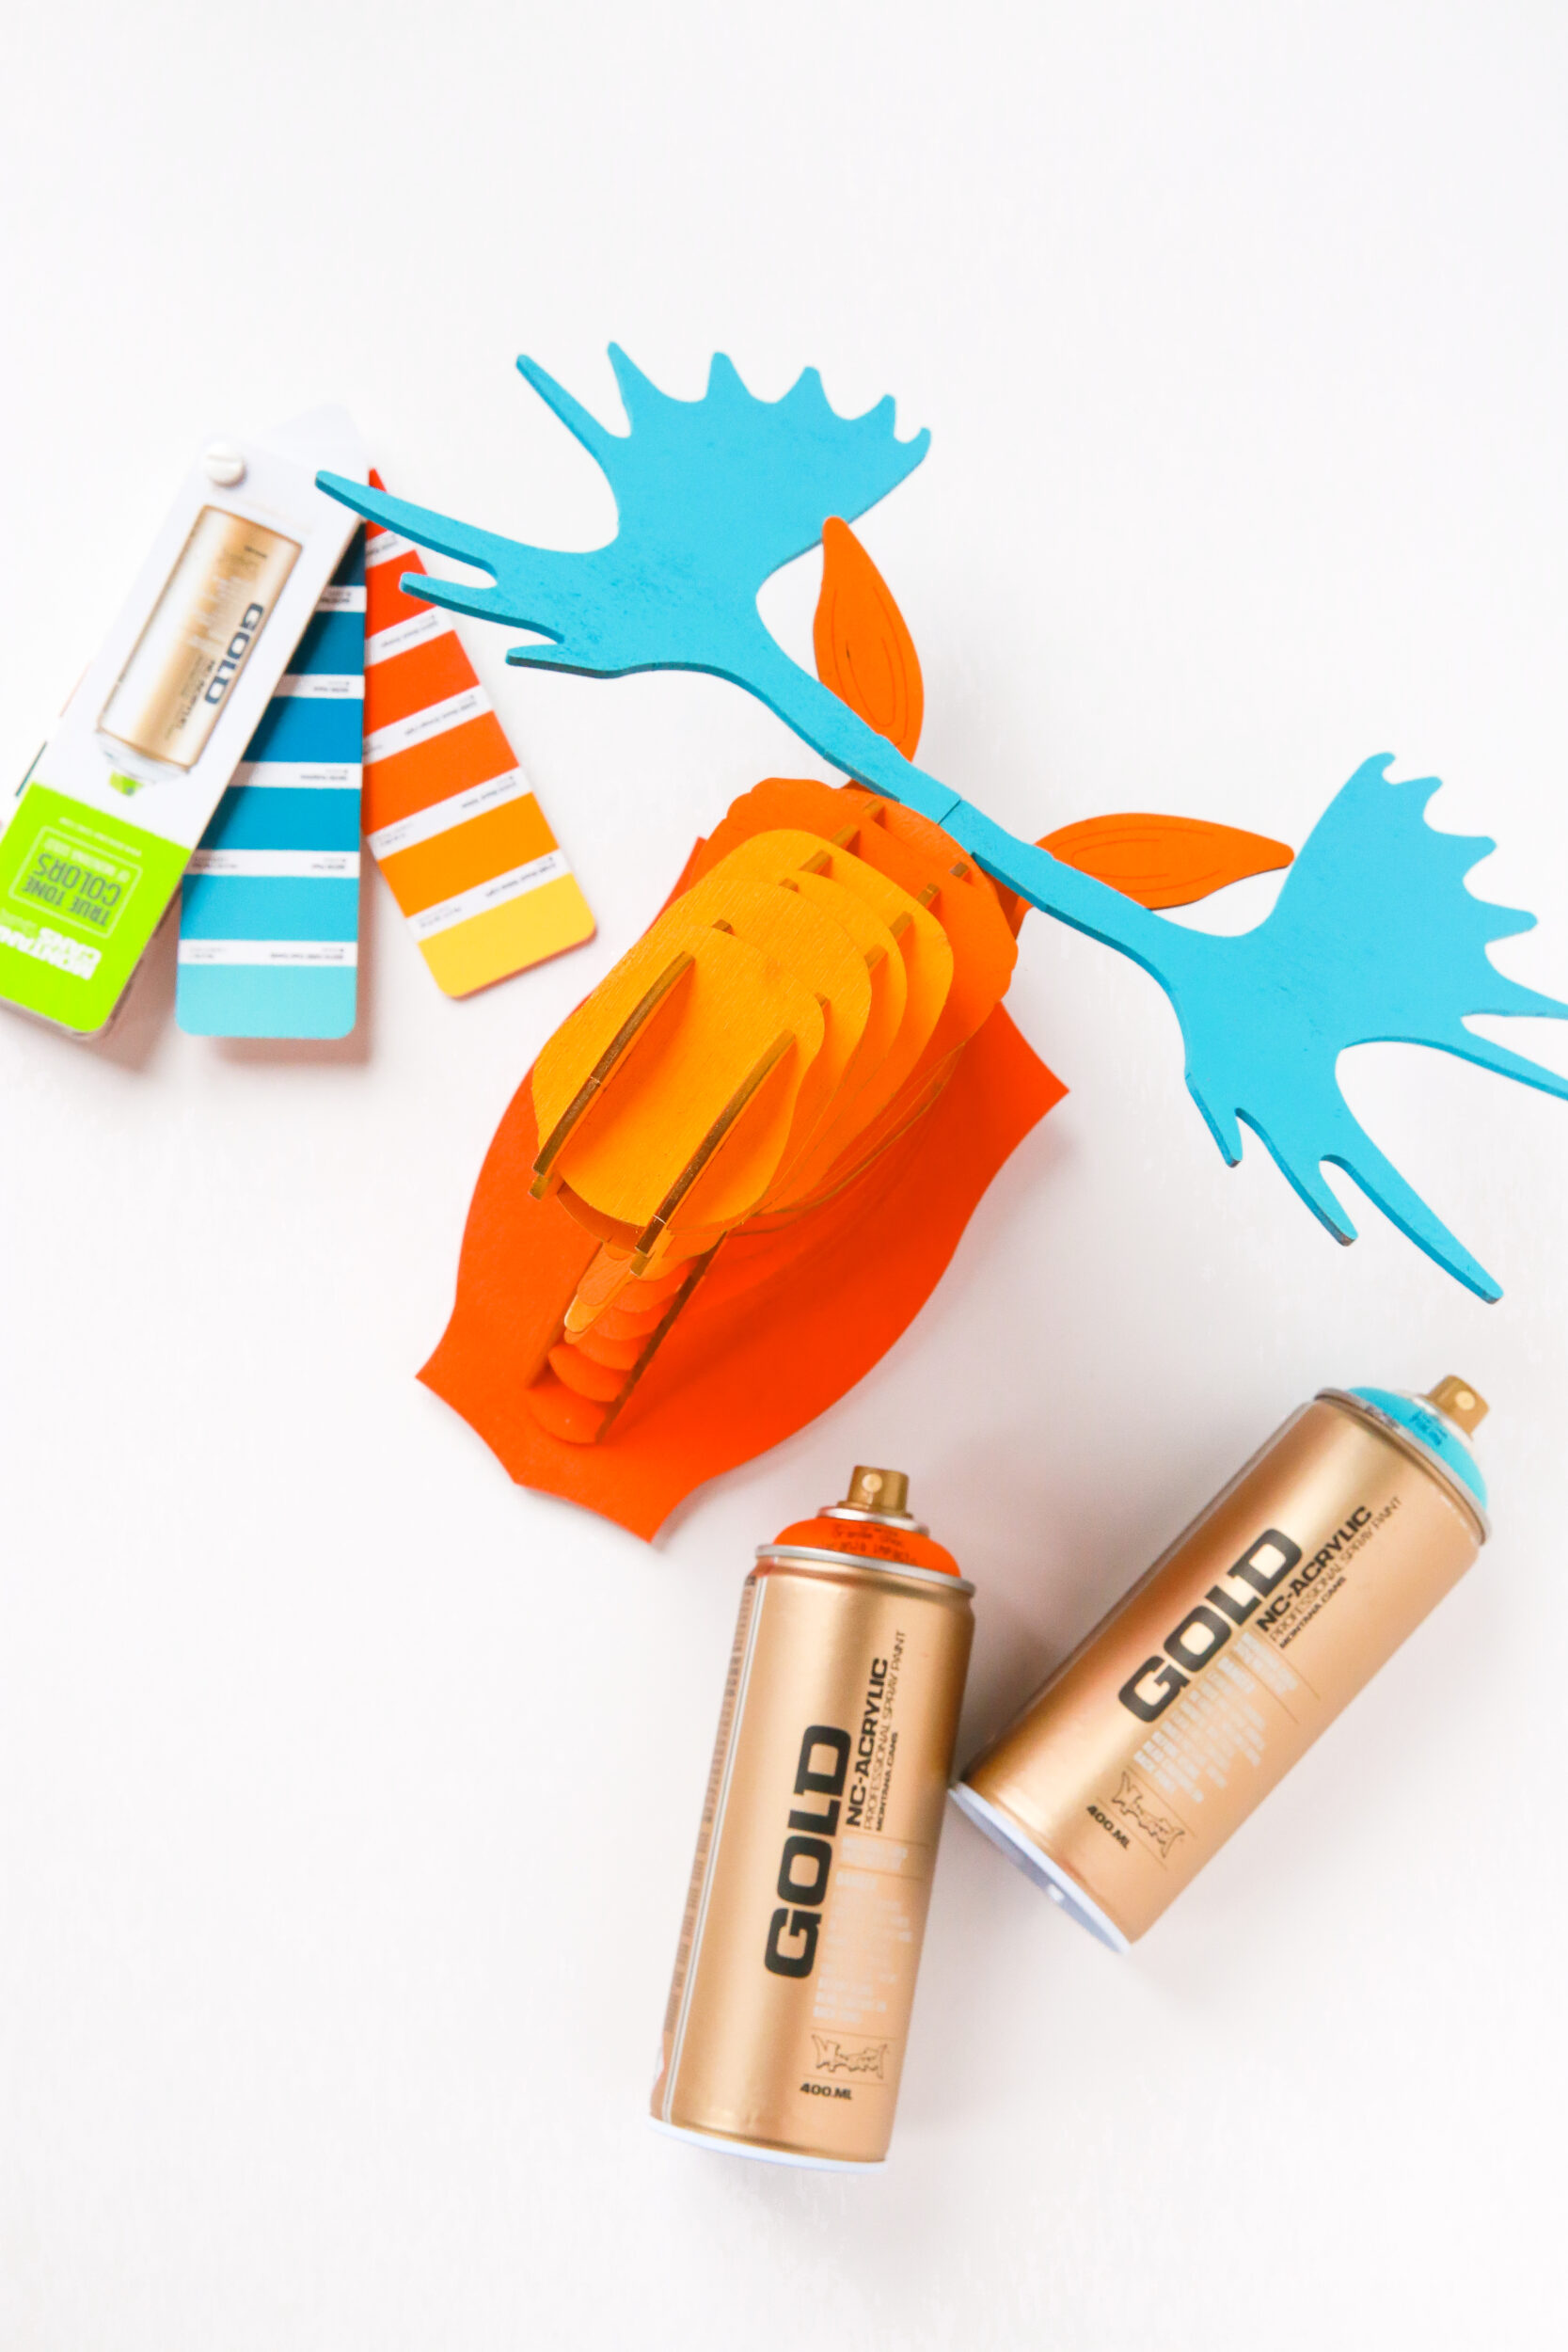
- Montana GOLD (color of your choice). Rachel used; Malachite, Malachite Light, Malachite Dark, and Lychee for one moose head. And Shock Yellow, Golden Yellow, Shock Orange, and Pool for the other.
- Montana VARNISH in finish of choice
- Sandpaper (depending on the condition)
- Gloves
- Mask
- Drop Sheet
How it was done
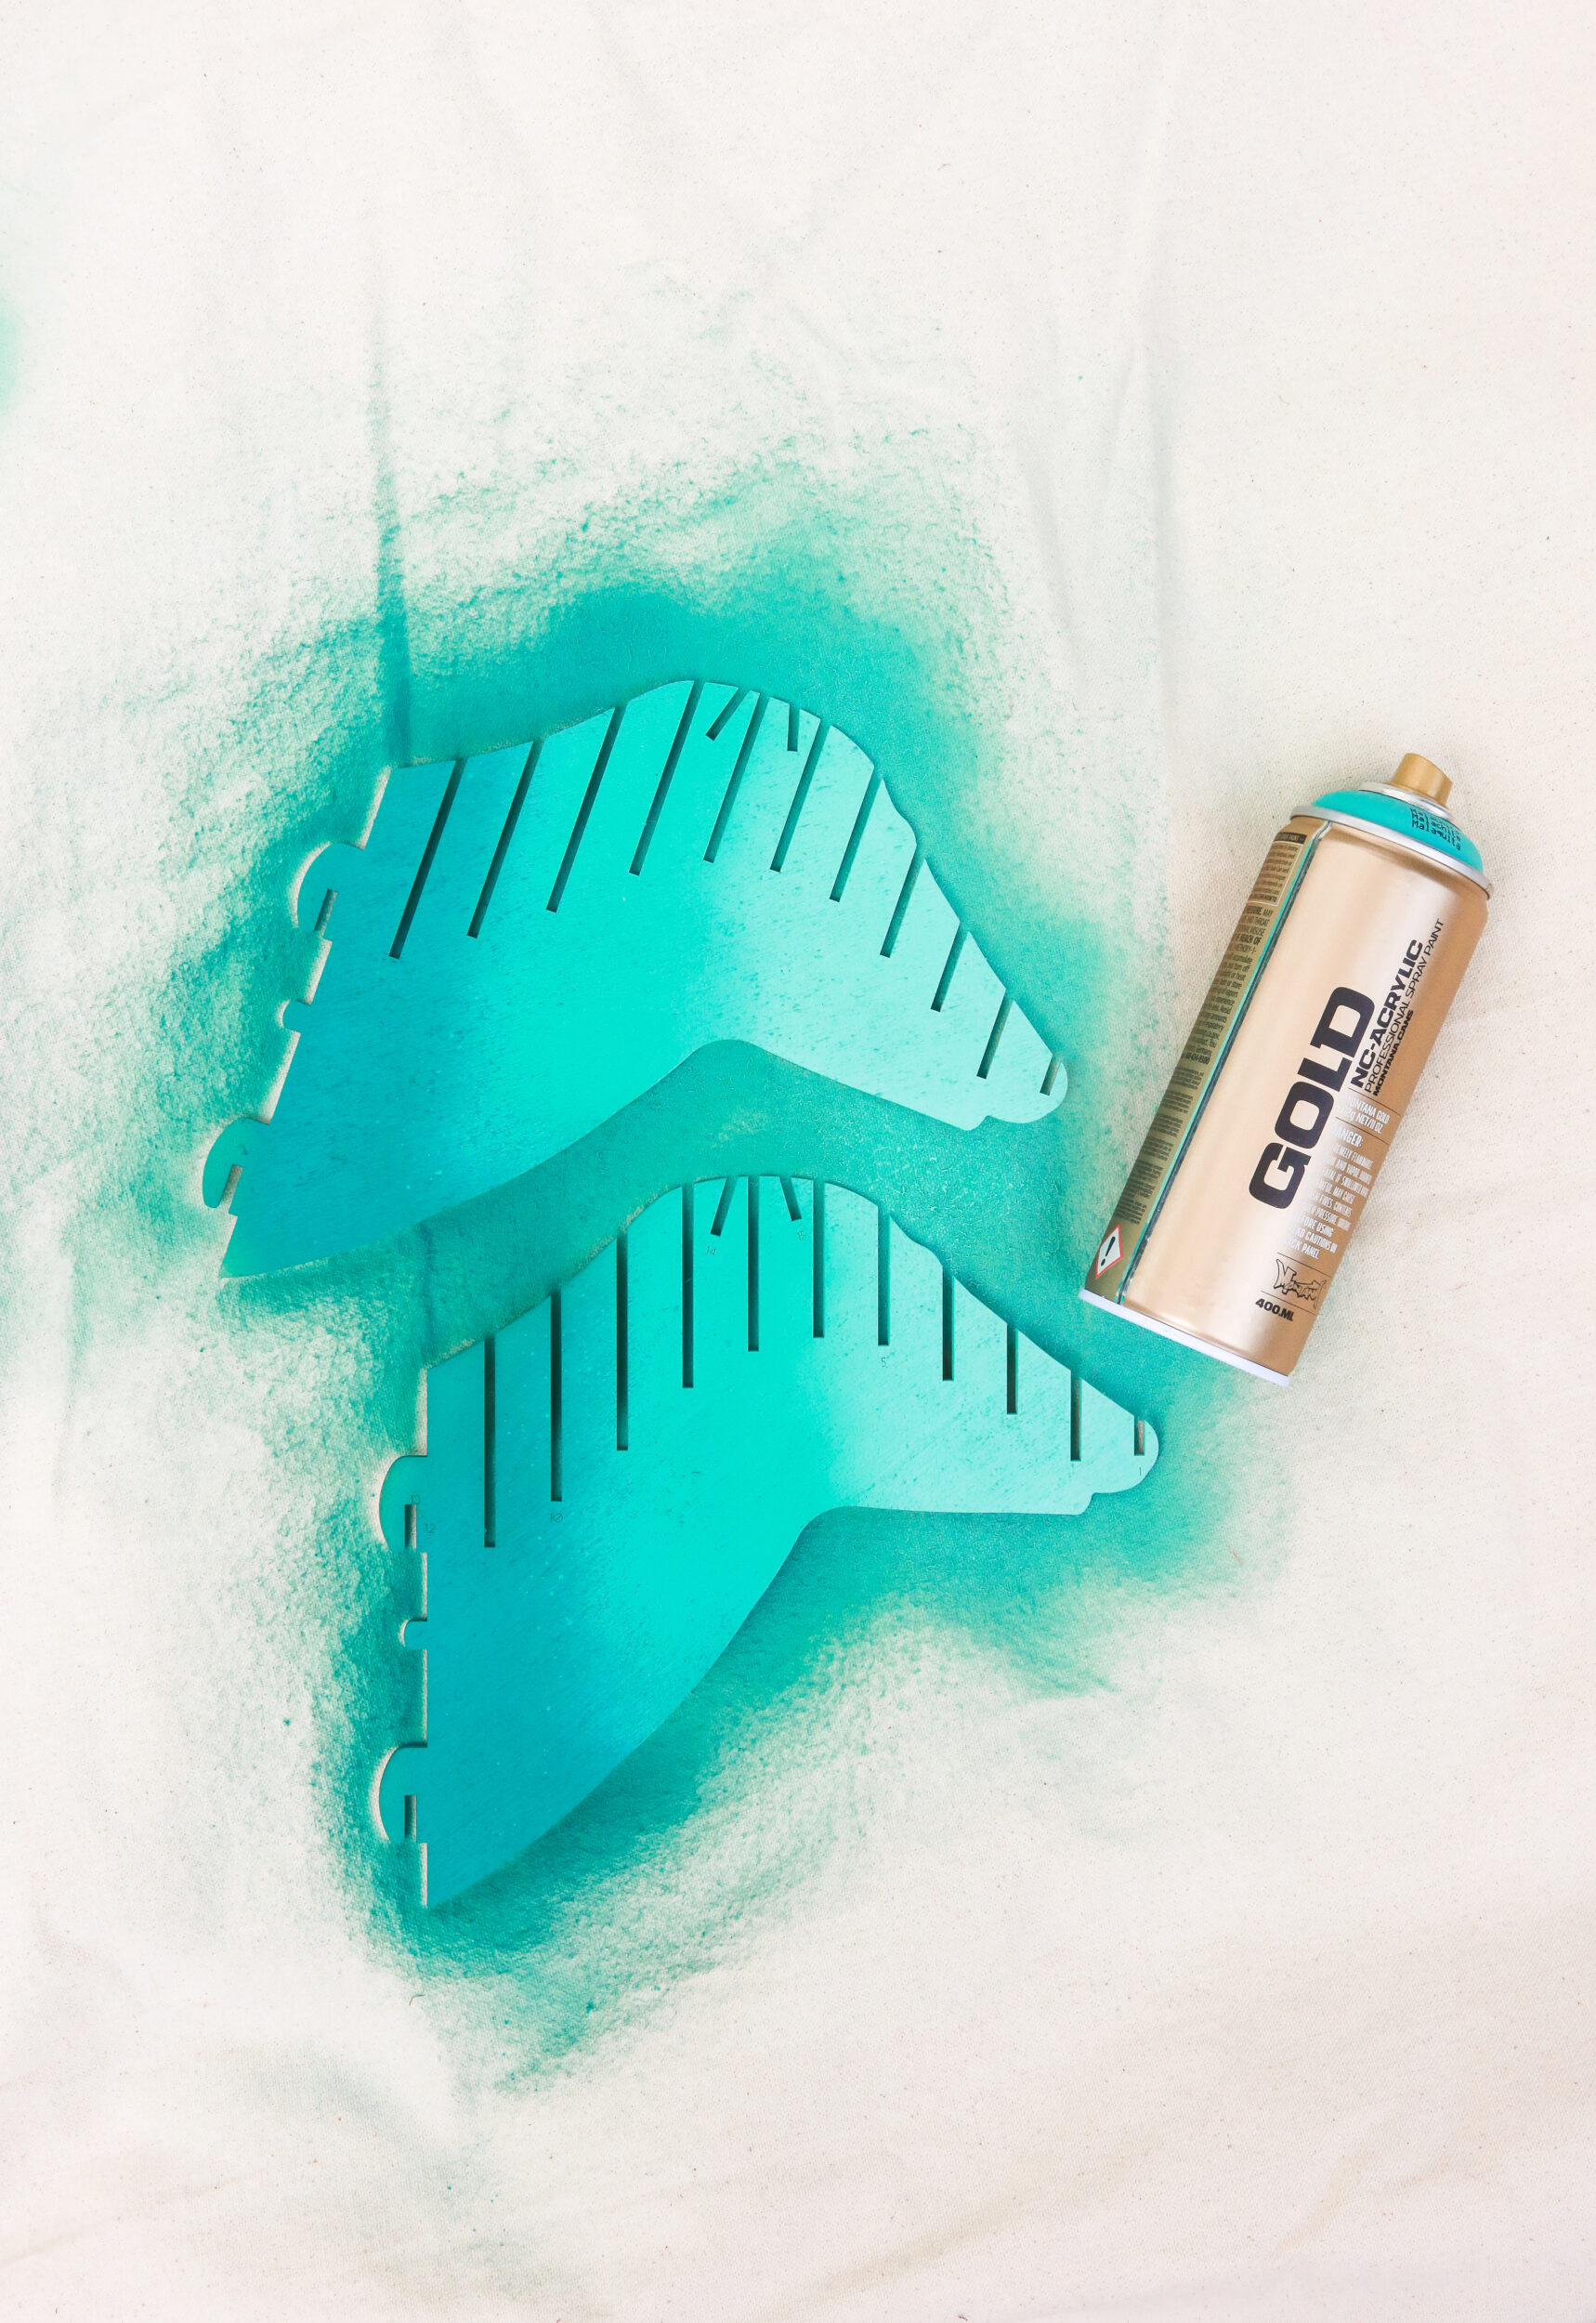
Due to the color variations used in these two animal heads, it was important to prepare the painting area thoroughly with a tarp, or some sort of drop sheet. To achieve the gradient ombre look, the pieces were laid out on the tarp (in number order) and put into three groups. Each group would be painted in one of the chosen colors. For an extra “pop” of color, you could choose a different color for the antlers.
Having shaken our Montana GOLD colors vigorously for 2-3 minutes so she could hear the mixing balls moving freely, she then turned each can upside down and removed the nozzle to allow the black safety ring to fall out from under it. After re-fitting the nozzle, a quick spray to the side away from anything important, and she was ready to spray.
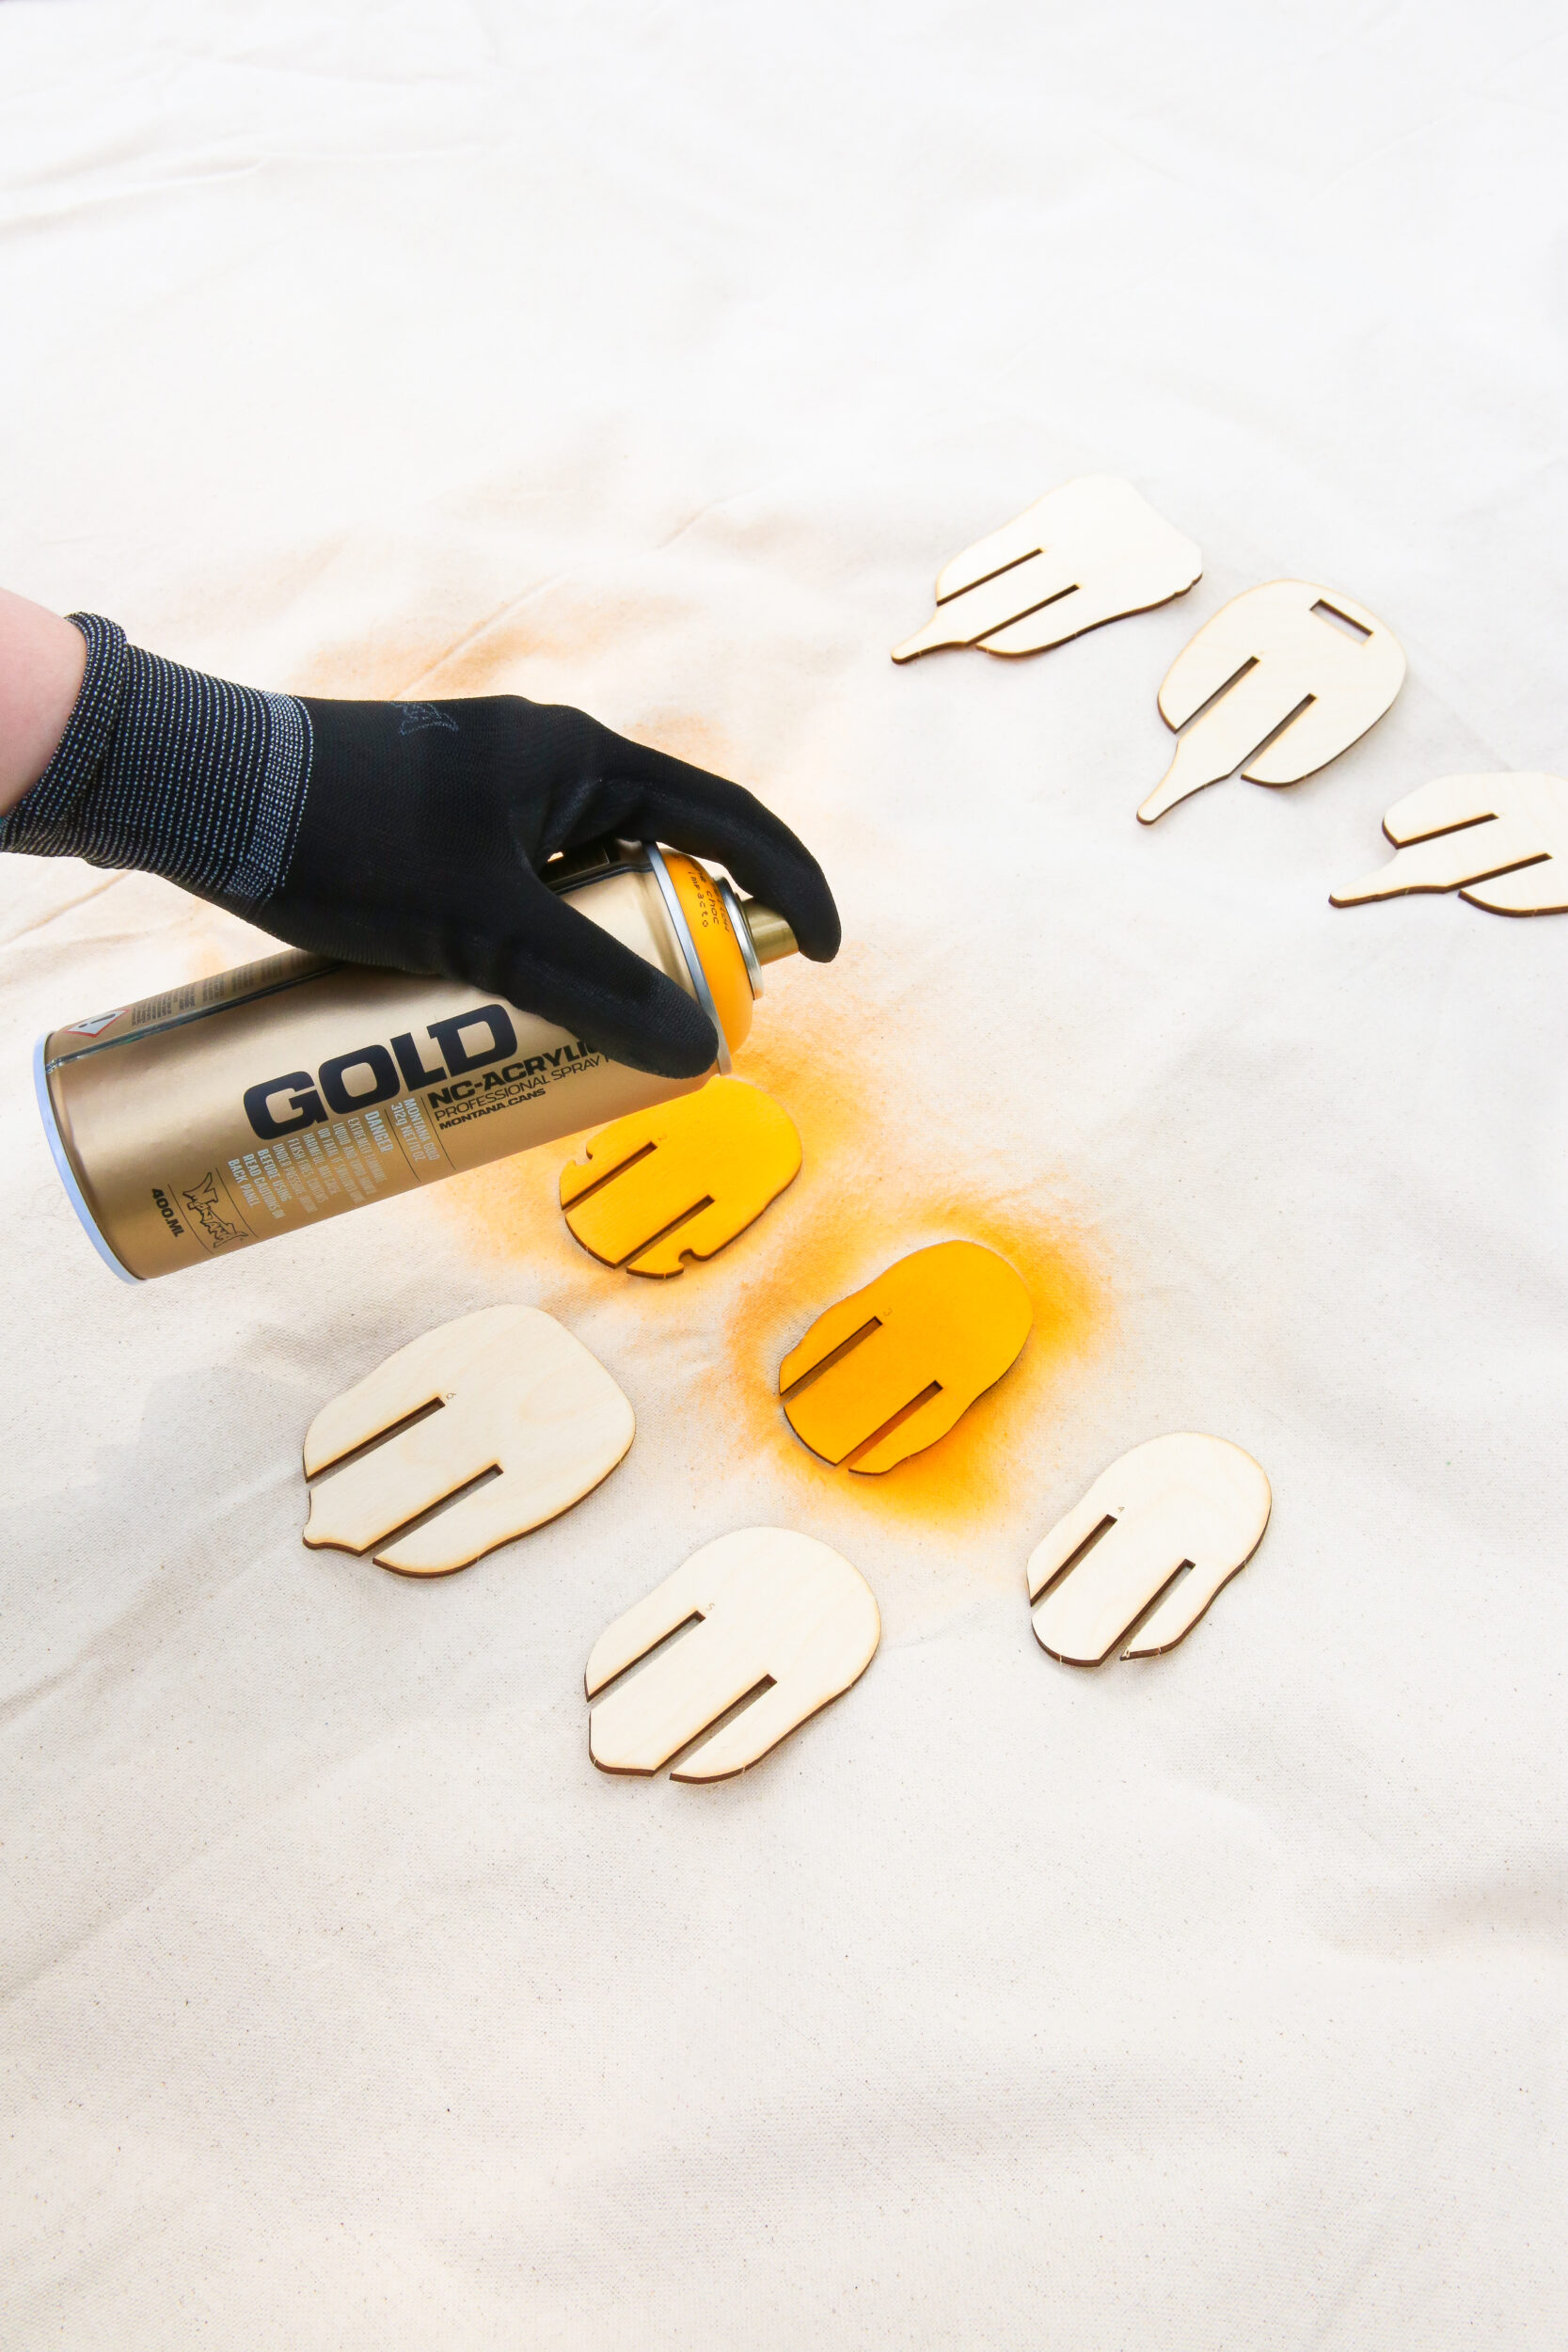
Lay your first group of pieces down and give a thin even coat, and allow to dry. Once this has happened, flip them over and repeat on the other side. If you have space and you can protect each color, you can paint different colors directly one after the other. By the time you get to the last pieces, the first pieces are most likely dry.

Once these are completely dry, you can spray thin, even coats, of pre-shaken Montana VARNISH, in the finish of your choice. This will not only add the aesthetic you want but also make the pieces more durable and easier to clean at a later point (if required). Then leave it all to dry overnight.
The last step is easy. Make yourself comfortable and relaxed. Then when you are ready, fit the pieces together as per the instructions to form your new-look funky moose head hanging decor.
If the pieces need a little effort for a smoother fit, take some fine sanding paper and run it carefully through the grooves for a snug fit. These sculptures will be the talk of the town once your visitors get a look at them. And the best part is no animals got hurt in the making of this project.

The Painted Wooden Animal Heads are an easy project for anyone that can read instructions and trigger a spray can. Depending on the animal(s) you choose and the number of colors you want to paint them with, there are about 30-60 minutes of actual working time. So don’t rush, and enjoy the steps on this project. This is one even the boys of the house will most likely want to join in on.
Nice work and Happy Crafting!