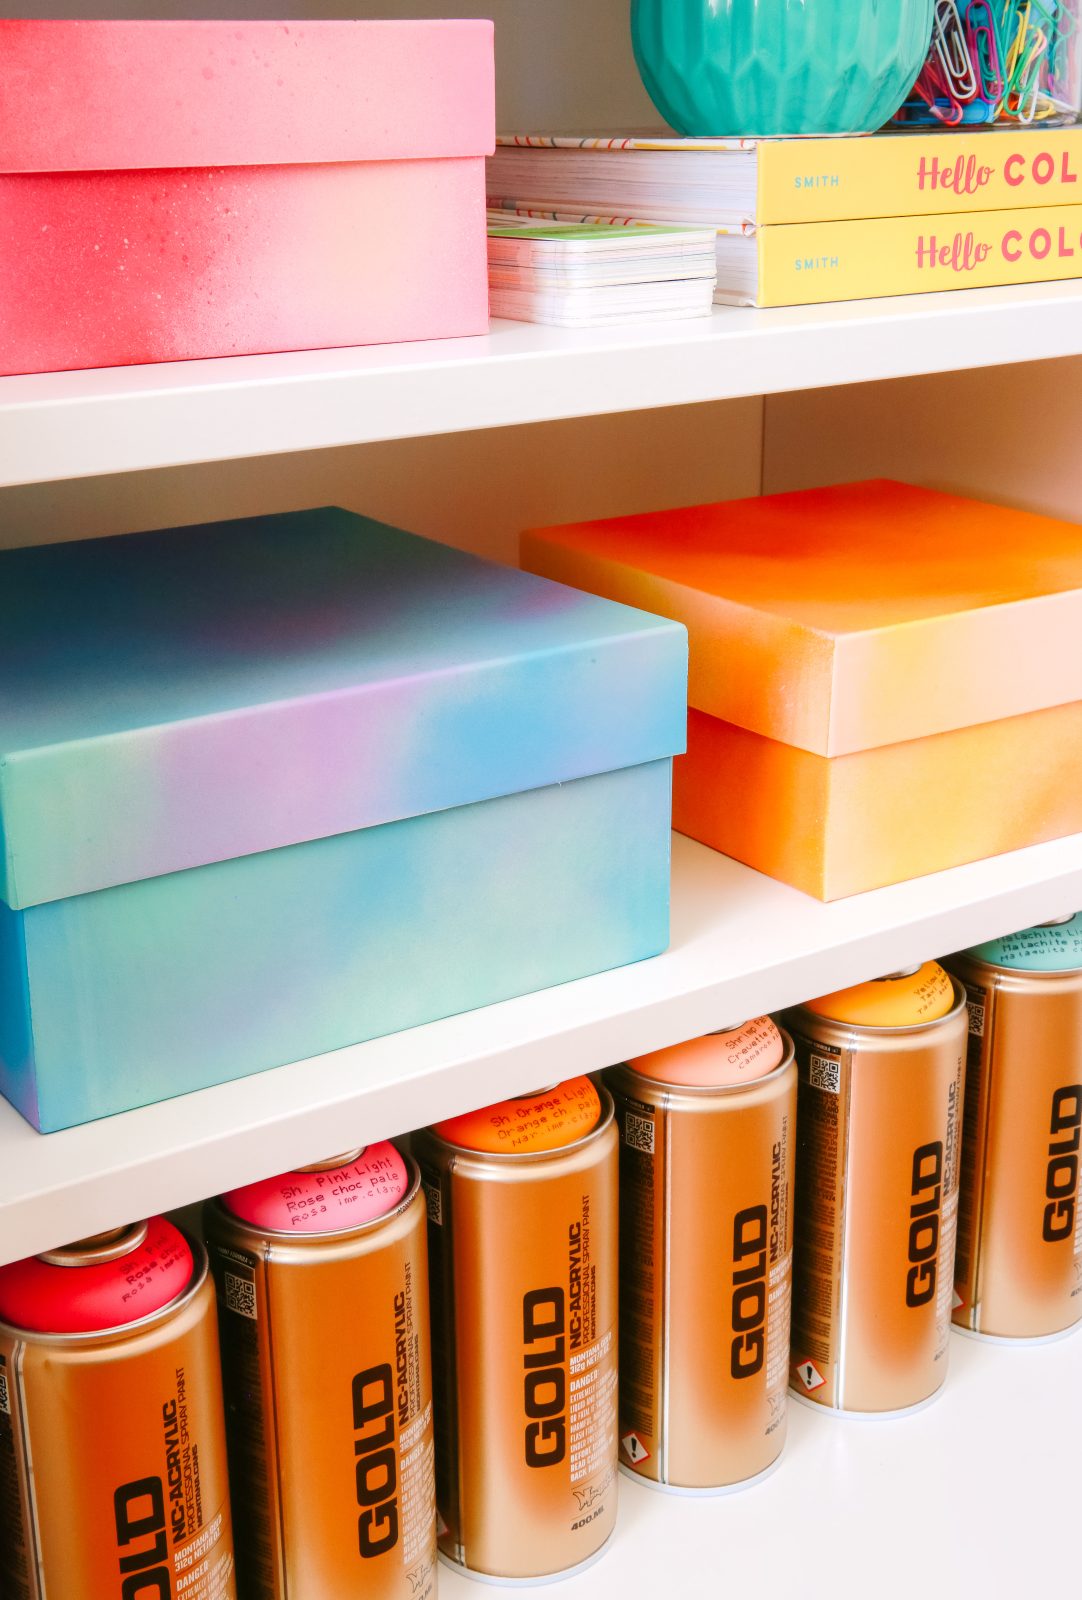
Storing in color is always better
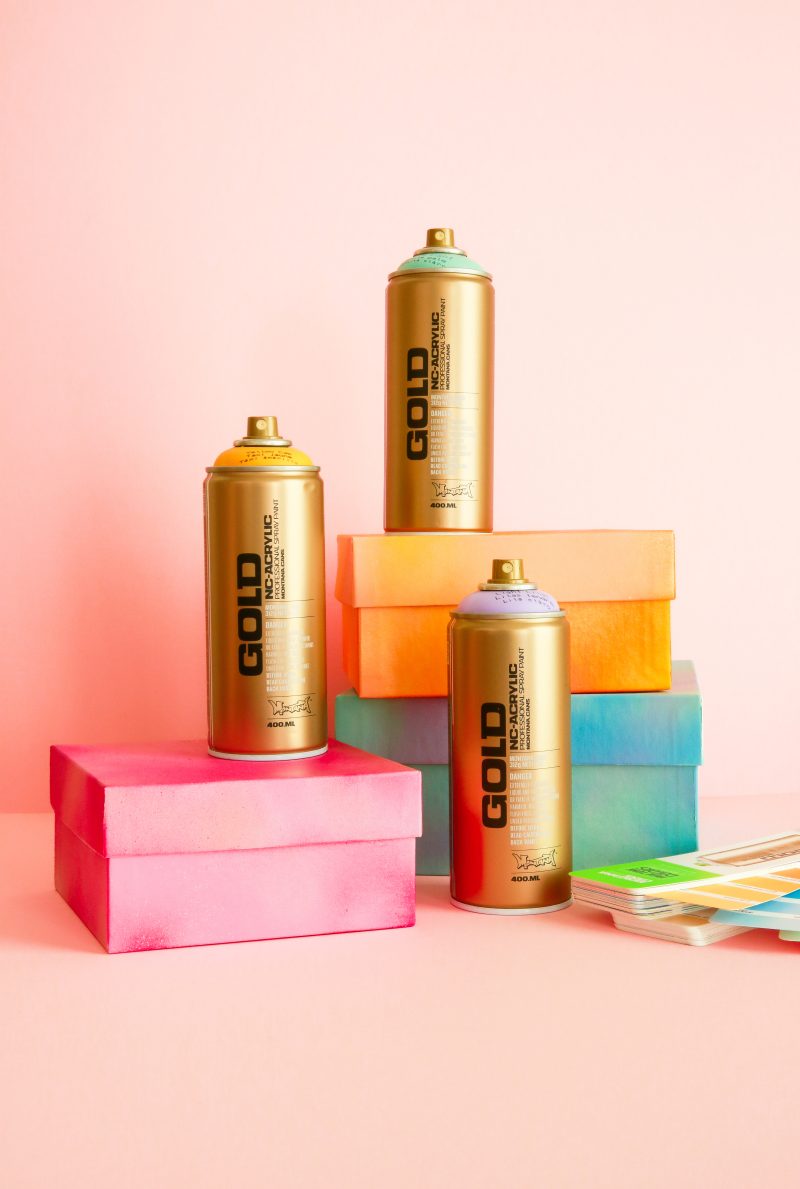
There is no need for boring boxes in anyone’s home, office, or workspace. And with the Ombre Storage Boxes color project, we found a super easy way to make storage boxes look like pieces of art and still do the job they are supposed to at the same time. How? Read on and get your color on.
Materials used
- Cardboard craft storage boxes
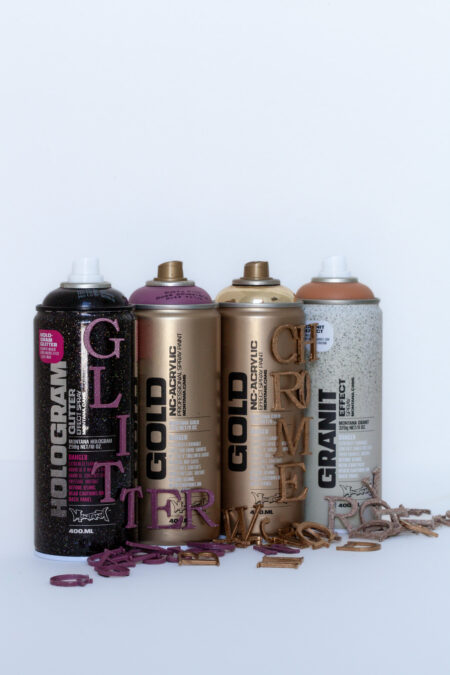
- Montana GOLD spray cans (colors of your choice, 3 tones per color)
- Montana Universal PRIMER or Montana GOLD Shock White (optional)
- Drop sheet
- Mask
- Gloves
How it was done
I know that some of our readers can be a little overwhelmed sometimes with projects that are beyond their skill levels. Well, this one is not one of those! The Ombre Storage Box project is an all-inclusive easy way for anyone of any skill level to get their color on.

In our case, the storage boxes we were painting were already white. If yours are not, you can either reach for the Montana Universal PRIMER spray which is white or grab a Montana GOLD Shock White can to prime your boxes for a neutral white base. You also have the option to trial the darkest color of each color grouping on the base of one of your boxes to see if the material primes well if sprayed raw.

Regardless of which way you choose to go, remember to shake each can for 2-3 minutes vigorously till you can hear the mixing balls moving freely, remove the nozzle and turn the can upside to release the black safety ring, and then reapply the nozzle and test spray away from all objects to get your can started. Then apply thin even coats horizontally, and reapply if desired. But this time in vertical strokes. Once your boxes are white or primed in their foundation color, they are ready to go.
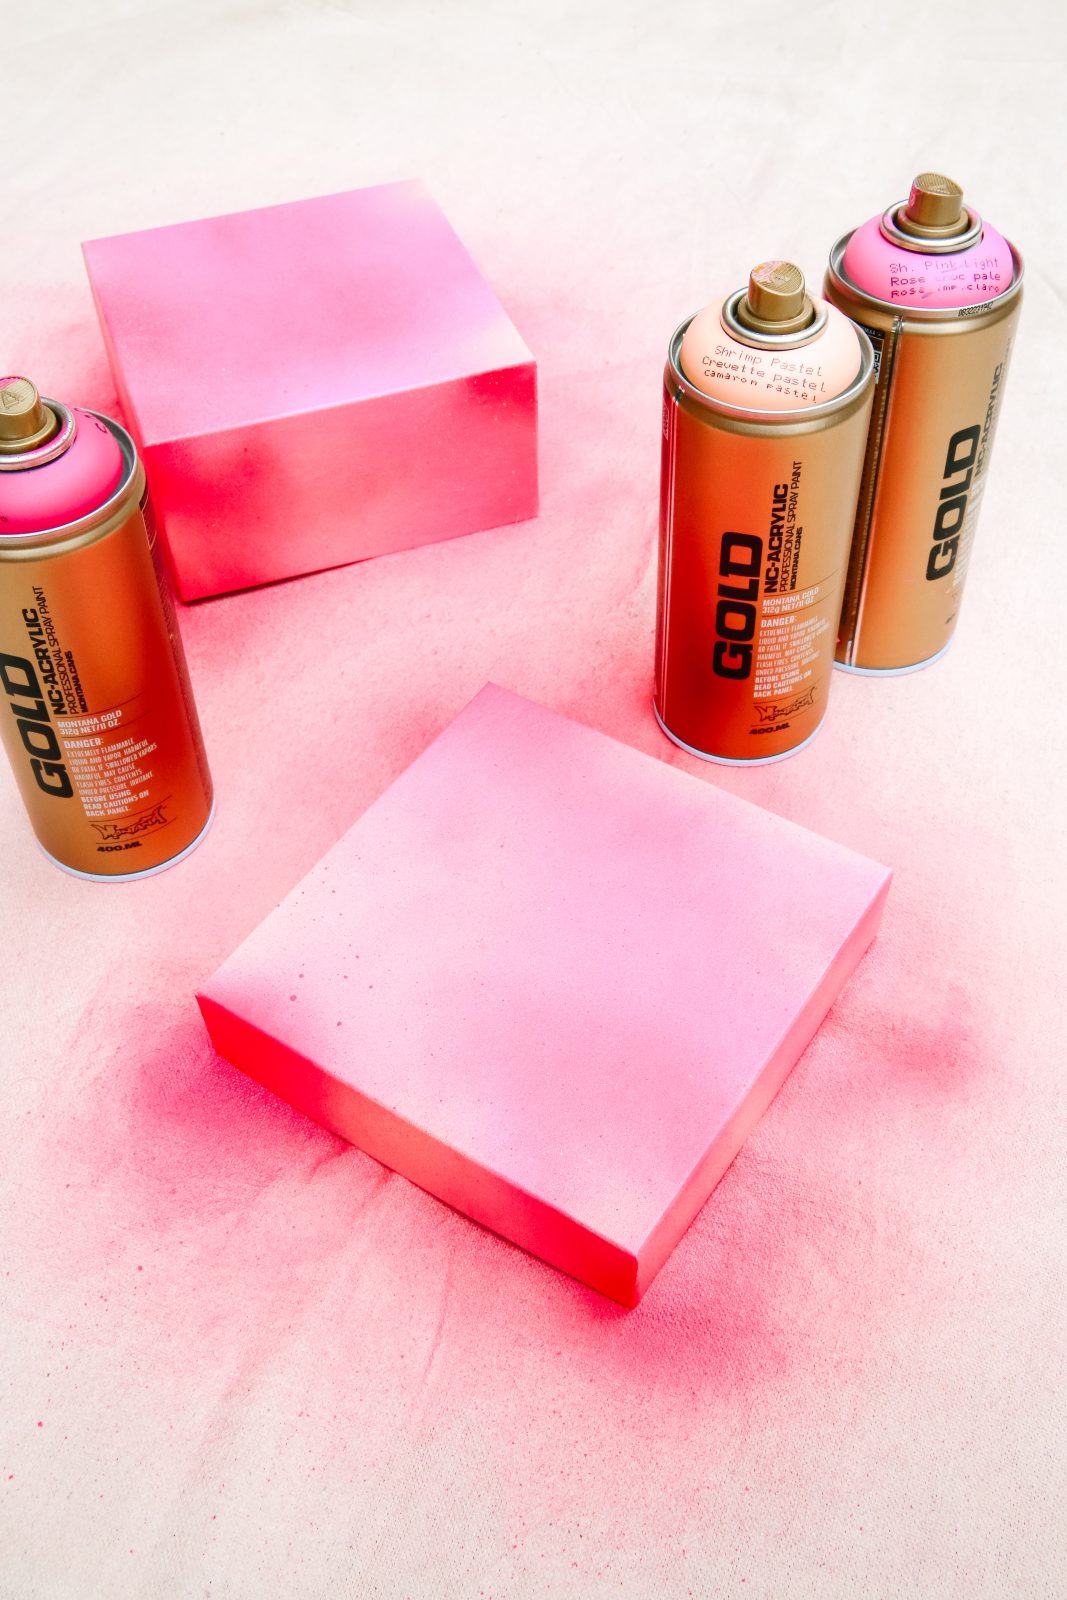
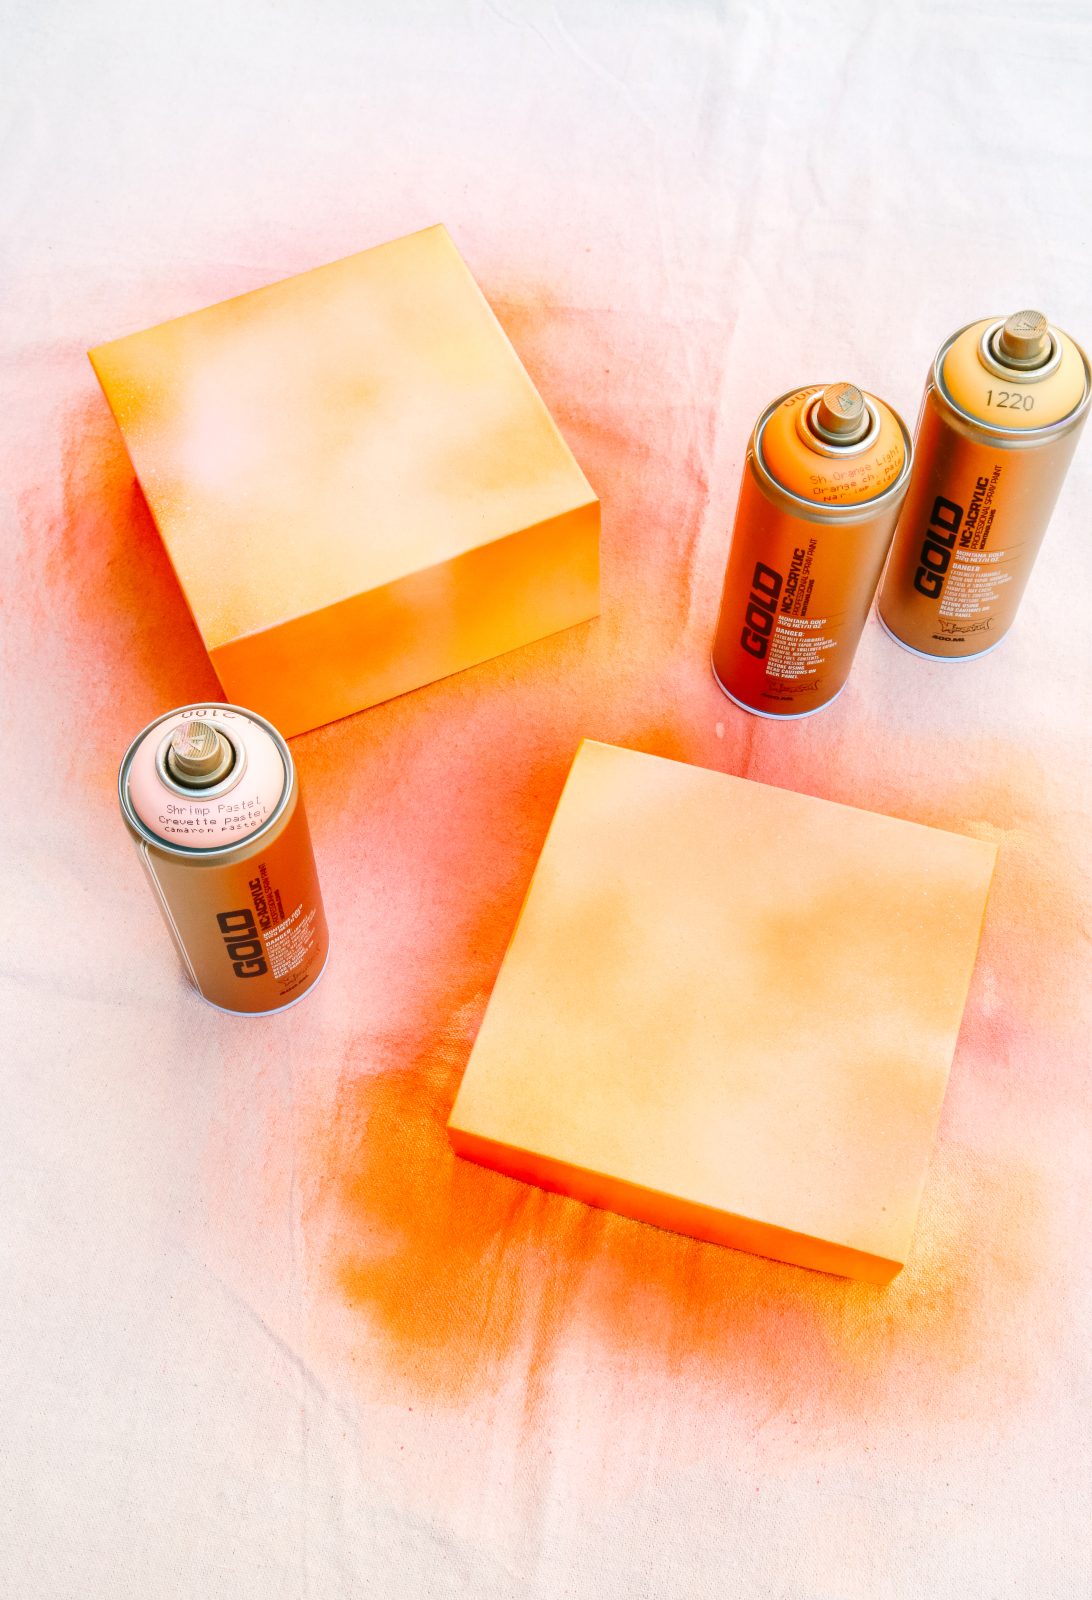

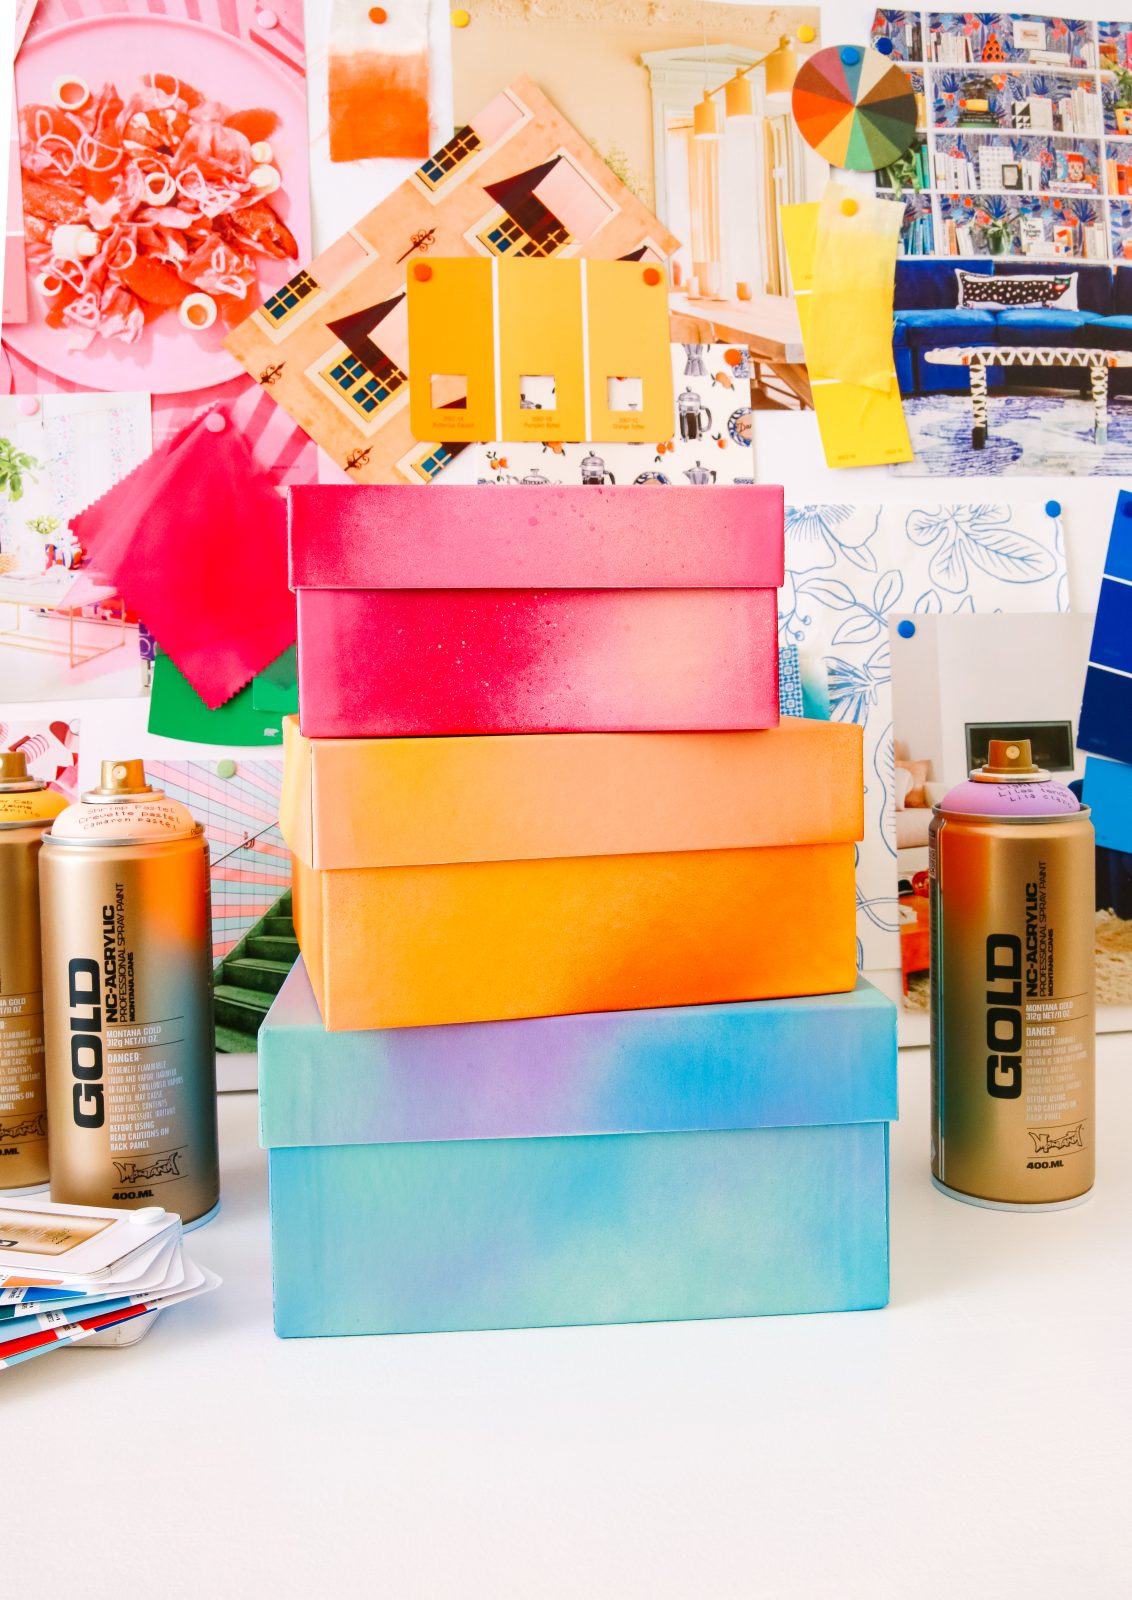
Prepare a series of Montana GOLD colors of your choice in groups of 3 tones per color. One colorway we used was Shock Orange Light, Shrimp Pastel, and Yellow Cab. The amount of Montana GOLD colors you need depends on the number of boxes you have to paint or the number of color variations you want to create. We always started with the darkest color first, and then worked toward the lightest.
Put the boxes and their lids upside down on a drop sheet outside or in a well-ventilated area, and spray your first color (the darkest one) in bursts, leaving gaps where the white or the box’s surface is still exposed. This is where you will apply the other colors. Once you are happy, move to your next tone (a shade lighter), and finally to the last color which is the lightest. Let each box sit for a moment while you move on to the next box and the next colorway.
This will give the boxes a chance to dry and you a chance to contemplate whether the saturation and spread of color are to your liking. If they are not, go back to each box with the appropriate colors and make touch-ups or color adjustments as desired.

Ahhhh, that’s it! You did it. And boy does the new look storage box range you created look cool. It doesn’t get much easier and more rewarding than this. 5 minutes of work, shaking, choosing colors, and a squirt of color here and there. And the results, amazing looking storage boxes that you will most likely want to take out of the cupboard and feature somewhere in your home. And all that for anyone at any skill level. Well done!
Happy Crafting.