Putting festivity back into the festive season
Another year, another Christmas. The tree has been taken down, wrapping paper is finally cleaned away, and you just managed to put your feet up for the first time. When you notice for the first time how boring your wine coolers are. Have we been serving wine and champagne in those old things you ask yourself? It is at this point that the metaphorical light goes on in your head and an idea for a quick DIY project arises before the New Year’s Eve celebrations begin. Here’s how you can create your own Metallic Wine Coolers!
Before
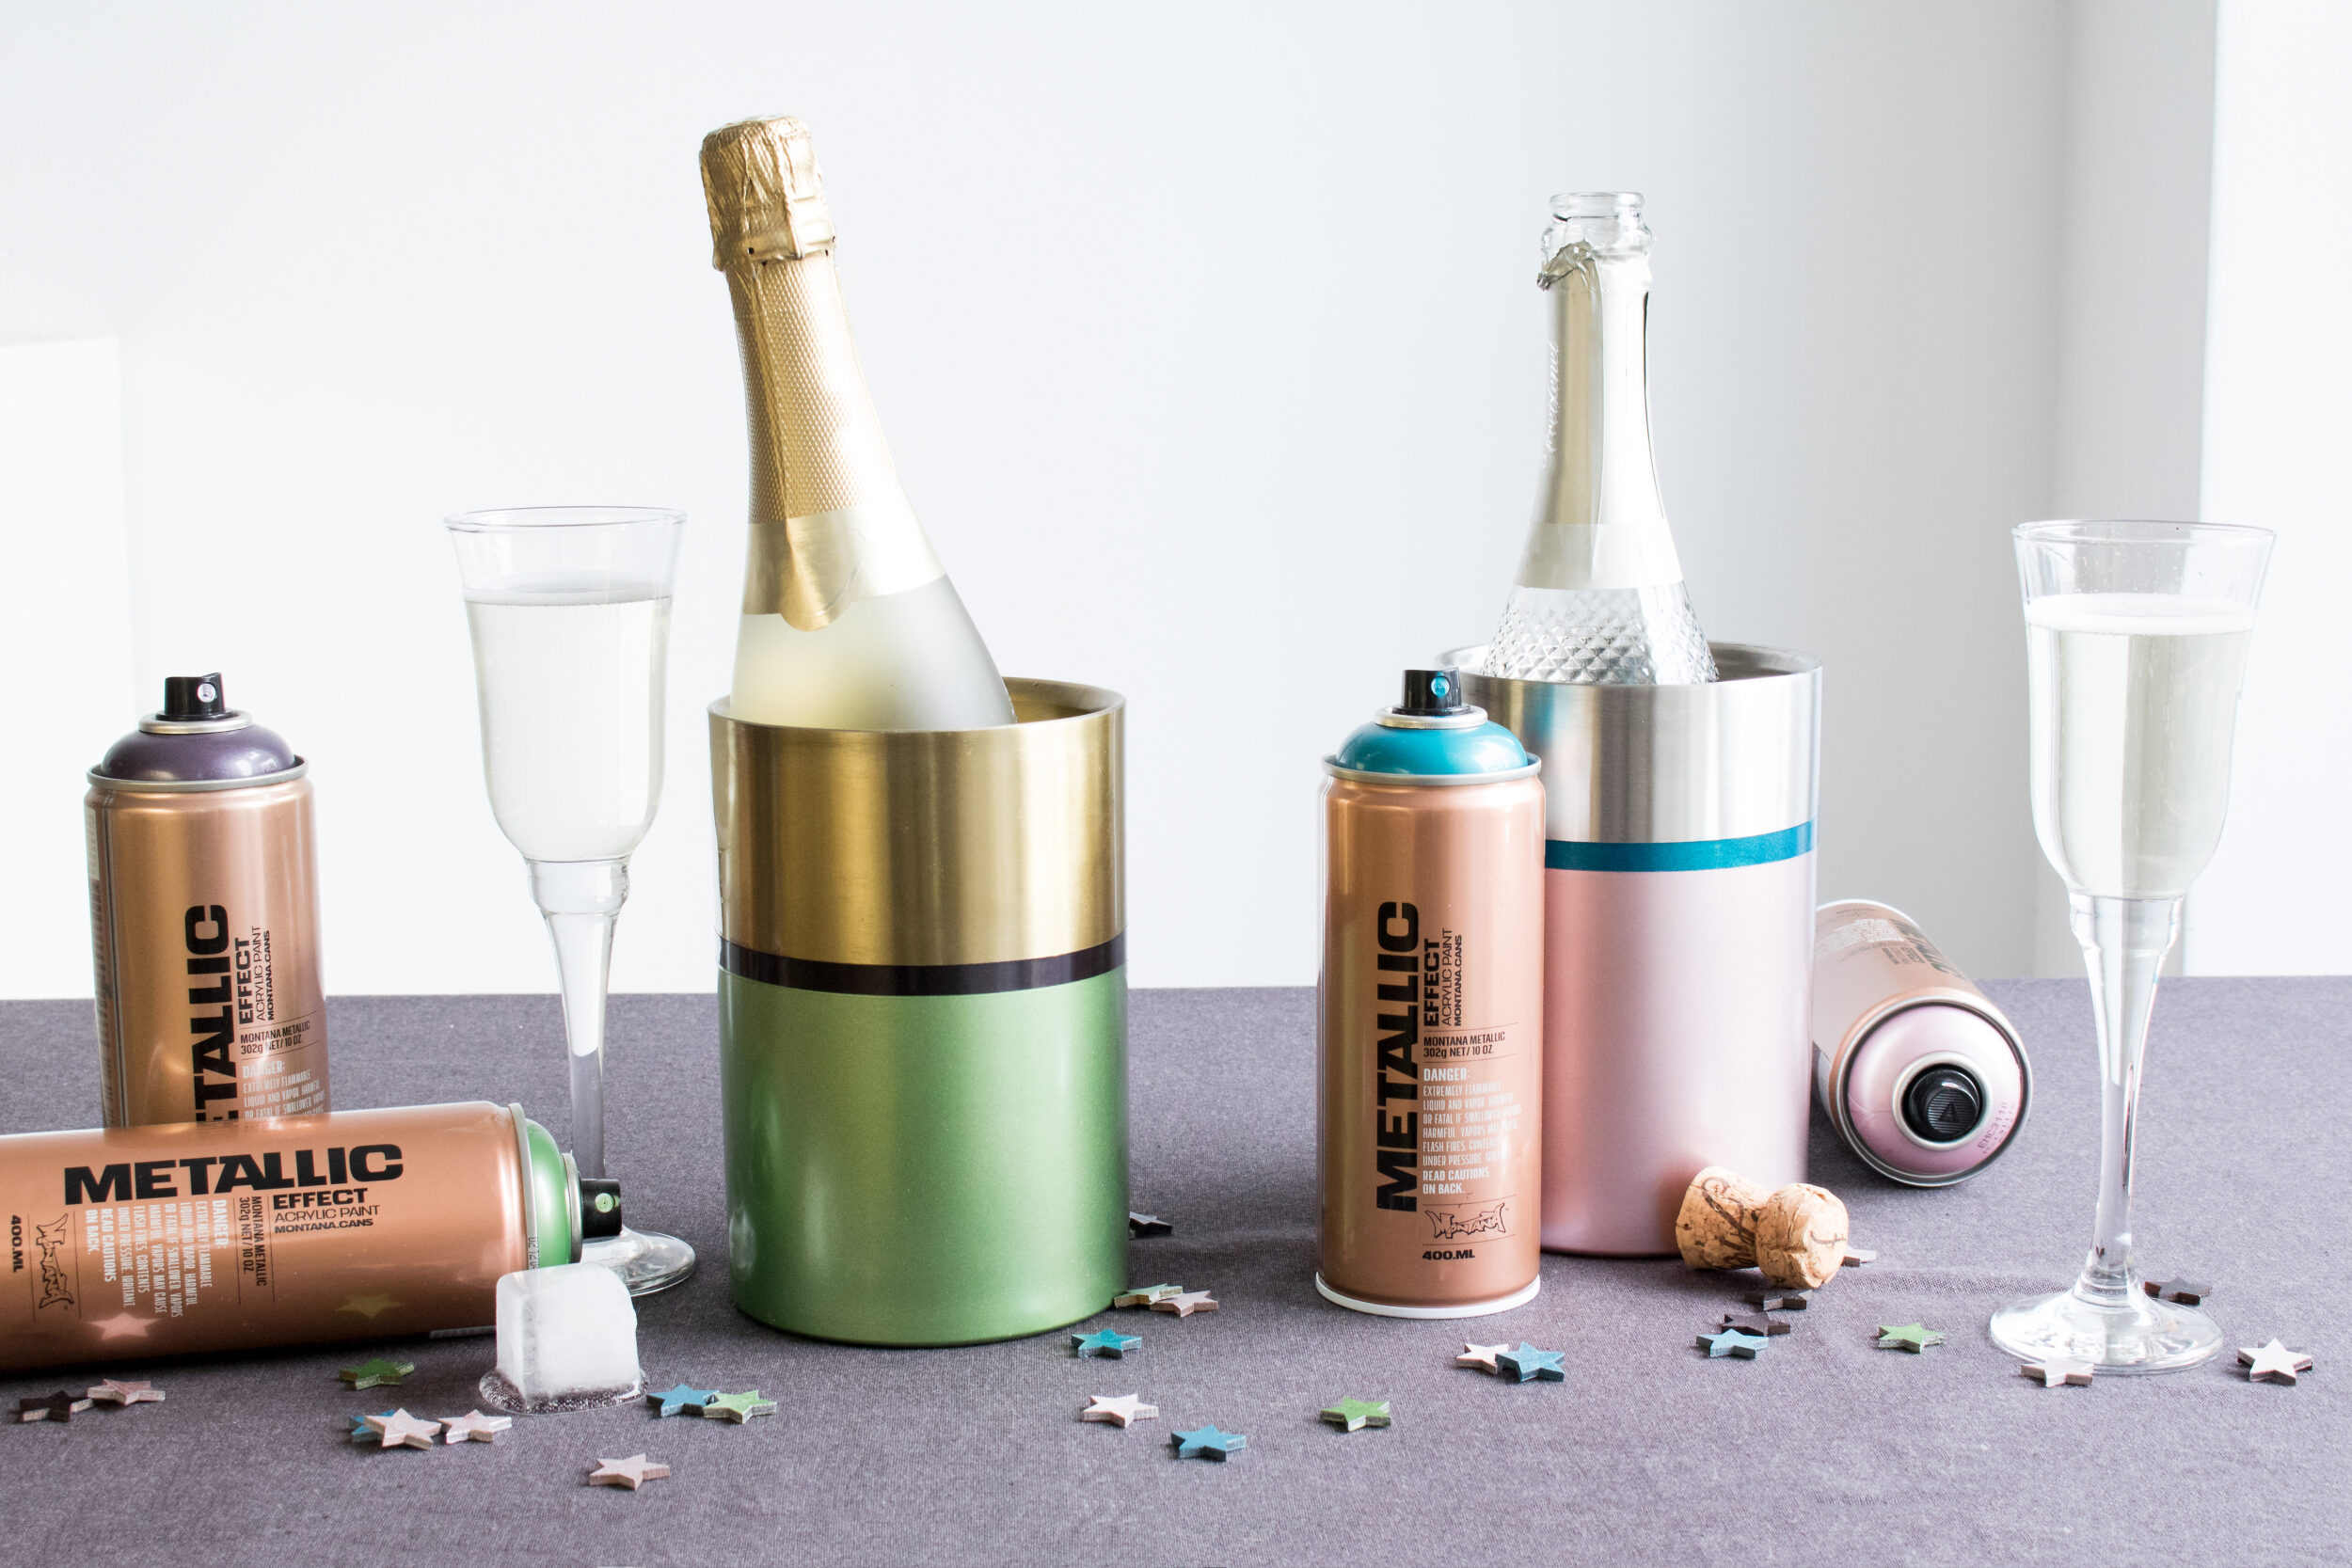
Whether they are raw or colored aluminum, steel, or ceramic, it must be said that the wine cooler has an important job in any celebration keeping the wine, bubbly, or soft drinks cool. Our coolers were colored aluminum, with one being silver and the other one gold.
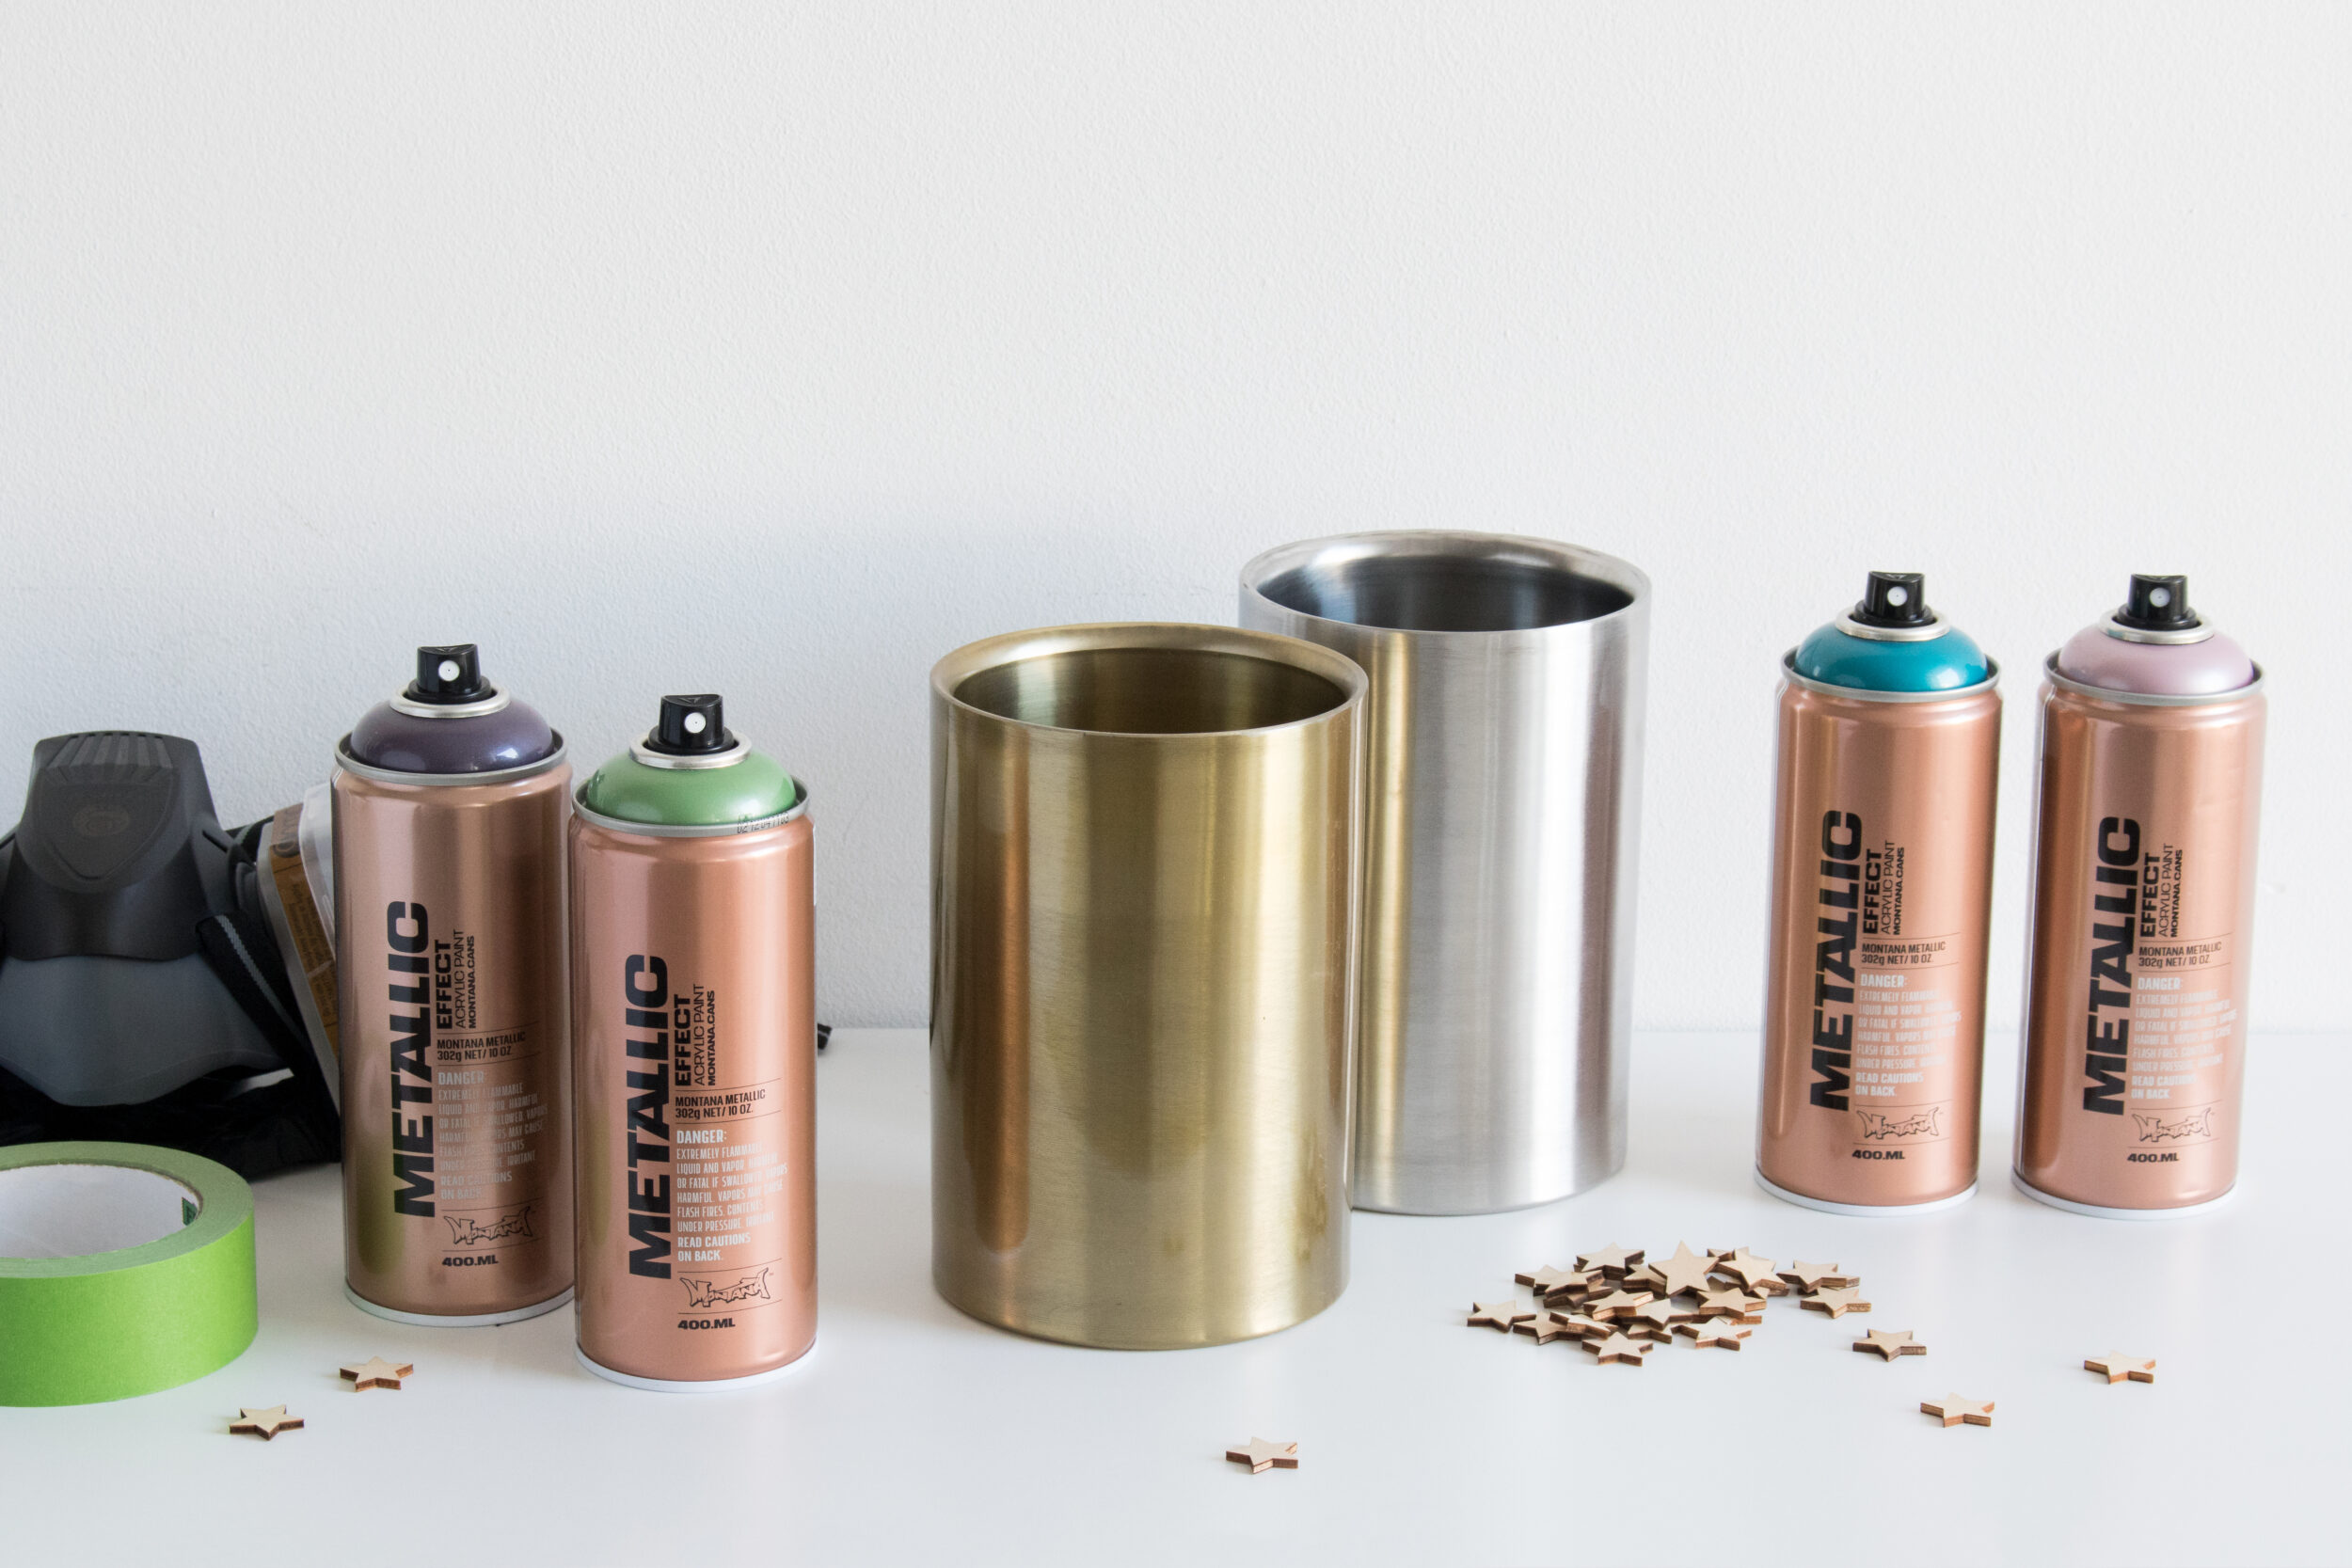
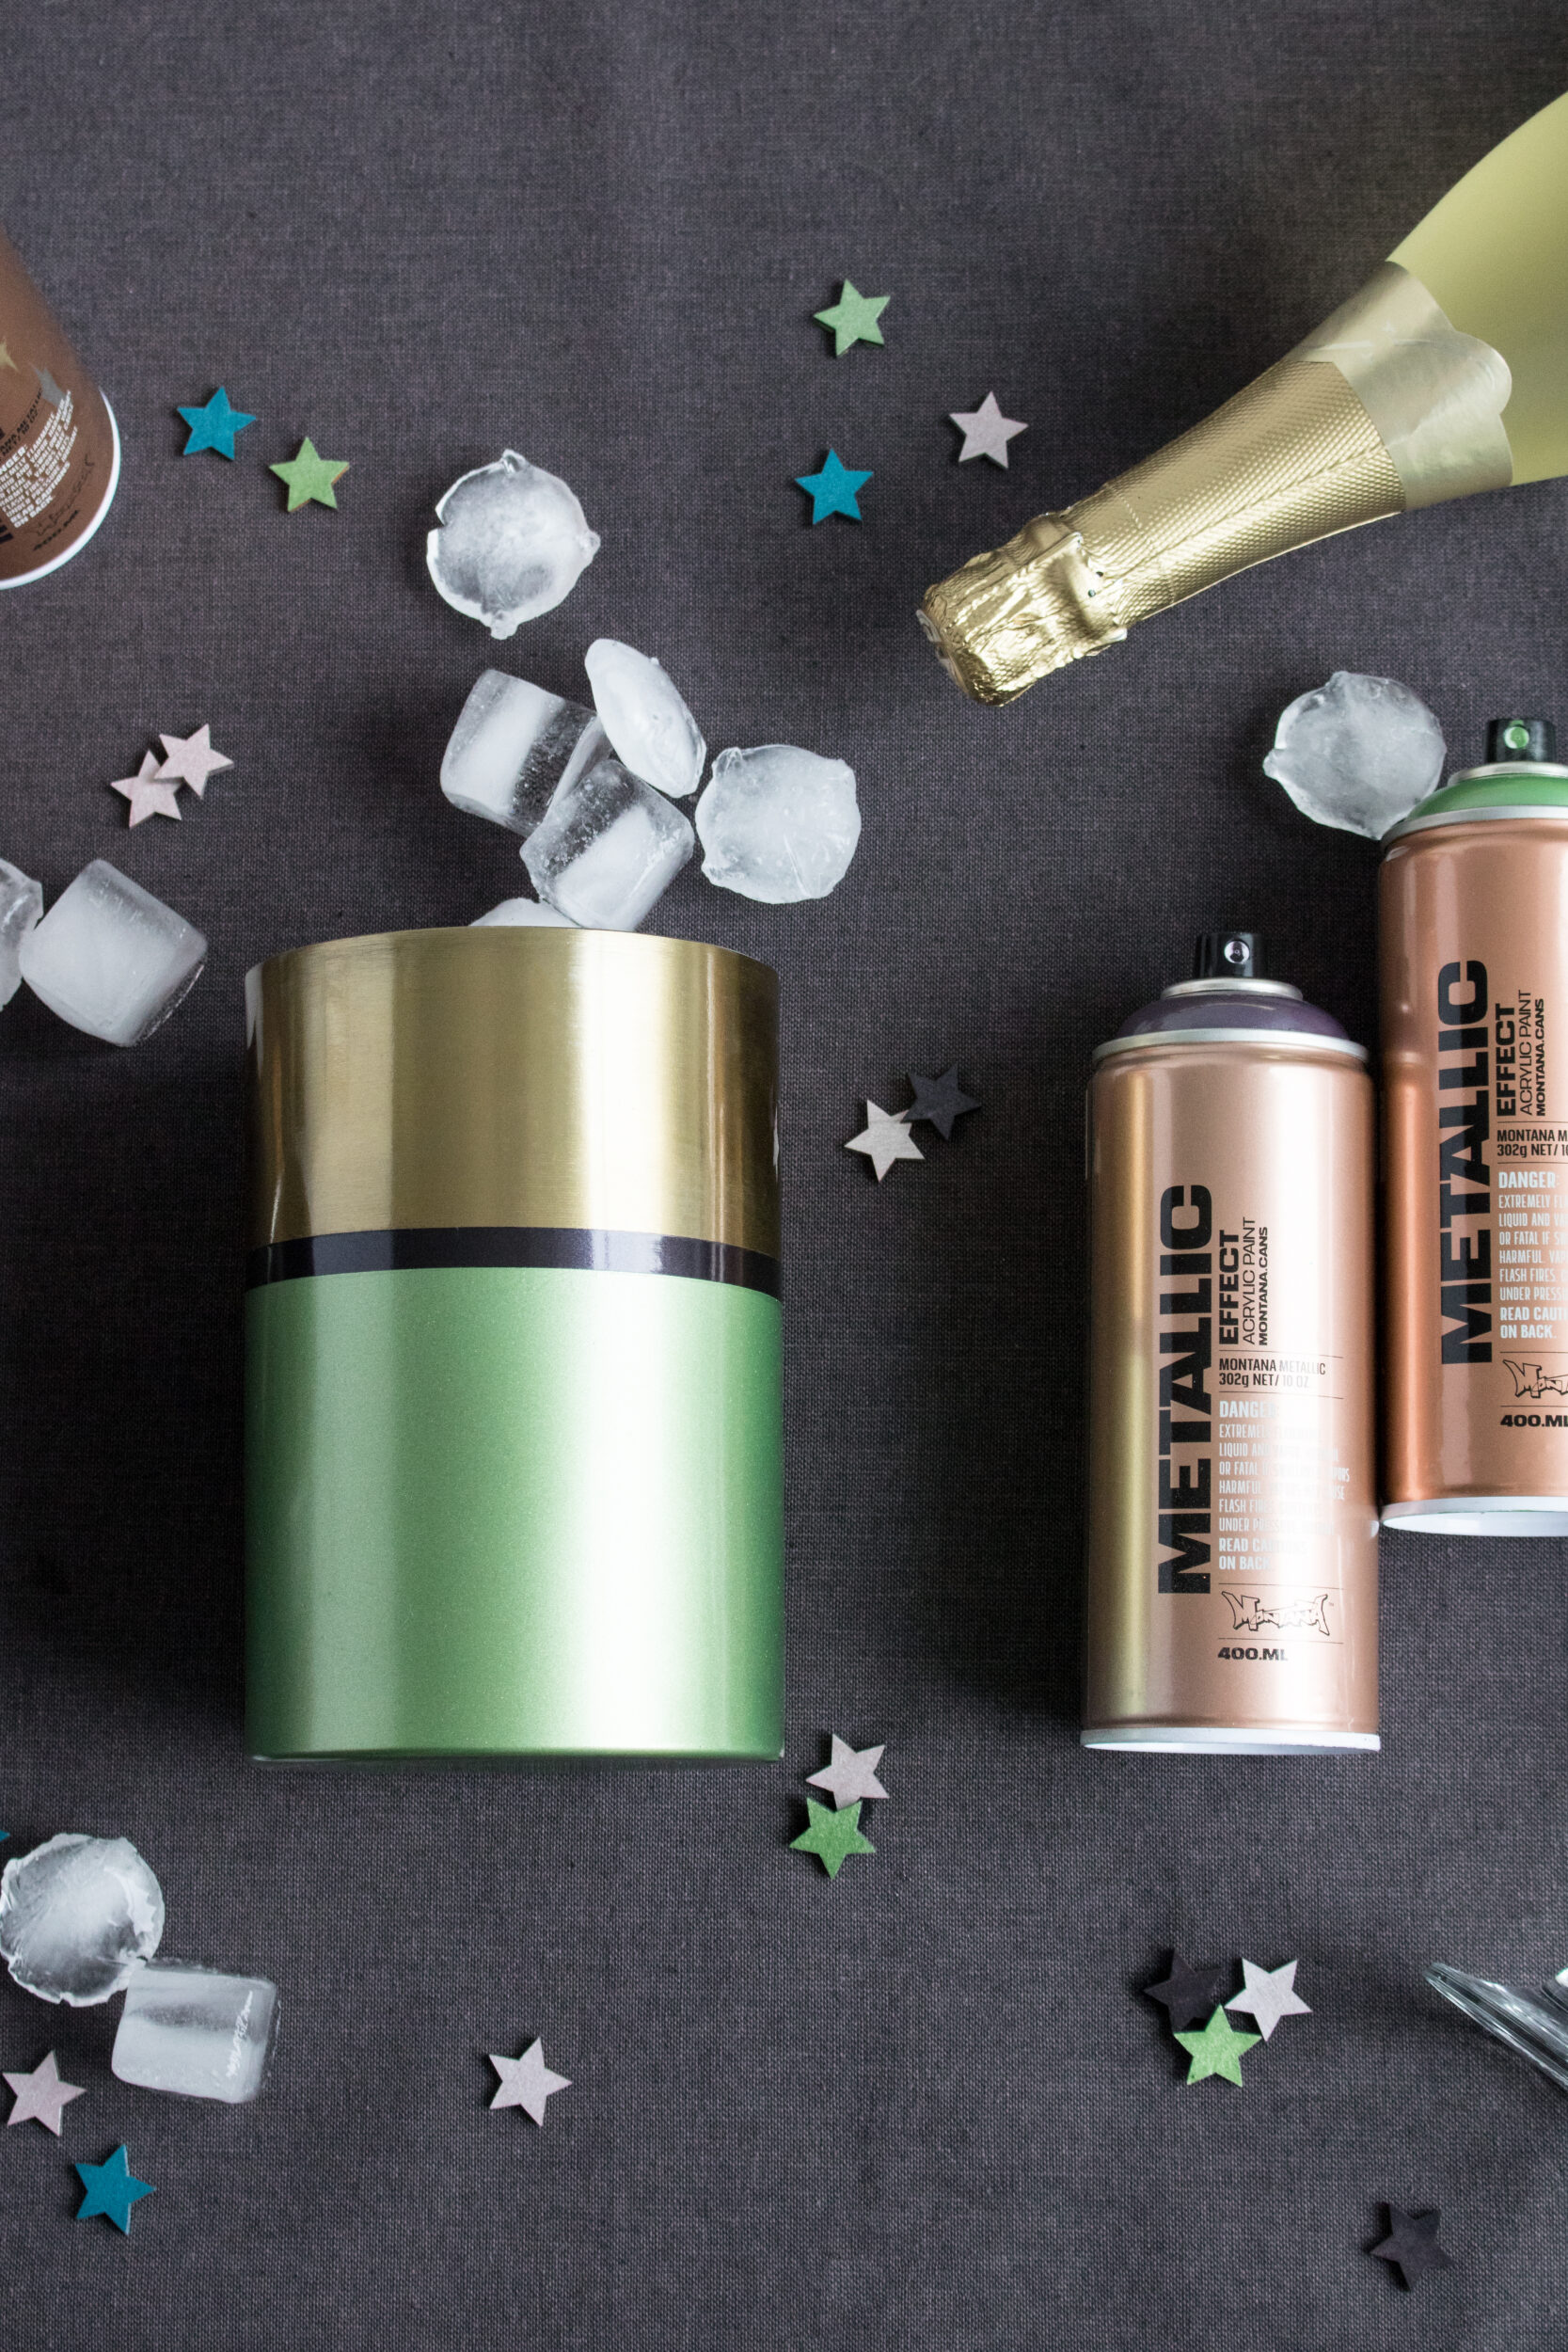
Both clean, with no dints, making them the perfect base for a spot of color. If yours are not, give them a wash and dry, ensuring they are completely dry and free of any dust, oils, or dirt. We chose a 2 color combination. One-color of the Montana METALLIC at the top, (which will form a small ring), a second color for below which will advance the complete base of the cooler. Combine the Montana METALLIC Effect colors any way you like, but if you have doubts, METALLIC Black at the top is always a winner, regardless of the color below.

Taking your masking tape, attach it to all the surfaces you do not want to cover with paint. We chose a small ring at the top and color all the way down slightly below this. You could create your own pattern, but the thinner the masking tape, the more options you have.
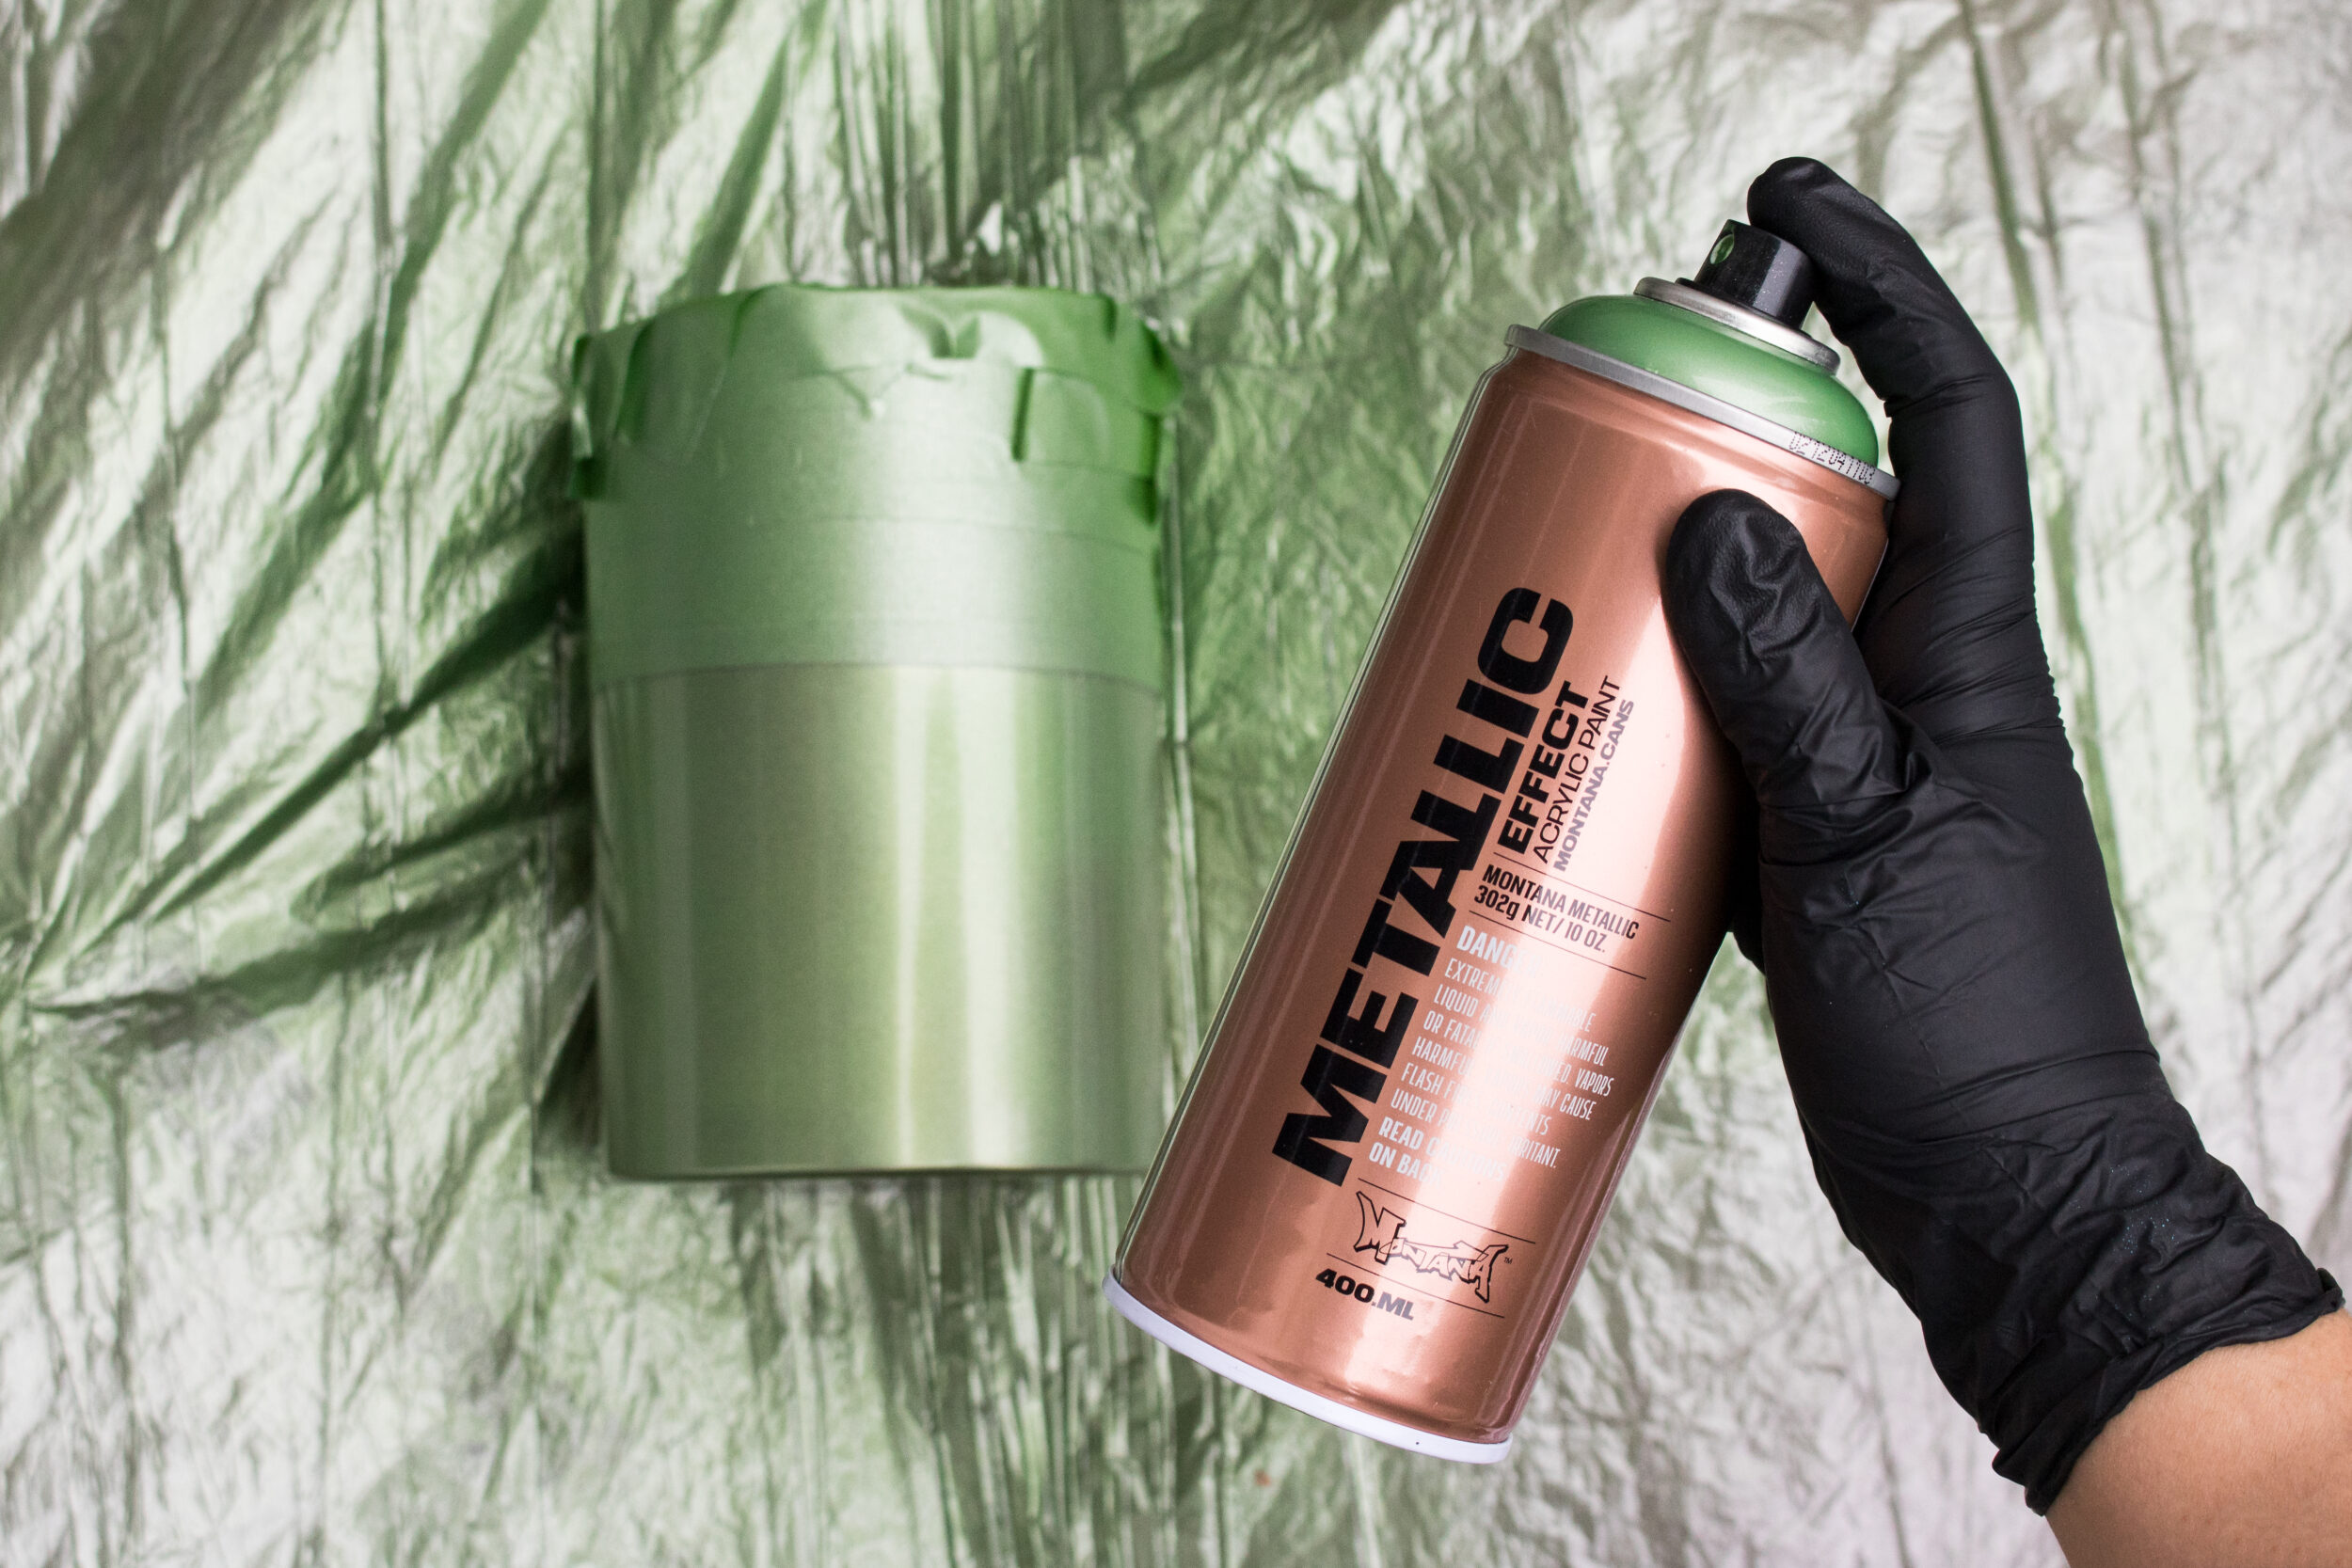
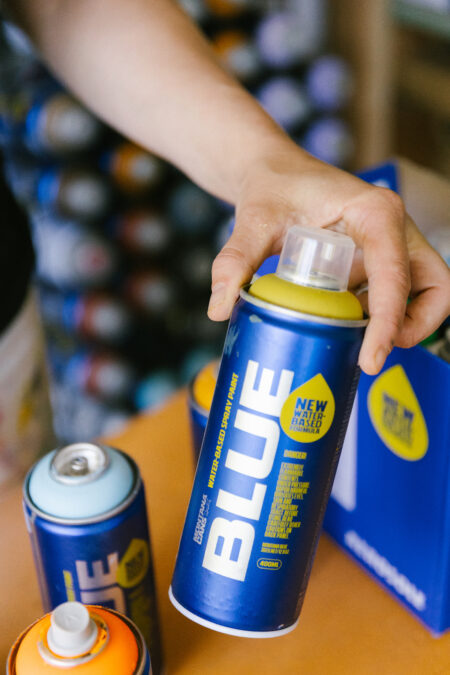
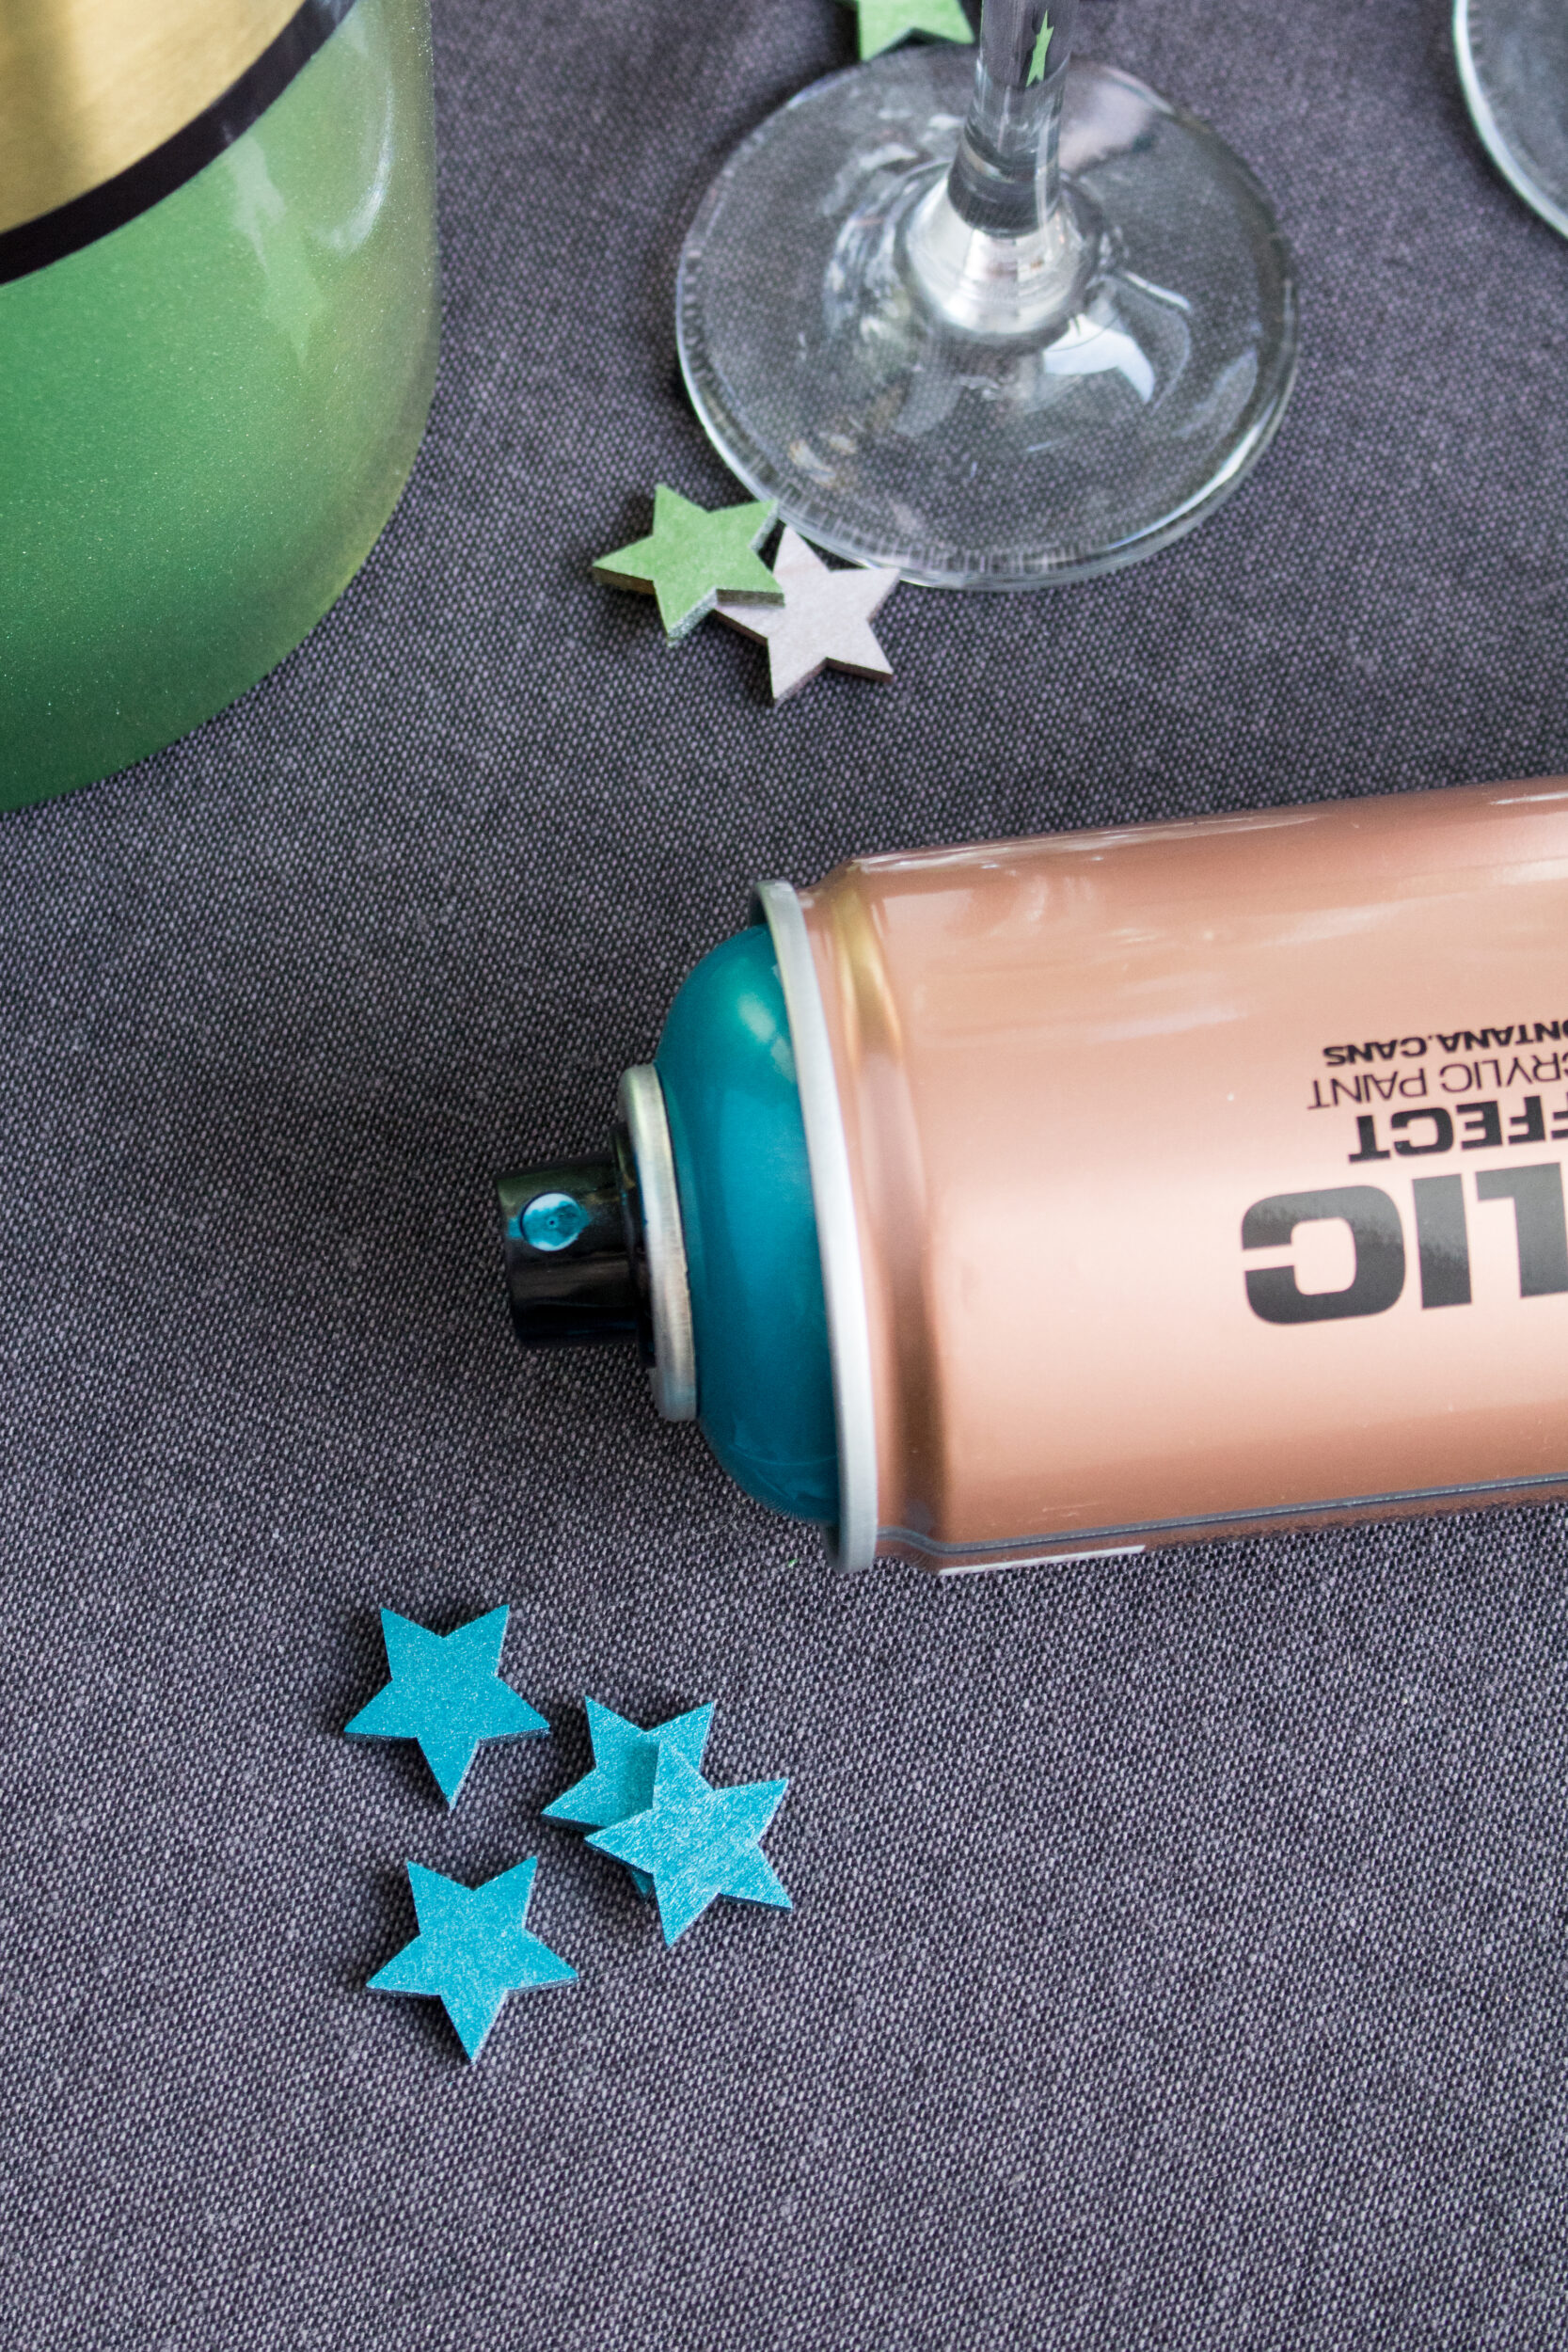
Once you have your painting area prepared and your drop sheet down, put on your gloves and mask. Remembering the golden rule; always shake well for 2-3 minutes making sure that you can hear the mixing balls in the cans moving freely. With METALLIC Effect colors, the heavier weight of the metallic pigment means it sinks to the bottom of the can quicker than normal color when not in use. So always give a regular re-shake, even if you have only paused for a few minutes. With slow, sweeping side to side motions, apply your color at a distance of about 15-20 cm. Nice work! What was once one color functional, is now eye-catching metallically enhanced chic.
Should your Metallic Wine Coolers be made of a ceramic material (which is often the case), have no fear, your Montana METALLIC Effect colors will apply just as easily. Or you can give them a coat of Montana Universal PRIMER first, allow that to dry, and then cover with your Montana METALLIC color. As easy as that.
AFTER
It’s 20 minutes or more since you applied your Montana METALLIC colors. The paint is touch dry, but not cured yet, or ready to handle. If you can manage to remove the masking tape, pulling it away from the area that was painted, then do so carefully without handling the paint. This may prevent any tearing of the paint before it is dry.
If you just cut your nails the day before and can’t get a good grip to start removing the tape, have no fear. Let it dry, and then very slowly peel away the tape. Again, try to peel away from the color applied to prevent tearing. Then leave to completely cure overnight.
It doesn’t matter if it is 10:00 a.m., if there is wine in the fridge, put it in your cooler and see how now, even your wine looks cooler. You may decide to stop there and pat yourself on the back for a job well done. However, if you think you want to give your cooler(s) that extra little bit of durability and protection before putting them into service, how about applying a coat of the Montana VARNISH of your choice, for that extra added touch of longevity.
With no more than 15-20 minutes of actual working time, you made it well before your New Year’s Eve deadline. Maybe there is even enough time to christen your Metallic Wine Coolers before the guests arrive? Happy New Year and above all, Happy Crafting!