Modernizing a halloween classic
Halloween is a great time to get your DIY on. Make some cool decor and of course, get dressed up. But if you have been doing the same thing year in, year out, then maybe you just need a simple new change to mix things up a little. We did and it didn’t take long at all. Out traditional pumpkins got a contemporary metallic touch. Here is what we did.
Materials used
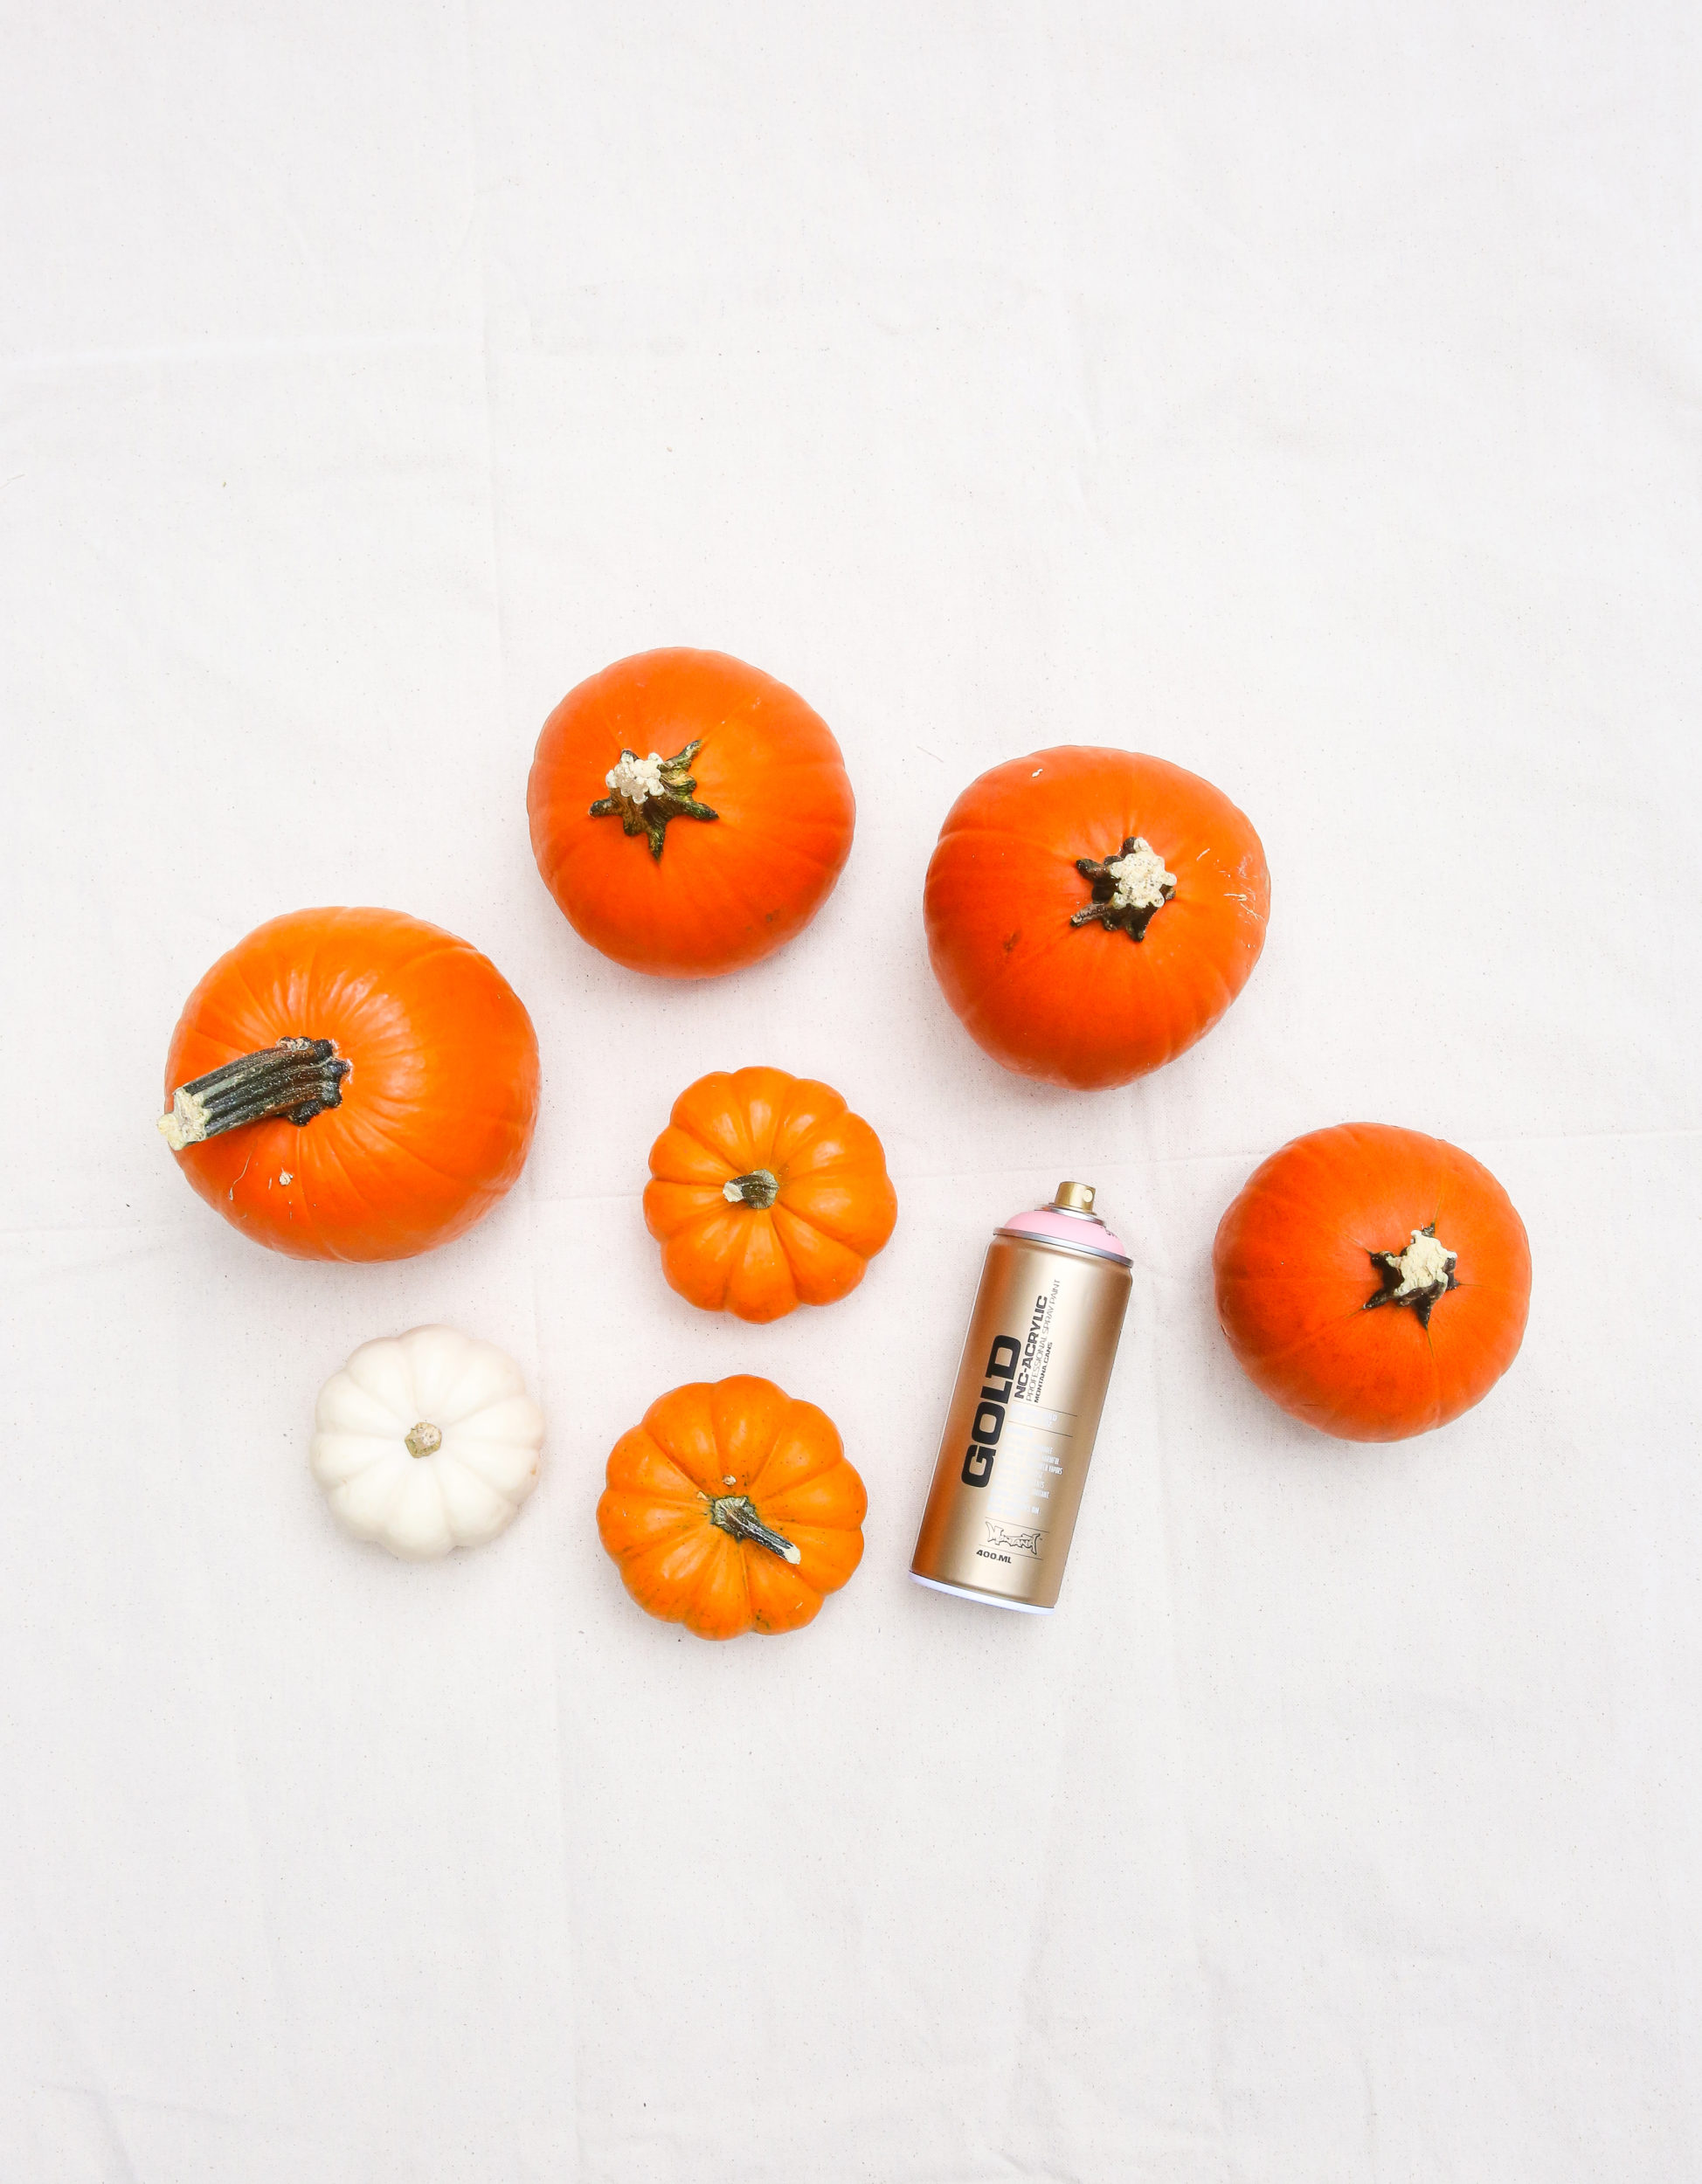
- Pumpkins (with the head stems on)
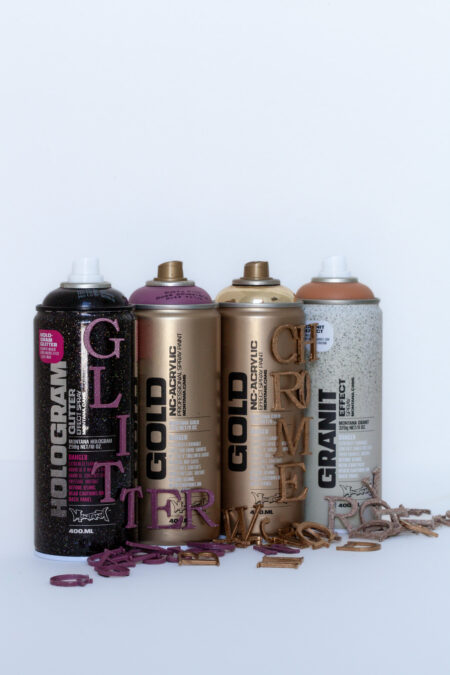
- Montana METALLIC 400ml in colors of choice
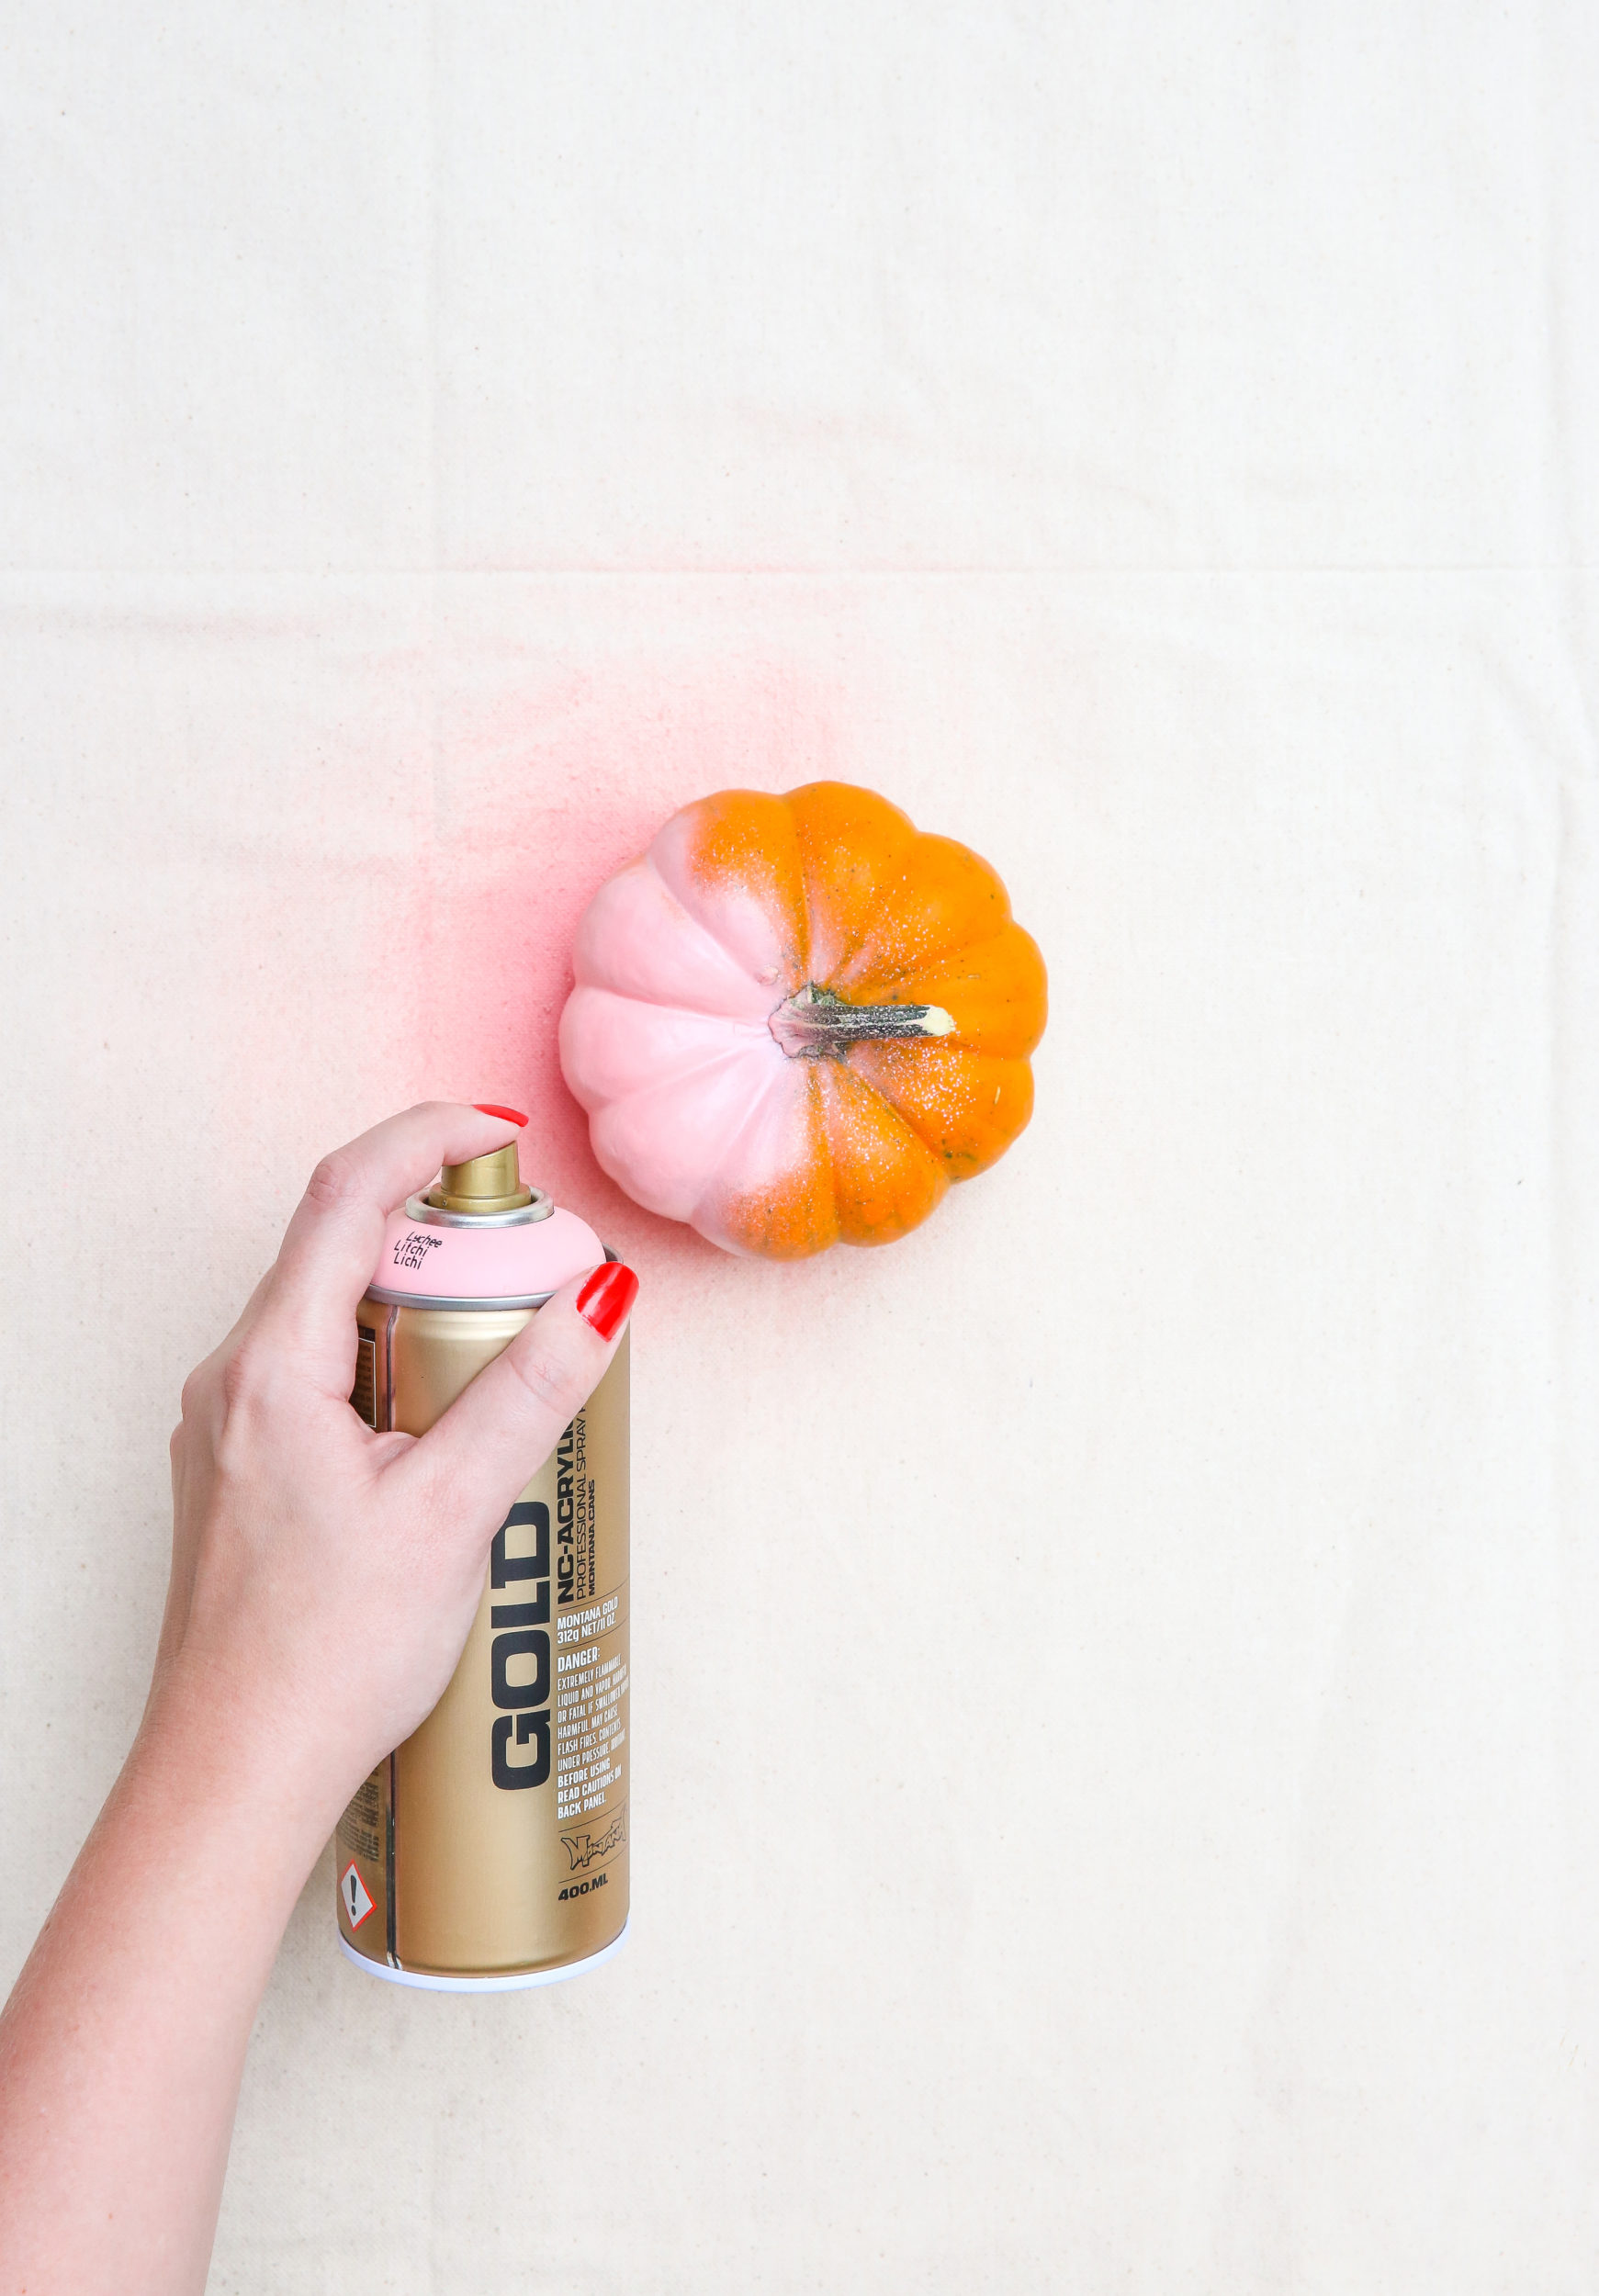
- Montana GOLD, in color Frozen Raspberry
- Gloves
- Mask
- Drop sheet or cardboard
How it was done
At the local supermarket we sourced our pumpkins. Any type will do as long as they can sit upward by themselves. It is important however that they have the head stem left on (the bit where they were attached to the plant). If you live in a regional area, go see your local veggie farmer and see what they have. We cleaned ours with a damp cloth several times to take away any dust or dirt, but ensuring they don’t get too wet.
Once dry, we put on our gloves and mask, moved to our painting area where the windows were open and our drop sheet was already laid. We shook our Montana GOLD in the color Frozen Raspberry, really well for 2-3 minutes. After that, we then took off the nozzle and removed the black safety ring from under it, we re-applied it and did a little test spray away from everything. Everything as it should be so we proceeded to spray all the pumpkins completely in the color Frozen Raspberry. If you are lucky and you have a lot of pumpkins, you may be able to start the next stage straight away back on on the first pumpkin you painted. If not, make sure you allow at least 15-20 minutes before the next step.
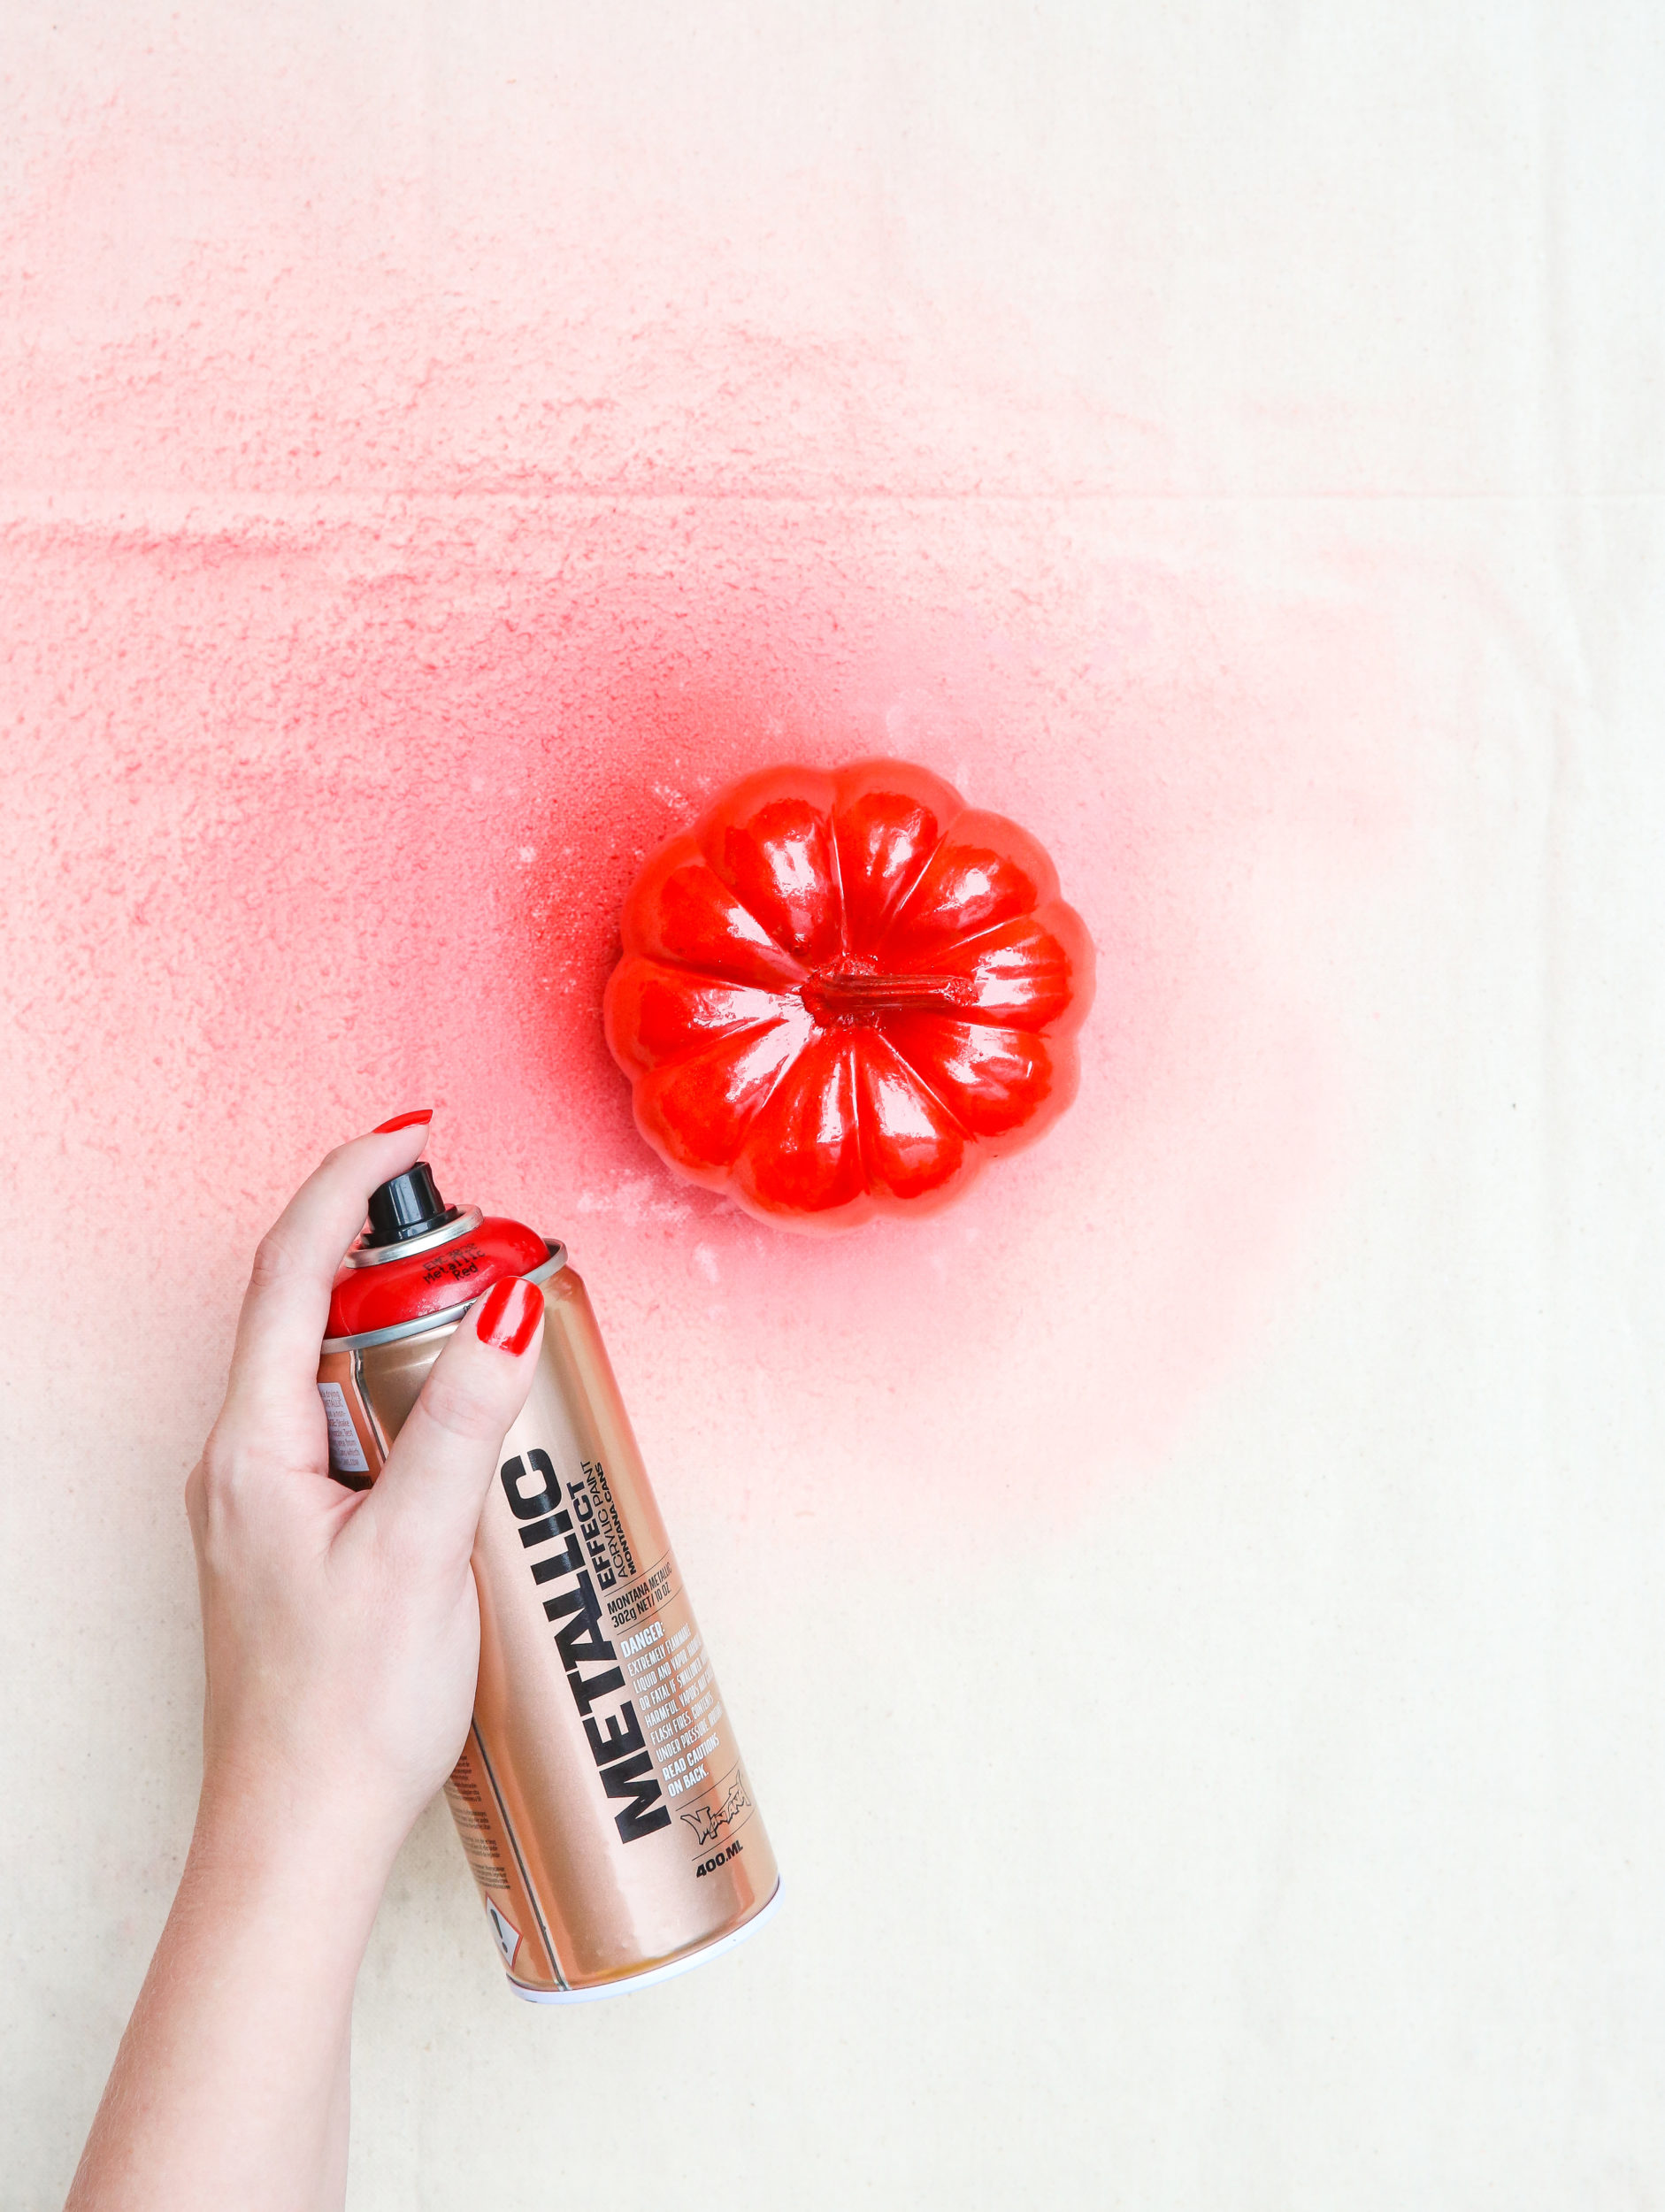
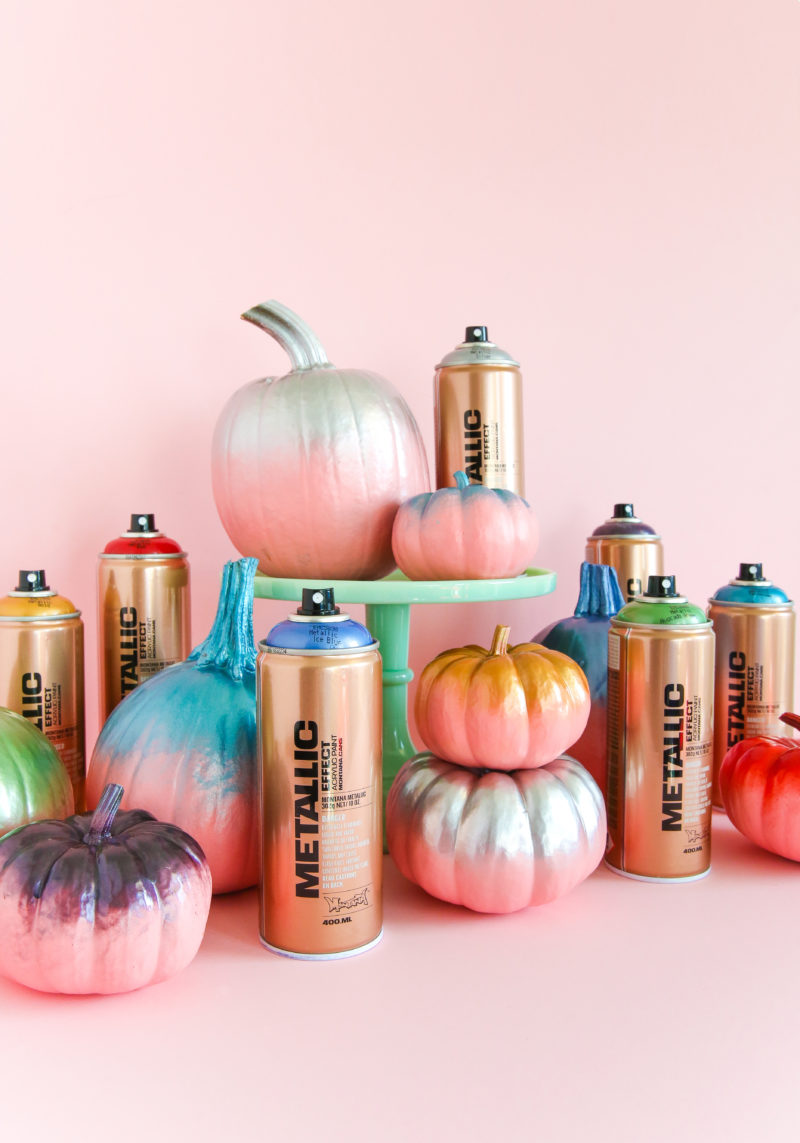
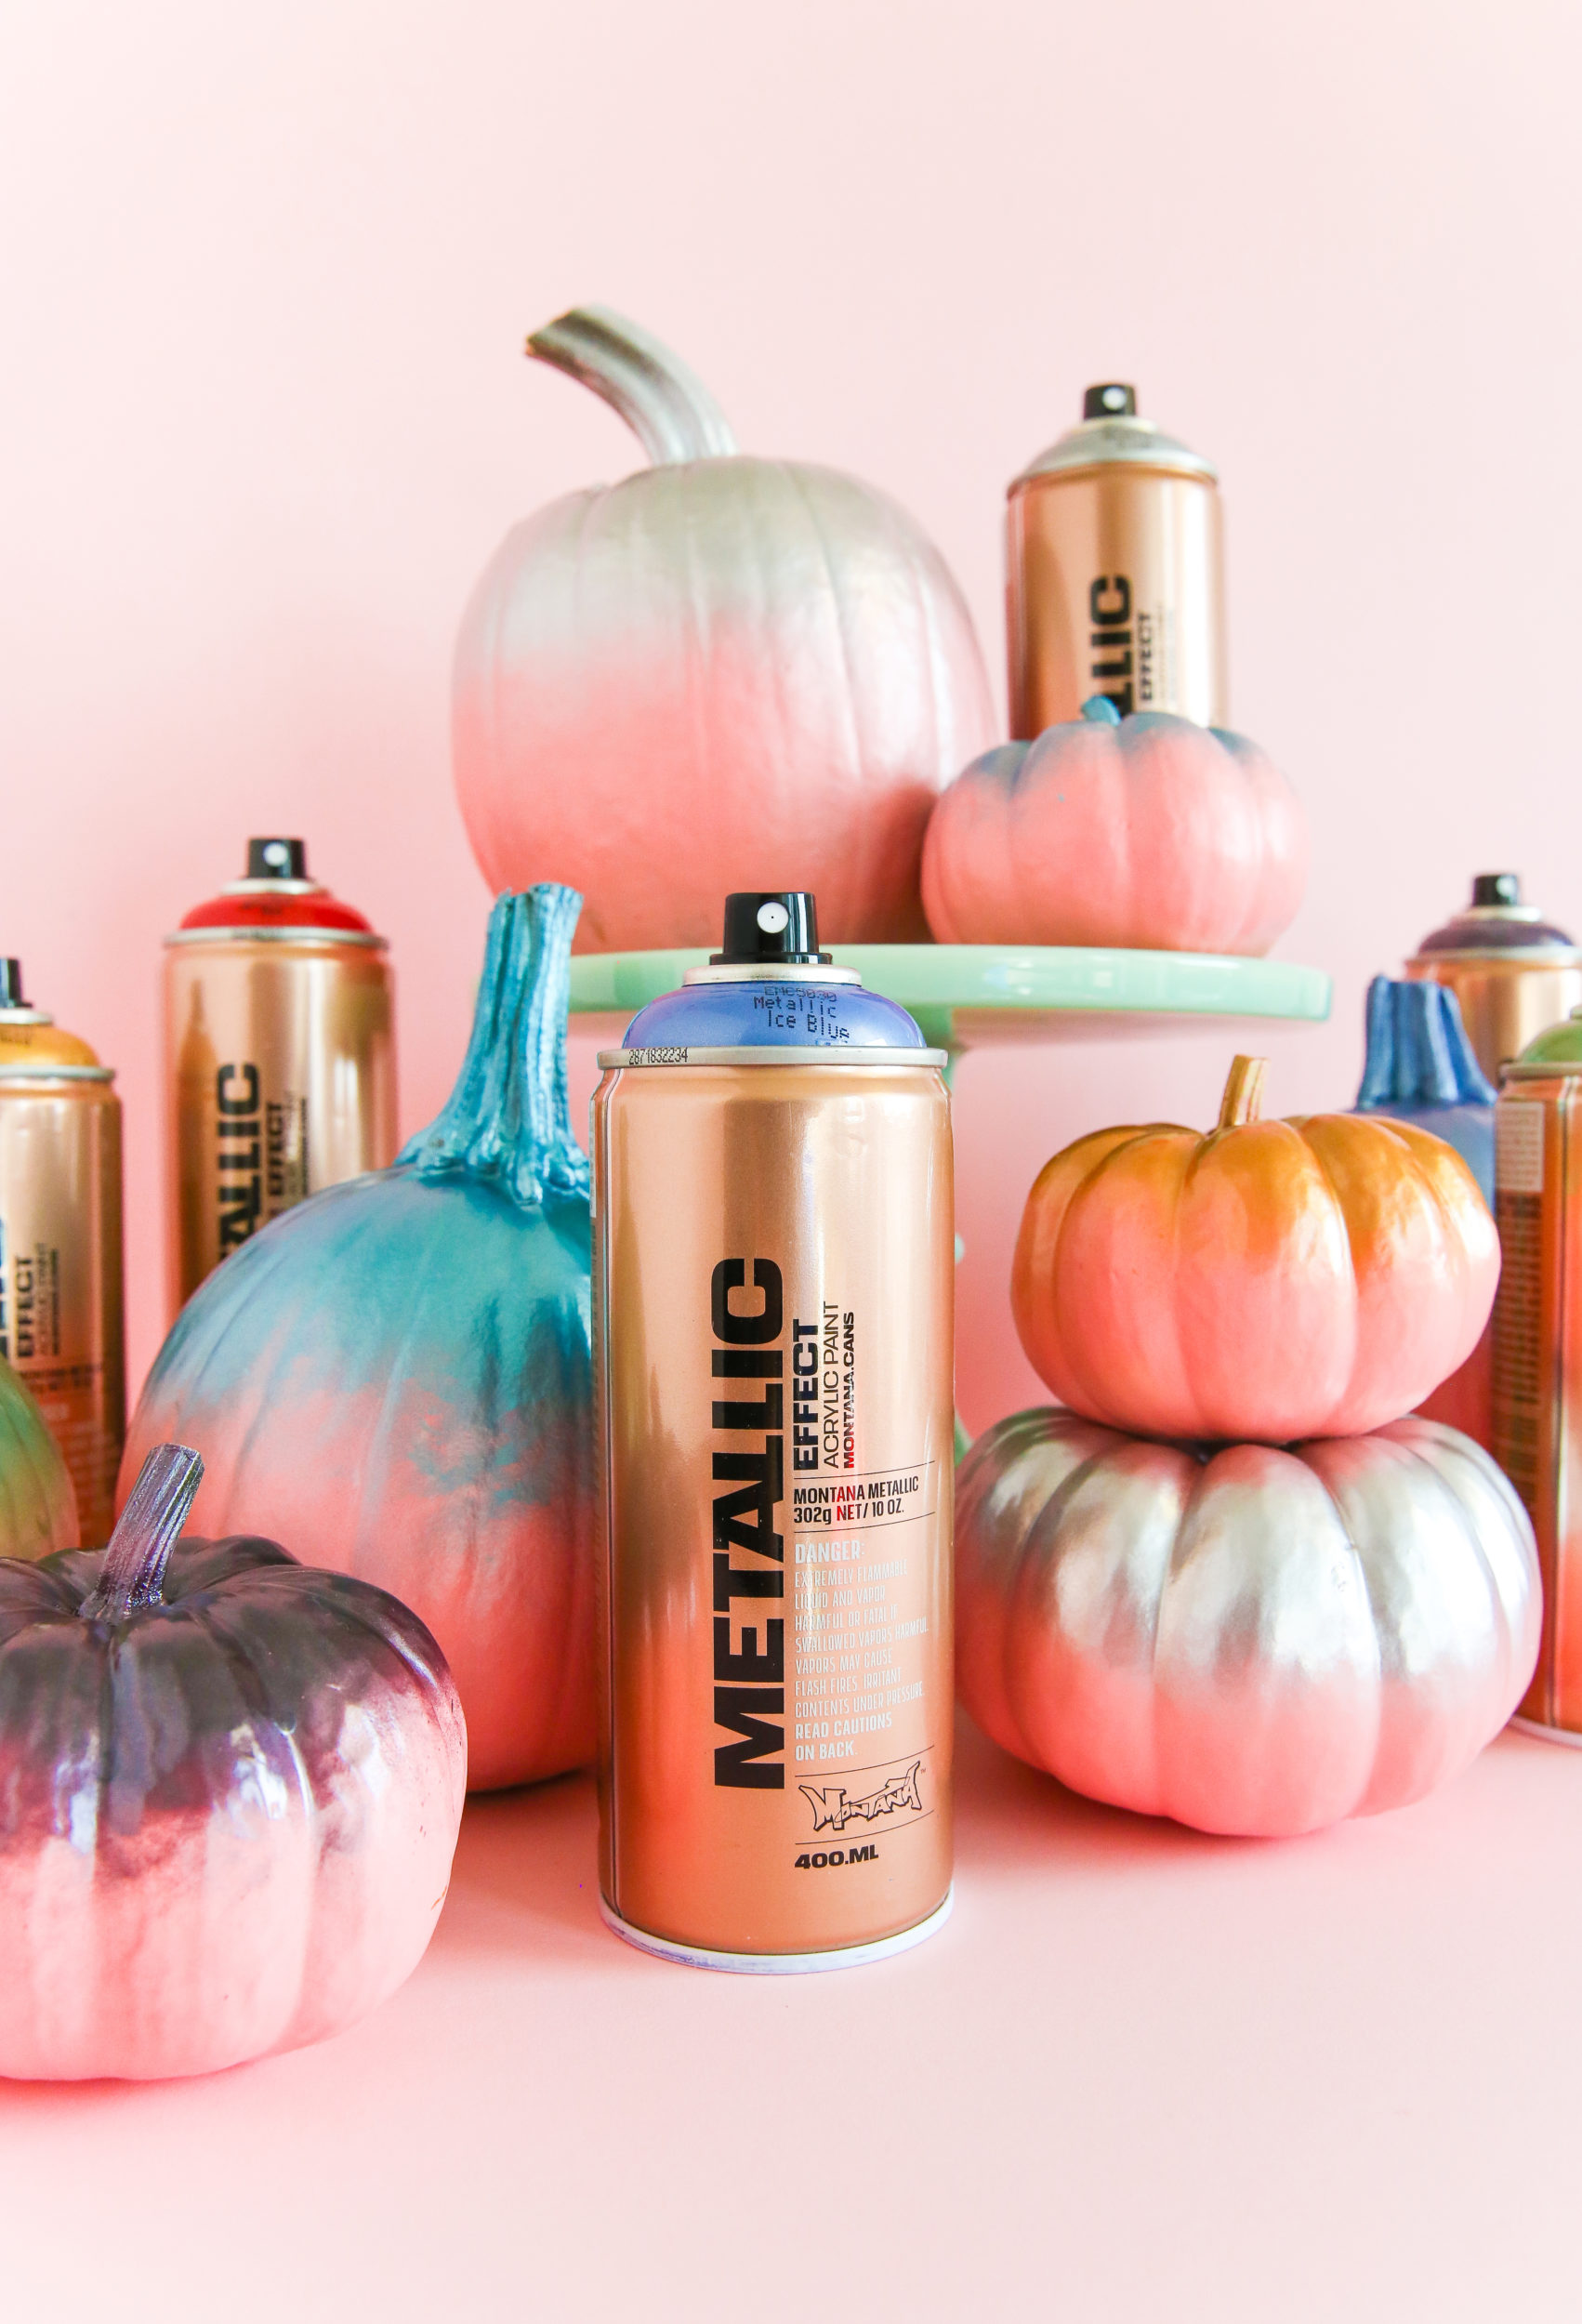
We allowed plenty of time once all the pumpkins were sprayed as we contemplated which Montana METALLIC color to start with? Once shaking them all well and went through all the start procedures, we looked at our METALLIC Effect colors Red, Gold, Avacado Green, Ice Blue, Tennessee, Plum and Silver to ponder.
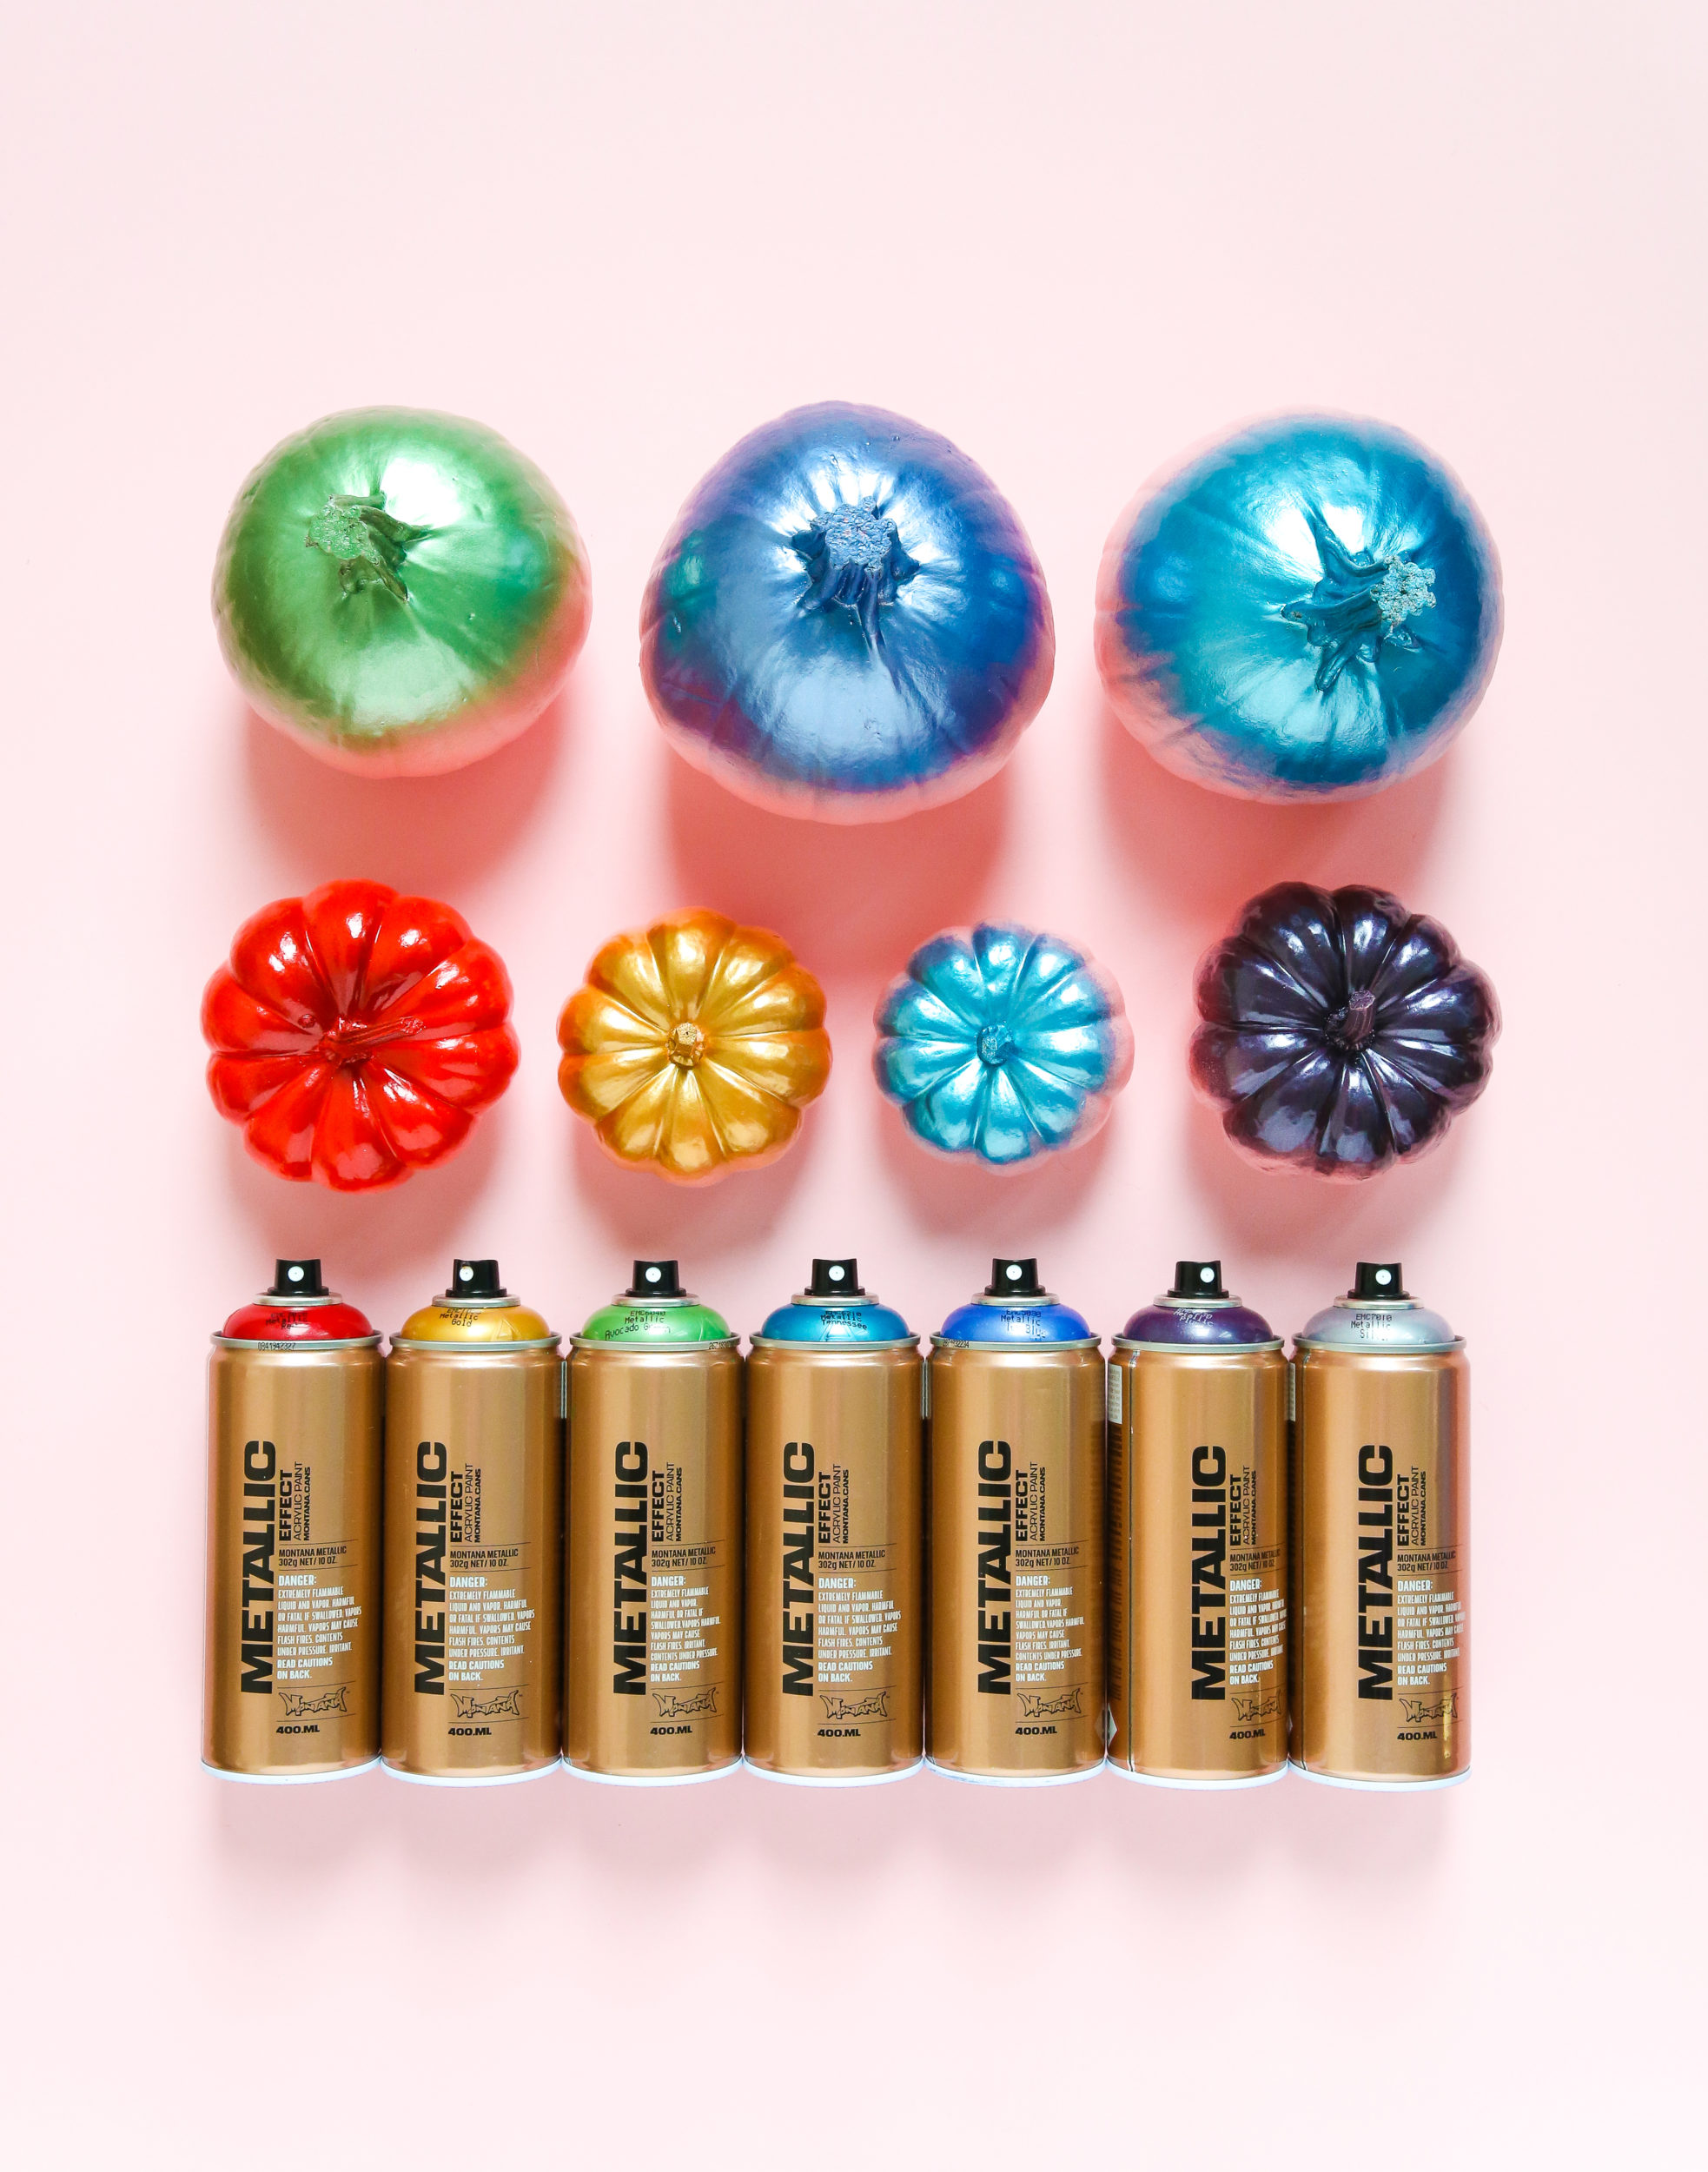
To create a dipped like effect, we applied each pumpkin in one color from the top down to the middle. Literally making it look as if each pumpkin was dipped on its head in metallic color. It was easy to do as we sprayed focusing on the stem of the pumpkin and lightly turning it as we went. The Frozen Raspberry color was a great base as it made all the METALLIC 400ml colors appear to pop. The fade at the middle pretty much happened by itself.
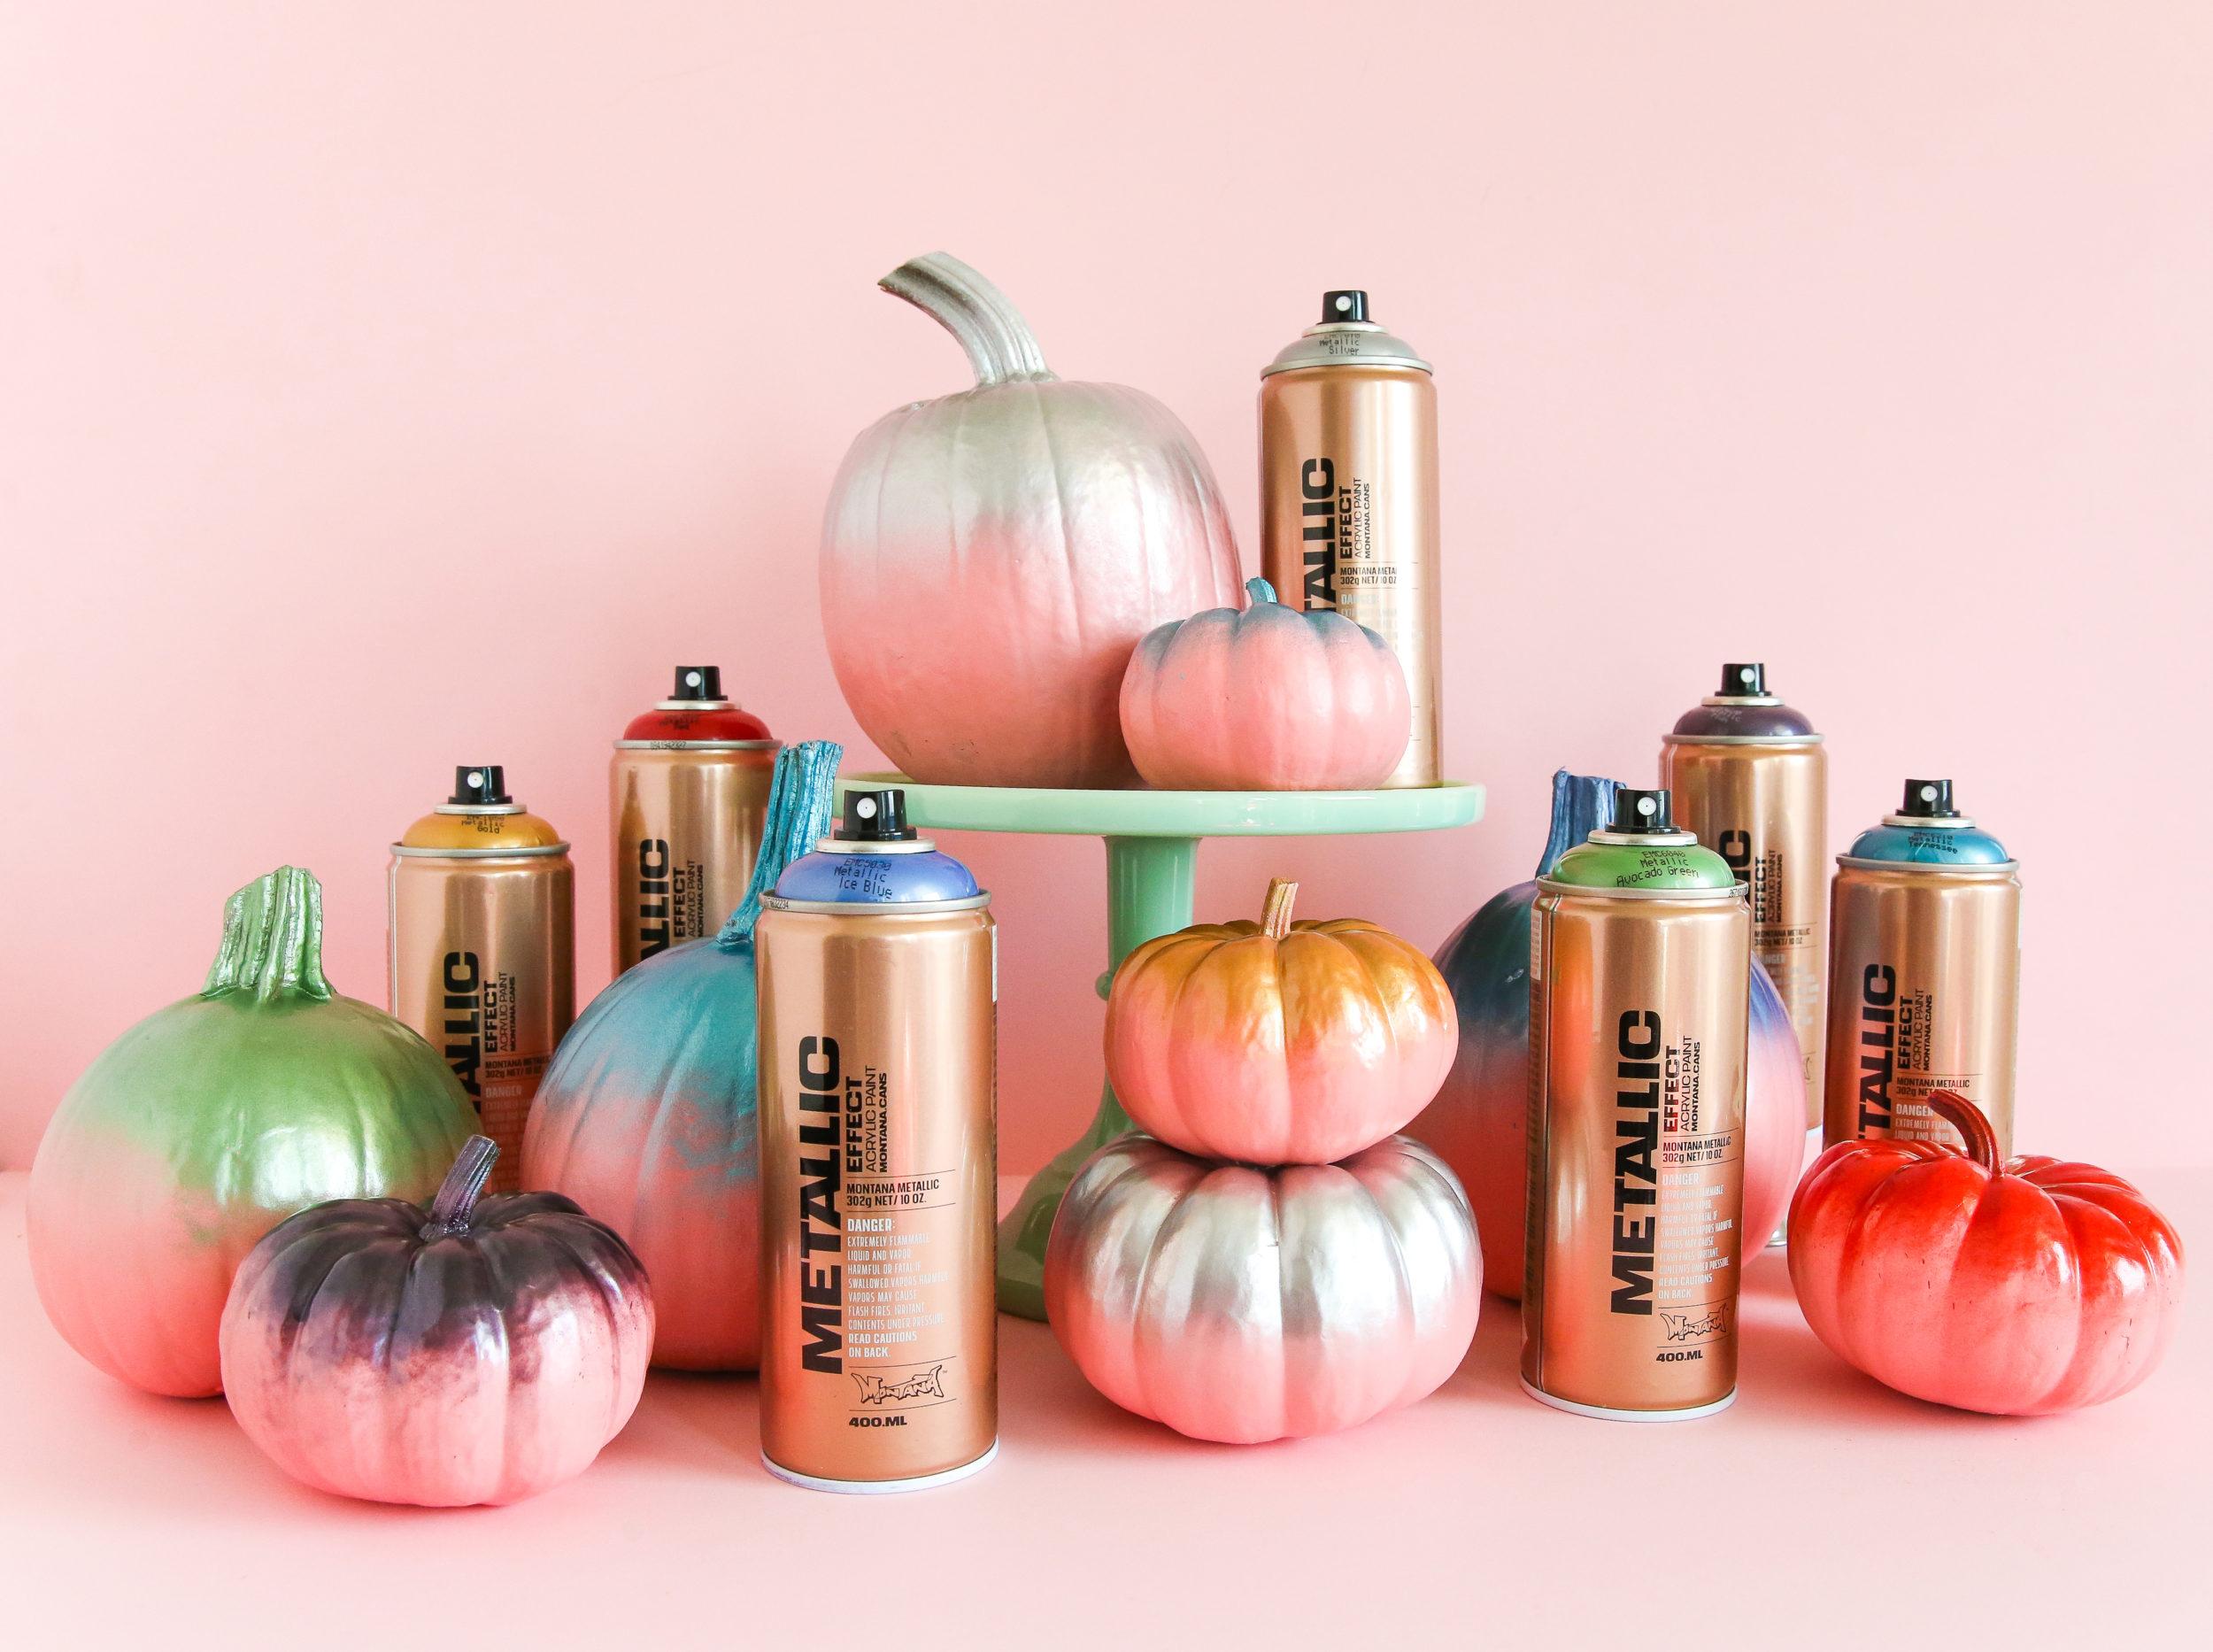
We then let them all dry over night. After all, they looked so good we needed to think about how we wanted to display them. Using things like cake stands or small furniture could help create some height variety and give your display a little extra depth.
Easy is the best word to describe this project. Each pumpkin only has 5 minutes of actual working time (if that) and the rest is just waiting for paint to dry. And of course you may choose to use other Montana GOLD and METALLIC colors in combination. Just follow your instinct. Happy Crafting!