Turning furniture into art
Now and then, everybody gets the urge to sink their teeth into something more substantial than the usual DIY project. Whether we actually follow through, usually depends on a lot of factors. Time, workload, family requirements, weather, finances, and the most difficult one of all, inspiration. Often the practical factors in our lives make their way up the priority list, pushing the challenging creative things further down the ladder till we can’t wait anymore. That is until now! Our Metal Sideboard Makeover is going to tick all of your boxes and inspire you at the same time. Read on.
Materials used
- Metal Sideboard or locker-like metal cupboard
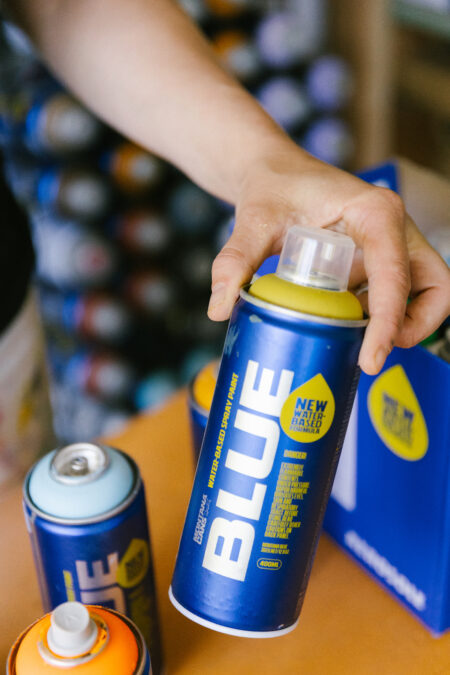
- Montana GOLD Line colors
- Roll of masking tape
- Plastic document pocket
- Pencil or marker
- Covering plastic or newspaper
- Scissors or craft cutter
- Gloves
- Mask
- Drop Sheet
How it was done
Metal sideboards, metal cupboards, and locker-like cabinets are relatively easy to find. They are fashionable and very practical. If you haven’t found one to upcycle, furniture stores like Ikea will have some form of sideboard on offer. Alternatively, office furniture suppliers usually have new or used options on offer.
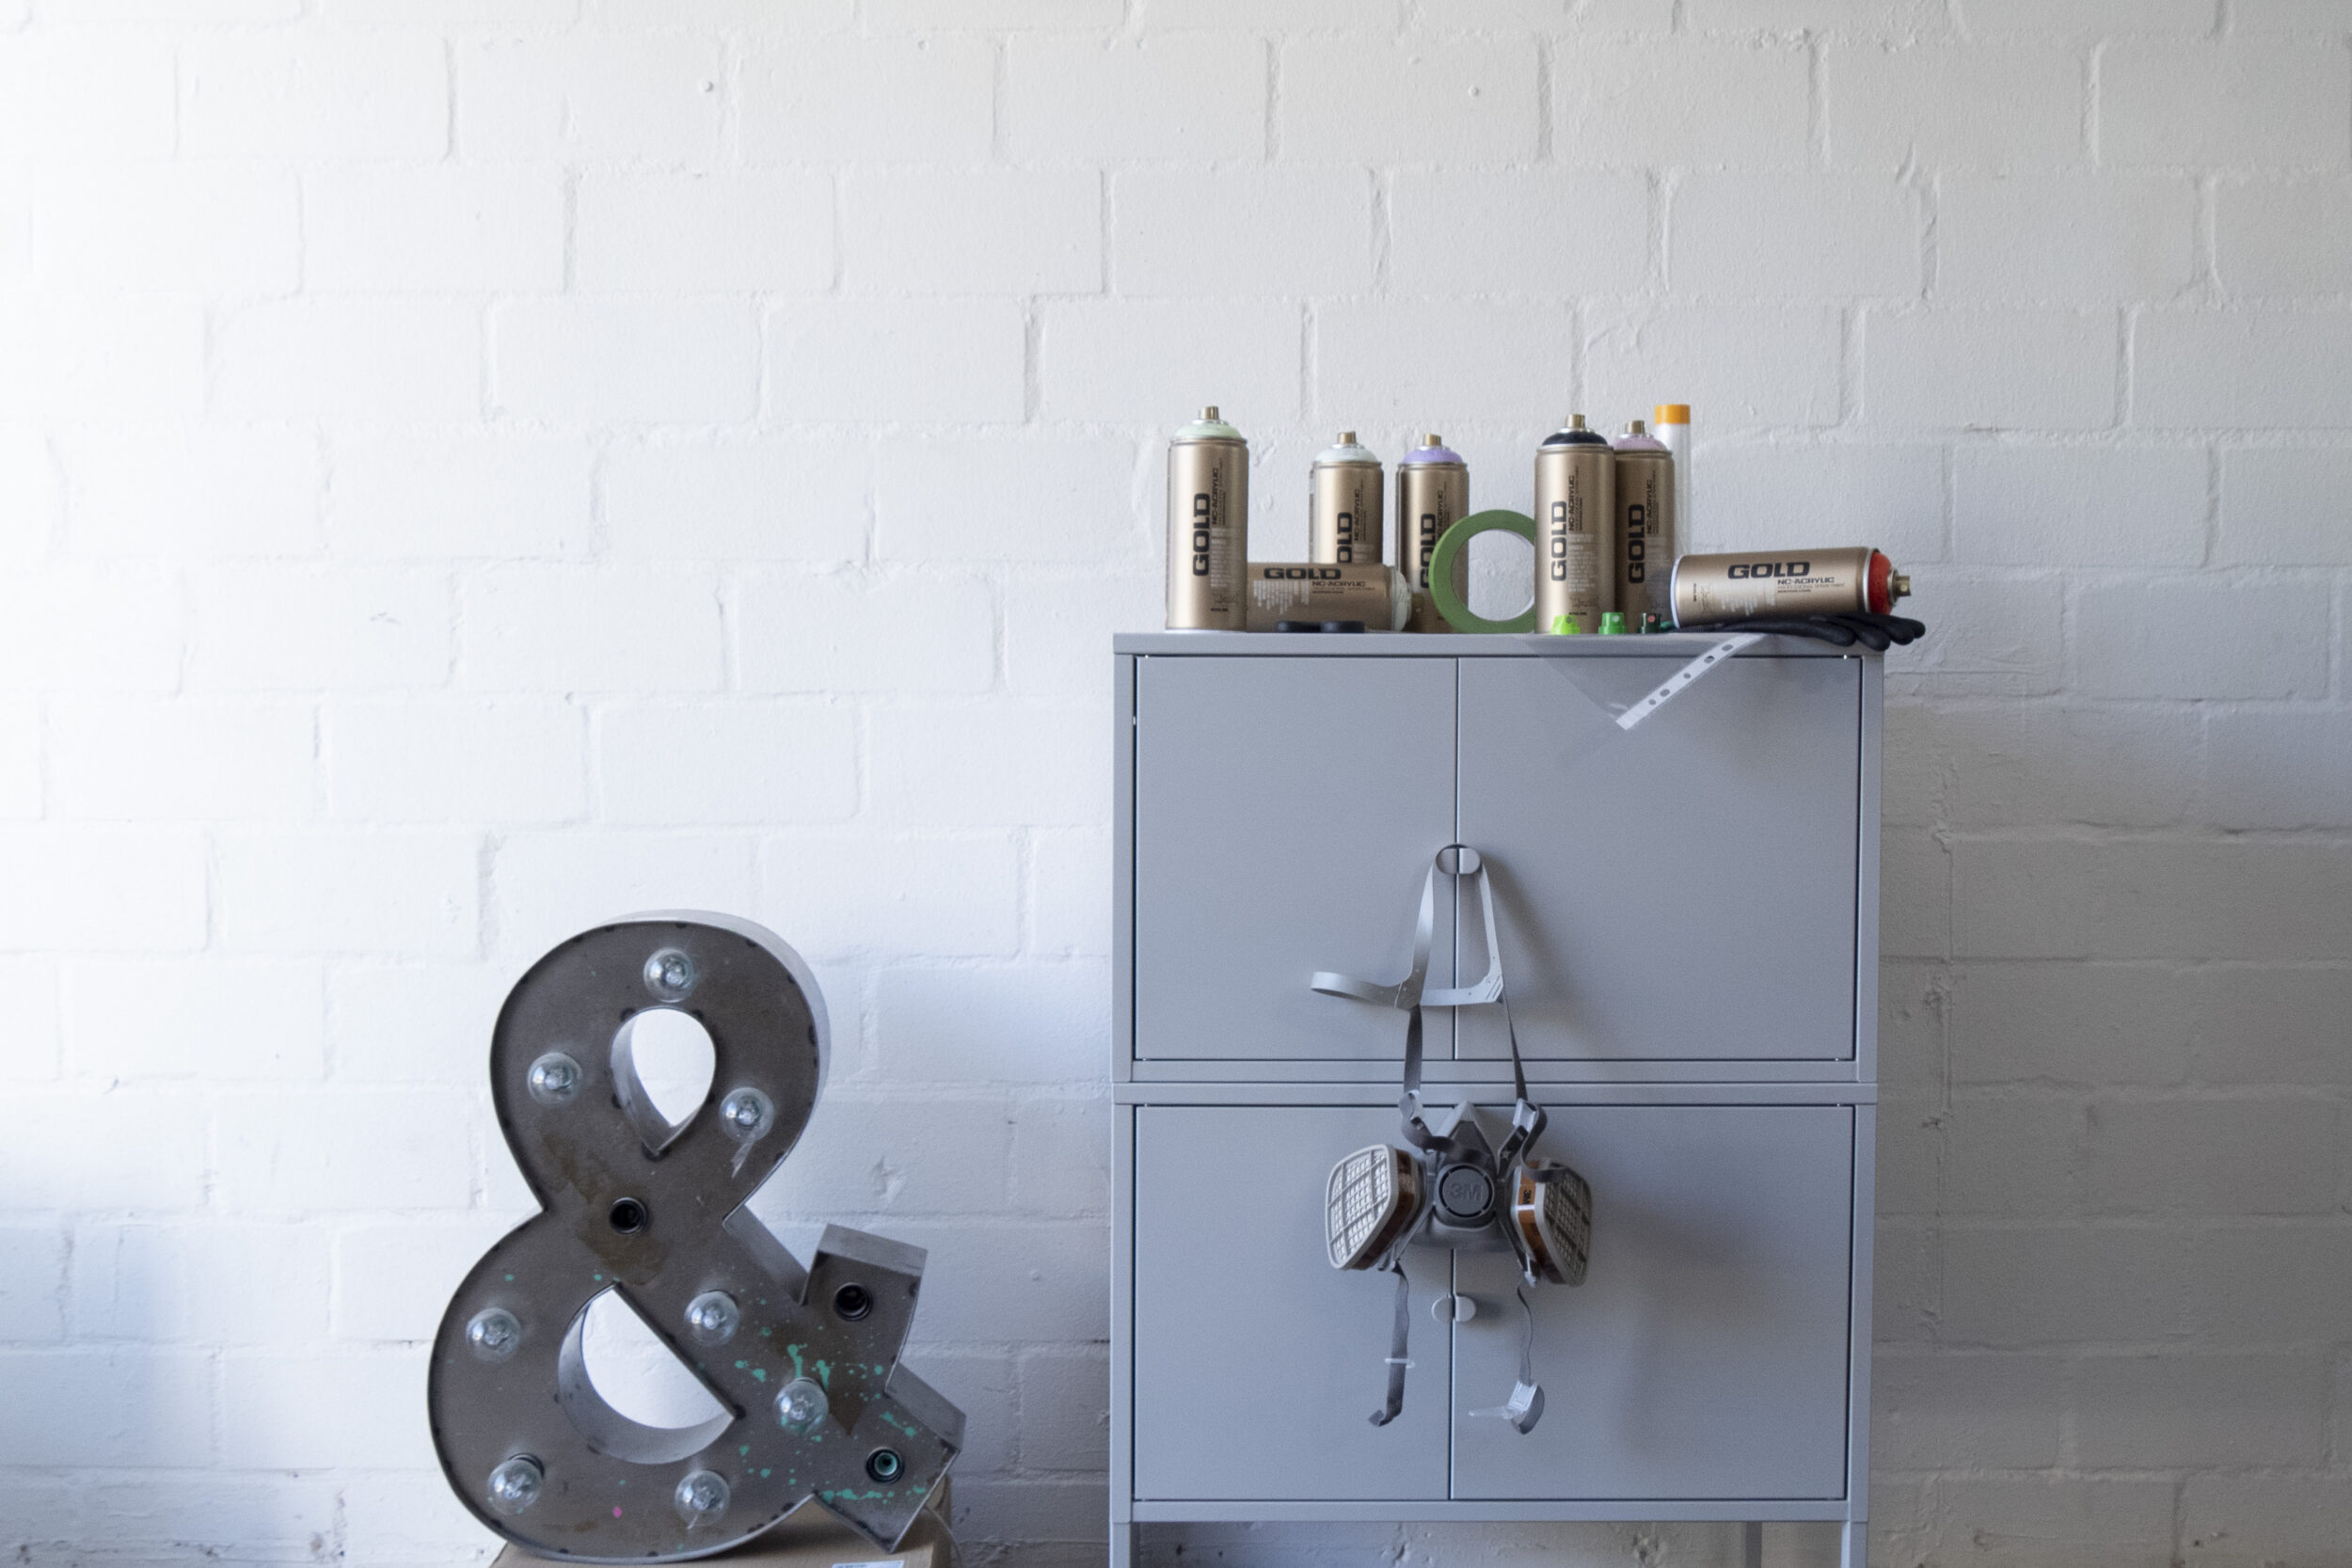

Once you have your metal sideboard in your possession, make sure it is clean and free of any dust, oils, or dirt. Remove the doors from the sideboard, which is usually a relatively easy process, often without requiring any tools. Before getting started, take a moment to really look at your sideboard to consider what design or features you would like to enhance it with.
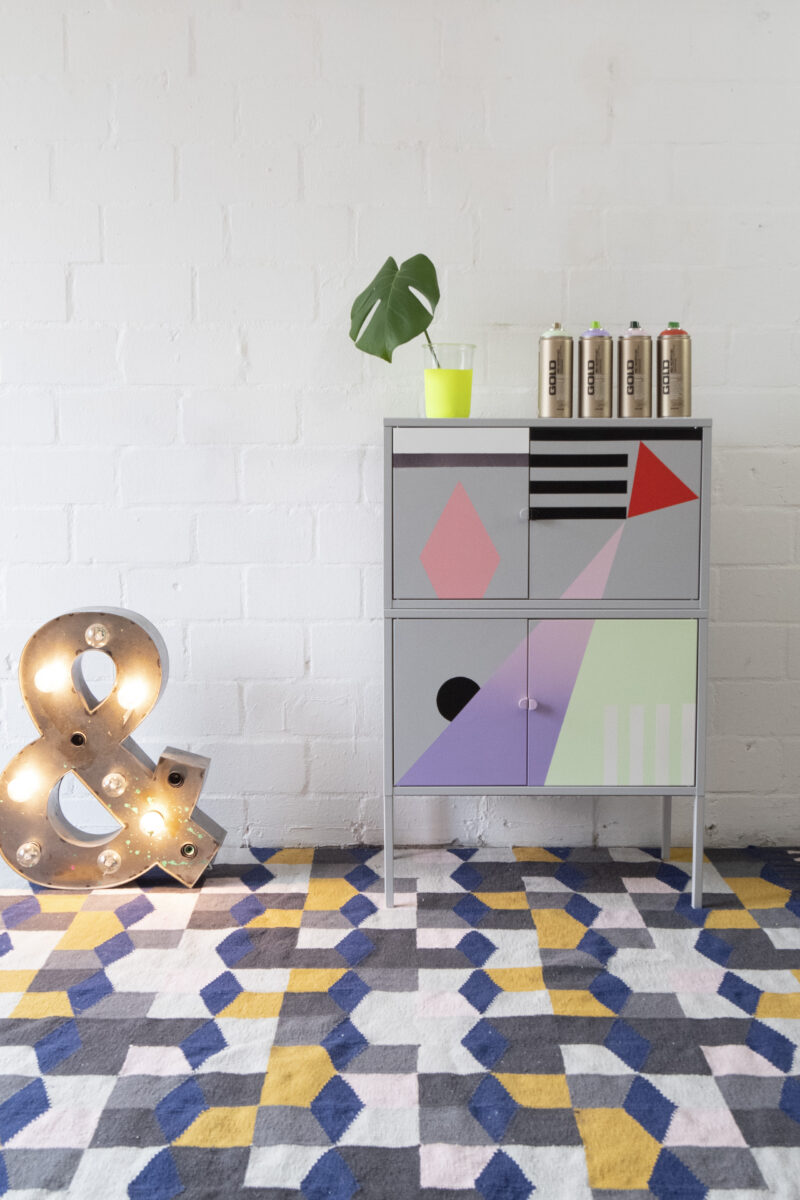
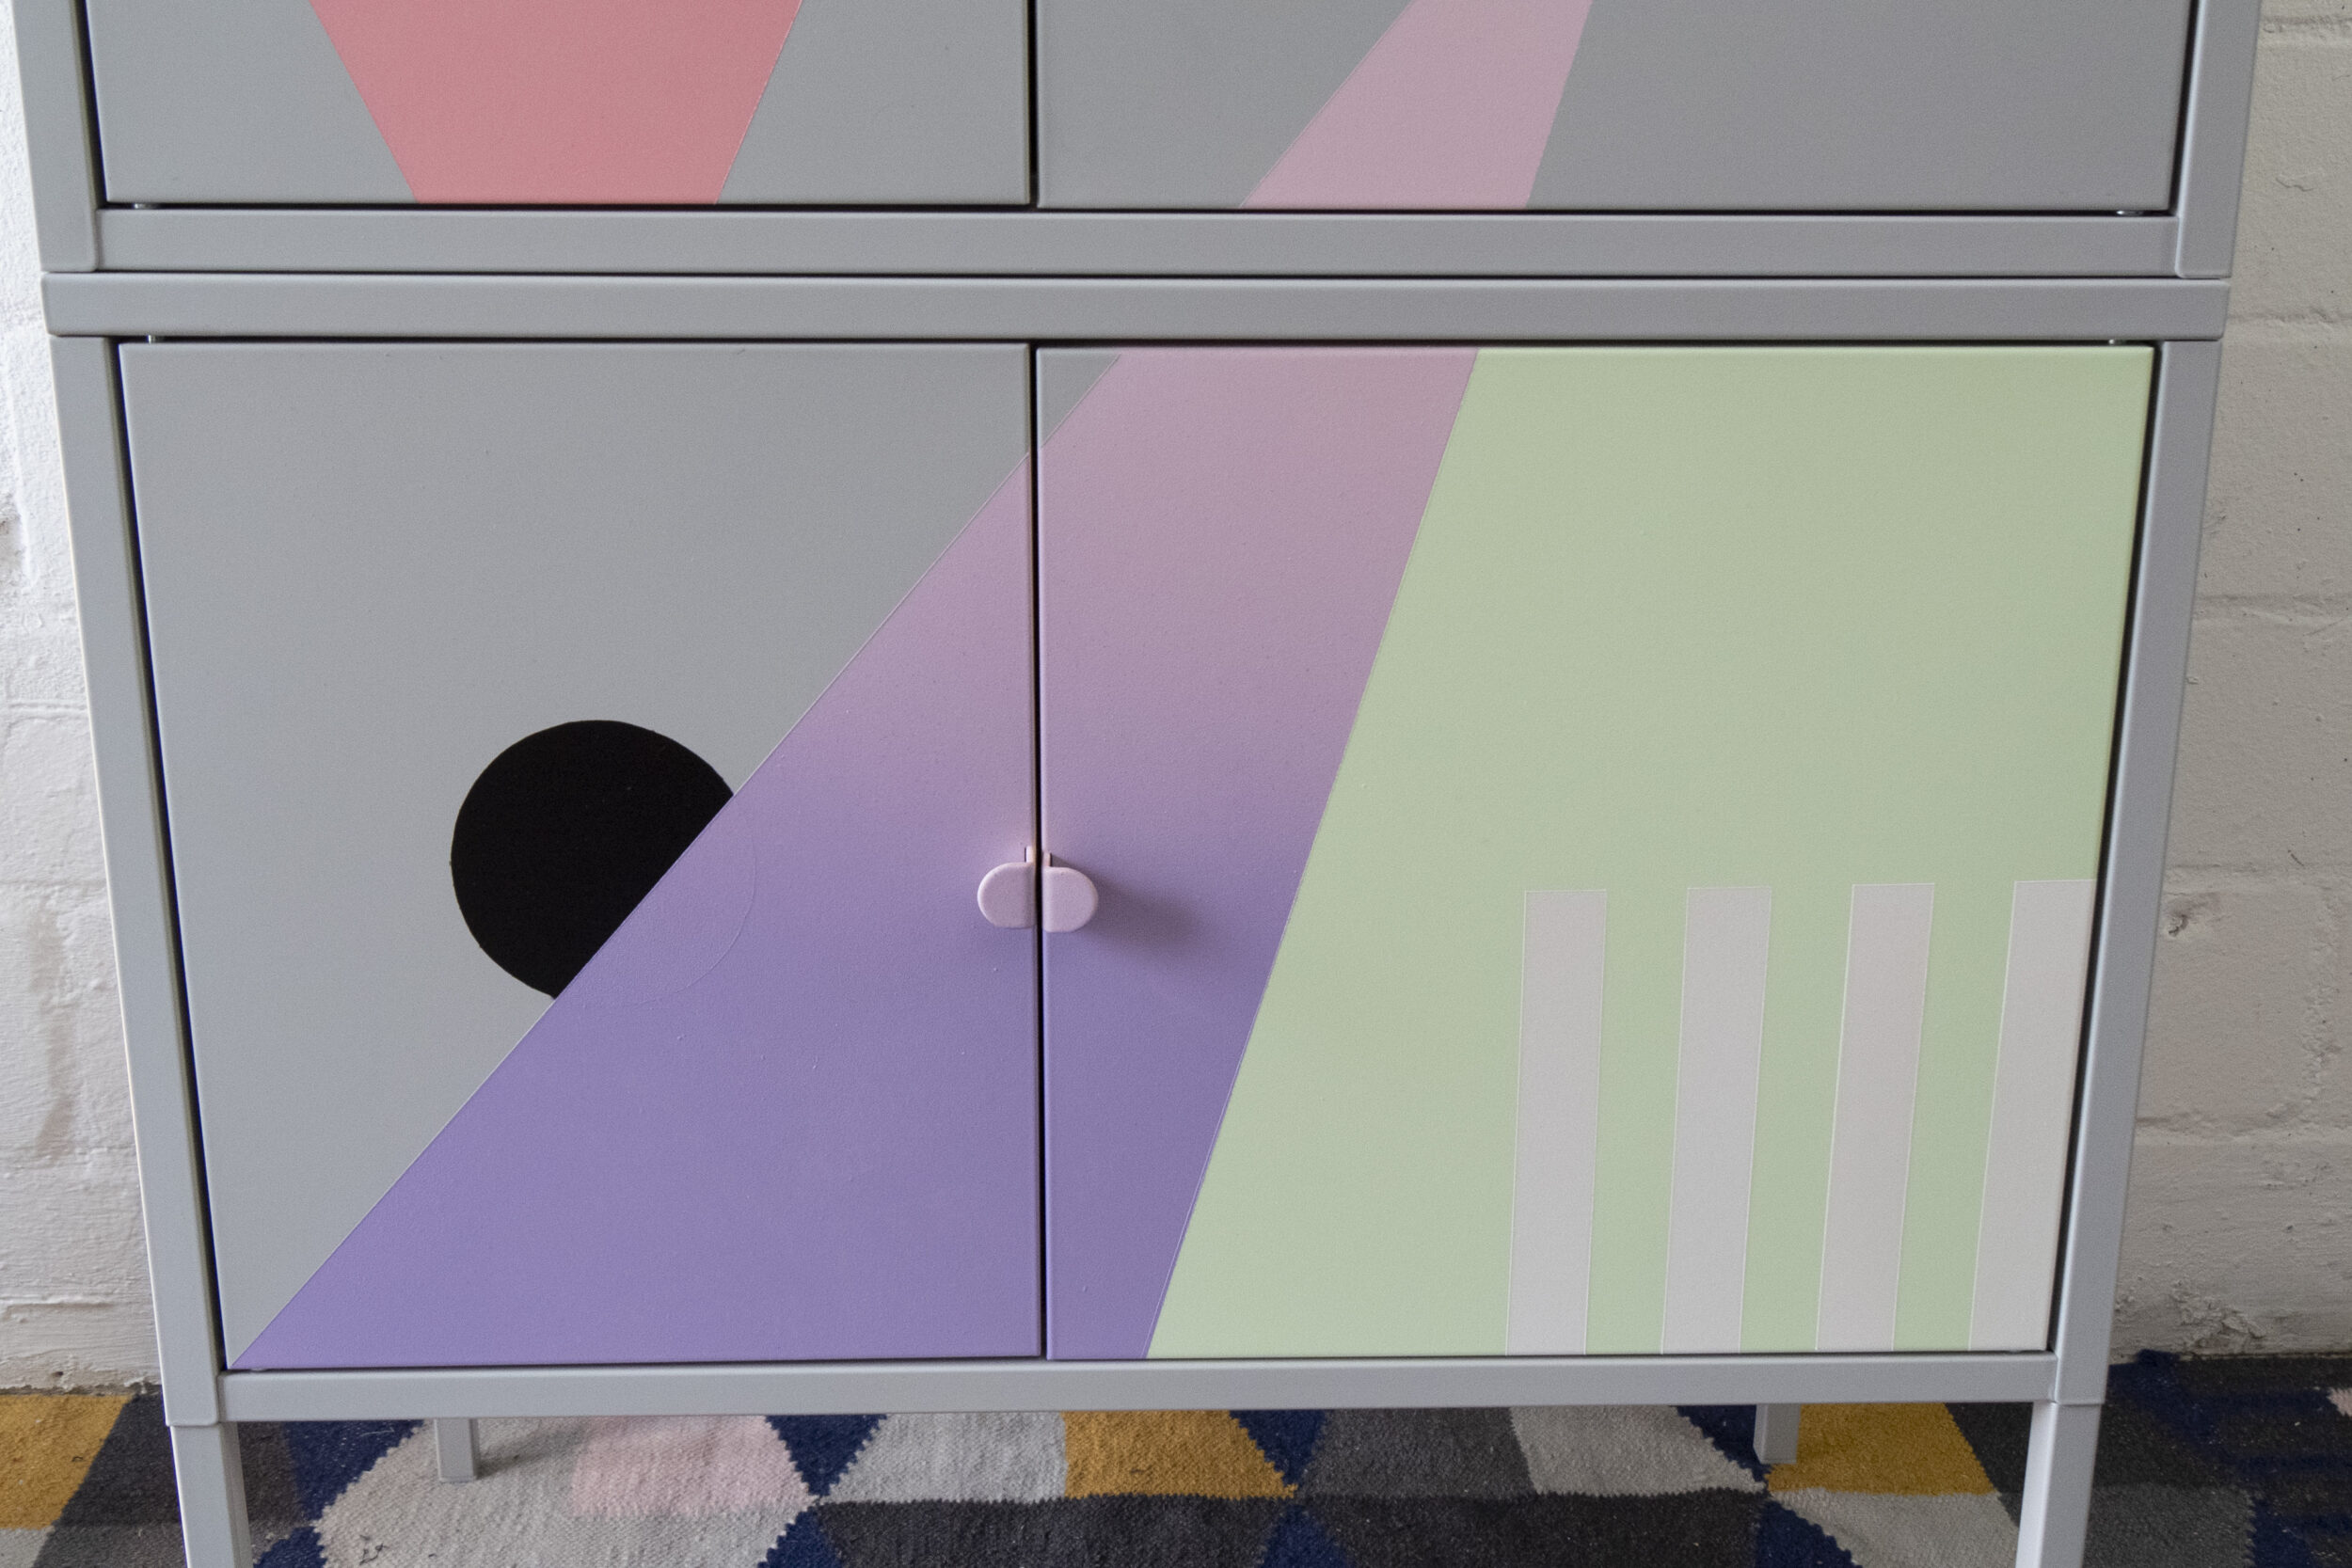
Who said you weren’t an artist? Not us and you are now about to see why. Take your masking tape and begin to mask off areas you do not want to get paint on. The spaces exposing the metal is where the color will go. We used variations of lines, blocks, triangles, and even a circle. But more about that later.
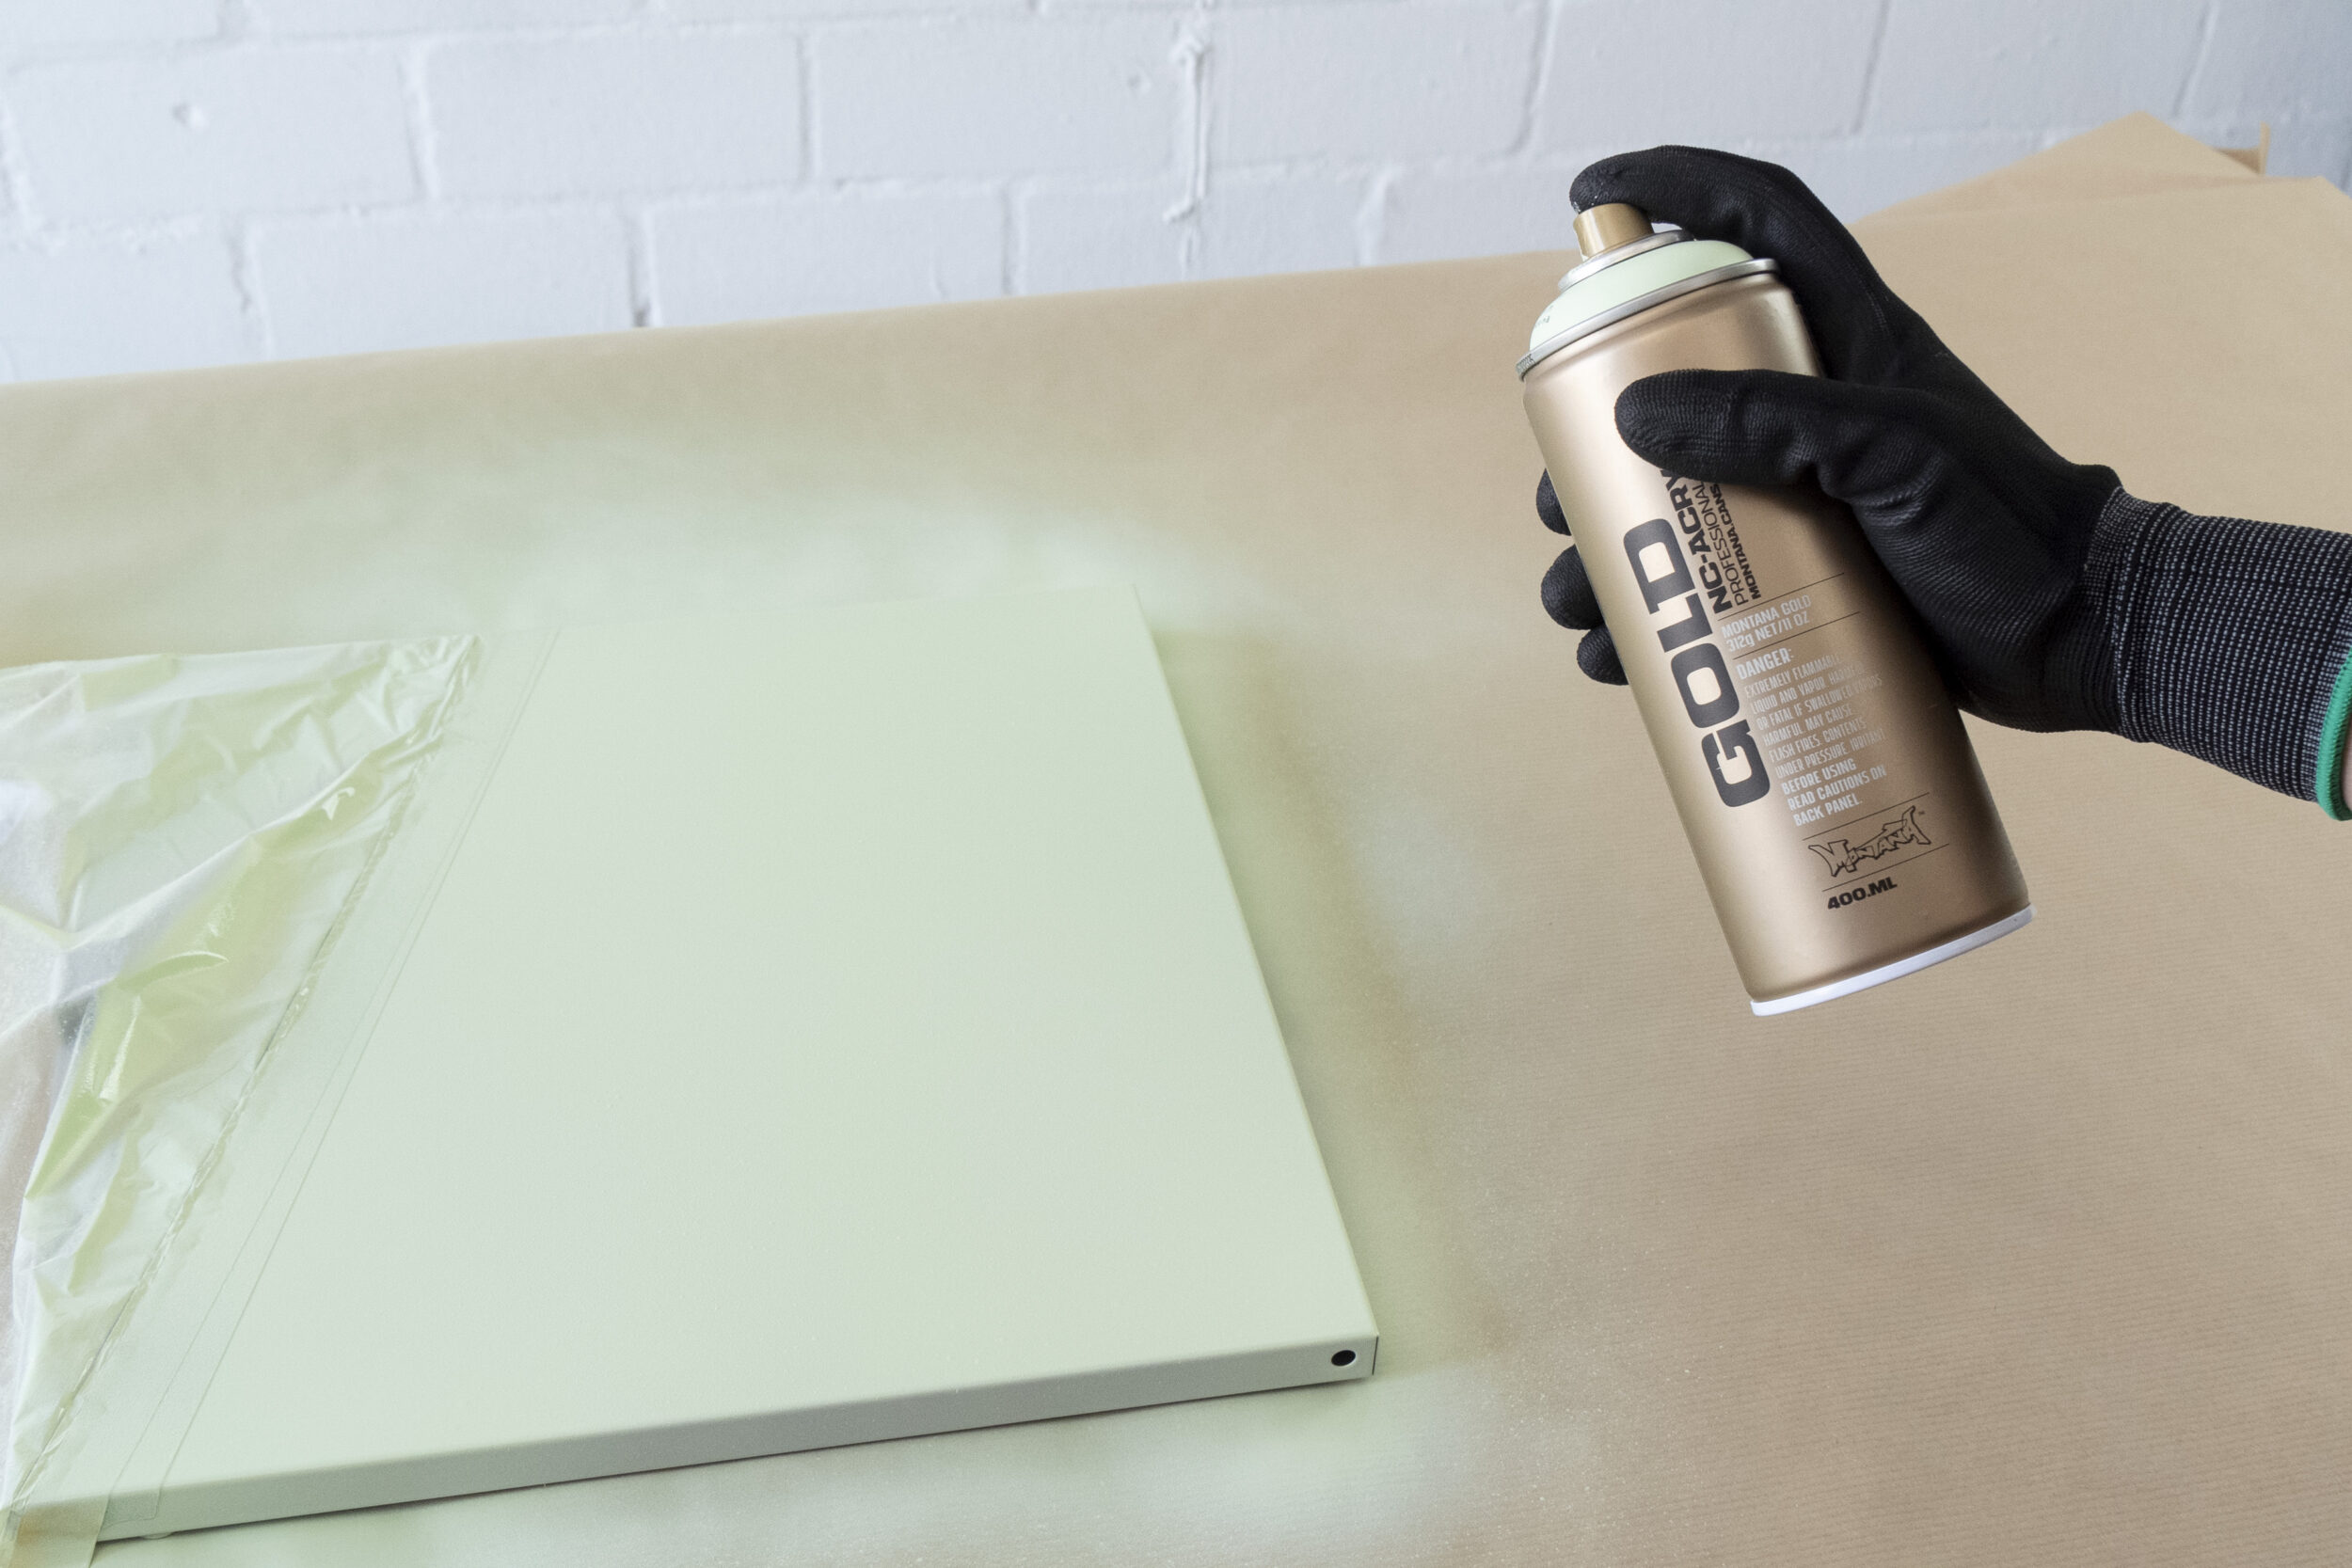

If you’re not sure how to start, then just take one section at a time and the ideas will flow as you go along. Or watch our video a few times and follow the prompts. Apply the masking tape smoothly and evenly. Any edges that are not flat on the metal will allow the paint to bleed through underneath them. Once you are happy with a section, a door, or the main part of the sideboard that you are working on, cover all the rest with plastic sheeting or newspaper to prevent paint, or paint dust from getting on other parts of your object.
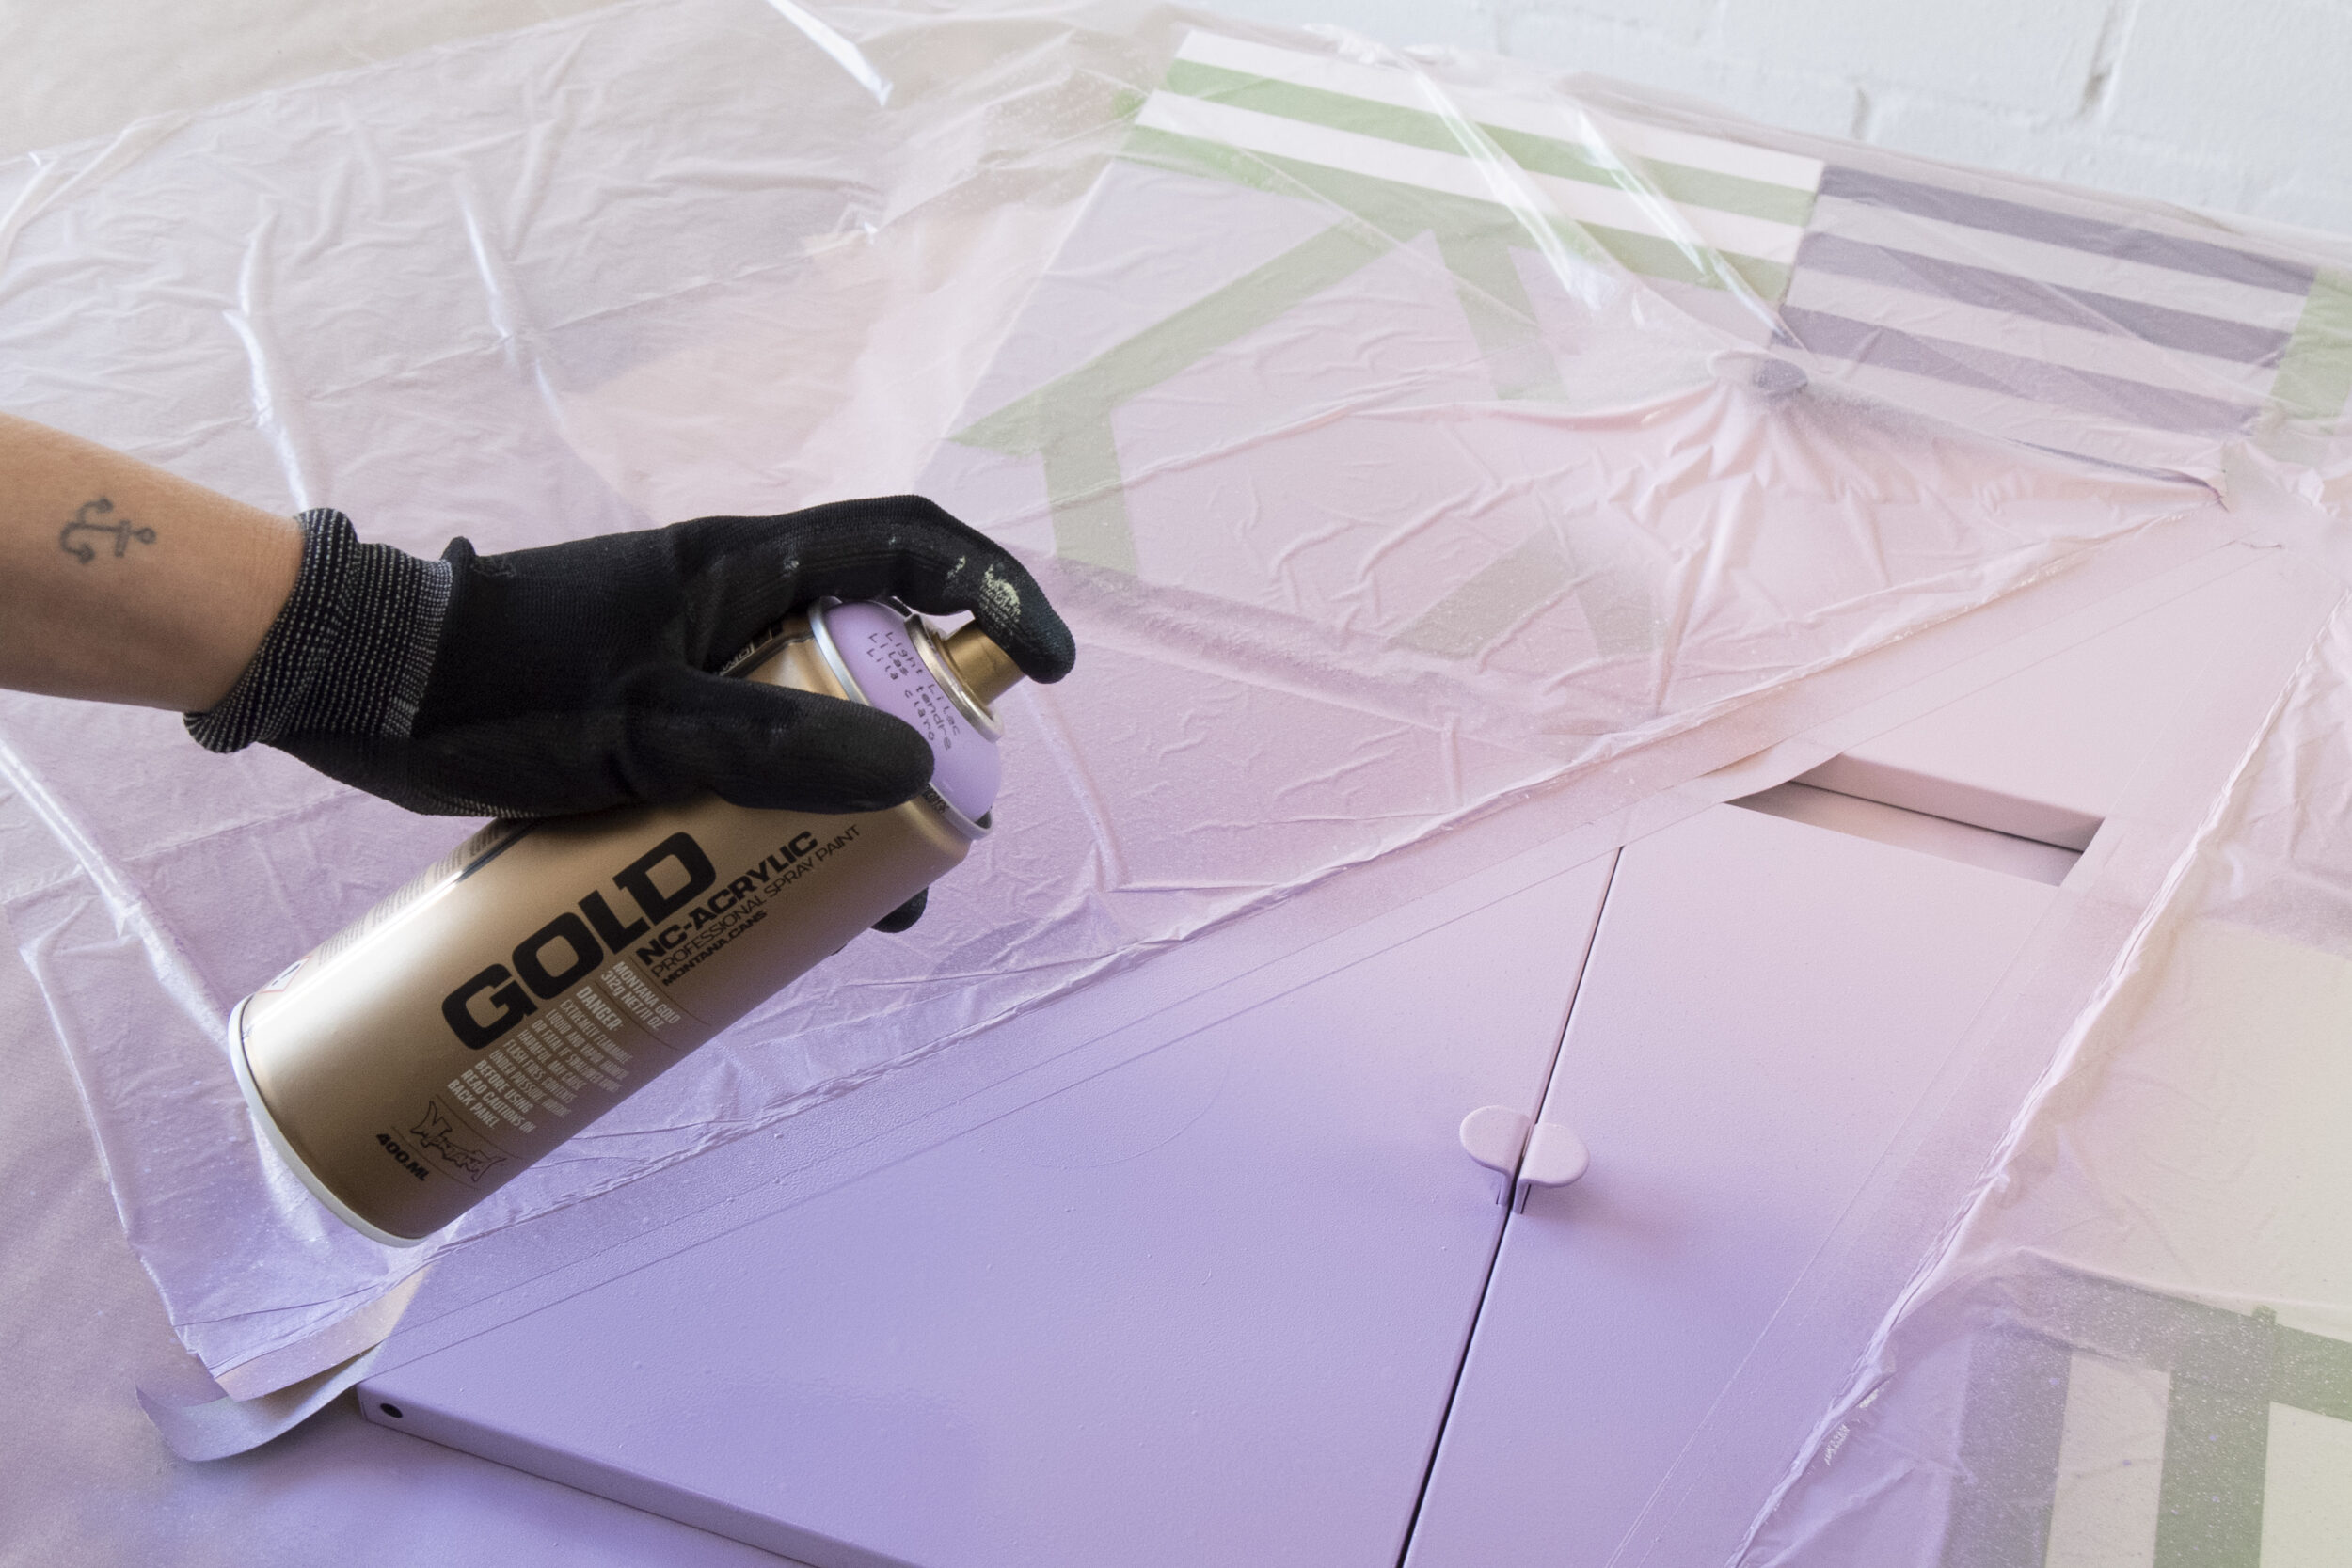
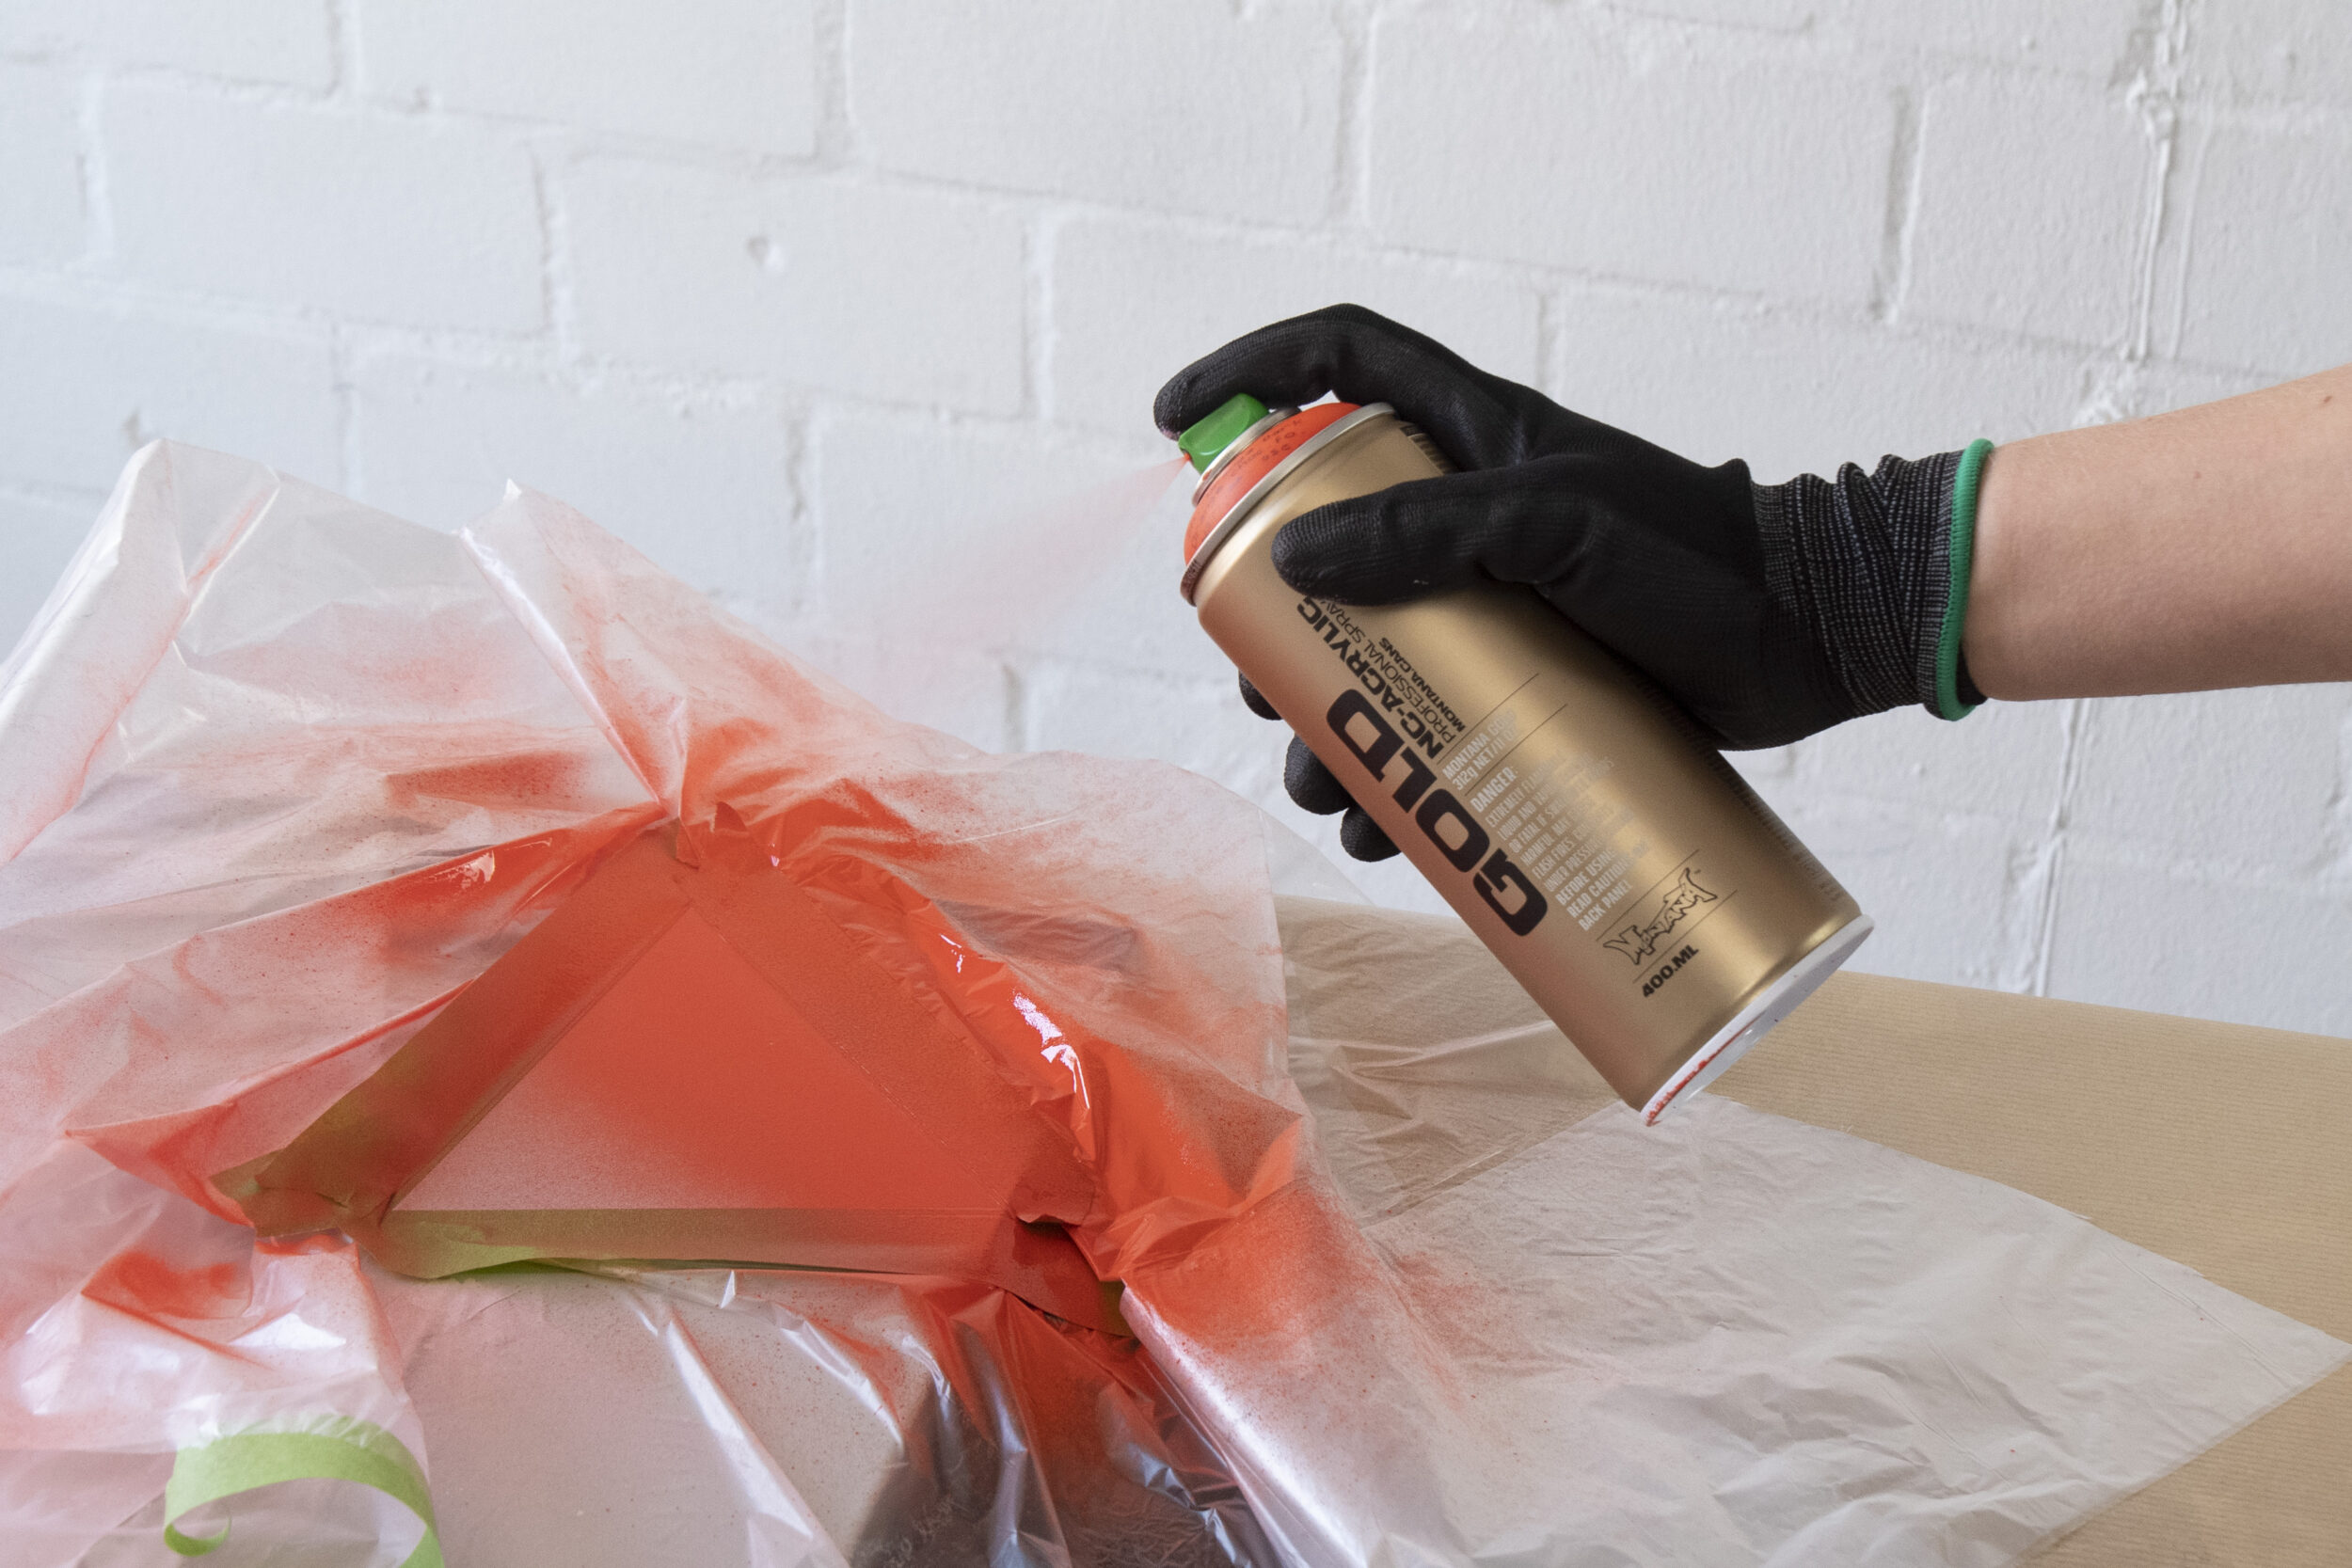
The Montana GOLD colors that use can vary subject to the color of your Metal sideboard makeover, or the colors you like. We used pastel tones with accents of Shock Black and Shock Red for impact. Remembering the standard procedure, shake your cans well for 2-3 minutes before use ensuring you can hear the mixing balls moving freely. Remove the nozzle from the can, turn it upside down allowing the black safety ring to fall out. Re-apply the nozzle and spray away from anything to test that the paint is flowing freely. With gloves and mask on, spray your doors or sideboard in your covered area in thin even coats. It is best to remove the masking tape 5-10 minutes after the paint has been applied. Tear away from the paint that has just been applied. Repeat this process to the various parts of the sideboard and allow them to dry. For the best results, allow the paint to dry overnight before placing new masking tape over it to apply a new color or layers. This will mean the paint is cured and will not tear off when removing the masking tape from it.
You may have wondered how we managed to paint a crisp circle shape on one of our doors. In true allspraypainted fashion, it is a DIY circle. Take a plastic pocket that you would normally use to protect documents and stick a block of masking tape on it, flat, and smoothly onto it in the size you want. Make sure there is a slight overlap for each tape layer to hold the shape together. We used the inside of our roll of tape as a template and drew the circle onto the middle of our tape-block. With a sharp pair of scissors or a craft cutter, we then cut the middle of the circle out. The final step is to then remove the remaining masking tape block carefully (with the circle cut out of it) from the plastic pocket. Carefully apply it wherever you want it to go on the sideboard. You now have an adhesive circle template. Cover the surrounding space to protect it from spray dust and unwanted paint. Then apply paint as above.
How far you take it, how many colors you use, and how complex you make the design is completely in your hands. And never forget, if you make a mistake or are not happy with your composition, don’t worry, it’s just paint! You can cover it with another color, shape, or form.
Once you have finished painting all parts you wanted to, allow them to dry overnight. You may choose to end the project here or apply a Montana VARNISH in the finish of your choice for extra durability and protection. If you do choose to apply varnish, again, leave everything to dry overnight and re-attach the doors and parts you removed during the process. Then now take a moment to reflect on what you have just achieved! Practical and amazingly beautiful.
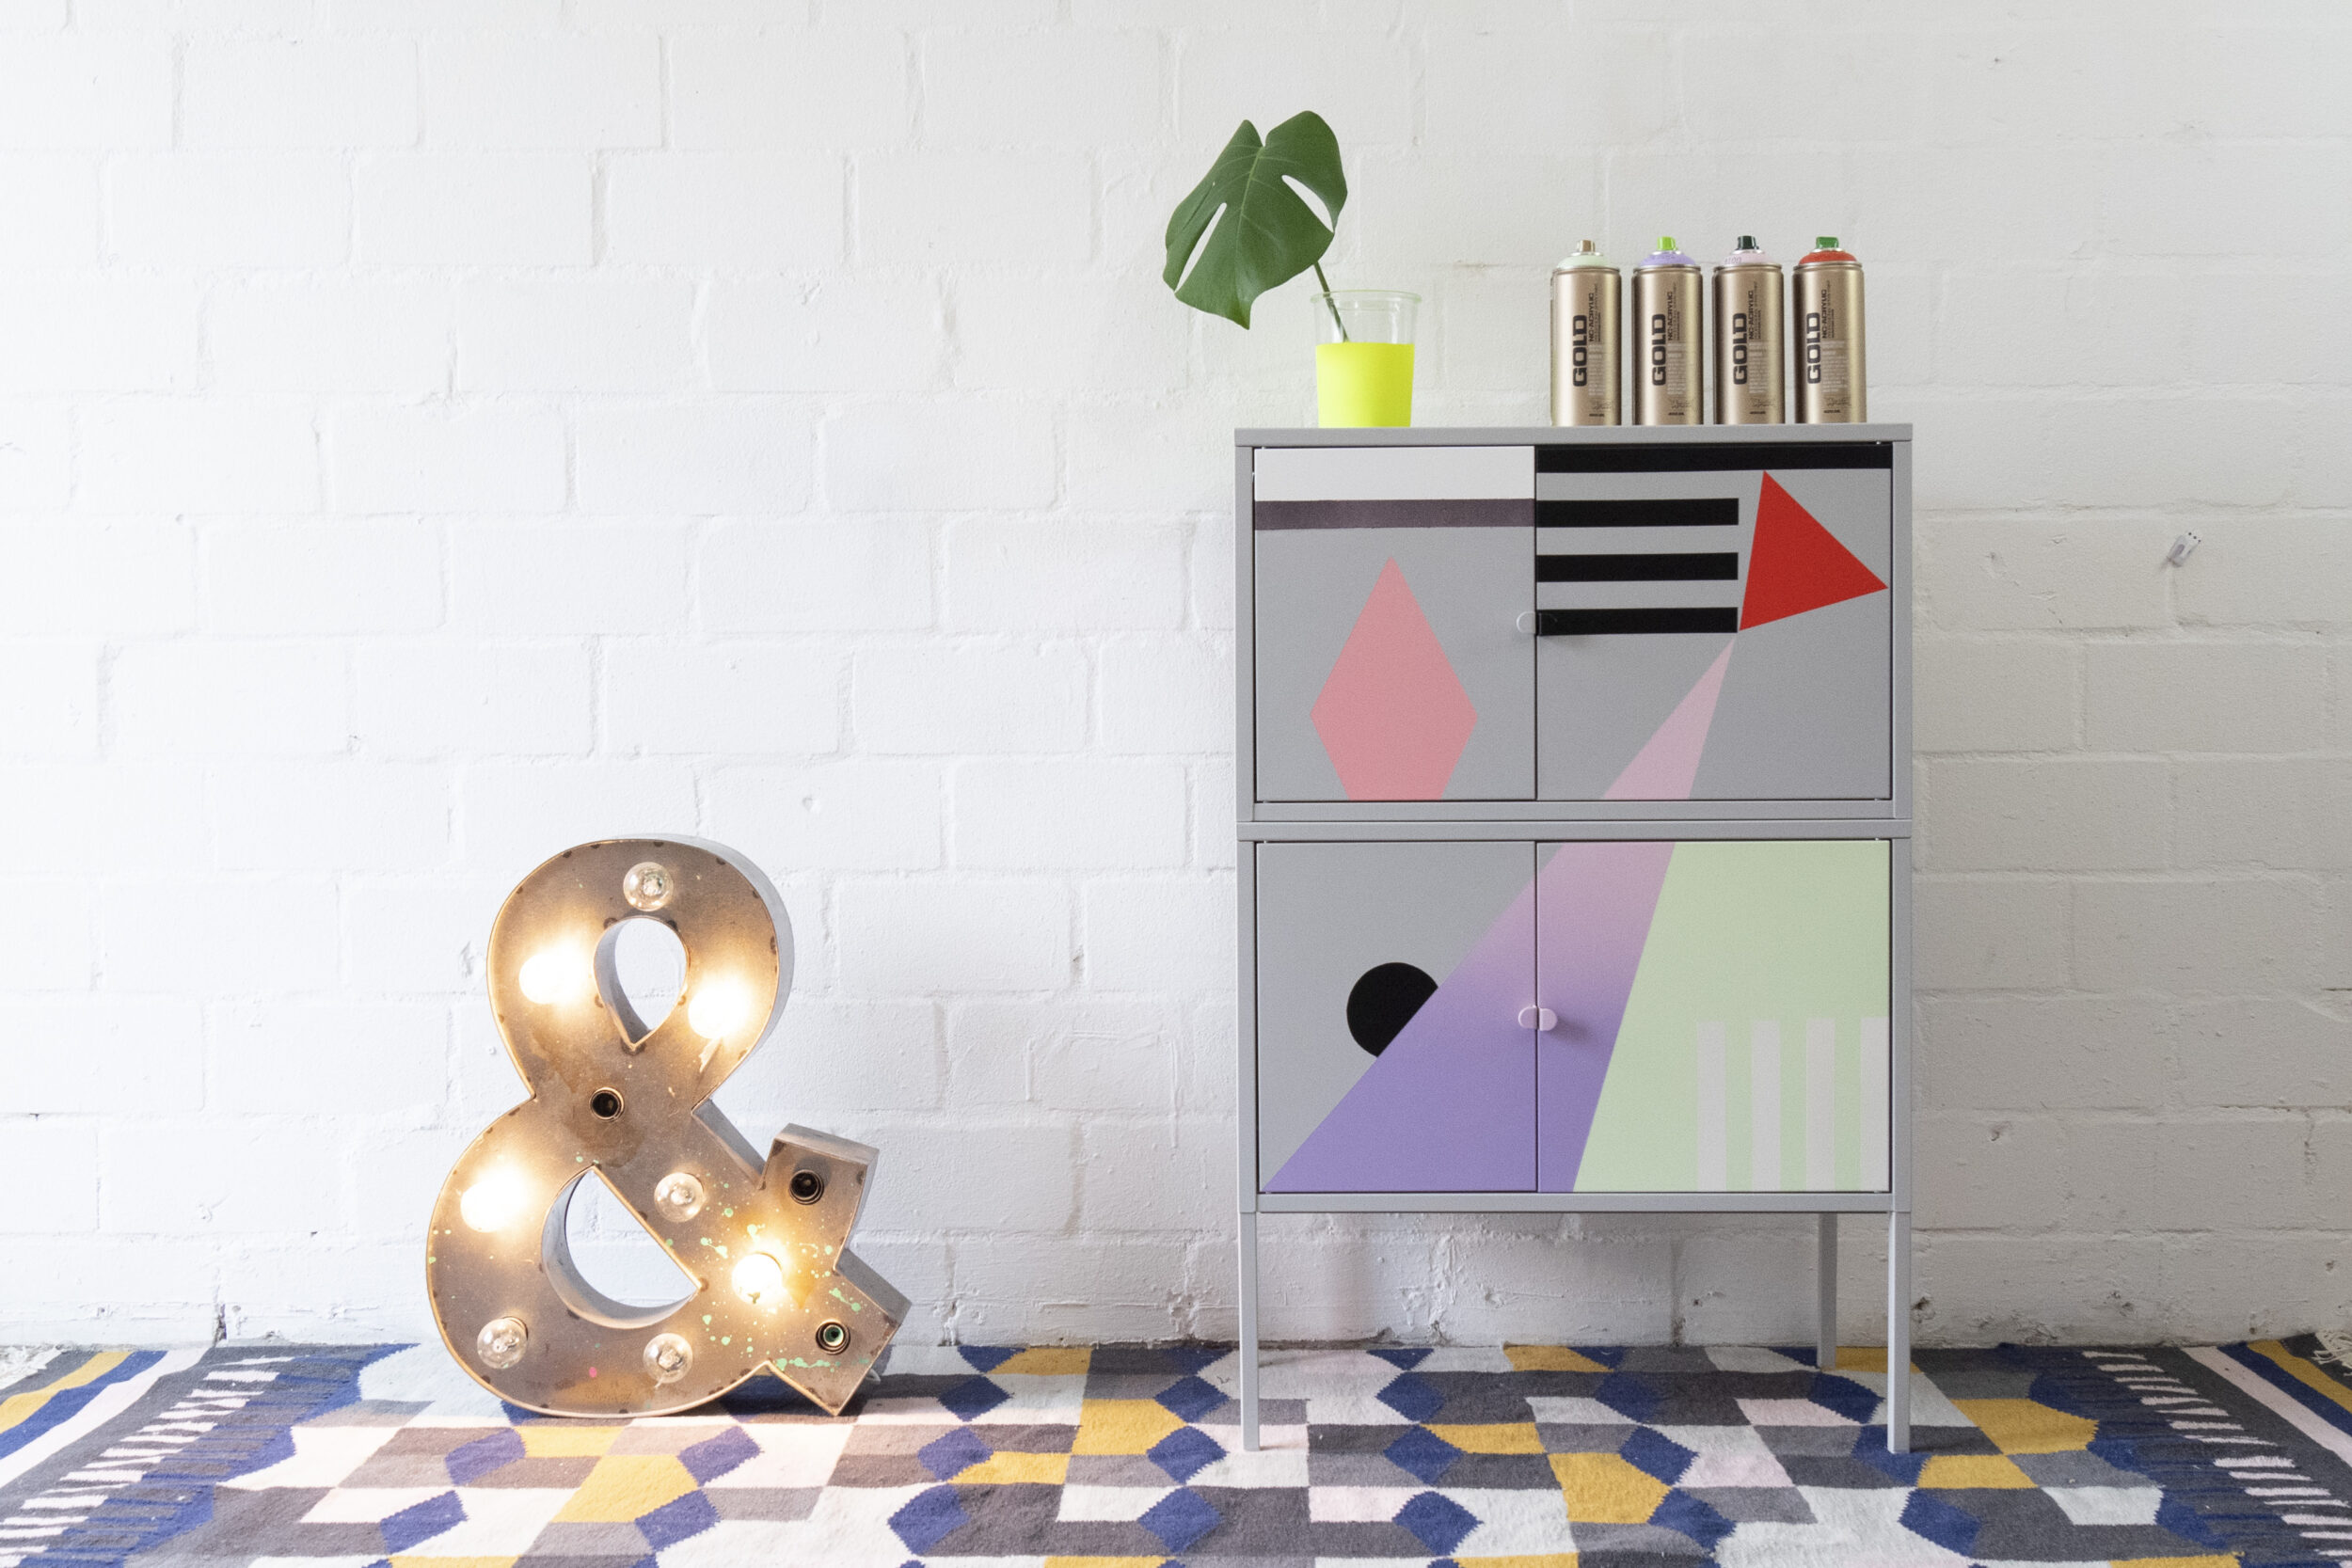
This project is a medium-hard level project, depending on the complexity of your design choices. If you’re not confident to begin with, start small and build up layers till you improve your technique, or find your “groove”, as to what to place where. Congratulations to your Metal Sideboard Makeover and Happy Crafting!