Easy to make unique Greeting cards
With all the mass-produced cards available at Christmas, standing in front of the card shelf at the store can be a daunting experience. Sending a preprinted card can seem so shallow and heartless. Where are all the unique cards, that are inspiring, and feel as though they are a Christmas present within themselves? The simple answer is that you haven’t made them yet. But this year, that is all going to change. Read on and get ready to create your own Marble Christmas Cards.
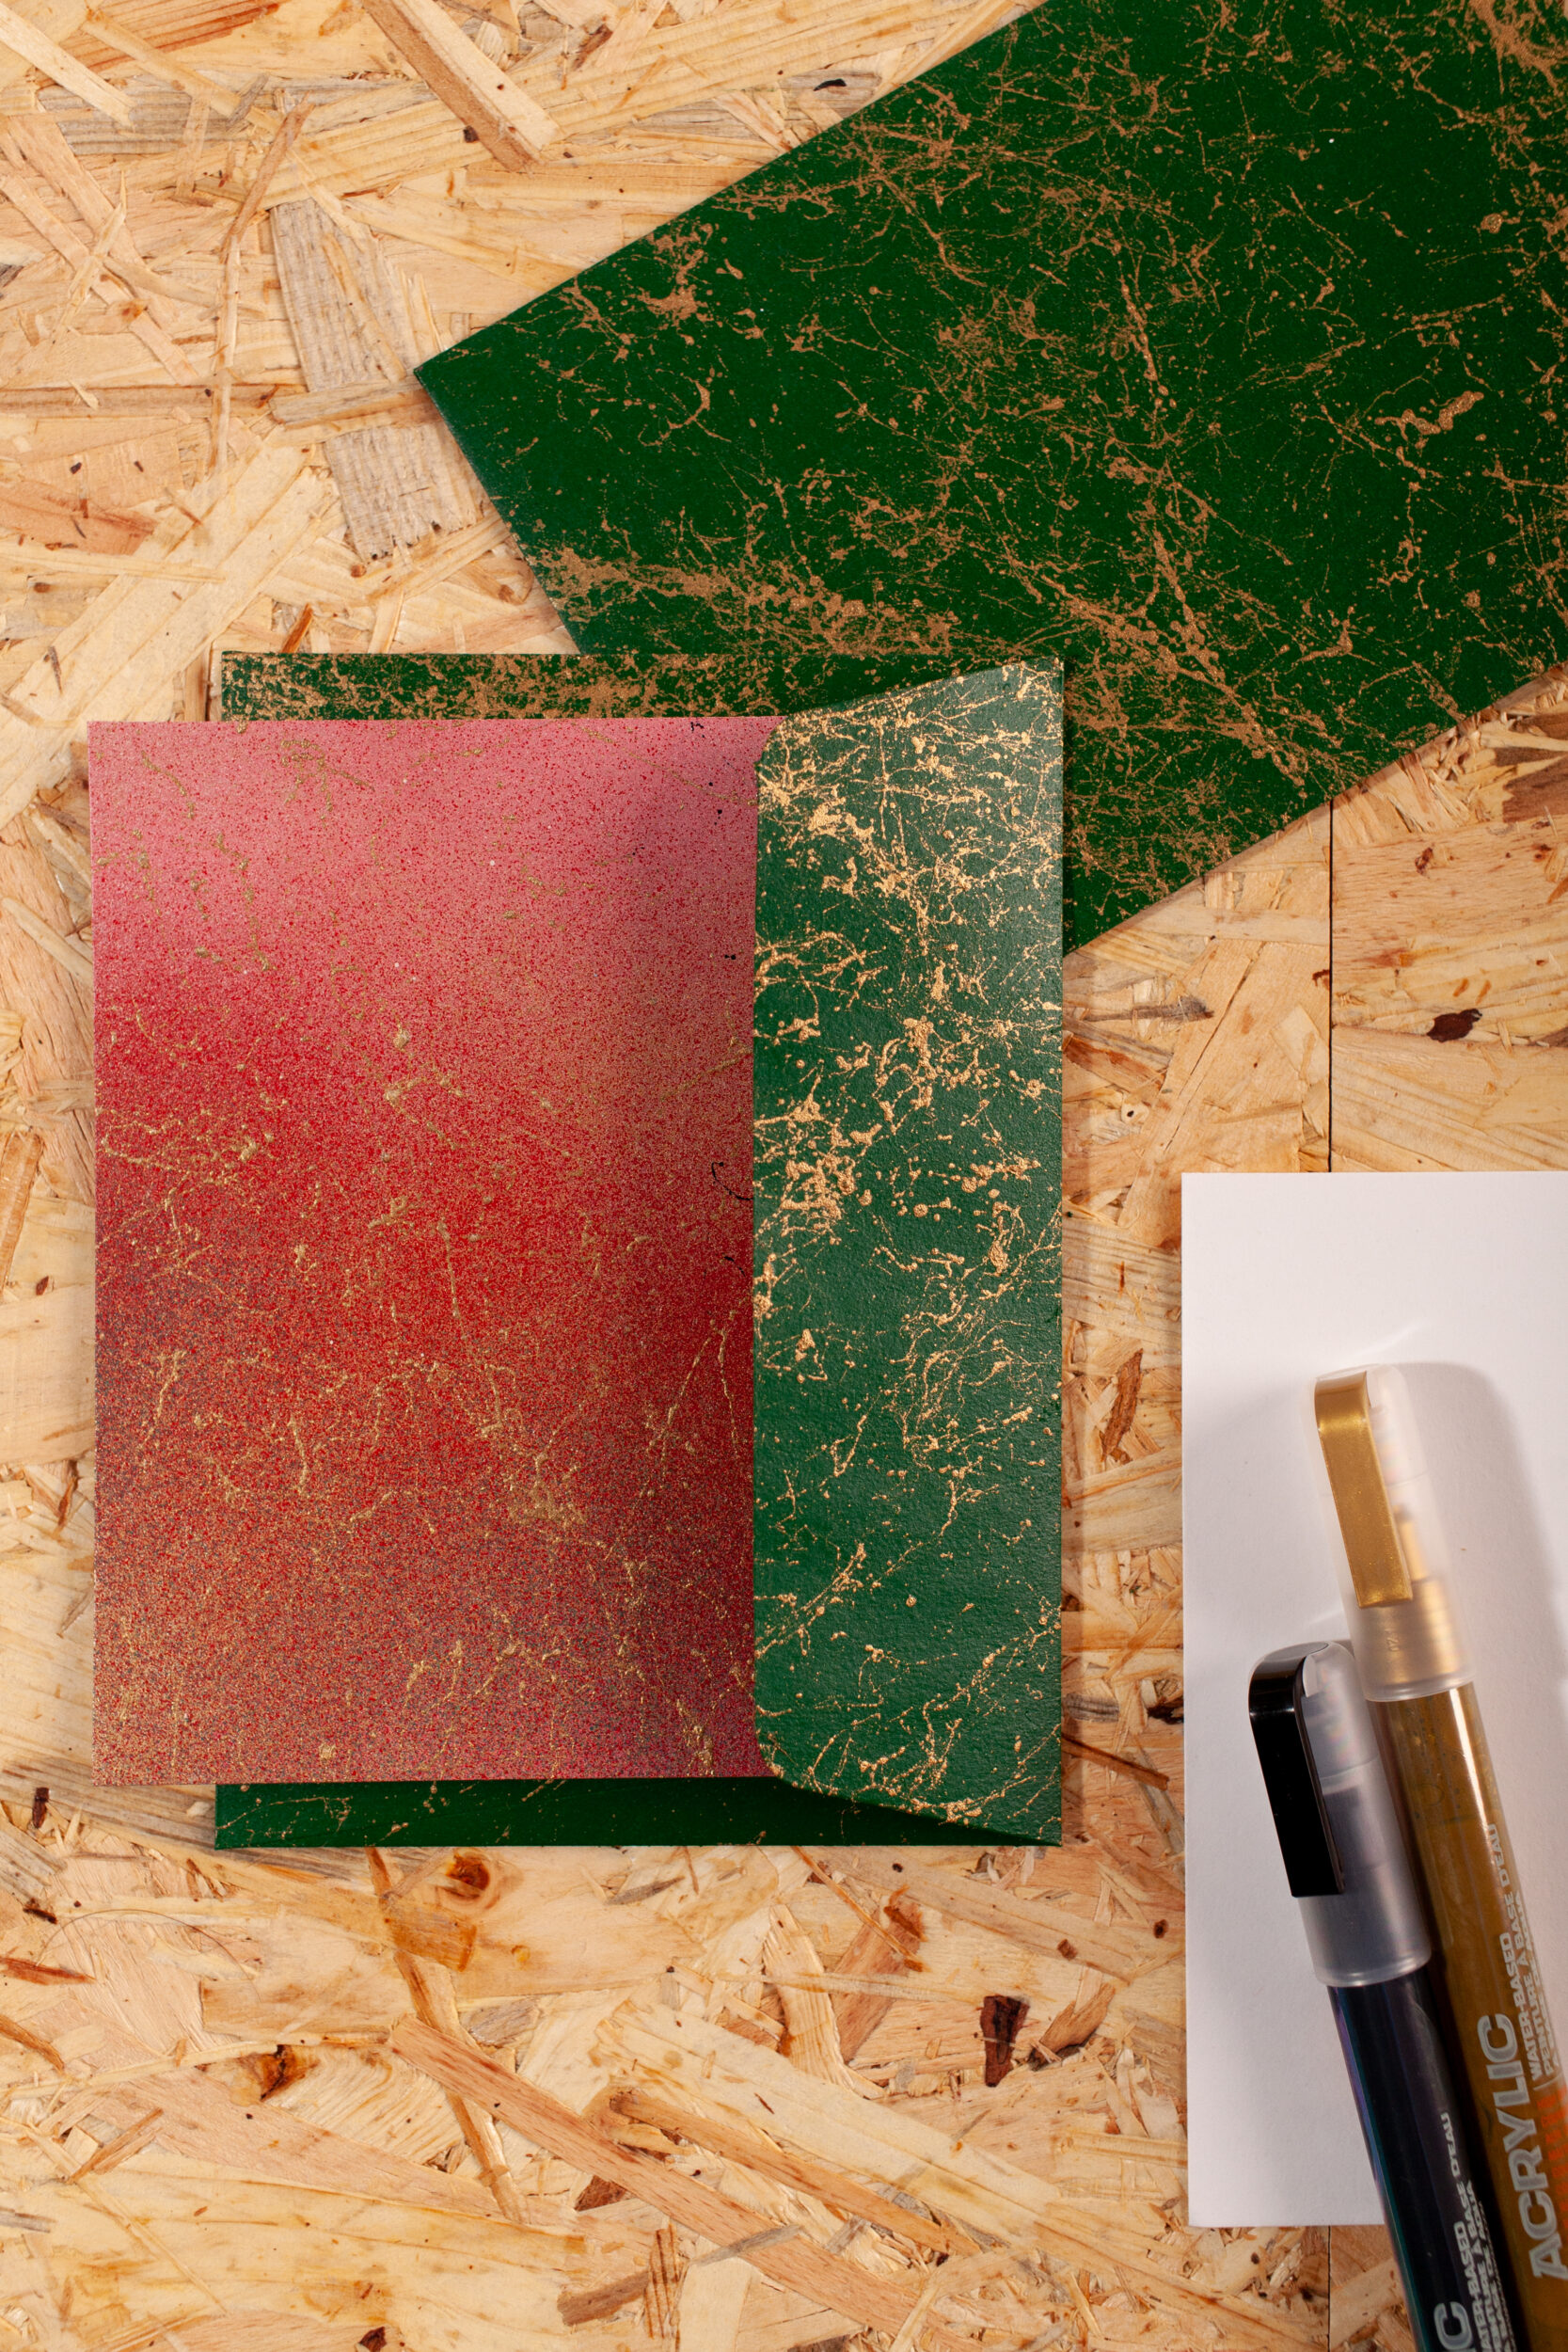
Before
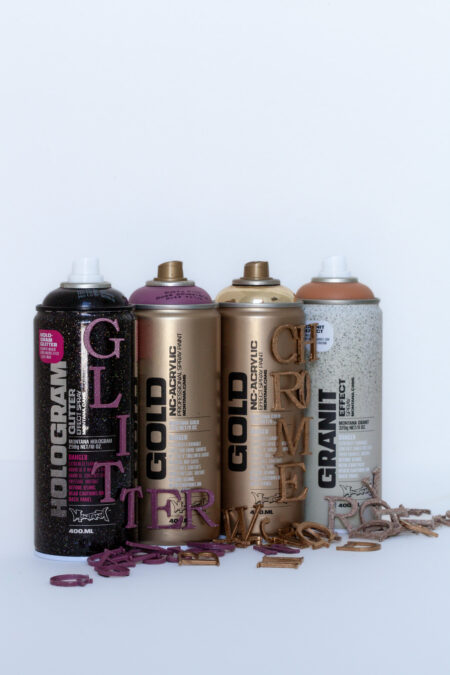
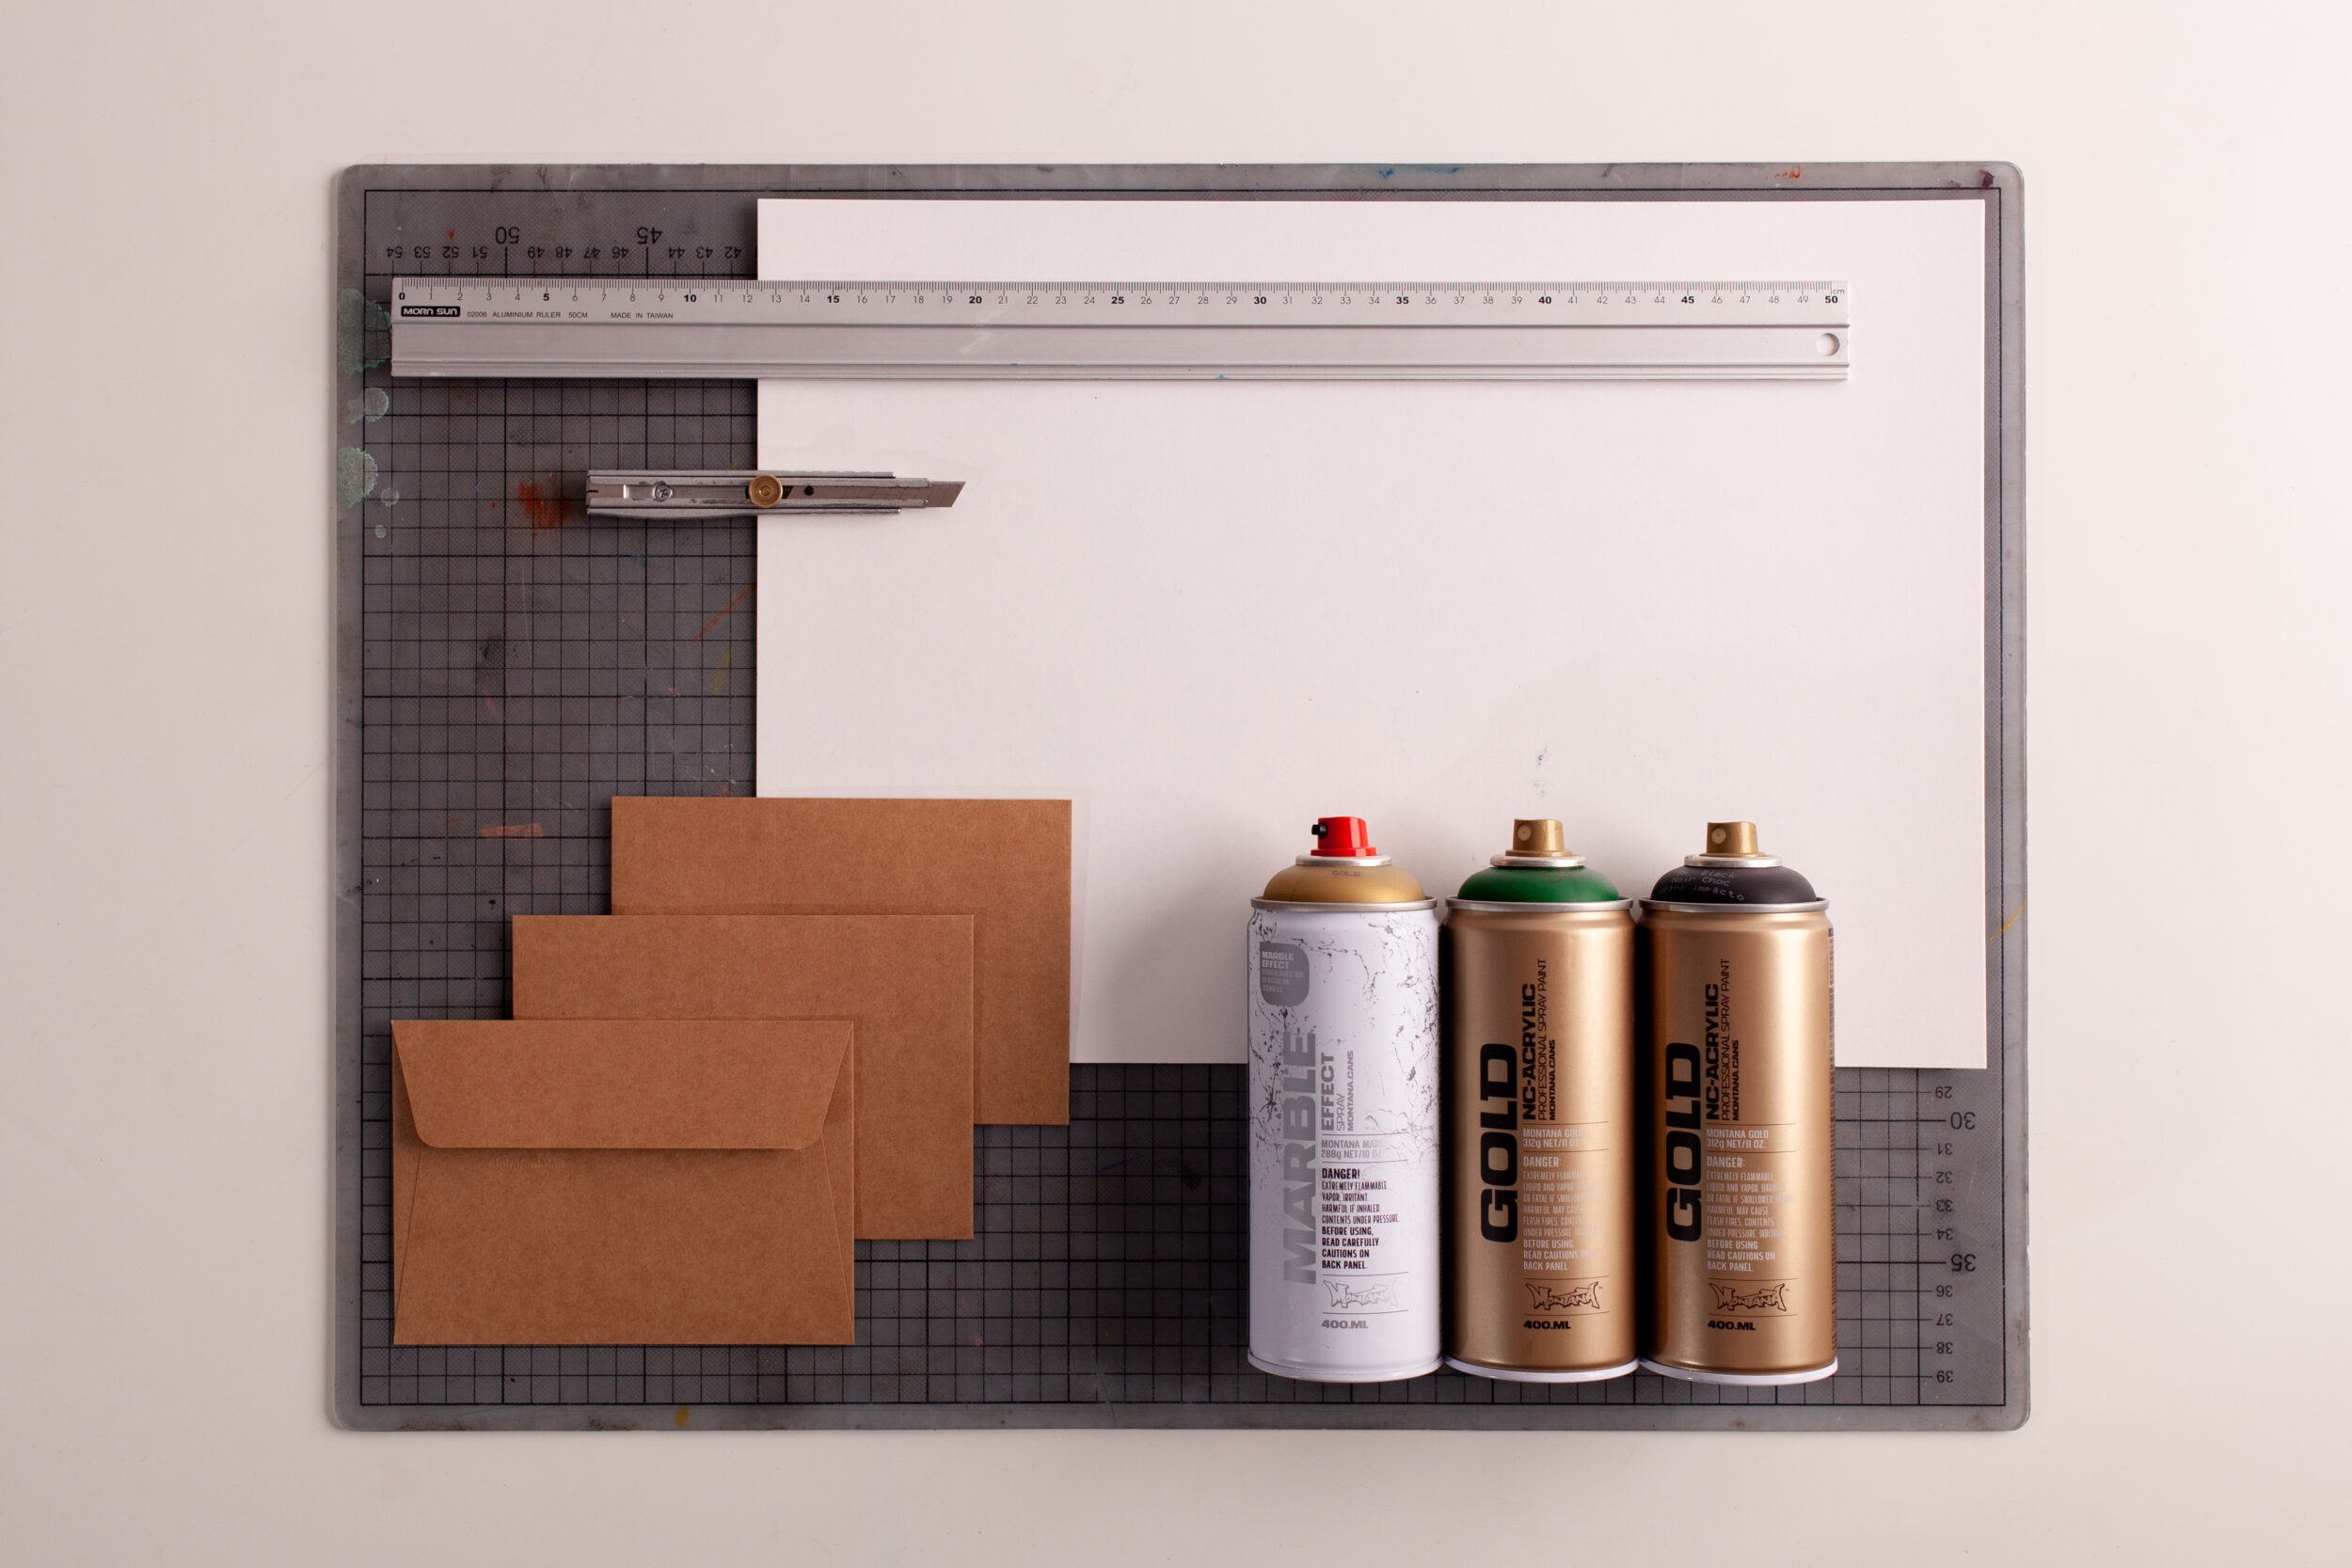
Making beautiful Christmas cards that are unique, aesthetic, and express the gift of giving is easier than one might think. As soon as the expectation of illustrations, nativity scenes, and photographs are put aside, what is left is a world of possibilities that are unique and inspiring to receive. And above all, fun and easy to make. Starting with some sturdy craft paper, craft card, blank envelopes, or some good quality blank card and envelope kits (as found in many art and craft stores, or the craft sections of hardware stores), go to your Montana GOLD can collection and look for any Montana GOLD can colors that take your fancy.
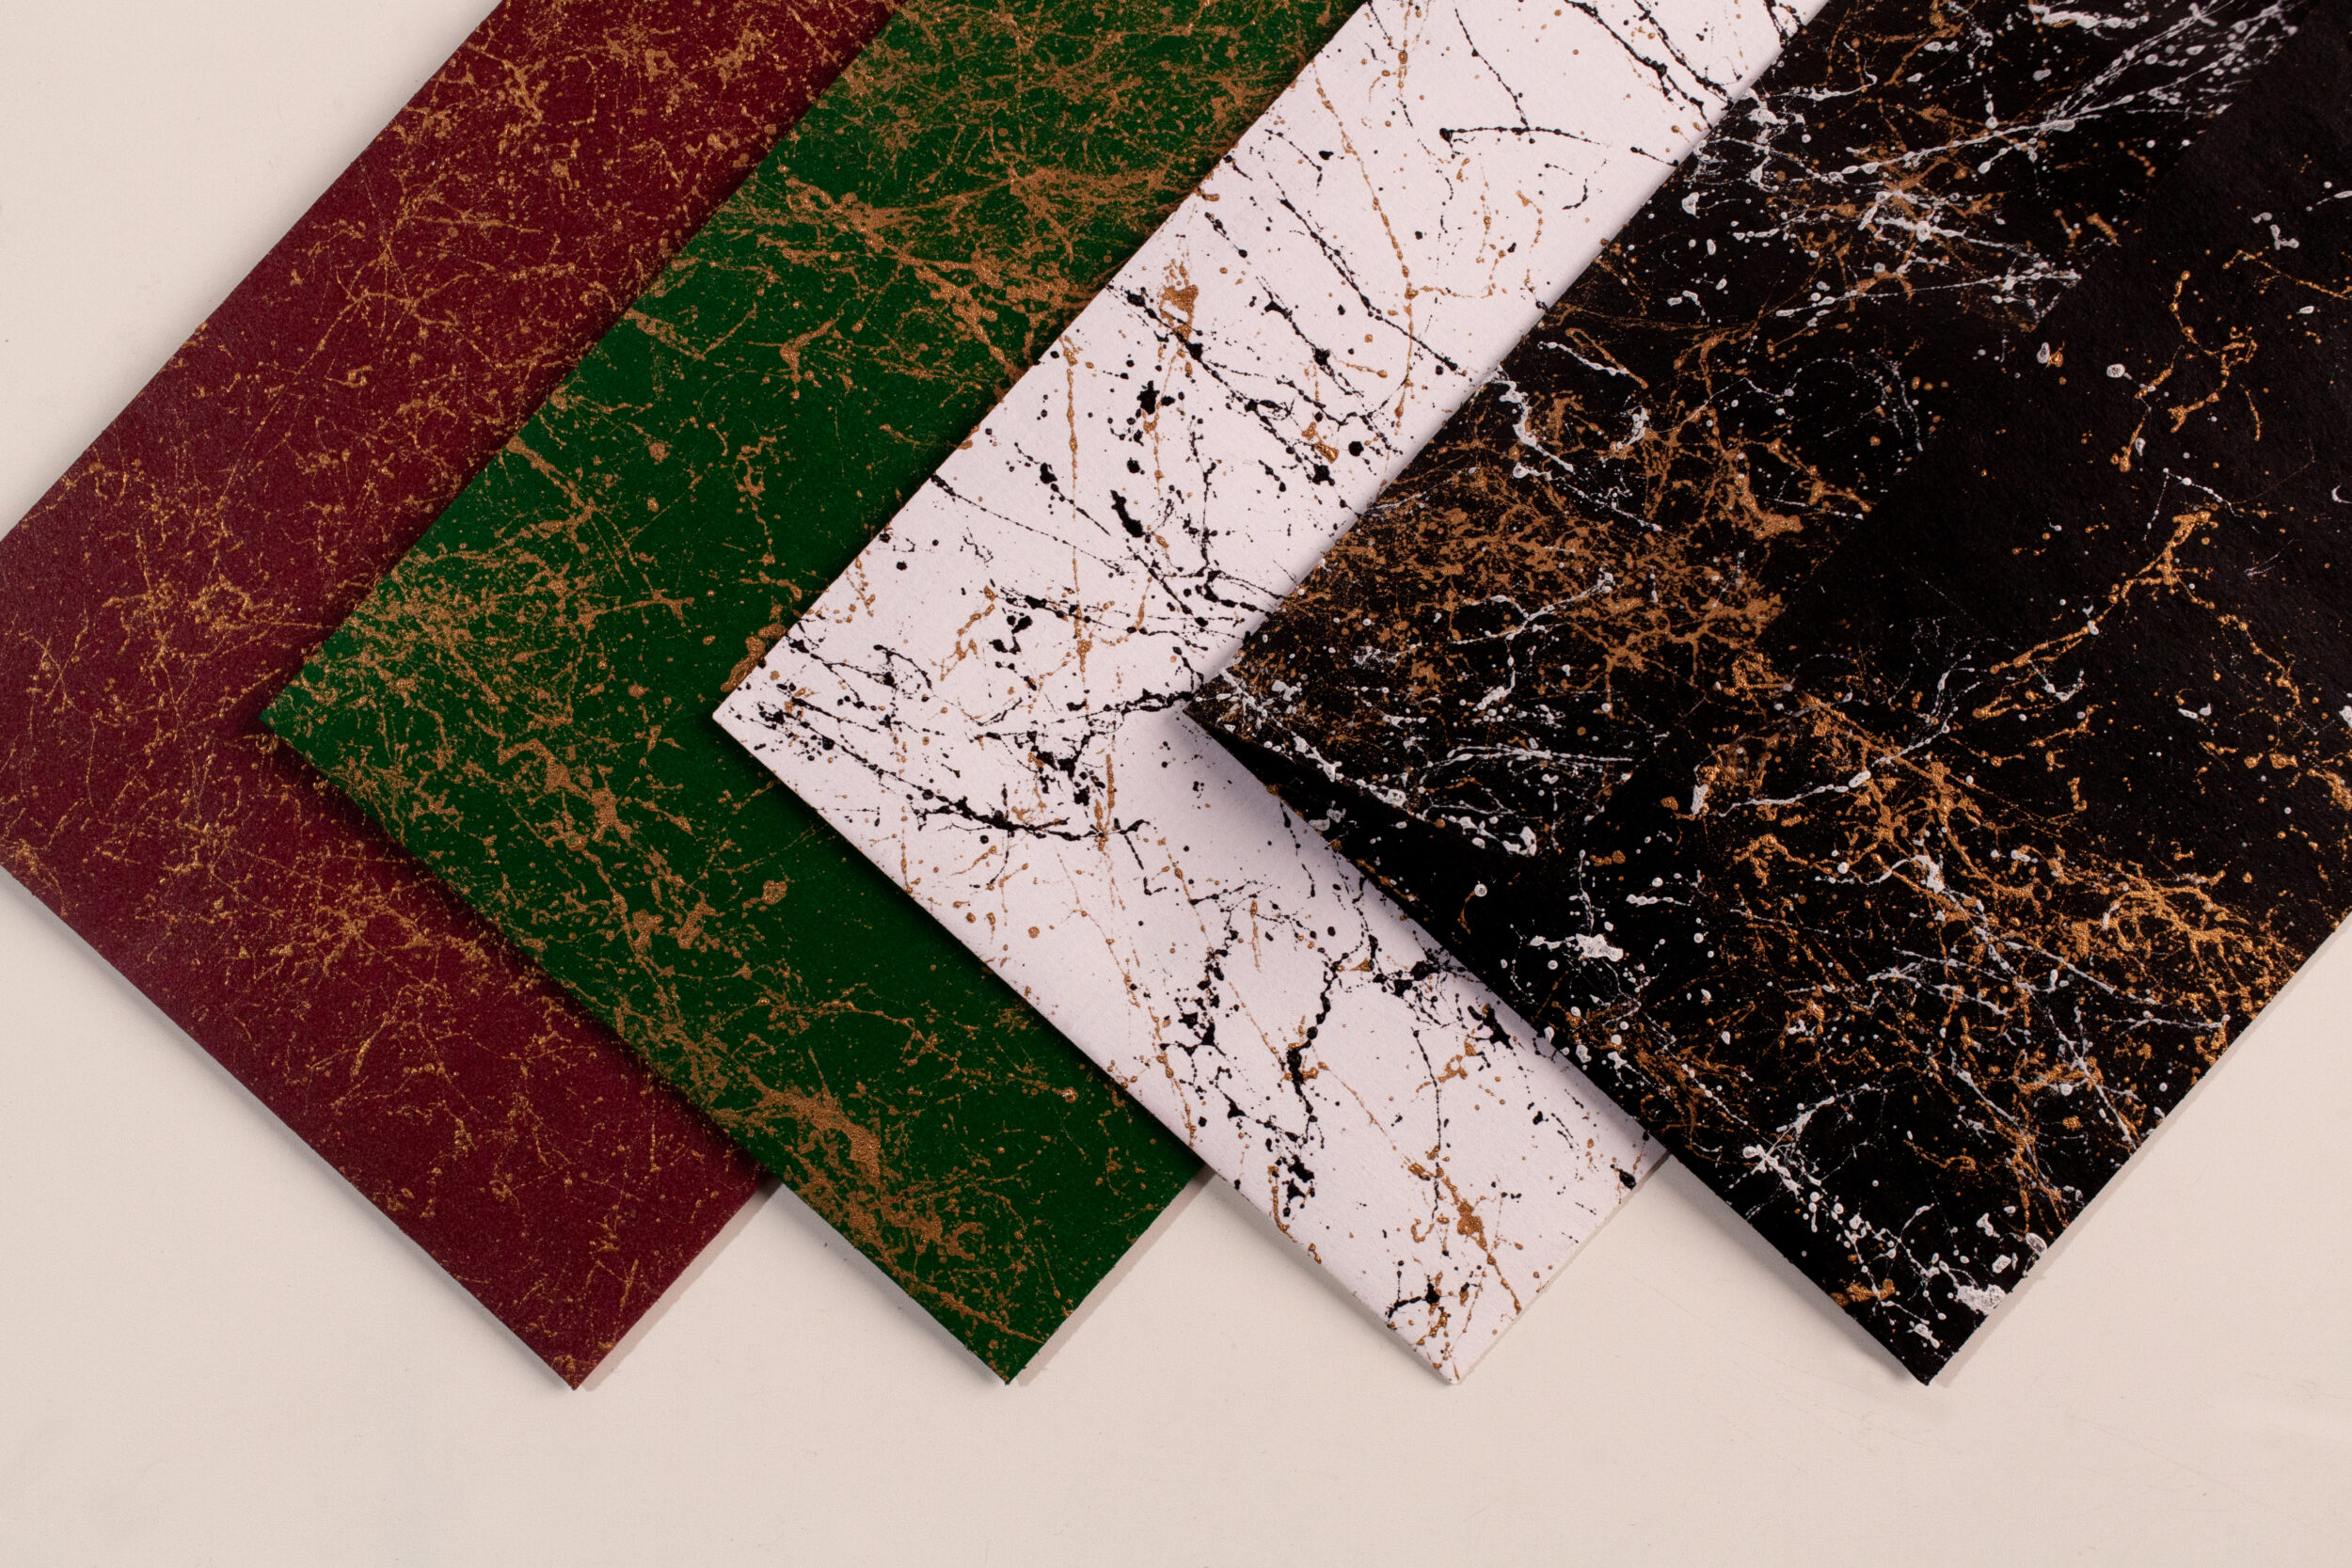
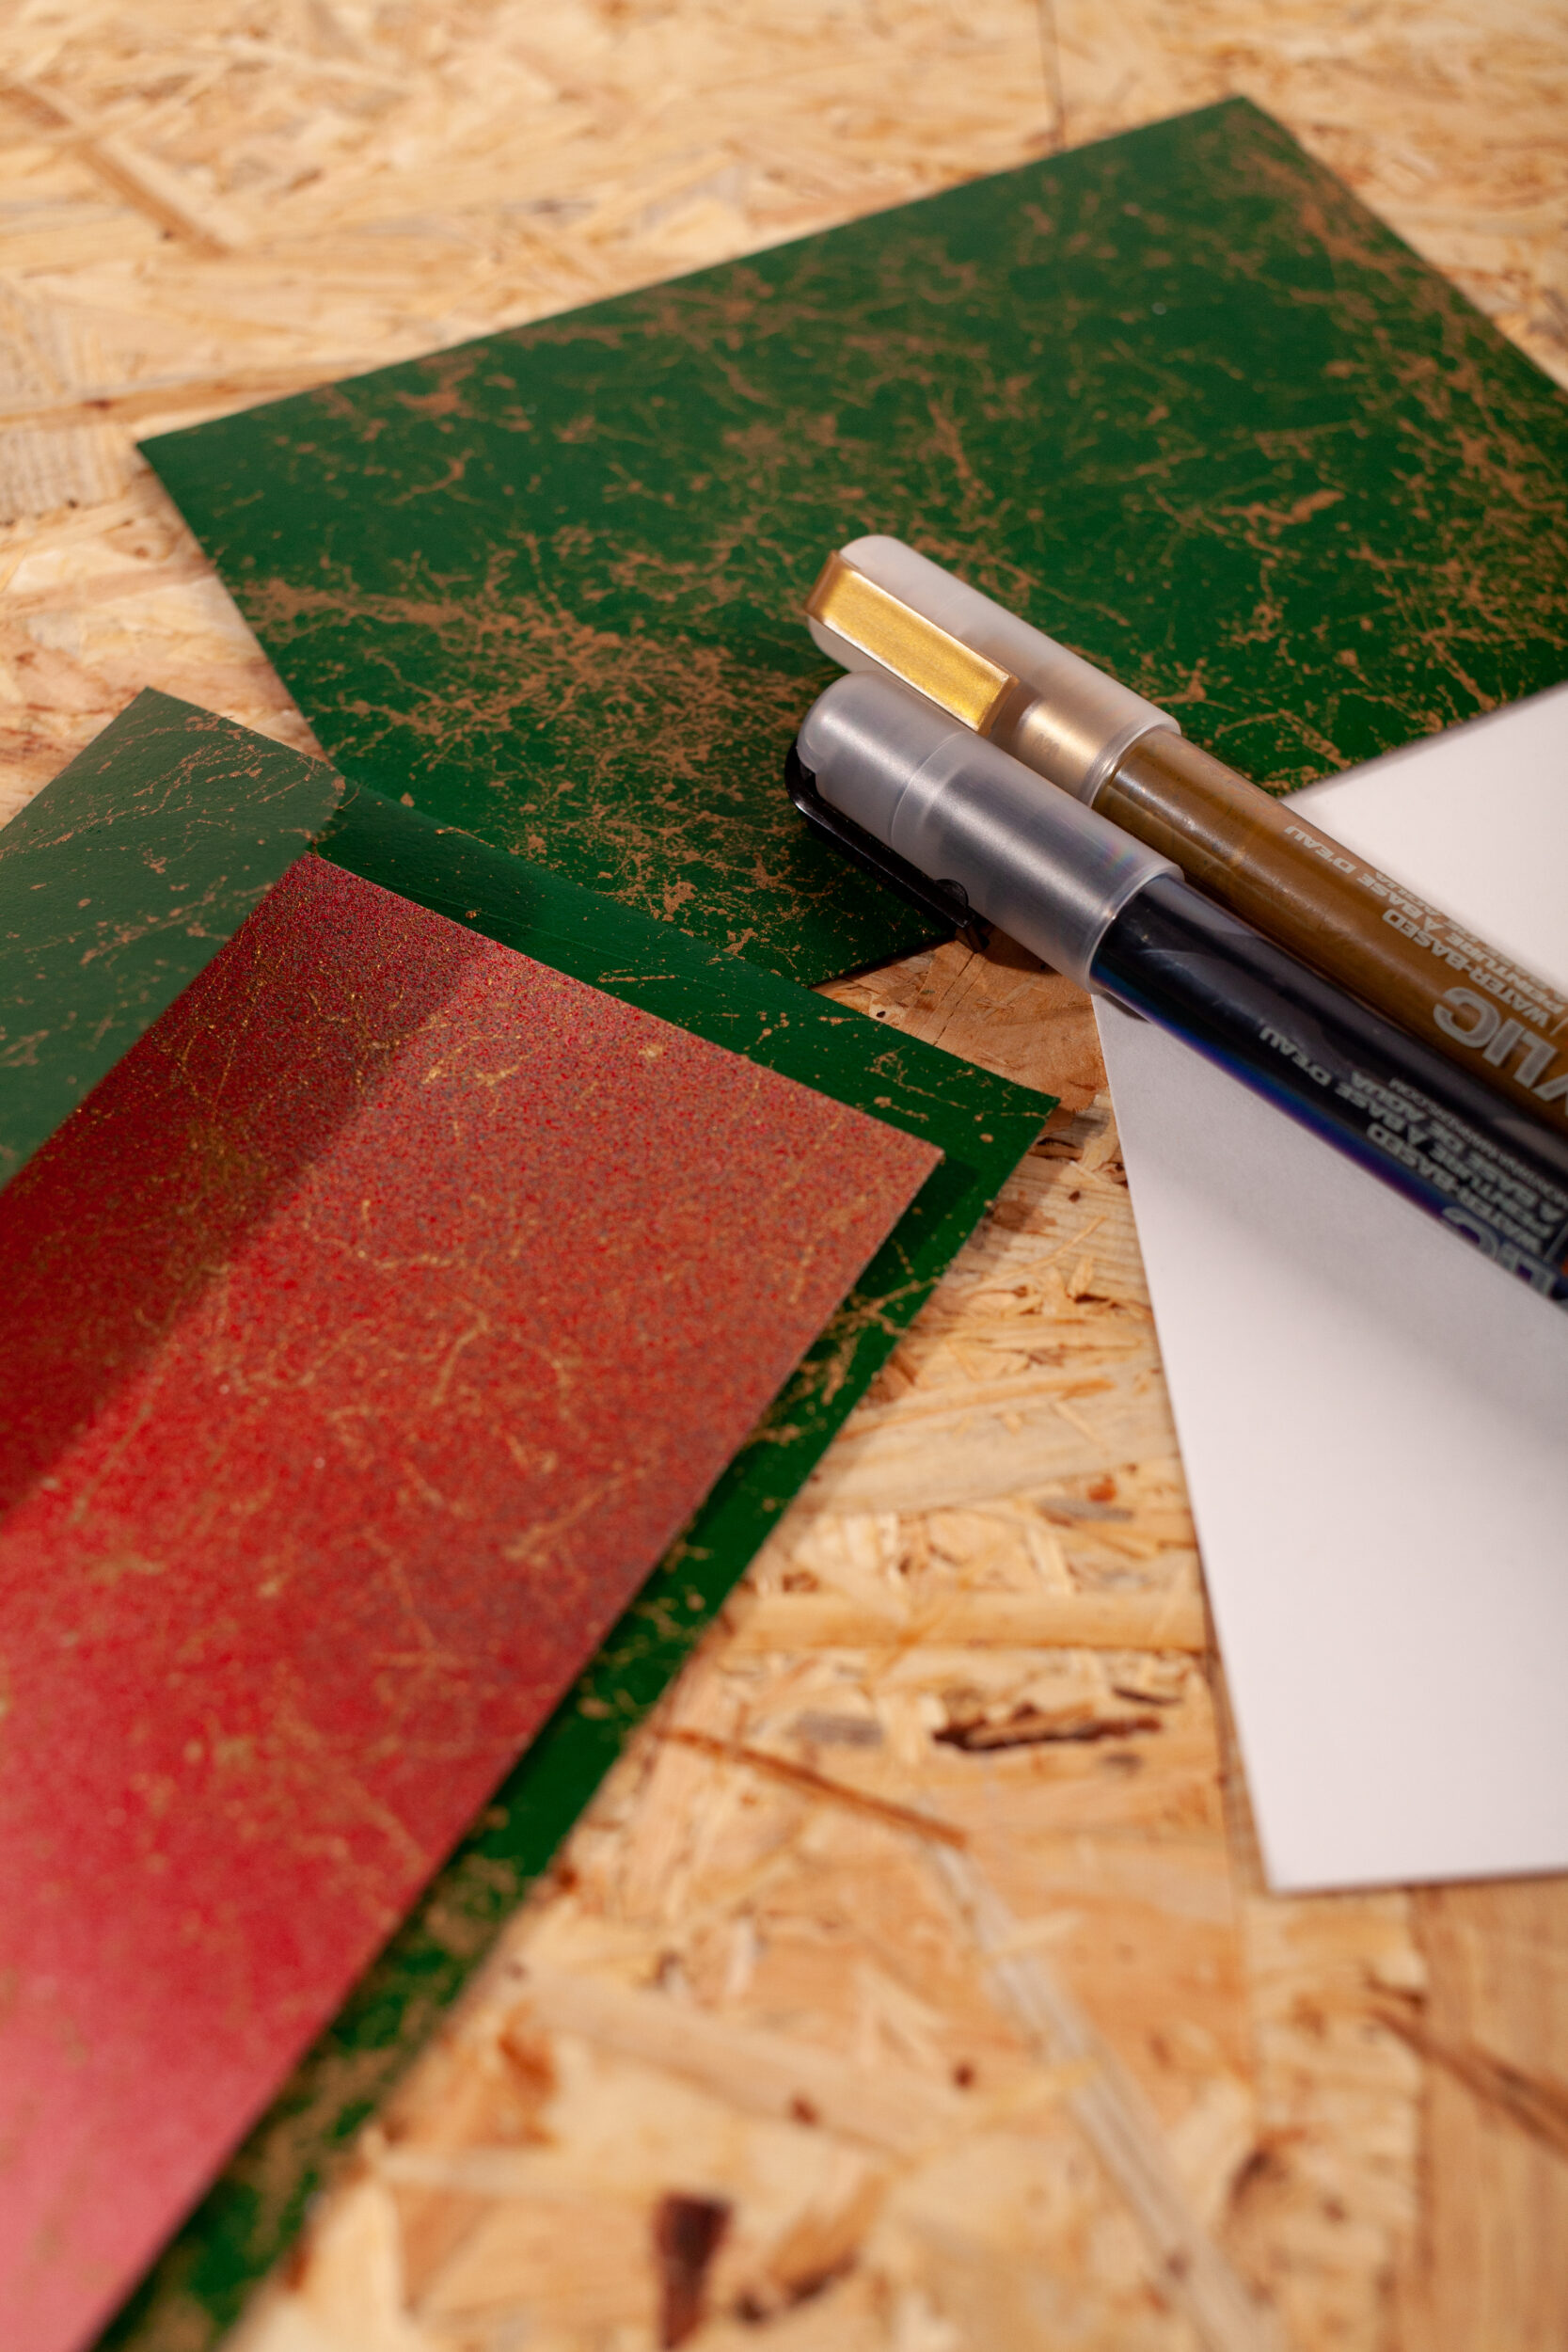
If you want to keep it traditional, remember the colors green, red, white, black, silver matt, and gold matt (but not in the chrome effect varieties). Or, go with your instinct and use the colors you like at home or find exactly what you want at your local Montana Cans supplier. Prepare your painting space with drop sheets or protective material to catch any overspray, and go through your normal prepainting procedures. Shake your cans for 2-3 minutes, remove the black safety ring from under the cap (where applicable), and reattach the nozzle before test spraying away from everything. Once your mask and gloves are on, you are ready to let the fun begin.
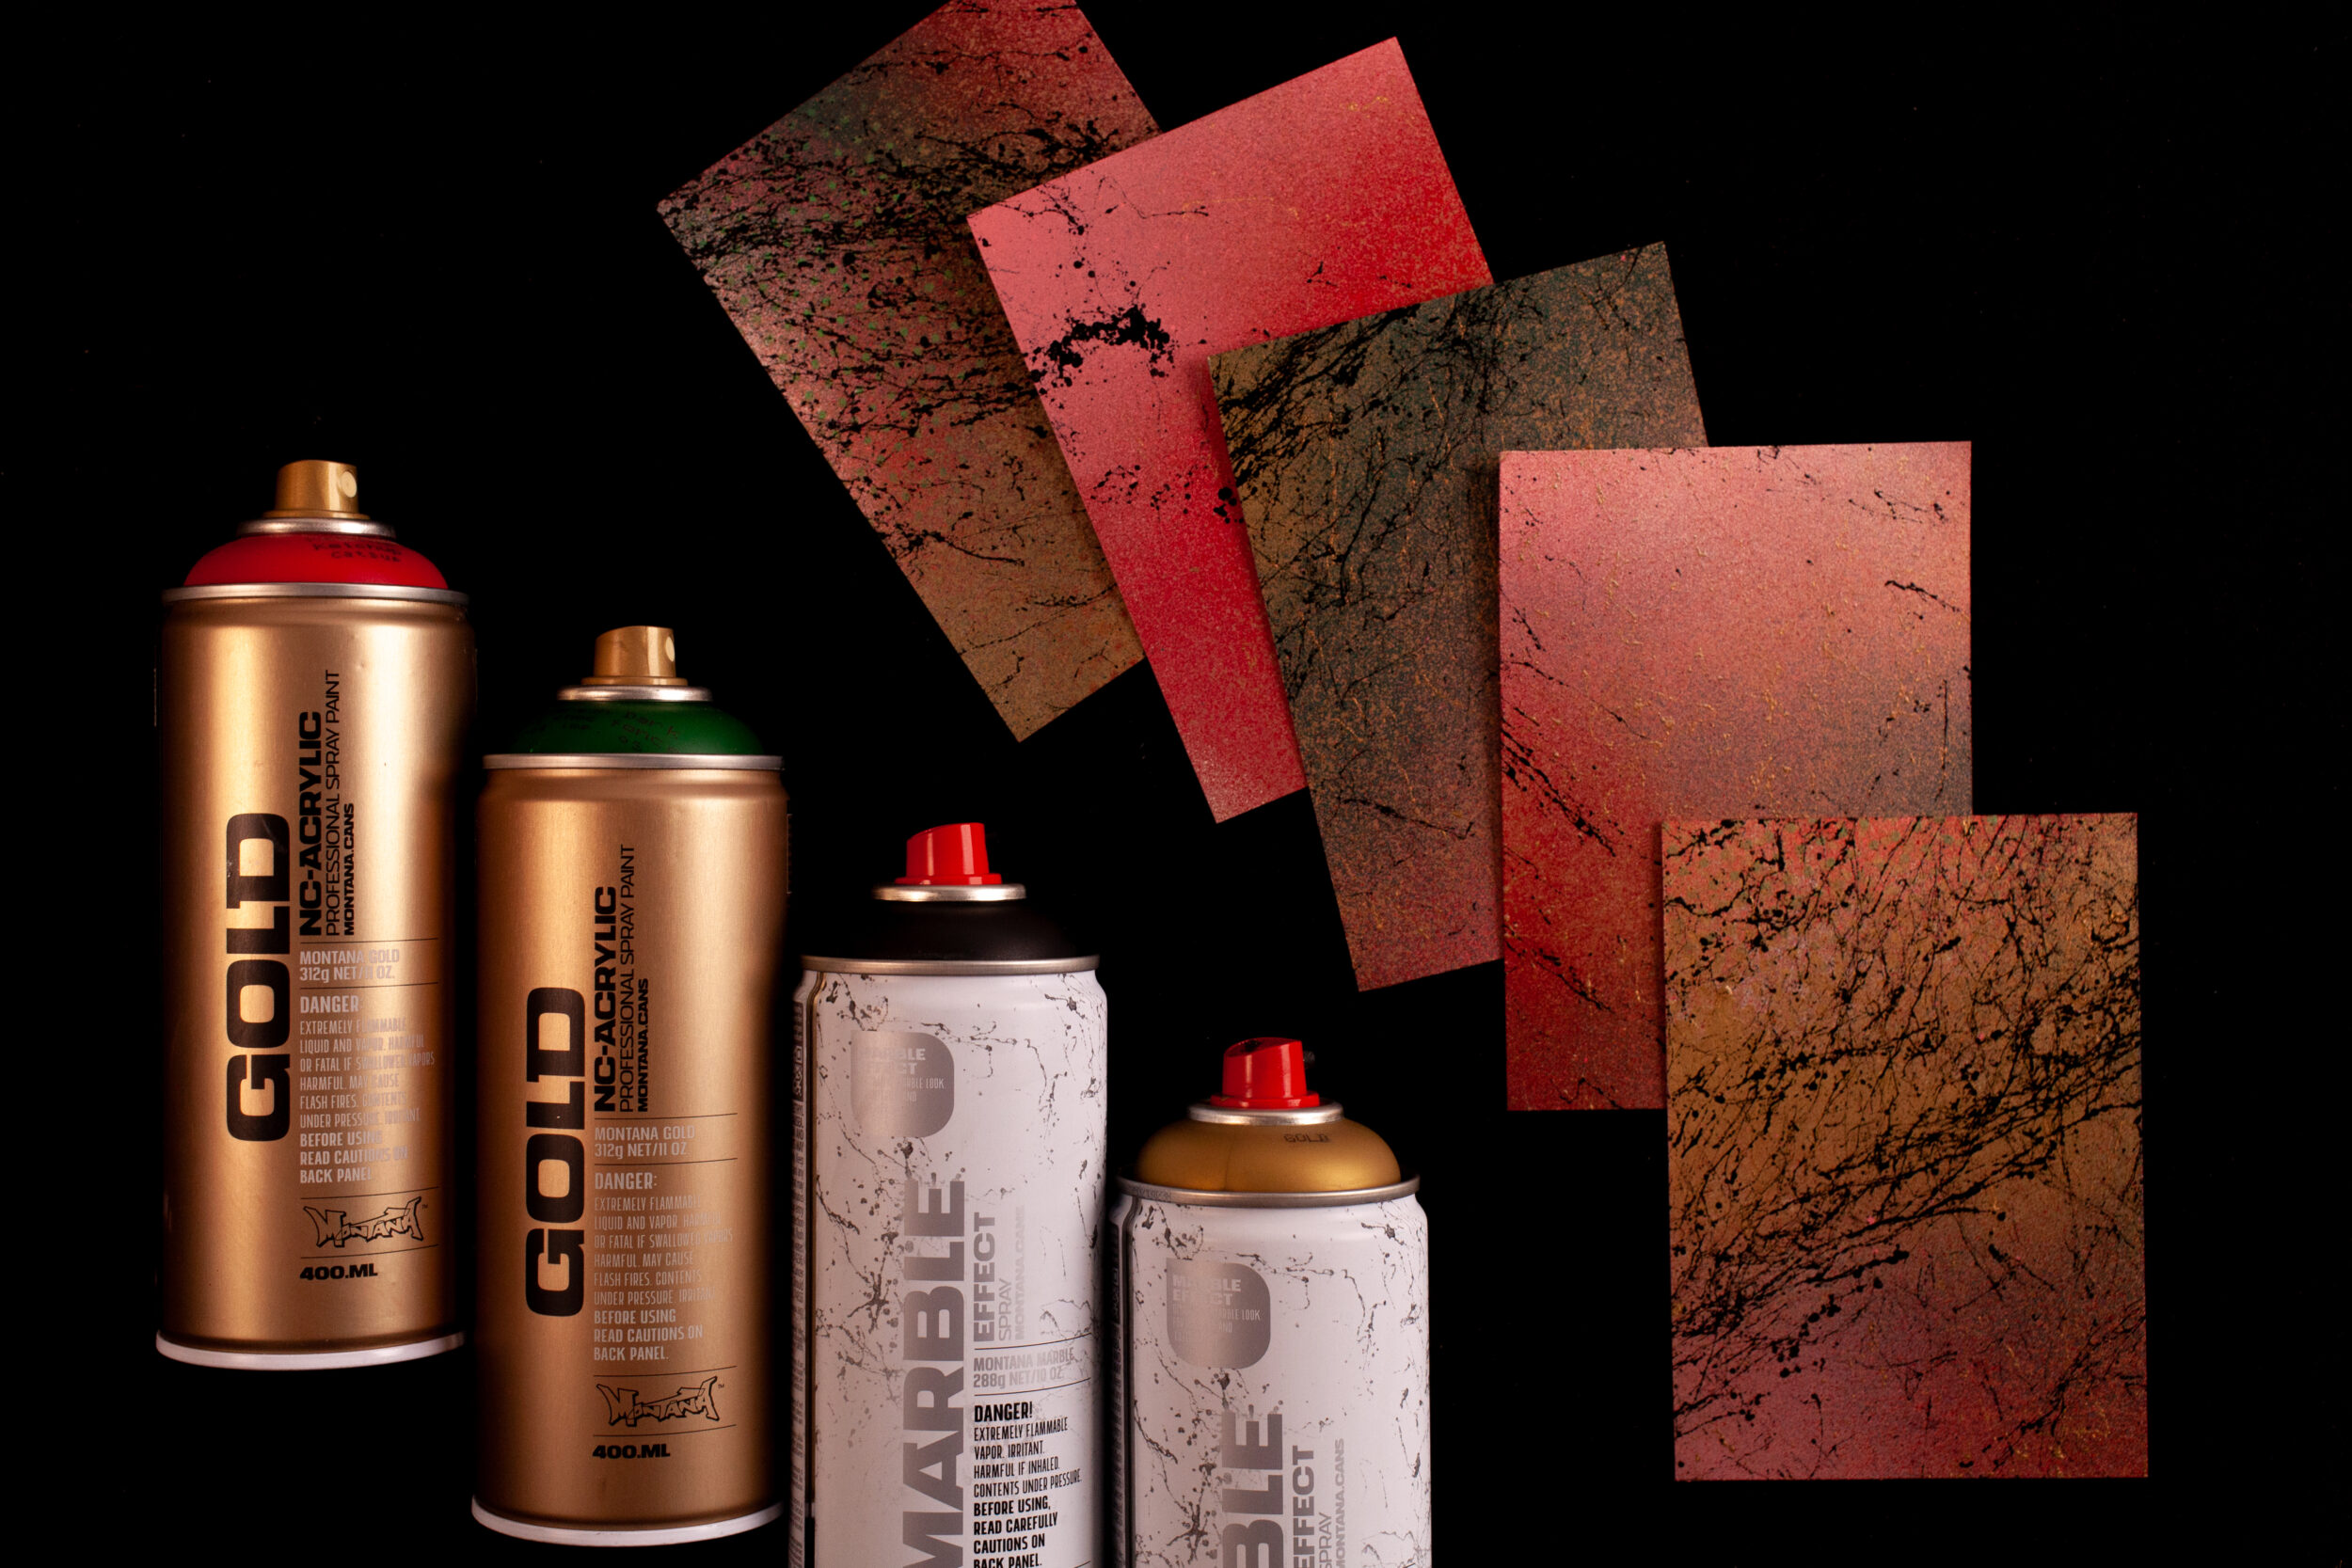
The idea is with various methods of Montana GOLD Paint application and using the Montana MARBLE Effect Spray, we are going to paint and embellish the surfaces of our cards and envelopes with color to create one-off unique Christmas cards. Here are just some of the ideas you may want to try.
Montana GOLD cards
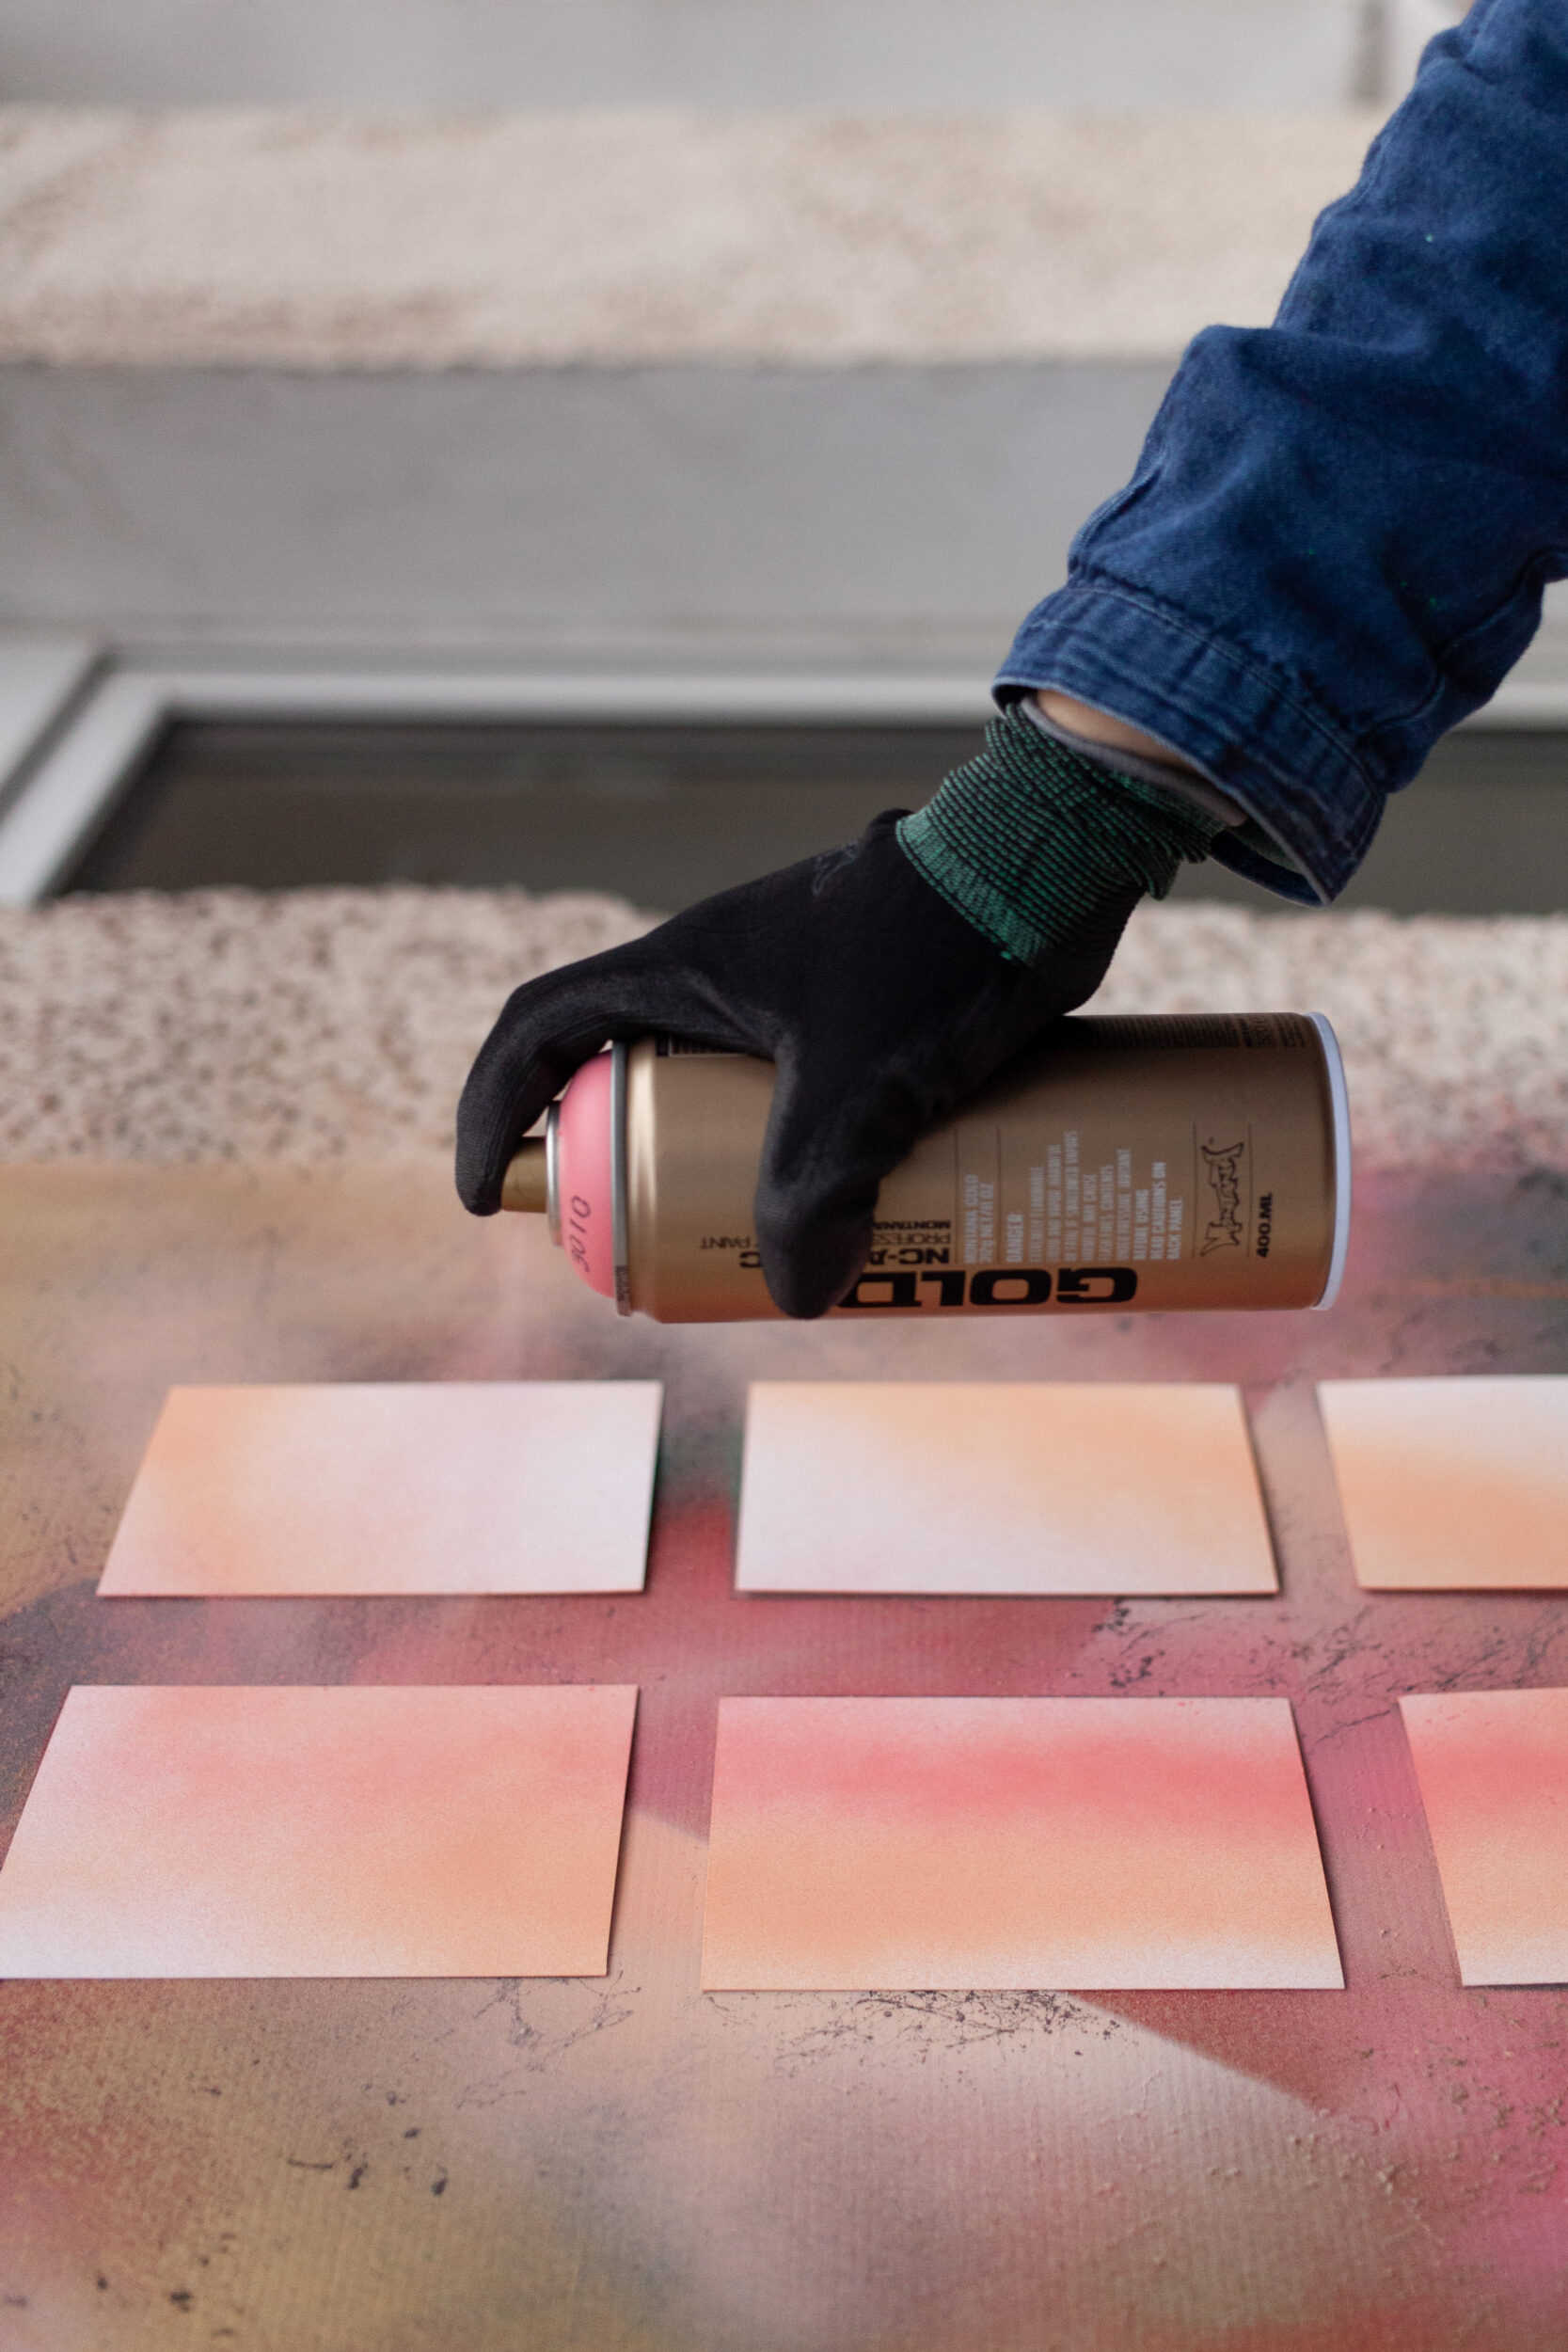
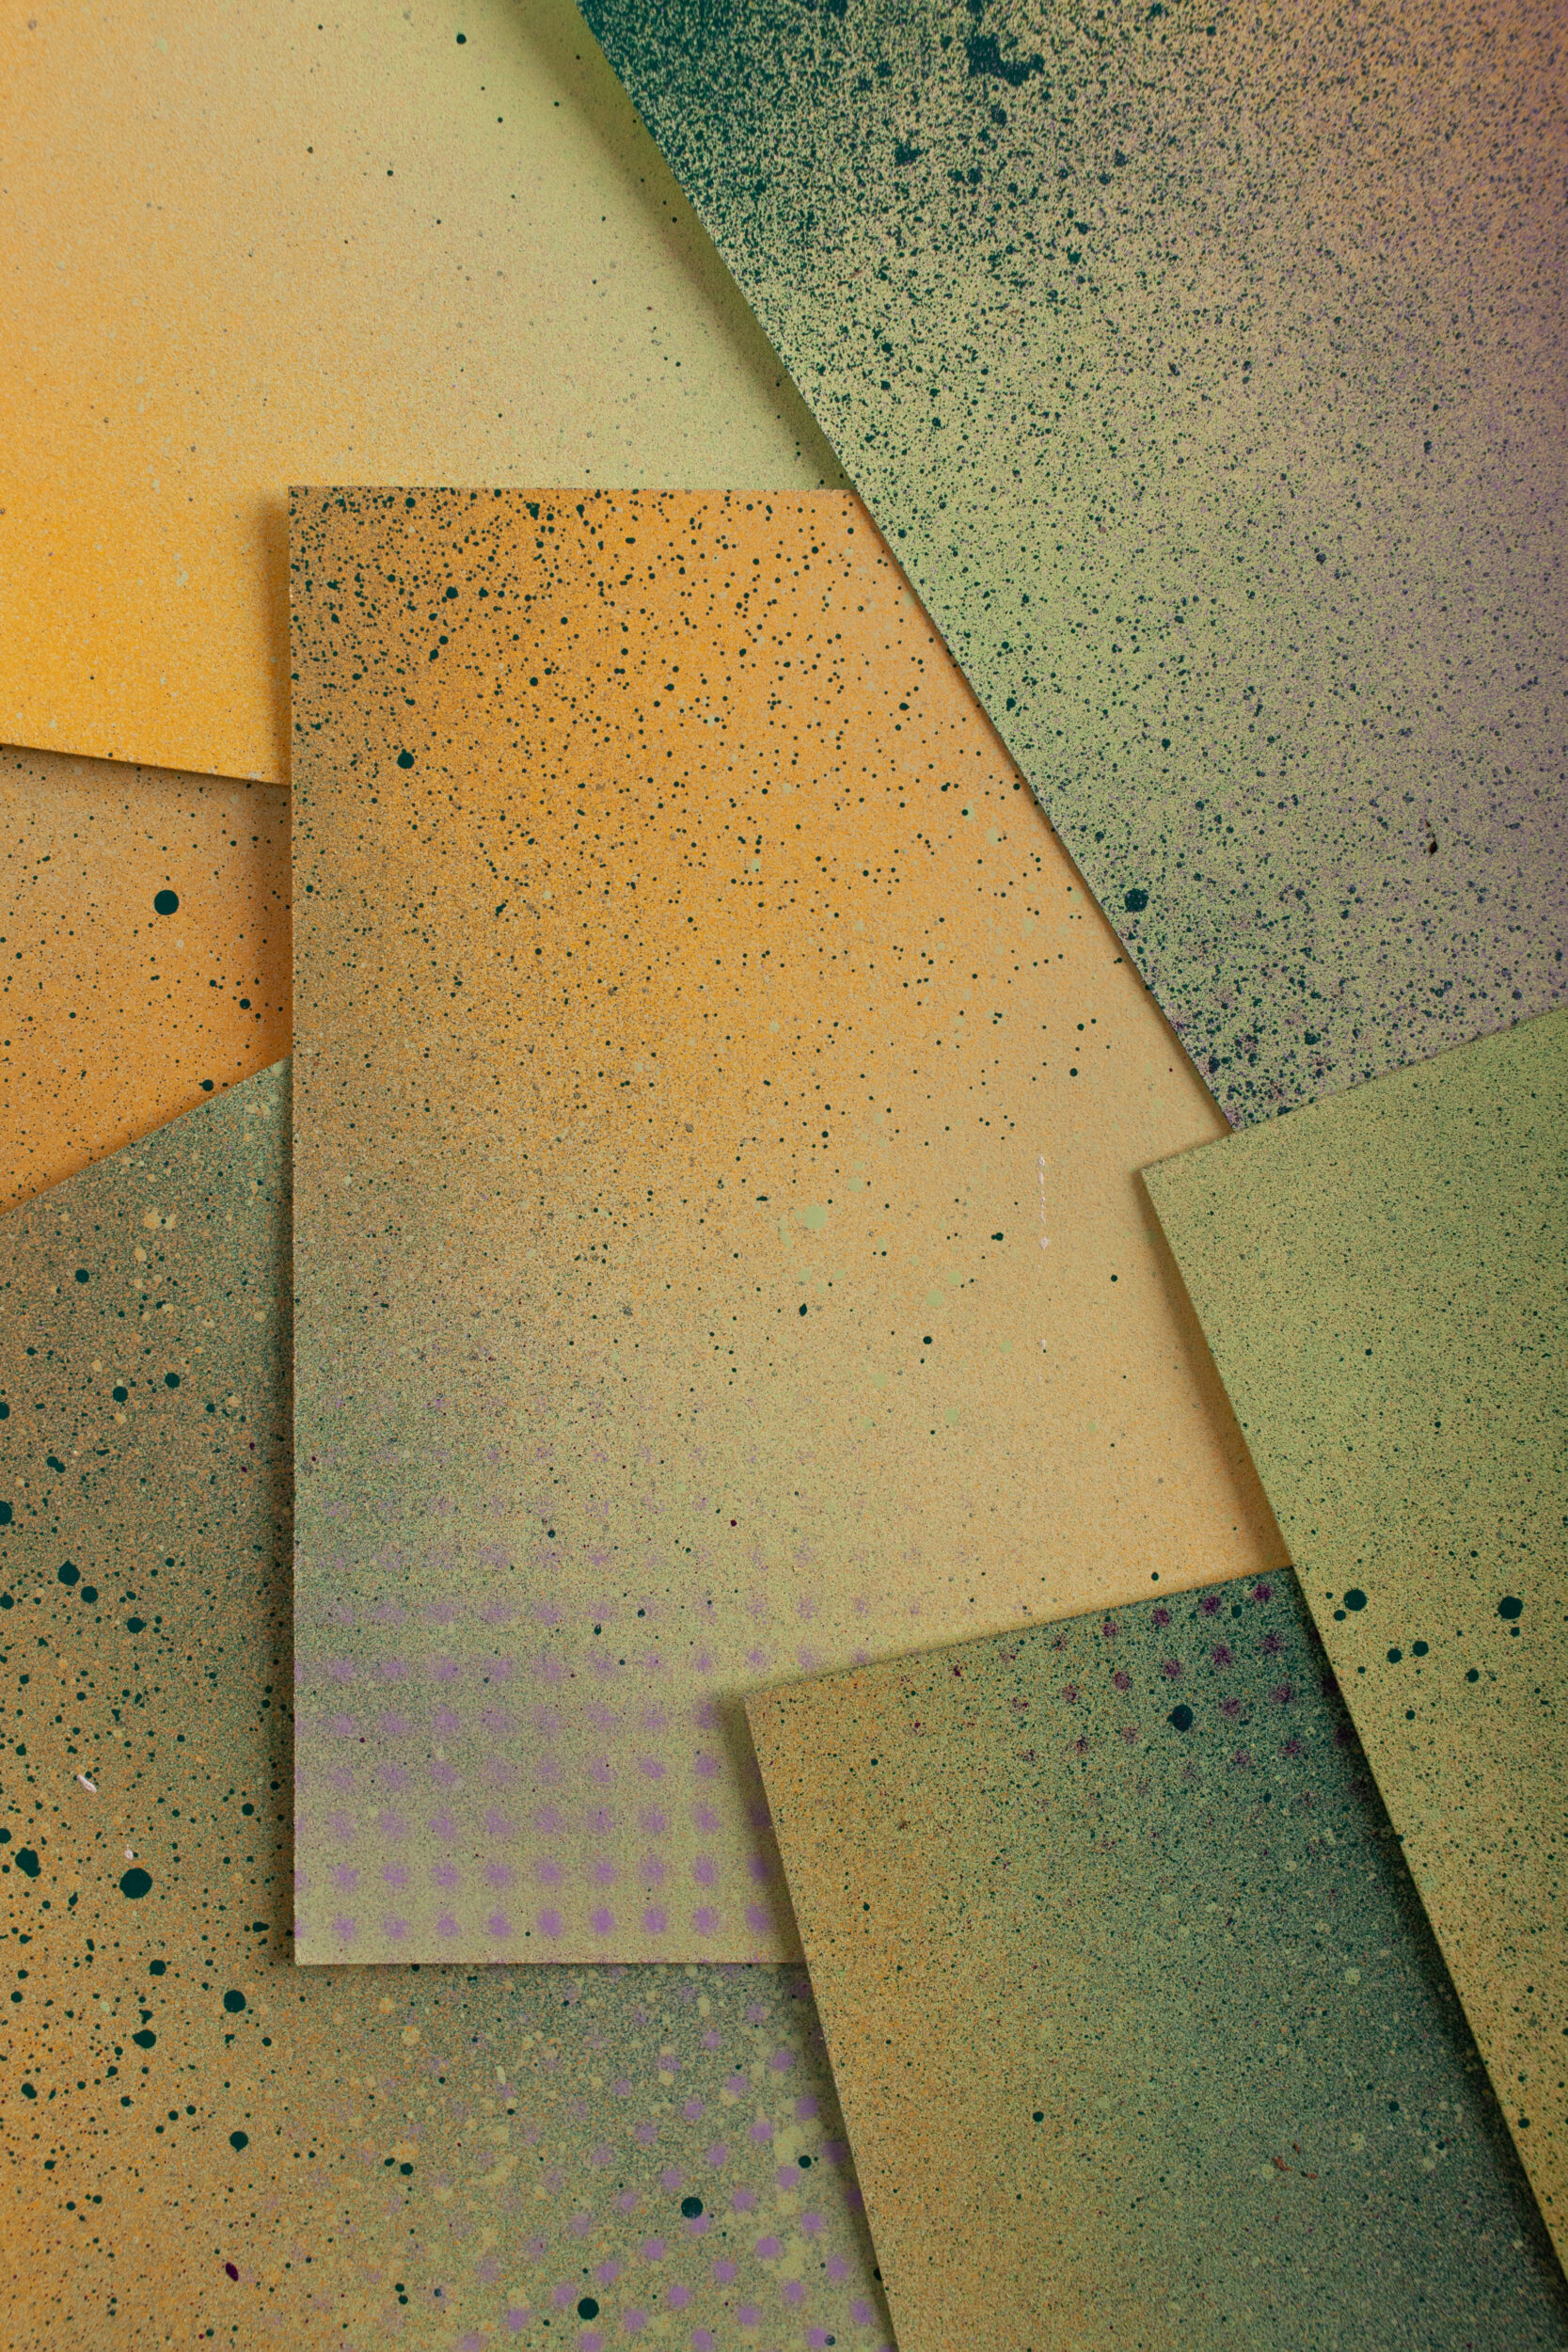
Simply using your chosen Montana GOLD Spray colors, place your cards evenly on your drop sheet painting area. We recommend painting a larger piece of uncut craft paper or multiple precut cards at once, as opposed to losing yourself on singular cards. Roll some pieces of masking tape into small circles so that each circle acts as a ball of double-sided tape. Softly place the balls onto the back of the cards attaching them in the position they are laying in on your drop sheet. You can unfold the cards, exposing both the back and the front, or you can choose to spray on just one side (most likely the front of the card). Then the rest is up to you. Try playing with spraying shapes of color, apply the paint close to the surface, or at a distance so only a thin mist or spatters or gradient color occurs. Don’t be afraid to experiment with different colorways and color combinations.
Masking layers- Layers can be created by covering areas you have already painted with masking tape, and removing them at the end or during the process. Always remember when creating masking effects that the masking tape is applied to dry surfaces. Make sure that the layer of paint you are working over is dry before attaching the tape. By moving the tape around, moving it slightly aside, adding more tape layer after layer, or creating shapes of solid color that you then mask up, there are limitless possible ways to arrange your compositions.
Materials to make pattern effects- Look through the cupboards in your creative space, garage, or studio to see if there are any scraps of materials you can use to spray through and make patterns. Spraying through materials such as hessian, mesh, cardboard stencils, or flyscreen material are great for effects. If you have any luck finding these, experiment with how you apply the paint, experiment with where you use the pattern material and where not, and experiment with various color combinations that look good to you. Be aware that if you do multiple layers at once, the wet paint may gather on the pattern material and rub off on your next pass. To avoid this, let it dry or use a new piece of material for each color.
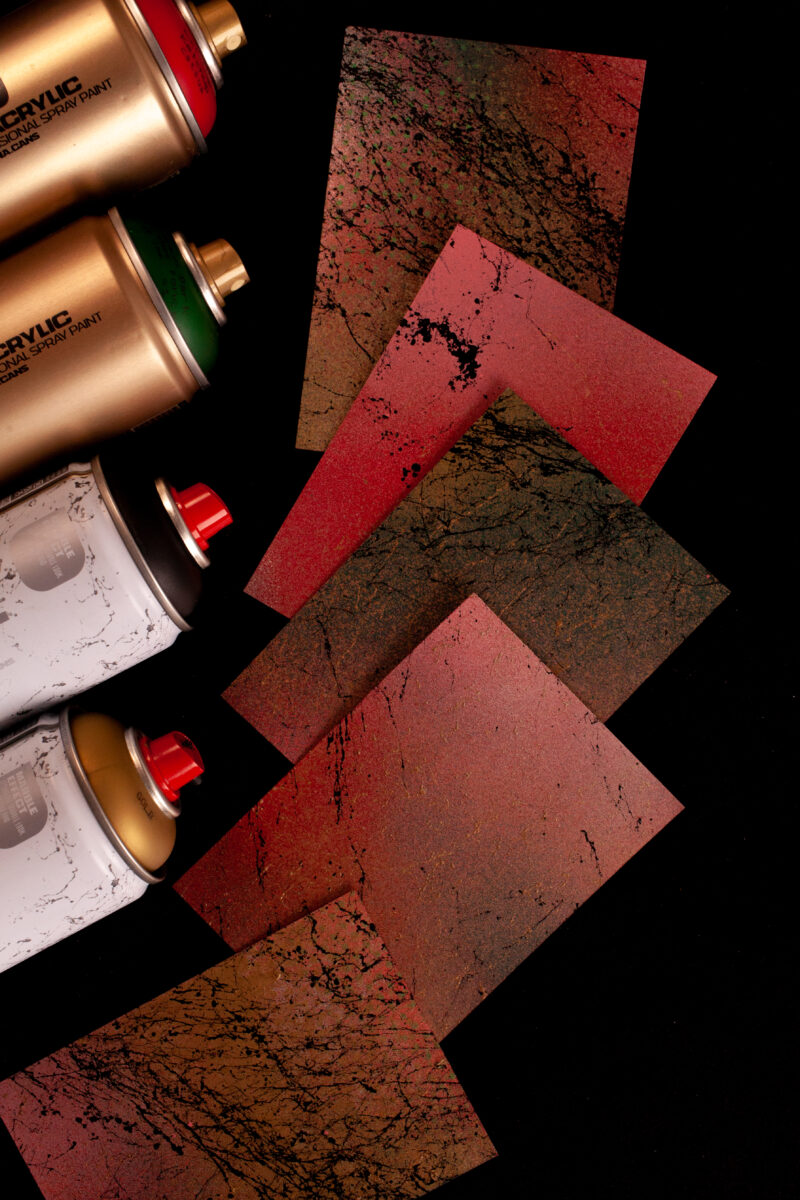
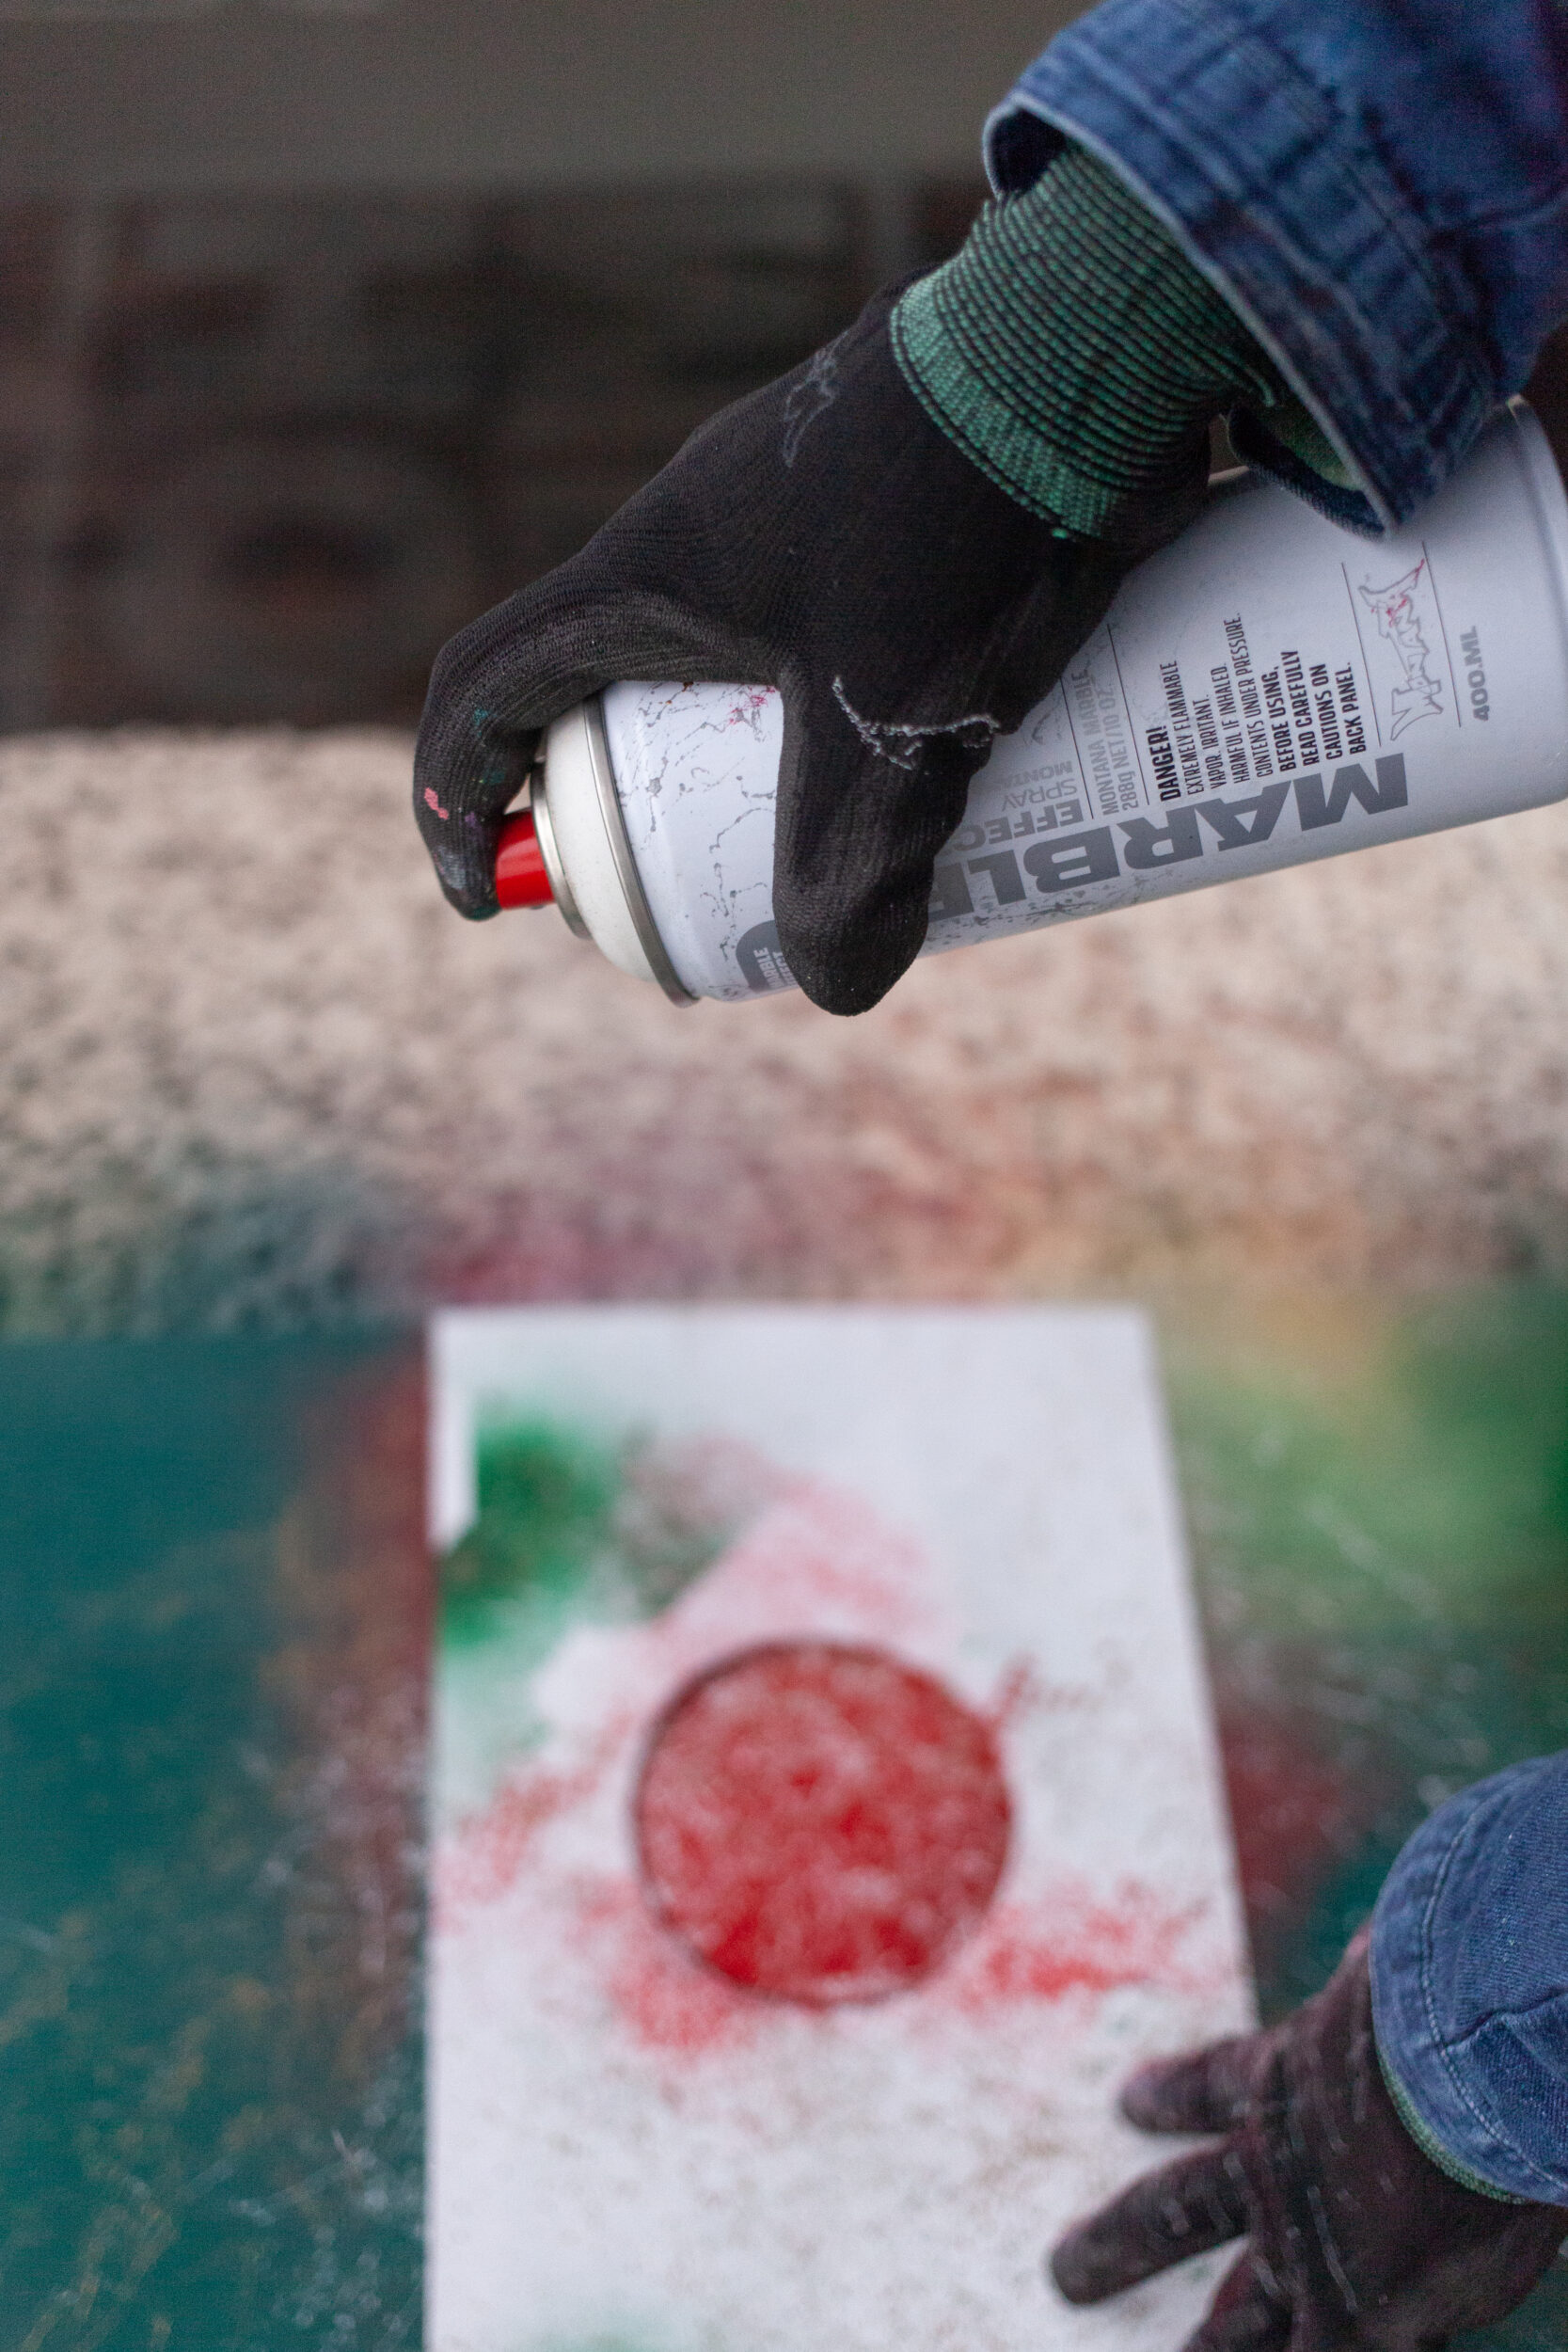
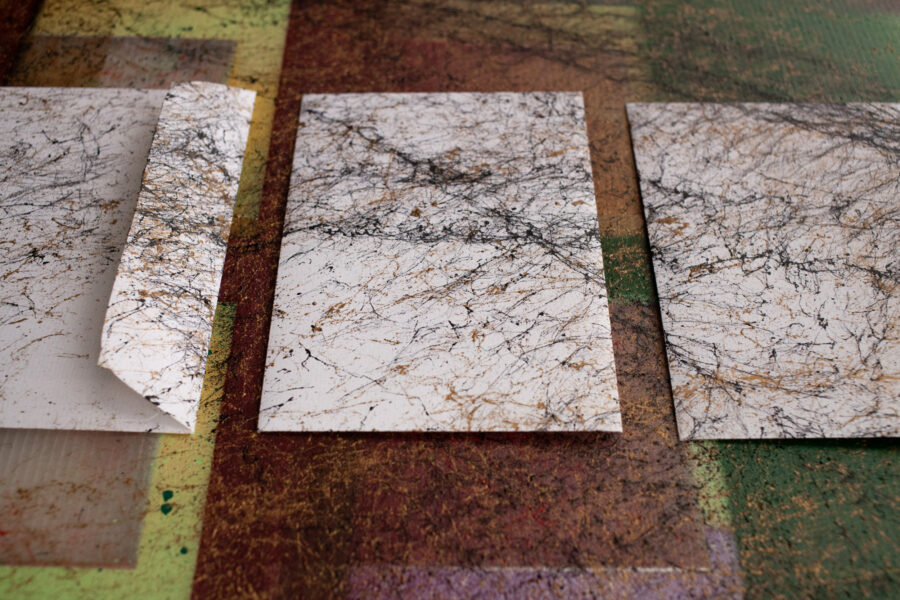
Montana MARBLE Effect Spray
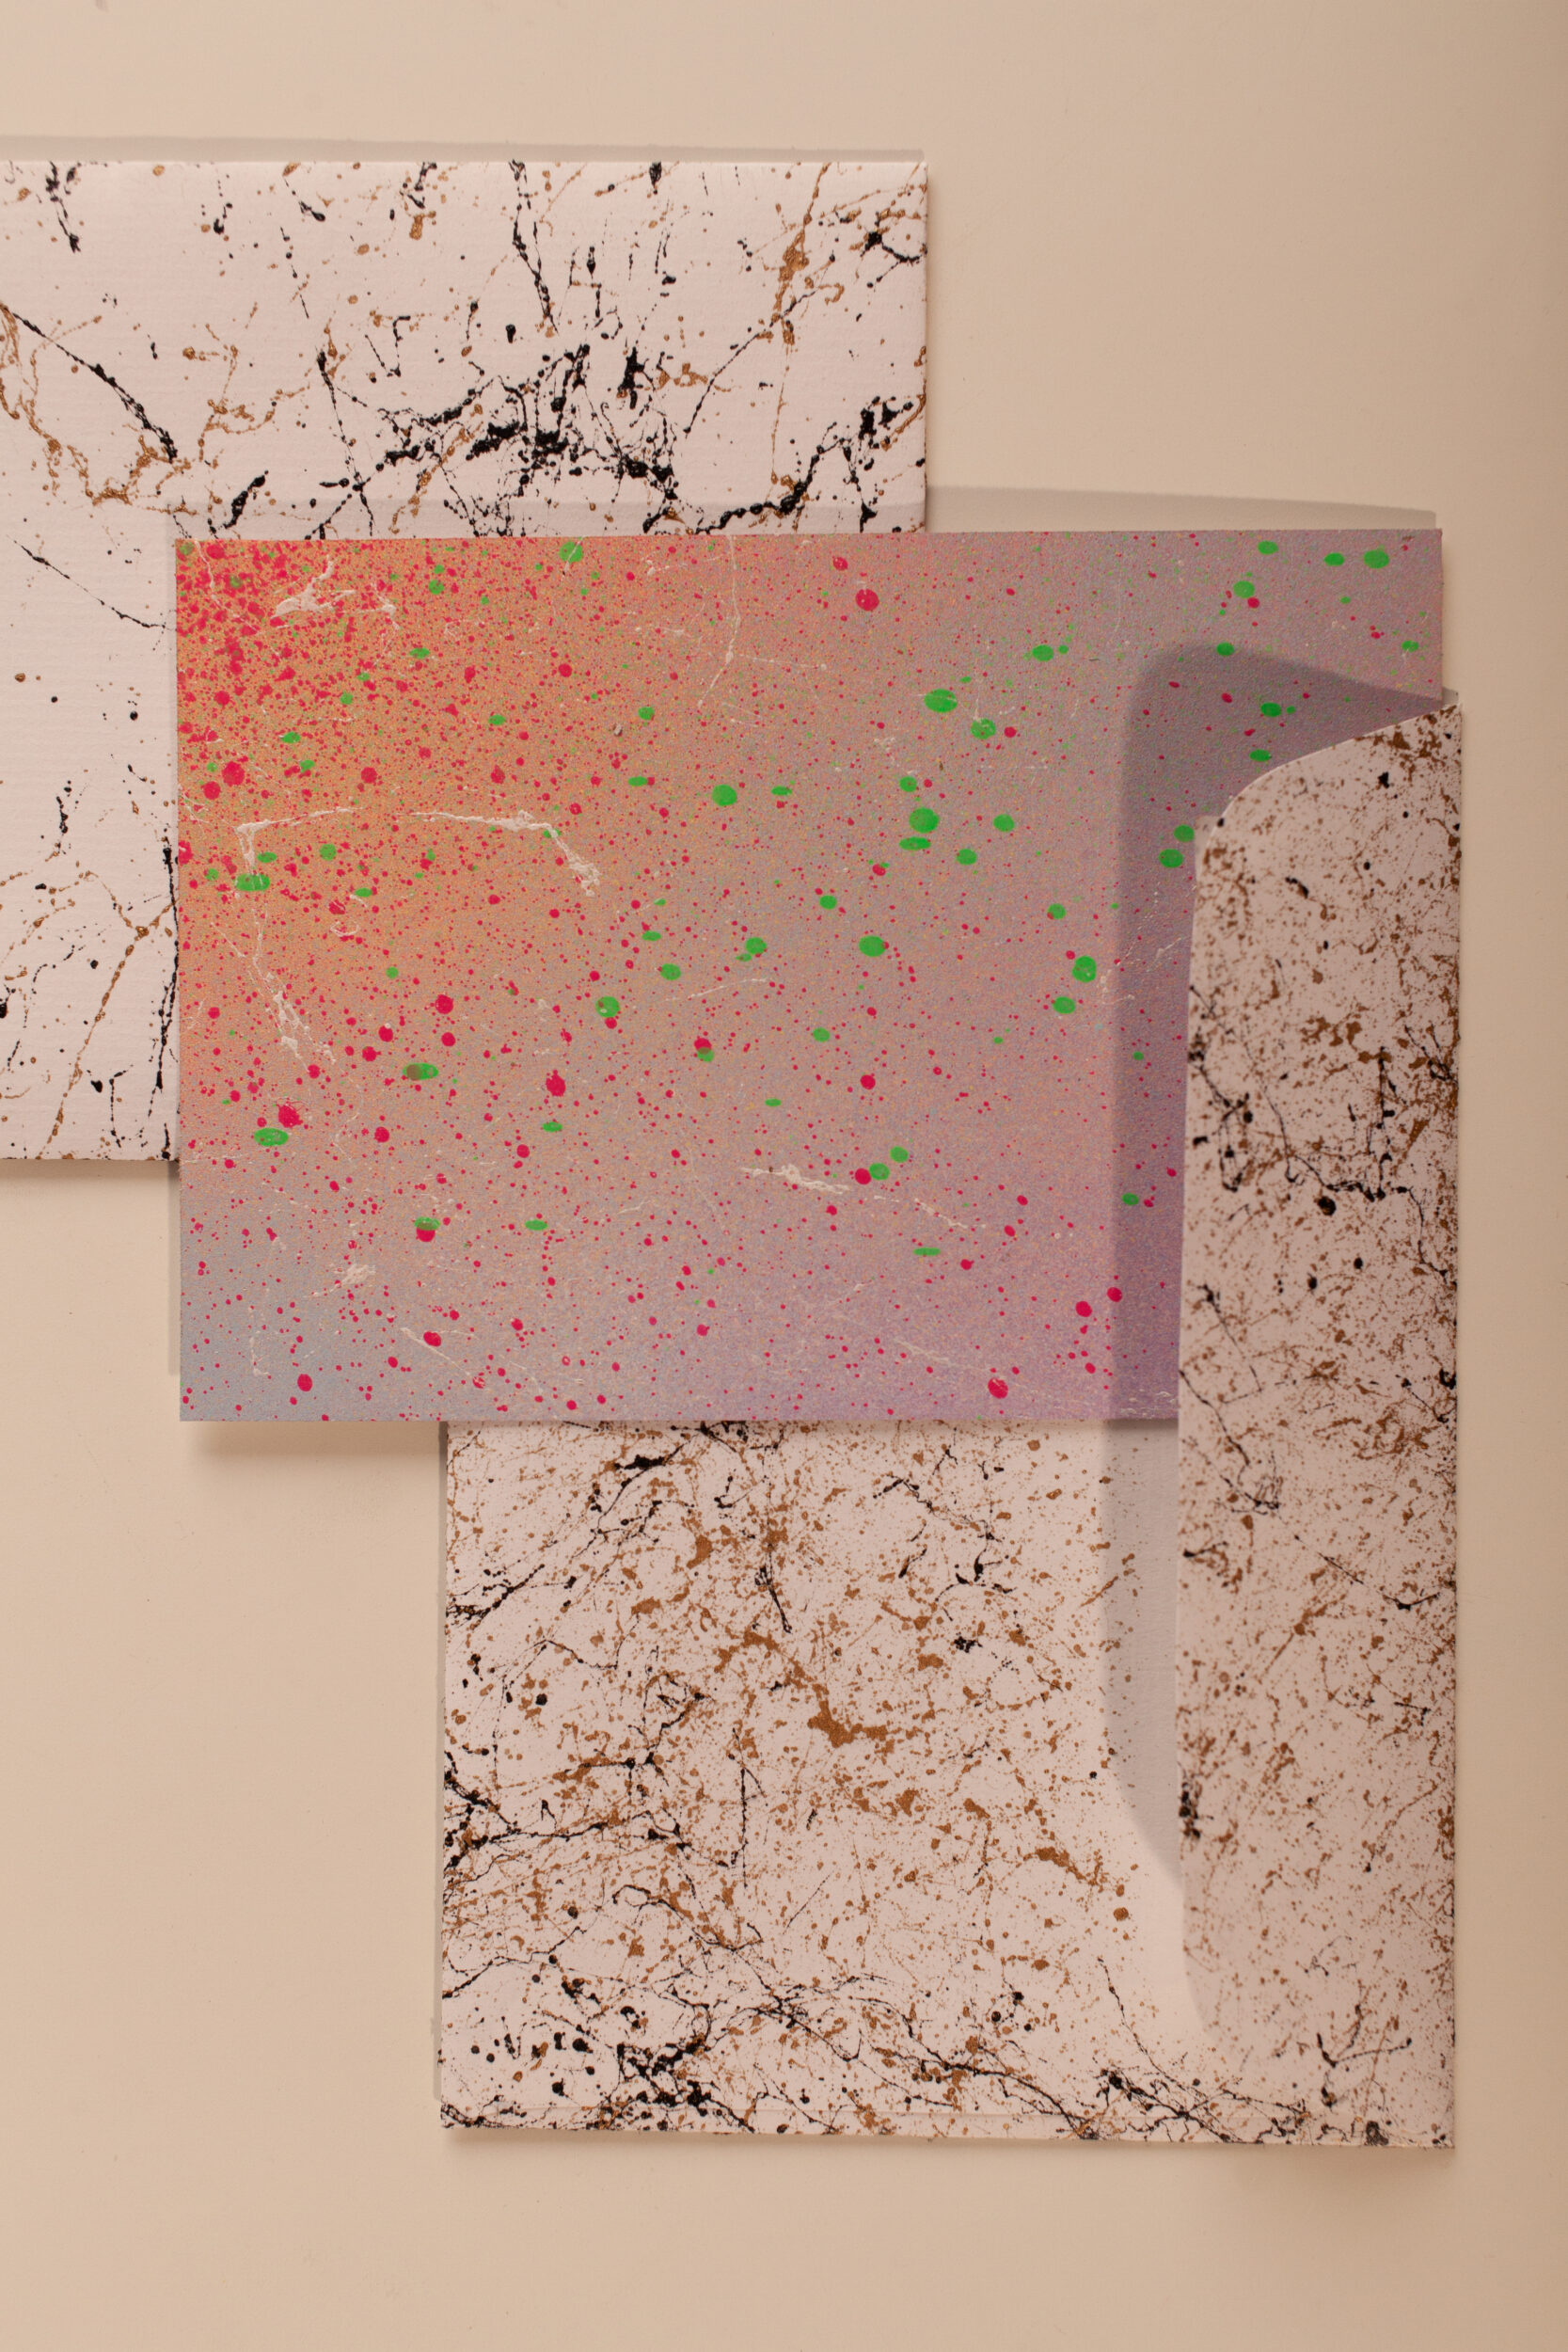
The Montana MARBLE Effect Spray is a wonderful way to add a colorful, yet organic-looking touch to your cards. Applying it close to the cards will mean the marble effect pattern will be tighter and closer together (like a spider web), and applying it further away from the card will mean the paint spreads out in mid-air and lands more organically, in a marble-like effect. Both are beautiful and with a bit of playing around, you will soon get a feel for what you like most. Once dry, the MARBLE Effect Spray is durable and handleable, making the metallic colors perfect for paper, craft card, and surfaces that will be handled. Please note: Do not use Montana GOLD Chrome Effect colors for this project as the pigment will rub off.
Envelopes- There isn’t any reason why you can’t experiment with all the above suggestions on your envelopes too. You may prefer using only one method to be able to write the addresses on them, but even if you go a little further, there is nothing that adding simple white stickers with the addresses on them can’t fix.
After
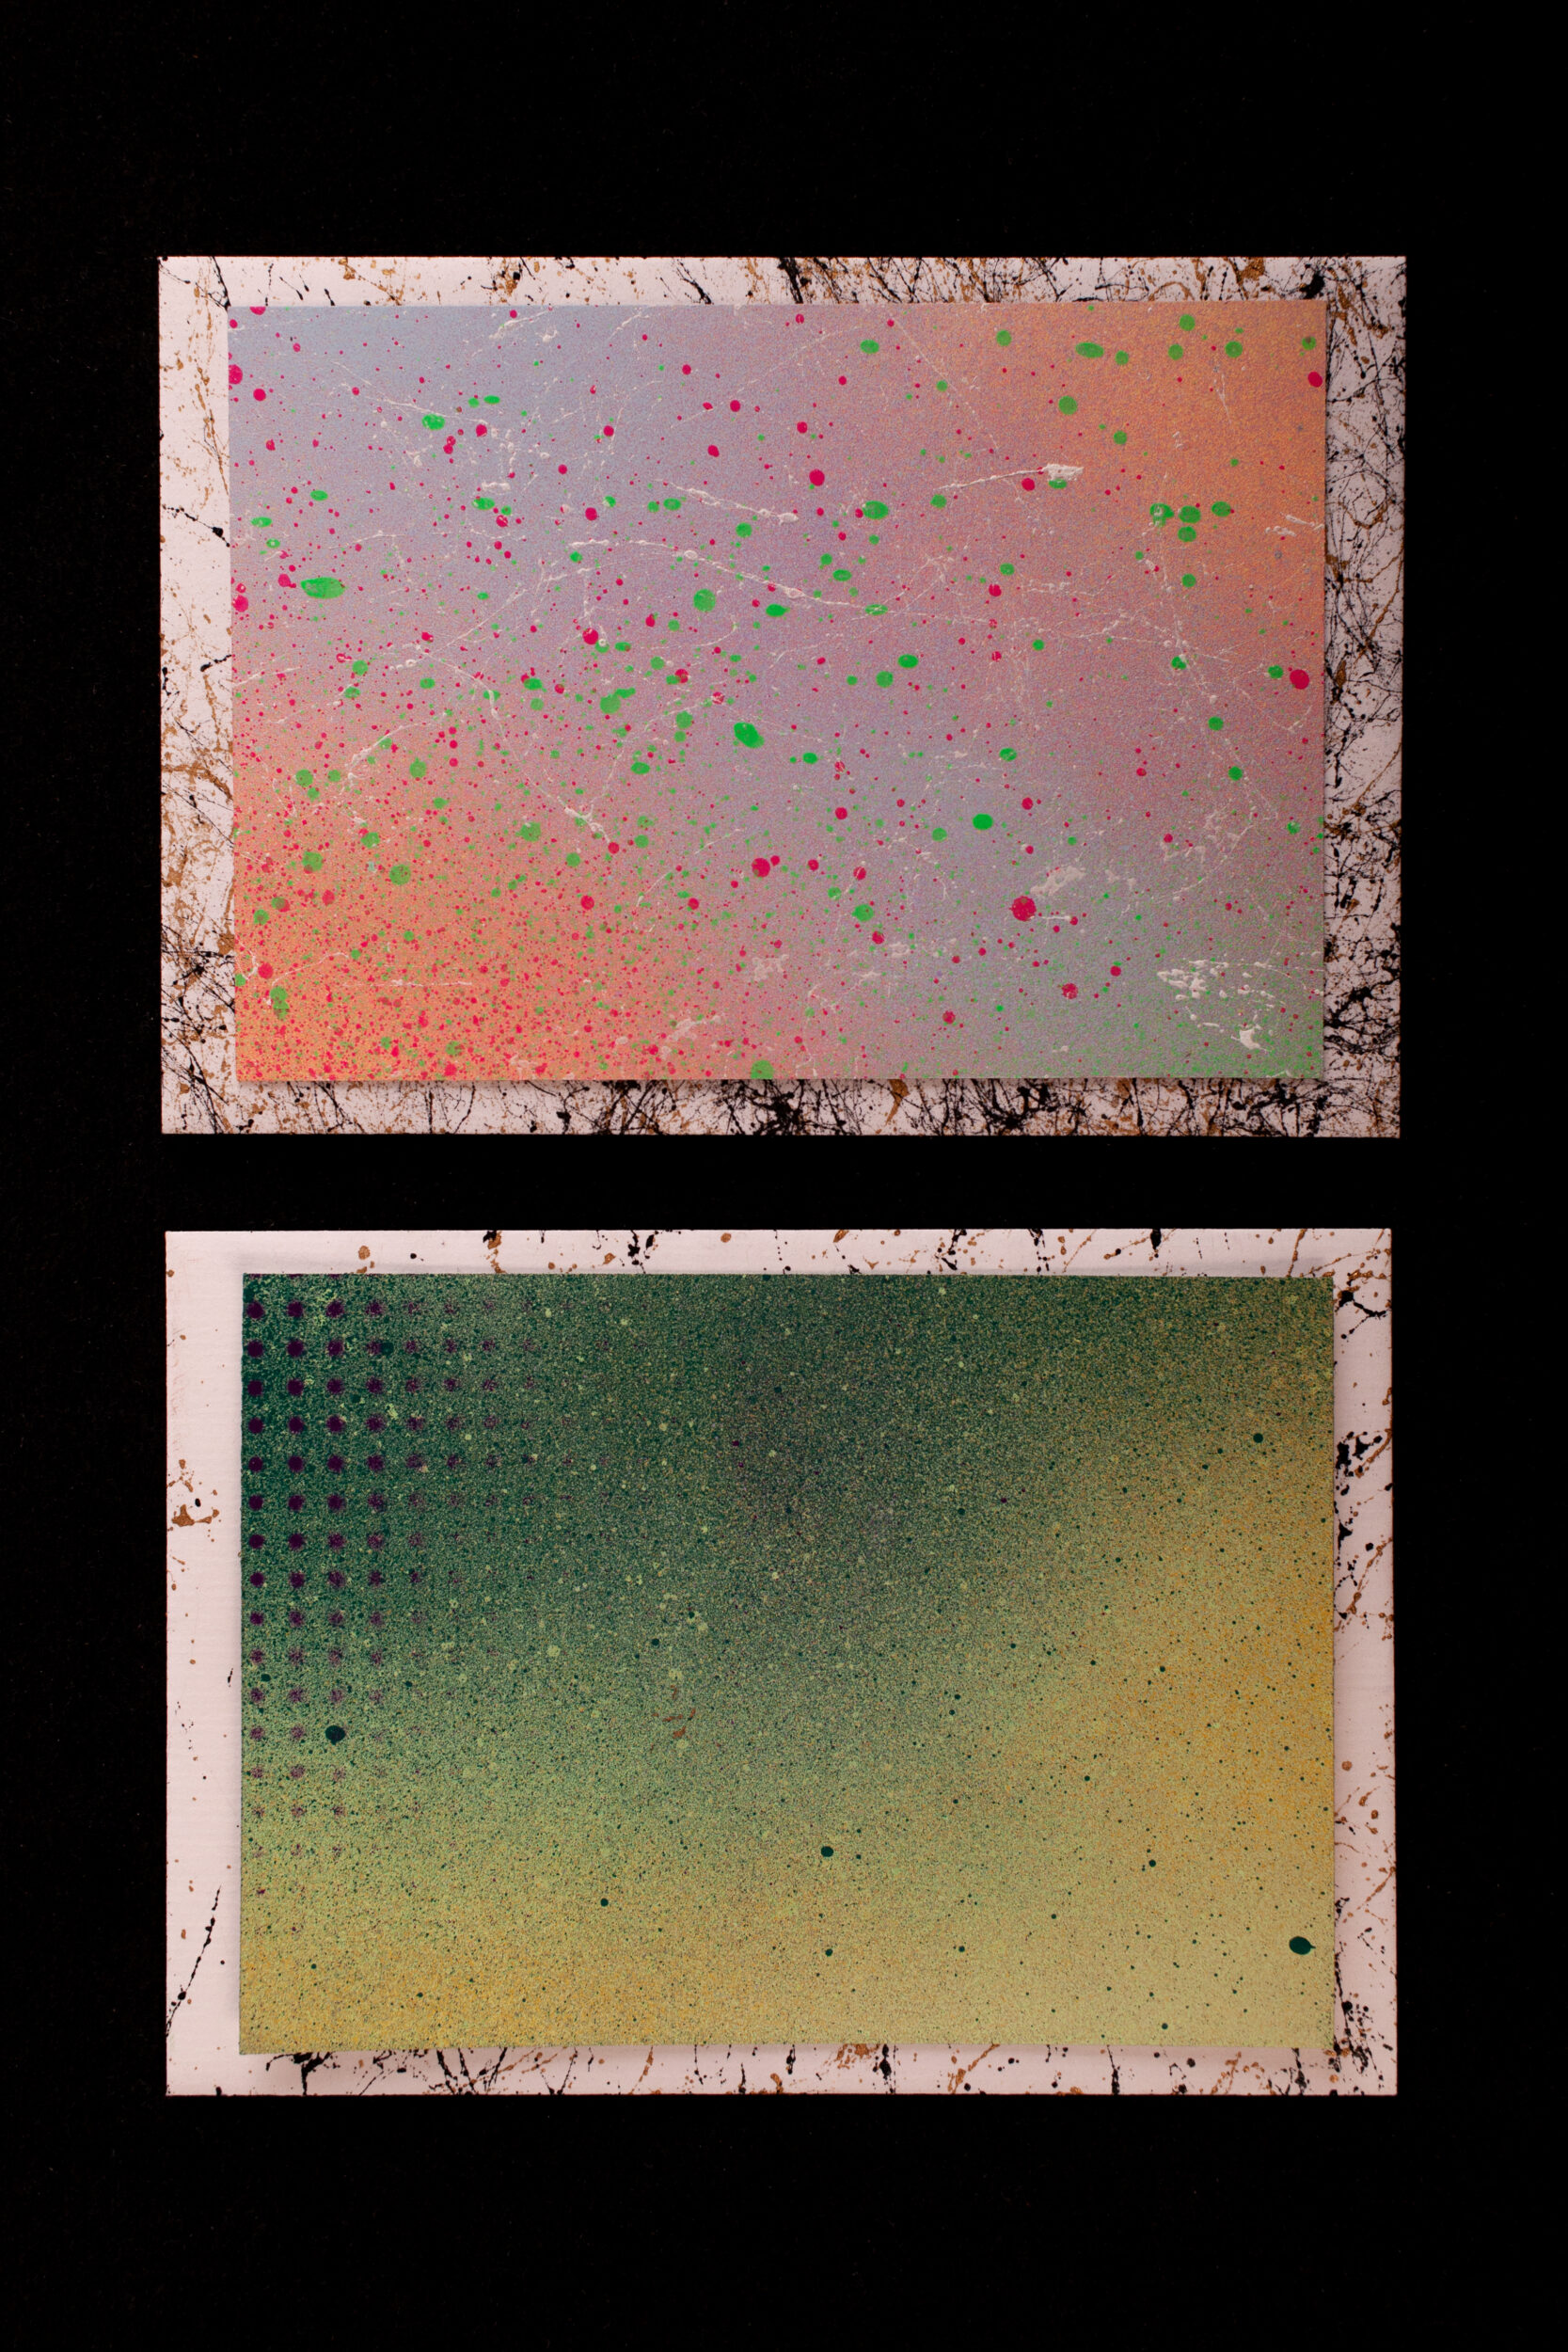
You have cleaned up your cans and painting space, washed your hands and now you either have beautifully painted pieces of craft card, or you have fabulously painted premade cards and envelopes. You have smooth gradient color sections, patterns, various forms of masked shapes, amazing color combinations, and above all, not a single element of your painted work is repeated or unoriginal.
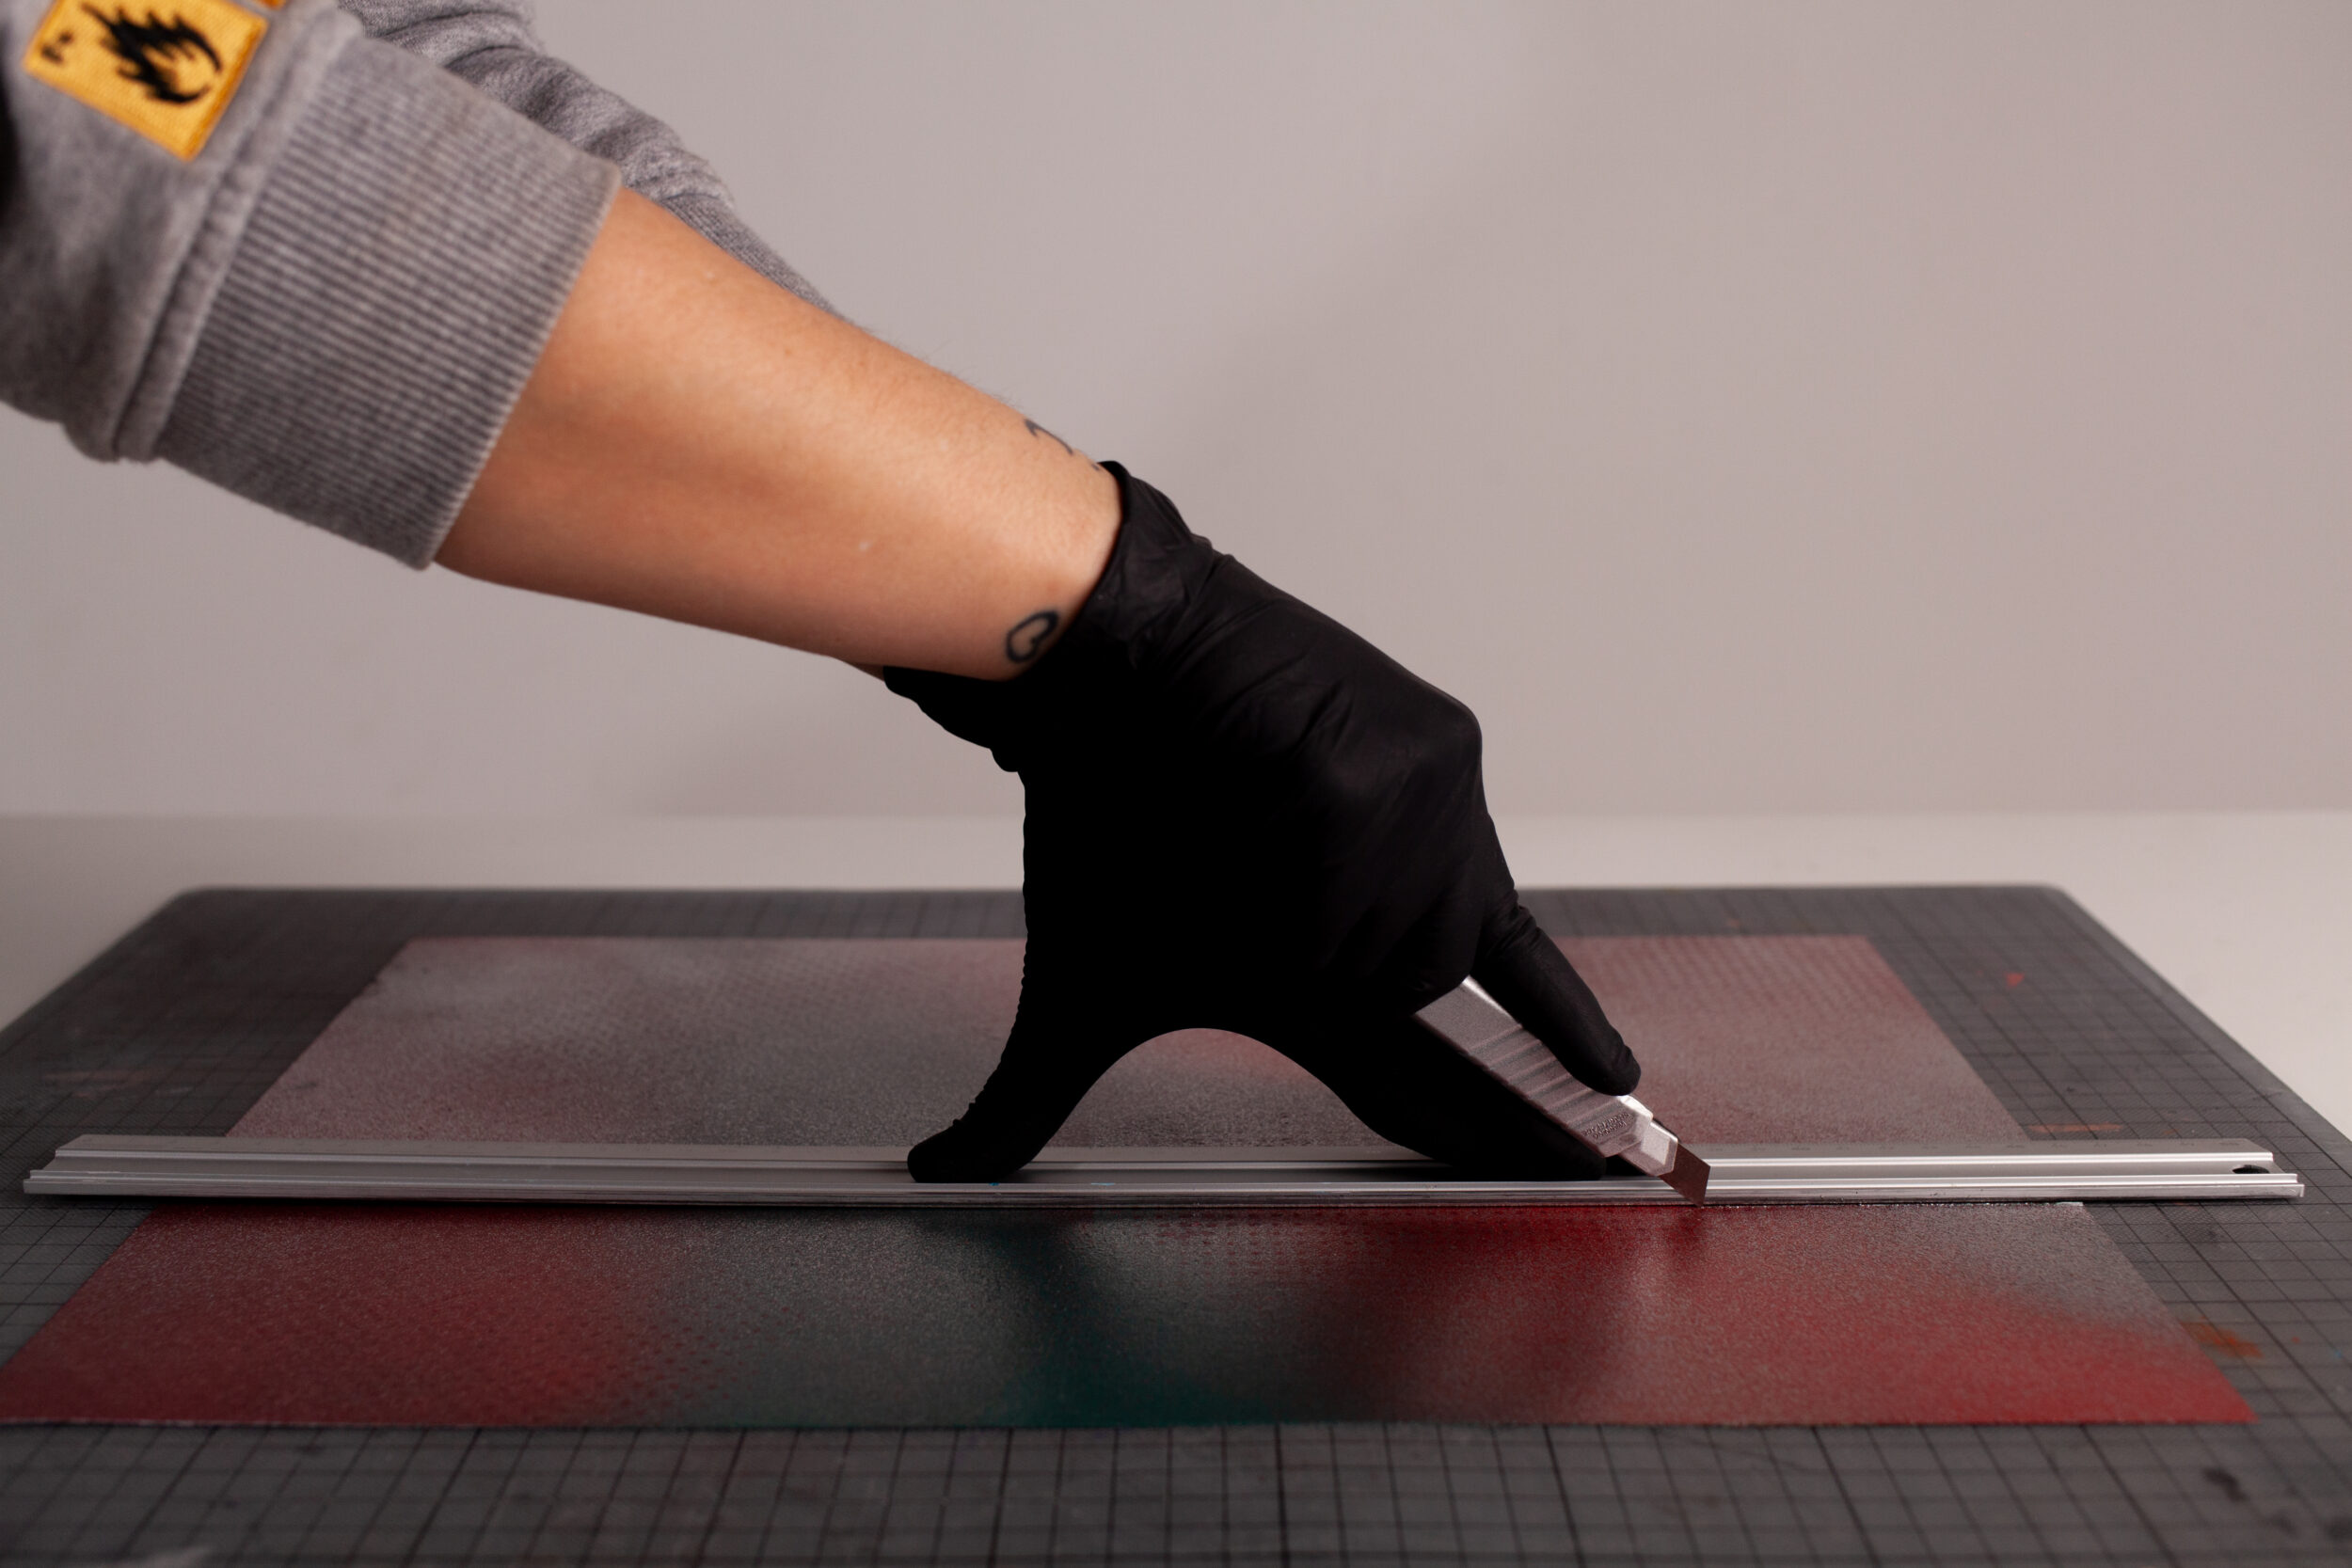
If you went for the unformed craft card option, it is time to get a craft cutter and a rule out so you can cut the cards into the shapes and sizes you require. Remember to measure the envelopes you are intending to use so you can calculate the size the cards need to be. A little tip: to get a nice clean fold, use a closed pair of scissors and lightly run the closed blades along the middle line a few times so that they leave an embossed line without tearing or damaging the paper. Then carefully fold along this line. Depending on the various techniques or styles you chose to use, you can be selective in what sections of the paper you will use for your unique DIY Christmas cards.
If you opted for the precut, preformed card, and envelope options, then your work is done! By now the fronts of your cards, backs of your cards, or both, are painted and ready. Even though the cards were already cut and folded, each is unique, inspiring, and made by your hand. A smile or a “wow” response from each recipient is almost guaranteed.
This project is easy for beginners, to intermediate skill levels. If you chose to keep it simple without masking layers, using stencils, or pattern materials, then there are less than 5 minutes of work per card. However, if you want to challenge yourself and take each idea further, there are endless possibilities depending on the time and effort you wish to make. Regardless of how far you want to take it, every card will be unique, handmade, and look exactly as you wanted it to look. Merry Christmas and Happy Crafting!