Creating a MARBLE art wall With the New Color GOld
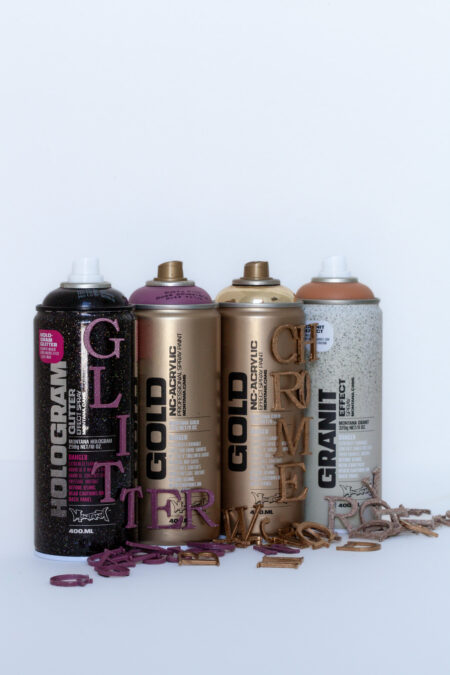
The Montana MARBLE 400ml can range has always been our favorite range for creating any marble effects for our projects. Normally adding one of the vibrant MARBLE 400ml colors leaves any object with a unique marble or spider web effect. With the release of the new color MARBLE Gold, we thought it looked so delicious that it was time to give this can some shine of it’s own. So rather than adding it to an object, we got inspired to celebrate the beauty of this effect as framed paintings. There is always room for handmade art on your walls right? So read on..
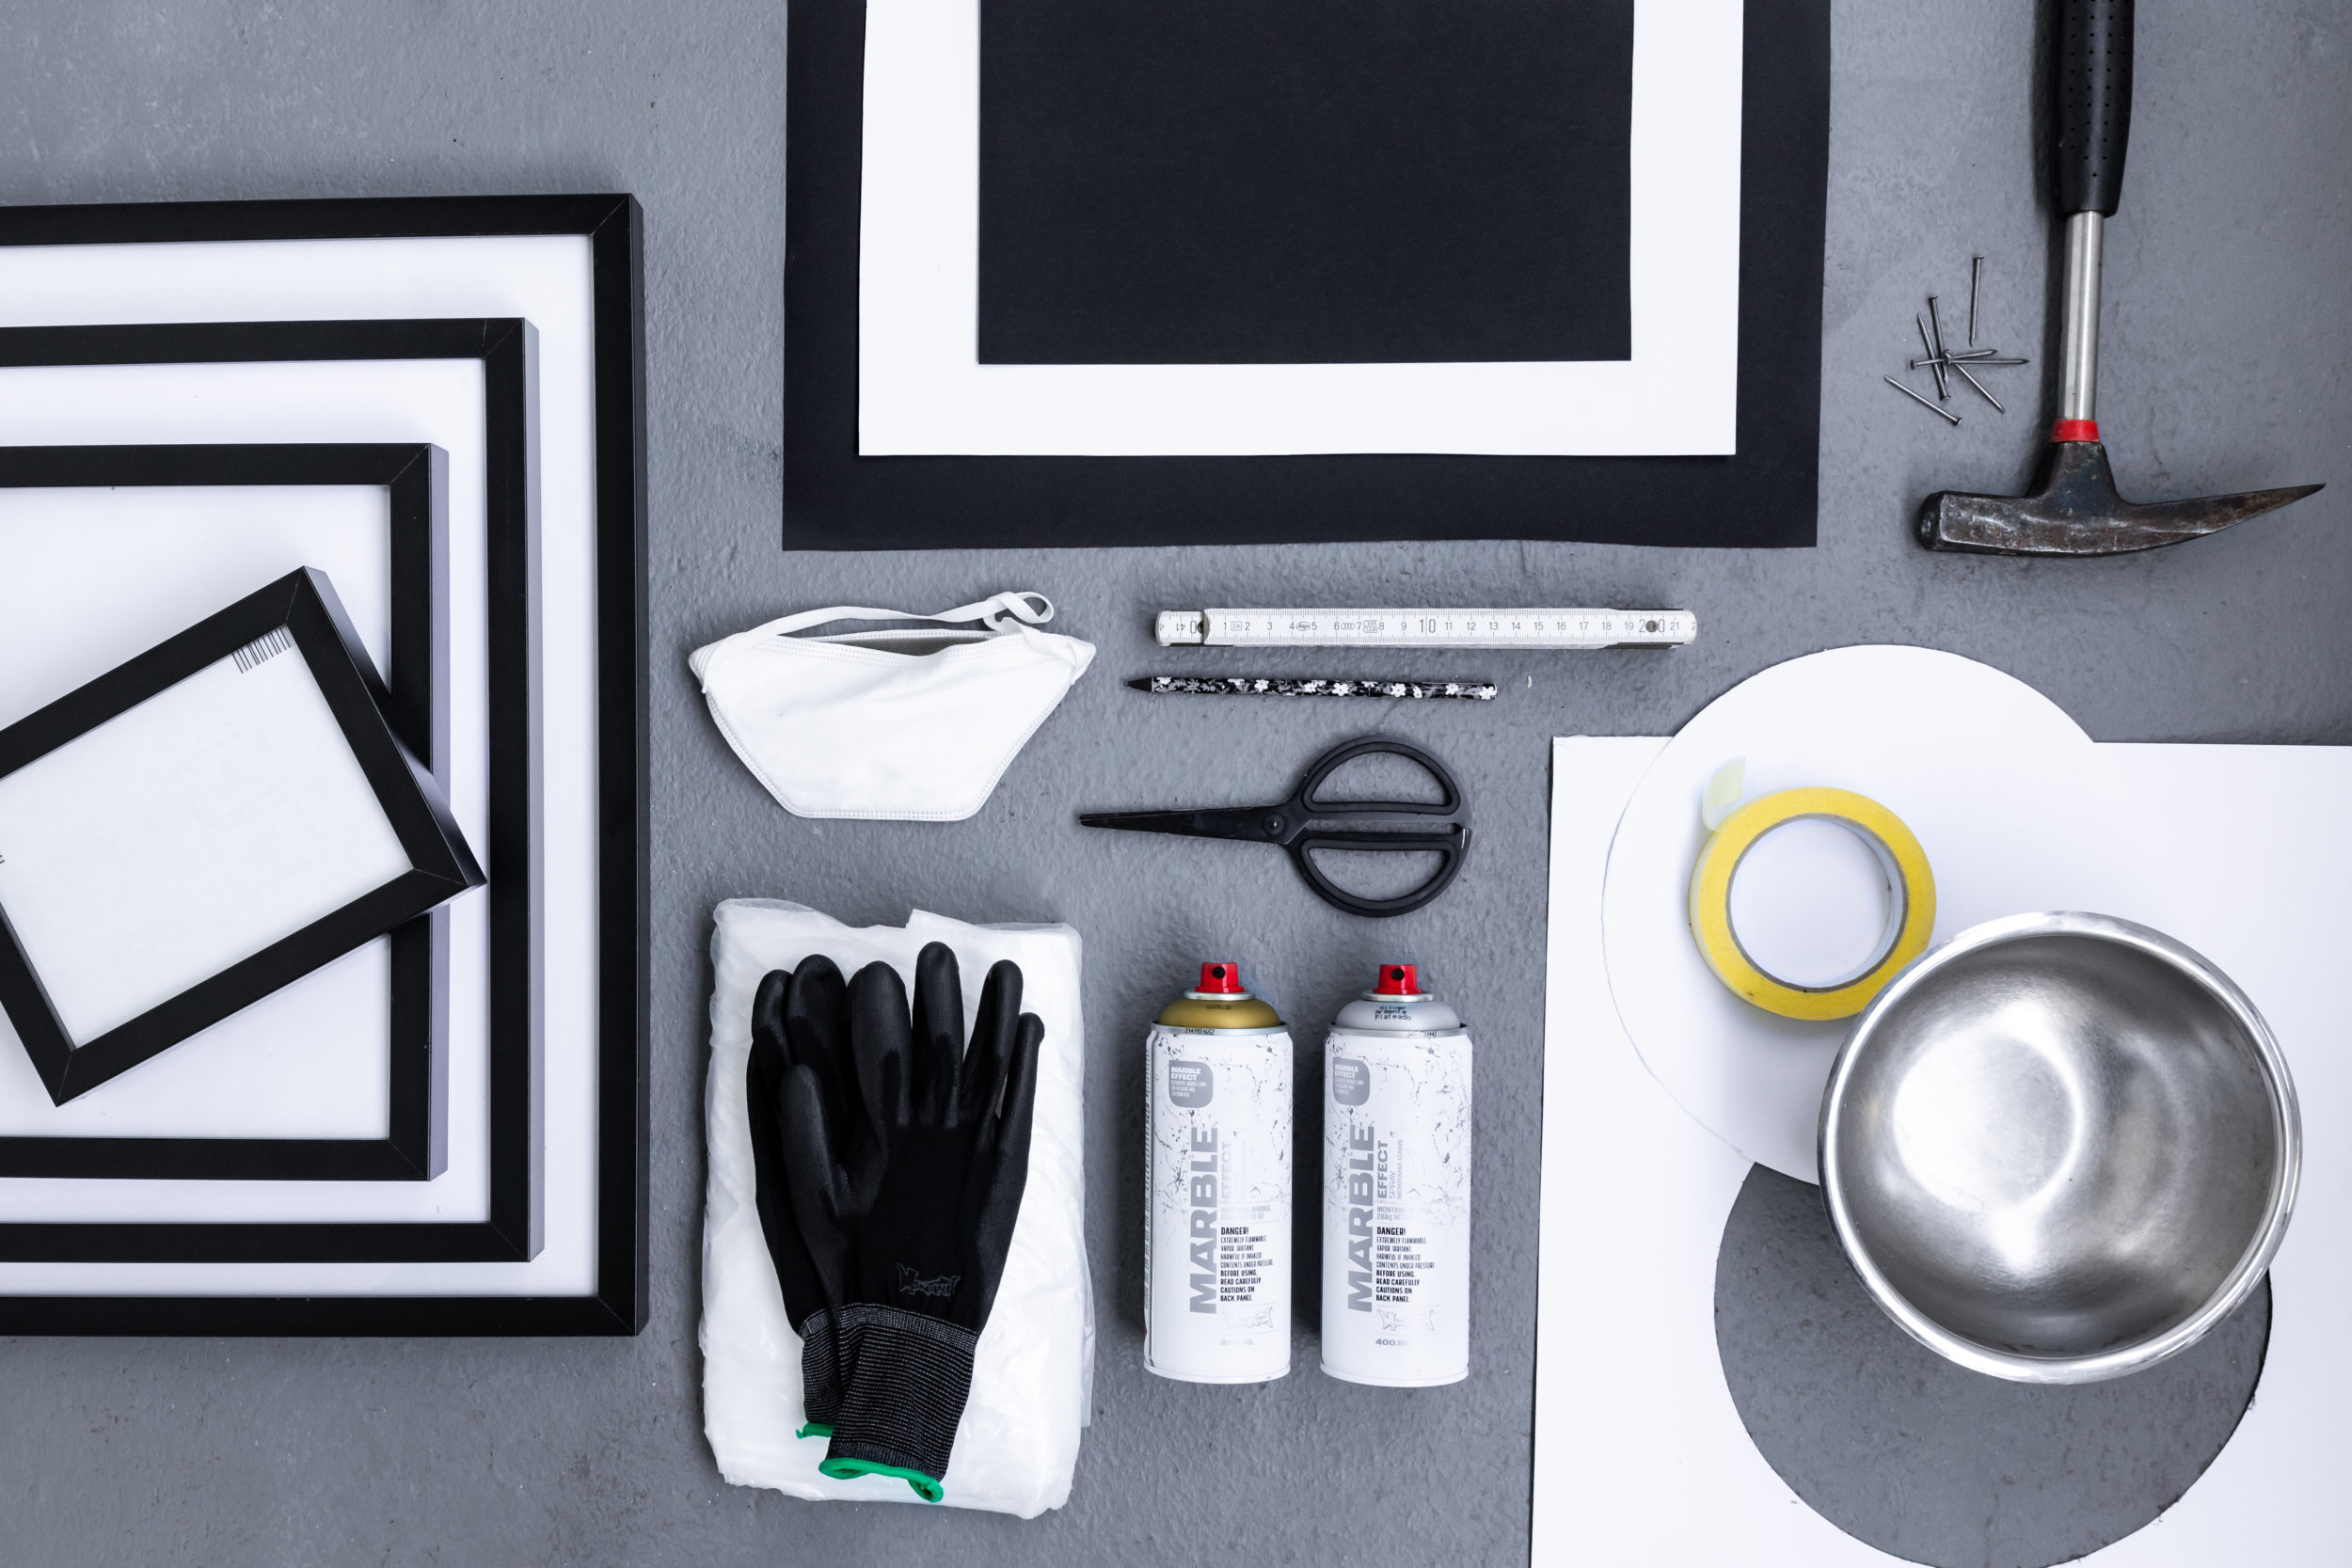
Materials used
- Montana MARBLE Effect in Gold and Silver
- Scissors or craft cutter
- Pencil
- Card or sturdy paper
- Rule
- Masking tape
- Bowl (any material, but steel or plastic preferable)
- Hammer and nails
- Frames
- Gloves
- Mask
- Drop sheet or cardboard
How it was done
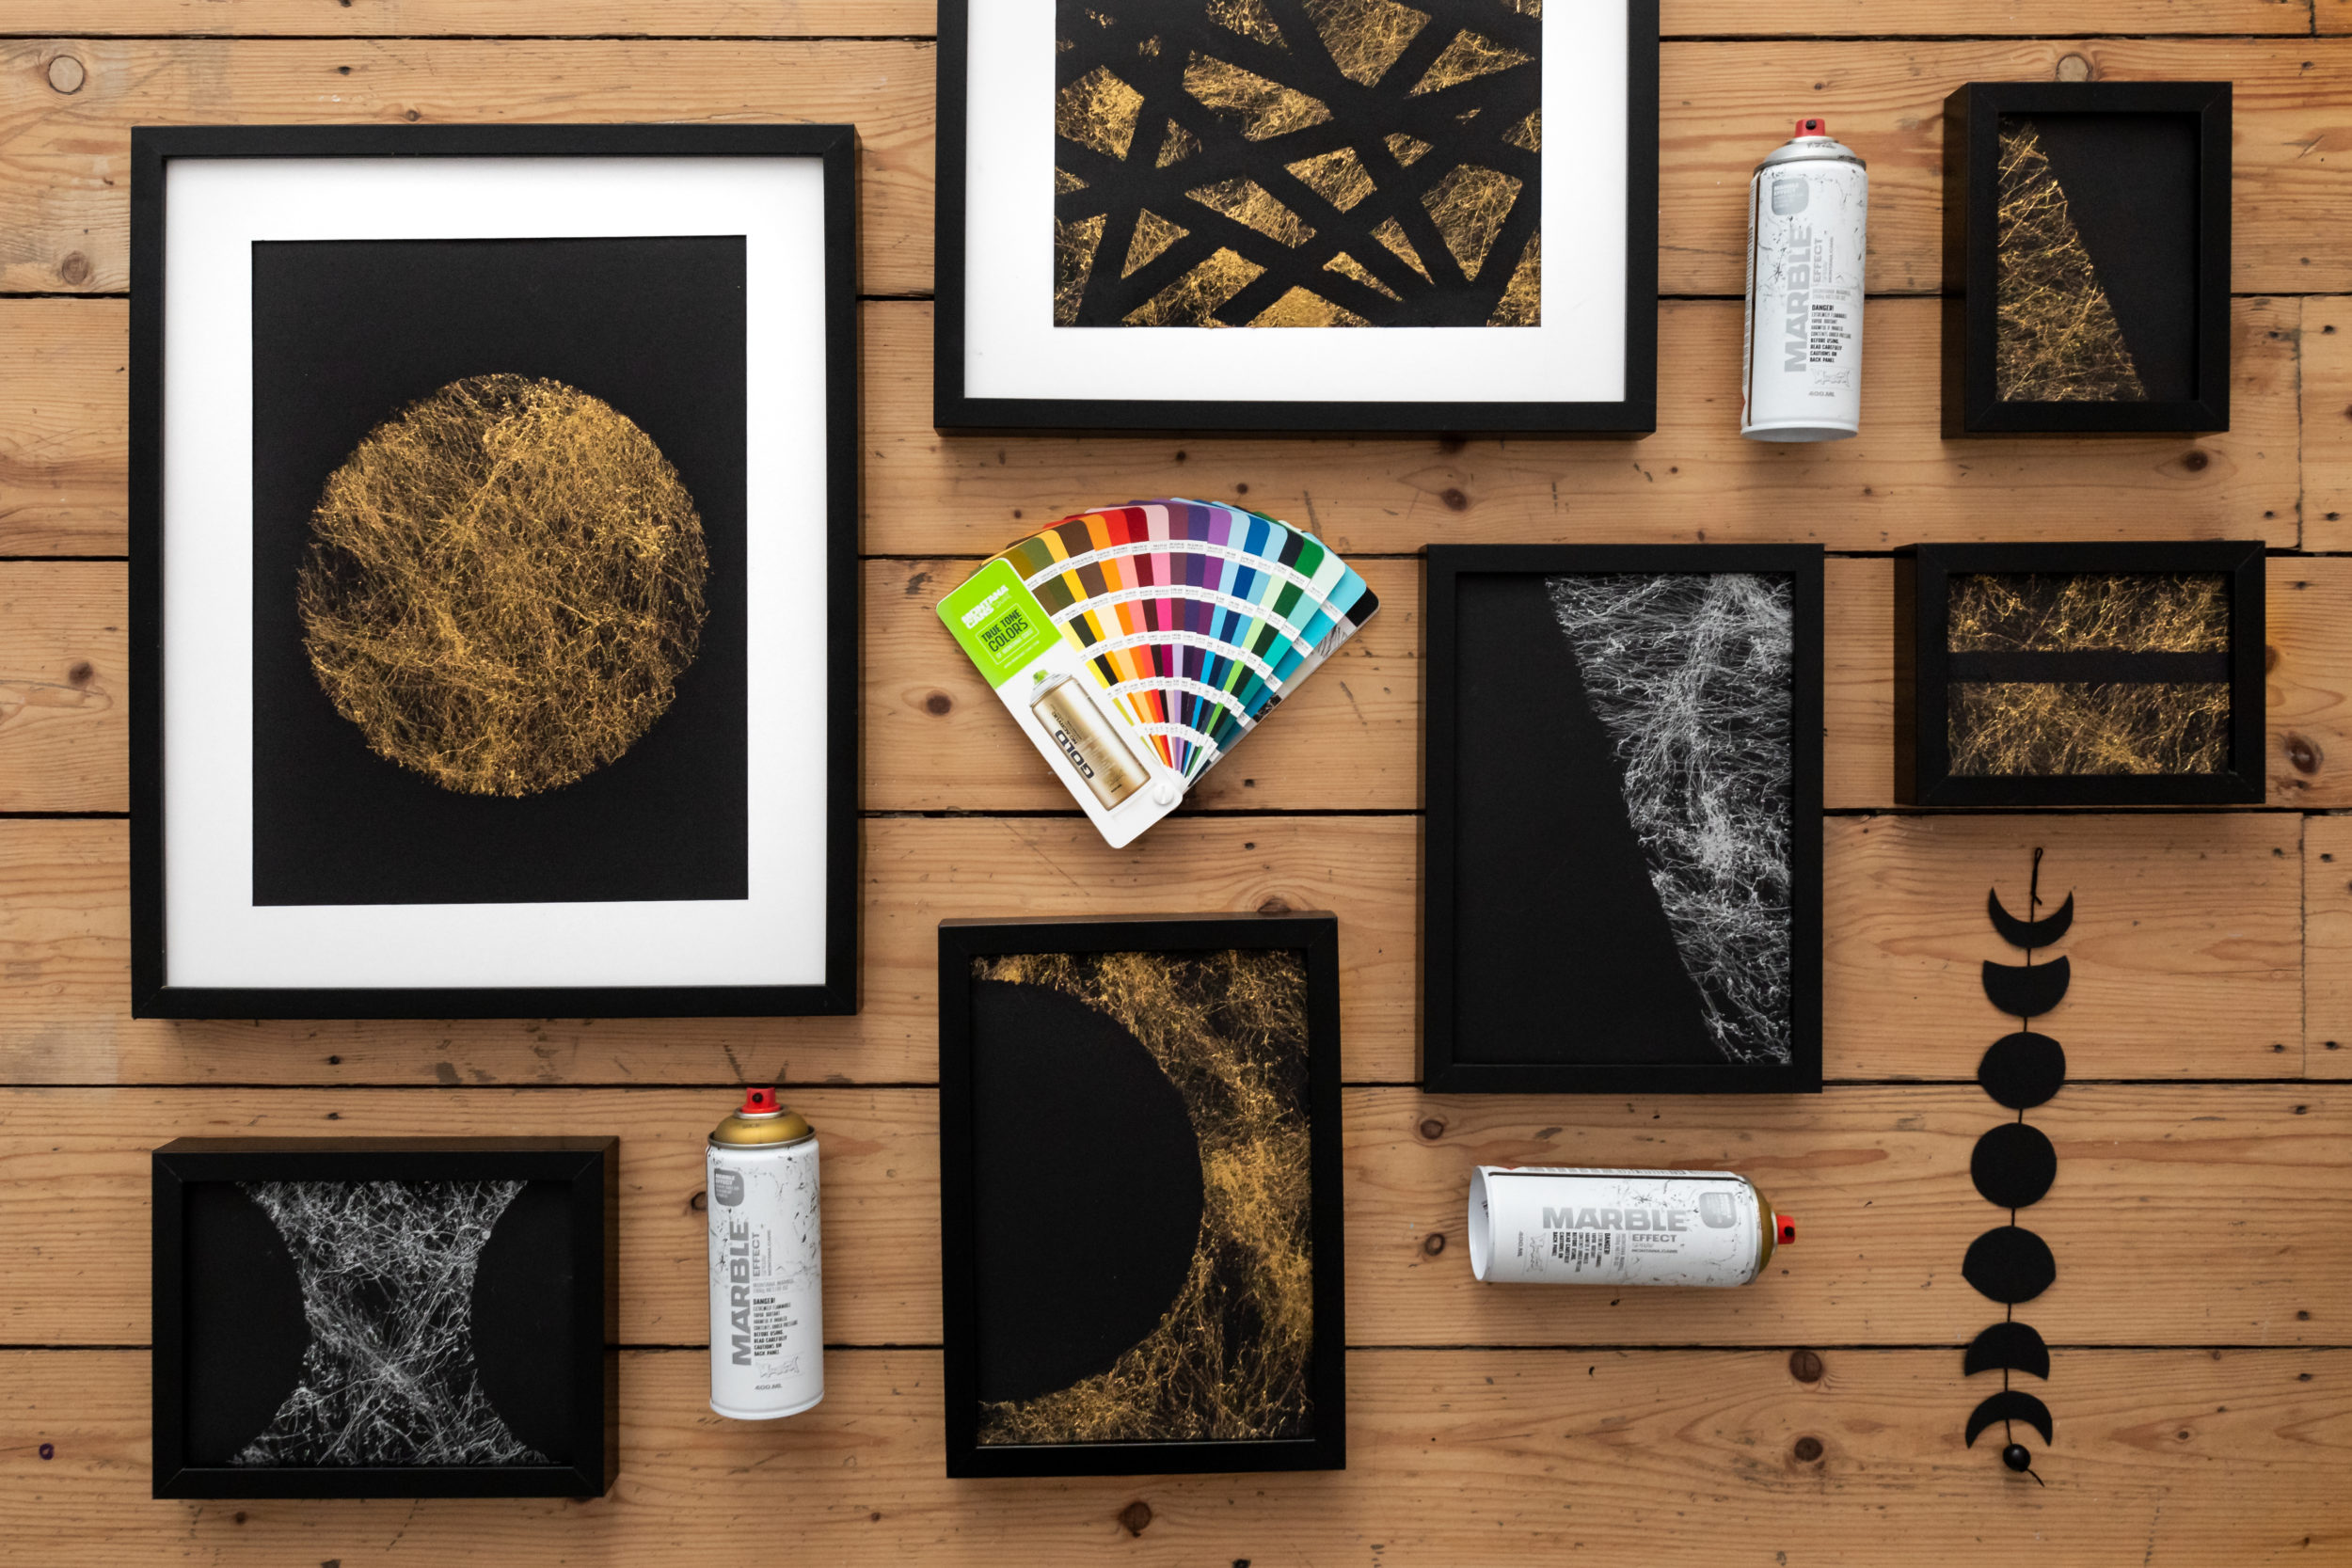
Our idea was to create simple paintings that show cased the beauty of the Montana MARBLE spray. And to this, we chose to paint on thick black cardboard. We created some homemade stencil shapes by using some white cardboard that we already had in the studio. As long as it is thick and sturdy, any color will do though. Using our steel bowl, we traced the circular shape onto the cardboard in preparation to cut it out. Cut carefully as we will use the inner circle and the outer shape.
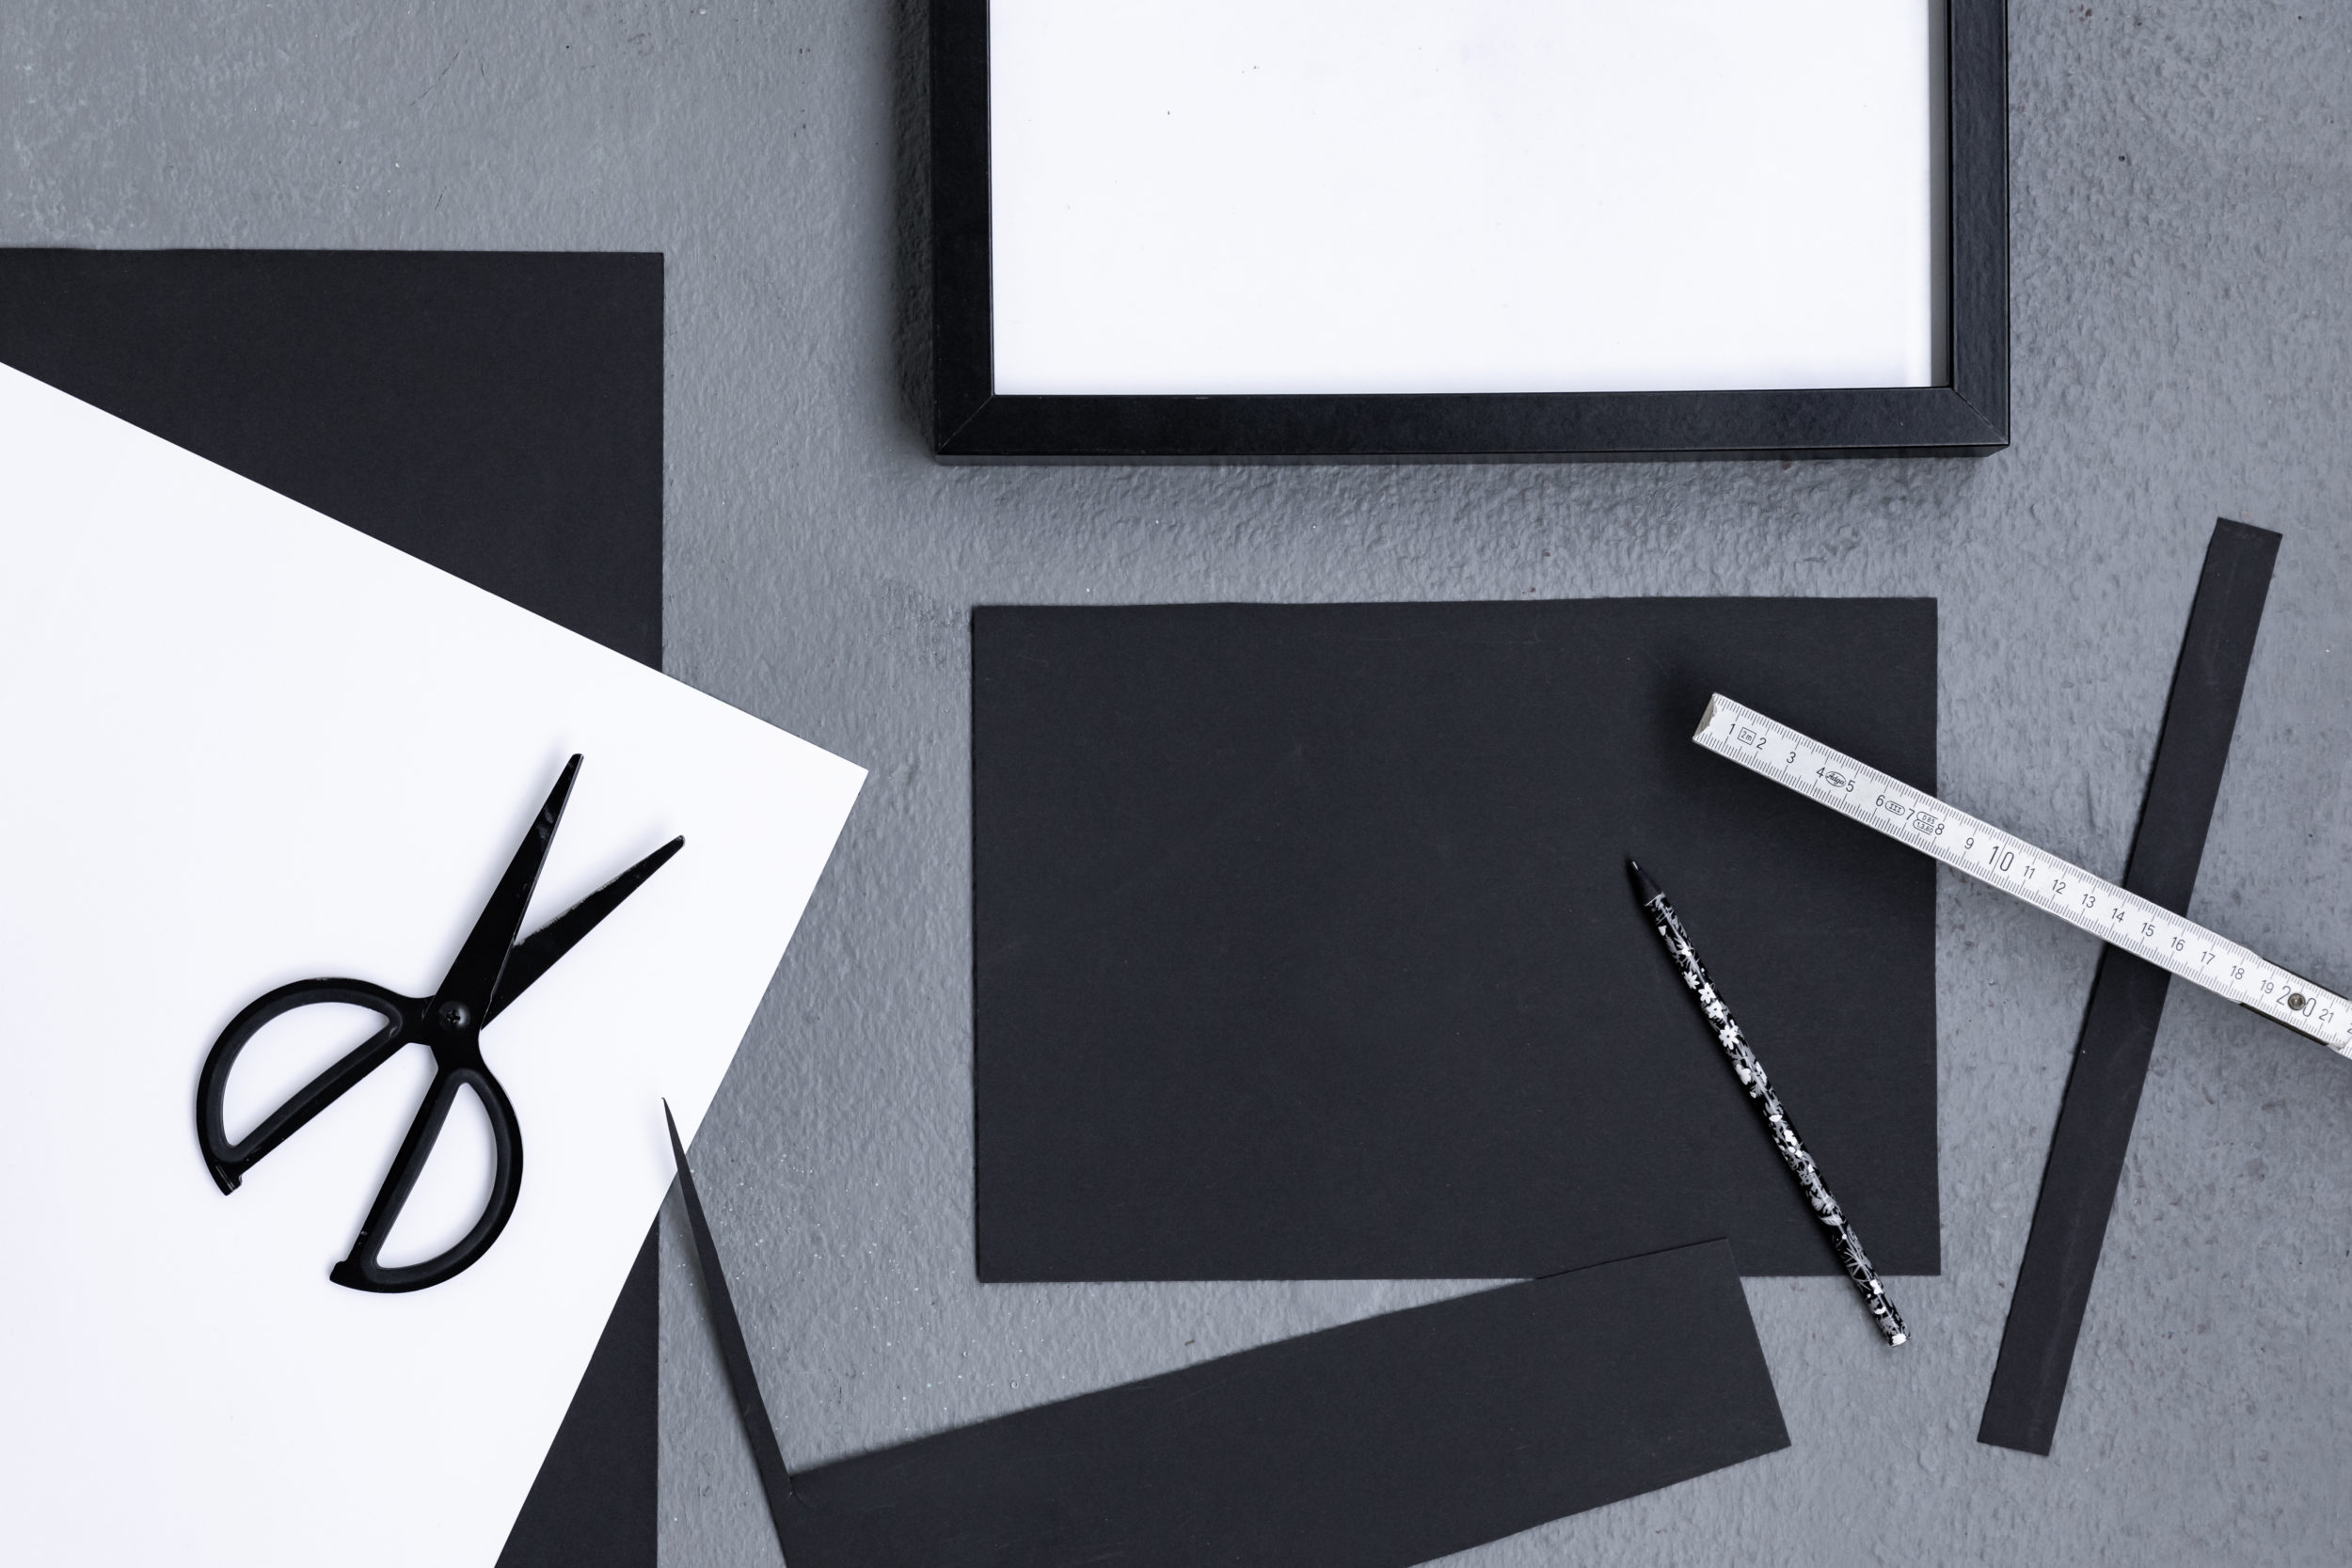
We had some elegant black frames that were straight and classic. You can find these at places like IKEA, hardware and homewares stores. The material we wanted to paint on (and that was to be framed), was black card. The better the quality, the better it will hold paint without buckling. We measured and cut all the black card to fit the frames we wanted to use.
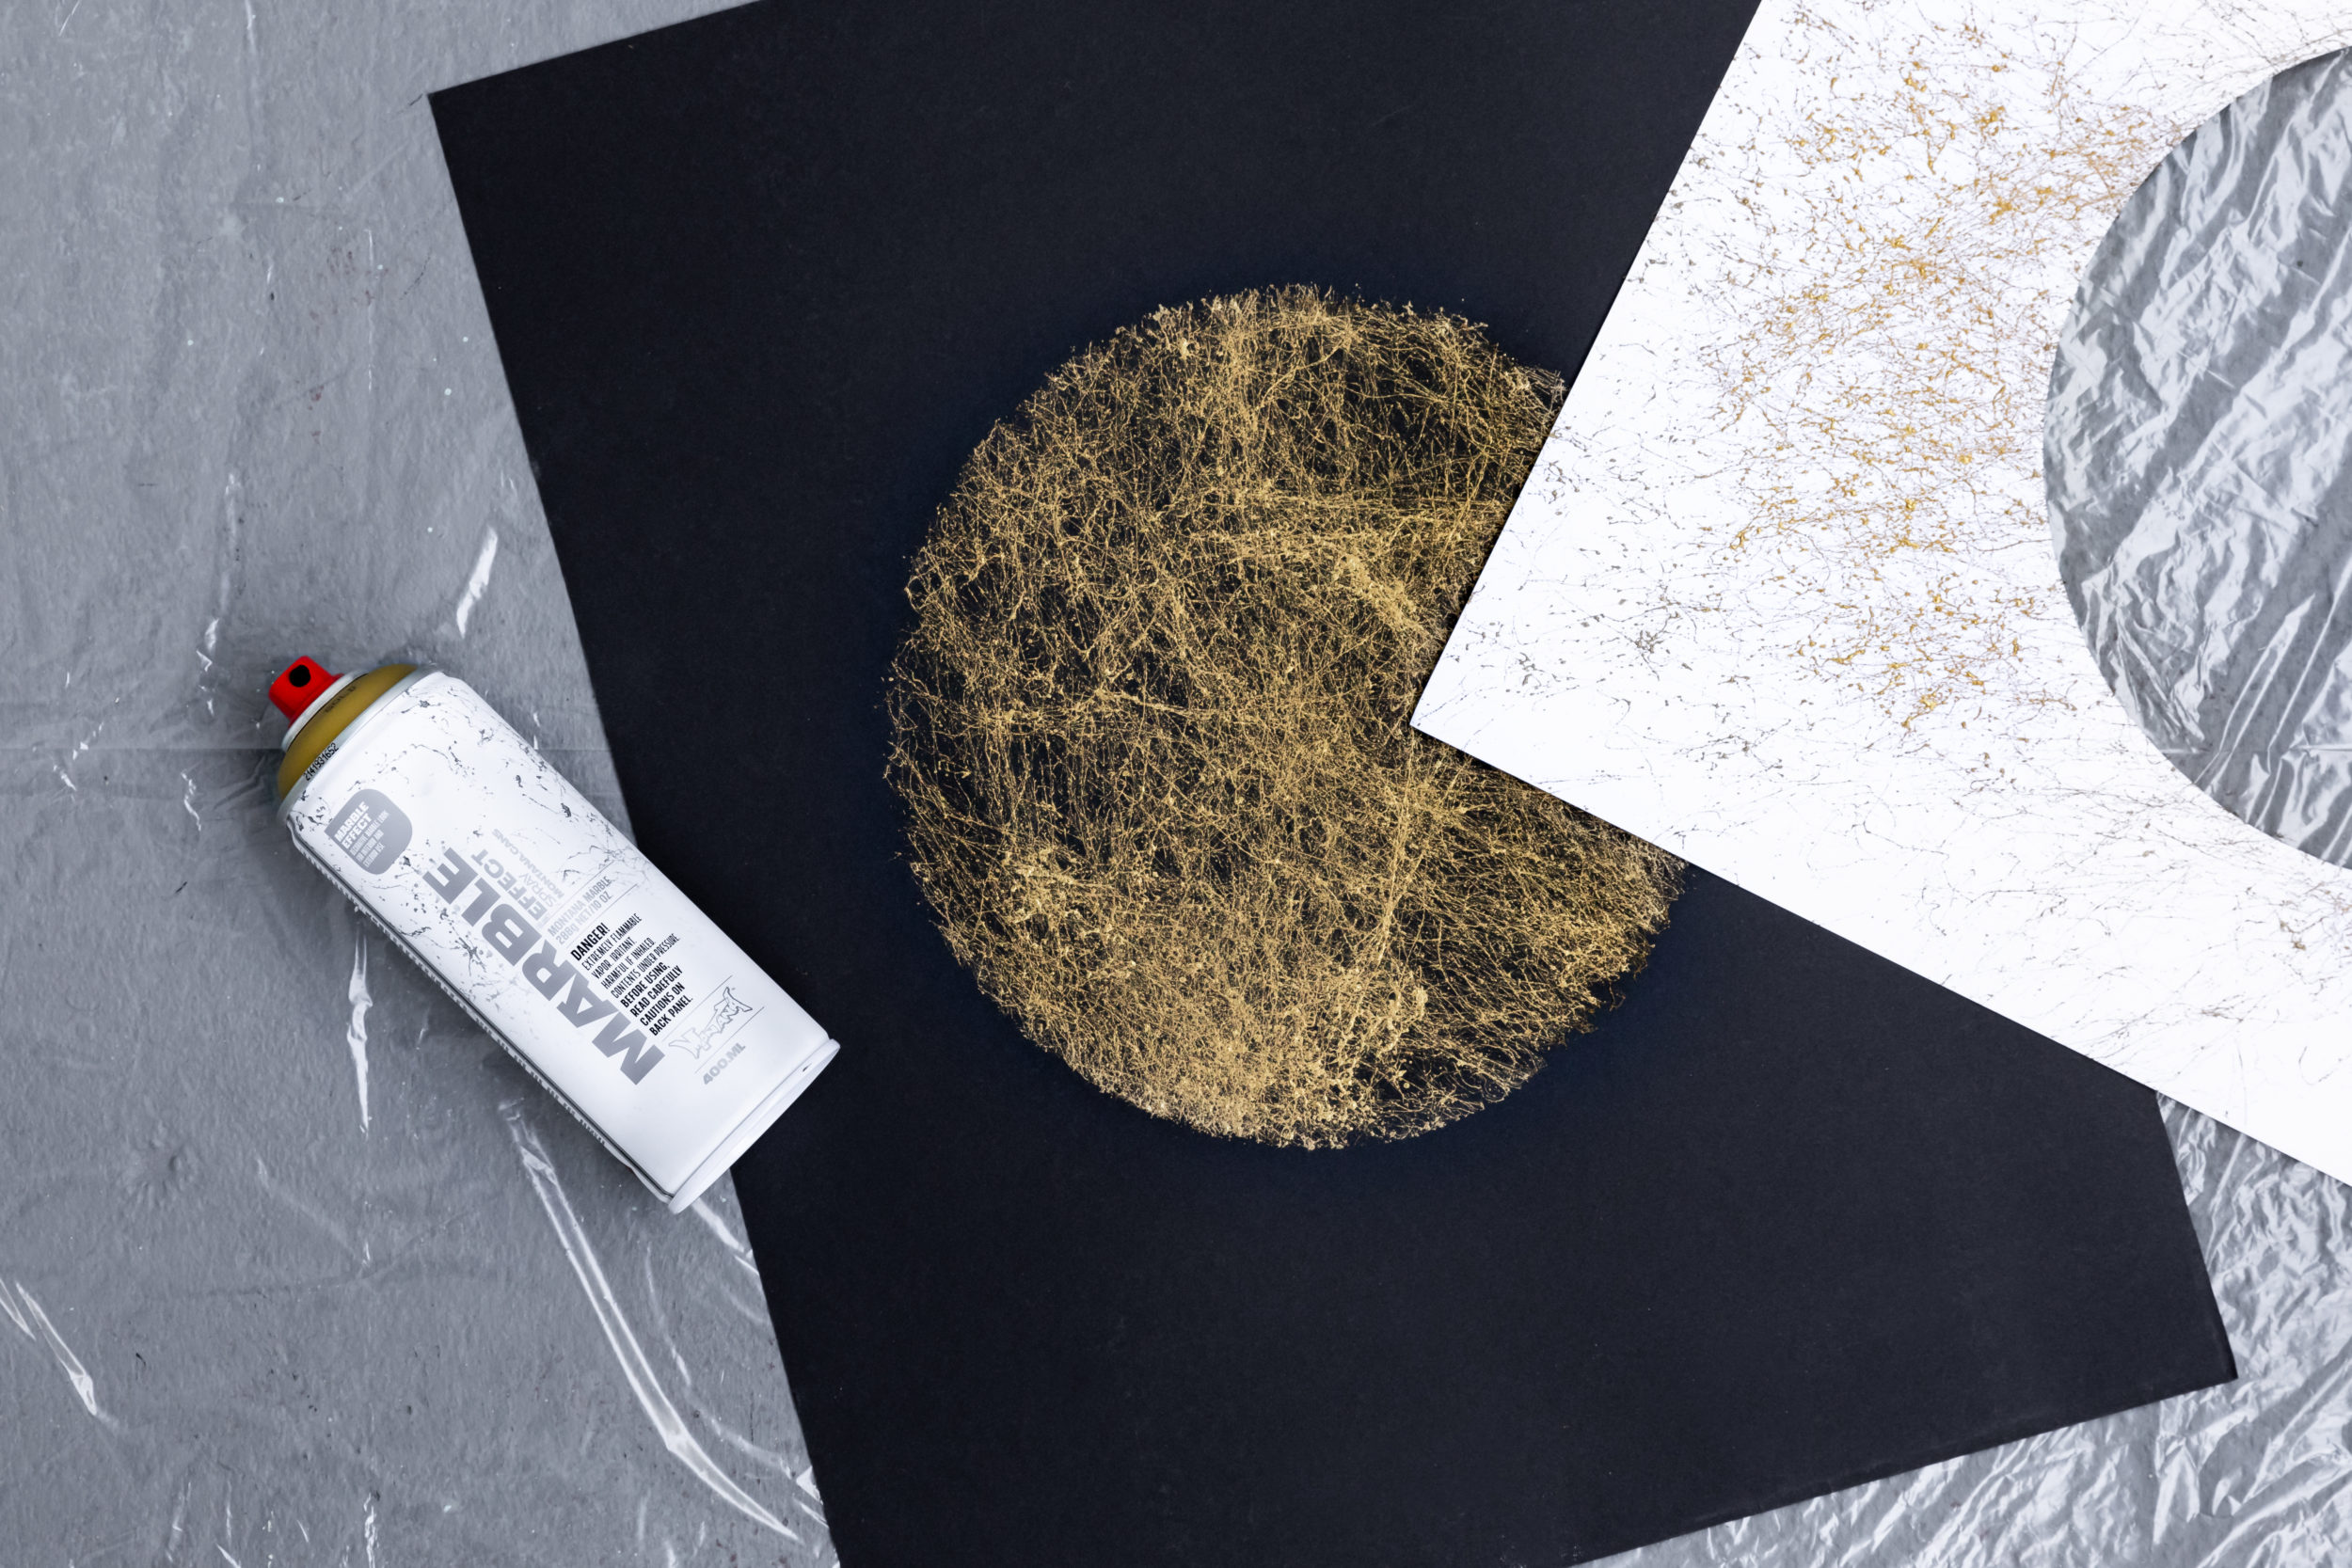
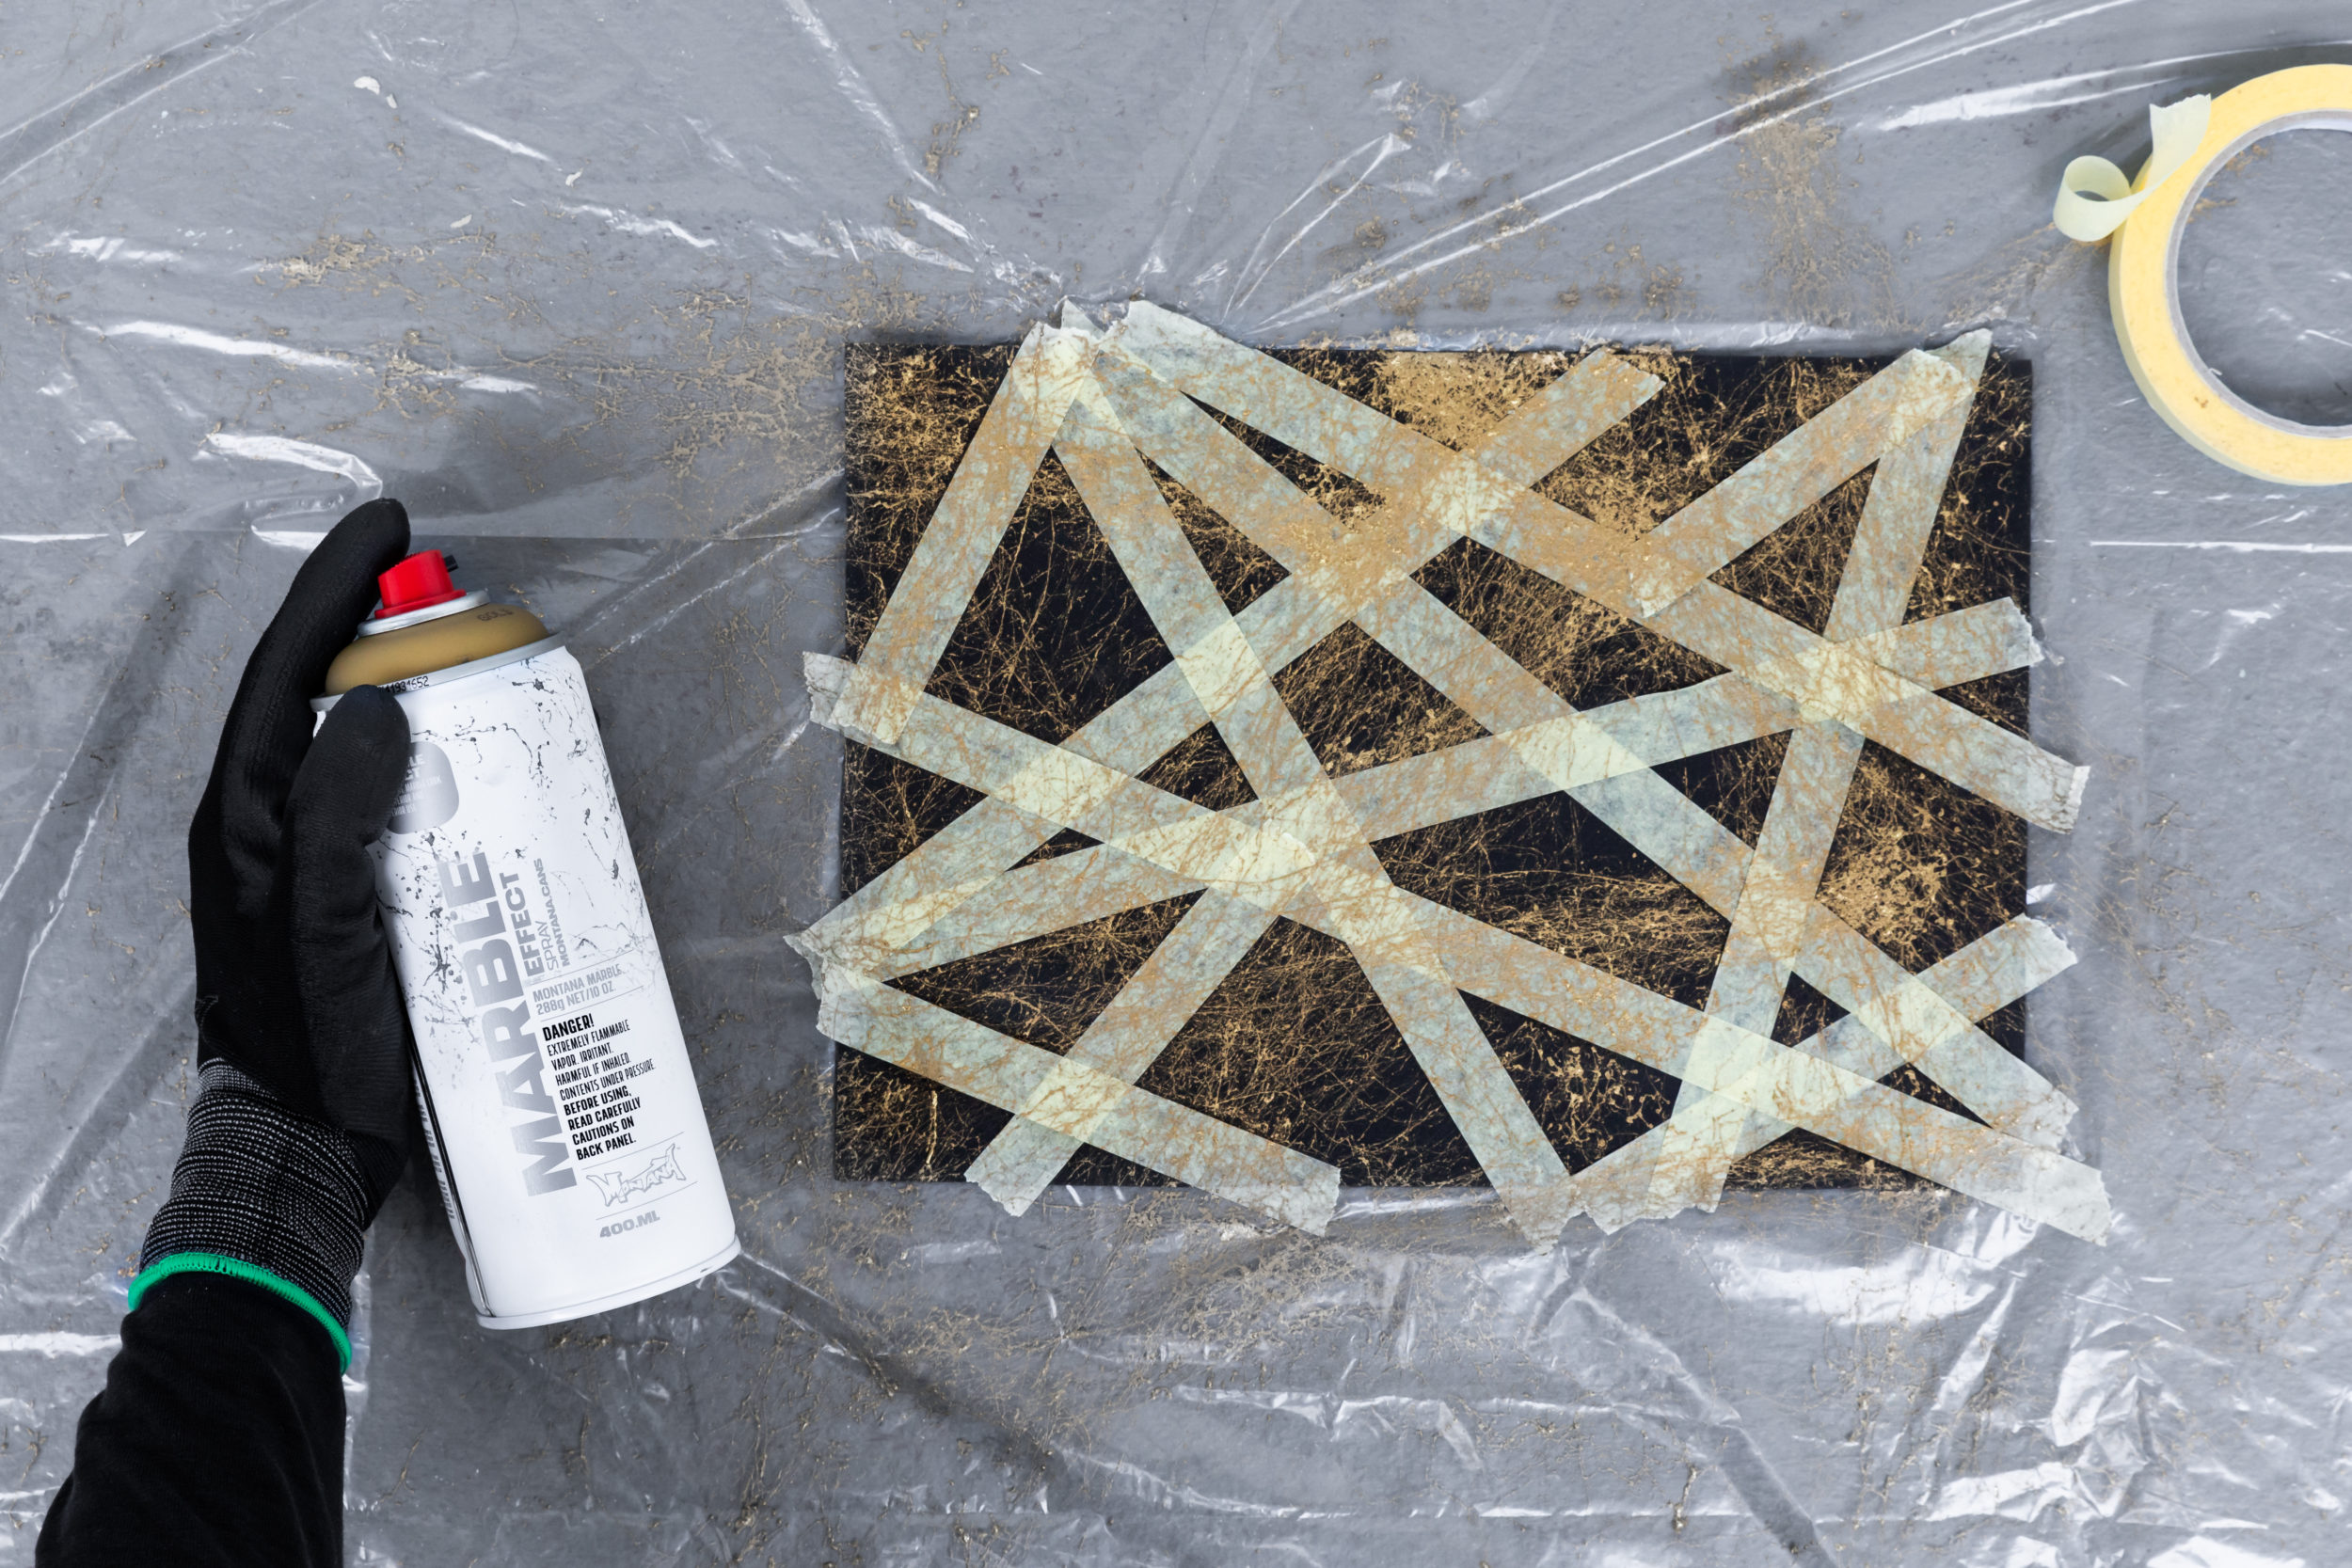
The pre-cut white card with our circle was ready to use. The circle we would place onto our black card to mask off circular shapes. The backing piece with the circular hole would become a stencil for us to spray into. With our masking tape at the ready, we also laid down some linear designs on the other black card bases. The tape would be removed about two minutes after the paint had been applied leaving the contrast of the black paper and the paint.
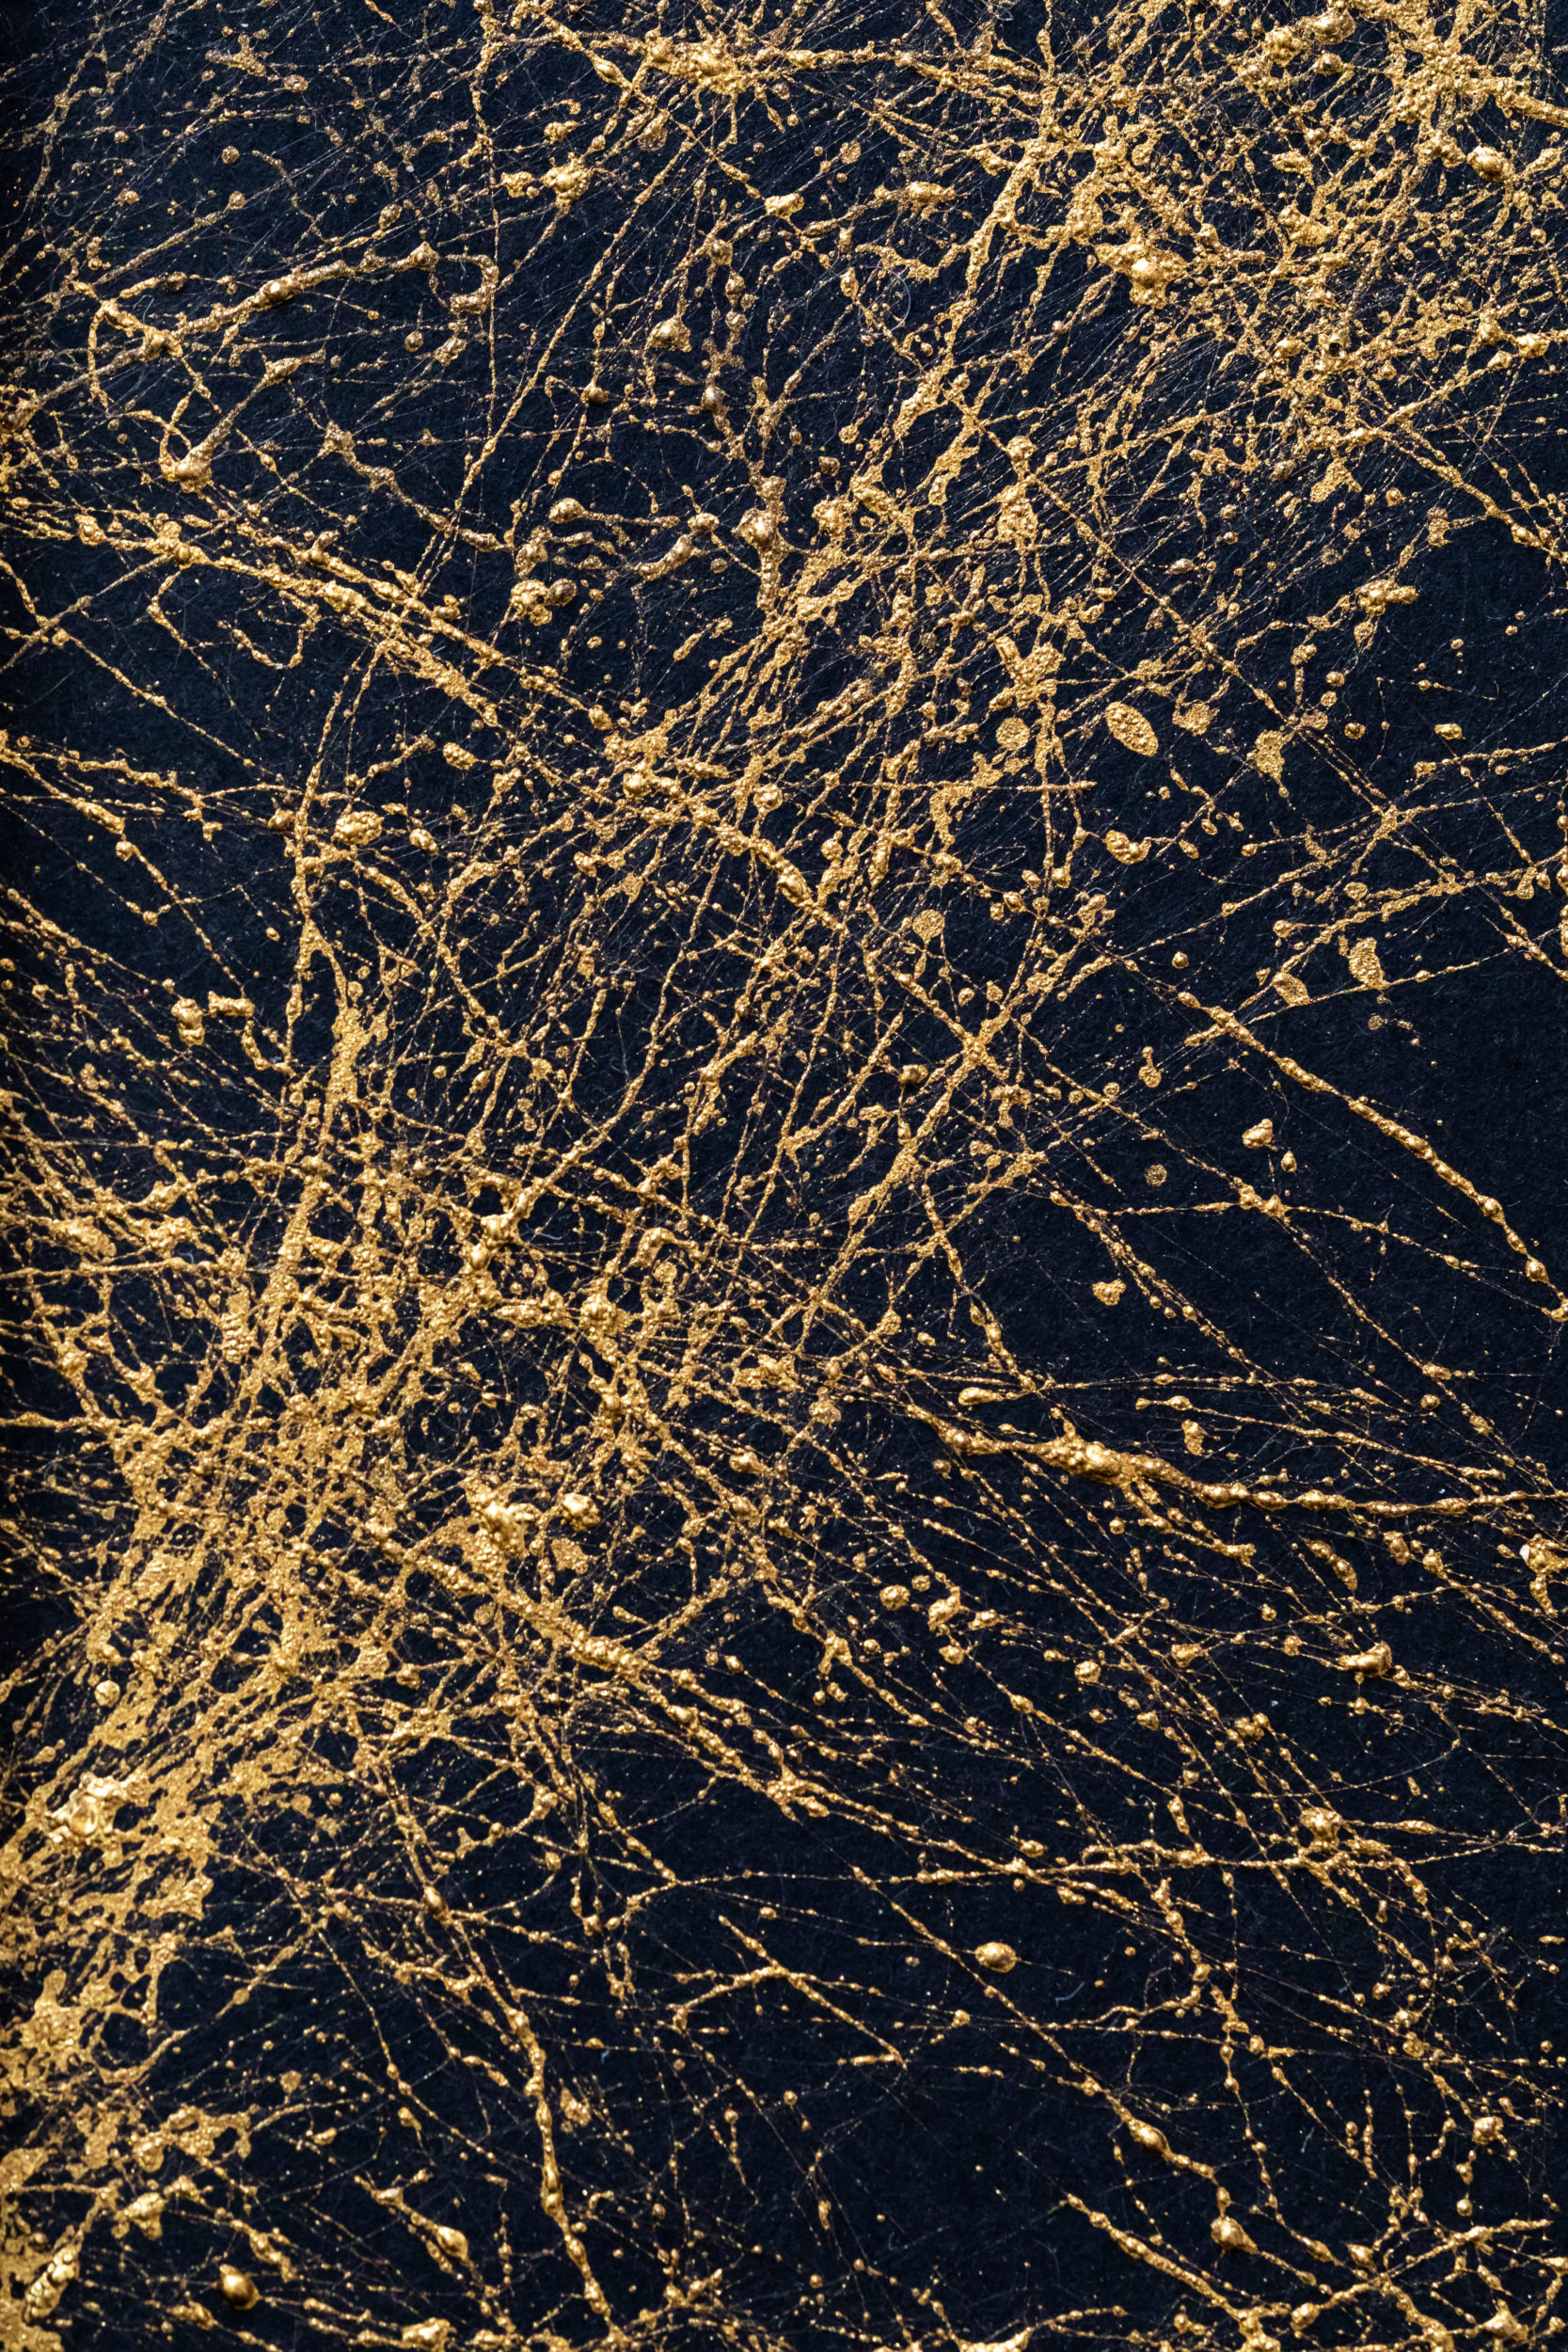
Now for the part we are all by now very familiar with. We shook our Montana MARBLE Gold really well for 2-3 minutes. We then took off the nozzle and removed the black safety ring from under it before re-applying it. A test spray proved good and with drop sheet laid, gloves on, mask on and windows open, we then applied the paint over our first piece (the stencil circle). The closer and more direct you apply MARBLE 400ml paint, the closer the paint threads land on your substrate.
This looks very spider web like. The further away you hold the can, the more time the strands have to separate in the air and the more naturally they land, like marble veins on the surface you are working on. Play with this a little and find the distance that best achieves your desired result. Spraying from different angles looks really cool too! So don’t be afraid to experiment.
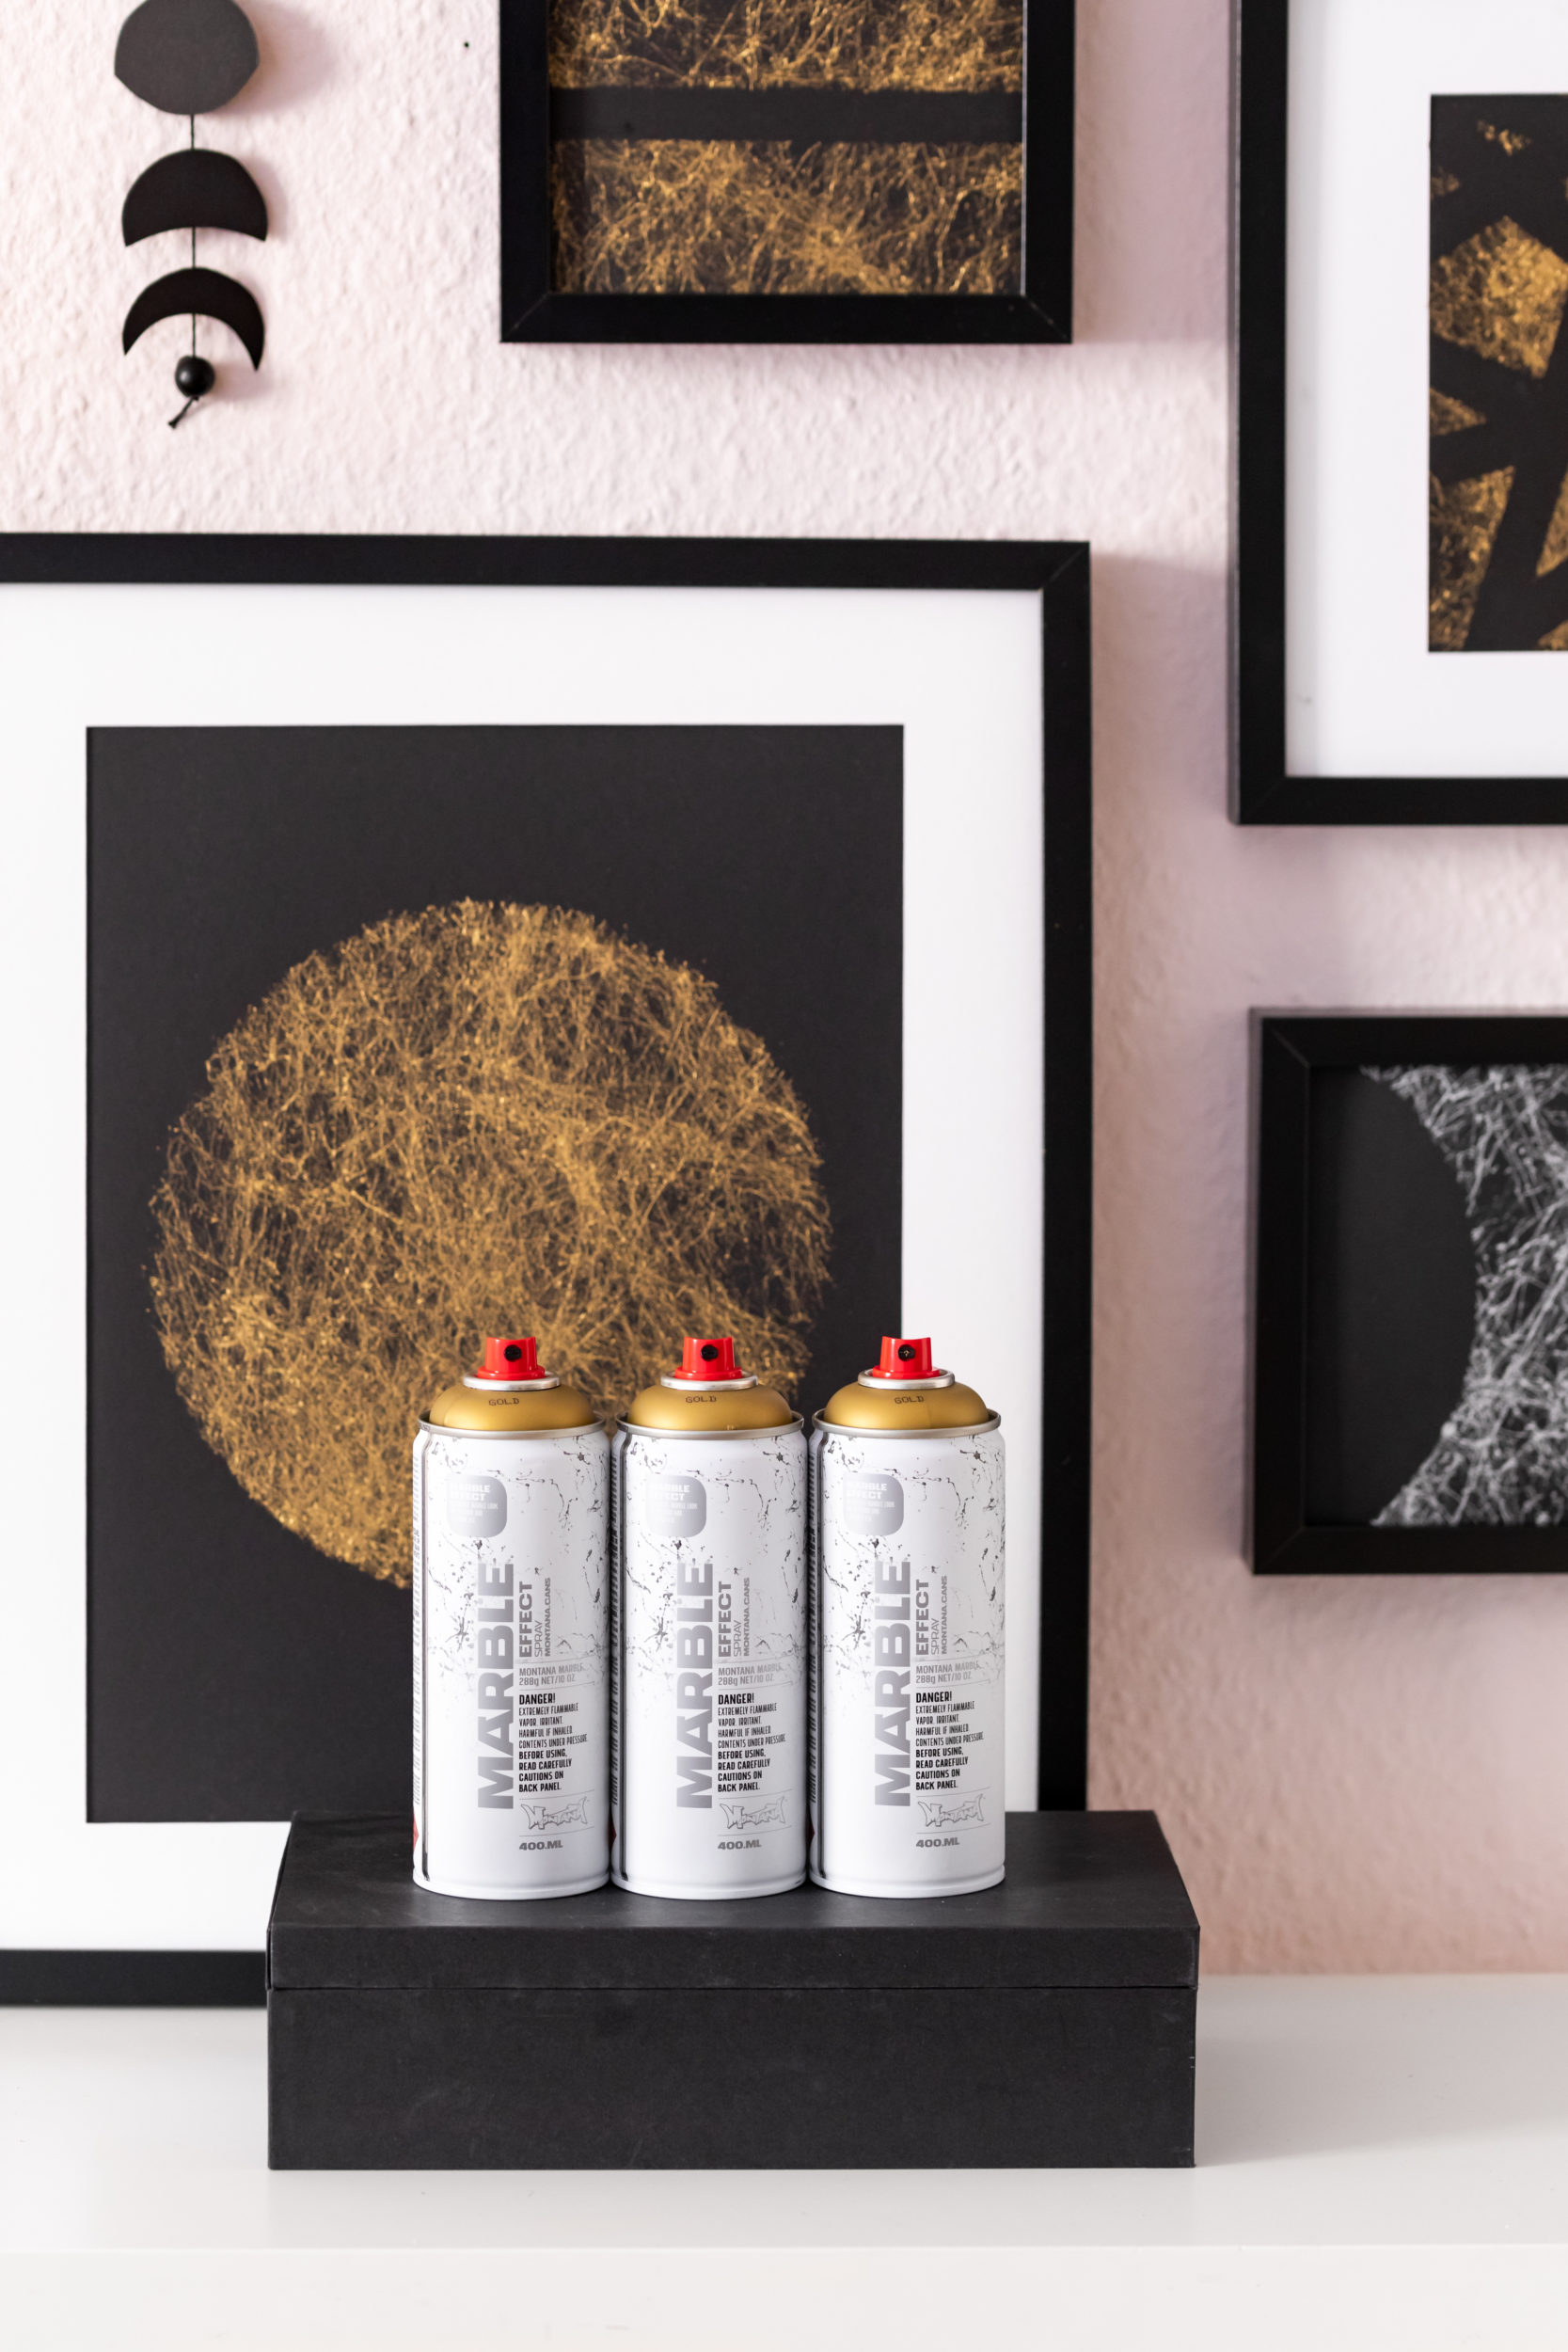
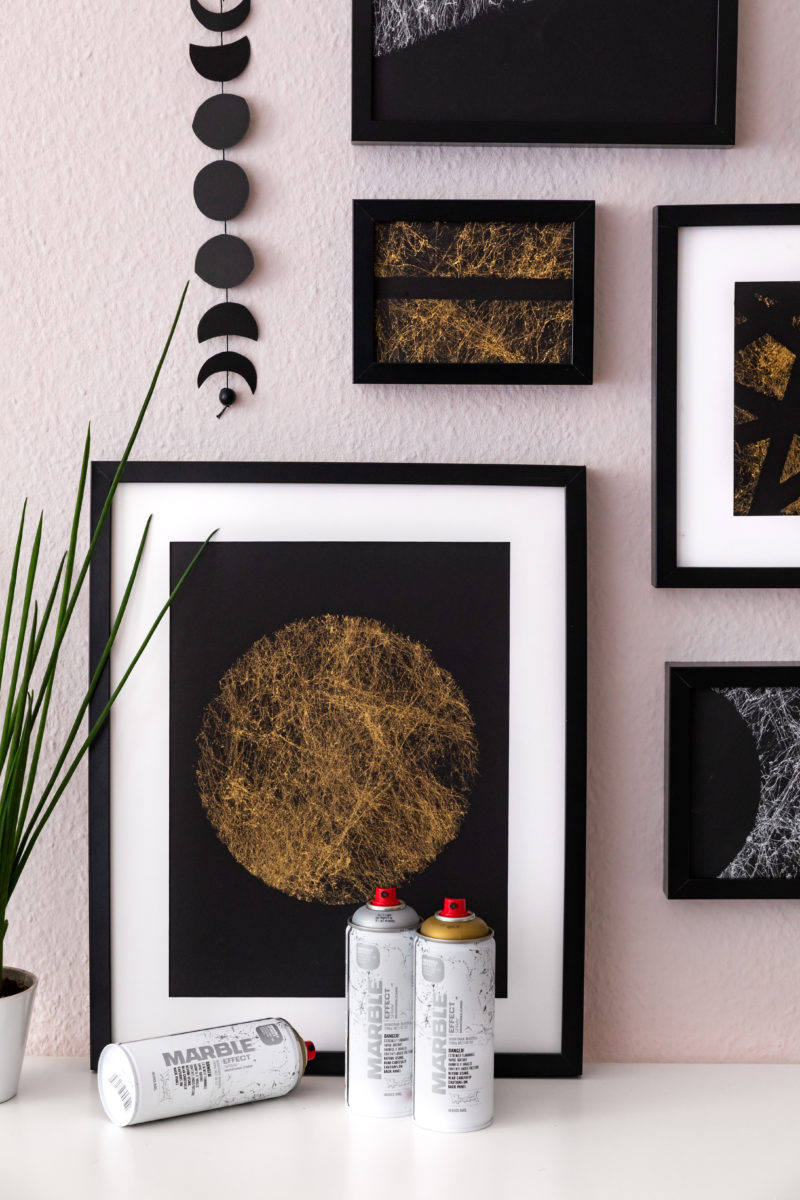
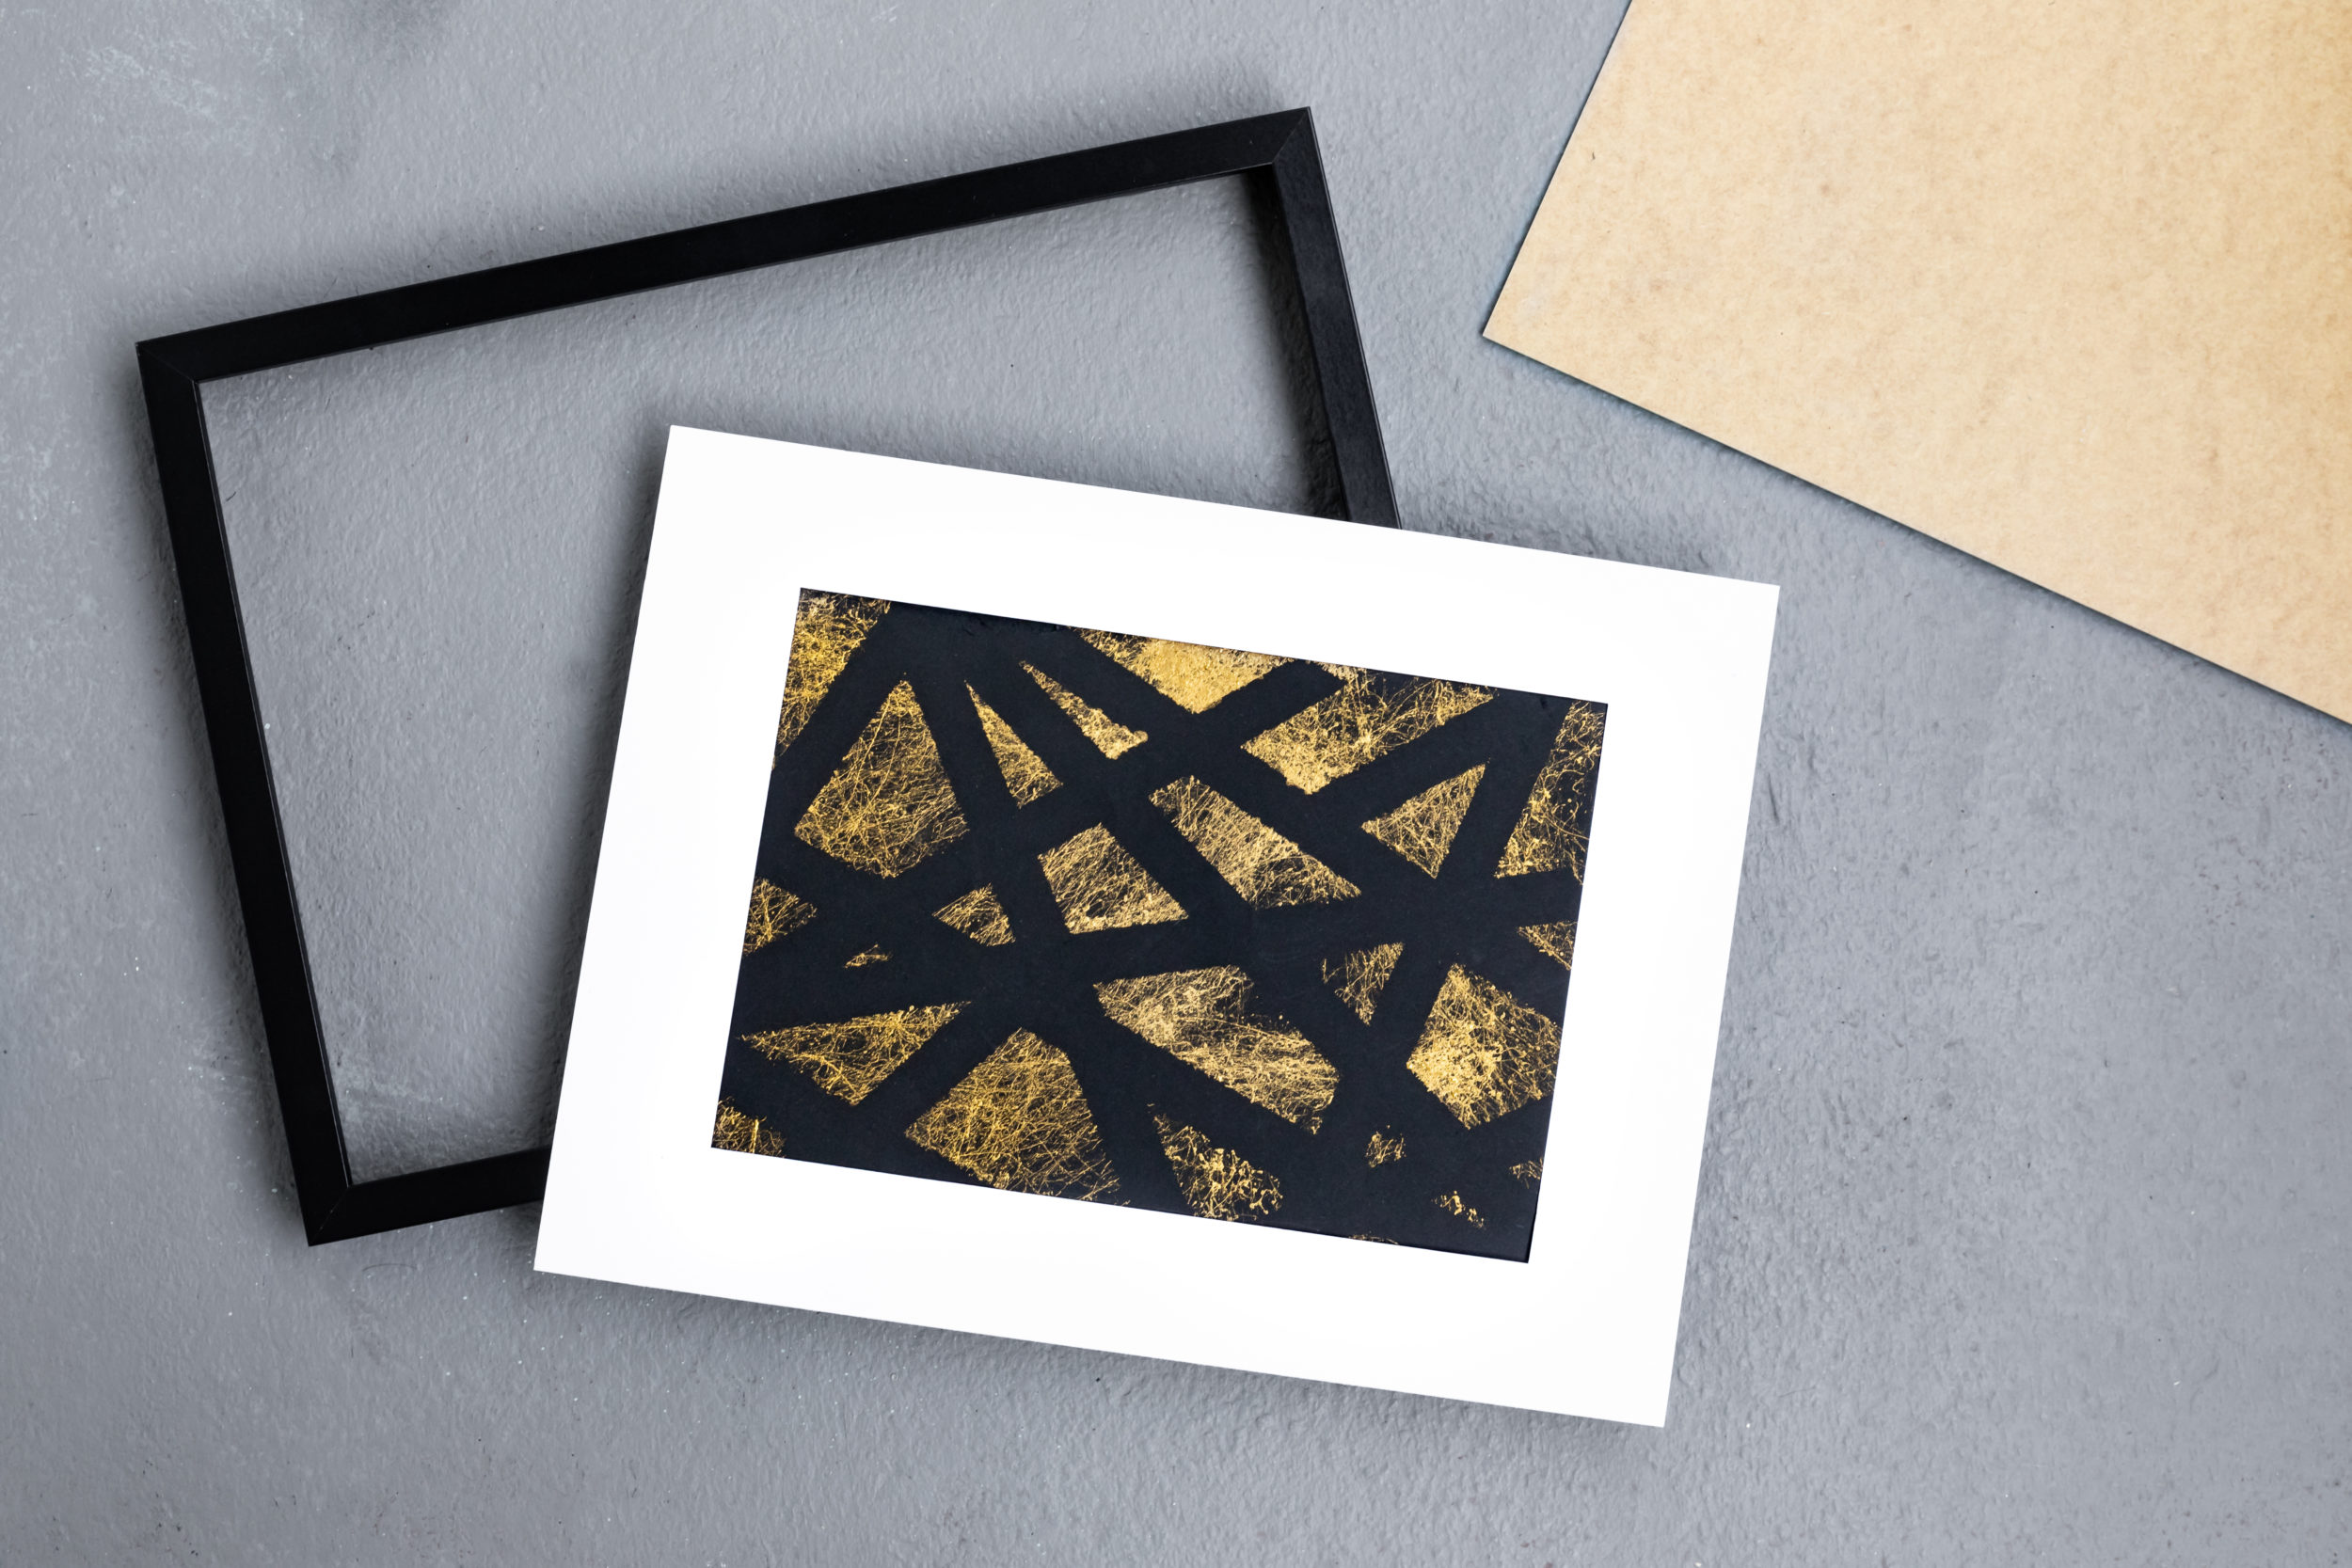
We sprayed over the stencil, leaving a MARBLE Effect circle. We sprayed over the cut out circle, leaving circular shapes of black card as the background became marble. And we sprayed over our masking tape, leaving regal black lines appearing to have gold marble textures beneath them. We even reached for the MARBLE Silver as a complimentary color to our existing imperial color scheme. The result for such a simple project was no less then impressive.
We left our artworks to dry a few hours. Then we carefully mounted them in our frames in preparation for the actual hard work of figuring out in which order to hang them? A few minutes later with hammer and nails put down, our MARBLE art wall was finished. No cheap prints for this home! Hand made art all the way.


This project is an easy one for all. Aside from gathering your materials and cutting your stencil shape carefully, the hardest part is hanging the frames. And thats not hard to do, just hard to decide where. Follow your instinct and Happy Crafting!
[su_icon_text icon=”https://allspraypainted.com/wp-content/uploads/2019/10/noun_Time_2951139.png” icon_color=”#fd6beb” icon_size=”34″] Working time: 30 minutes [/su_icon_text]