Christmas tree decorations that are bound to impress
It’s funny how time flies between looking at the Christmas tree and thinking, “next year I want to do something different”, and then sitting in front of it the following year realizing that nothing has changed. However, this year is different. You guessed it, we got an idea and the seed of innovation was planted the moment we found some online folding instructions for origami cranes. If you want something different hanging on your tree this year, read the Glitter Tree Decorations tutorial.
Materials Used
- Square pieces of sturdy white paper or craft card
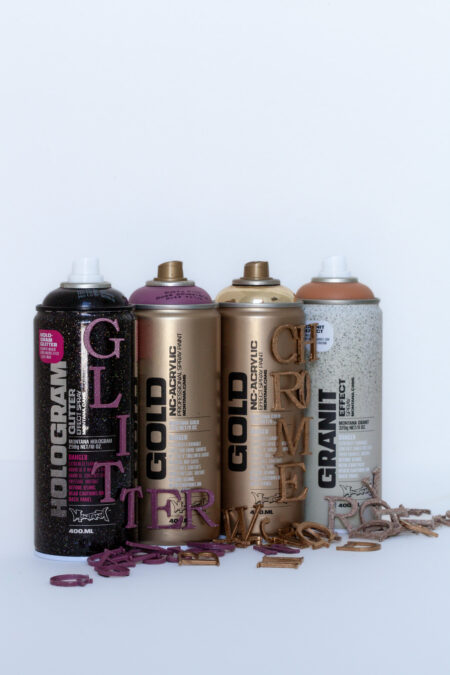
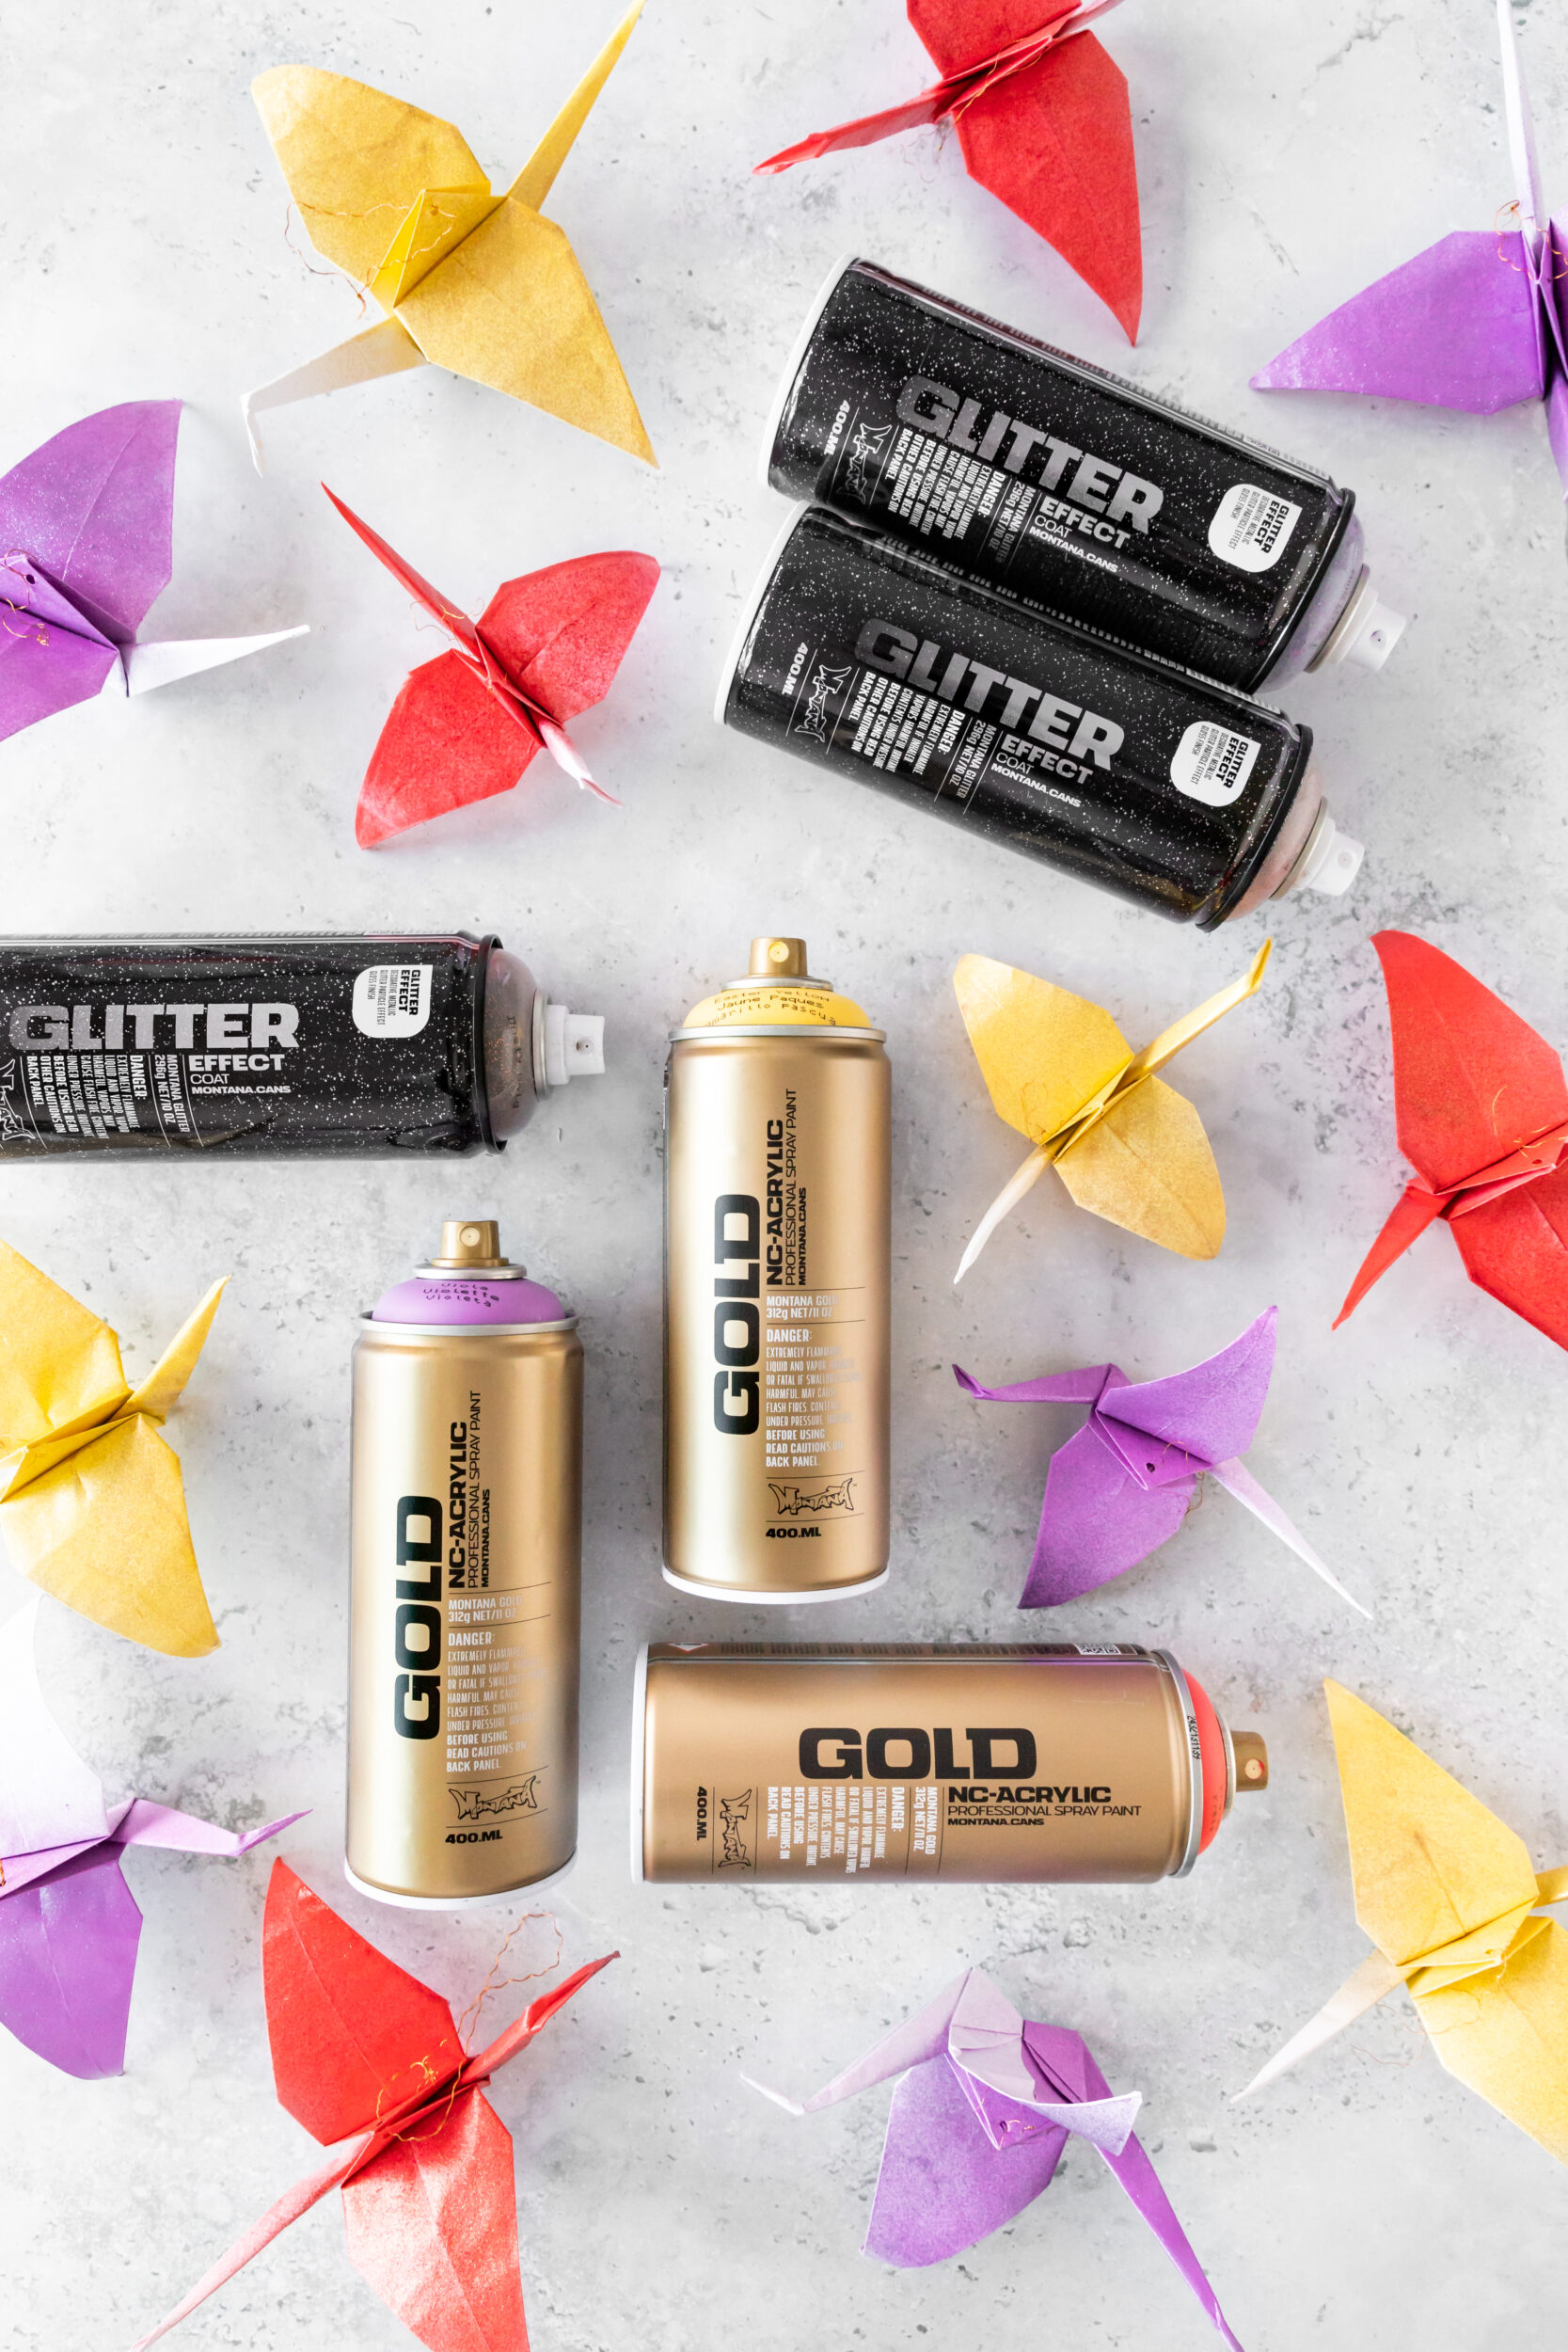
- Montana GOLD colors of your choice (we used a variation of Yellow, Red, and Purple)
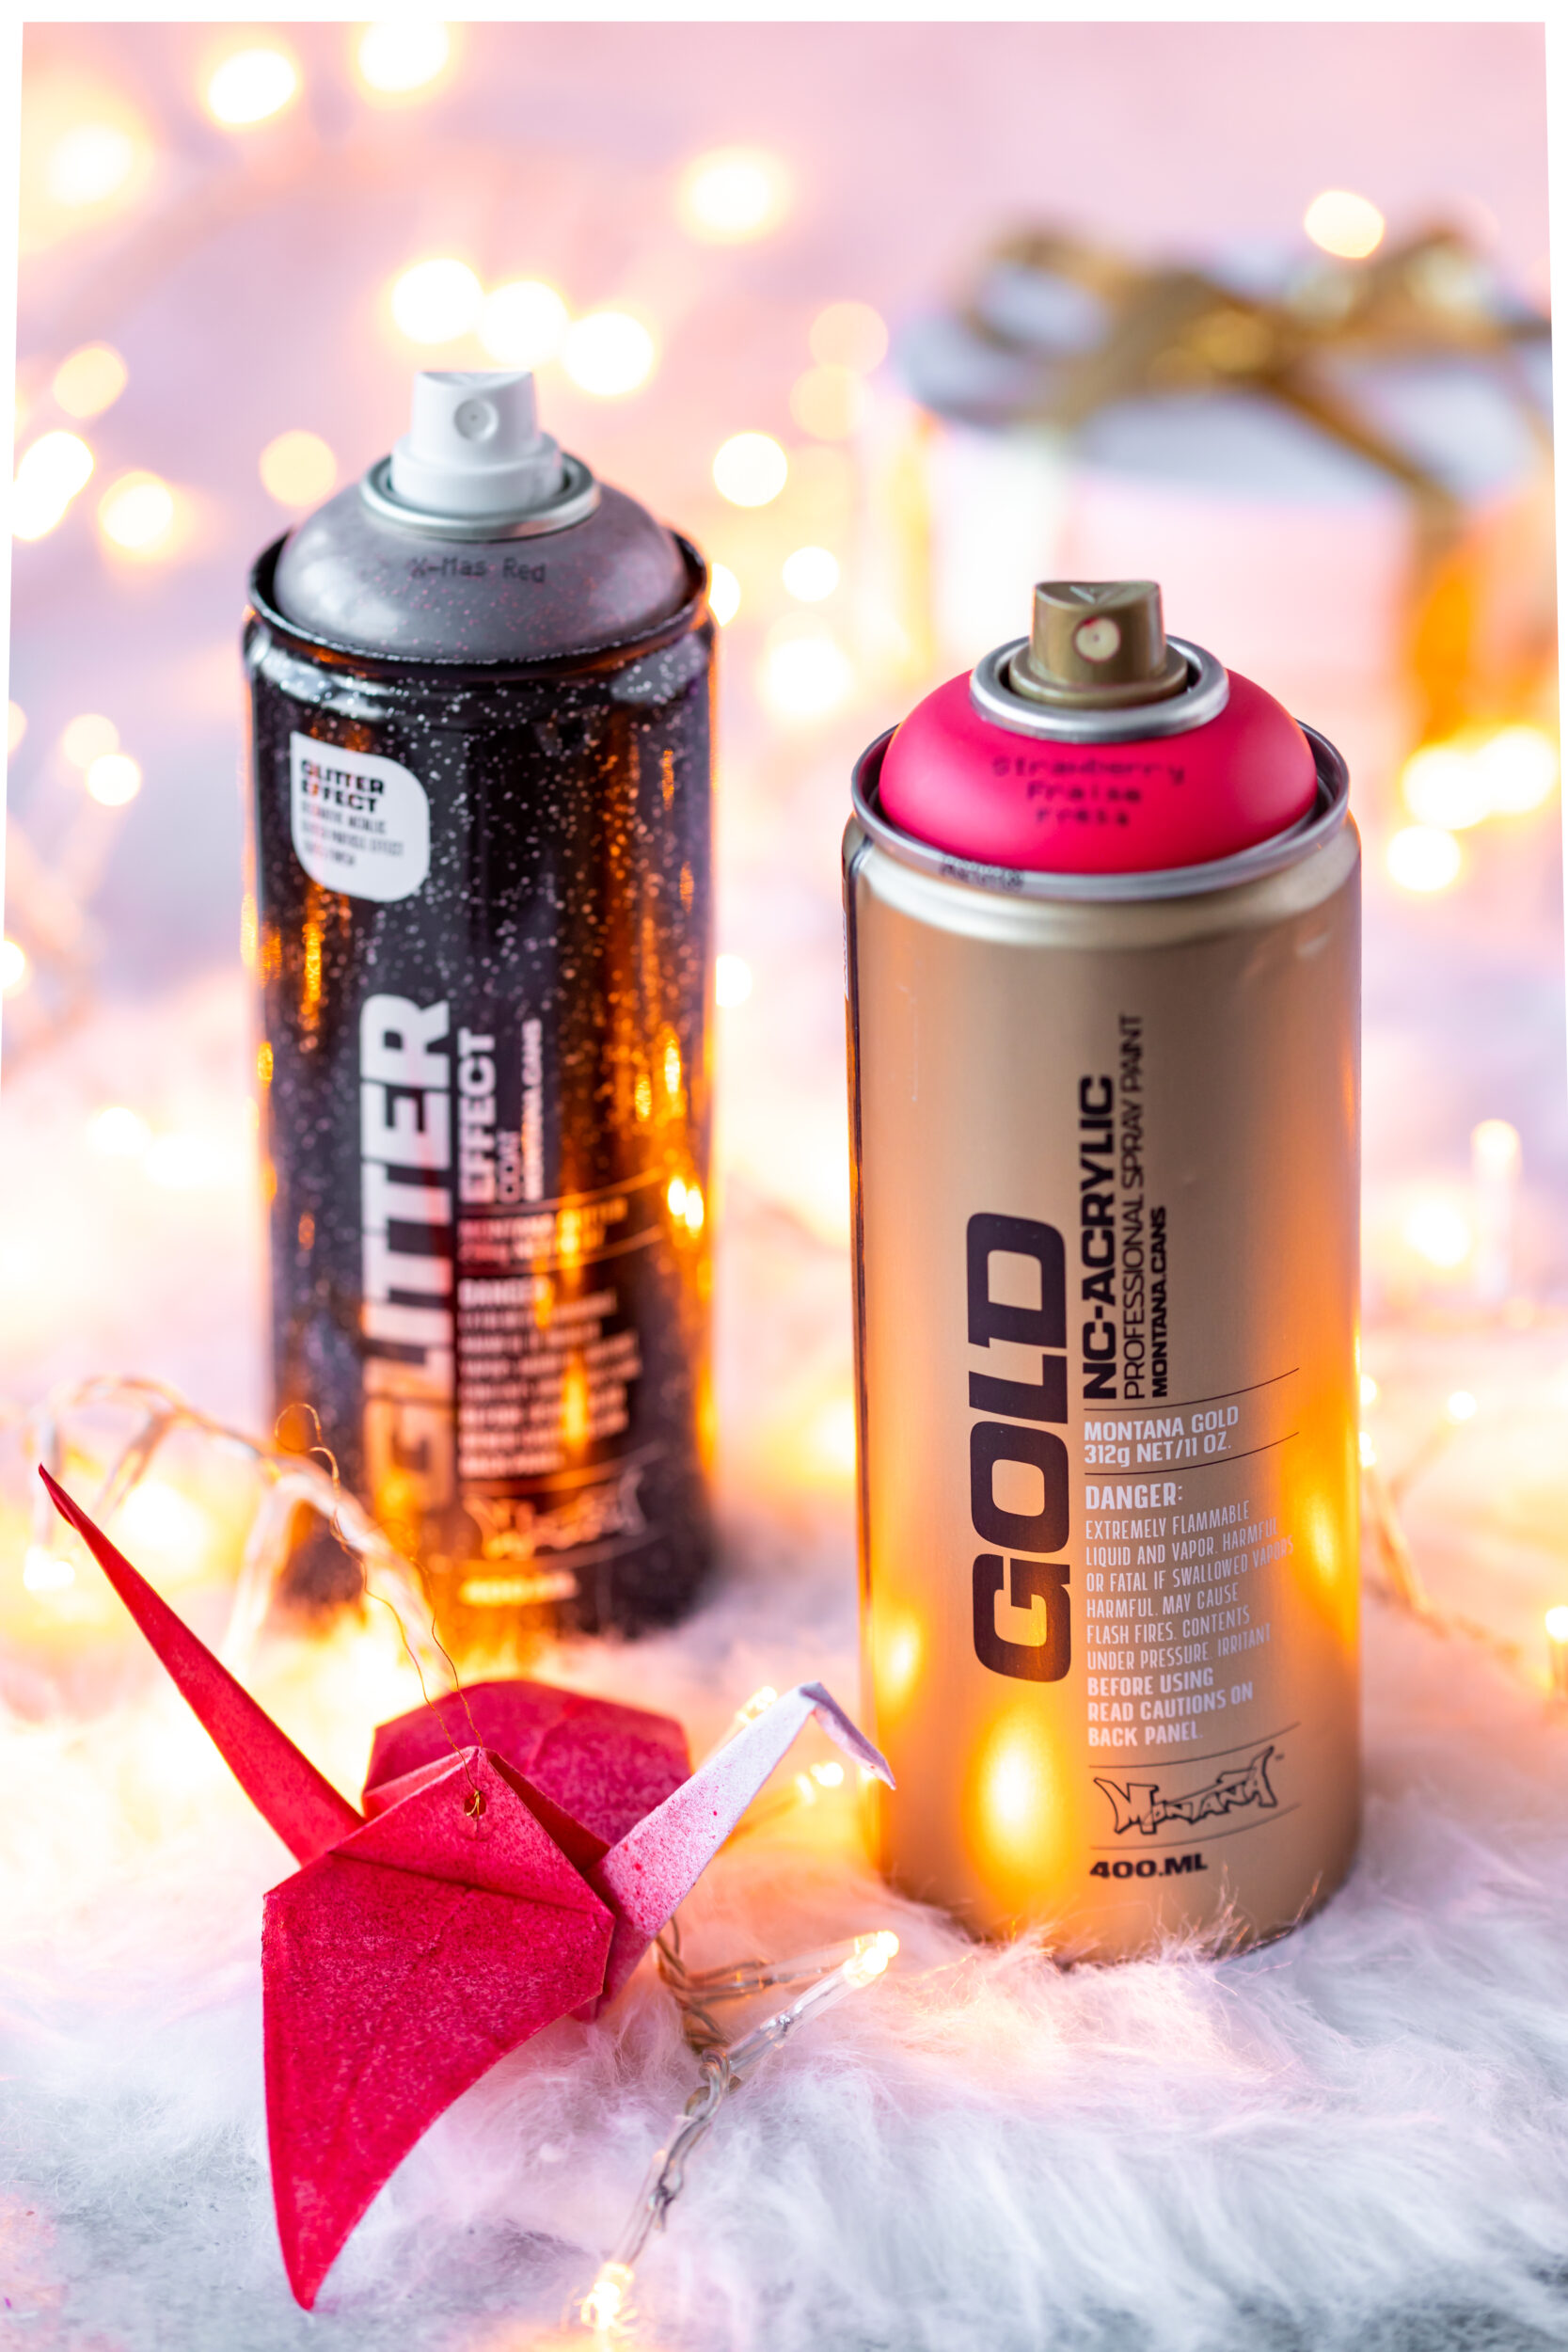
- Montana GLITTER Effect Spray (we used Glitter Dusty Gold, Glitter Amethyst, and Glitter Xmas Red)
- A hole punch
- Metallic thread
- Gloves
- Mask
- Drop sheet
How we did it
It wasn’t till we saw the instructions online on how to fold origami cranes that it occurred to us that they could make a beautiful cross-cultural Christmas tree decorations. You can find many types of origami animals and shapes online through whichever browser you normally use. Once you have decided on an animal(s) or shape(s), you just need to have some square sturdy paper or craft card from which to fold them.


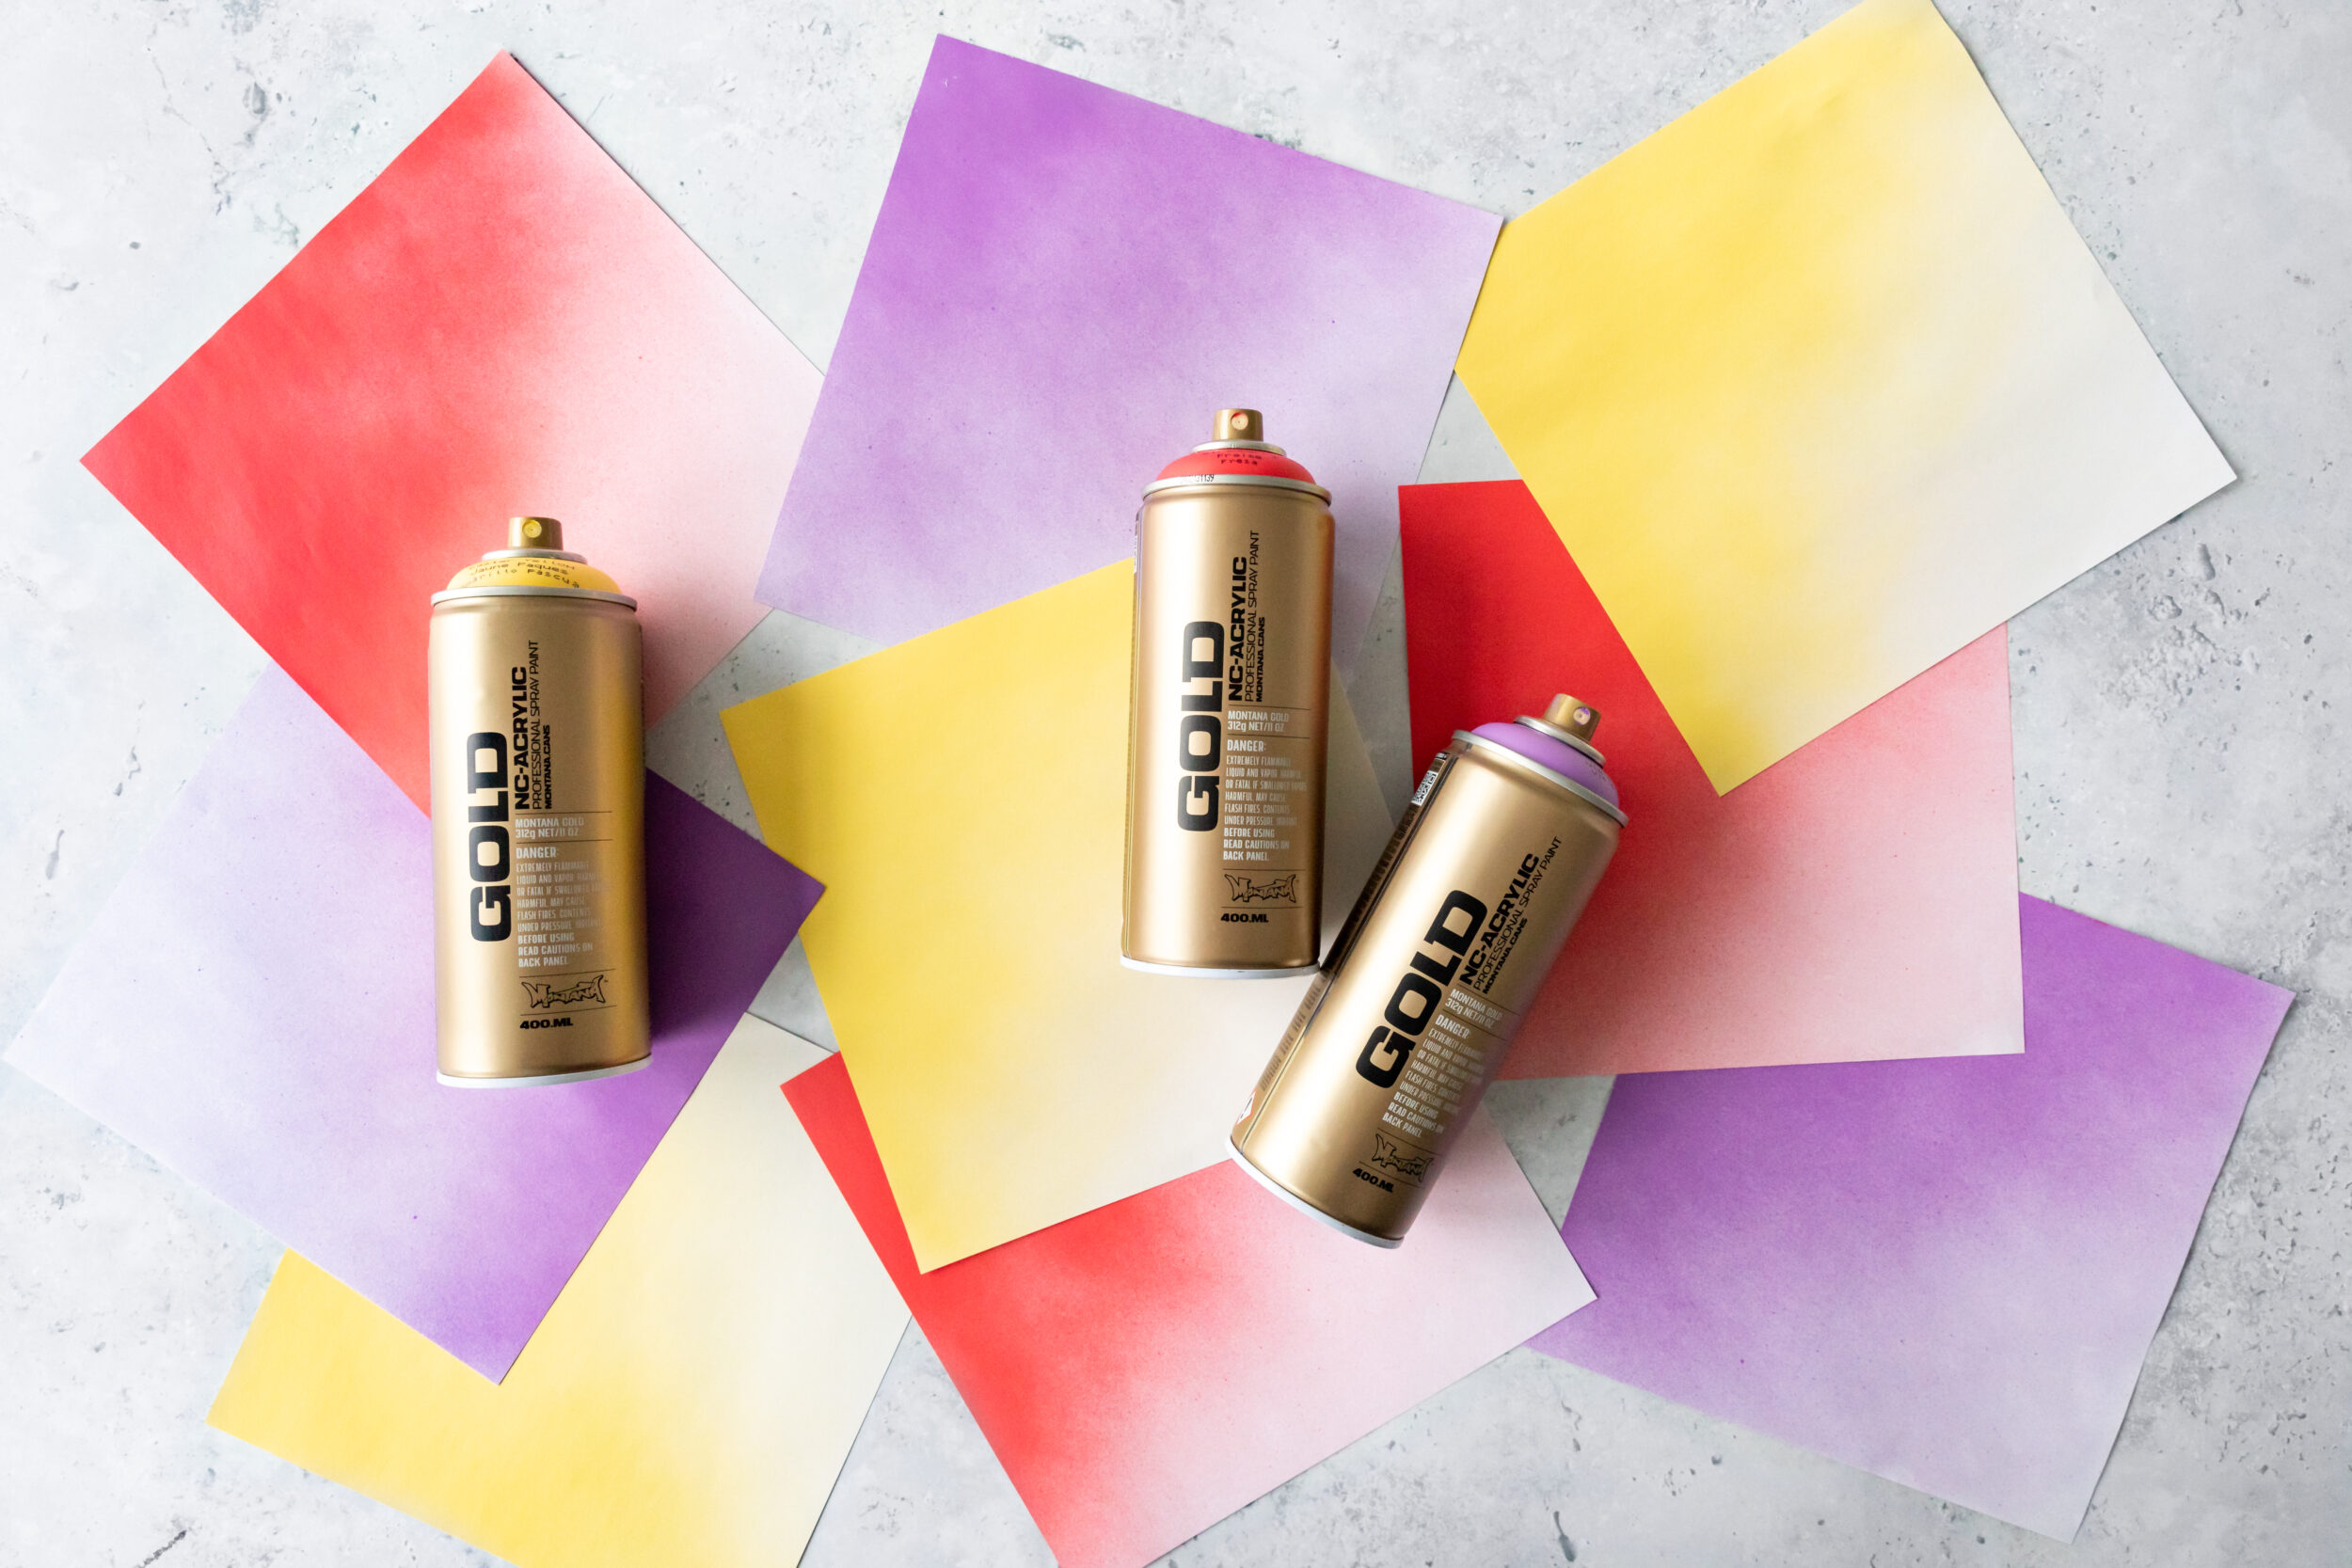
Before folding, take your cans and work through the normal start-up procedures. Shake well for 2-3 minutes, remove the nozzle, turn the can upside-down to release the black safety ring (where applicable), reapply the nozzle, and test spray away from everything. For all our regular readers, this has probably become second nature by now. For a simple yet stunning result, we suggest laying each piece of paper or card onto your drop sheet and then spraying only half of each sheet. As you apply the color from one corner inward, fade out so that only half of each sheet is colored, and the other half has a gradient to the natural white of the paper/card. Allow these to dry. Please note, apply in thin, light layers, from at least 15-25 cm away from the paper. Applying too close or too much paint will make your paper/card stiff and less flexible when dry.


At this point, everyone will have different instructions to follow, depending on the animal or shape they have chosen, and the source of their instructions. You can increase the skill level required, or keep it simple depending on the level of difficulty you have for the object you have chosen. Once folded and complete, we are all at the same point.
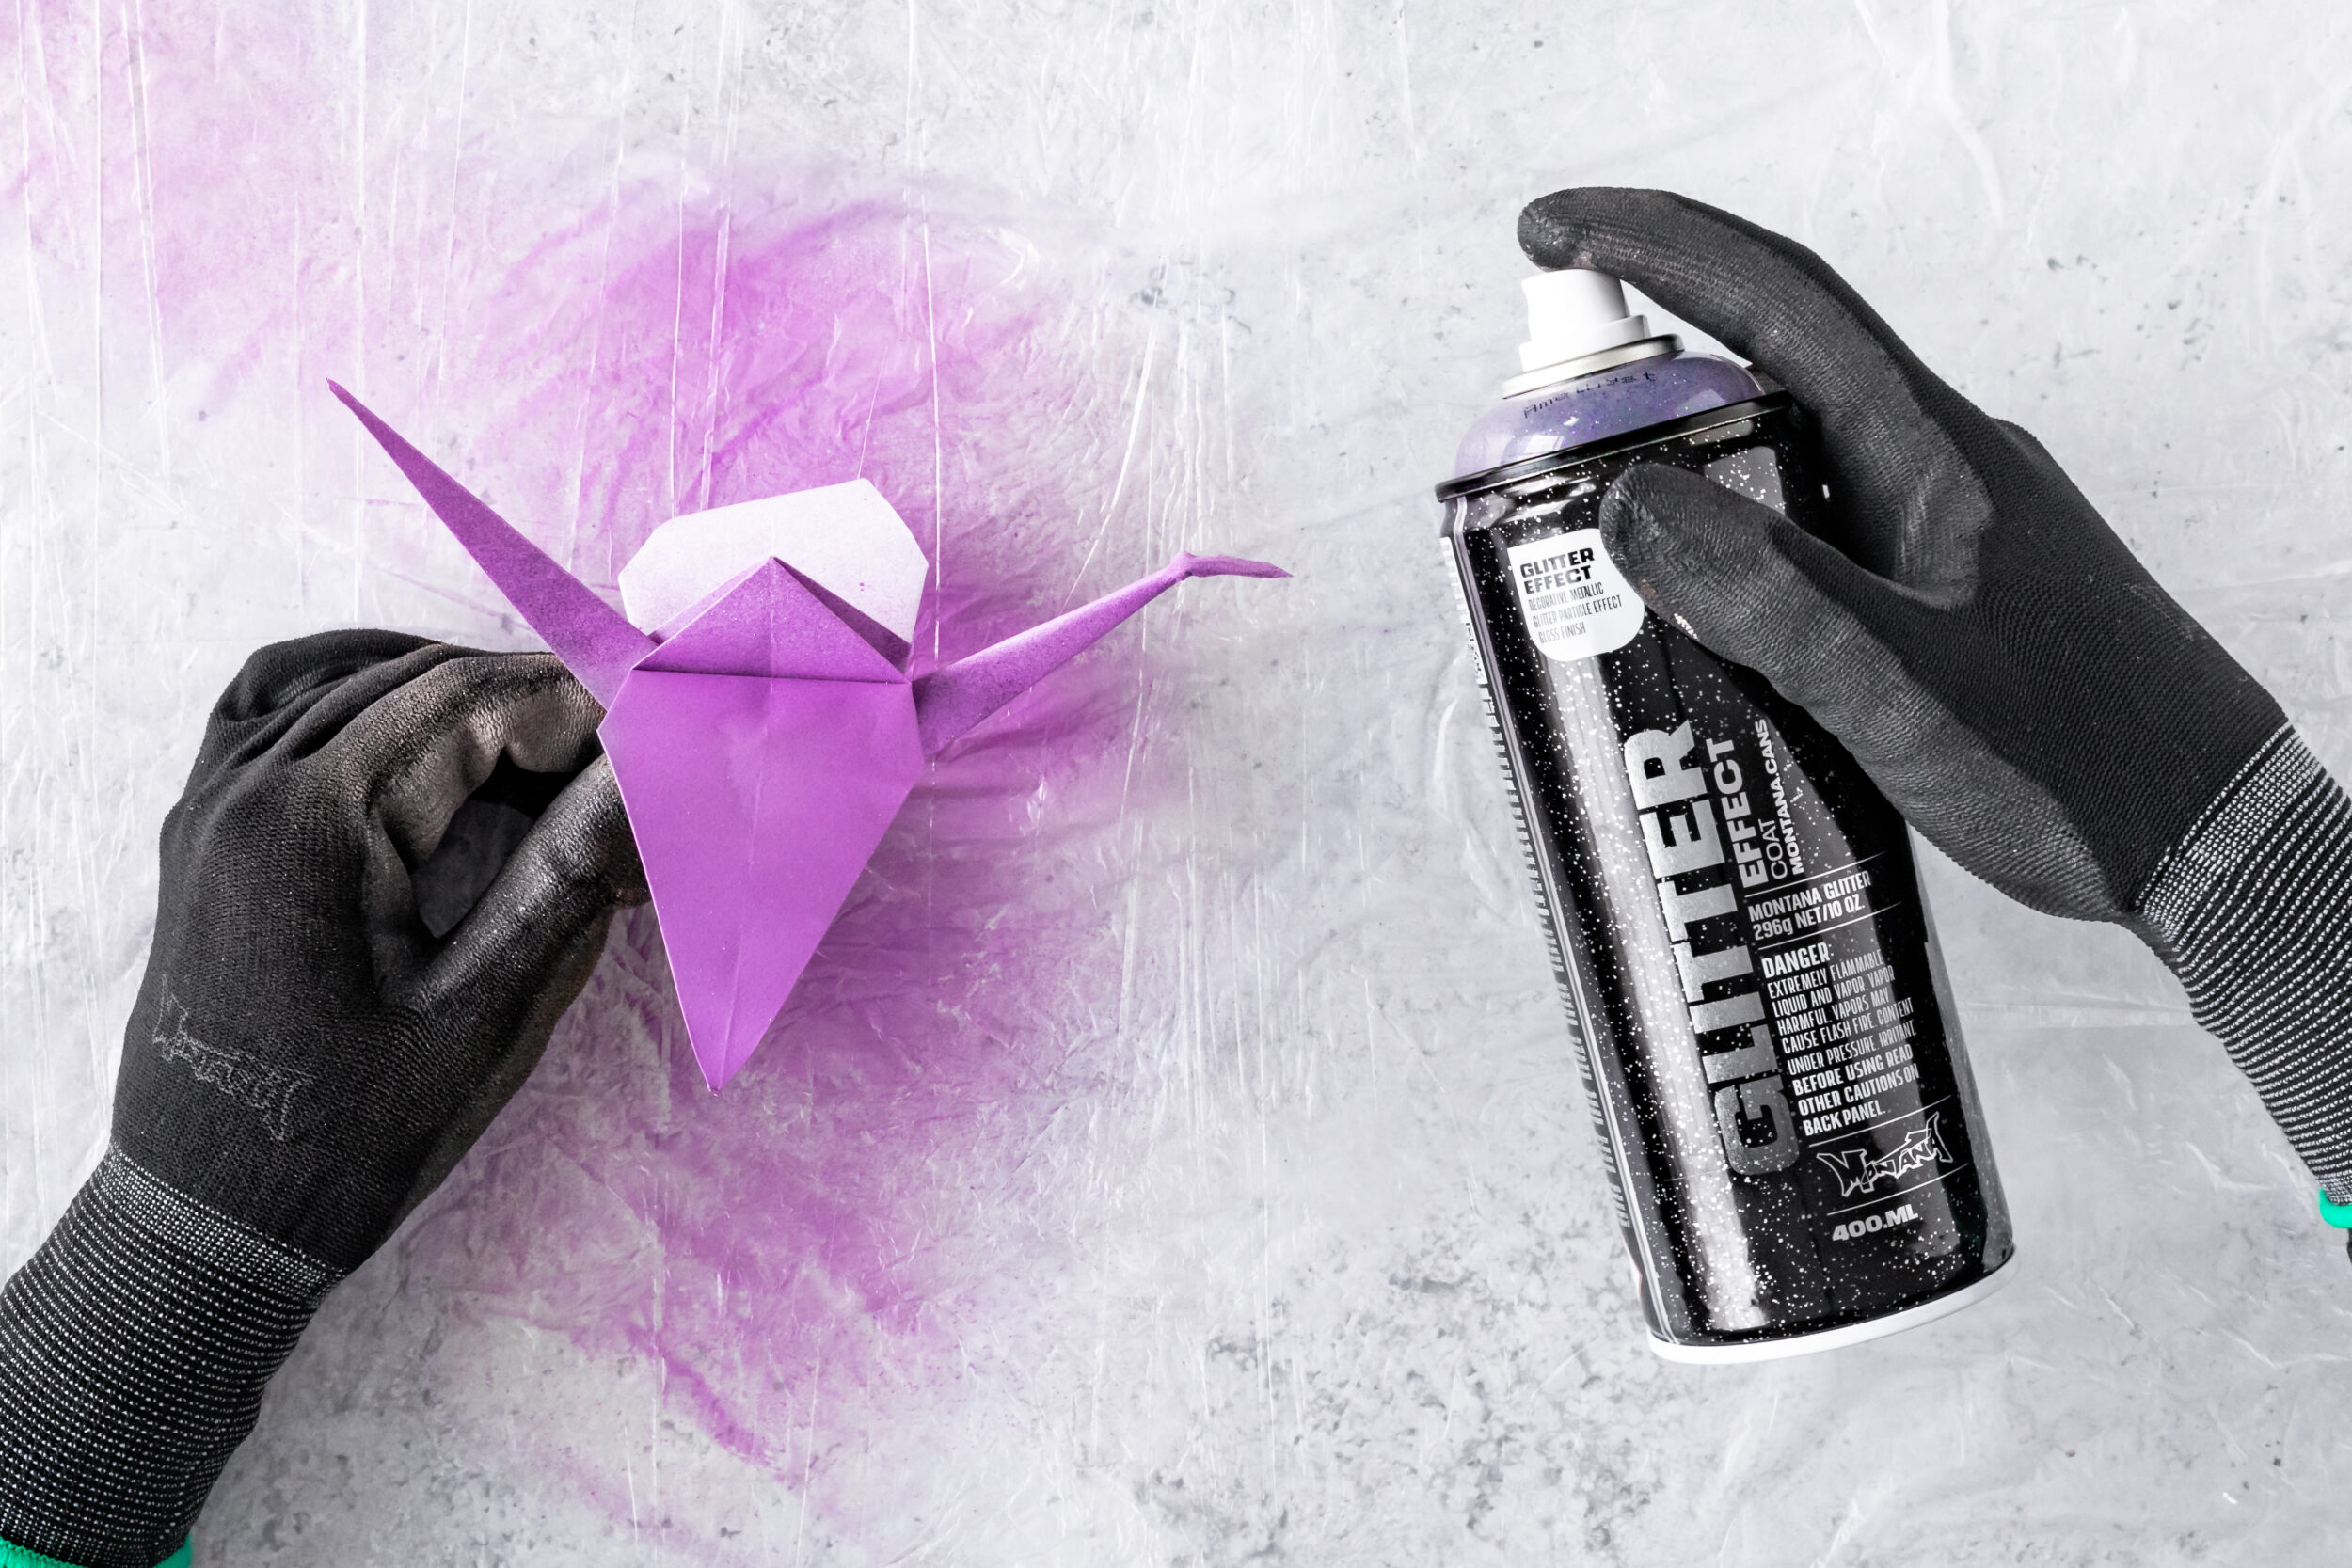

We chose to give our crane tree decorations an extra touch of elegance by spraying them with the applicable Montana GLITTER Spray color. By applicable we mean, each GLITTER Effect color was chosen from the same color origin. e.g., Our Montana GOLD Yellow was coated with GLITTER Dusty Gold, the Montana GOLD Red with GLITTER Effect Spray Xmas Red, and our Montana GOLD Purple with GLITTER Amethyst. In effect creating a monotone glitter colorway. You may choose to mix and match or follow our lead. That choice is yours. Then allow all your new Glitter Tree Decorations to dry.

The final step was the easiest part. With a hole punch or some sort of craft cutter, cut a hole or a small slit in your origami object(s) that will allow the thread to pass through it so your tree deco object can be hung up. Our craft punch created a small hole which we put at the tail of our crane that we threaded our metallic thread through to attach to the tree.
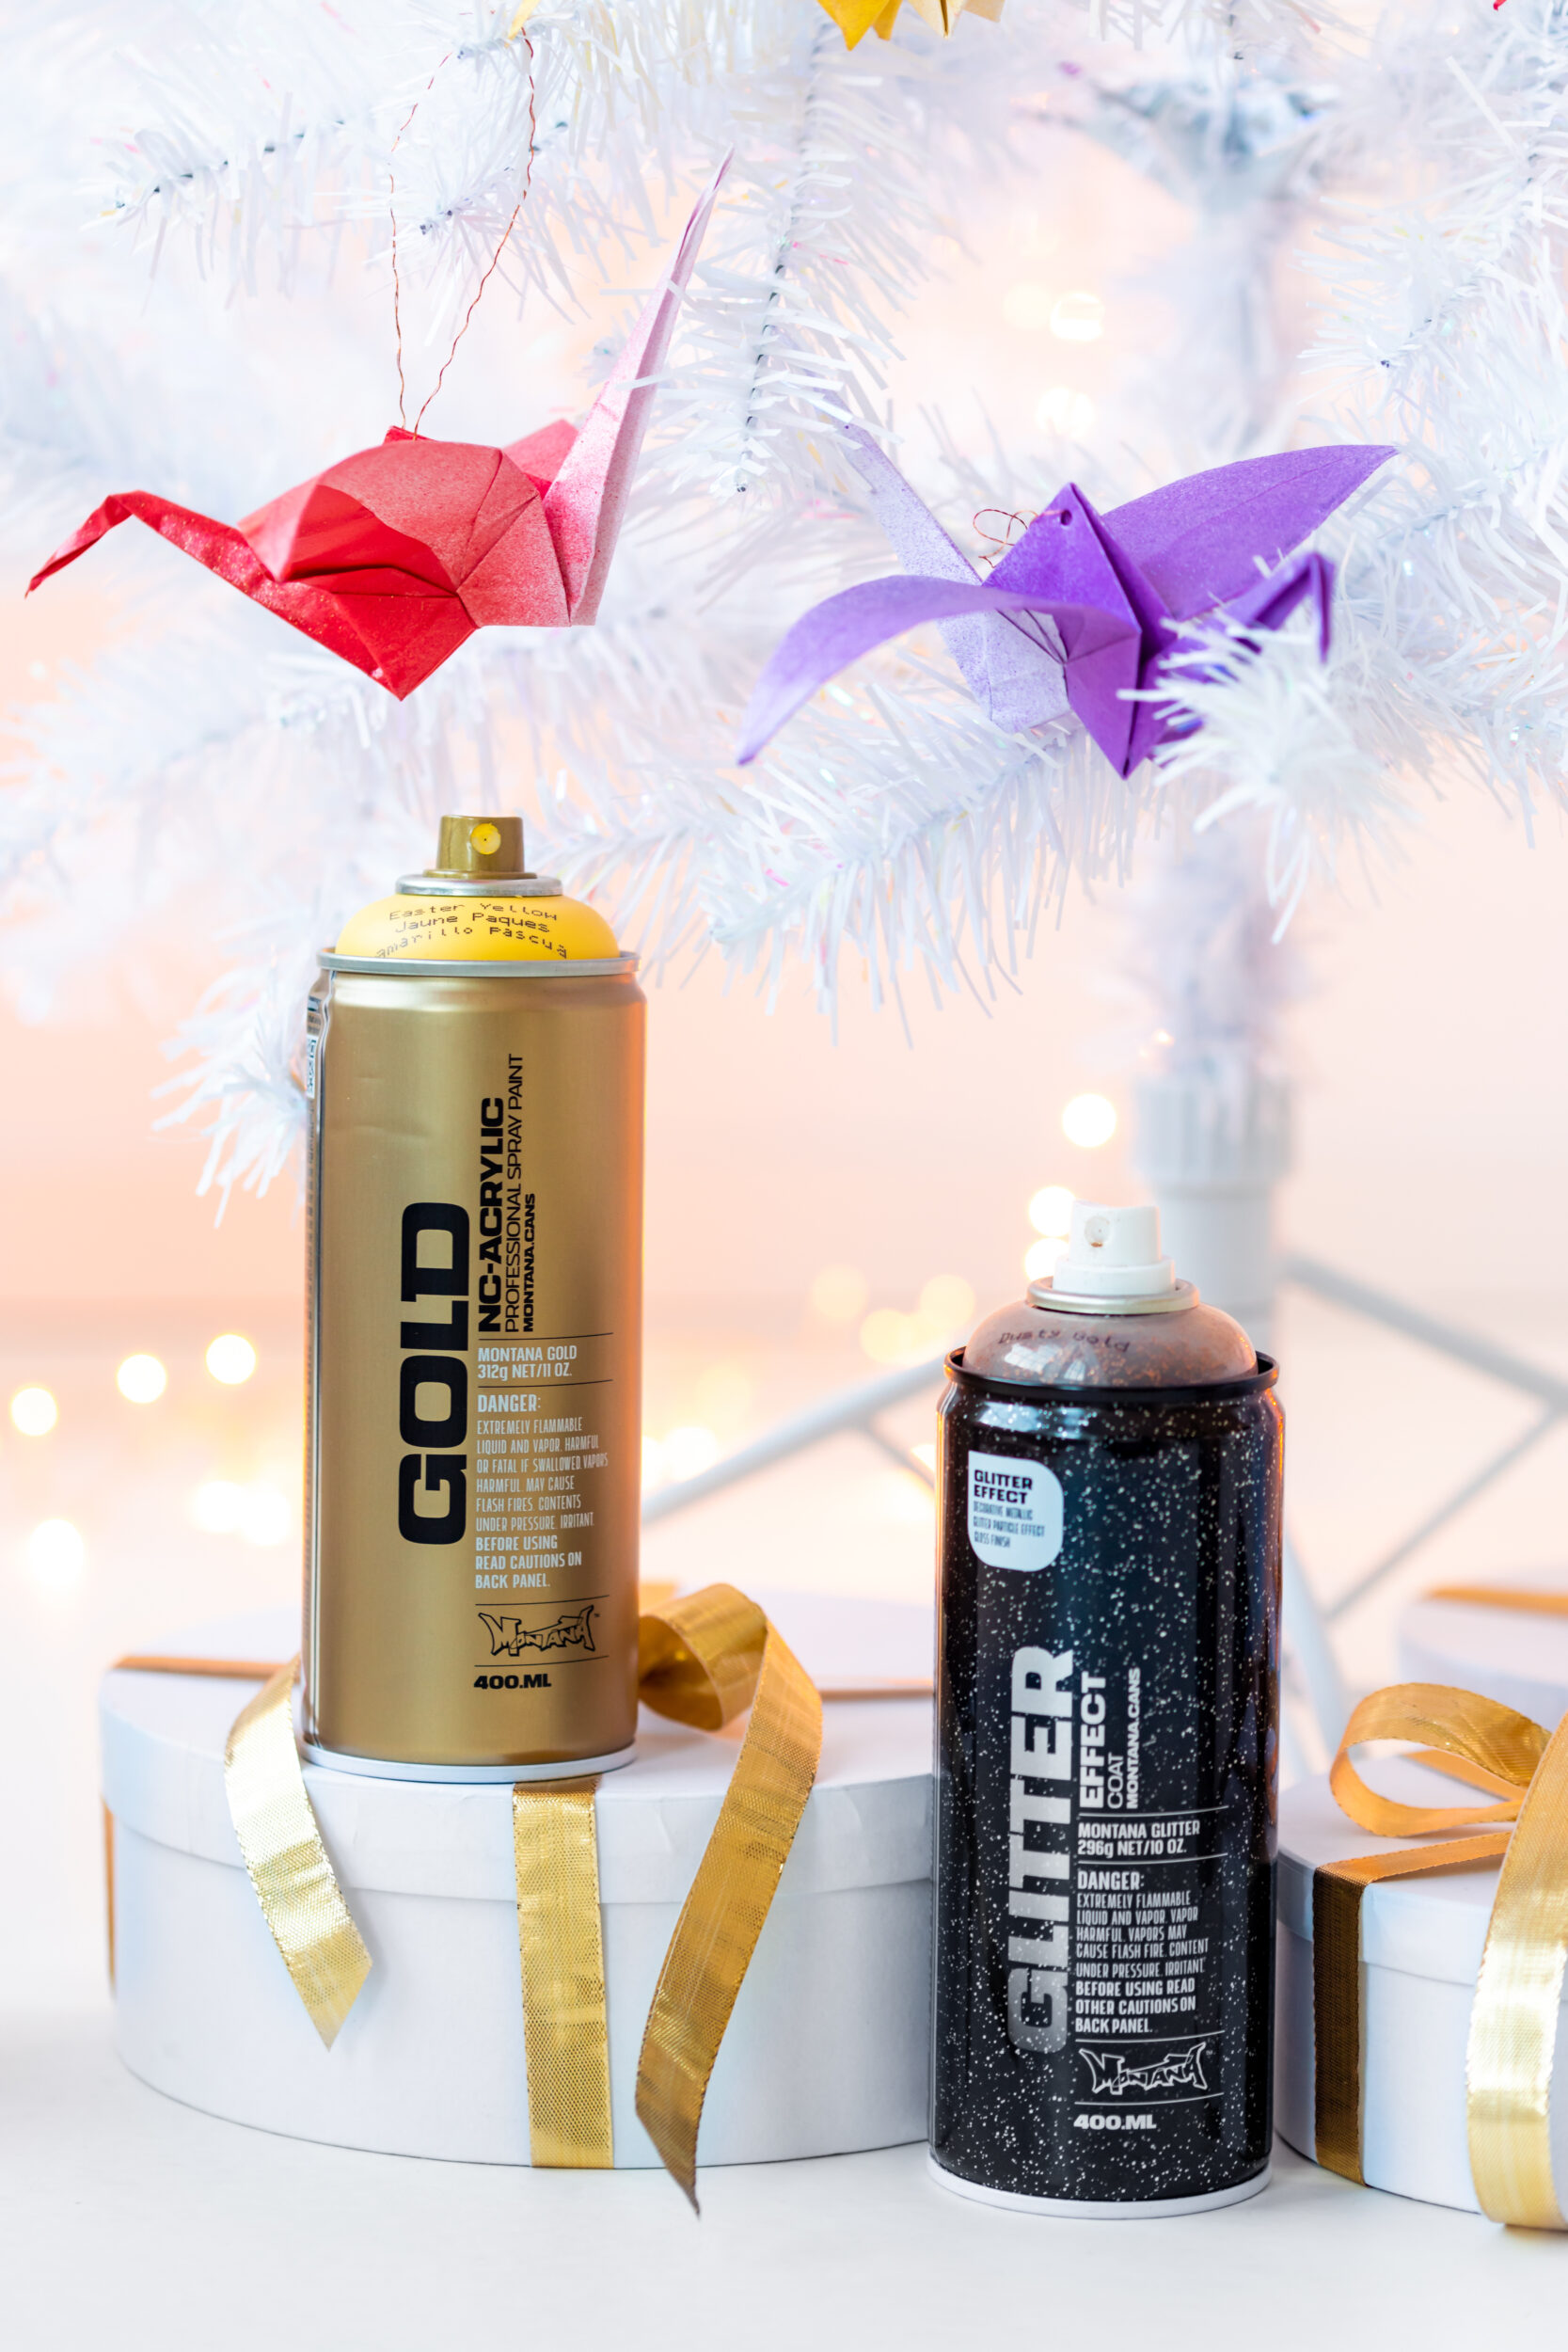
We chose metallic thread to compliment our white Christmas tree, you may choose another material that suits your tastes. As long as it can hold your origami object and be attached to the tree branches, or wherever you would like to hang them. New Christmas tree decorations are finished and up!
This is a project for any skill level as long as you choose origami figures that reflect your abilities. So if you are unsure keep it simple, and if your feeling courageous, give it a try and get some help if you run into trouble. Applying the paint and glitter is something anyone that is old enough to use a spray can, can do. Drying times aside, you will probably need 40-60 minutes of working time for this project to cover the three steps.
Again, it could go fast if your steps are simple, or take longer if you make them more challenging. These decorations do not have to be solely for Christmas. They could be a great alternative decoration for parties, special events, birthdays, or even children’s bedroom decorations. If you put your heart into them, they are bound to look amazing, wherever, or whenever you decide to use them. The Glitter Tree Decorations, project well done.
Happy Crafting and Merry Christmas