

Timeless decor for any season
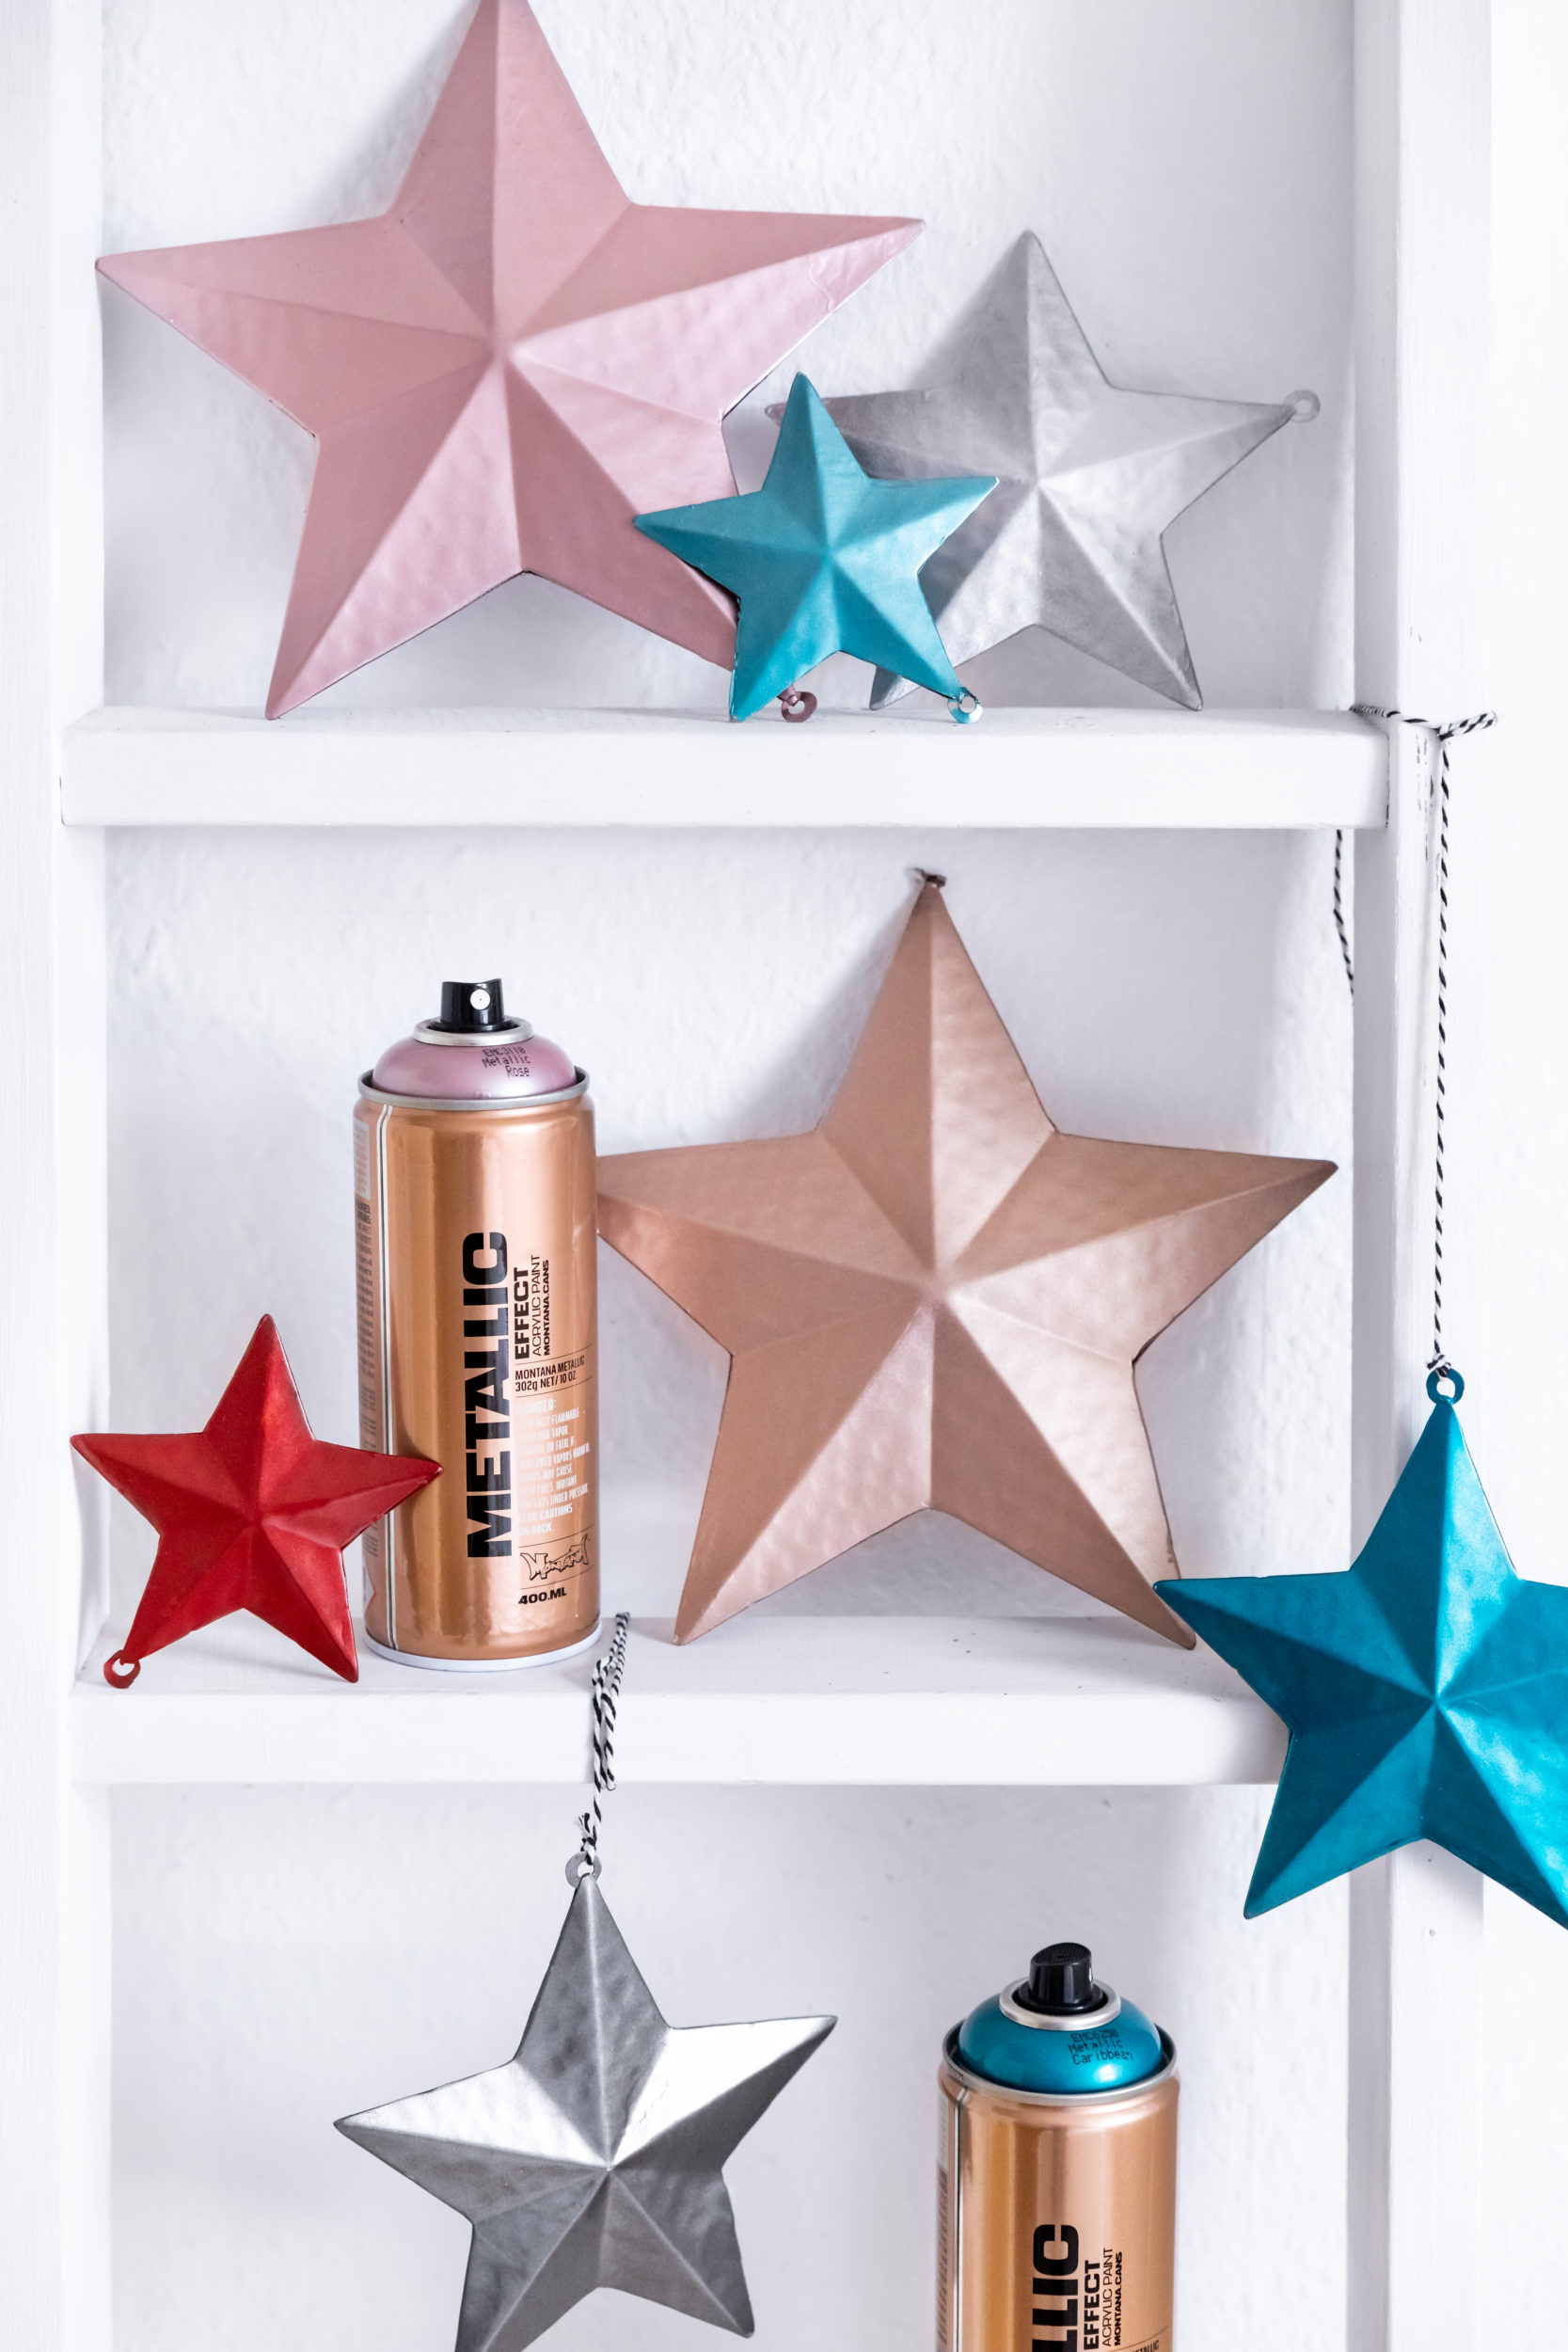
There are no secrets when Christmas is around the corner. Every shop window you look in, or street you drive down has beautiful decor and lights to put you in the Christmas spirit. One common thread they all seem to have is metallic color. And why not, it’s gorgeous! We got inspired and decided to turn our metallic Christmas Star decor into timeless, glamorous all year decor. That just happens to be perfect for Christmas too. Here is what we did.
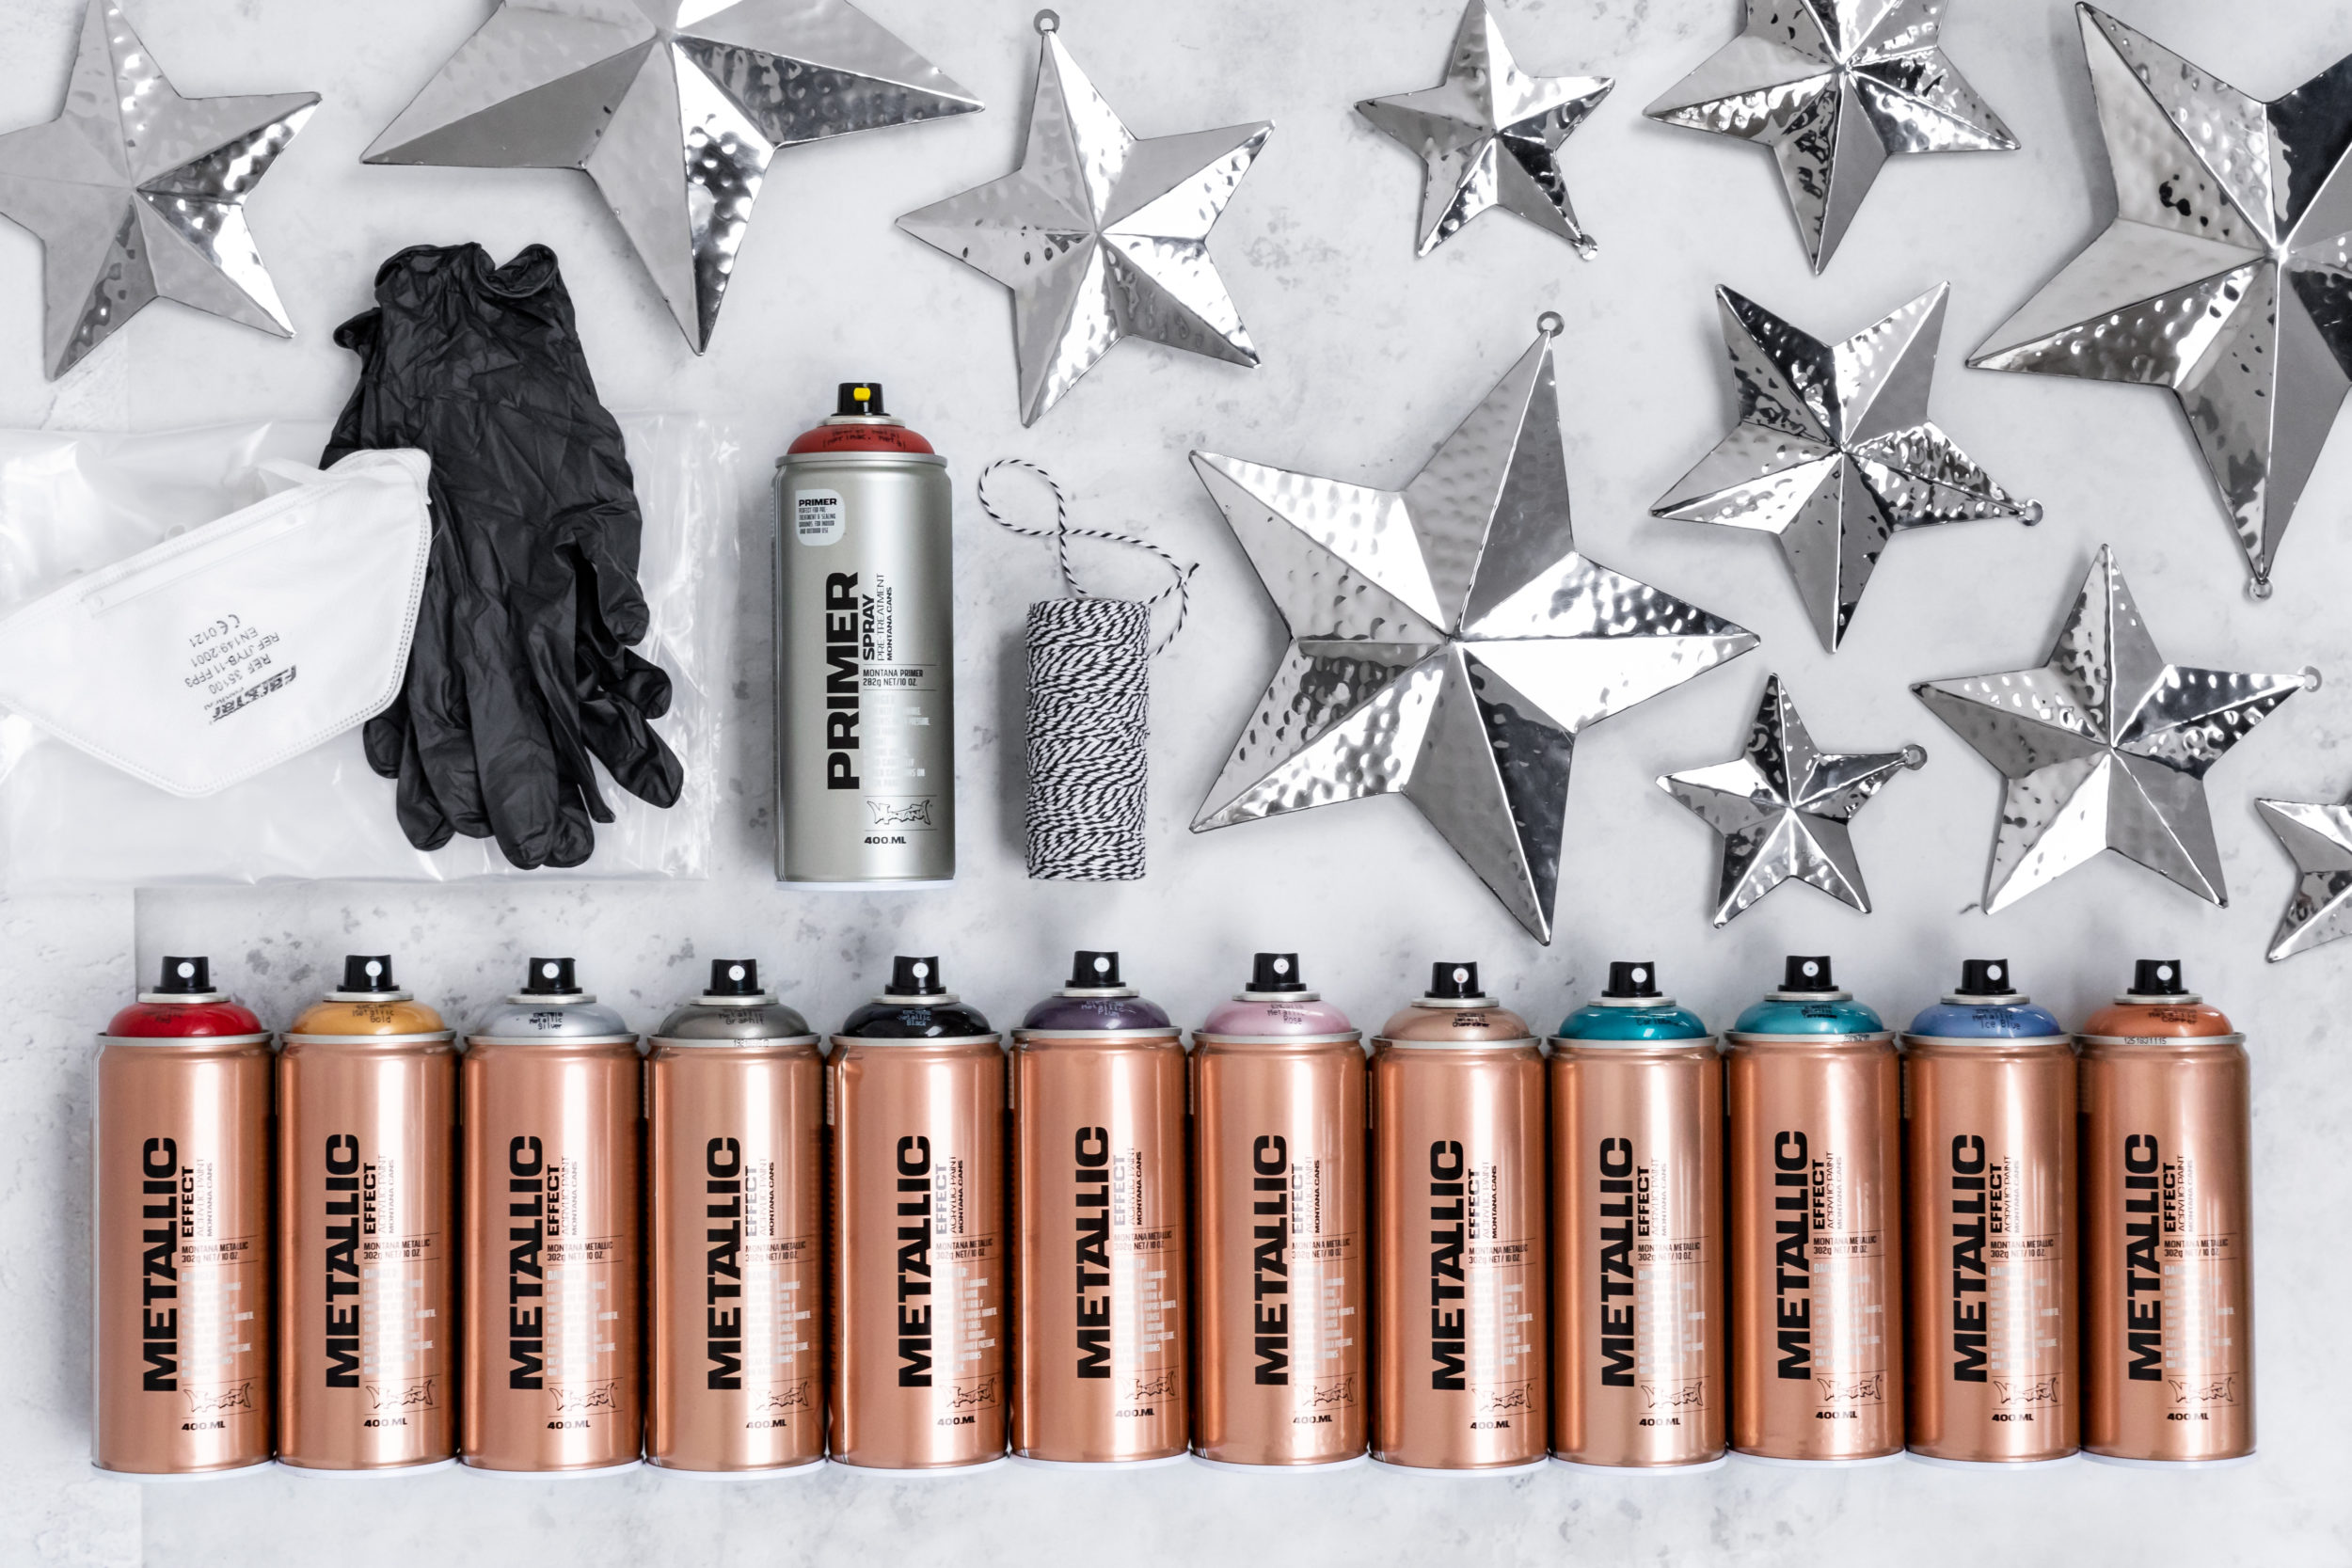
Materials Used
- Montana METALLIC Effect Colors (of your choice)
- Montana Metal PRIMER
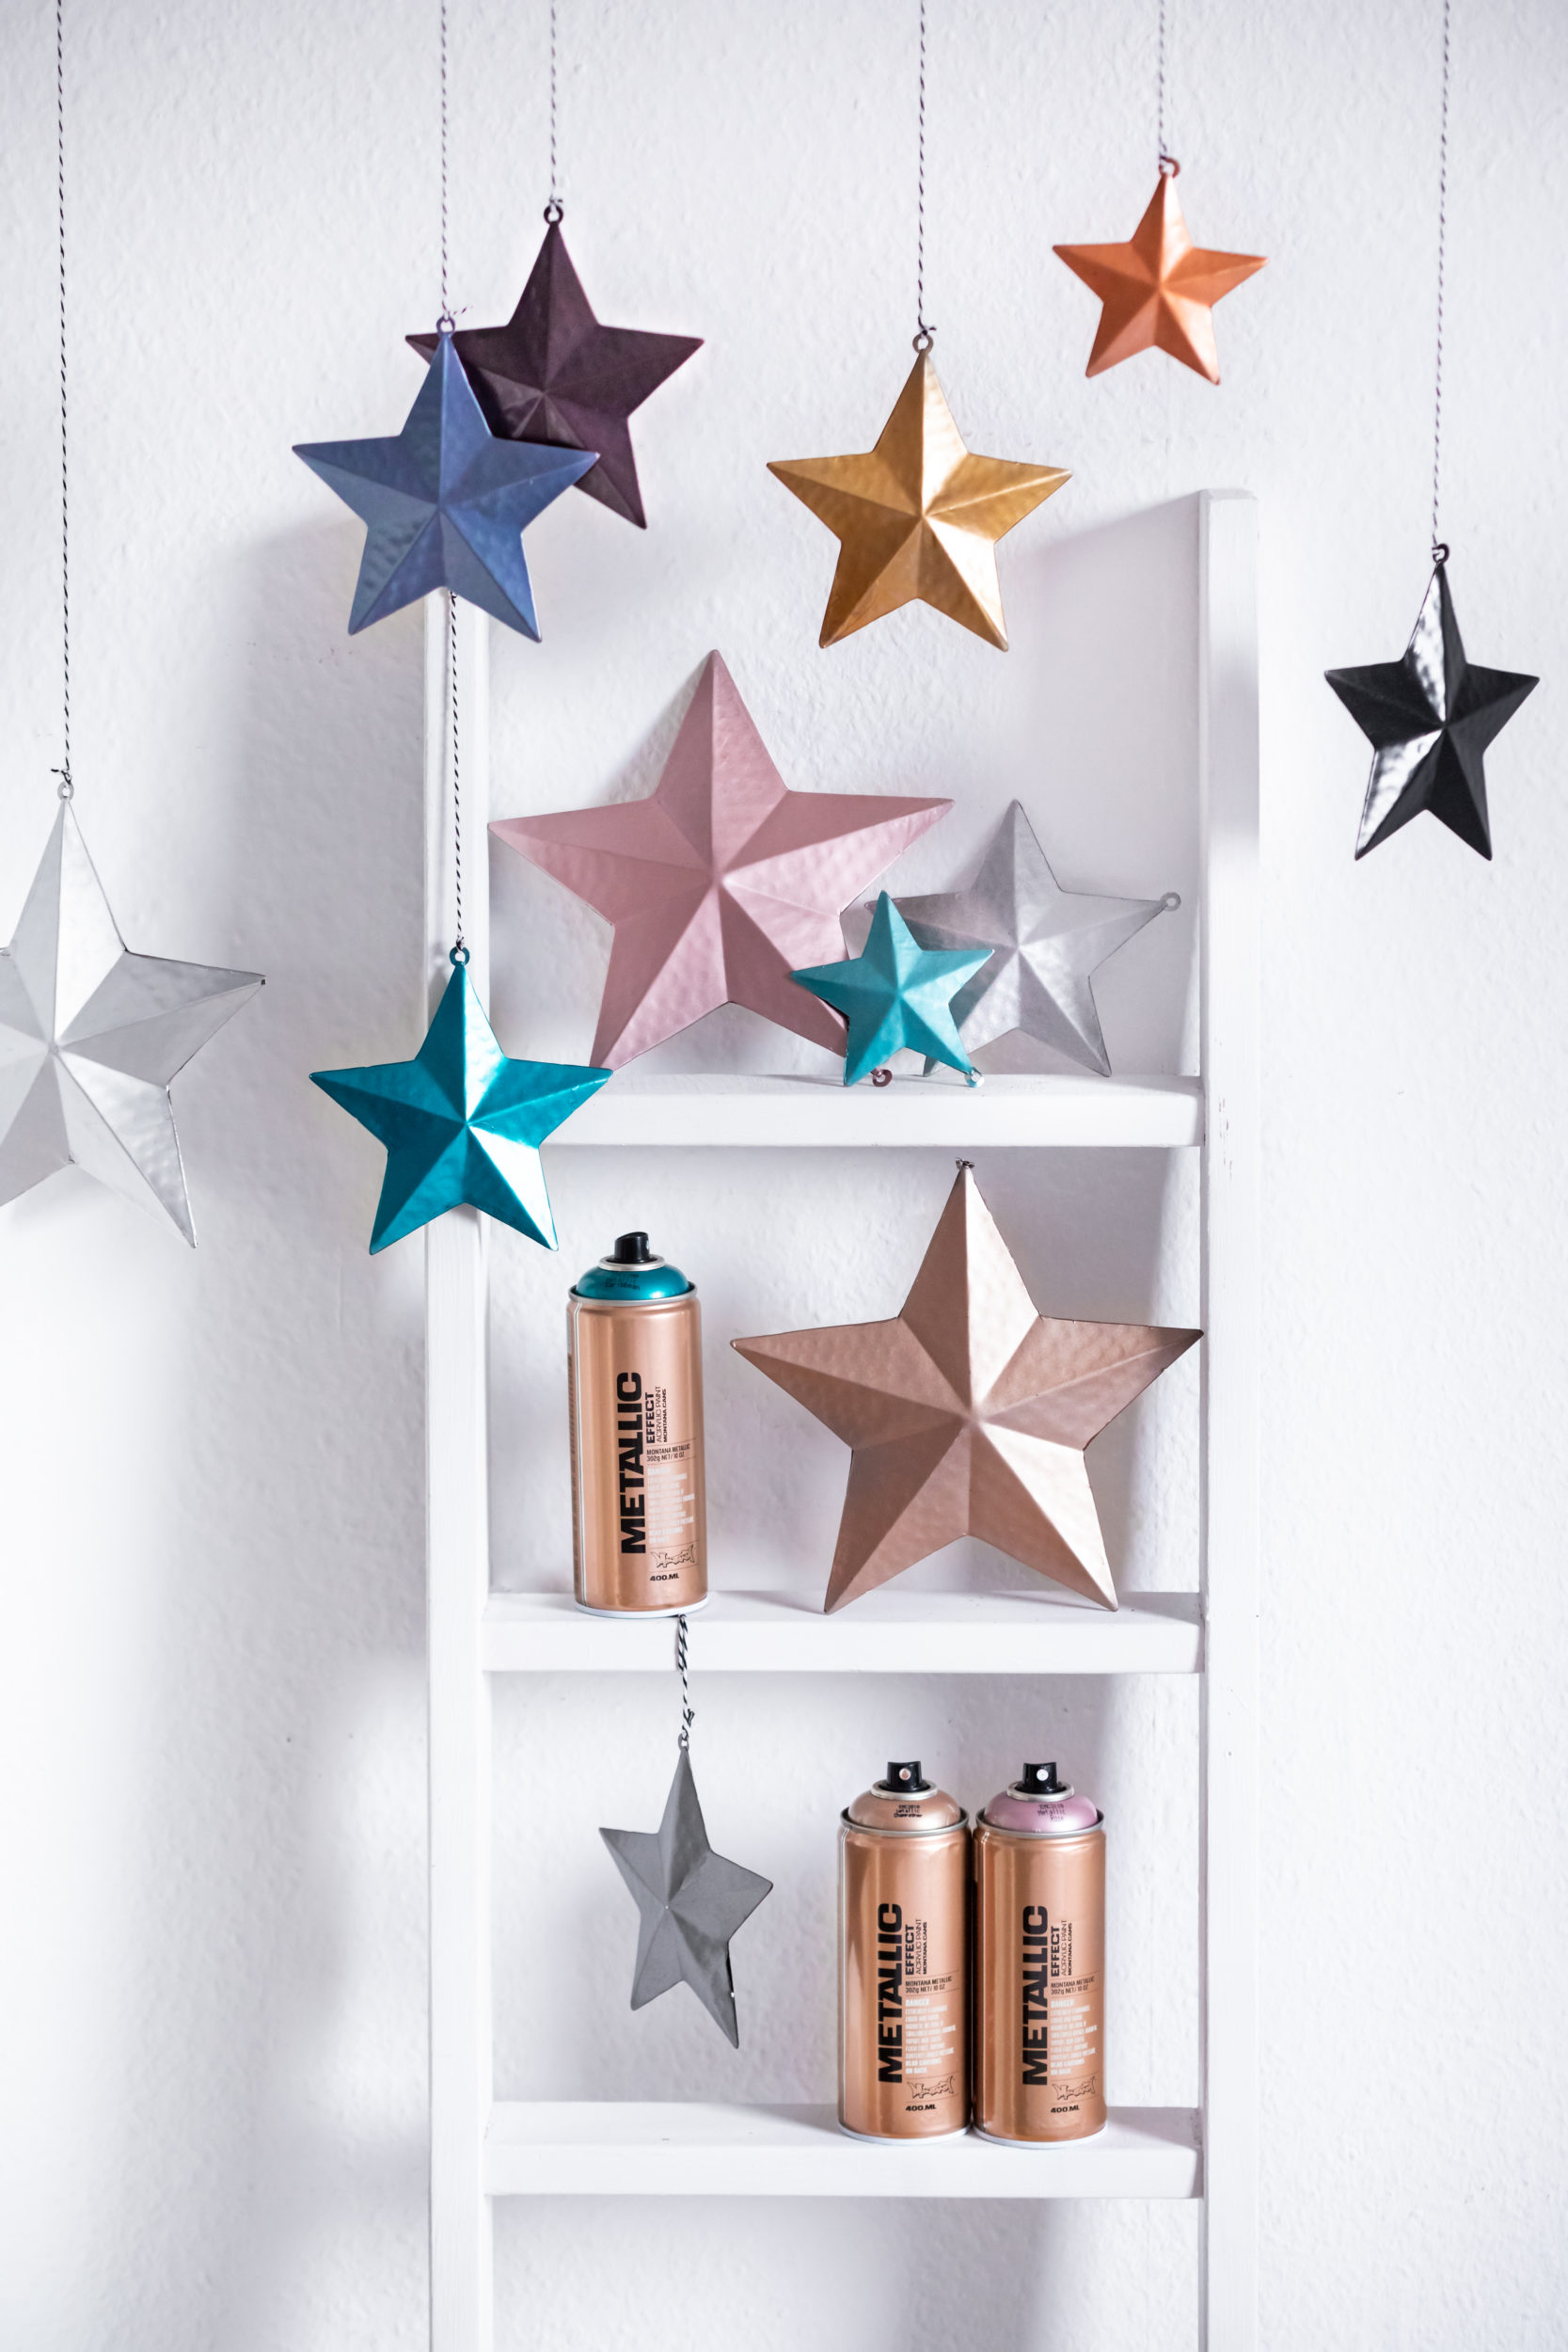
- Some metallic decor stars
- Gloves
- Mask
- Drop sheet
- Cord or thread
How it was done
During a mini shopping spree to get some of the Christmas stockings filled, we found some stunning metallic decor stars that were begging for a face lift. When we got them home, we cleaned them free of dust and oils, and left them to dry. Once we set up the drop sheet in our work space, we then turned our attention to gathering the other materials and shaking the cans. Gloves- check! Mask-check! Cord to hang the stars later-check!.. That was easy, so off to the garage to get the Montana METALLIC Effect Colors and the Montana Metal PRIMER.
We shook all cans for 2-3 minutes. Then turned them over, took off the nozzles and let the little black safety ring underneath fall out. We re-applied the nozzles and gave a little test spray away from any surfaces to make sure everything was ready to go. Cans ready to go-check! Now the fun could begin.
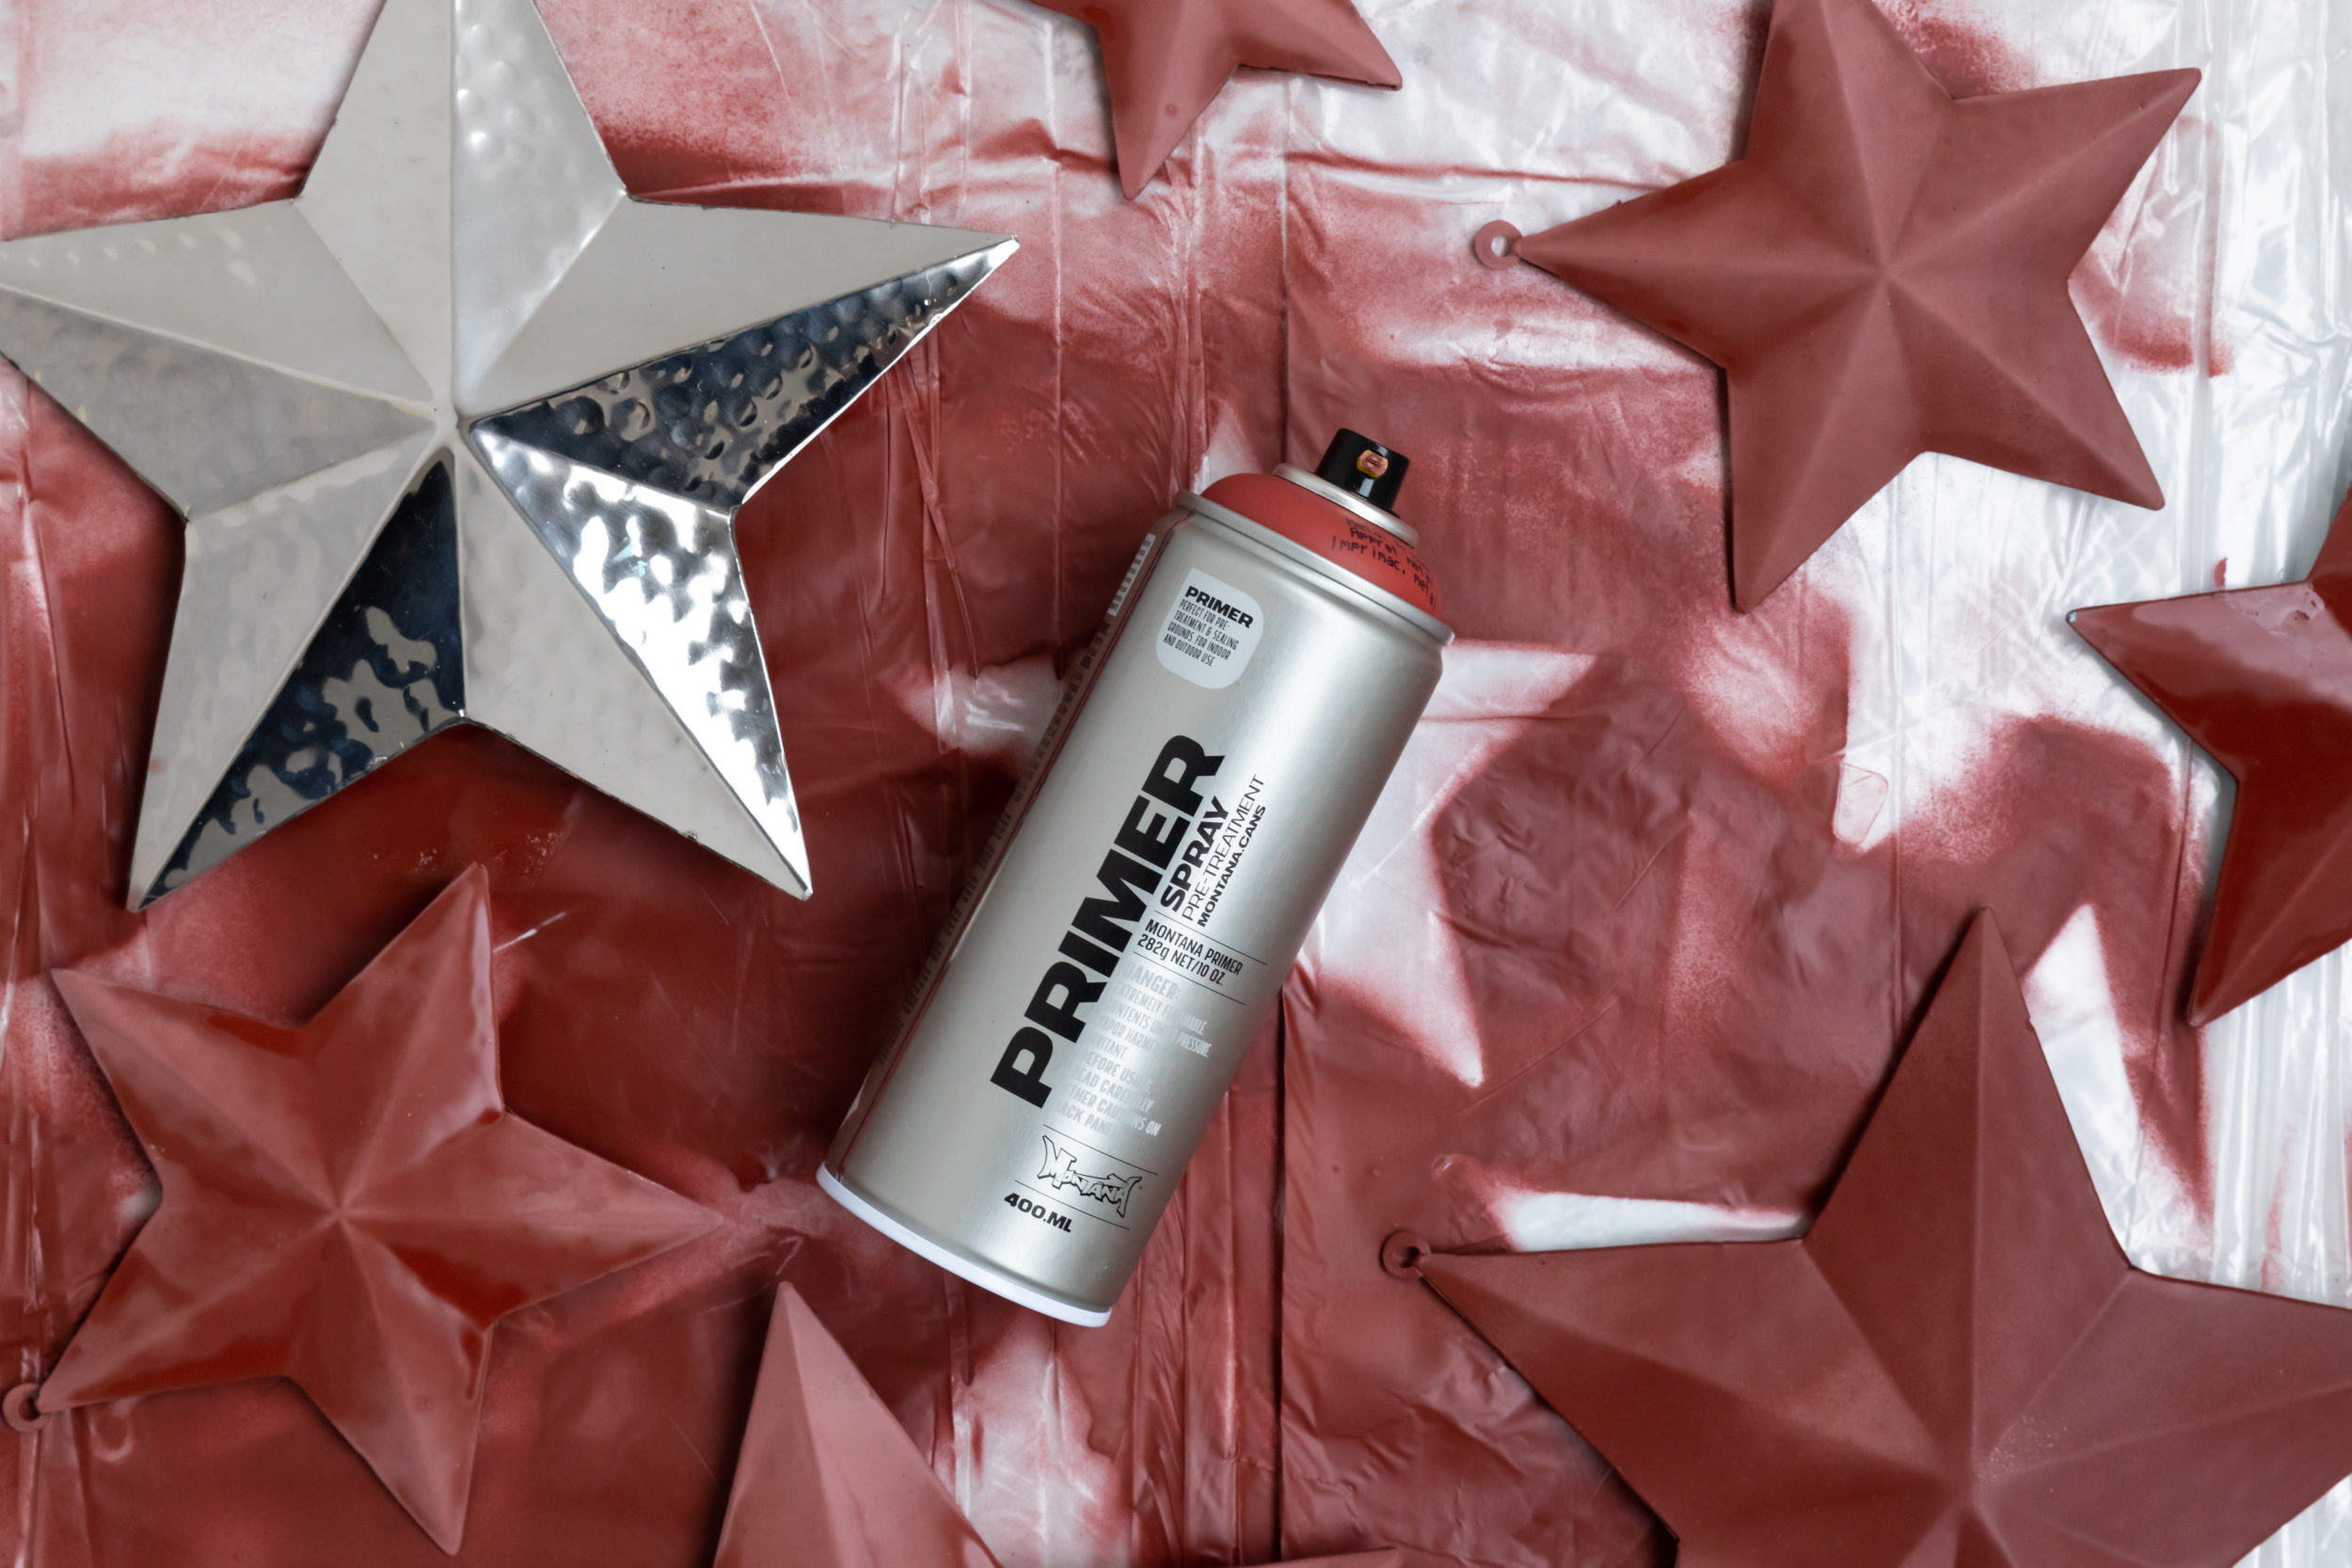
With gloves and mask on, we laid the stars down on our drop sheet and gave them all a coat of the Montana METAL PRIMER. This not only gives the color something to stick to, it also helps protect against rust, chips and scratches later. It was a hot day so we left them to dry as we went to lunch and were ready for color when we returned. In order to make sure the cans were mixed just right, we shook them again as we tried to figure out which METALLIC Effect Color to start with. We are addicted to color so we used every Montana METALLIC Effect Spray we had.
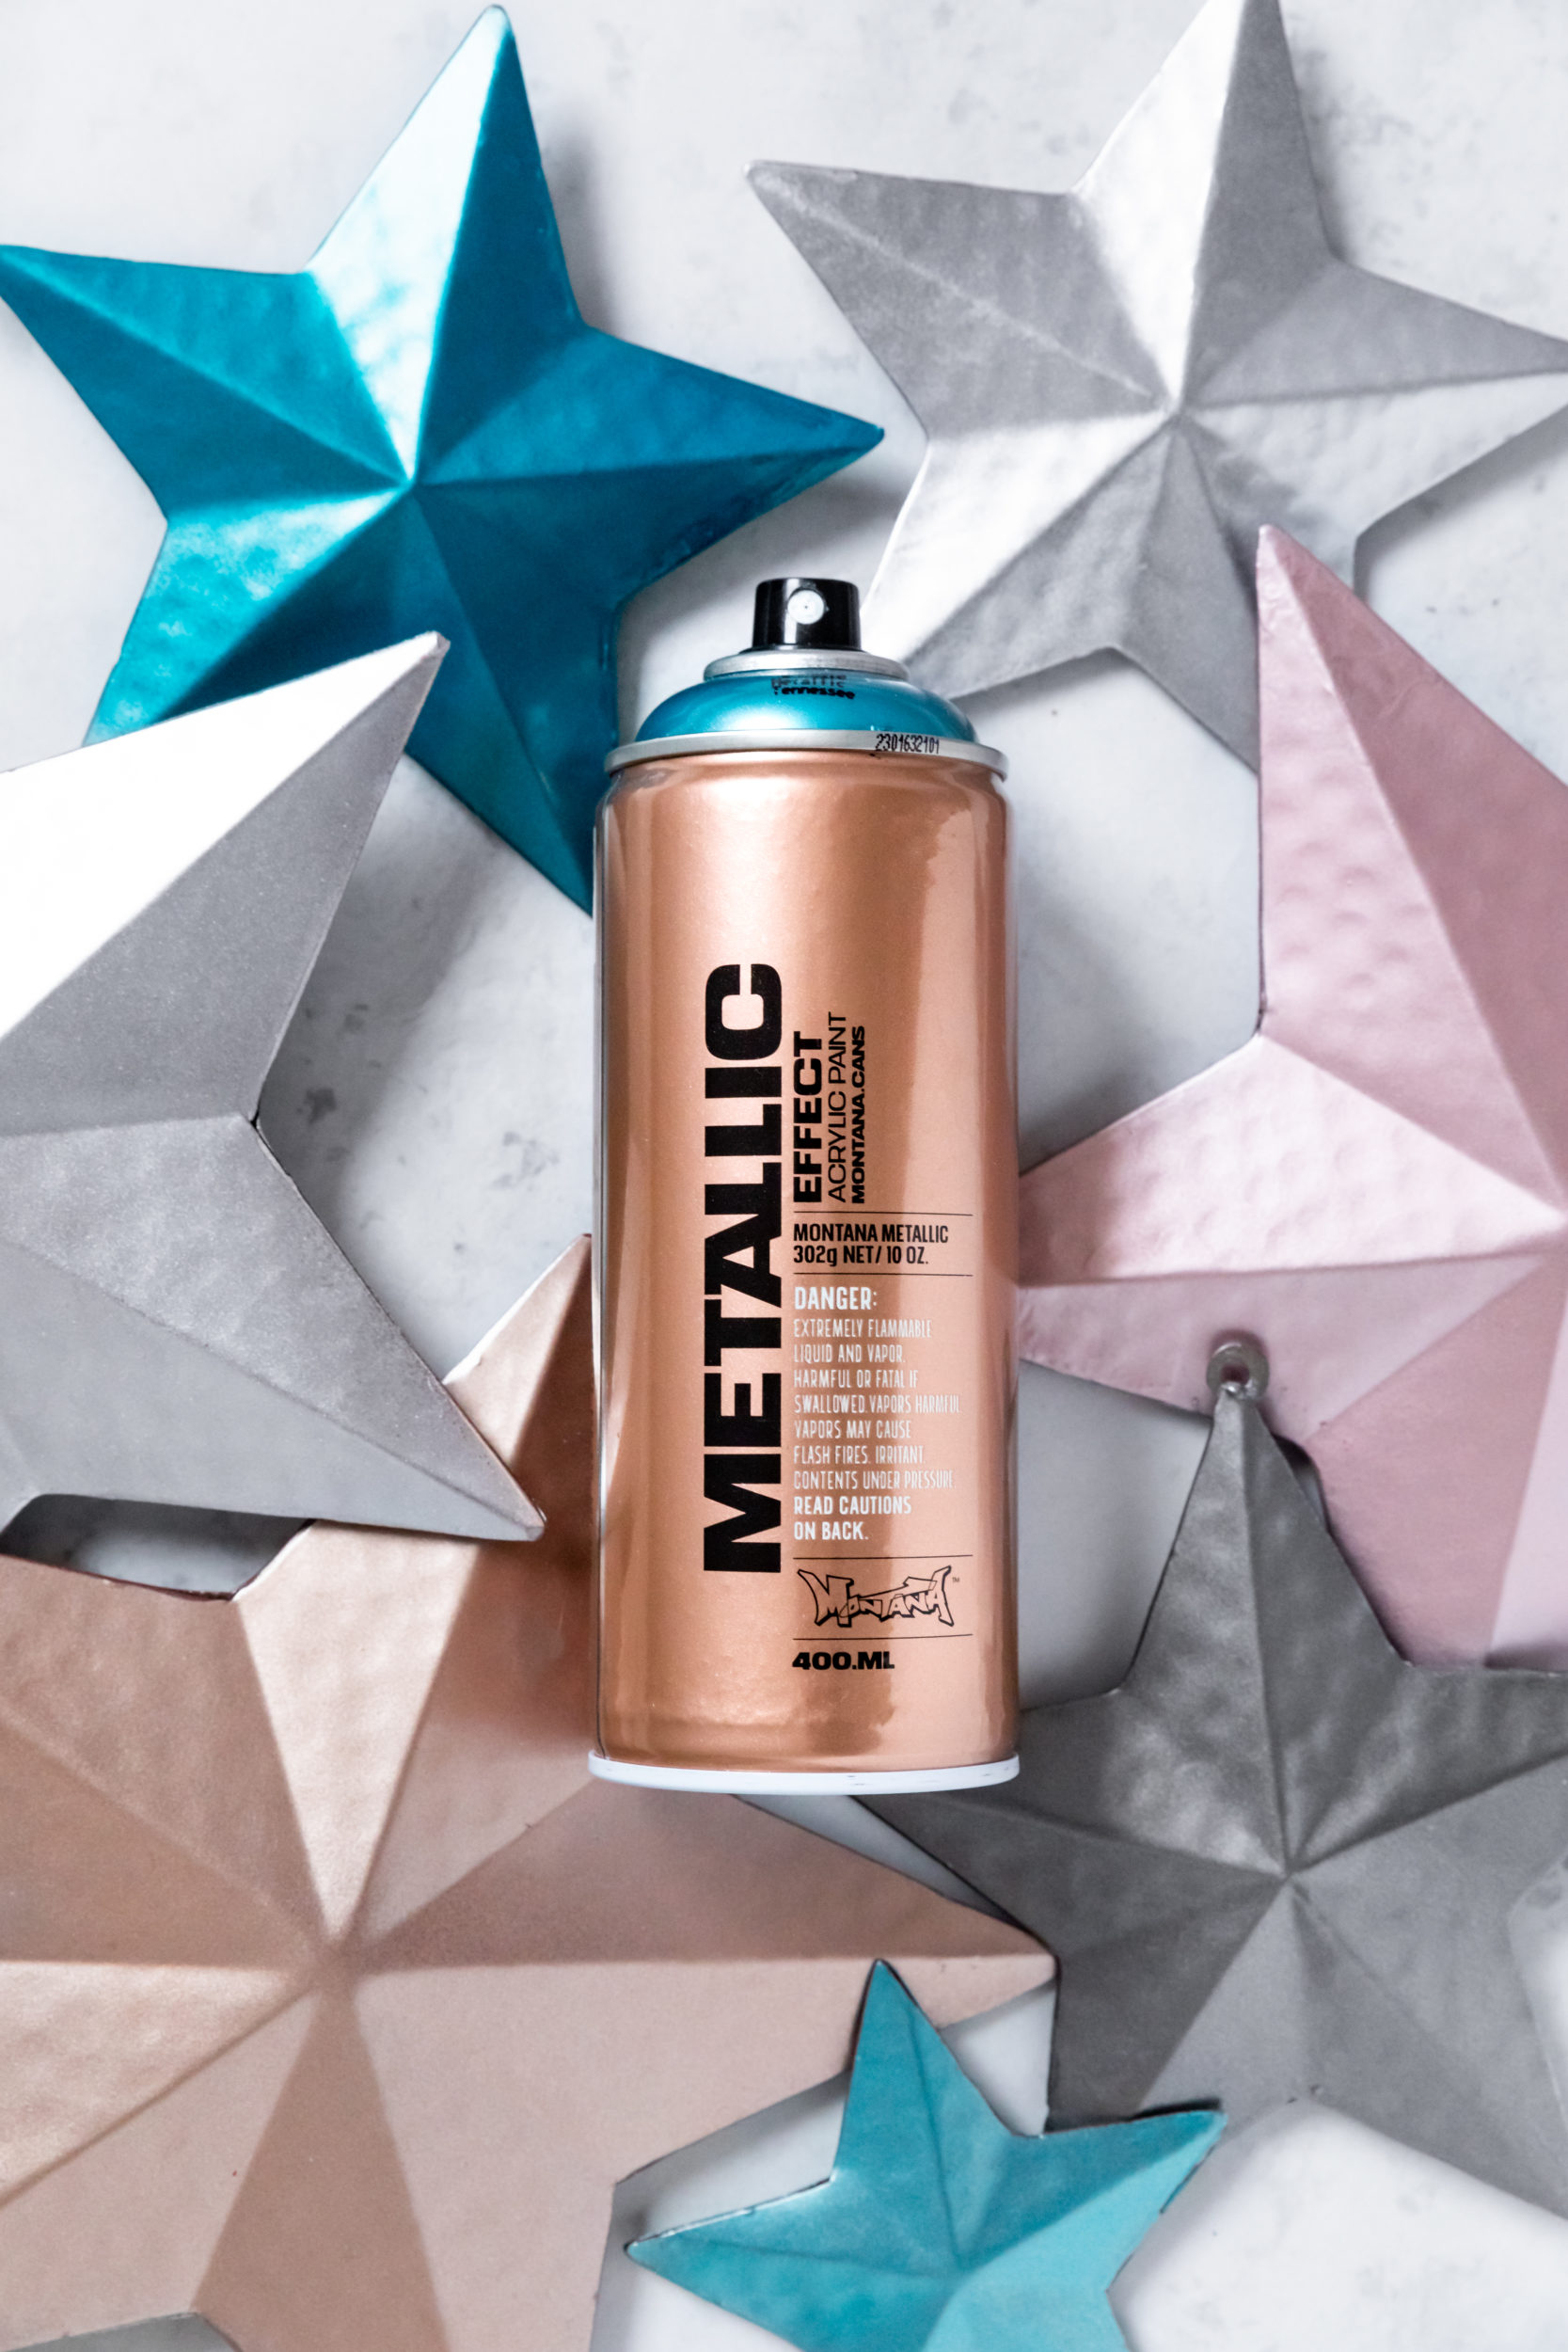
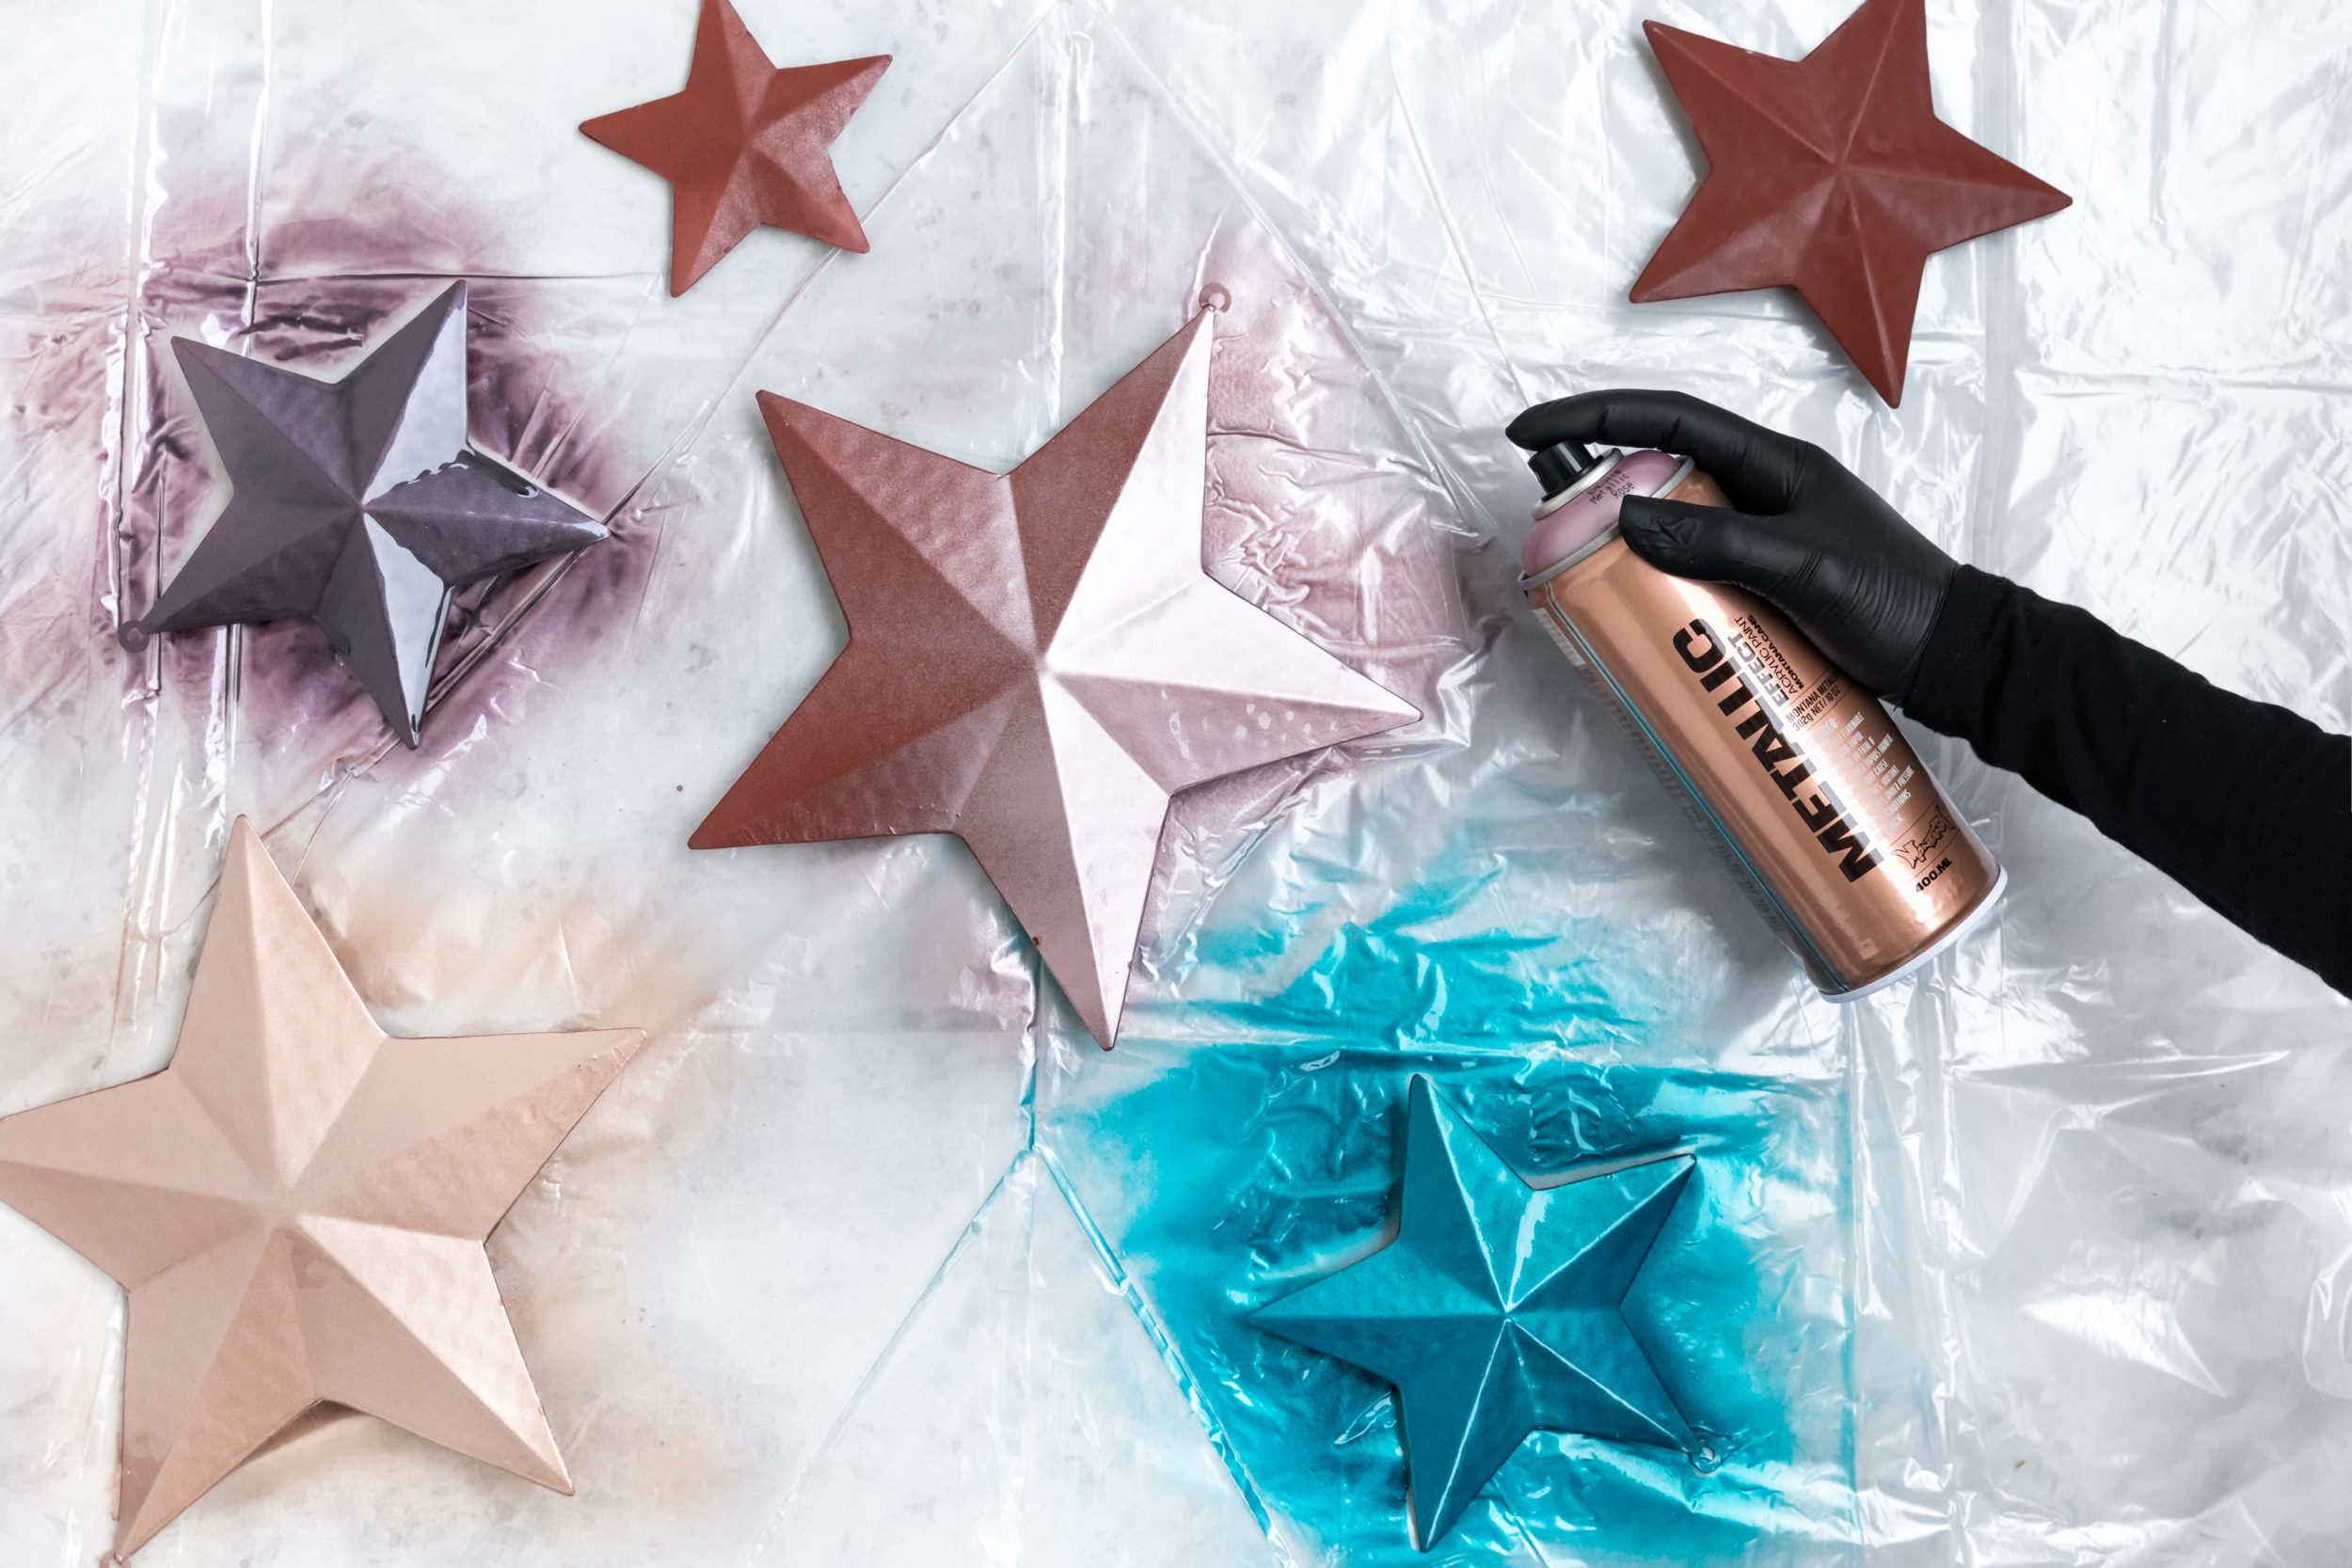
However you could choose 1, or some of them to create a theme or connection to your existing decor. Off we went, each star receiving a glitzy metallic makeover that was almost as fun as painting our nails. By the time we got to the last star, the first ones were already touch dry. We put them aside and let them sit till the following day.
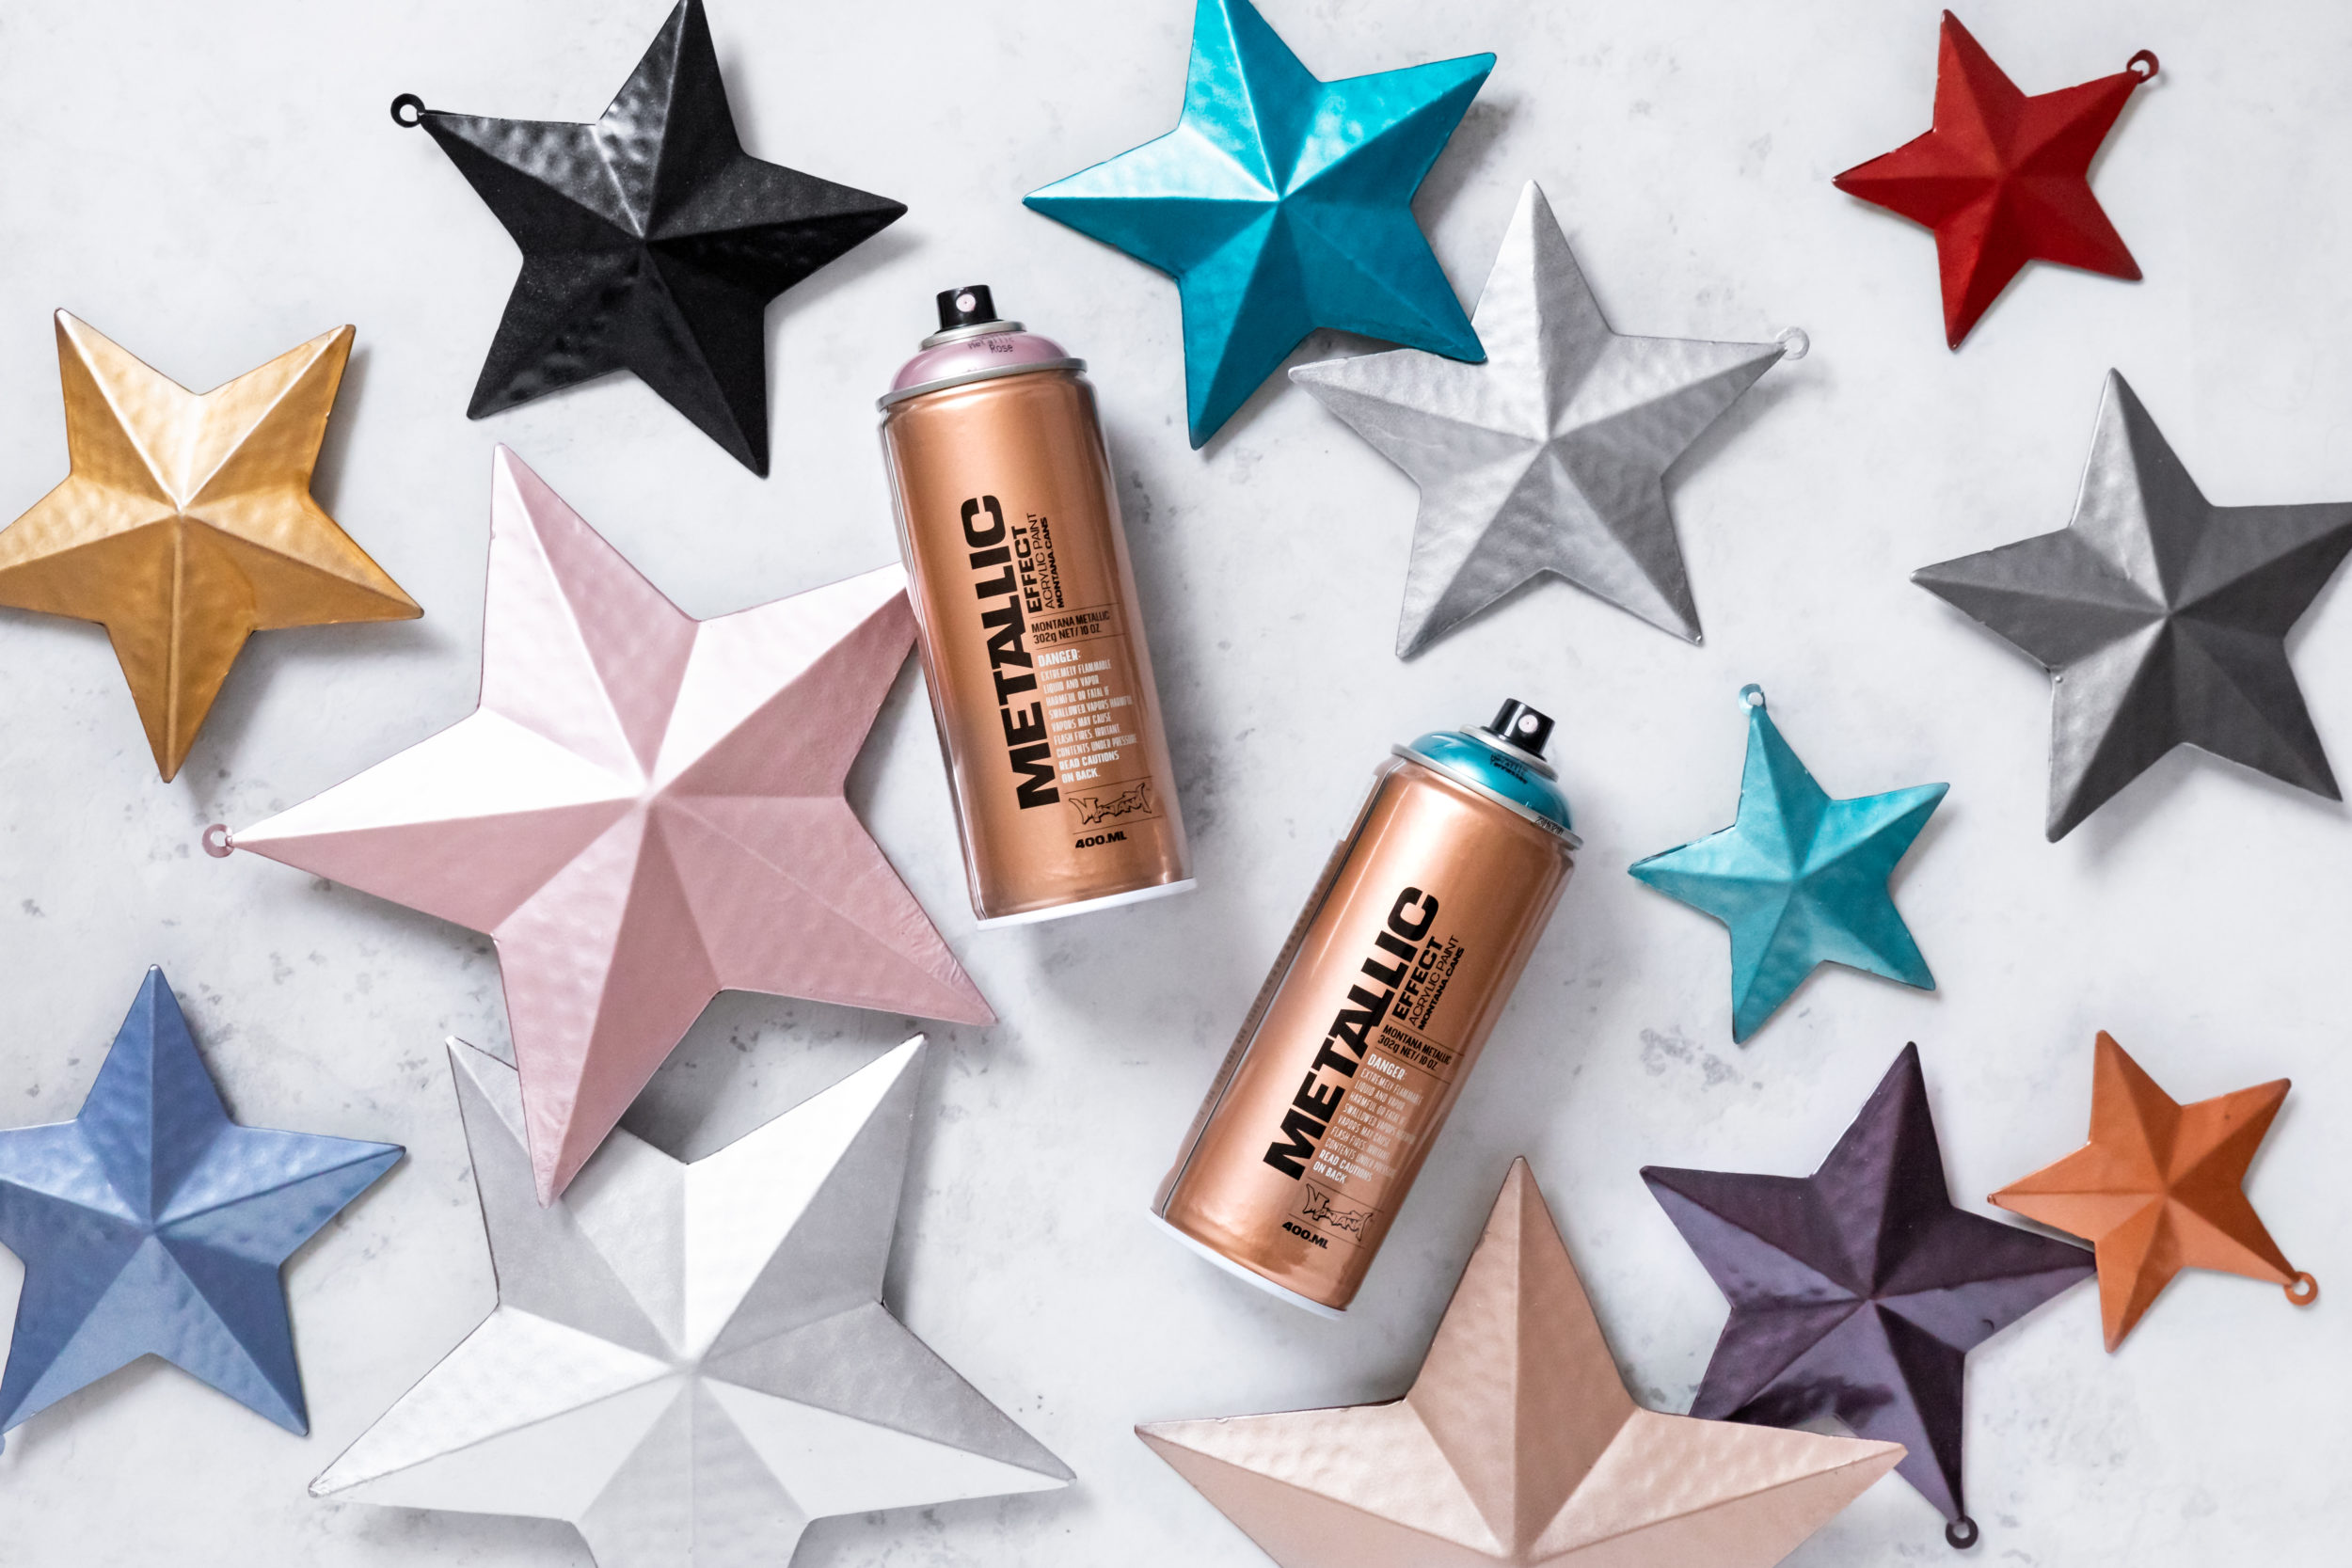
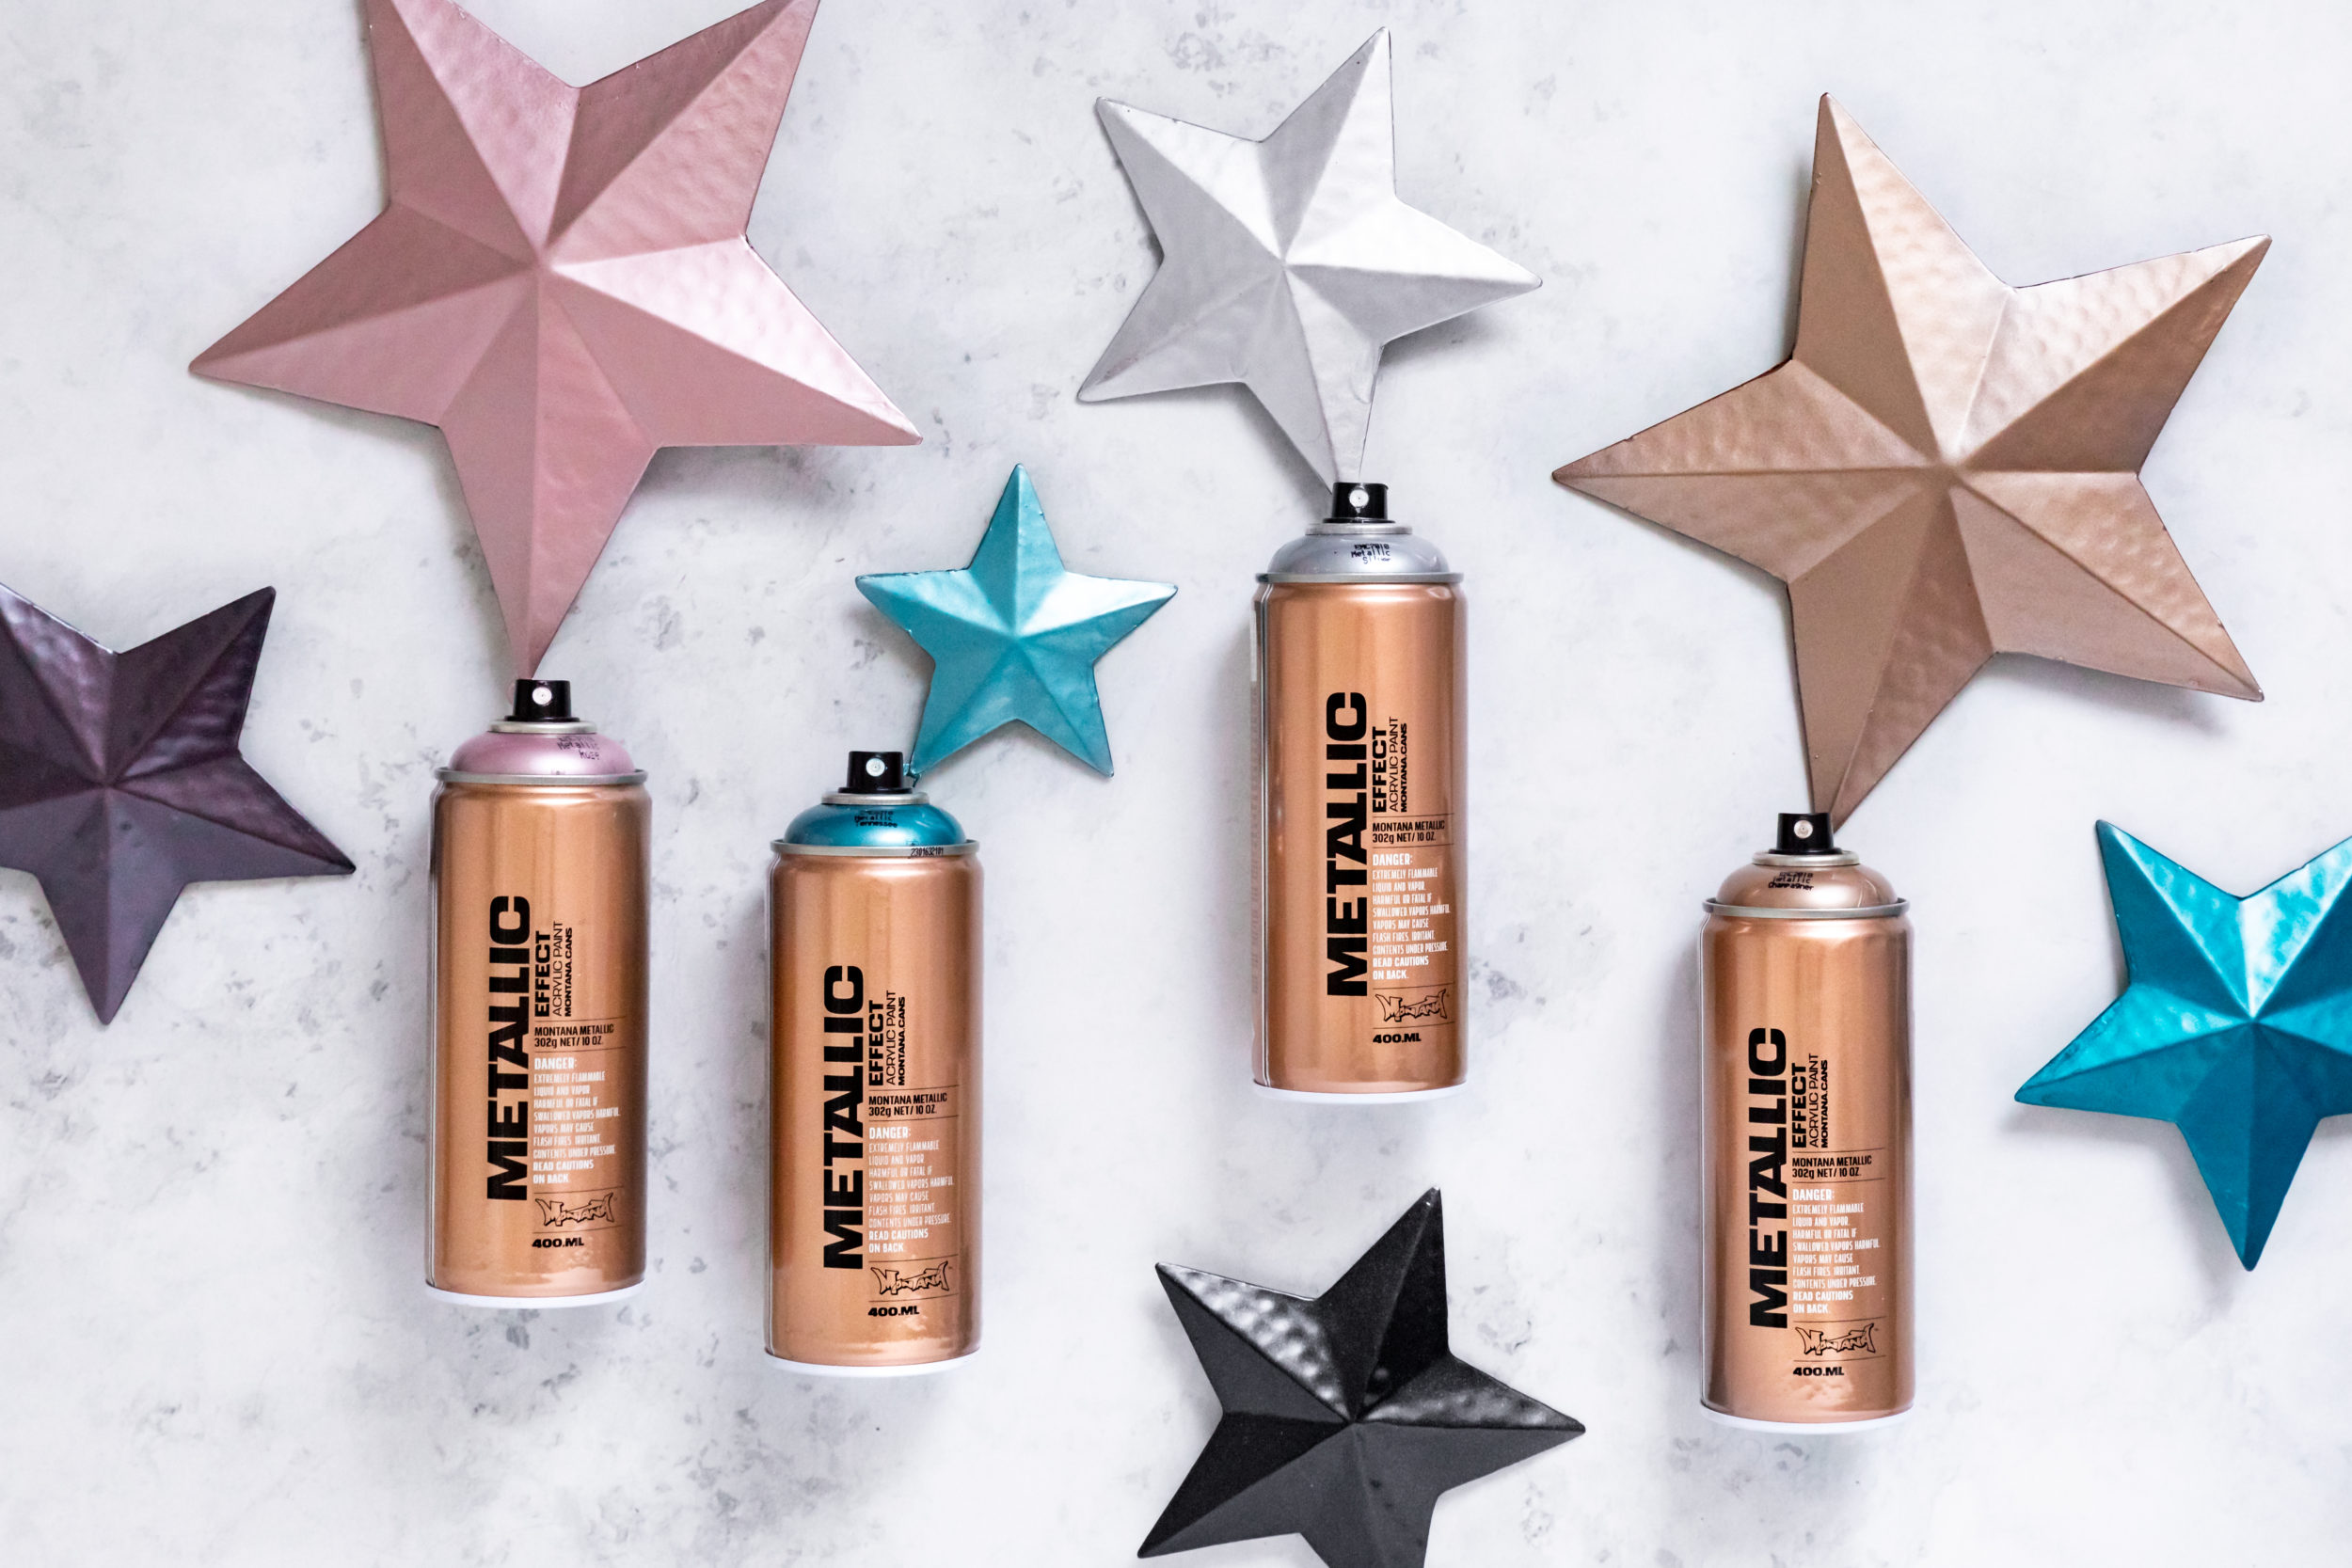
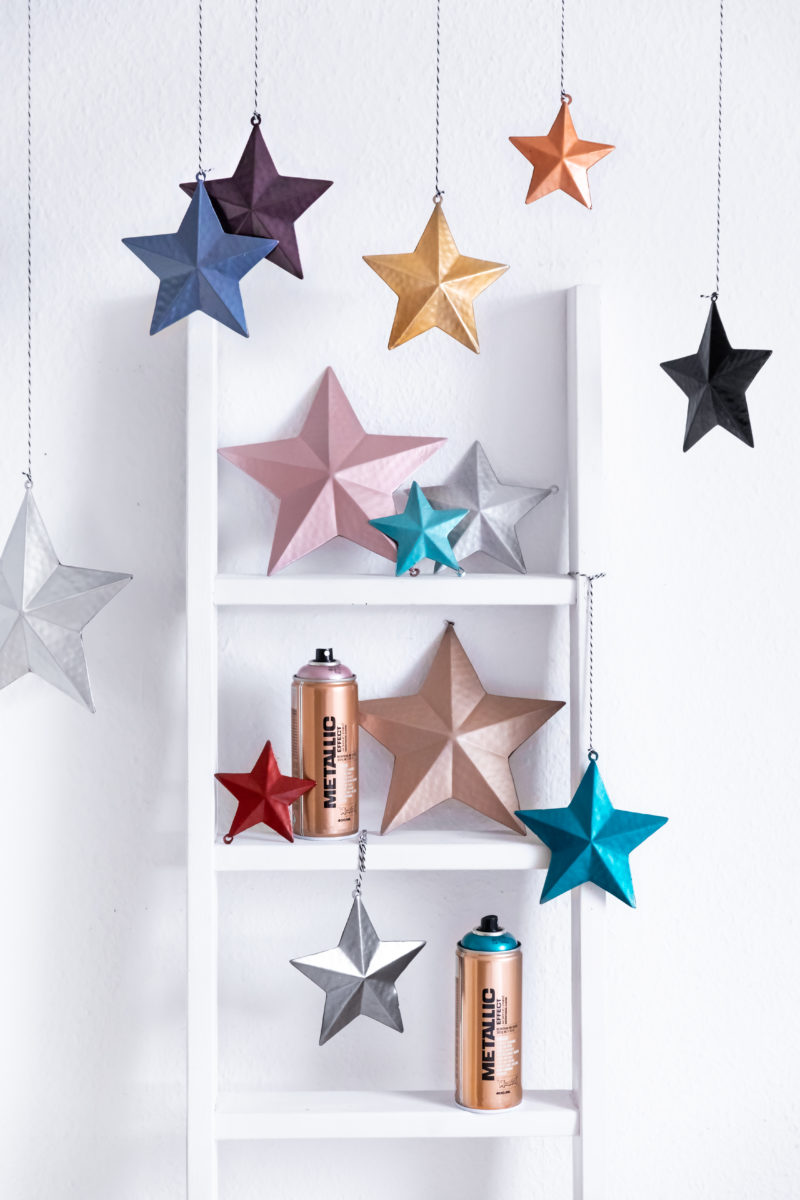
On our return, we were delighted as to how beautiful the stars had become. Each one a classic piece of decor, a symbol and a fantastic tool to pep-up any room in the house. But we will stick to Christmas decor for now. The final hoorah was adding the cord to them so they could be hung. Now that was easier than we thought and the result is wonderful.
This project is easy for any skill level. The working time is only 10-30 minutes depending on how many stars you decorate. Be clever and plan it around meal times or appointments so you have other distractions while you let them dry, and stay patient at the same time. Good luck and happy crafting!


