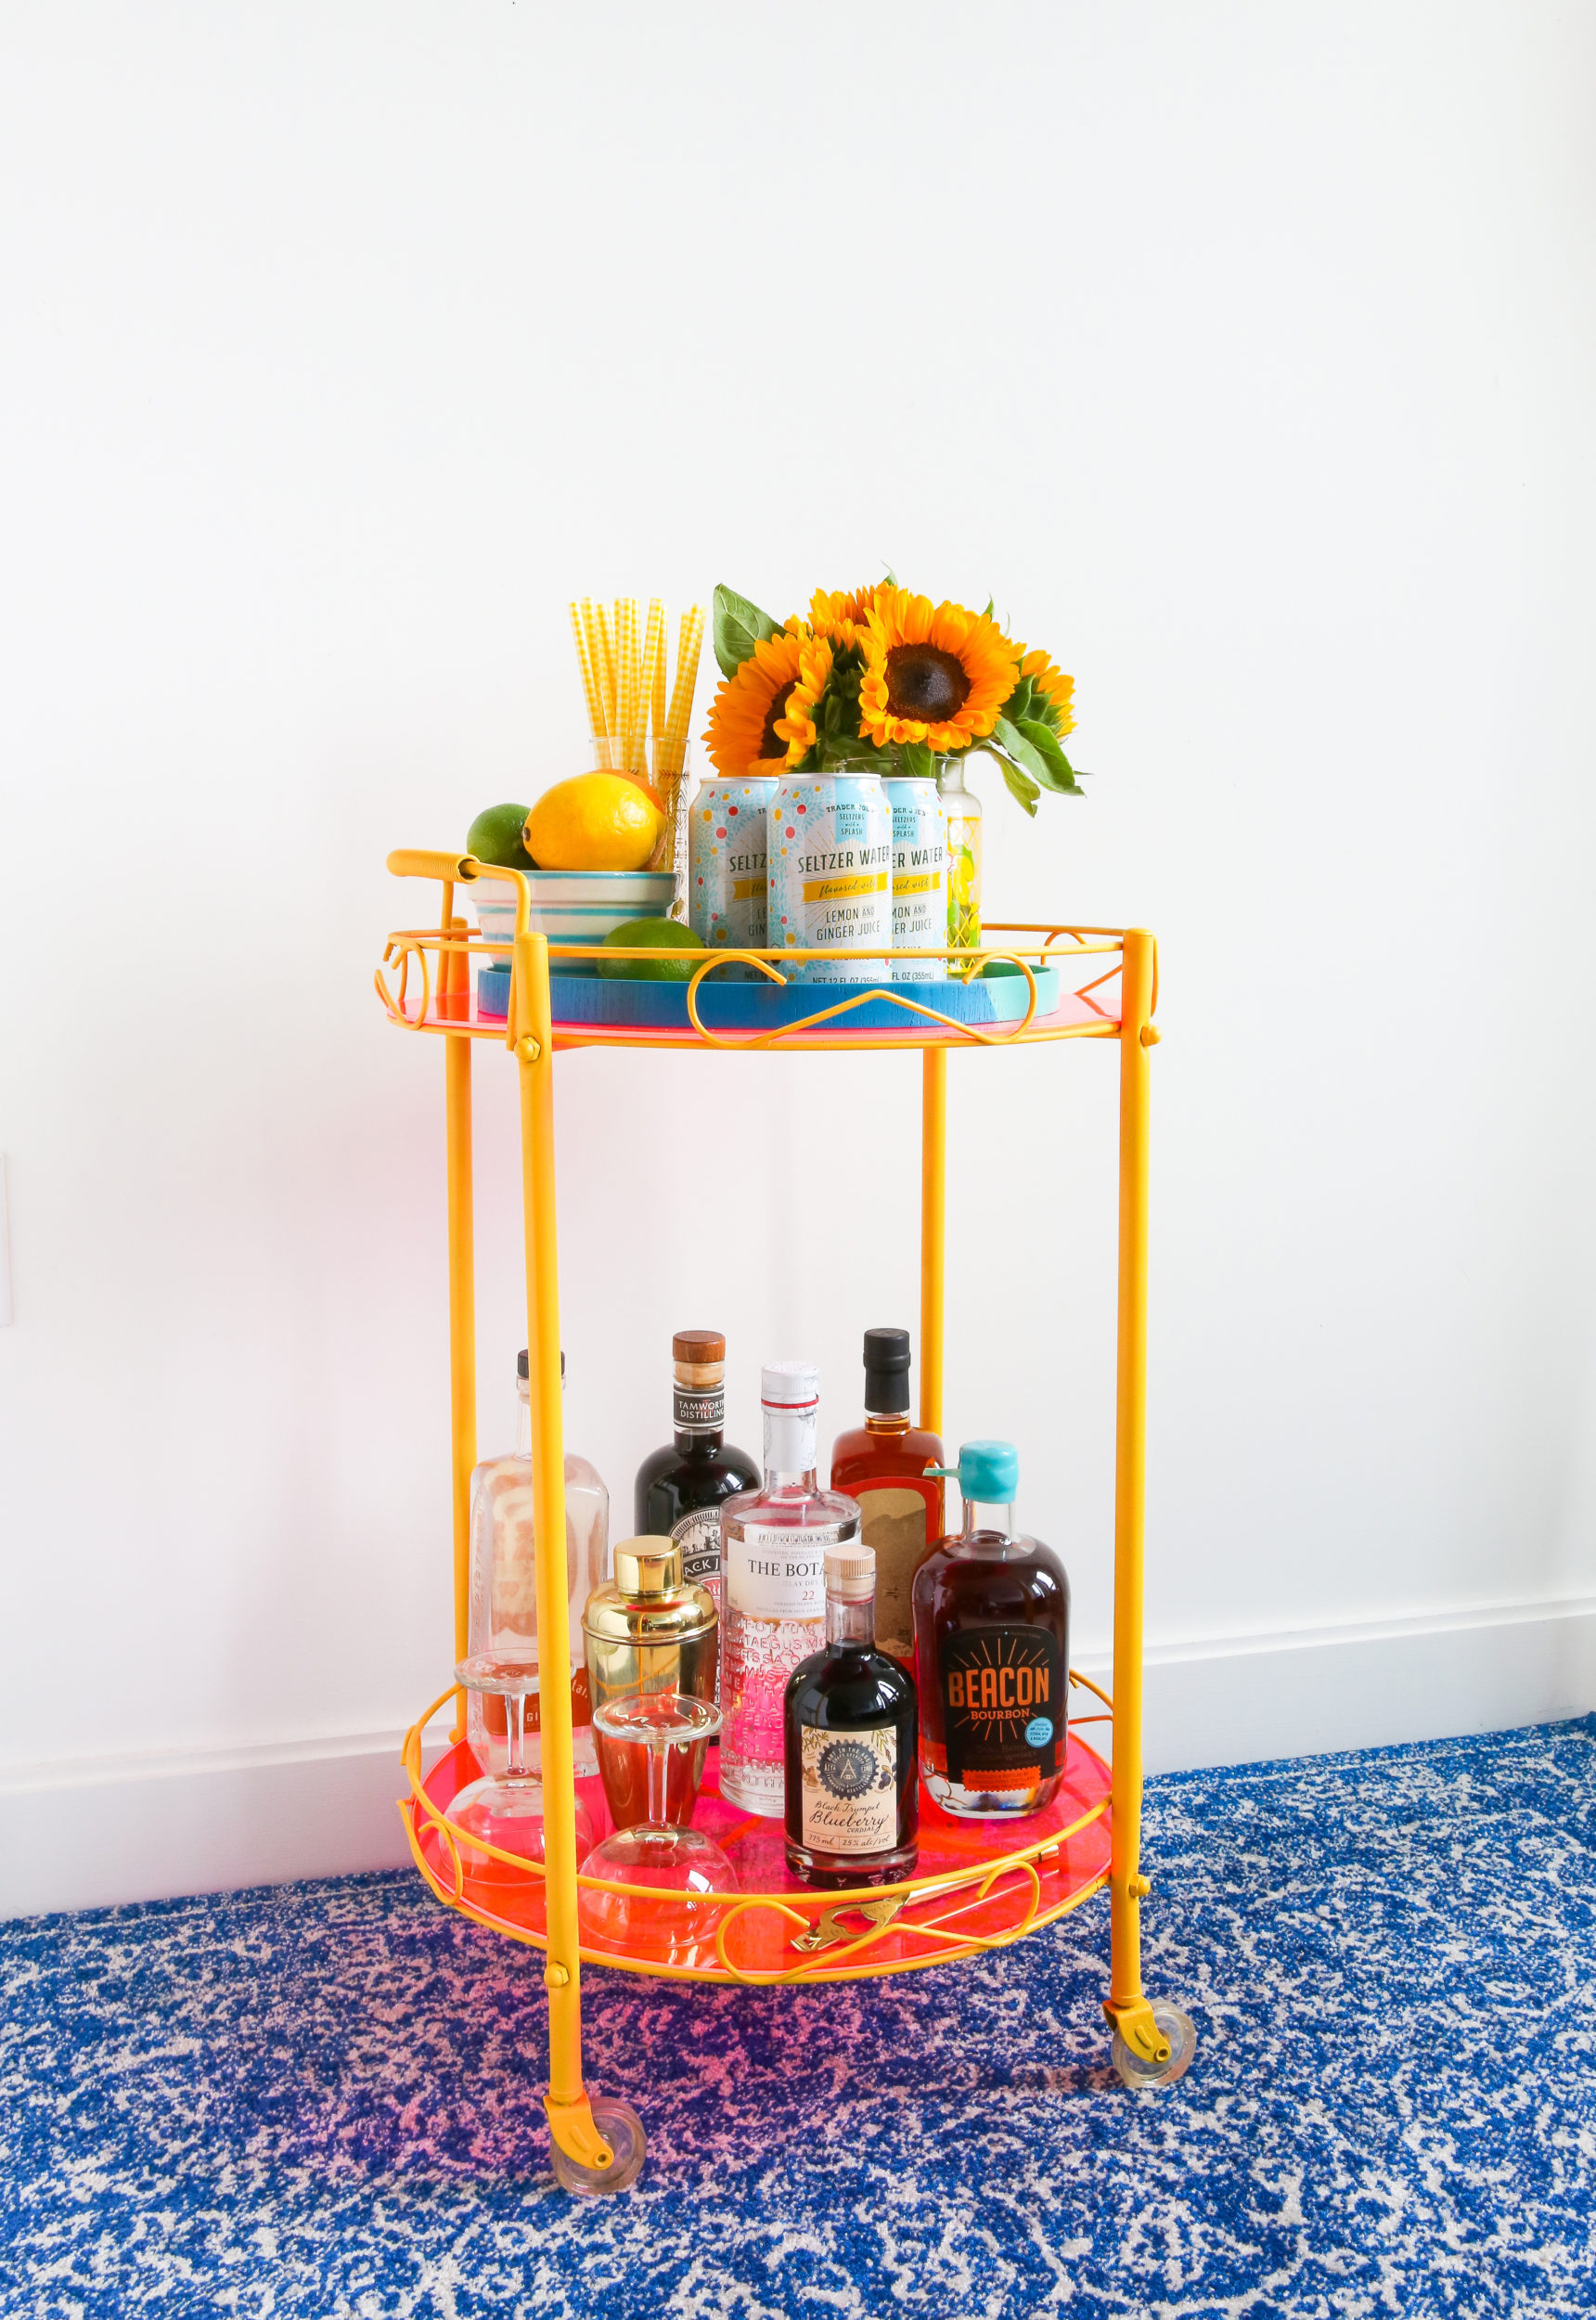
Bringing Something OLD AND RUSTY BACK TO LIFE
Some objects fall between the cracks of being too good to be rubbish, and too rubbish to be good. More often than not, the key to reviving such an object is motivation, elbow grease and some good paint.
Luckily for us, fate saved the day and the bar cart ended up in the studio with a new owner and a new look! The most important ingredients were some nice Spray Paint Cans including Metal Primer and the dedication to give an old piece a new glow with a nice makeover! Here’s what we did to create or own Bar Cart Makeover.
Materials used
- Thrifted or new cart
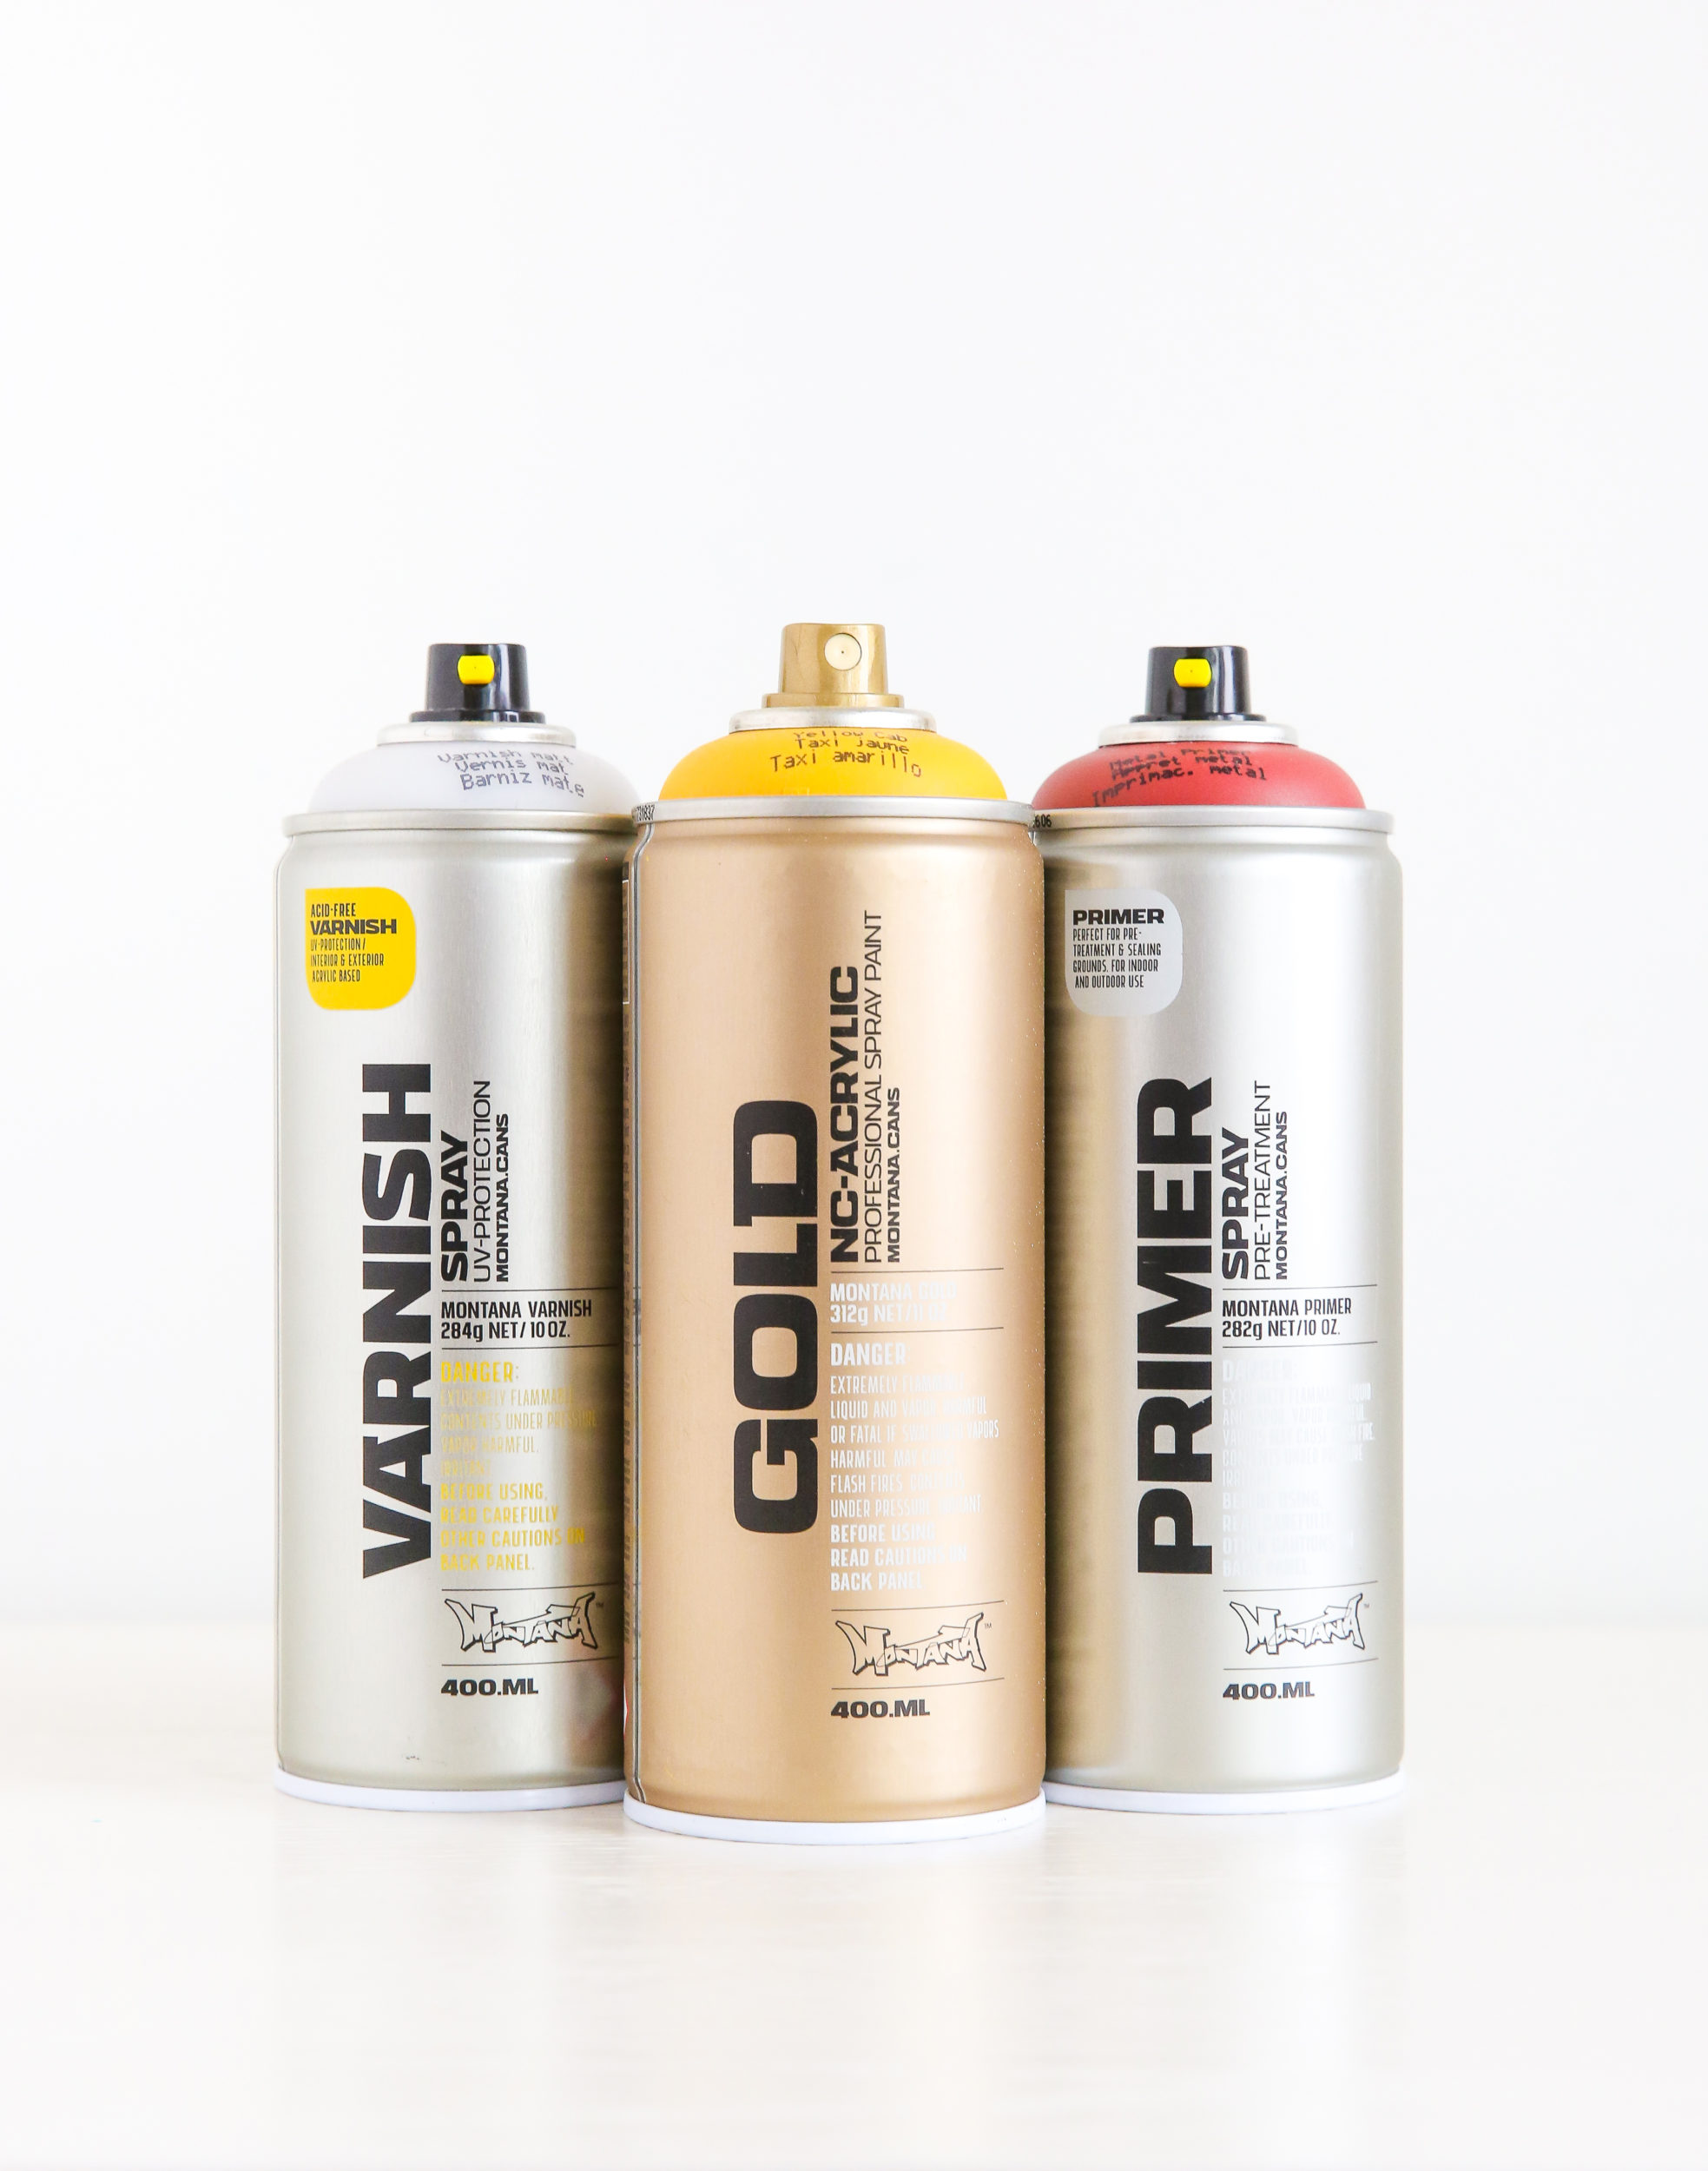
- Montana Metal PRIMER
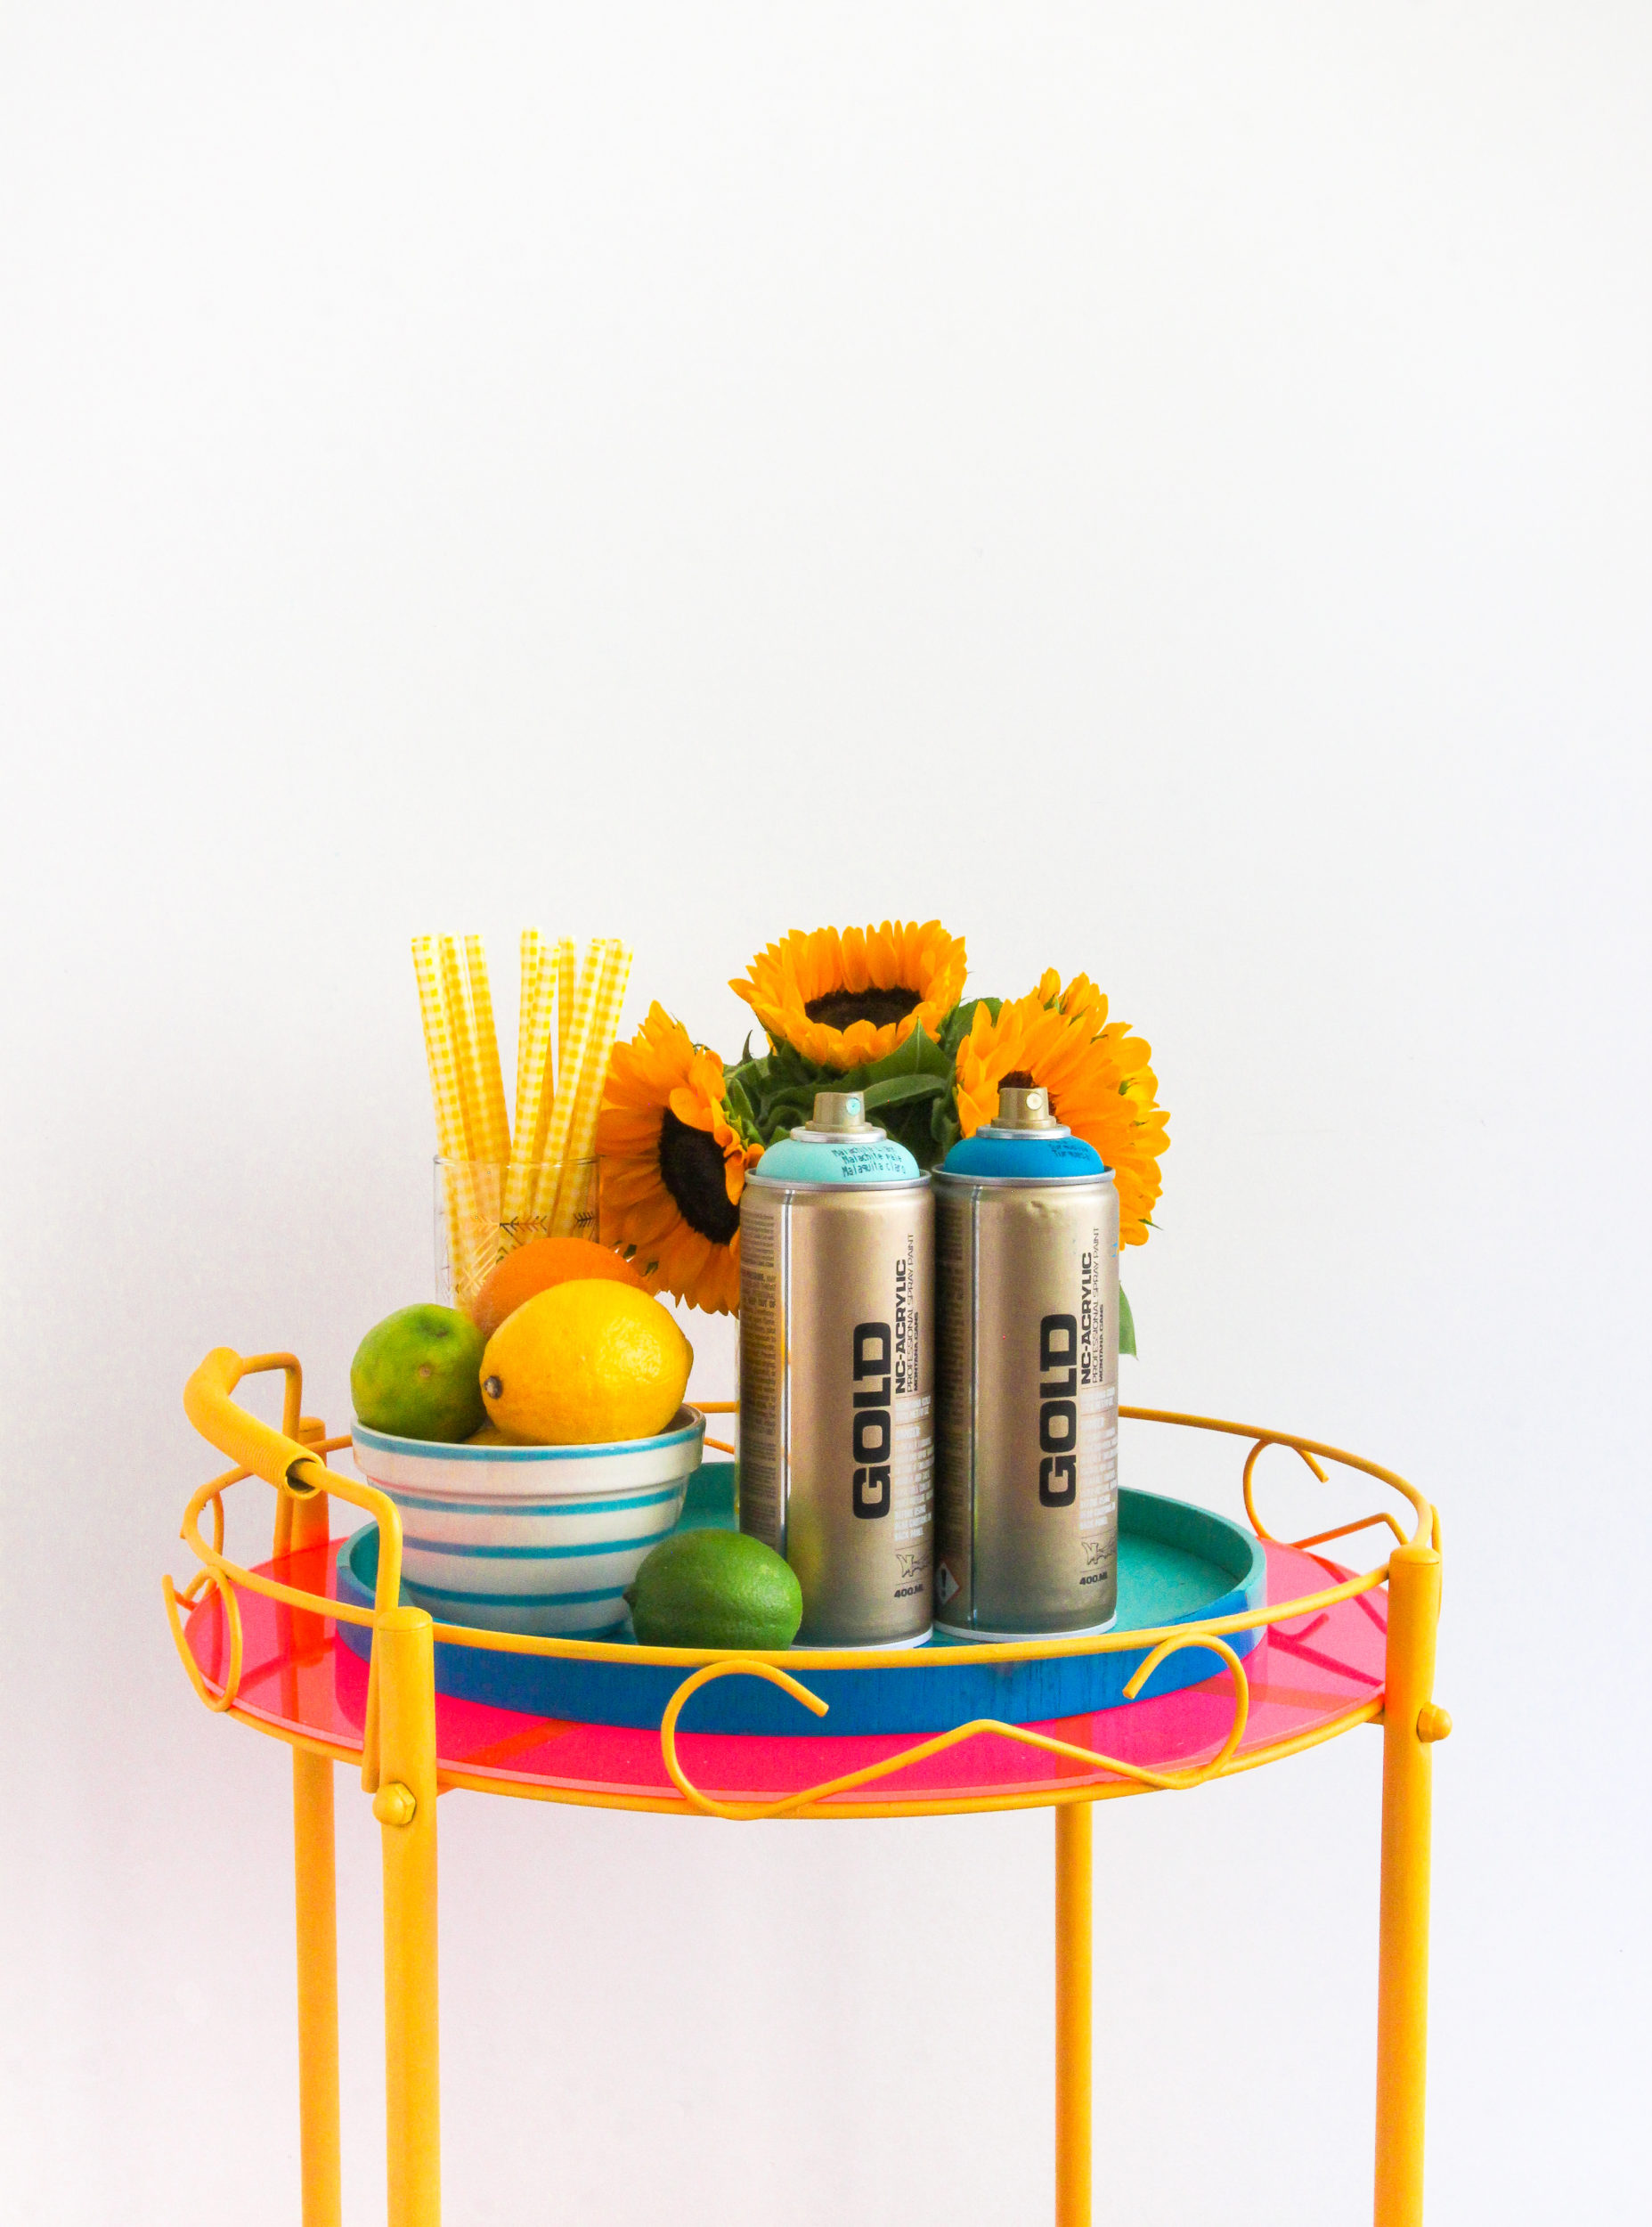
- Montana GOLD color Yellow Cab (or color of your choice)
- Montana VARNISH Spray (finish of your choice Gloss, Semi Gloss, Matte)
- Steel wool
- Metal cleaner and/or metal polish (vinegar is a possible cleaning agent)
- Optional bottom trays if missing
- Fine sand paper (for wood only)
- Masking tape
- Covering paper
- Gloves
- Mask
- Drop Sheet
How it was done
For us, fate would have it that we found a bar cart. However, you may find any other metal object that has heaps of potential and is cool looking in its basic form. If you can find a bar cart as well, then good on you. The following steps will be the same regardless of your object. Start by making sure all rust is removed. If you can take anything apart to clean the pieces individually, do it. This will take a little time in the beginning but actually save you time in the cleaning process, and give you a better result. Any rust left on the metal will result in it returning at a later point, even if years later. Once you’ve cleaned with vinegar or metal cleaning polish, take your fine steel wool and rub all metal parts down again. By now your cart probably looks a lot better. Ensure it is dry, free of dust and oils and you are ready to get creative.

In your normal can preparation process, shake each can well for 2-3 minutes so that you can hear the mixing balls moving freely. With gloves and mask on, turn your cans upside down and take off the nozzle allowing the black safety ring to fall out before re-applying the nozzle. Give each can a quick test spray pointing away from anything. Your first can will be the Montana Metal PRIMER. Remove the wheels of your cart or cover them if you can’t remove them and don’t want them colored.
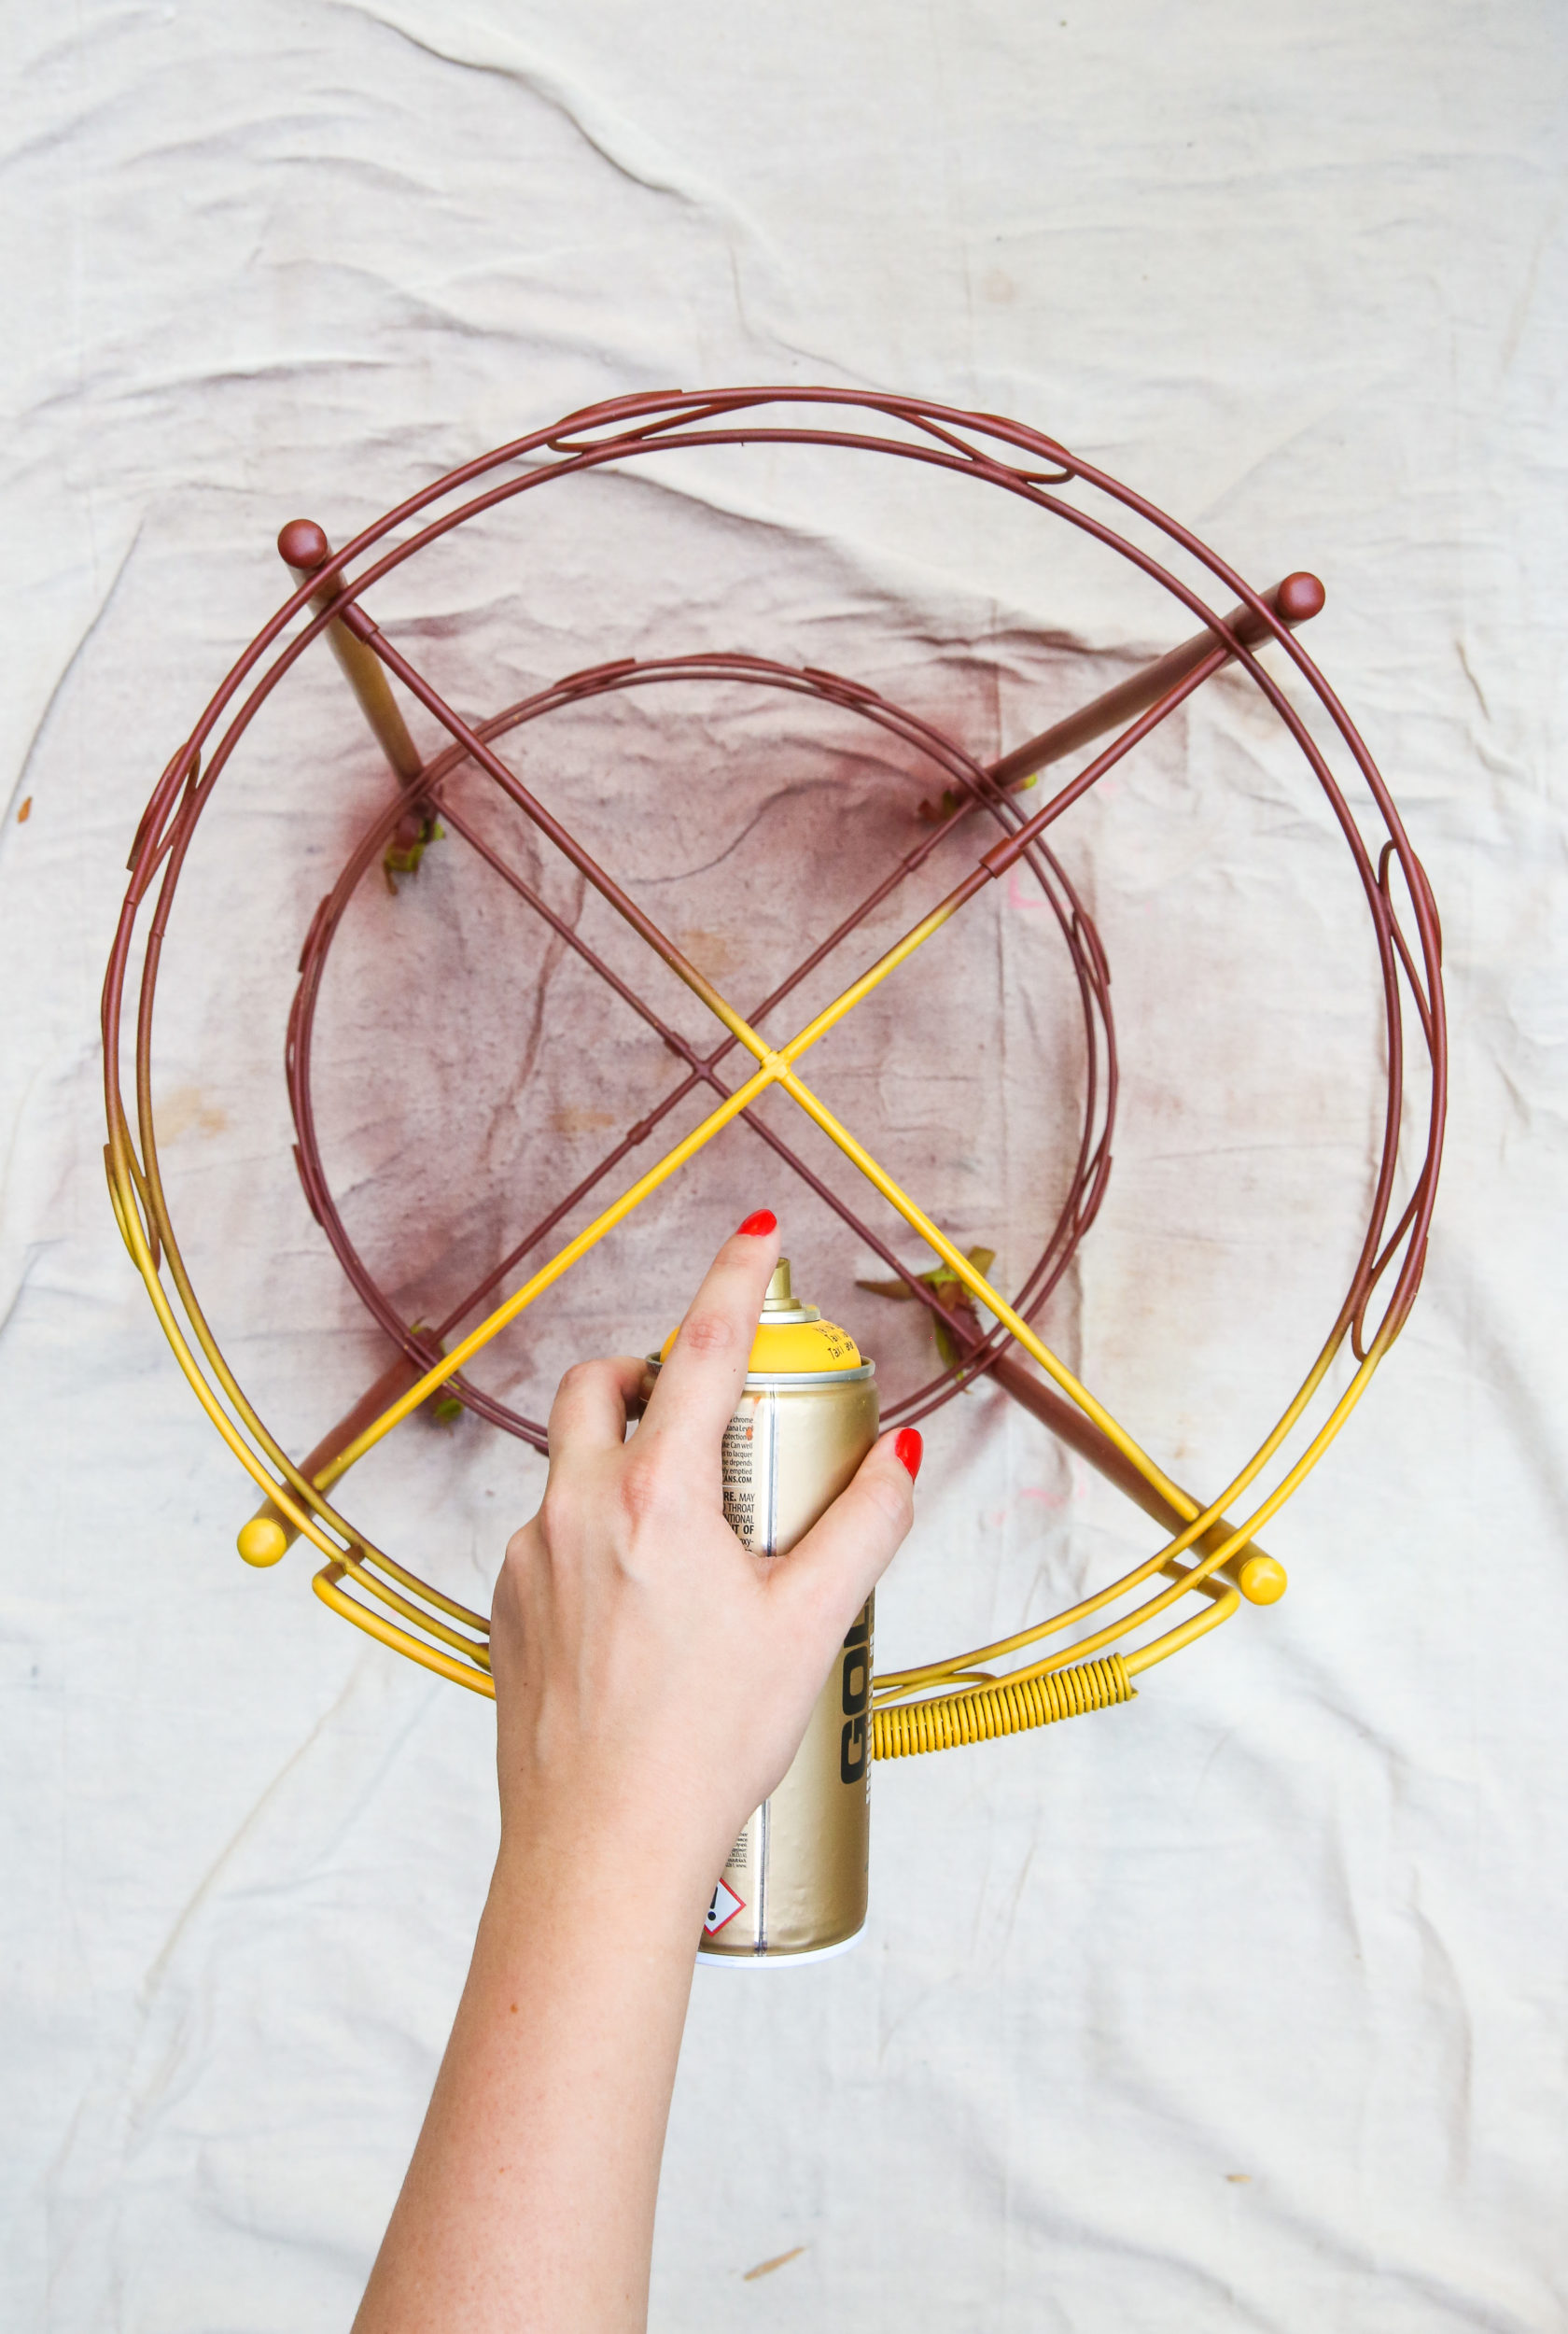
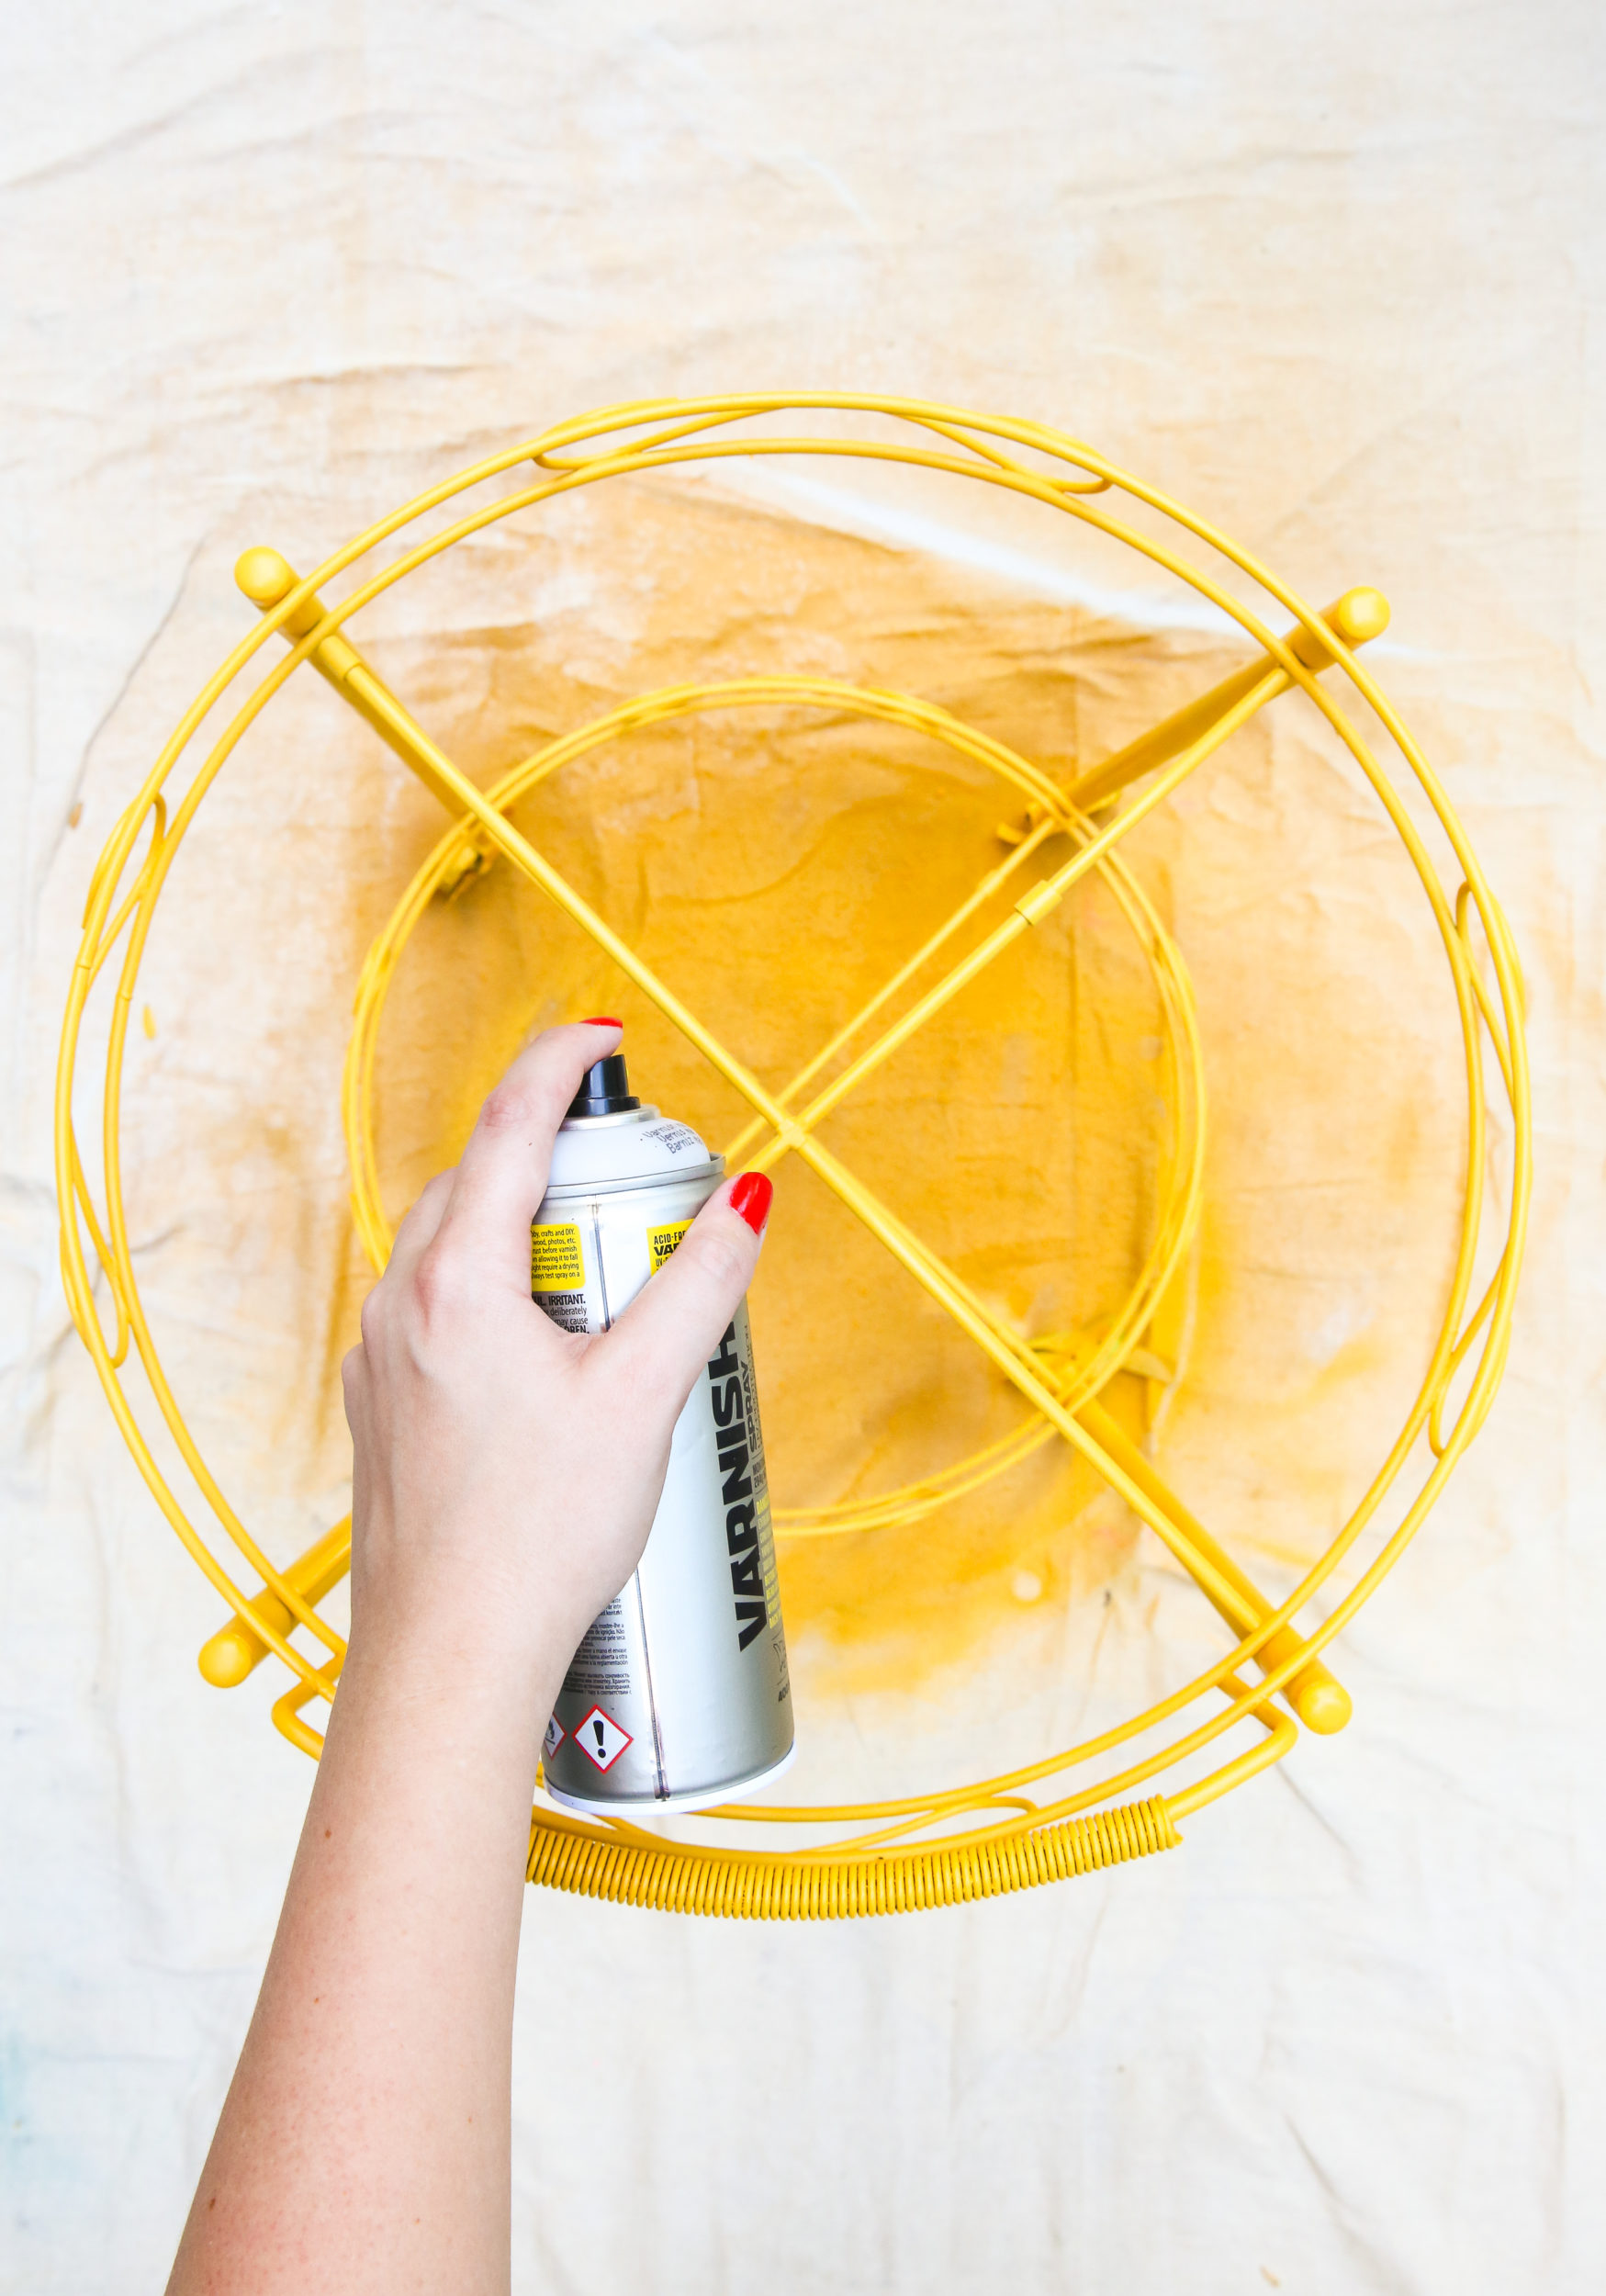
Apply your primer 20-30 cm’s away from your cart, and move in sweeping strokes from left to right as you spray. This will prevent too much paint applying and drips forming. Once dry, take your Montana GOLD 400ml can (we used Yellow Cab), and repeat this process for 2 or more, thin, even coats. Allow drying thoroughly for 24 or more hours to cure. We chose to apply a Montana VARNISH to seal the surface and protect it further from scratching or marking. You can decide which finish to use (Gloss, Semi Gloss or Matte), as long as the paint was completely dry before you applied it. Your basis is done and already your cart has a cool new look, you just got closer to finishing your Bar Cart Makeover.
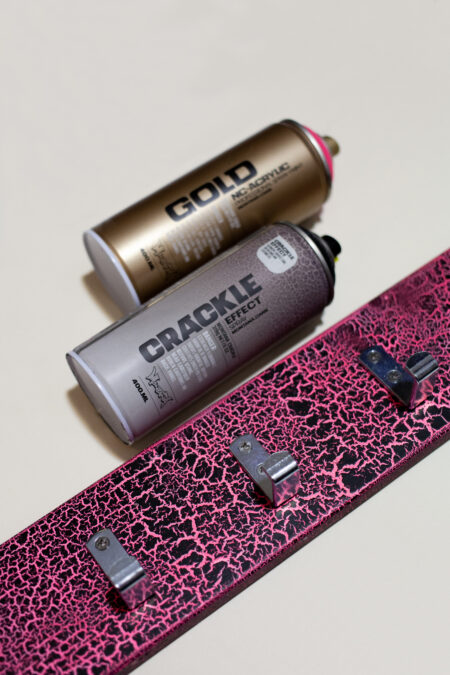
Unfortunately our cart didn’t have any bottom trays. Most likely they used to be glass and had been broken. Our solution for this was acrylic (or plastic) circular pieces in the color of our choice (pink), that were cut to measure. Should this not be an option, you could either go to a glass cutter for glass trays or cut wooden trays to size. Wooden trays could be left raw or use the same process as for coloring your cart, except exchange the Metal Primer for a Montana Universal PRIMER. Sand your wood with fine sand paper to prepare it. Ensure the circles are clean and free of dust before priming and spraying. You’re almost there.
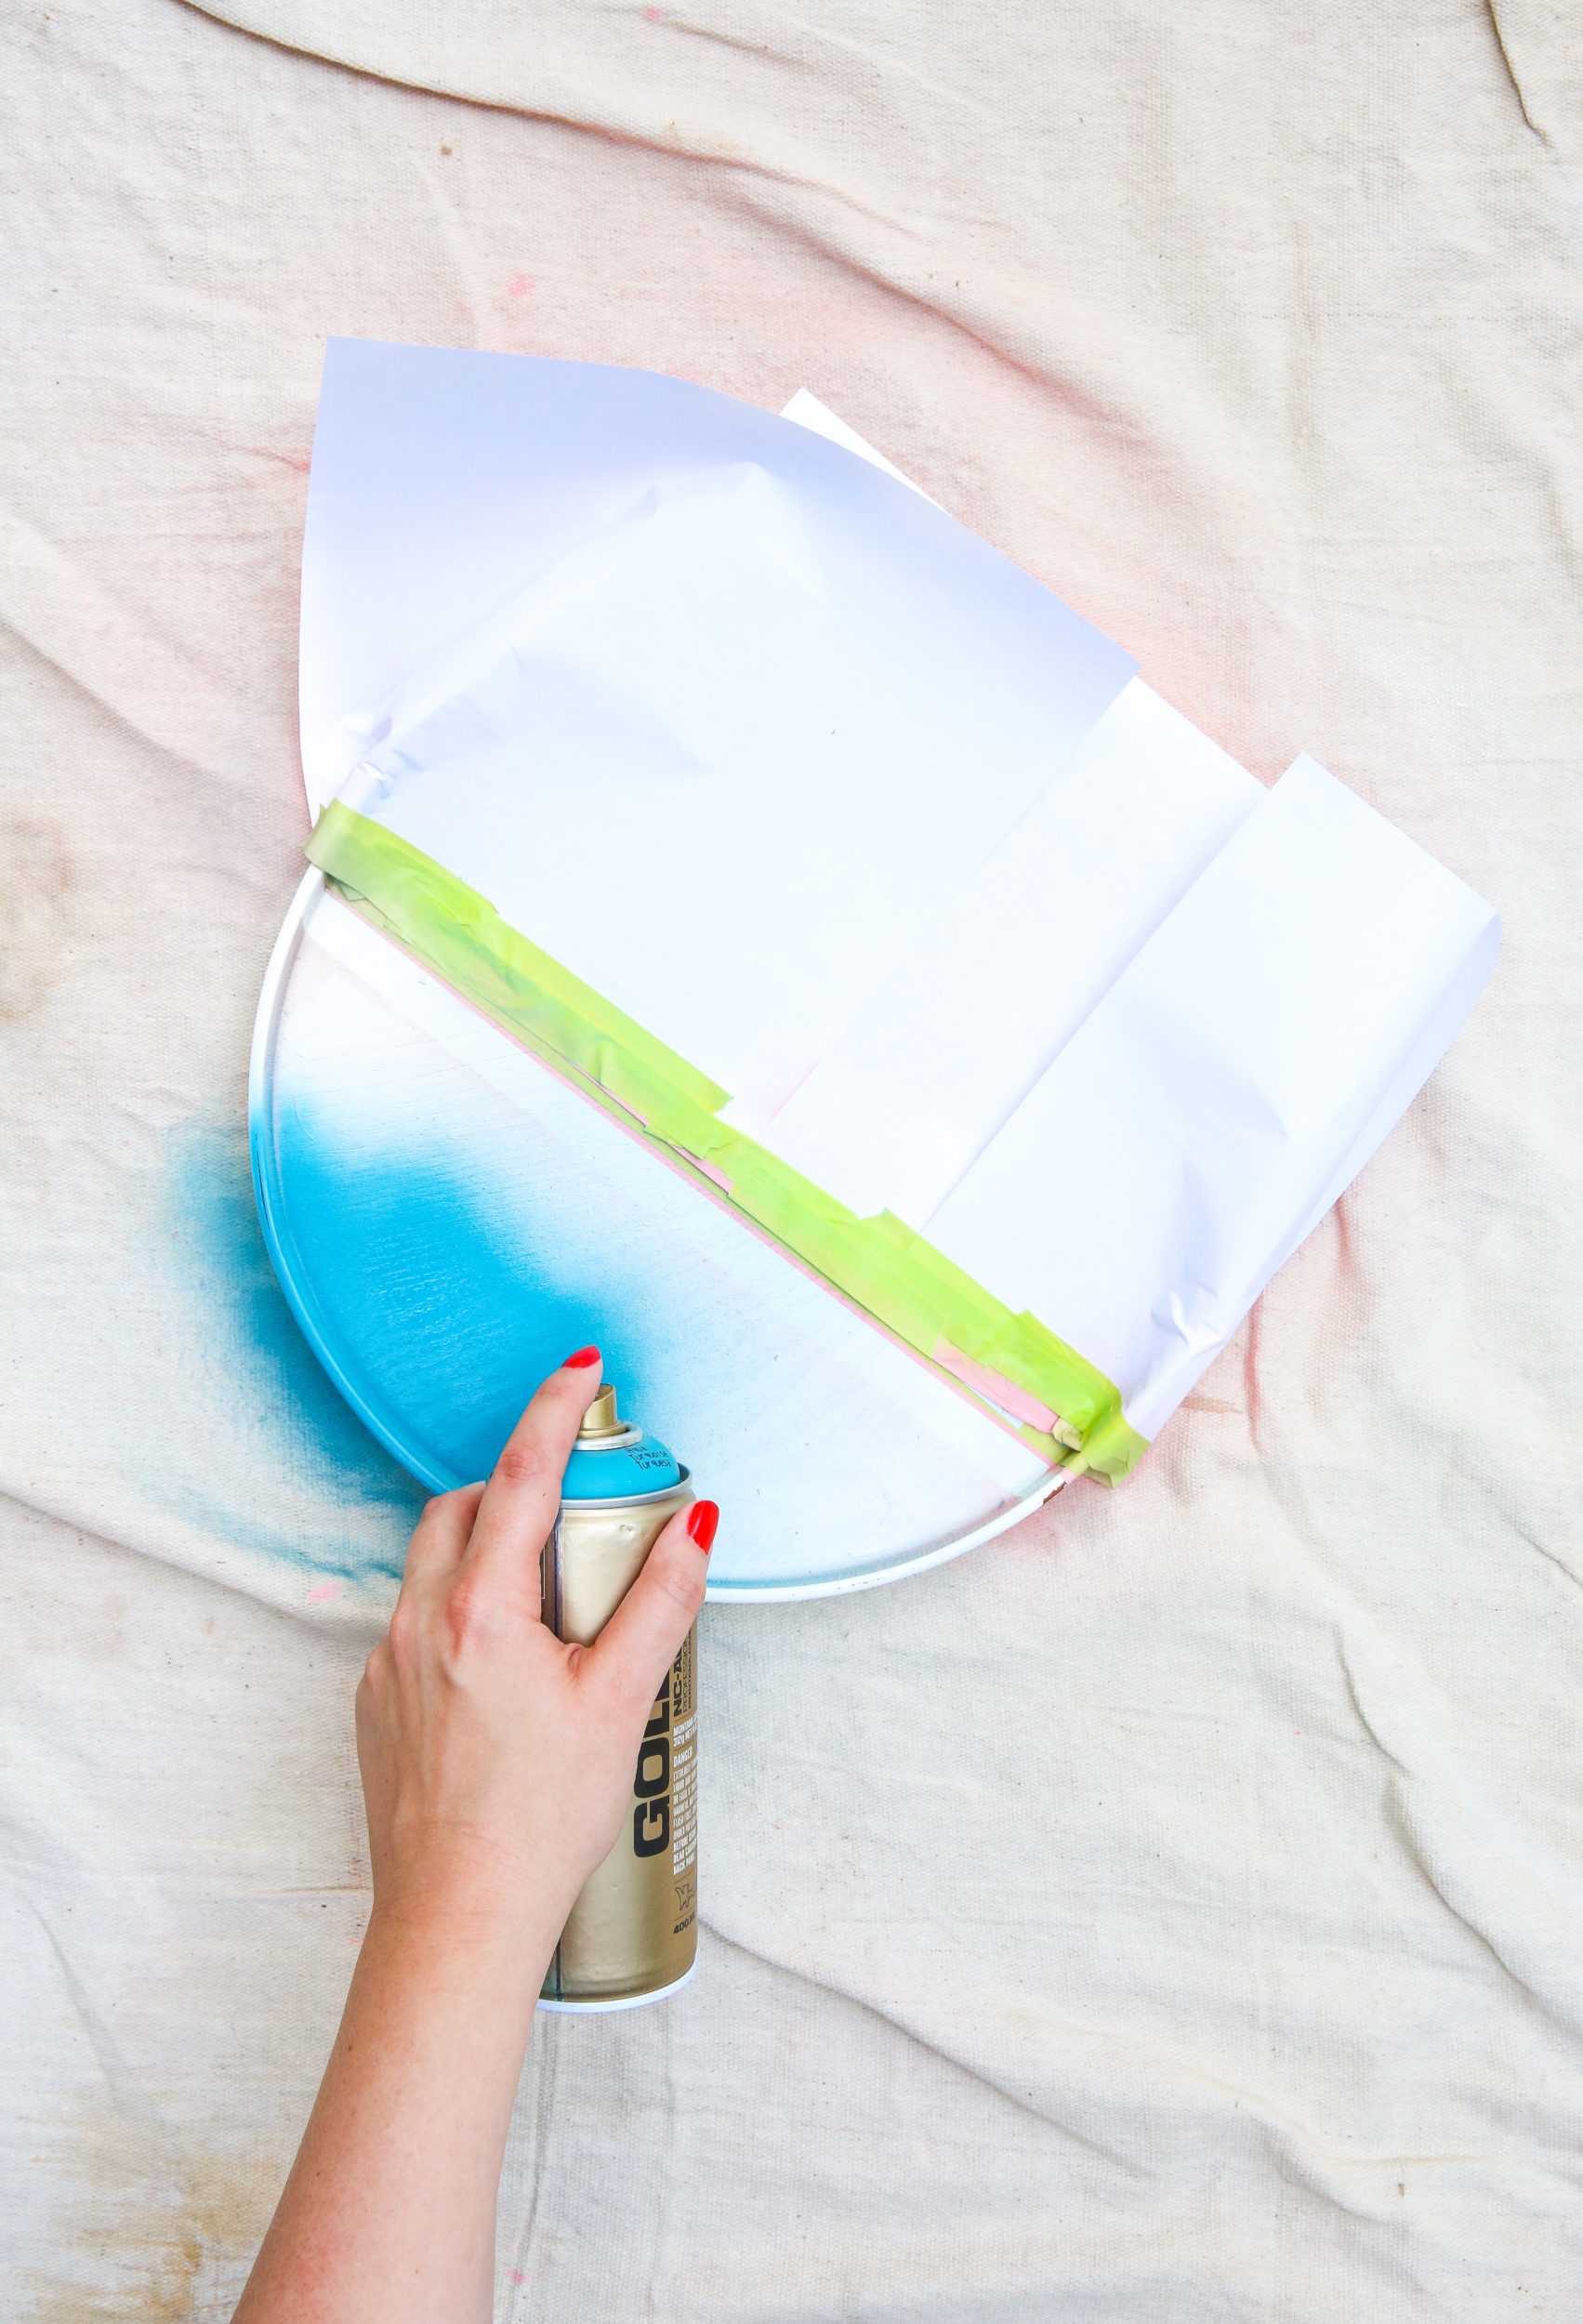
Your cart is spotless and colored. You’ve fixed the problem of missing bottom trays with acrylic, plastic, glass or wood. And you have now decided to join us for the addition of a display tray to put the icing on the cake. We chose a wooden tray which was already smooth and clean. If yours isn’t, give it a light sand and a clean. Using our Montana UNIVERSAL Primer, we then sprayed the tray completely to seal it. Once dry, we sprayed one side in one color and left this to dry. We then took our masking take and stuck a piece of paper over the painted side, applying another color to the remaining exposed side. We removed the masking tape and paper about 2 minutes later.

This was left overnight to dry and cure completely. Finally, we applied Montana VARNISH coat to seal the surface in the finish we desired, and also protect it from liquids. After all, a bar cart is essentially a bar on wheels isn’t it. A few days later, you’re sitting in front of your new-look bar cart with gin and tonic in hand, thinking of how cool it now looks and how much fun it was to make!
This project is a multi-leveled project. If you just need to paint the cart, then it’s an easy to medium level affair. The challenge is thorough preparation and cleaning. And possibly taking pieces off and putting them on again. If you need to create or source missing trays, it becomes harder, subject to your expectations. And if you’re adding a display tray as we did, it’s not any harder but requires more time. All in all, allow yourself at least 1-2 weeks to complete the project. We did it over the period of a month, which had the benefit of everything drying at least one night before the next product was applied. And we chose to scrub that metal THOROUGHLY to avoid rust returning. But have no fear, you can do it! Give it your own Bar Cart Makeover a go and happy crafting.