Create exciting lighting for your home with this DIY-project
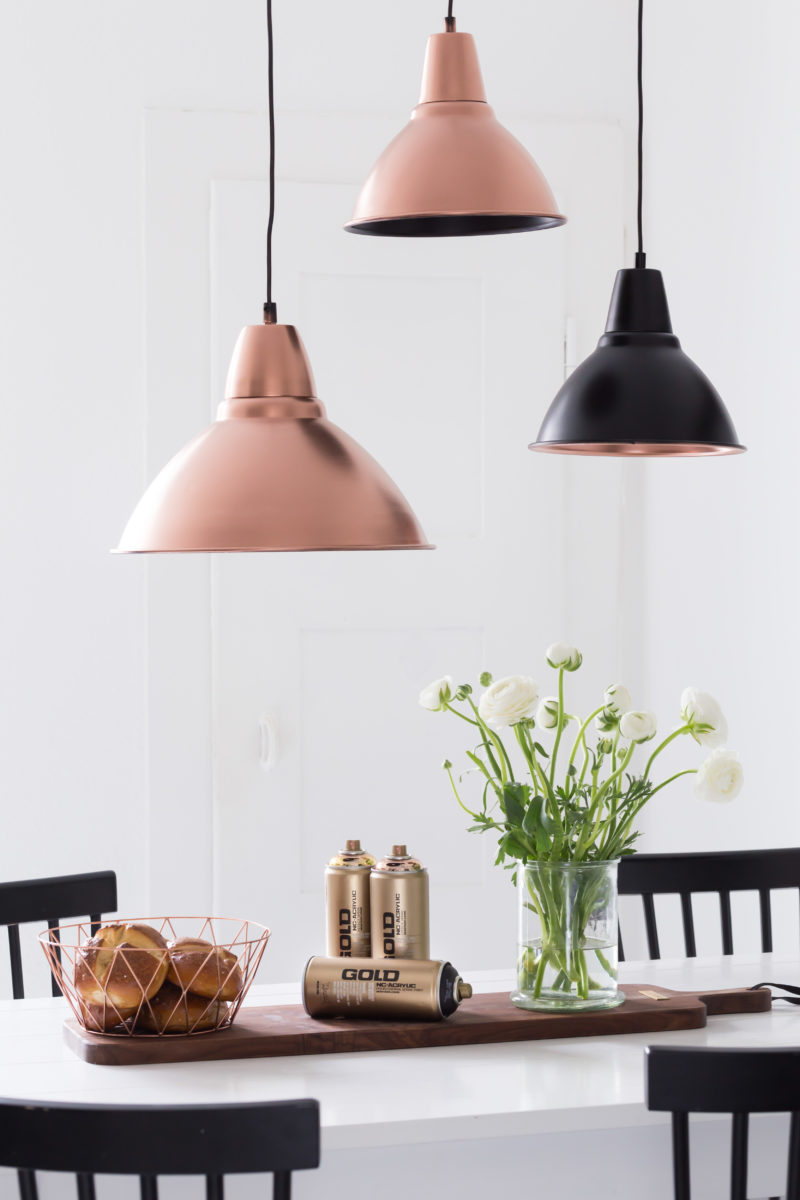
Moving into a new place is always exciting. There’s so much to think about and so many decisions to be made. One of the least interesting things to think about though IMHO is lighting. Lights have to be functional and there’s not a lot of styles to choose from unless you want to pay an arm and a leg. If you feel the same way, this is the DIY project for you! DIY-enthusiast and blogger Vera from ‘nicest things’ has customized some inexpensive Ikea hanging lamps with her favorite Montana GOLD colors. For this DIY project, you will need a hanging shade (Vera used the FOTO lamp from IKEA), a plastic sheet or some old newspaper, a pair of latex gloves, a mask, some painters’ tape, an old bucket or bowl, and one or two cans of Montana GOLD paints in coordinating colors of your choice.
Vera chose Montana GOLD cans SH9000 Shock Black and M2000 Copperchrome. Before your start, you need to decide whether you’d prefer to paint the inside of the lamp in a coordinating color, or not. Depending on the color you have chosen and the color of the lamp you’re using, it might not be necessary. To begin, you’re going to want to cover your work surface in newspaper or a plastic sheet. If you choose not to paint the inside, you can skip ahead a step, because you are going to need to paint the inside first. Using your painters’ tape, make sure to cover the socket of the lamp, in order to prevent it from being covered in paint. Using your bucket place your lamp inside up into the bucket on your work surface. Wearing your latex gloves and mask start painting the inside of the hanging lamp with your Montana GOLD can.
The awesome thing about the Montana GOLD series is that it is incredibly easy to achieve an even result. Also, it’s Acrylic-based which means no nasty solvent smell that lingers for days. For the best result, shake well for about 3 minutes, holding the can bottom side up before you start using it. When applying the paint, it’s best to keep a distance of 15cm – 20cm from the metal surface. If you are unsure about painting with a spray can, it is always easiest to paint in multiple thin layers letting each layer dry between coats, rather than trying to achieve complete coverage in one go.
Once you have successfully painted the inside of your lamp, and it has dried, place the lamp with the opening on the work surface. It’s time to spray paint the outside of the lamp with your other Montana GOLD color. After about 20 minutes, you should be able to touch the surface without it being tacky. Finally, peel off the tape and find the most perfect spot for your eye-catching, one-of-a-kind lamp. Handmade by you.


