Colorful and Functional Wall Storage
Looking for a way to add both style and function to your walls? A colorful pegboard shelf setup is the perfect solution! Not only does it provide versatile storage, but it also allows you to inject some serious color into your space using Montana GOLD spray paints. In this project, we’ll guide you through creating custom-painted pegboard shelves that are not only functional but also a bold design statement.
Materials You Will Need
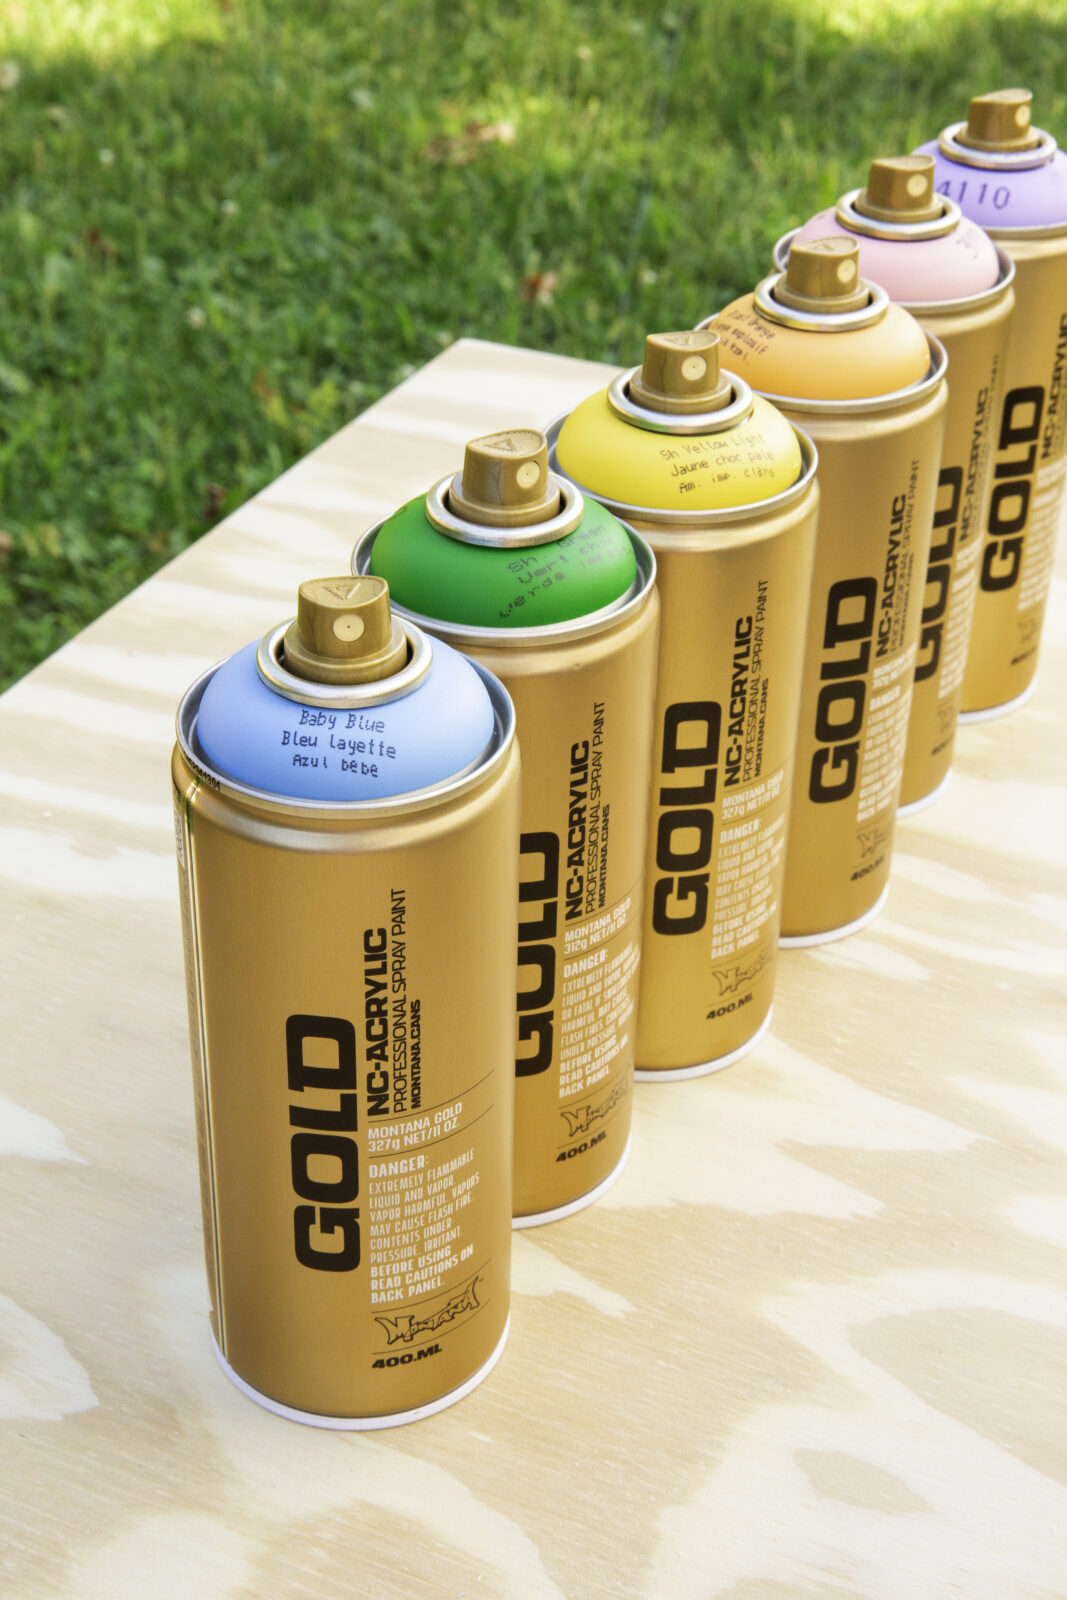
- Montana GOLD spray paints (Yellow, Orange, Green, Pink, Turquoise, Purple)
- Pegboard
- Painter’s tape
- Tarp
- 220 grit sandpaper
- Square bend hooks (you’ll need around 18 total)
- Pliers
- Wood board (8′ long, 4″ deep, 1″ thick)
- Drill
- Miter saw (or any saw for straight cuts)
- Clamps
- Pegboard mounting kit
- Tape measure
- Cardboard (for masking areas while painting)
Preparation Tips
Shelves Size
Each shelf should be about 15.25″ long, using 3 square bend hooks per shelf.

Wood Measurements
Measure all your wood cuts before painting to avoid any potential scuffing.
Workspace
Set up a well-ventilated outdoor space to apply your spray paint and make sure to protect it with a tarp.

Step-by-Step: Painting and Installing Your Pegboard
Design and Tape Off the Pegboard
Start by creating your design. Divide your pegboard into sections using painter’s tape, ensuring the tape is pressed down smoothly to avoid paint bleeding. In our project, we divided the board into thirds and then halved those sections for a neat geometric design.
Cover the Unpainted Sections
Before spraying, cover the areas you’re not painting with cardboard or a similar material. This will protect the sections from overspray and help you keep crisp lines between colors.

Spray Your Colors
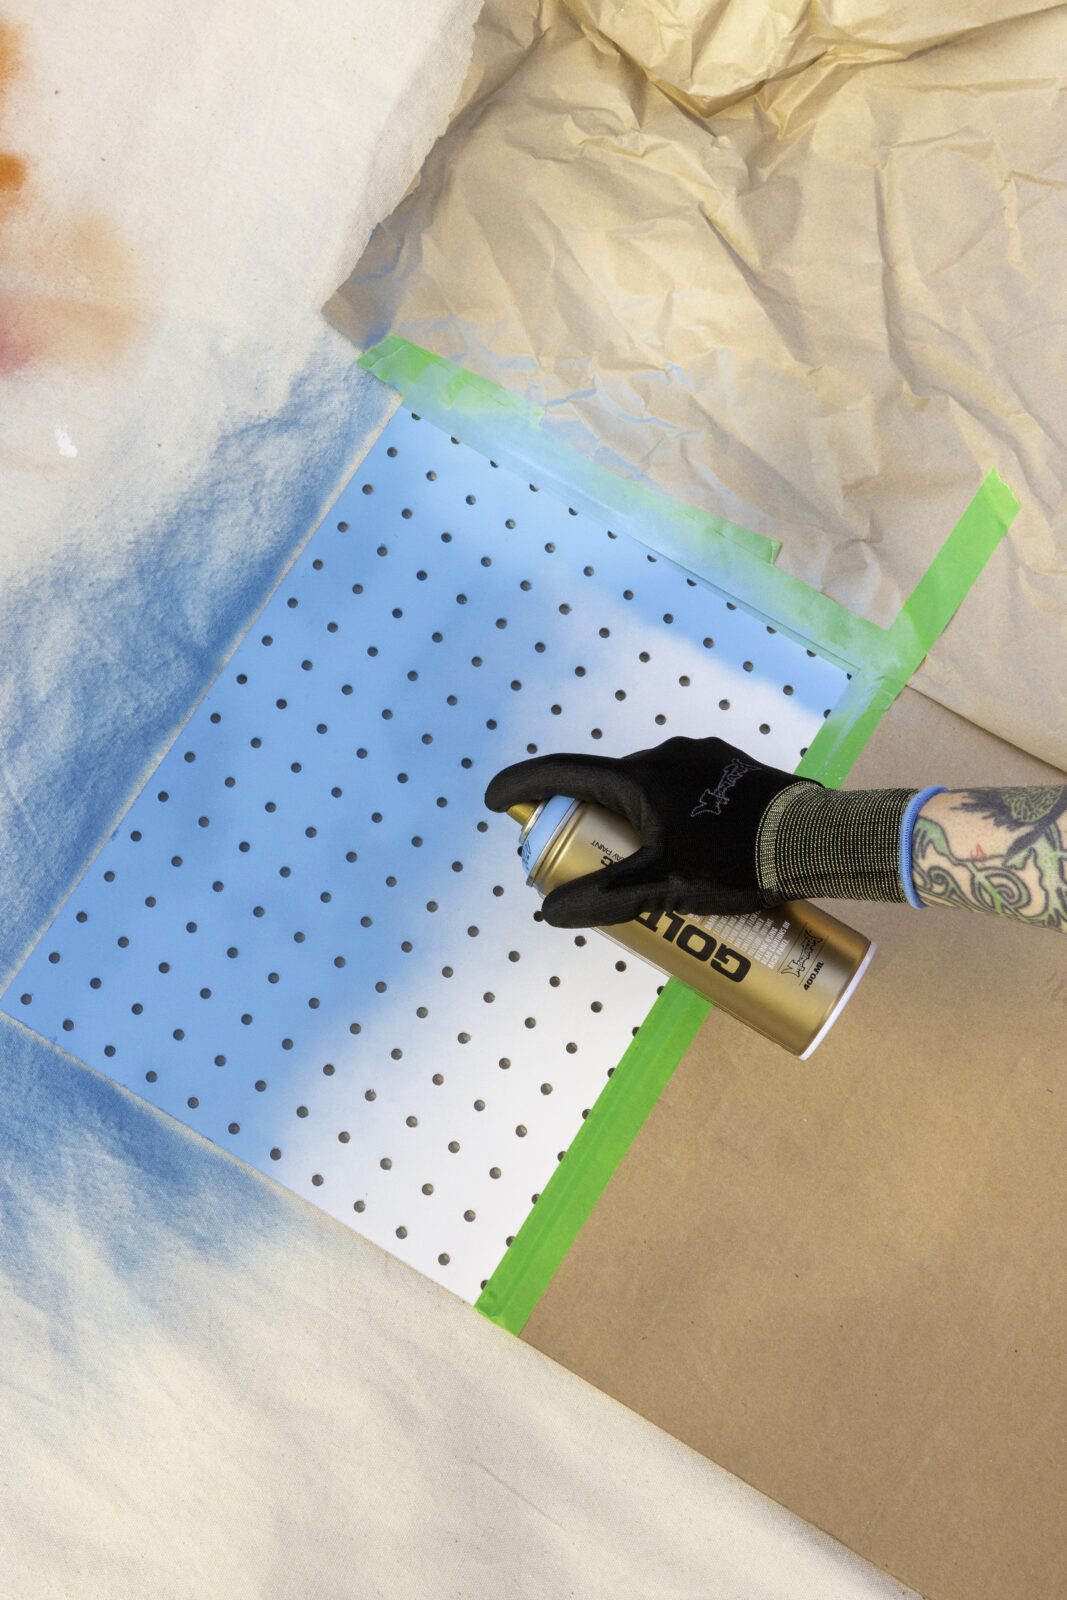
Work outside in a well-ventilated area and apply a thin, even coat of your chosen Montana GOLD colors. Remember to hold the spray can at about 20-30cm from the surface for the best coverage. Let the paint dry to the touch, and then go in with a second coat for full, vibrant coverage.
Switch Colors and Repeat
Once the first section is dry, remove the cardboard covering and move to the next area. Repeat the same process for each section of your pegboard. Ensure each painted area dries thoroughly before covering with cardboard for the next color.
Remove the Tape
After the paint has fully dried, carefully peel off the painter’s tape to reveal your clean, crisp lines. Congratulations! Your pegboard is now prepped and ready for the next steps.


Step-by-Step: Building and Painting the Shelves
Measure and Cut Your Shelves
Measure the dimensions for your pegboard shelves. Ours were approximately 15.25″ in length. Mark the wood with a straight line where you’ll make your cuts. Use a miter saw or any saw capable of making straight cuts to slice your wood to size.
Prepare the Shelves for Hooks
The placement of the hooks is key to ensuring your shelves are secure on the pegboard. Place the wood on the pegboard where you plan to hang the shelves, and mark where the hooks need to be inserted. Drill pilot holes in the center of each mark.

Sand the Shelves
Before painting, sand each shelf down with 220 grit sandpaper to achieve a smooth surface. Don’t forget to round the top back of each shelf, which will make it easier to fit the hooks into the pegboard holes later on.
Paint the Shelves
Now it’s time to paint your shelves! Apply two coats of Montana GOLD spray paint in the same colors used for your pegboard. Make sure to let each coat dry fully before adding the next. For a more durable finish, seal the paint with a varnish after it has dried completely.
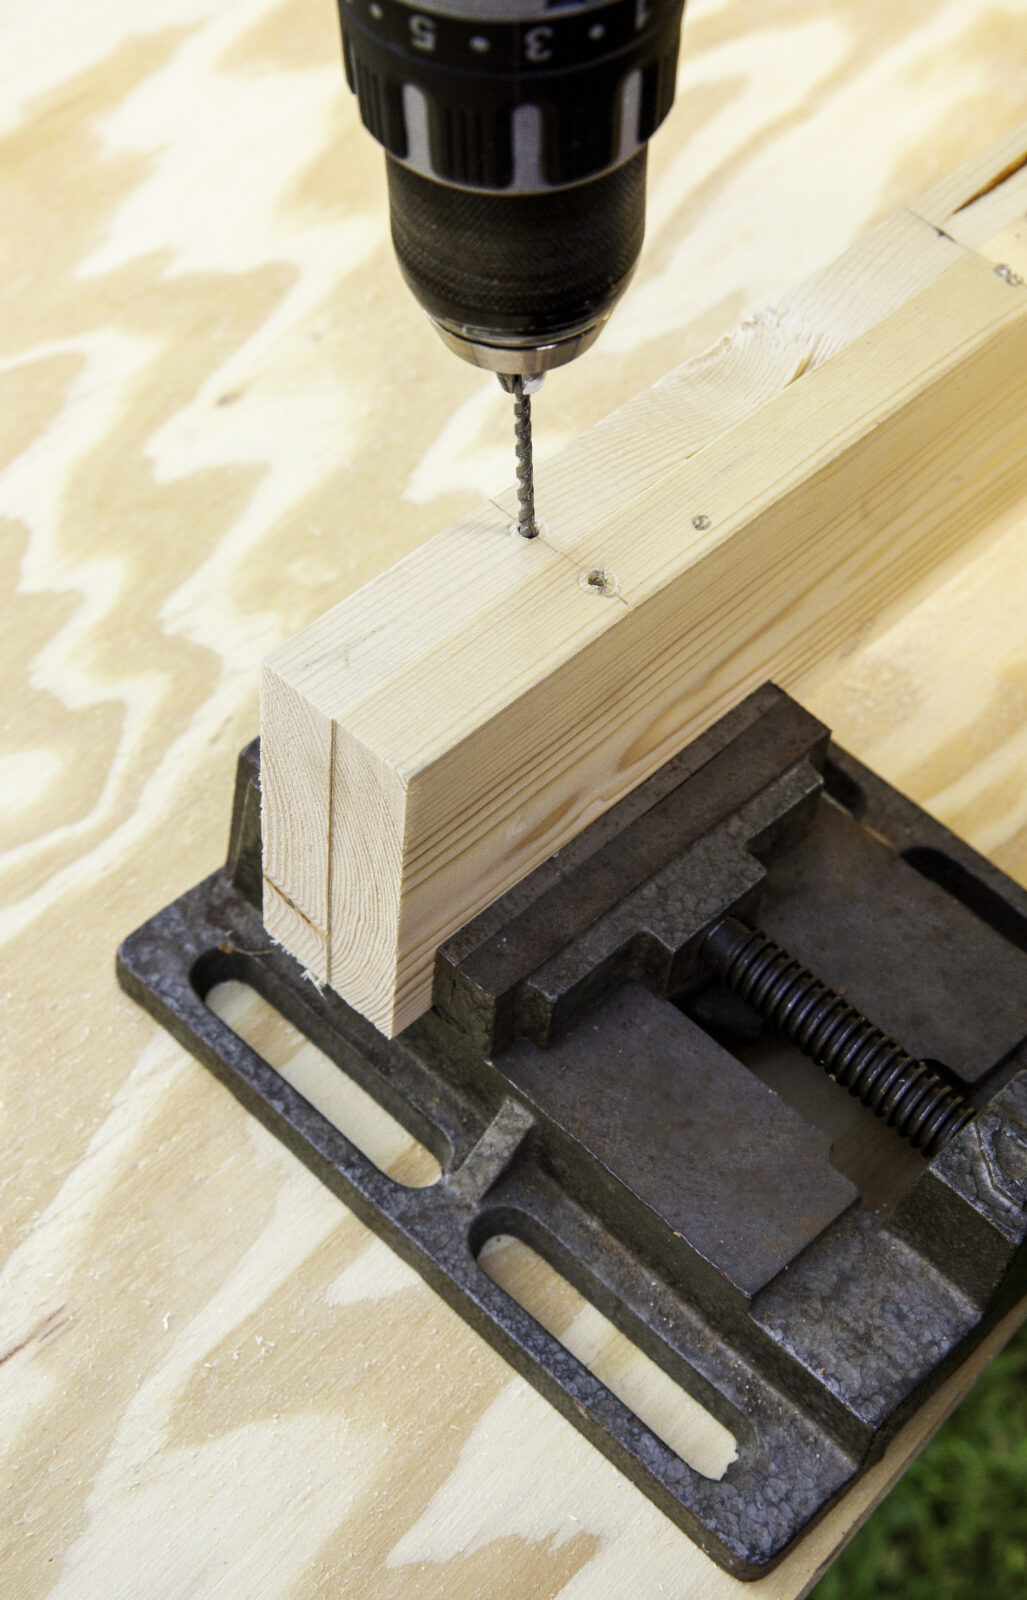
Attach the Hooks
Once the shelves are dry, it’s time to attach the square bend hooks. Start by hand, then use pliers to securely twist the hooks into place. Leave about 0.25″ of the hook exposed so the shelves can easily attach to the pegboard.
Step-by-Step: Mounting the Pegboard and Shelves
Prepare to Mount the Pegboard
When mounting the pegboard, use a pegboard mounting kit, including spacers to ensure there is enough space between the board and the wall for the hooks.

Anchor and Level the Pegboard
Start by marking the locations for your anchors. For stability, use at least six anchors—one in each corner and two in the center. Before drilling fully into the wall, double-check that your pegboard is level. Once it’s level, secure the board in place.
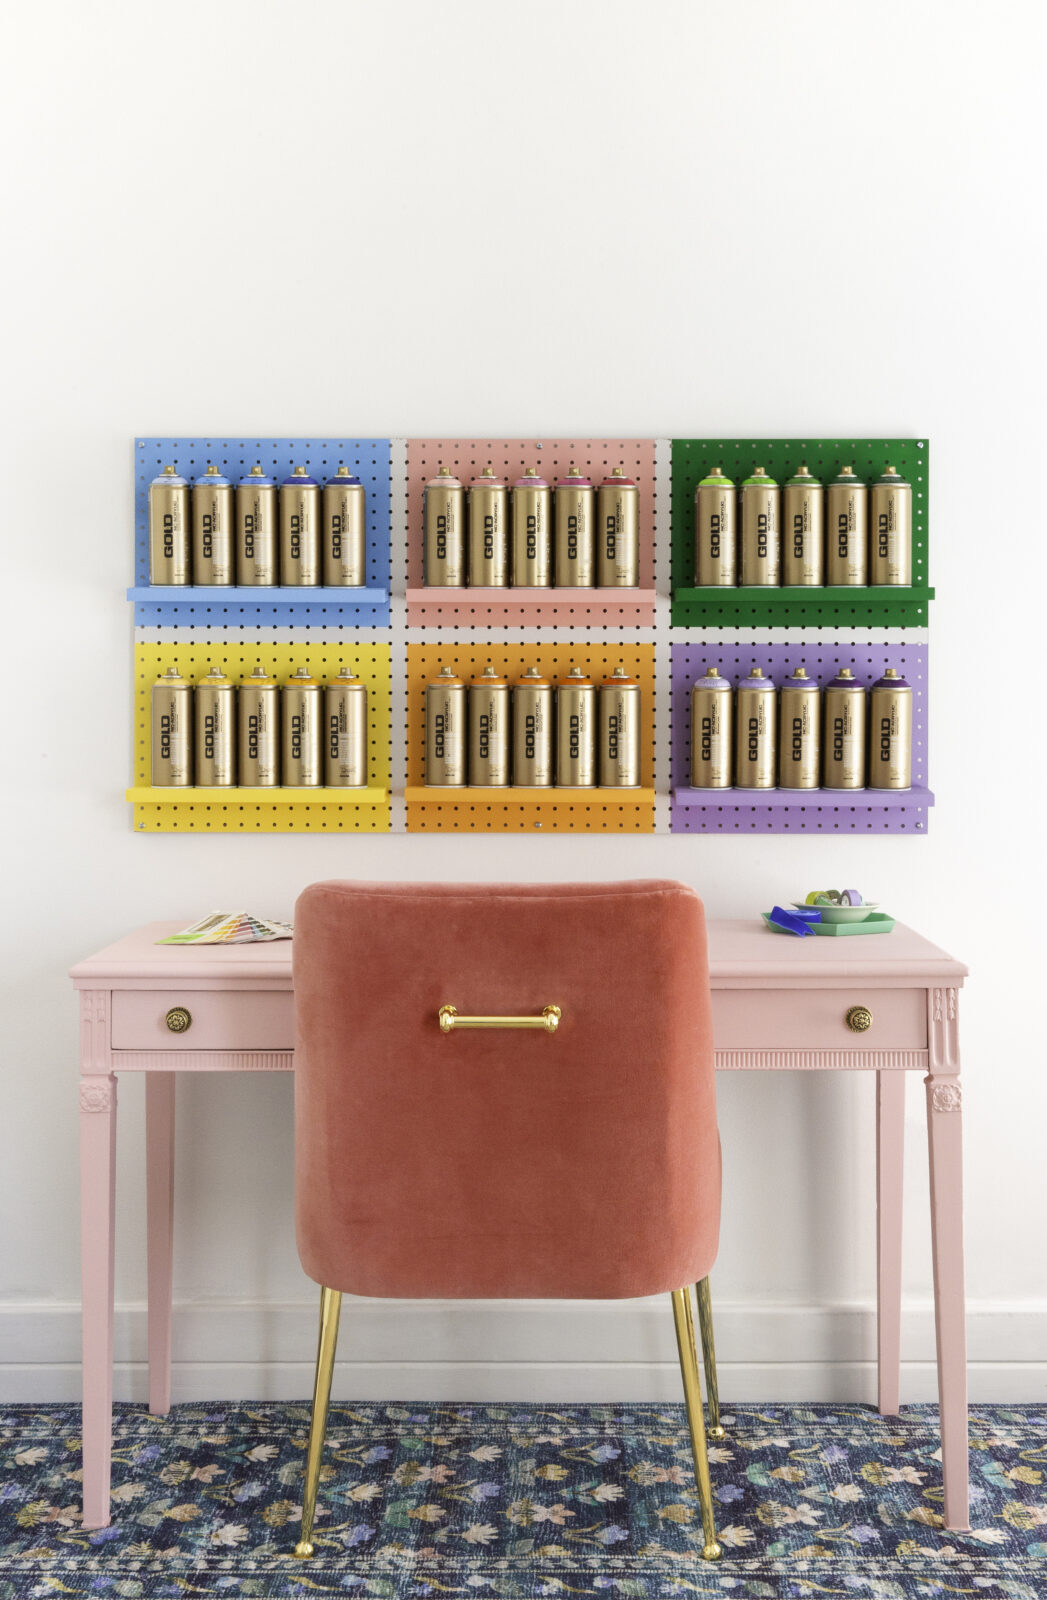
Hang Your Shelves
Finally, attach your custom-painted shelves to the pegboard. The hooks should slide easily into the pegboard holes, and the rounded edges of the shelves will make this process smoother. Once in place, your shelves are ready to display your Montana Cans GOLD Line colors.
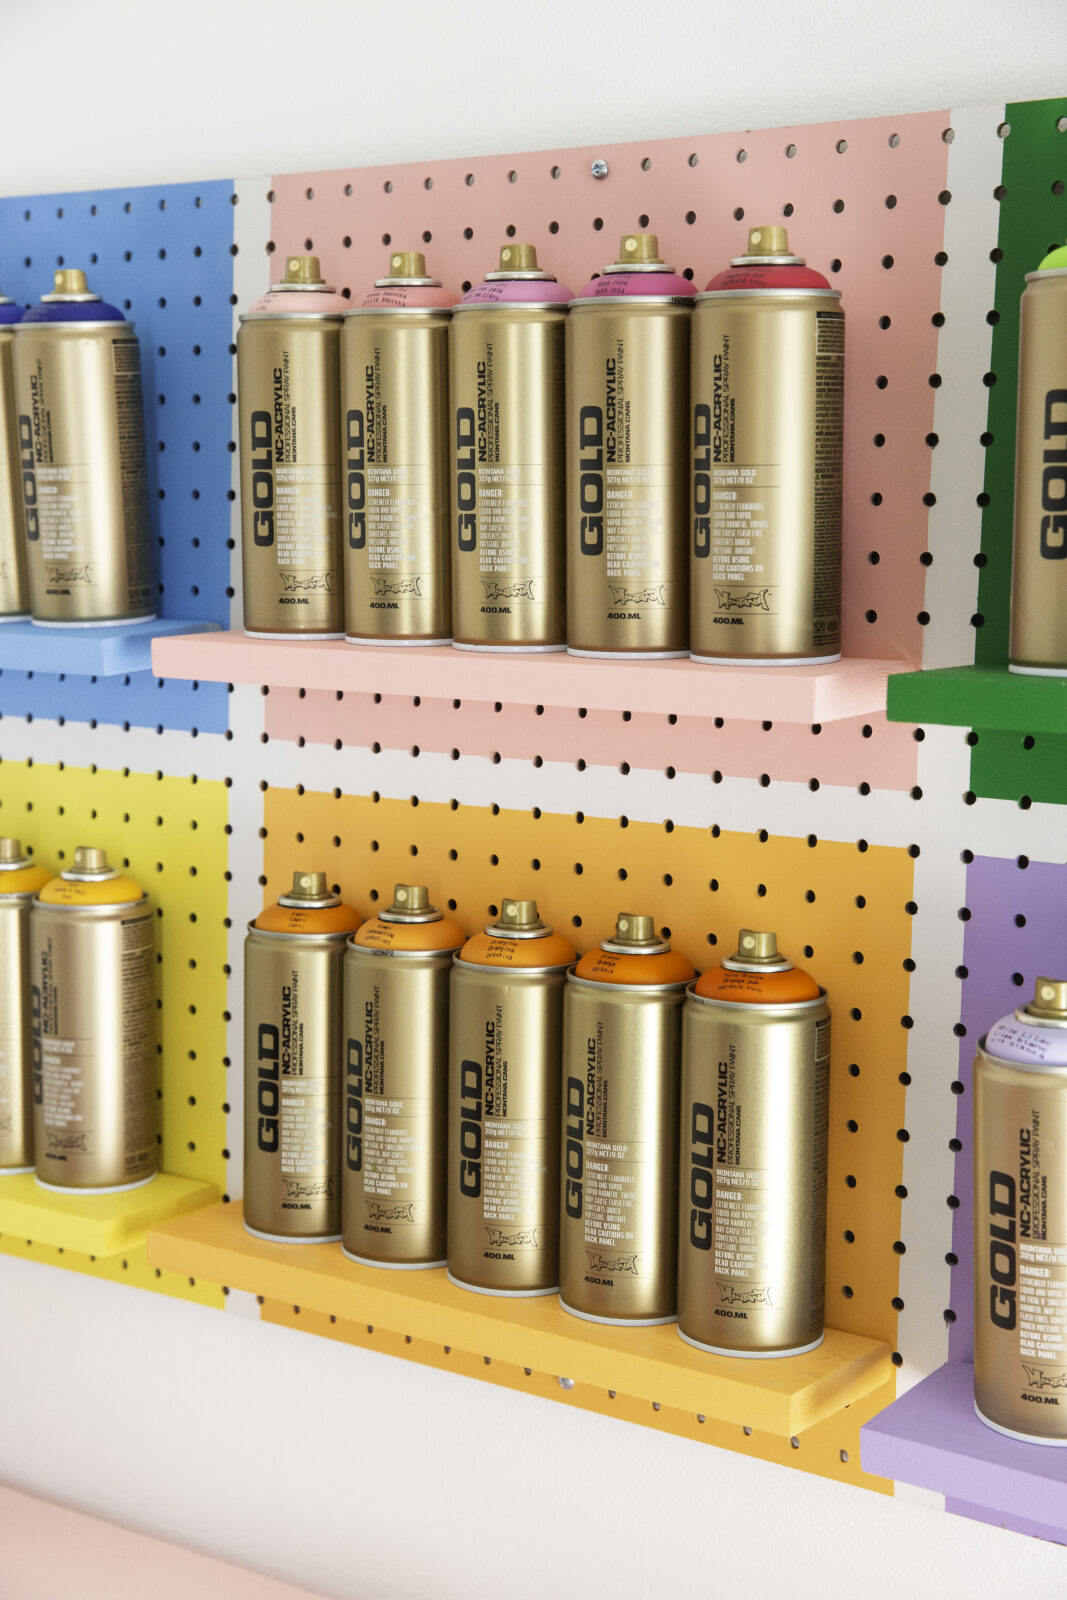
A Stylish DIY Solution
In just a few steps, you’ve created a colorful, functional storage system with a custom look! This project is an excellent way to turn any space into a stylish, organized area. The combination of vibrant Montana GOLD spray paint and practical pegboard shelving offers endless possibilities for personalization.
Happy crafting and decorating!


