Adding color and light this Christmas
Getting into the Christmas spirit is usually pretty easy. But once all of the old tricks like the Christmas tree and baubles are unpacked, hanging up, on display, or put into their position like every year, it’s often the case that we are left with the feeling that a little something extra is needed. Light can often be the difference between feeling Christmas or just doing it. And natural light in the form of candlelight is just the thing to make your Christmas more personal and intimate. This year, allspraypainted has just the project for you to add a little color and light to your Christmas. Keep reading to learn more about Colorful Christmas Tealight Candle Holders.
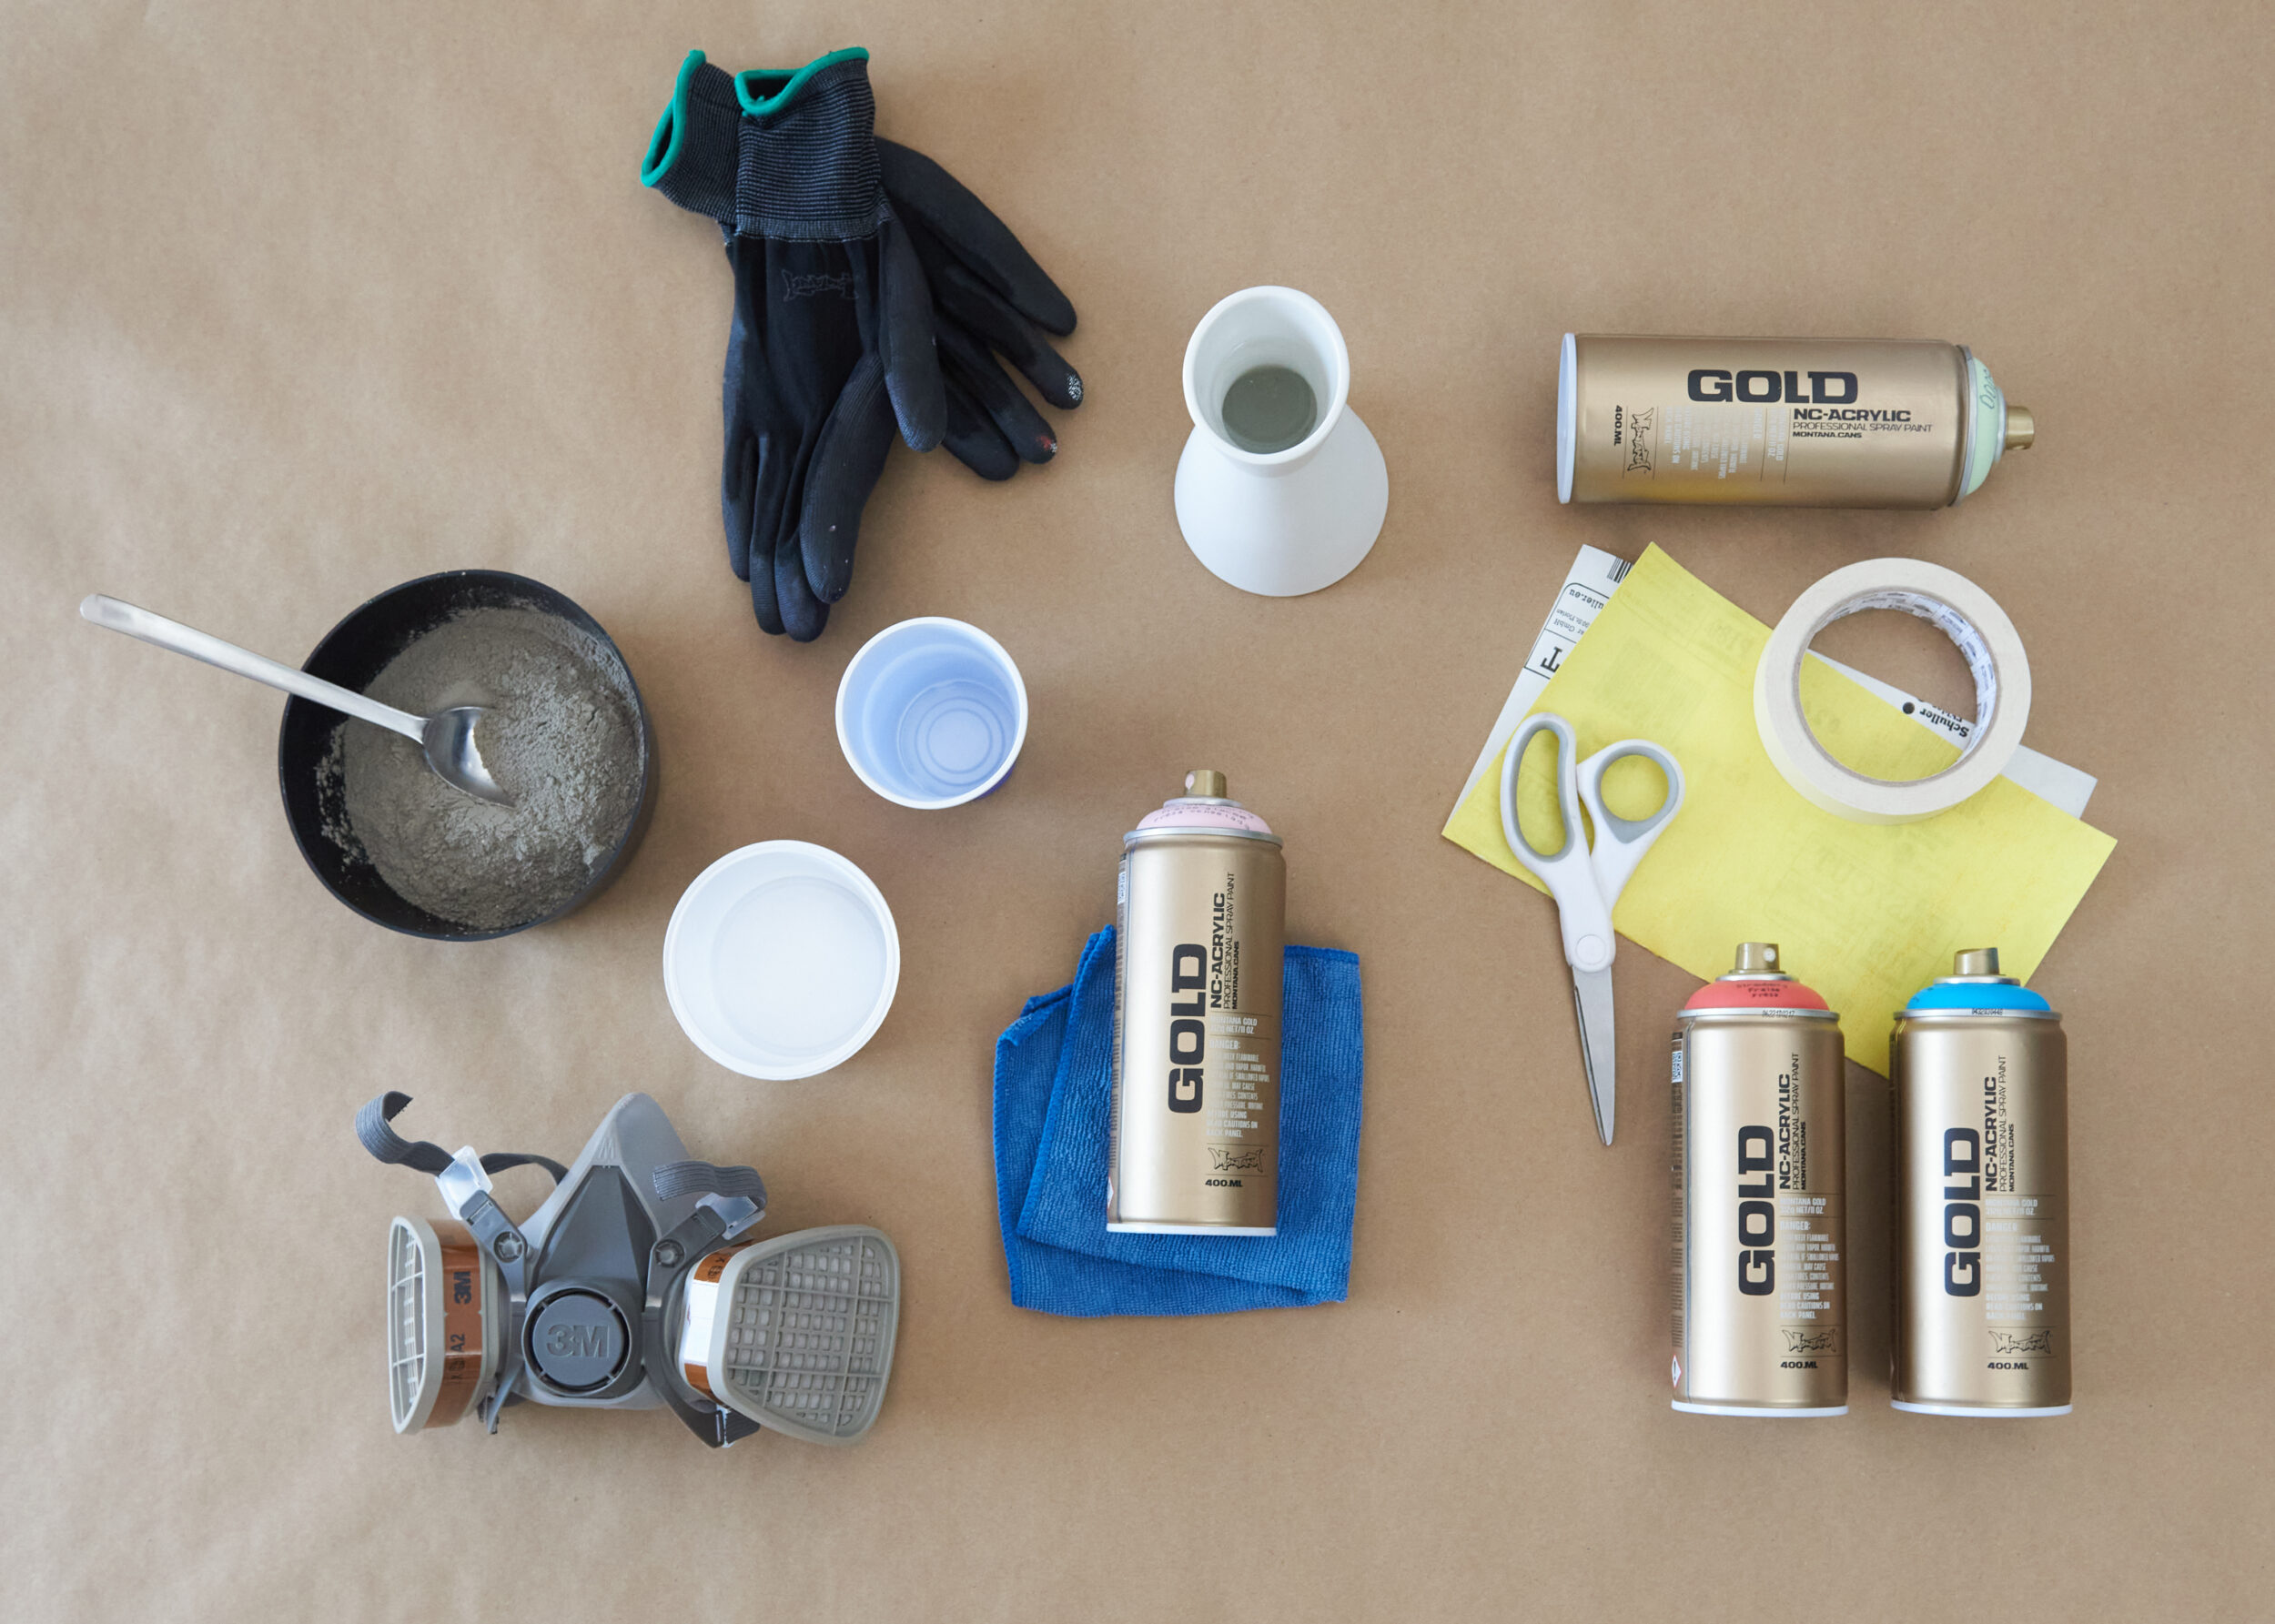
MATERIALS USED
- Montana GOLD (in the colors of your choice)
- Soft plastic bottle bases/ planter pots or similar
- Ready-mix craft concrete or similar
- Tealight candles
- A craft cutter or sturdy scissors
- Masking tape
- Marker (optional)
- Gloves
- Mask
- Drop Sheet
How we did it
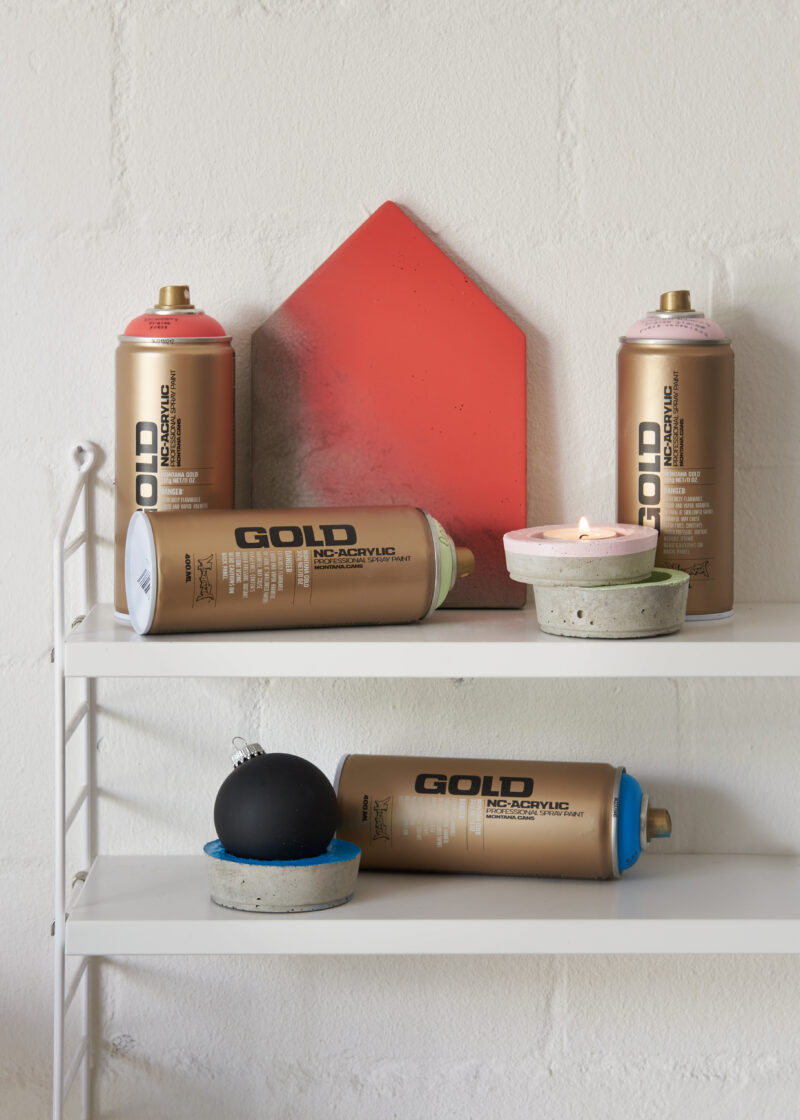
At the basis of our idea to add color and light to our Christmas this year is the very humble tealight candle. This simple but beautiful candle offers a light that is soft, warm and is possibly the most easy-to-find candle available. After creating simple concrete bases to house our tealight candles, we will add a little of our favorite colors and the rest is placement.
Find a plastic vessel that has the shape you would like for your tealight candle bases. Soft plastic bottles are easily available and easy to cut. Alternatively, you may choose something like plastic plant potters which only need to have the holes in their bases taped up to hold concrete. Find the size you like that must be at least slightly larger than the tealight candle itself (or more). Make sure your base vessel is clean, then cut it slightly higher than the height you would like your holder to be. Following the instructions to the ready-mix craft concrete or similar product that you found in your local hardware or craft store, mix the concrete mass to the desired consistency and pour it into your prepared plastic vessel(s) at the height you want your candle holders to be. Remember to have all the vessels prepared before starting to pour the concrete.
If you want your candle holders at all at the same height, mark each vessel with a marker equally beforehand also. To make the space for your tealight, either press an unlit tealight into the wet concrete making the impression slightly bigger by gyrating slightly, or find another product (like another small plastic drink bottle), and place it in the drying concrete. Depending on the product you used, you may need to leave the tealight or bottle base in the concrete mold till it is dry if you are unable to remove it during the drying process. Once dry, turn the vessels upside down and carefully push the dried concrete out of the molds. Do this over a soft surface or onto some soft material to prevent them from breaking as they exit the mold.
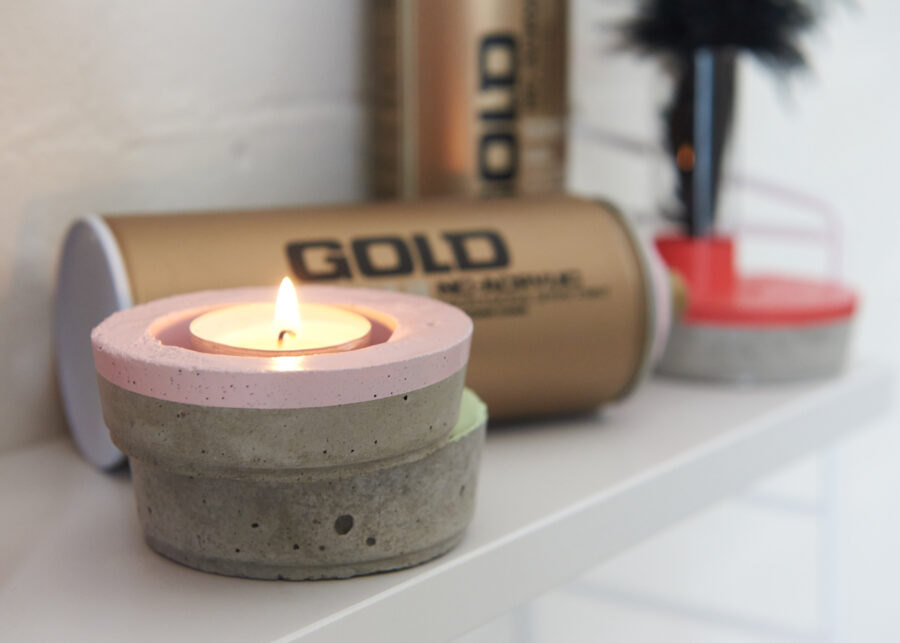
With the well-shaken Montana GOLD cans, and the painting space prepared and ready to use, take your masking tape and mask off the areas of your dry concrete holders where you do not want the paint to cover. Place the masked candle holder on your drop sheet leaving the exposed concrete areas accessible. Apply the color to each holder separately in smooth sweeping motions from side to side at a distance of about 15cm from the holder. Repeat as desired to get the opacity you wish. After 5 minutes, remove the masking tape without touching the drying paint and allow all bases to dry overnight.
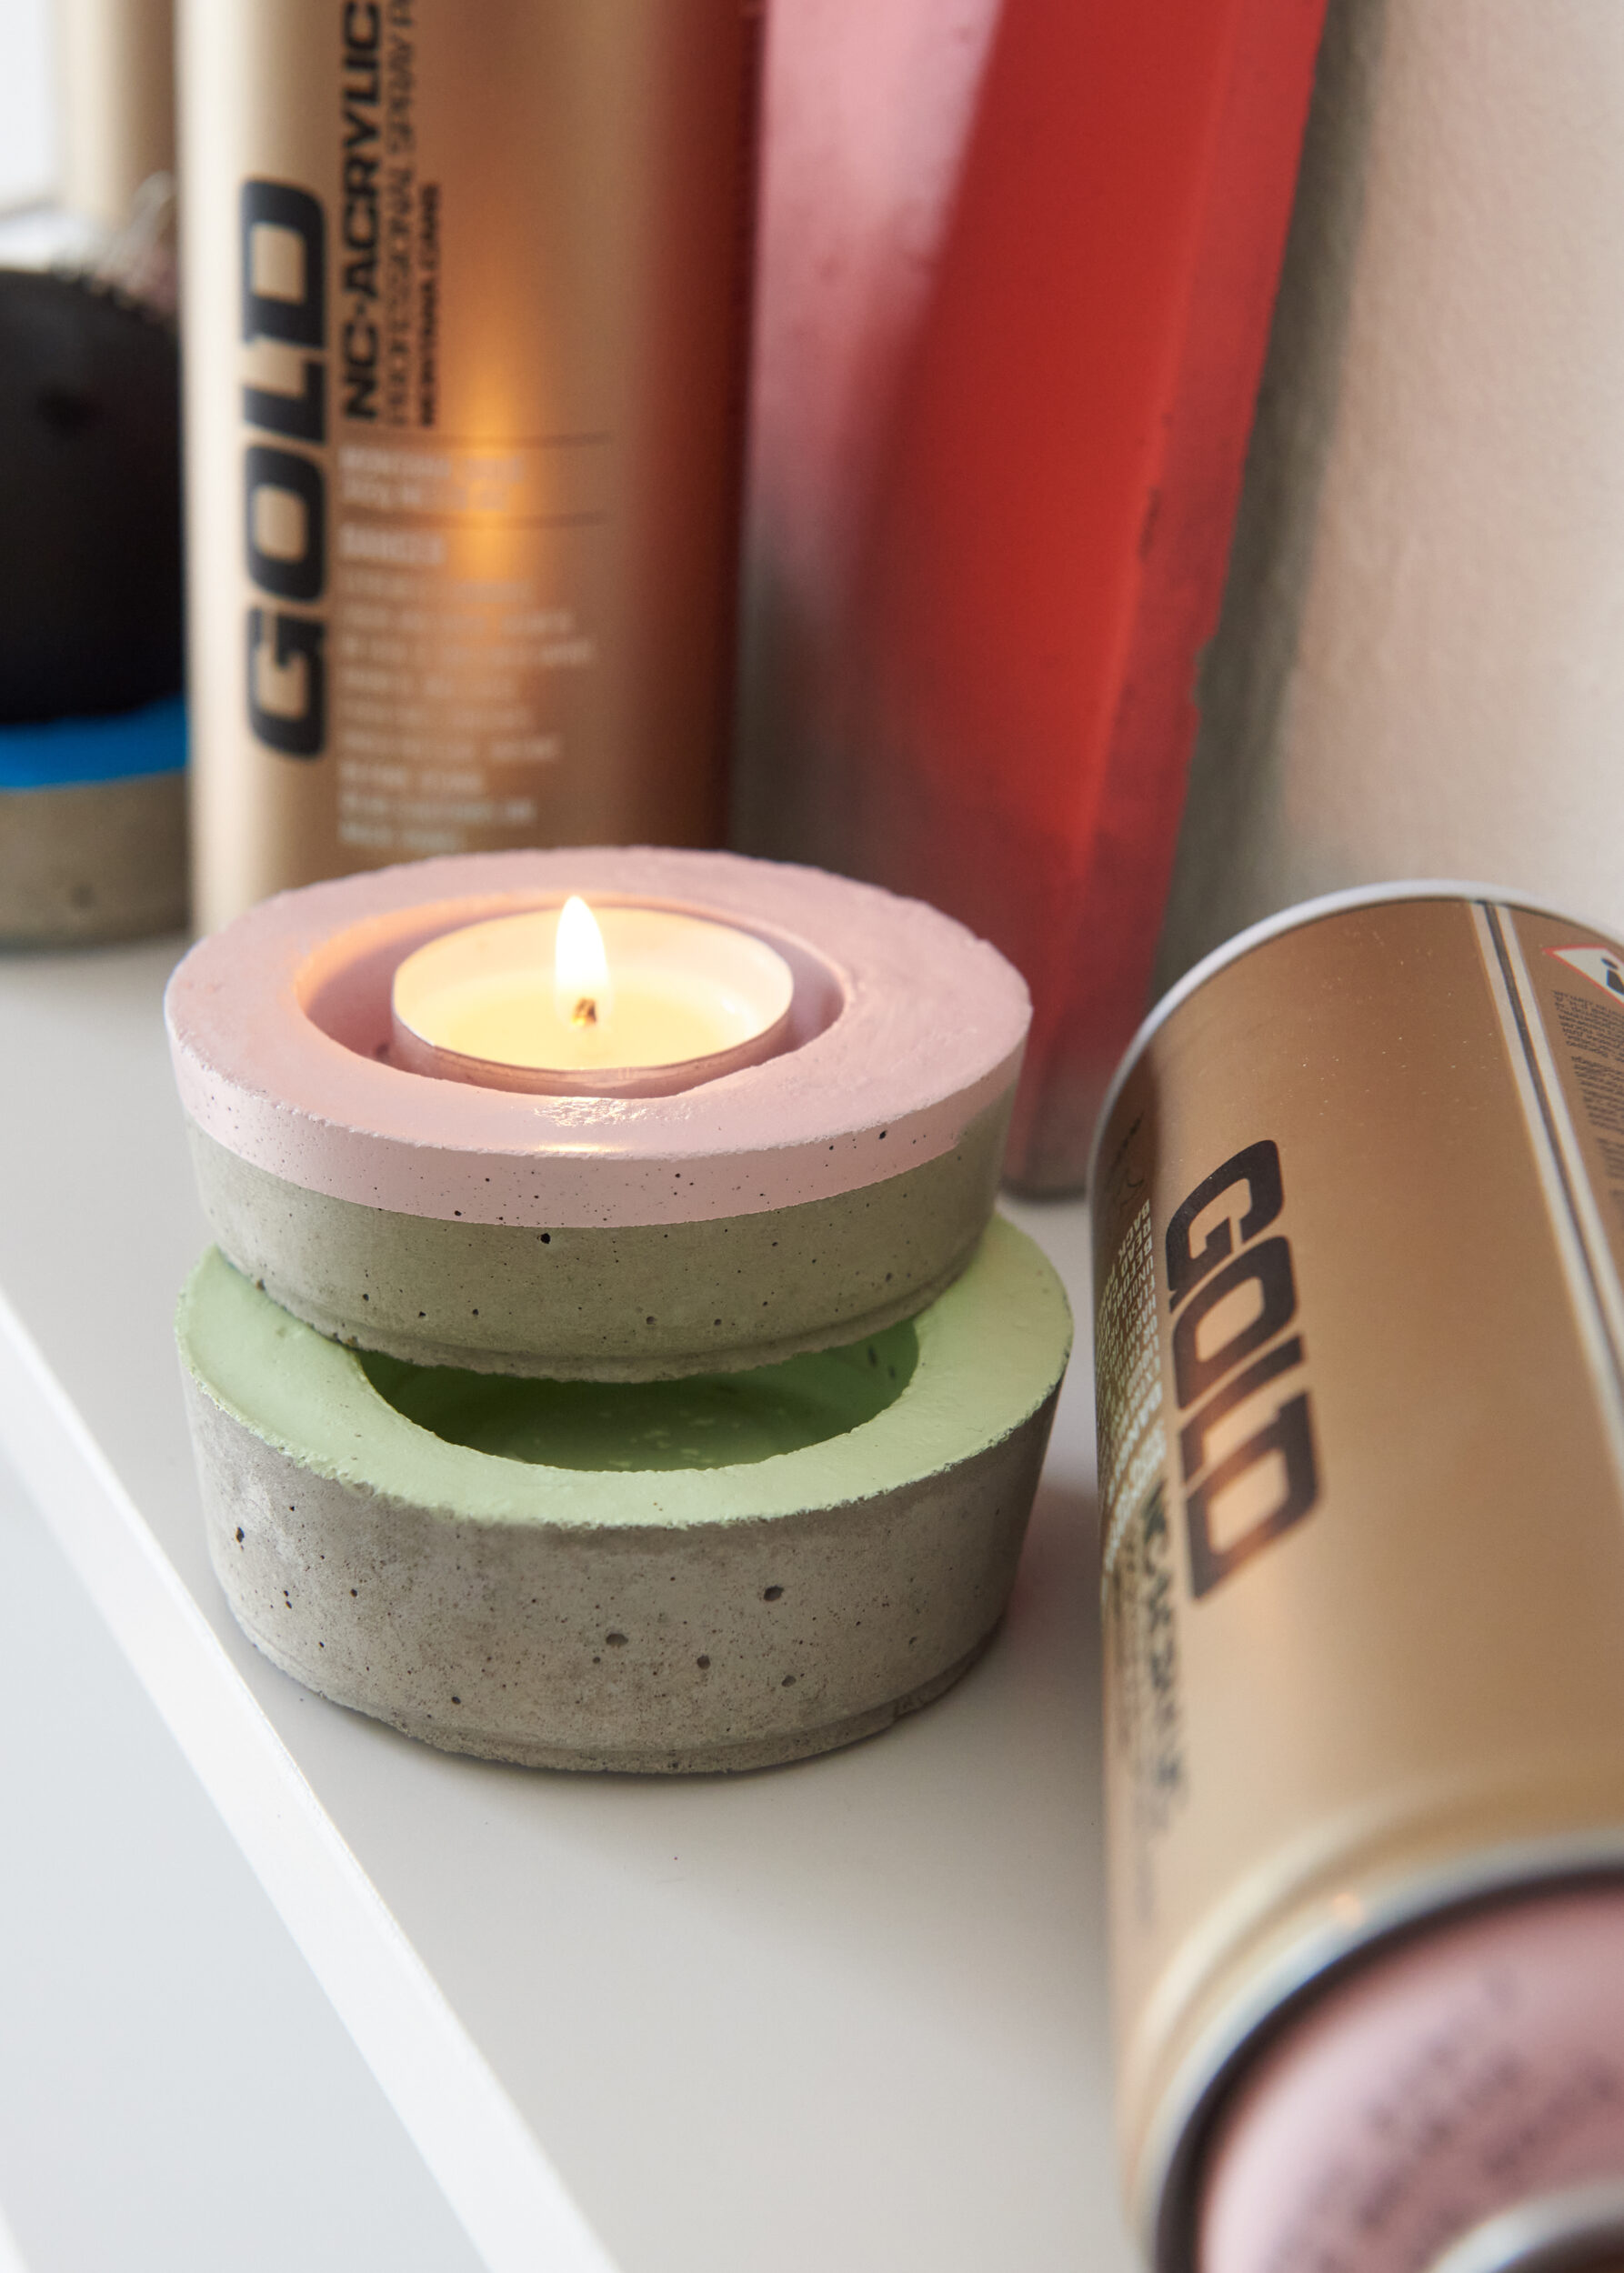
Should you not want to keep all the candle holders in one uniform look, variations to your color application can be simply created by varying where you apply the masking tape to the concrete base, and where or how much concrete is covered in color. Other variations may be the type of concrete or modeling ready-mix you use to create the bases, which can offer alternative surface qualities.
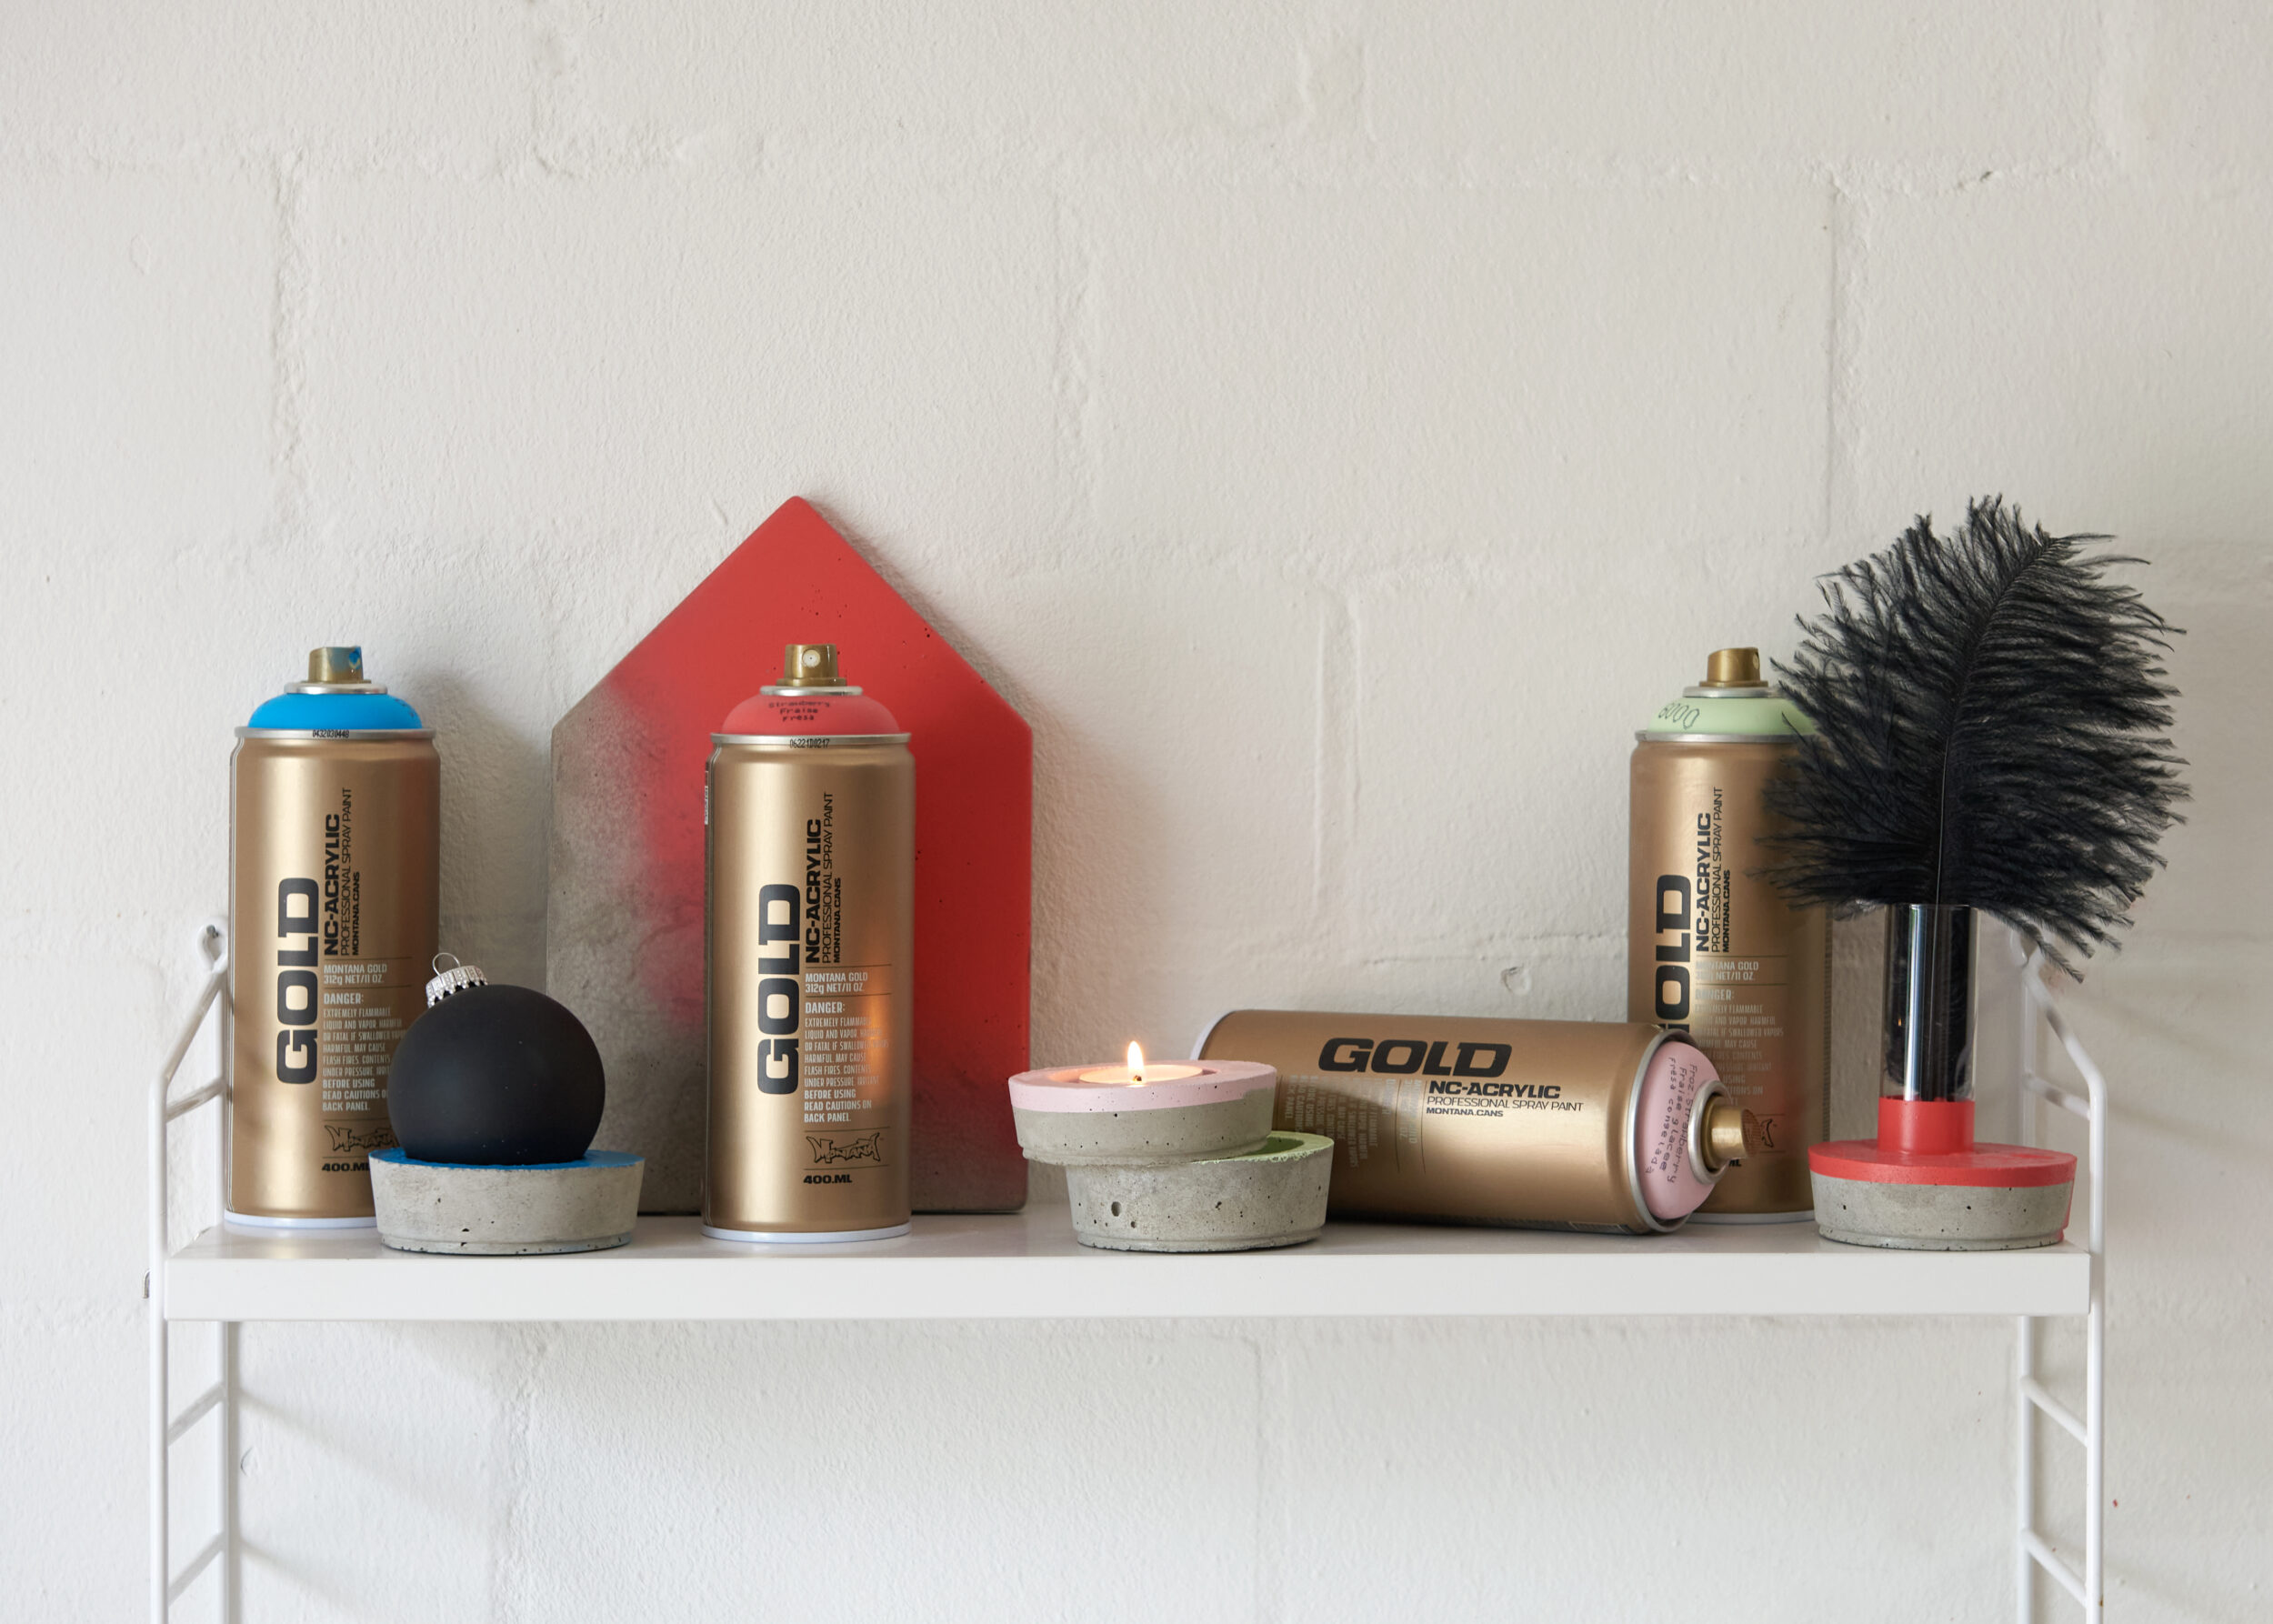
There is no more hard work to do now and apart from putting the tealight candles into your new holders and lighting them, the difficult part is figuring out where to put them and fighting the urge to keep making more. This is an easy project that is a beginner to intermediate in skill level, subject to the amount of effort required for mixing the concrete (or ready-mix base material) you choose. Should you want to alter the finish of your new colorful Christmas tealight candle holder, why not try one of the Montana VARNISH sprays available in Matte, Semi Gloss, and Gloss.
What a great creative distraction from doing Christmas shopping or Christmas cooking. Pat yourself on the back and give yourself a big well done as you stare in the soothing light of your new Colorful Christmas tealight candle holders. Happy Crafting!