

Layer Gradients and Graphic Stripes with the New Montana BLUE
A simple wooden clock can become a colorful design object with just a few carefully planned layers of paint. In this DIY, a plain wooden clock face is transformed with the new Montana BLUE Line, combining a soft purple gradient with crisp teal and yellow stripes.
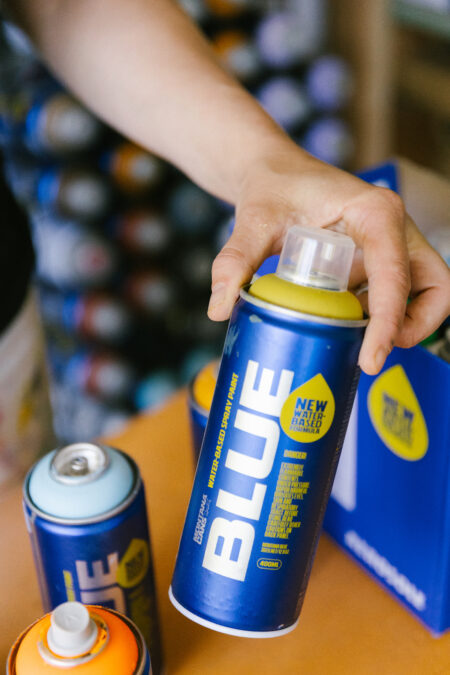
Recently launched by Montana Cans, BLUE is a new water-based spray paint developed for creative applications ranging from studio work and interior projects to DIY. Its highly pigmented formula provides strong coverage and adhesion, while the medium-pressure valve offers smooth, controlled spraying. With 82 matte colors, very low odor and fast overpaintability, the range is especially practical for projects involving several colors and carefully built-up layers.
This clock is a perfect example of what BLUE can do. Related shades can be blended to create soft transitions, while masking allows the same paint to produce crisp, graphic color blocks. The contrast between the blended purple background and precise teal and yellow lines turns a simple wooden clock into a playful contemporary design object.
The key to getting a clean result is patience between steps. Allowing each layer to dry sufficiently before masking helps protect the colors underneath and keeps the striped sections sharp.
Materials Needed
- Plain wooden clock kit with clockwork and hands
- Montana BLUE Line spray paints in purple shades
- Montana BLUE Line spray paints in teal shades
- Montana BLUE Line spray paint in yellow
- Masking tape
- Drop sheet or protective covering
- Gloves and mask
- Soft cloth or brush for removing dust
Step-by-Step Guide
Prepare the Clock
Before painting, remove the clock mechanism and hands so you are working with the plain wooden face only.
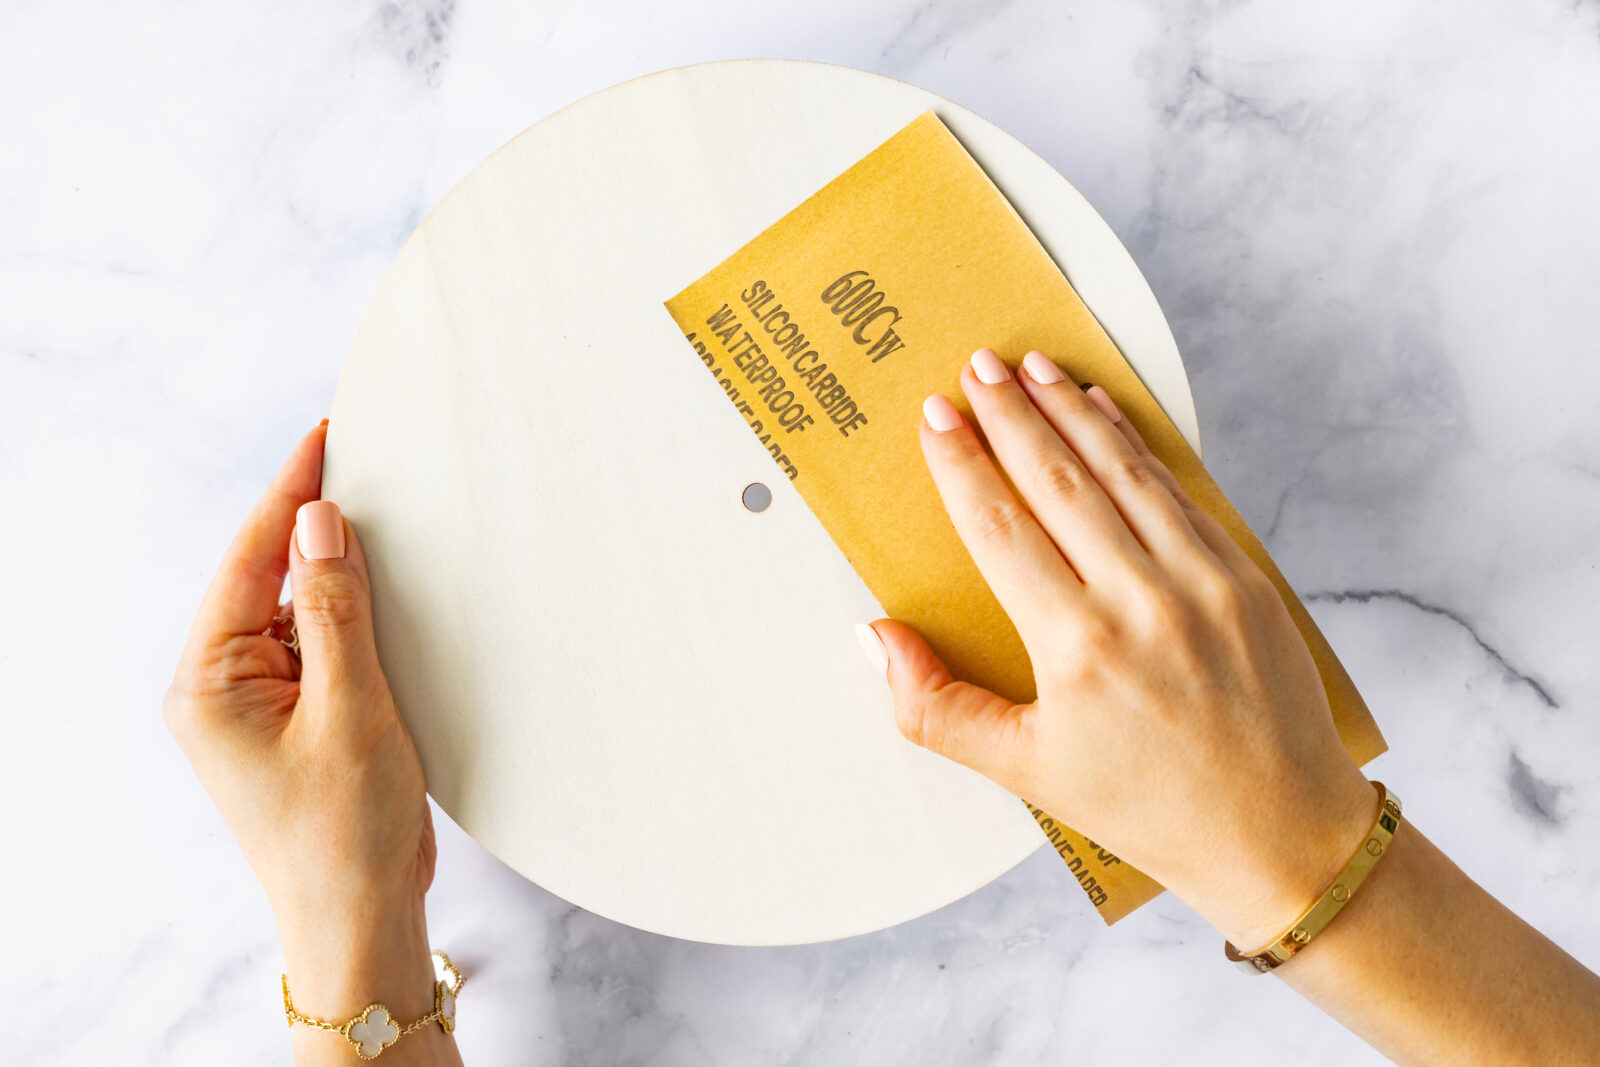
Make sure the surface is clean, dry and free from dust or grease. If the wooden surface feels rough, lightly sand it and remove all sanding dust before you begin. A smooth surface will make it easier to achieve an even gradient and clean edges later.

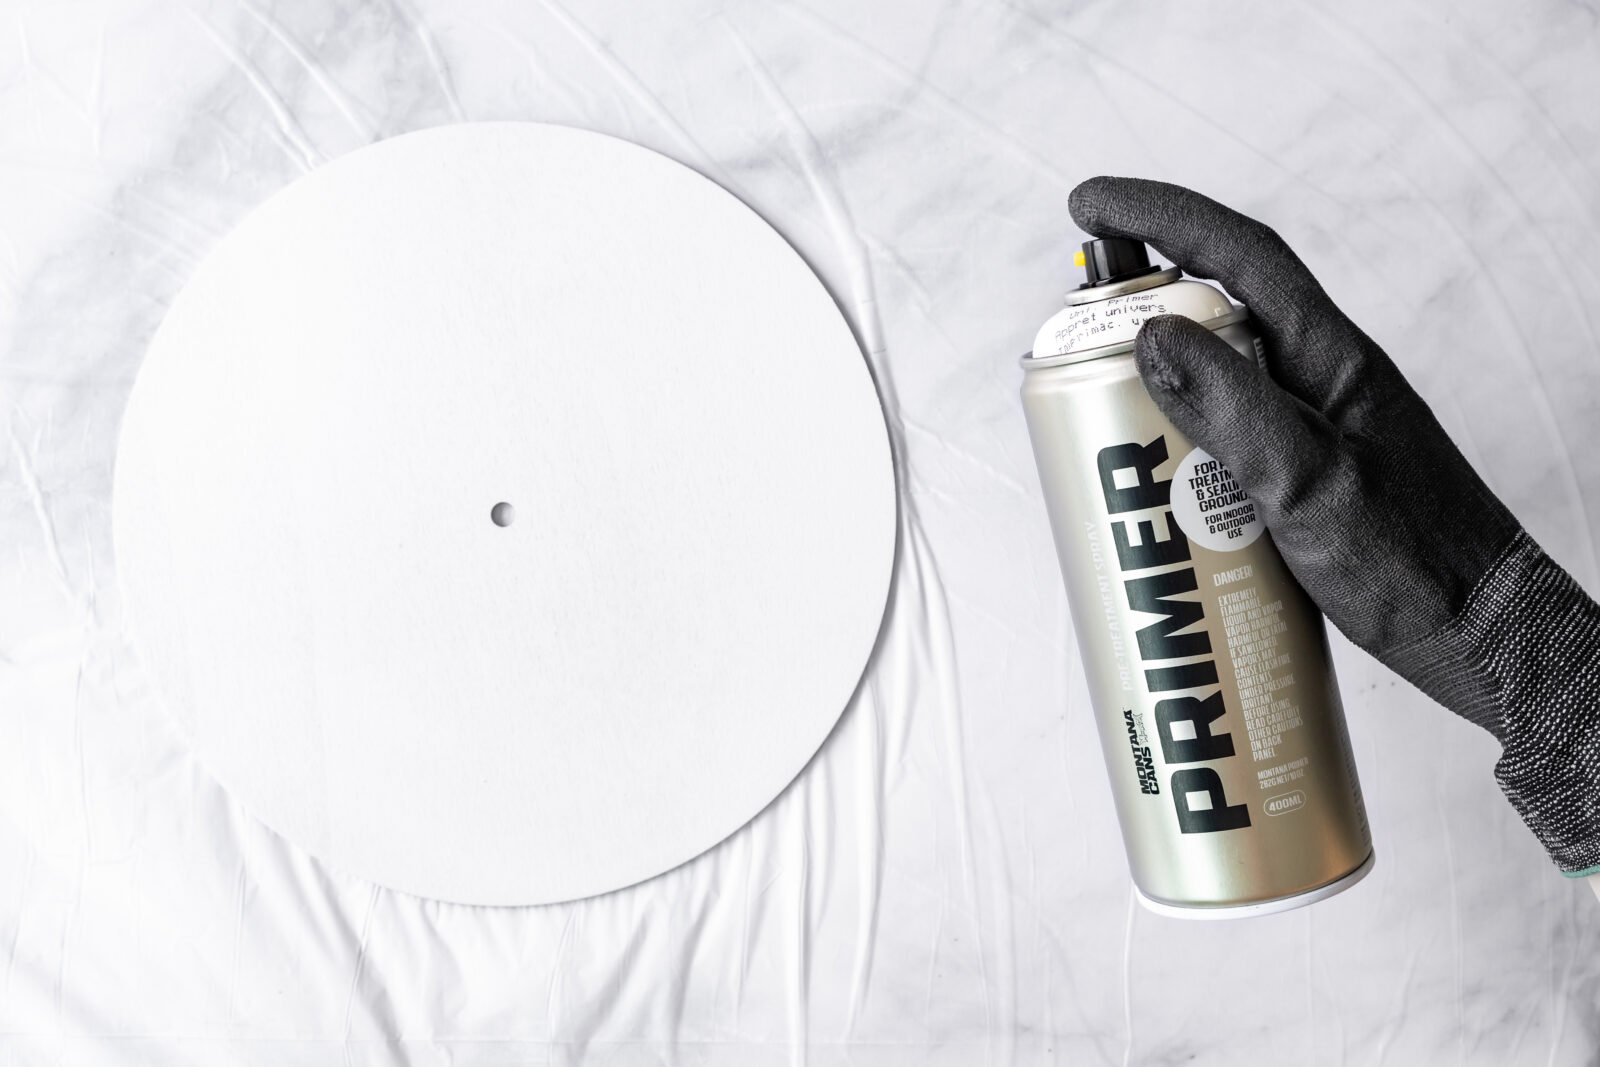
Set up your workspace with a drop sheet and work in a well-ventilated area. Wear gloves and a suitable mask while spraying.
Before use, shake each Montana BLUE can thoroughly for around 2–3 minutes and continue to shake it occasionally while working. We recommend spraying from approximately 15–20 cm away from the surface. Keeping a consistent distance and keeping the can moving will help you achieve a smooth, even application.
Create the Purple Gradient
Start by building the purple background. Rather than trying to create the full gradient in one heavy application, work gradually with thin, even coats.
Begin with the darker purple at the top of the clock and transition toward a lighter purple below. Where the two colors meet, lightly overlap the spray while the paint is still workable to soften the transition.
Tip: Gradients are easier to control when you use less paint rather than more. Several light passes give you more opportunity to adjust the transition without creating drips, overly wet areas or a hard division between the colors.
One of the advantages of BLUE for a project like this is its relatively quick layering time. Additional BLUE coats can generally be applied after approximately 2–4 minutes, allowing you to gradually develop the depth and smoothness of the gradient without a long wait between every light coat.
However, this short interval is the overpainting time, not the full drying or curing time. Once you are happy with your gradient, give the surface significantly more time before applying masking tape. BLUE is touch-dry after approximately 30 minutes and reaches full curing after around 48–72 hours, depending on temperature, humidity and the thickness of the paint layers.
For a project where adhesive tape will be pressed directly onto the painted surface, being patient at this stage is worth it. Allowing the base coat to dry thoroughly reduces the risk of the tape marking, sticking to or lifting your carefully painted gradient.
Plan the Stripes
Once the purple background is thoroughly dry, you can begin creating the graphic pattern.
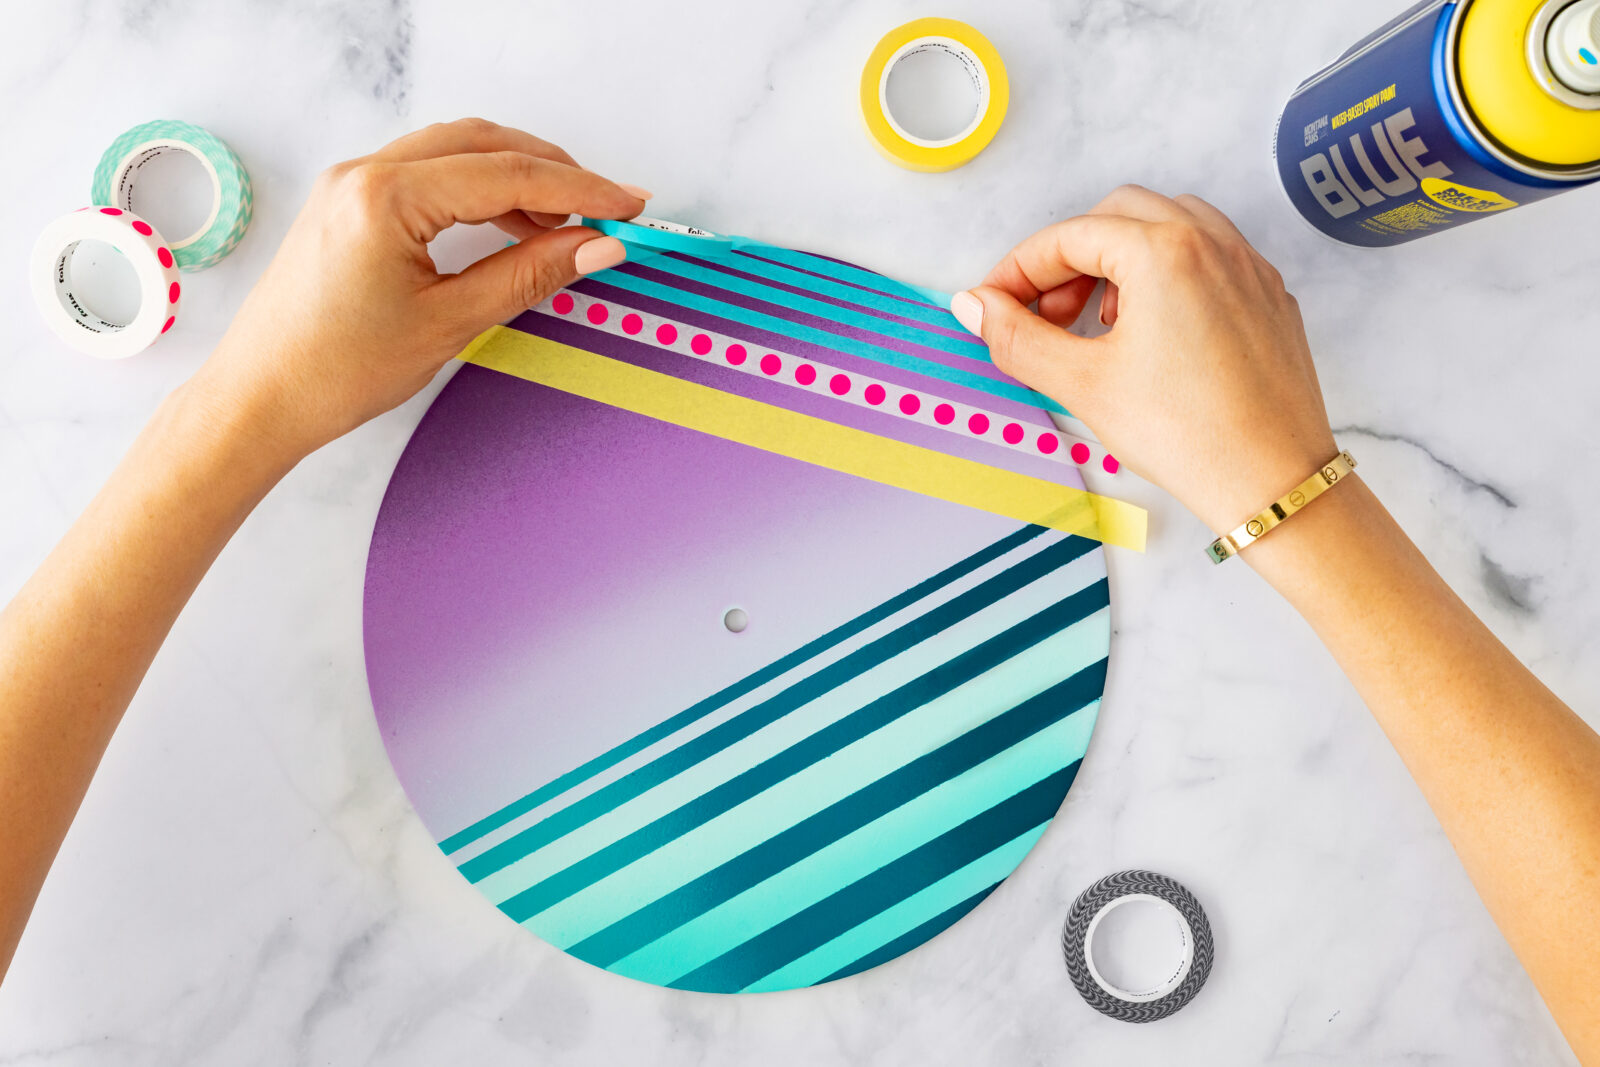
Use masking tape to mark out the horizontal stripes across the lower section of the clock. Varying their widths slightly can make the pattern feel more dynamic while still keeping the overall composition structured.

Press the tape down carefully, particularly along the edges. Good adhesion is important because it prevents spray from creeping underneath and keeps the lines crisp.
Tip: For especially clean edges, avoid flooding the tape with paint. Several light coats are much less likely to bleed underneath the tape than one heavy coat.
Add the Teal
Once the horizontal sections have been carefully masked, it is time to introduce the teal.
Spray the exposed areas with your selected teal BLUE shades. Using several related blue-green tones creates subtle variation between the stripes while keeping the overall section visually cohesive.
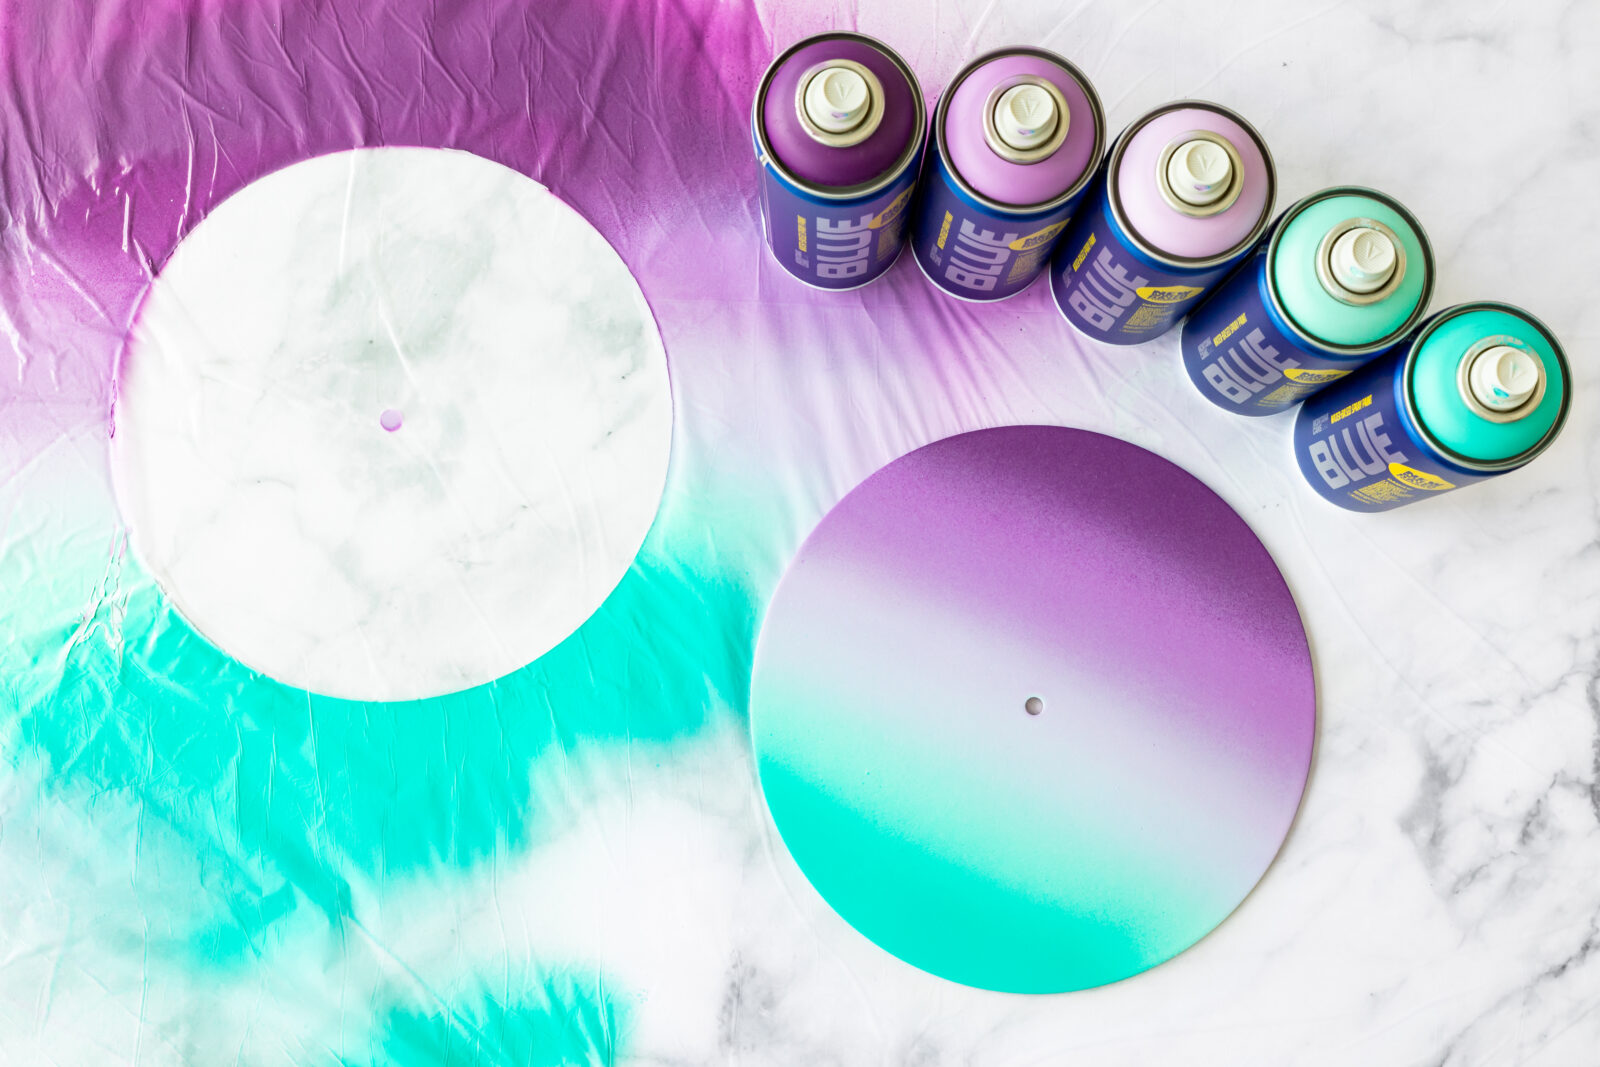

Again, build the color with thin, controlled coats rather than trying to reach full coverage immediately. Where another coat is needed, wait approximately 2–4 minutes between BLUE layers, this can depend on the temperature and humidity of your surroundings so make sure to always analyse the conditions and behavior of the paint on a test strip.
Keep the can moving continuously across the surface. Begin and finish each spray pass slightly beyond the edge of the clock rather than stopping your movement directly over it. This helps prevent excess paint from accumulating around the edges.
BLUE’s medium-pressure valve is particularly useful here. It provides a smooth and controlled paint output that works well for both broader areas and smaller decorative details—especially useful when working with masked geometric sections like these.
Create the Yellow Diagonal Stripes
The yellow lines introduce a second direction to the design and create a strong contrast with the purple background.
Once the underlying paint has dried sufficiently, carefully tape off a series of diagonal stripes across the upper-right section of the clock. Keeping the lines parallel while varying their width creates the graphic effect seen in the finished piece.
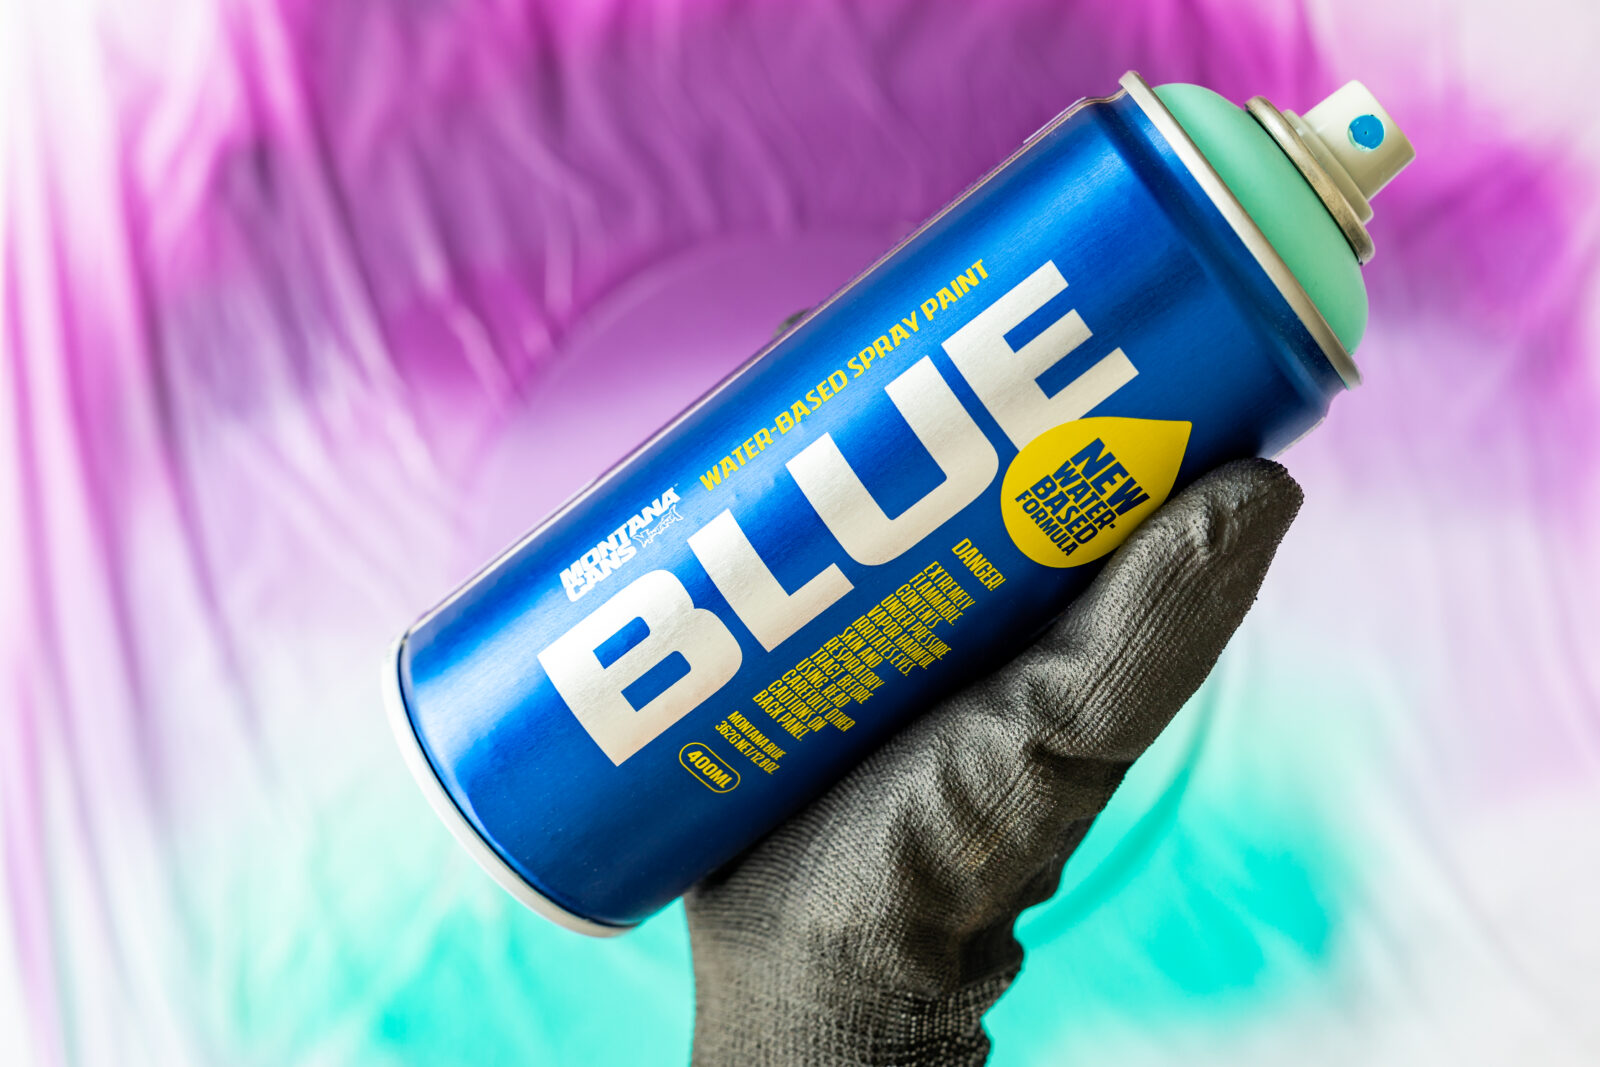
Apply the yellow in light, controlled coats. Yellow may require more than one pass to achieve an even, vibrant result, so resist the temptation to compensate with one heavy application. Build the opacity gradually instead.
For the cleanest edges, avoid directing an excessively wet spray toward the edge of the masking tape. Light applications make it less likely that paint will collect or creep underneath.
Reveal the Design
Once the final layers have dried, carefully peel away the masking tape to reveal the finished pattern.
Remove the tape slowly, pulling it back over itself rather than sharply upward from the surface. Taking your time at this stage will help protect the edges of the painted sections.
If you need to mask one freshly painted BLUE section in order to add another color, remember that the few-minute recoating time should not be confused with full curing time. Whenever adhesive tape is involved, giving the paint more time to dry will give you a much better chance of preserving the layer underneath.
The finished design should reveal three distinct but connected elements: the softly blended purple gradient, the cool teal horizontal stripes and the bright yellow diagonal details.
Assemble the Clock
Once all of the paint is completely dry, reinstall the clock mechanism and hands according to the instructions supplied with your clock kit.
The simple black hands create a strong contrast against the purple, teal and yellow background while allowing the painted clock face itself to remain the focus.


Hang the finished piece on the wall or lean it against a shelf and watch how the gradient and graphic stripes change depending on the surrounding light and interior colors.
Tips for Working with Montana BLUE
For the cleanest finish, think of this project as a sequence of spray → layer → dry → mask → spray, rather than trying to complete all of the colors at once.
Shake the cans thoroughly before use, work from approximately 15–20 cm away, and use multiple thin coats instead of one heavy application. Keep your spraying distance and movement consistent throughout the project.
For regular layering, another BLUE coat can be applied after approximately 2–4 minutes. The surface becomes touch-dry after roughly 30 minutes, while full curing takes approximately 48–72 hours. These times serve different purposes: use the short overpainting interval while developing gradients or building coverage, but give finished sections considerably more time before pressing masking tape onto them.

Montana recommends working at ambient temperatures of approximately 15–30°C and below 60% humidity. Drying behavior can change depending on environmental conditions and how heavily the paint has been applied, so patience is particularly important when creating a multi-stage design like this one. Testing the paint on a sample piece of your material before beginning the final object is also a useful step, especially when working with untreated wood.
Color, Control and Creative Flexibility
With 82 matte shades, strong coverage and adhesion, a water-based and very low-odor formula, and a medium-pressure valve for controlled spraying, the new Montana BLUE Line offers plenty of possibilities for DIY projects. The same can can be used to cover larger areas, build up colors in layers or create smaller decorative details.
This clock brings several of those possibilities together in one object. The smooth purple gradient shows how colors can interact and transition, while the taped teal and yellow areas demonstrate how the same paint can be used to create precise graphic shapes.

And the idea doesn’t have to stop with this particular color combination. Try different BLUE shades, change the direction and width of the stripes, work with contrasting colors or choose closely related tones for a more understated result.
A simple wooden clock becomes a completely individual piece through color alone, it is a functional object that doubles as graphic wall art.
Choose your palette, take your time between layers and make it your own. Happy crafting!